Home>Gardening & Outdoor>Outdoor Recreation & Activities>How To Make A Light-Up Beer Pong Table
Outdoor Recreation & Activities
How To Make A Light-Up Beer Pong Table
Published: January 20, 2024
Learn how to create a light-up beer pong table for your outdoor recreation and activities. Step-by-step guide to elevate your next party experience!
(Many of the links in this article redirect to a specific reviewed product. Your purchase of these products through affiliate links helps to generate commission for Storables.com, at no extra cost. Learn more)
Introduction
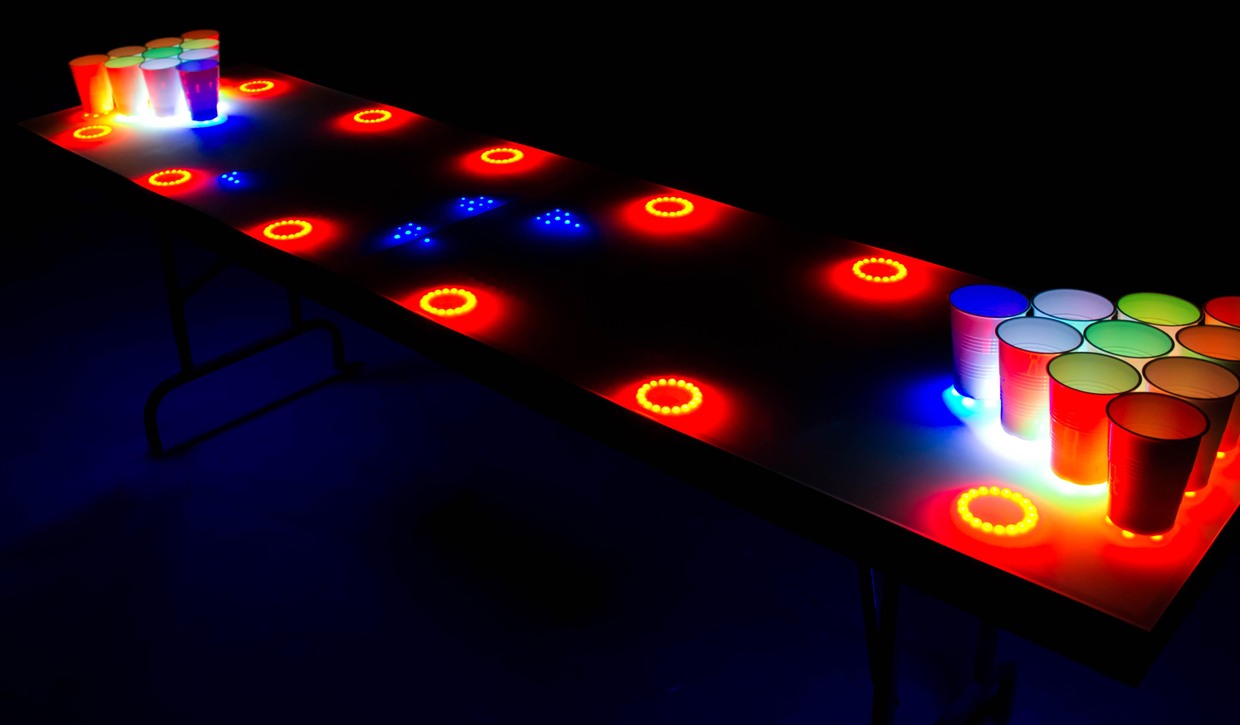
Welcome to the ultimate guide on how to create a light-up beer pong table! Beer pong is a classic party game that brings people together for a night of fun and friendly competition. Adding a light-up element to the table takes the game to a whole new level, creating an exciting and visually stunning experience for players and spectators alike.
In this guide, we will walk you through the step-by-step process of building your very own light-up beer pong table. Whether you're a DIY enthusiast looking for a new project or a beer pong aficionado wanting to elevate your game, this guide is for you.
We'll start by outlining the materials you'll need for this project, followed by detailed instructions on constructing the table and wiring the lights. Then, we'll cover testing the table to ensure everything works perfectly. By the end of this guide, you'll be ready to showcase your custom creation at your next gathering, impressing your friends and taking your beer pong game to a whole new level.
So, grab your tools and get ready to embark on an exciting DIY adventure as we dive into the world of creating a light-up beer pong table that will be the highlight of any party!
Key Takeaways:
- Elevate your beer pong game with a DIY light-up table, creating an electrifying and visually stunning experience for players and spectators alike.
- Transform a classic party game into an unforgettable, vibrant experience, showcasing your creativity and craftsmanship while adding excitement to social gatherings.
Read more: How To Fold Up A Ping Pong Table
Materials Needed
Before diving into the construction of your light-up beer pong table, it’s essential to gather all the necessary materials. Here’s a comprehensive list of what you’ll need to bring this project to life:
- 8-foot plywood sheet
- Sawhorse or workbench
- Measuring tape
- Marker or pencil
- Wood screws
- Electric drill
- Sandpaper
- Wood stain or paint
- Clear epoxy resin
- LED light strips
- Wire cutter/stripper
- Soldering iron and solder
- Electrical tape
- Power supply for LED lights
- Clear plastic cups
- Ping pong balls
- Optional: Beer pong net and balls
These materials can typically be found at your local hardware store or online. It’s important to ensure that you have all the items on hand before starting the construction process to avoid any delays. Once you’ve gathered everything on the list, you’ll be well-prepared to move on to the next phase: building the table.
Building the Table
Now that you have all the necessary materials, it’s time to roll up your sleeves and start building your light-up beer pong table. Follow these step-by-step instructions to bring your vision to life:
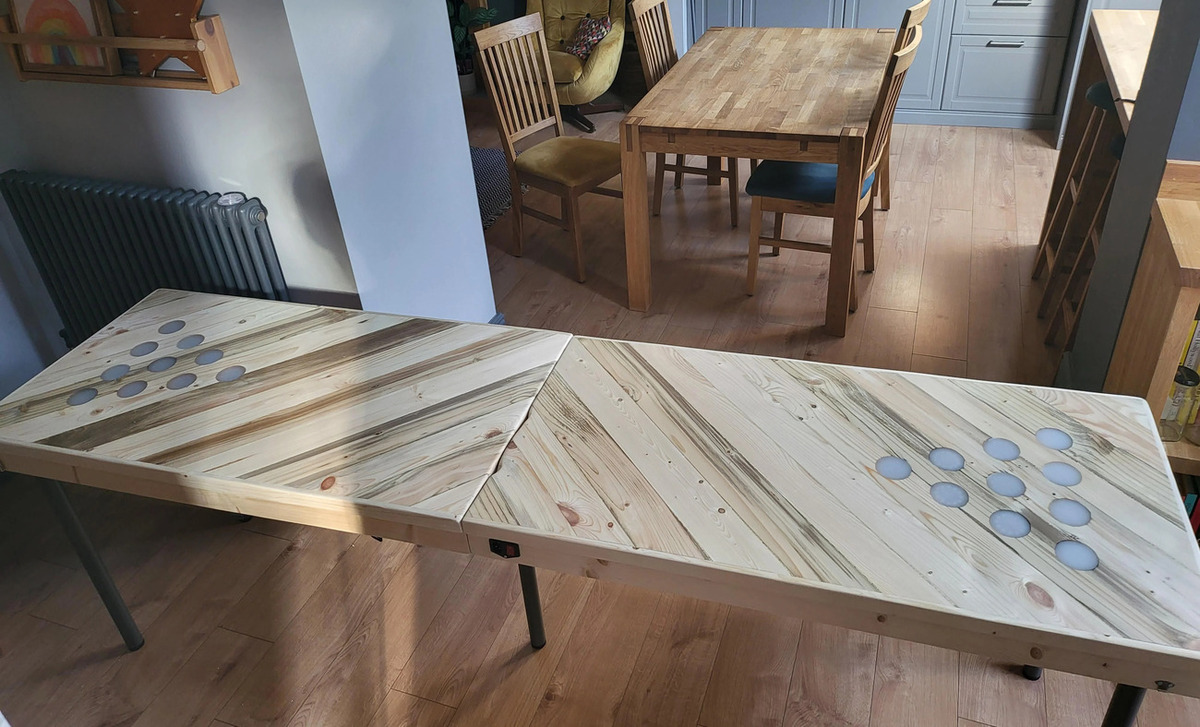
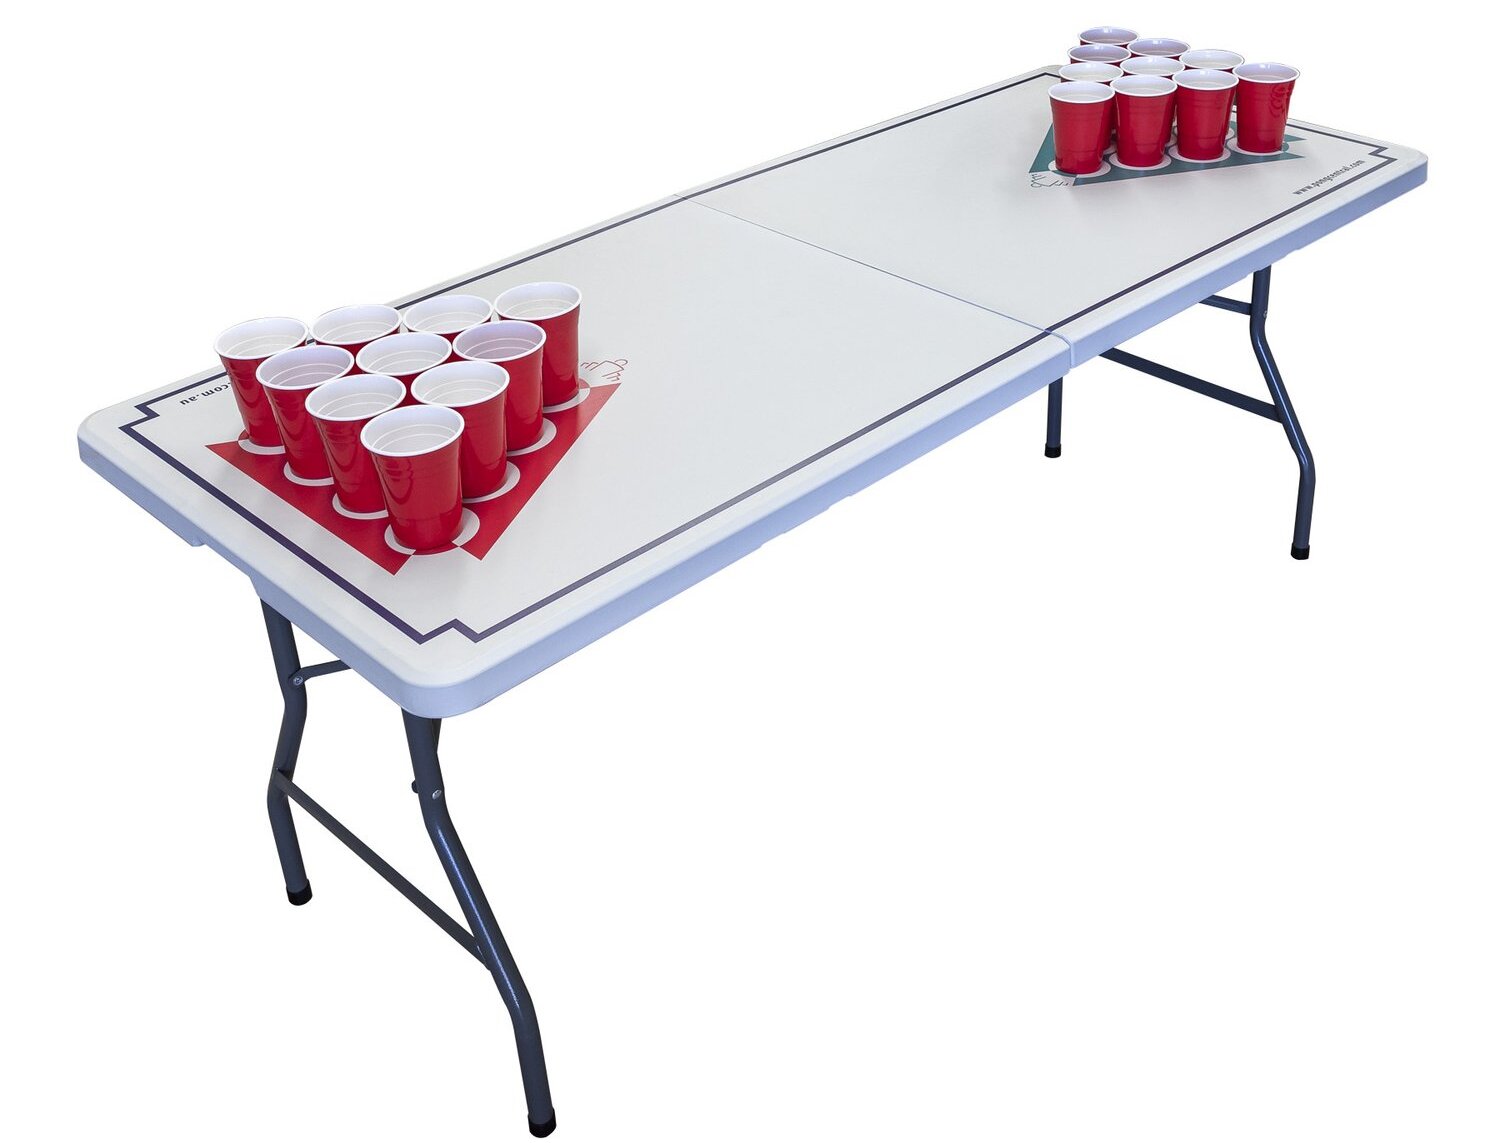
- Prepare the Plywood: Begin by setting up your sawhorse or workbench in a well-ventilated area. Place the 8-foot plywood sheet on the work surface, ensuring that it’s secure and stable. Use a measuring tape and marker to outline the regulation beer pong table dimensions (8 feet long by 2 feet wide) on the plywood.
- Cut the Tabletop: Carefully use a saw to cut along the marked lines, creating the tabletop for your beer pong table. Take your time to ensure clean and precise cuts, as the tabletop dimensions are crucial for the game.
- Assemble the Frame: Using wood screws and an electric drill, assemble a simple frame underneath the tabletop to provide stability and support. This can be achieved by attaching wooden beams or boards along the edges of the tabletop, creating a sturdy structure.
- Sand and Finish: Once the frame is in place, use sandpaper to smooth out any rough edges and surfaces. You can then choose to apply a wood stain or paint of your preference to enhance the table’s appearance. For added durability and a polished finish, consider applying a clear epoxy resin coating.
With the tabletop constructed and finished, you’re one step closer to completing your light-up beer pong table. The next phase will involve wiring the LED lights to infuse the table with a captivating glow that will take your beer pong experience to the next level.
When building a light-up beer pong table, make sure to use LED strip lights for a bright and energy-efficient glow. These lights are easy to install and come in a variety of colors to customize your table.
Wiring the Lights
Now that the table is built and finished, it’s time to add the electrifying element that will set your light-up beer pong table apart. Follow these steps to wire the LED lights and bring a vibrant glow to your creation:
- Plan the Light Placement: Before attaching the LED light strips, plan out where you want the lights to be positioned on the table. You can opt for a single continuous strip around the perimeter or get creative with a custom pattern. Ensure that the lights will be evenly distributed for optimal illumination during gameplay.
- Attach the LED Strips: Carefully adhere the LED light strips along the edges of the tabletop, following the planned layout. Take your time to ensure the strips are securely attached and free from any obstructions or kinks that could affect the lighting effect.
- Wire the Lights: Using a wire cutter/stripper, carefully prepare the wires on the LED light strips for connection. Depending on the design of your table and the specific LED strips you’re using, you may need to solder connections between strips or utilize connectors provided with the lights.
- Connect the Power Supply: Once the LED strips are in place and wired, connect them to the power supply. Ensure that the power supply is compatible with the voltage and requirements of the LED lights. Conceal the wiring underneath the table or along the edges for a neat and professional finish.
With the lights wired and ready to illuminate, your light-up beer pong table is nearing completion. The next crucial step involves testing the table to ensure that the lights function as intended, creating a captivating ambiance that will elevate your beer pong experience to new heights.
Testing the Table
With the construction and wiring phases complete, it’s time to put your light-up beer pong table to the test. Follow these steps to ensure that everything is in working order and ready for gameplay:
- Power Up the Lights: Connect the power supply to the LED light strips and switch them on. Take a moment to admire the vibrant glow emanating from the table, reveling in the visual spectacle that will undoubtedly captivate players and onlookers alike.
- Inspect for Consistent Illumination: Carefully examine the entire tabletop to ensure that the LED lights are evenly illuminated without any dark spots or malfunctions. Address any issues with the wiring or light placement as needed to achieve a uniform and visually striking effect.
- Test During Gameplay: Set up the table for a trial game of beer pong to experience the full impact of the light-up feature. Observe how the vibrant glow enhances the gameplay atmosphere, adding an exciting and dynamic element to the classic party game.
- Solicit Feedback: Invite friends or family members to participate in a test game and gather their feedback on the table’s visual appeal and the impact of the LED lighting. Their insights can provide valuable perspectives on the overall experience and any potential improvements that can be made.
By thoroughly testing the table and soliciting feedback, you can ensure that your light-up beer pong table delivers an electrifying and immersive experience for all who partake in the game. With the successful completion of the testing phase, your custom creation is ready to take center stage at your next social gathering, setting the scene for unforgettable moments of camaraderie and competition.
Read more: How To Set Up A Ping Pong Table
Conclusion
Congratulations on successfully creating your very own light-up beer pong table! Through meticulous construction, precise wiring, and thorough testing, you’ve transformed a classic party game into an electrifying experience that will leave a lasting impression on all who gather around it.
As you prepare to showcase your custom creation at social gatherings and events, remember the transformative impact of the LED lighting. The vibrant glow emanating from the table will set the stage for spirited gameplay and lighthearted competition, elevating the overall atmosphere and creating unforgettable memories for you and your guests.
Additionally, the process of building and wiring the table has likely provided you with valuable DIY skills and a sense of accomplishment. The combination of craftsmanship and creativity that went into this project reflects your dedication to enhancing shared experiences through ingenuity and innovation.
Whether you’re a seasoned DIY enthusiast or a newcomer to the world of custom creations, the journey of crafting a light-up beer pong table is a testament to the power of imagination and hands-on craftsmanship. As you bask in the glow of your finished creation, take pride in knowing that you’ve added a touch of excitement and artistry to the world of social entertainment.
As you embark on future DIY projects or seek new ways to infuse creativity into everyday experiences, may the spirit of innovation and the joy of shared moments continue to inspire your endeavors. Your light-up beer pong table stands as a testament to the transformative impact of combining fun and functionality, leaving an indelible mark on the gatherings it graces.
So, gather your friends, set up the table, and let the games begin as you revel in the vibrant glow and infectious energy of your custom creation. Cheers to the memories made and the camaraderie shared around your one-of-a-kind light-up beer pong table!
Frequently Asked Questions about How To Make A Light-Up Beer Pong Table
Was this page helpful?
At Storables.com, we guarantee accurate and reliable information. Our content, validated by Expert Board Contributors, is crafted following stringent Editorial Policies. We're committed to providing you with well-researched, expert-backed insights for all your informational needs.

0 thoughts on “How To Make A Light-Up Beer Pong Table”