Home>Gardening & Outdoor>Outdoor Structures>How To Add Onto A Shed

Outdoor Structures
How To Add Onto A Shed
Modified: August 27, 2024
Learn how to seamlessly add onto your shed to create more space for your outdoor structures. Our step-by-step guide will help you expand your shed with ease.
(Many of the links in this article redirect to a specific reviewed product. Your purchase of these products through affiliate links helps to generate commission for Storables.com, at no extra cost. Learn more)
Introduction
So, you've got a trusty old shed sitting in your backyard, faithfully storing your tools and outdoor gear. But as time goes by, you realize that your storage needs have outgrown the shed's capacity. Instead of replacing the entire structure, why not consider adding onto it? Whether you need extra space for gardening supplies, a workshop, or a cozy retreat, expanding your shed is a cost-effective and practical solution.
Adding onto a shed can be a rewarding project that not only increases your storage space but also enhances the functionality and value of your outdoor area. In this comprehensive guide, we'll walk you through the process of expanding your shed, from assessing the existing structure to obtaining permits, gathering materials, preparing the site, building the addition, and adding those finishing touches. By the end of this journey, you'll be equipped with the knowledge and confidence to embark on this exciting endeavor.
So, grab your tool belt and let's dive into the world of shed expansions!
Key Takeaways:
- Assess the shed’s condition, available space, and storage needs before expanding. Consider the aesthetic aspect to envision a cohesive and visually appealing addition to your outdoor space.
- Secure necessary permits, gather materials, and prepare the site thoroughly before building the shed addition. Pay attention to finishing touches for a fully functional and visually appealing expanded space.
Read more: How To Add Onto An Existing Shed
Assessing the Shed
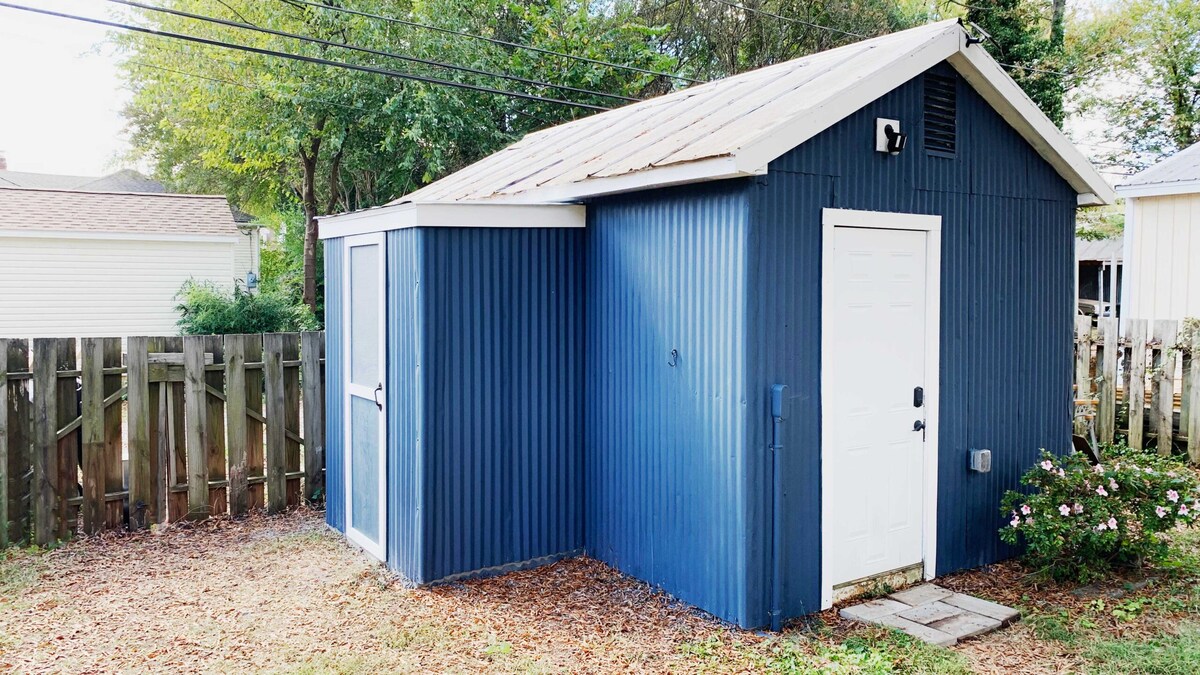
Before embarking on the journey of expanding your shed, it’s crucial to conduct a thorough assessment of the existing structure. Start by evaluating the current condition of the shed. Check for any signs of damage, such as rotting wood, rusted metal panels, or compromised foundation. Assessing the structural integrity will help you determine if the existing shed can support an addition or if any repairs are needed before proceeding.
Next, consider the layout and placement of the shed in your backyard. Assess the available space around the shed to visualize where the expansion can feasibly occur. Take into account any obstacles such as trees, fences, or utility lines that may affect the expansion process. Additionally, evaluate the terrain and soil condition to ensure that the site is suitable for construction.
Another crucial aspect of assessing the shed is to review the current and future storage needs. Take inventory of the items you plan to store in the expanded space, whether it’s gardening tools, sports equipment, or seasonal decorations. This inventory will guide the design and size of the addition, ensuring that it meets your storage requirements.
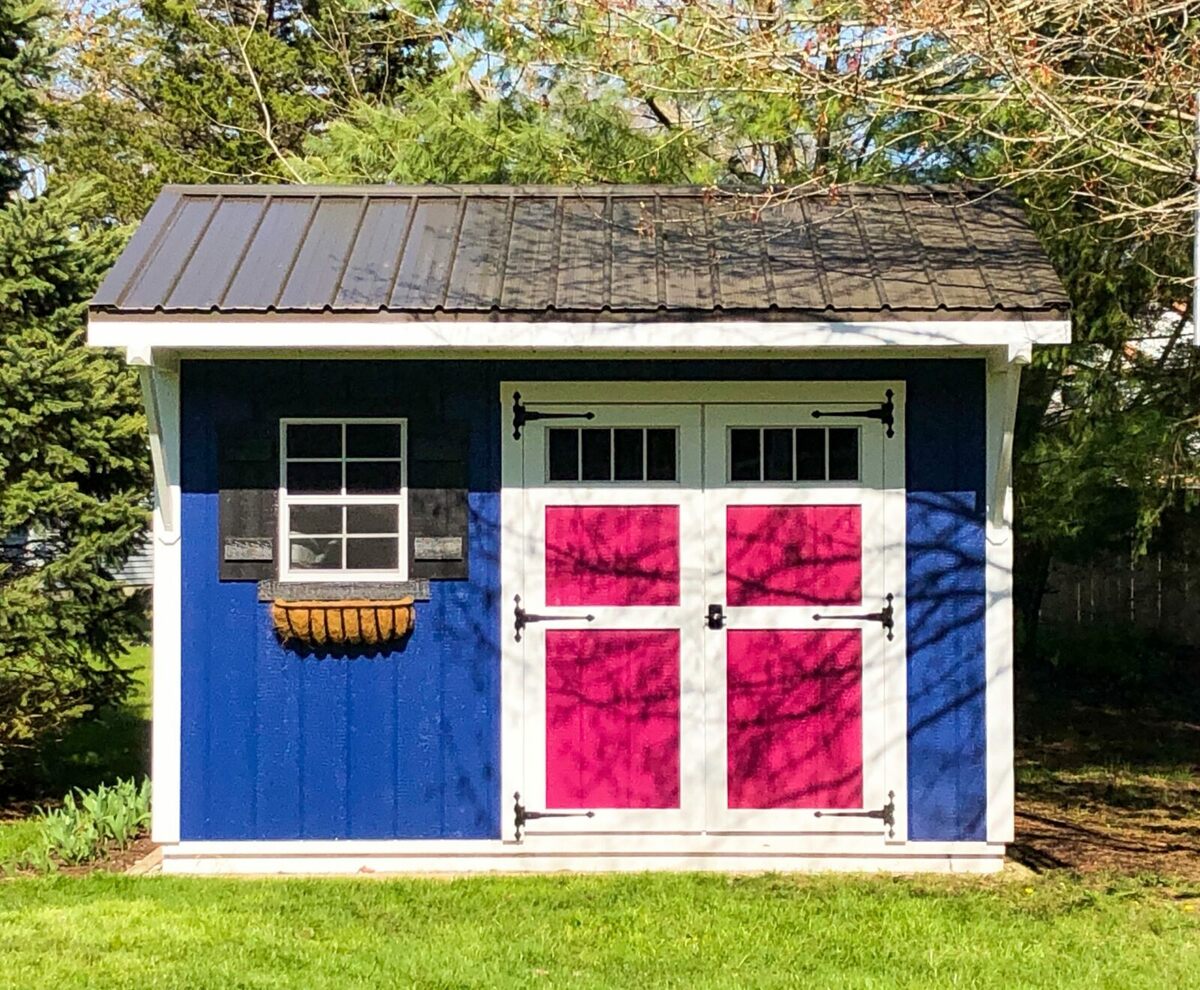
Lastly, consider the aesthetic aspect. Think about how the expanded shed will integrate with your outdoor space. Assess the architectural style and exterior finishes of your existing shed to plan a cohesive and visually appealing addition. Whether you aim for a seamless extension of the current design or a complementary contrast, this assessment will help you envision the final look of your expanded shed.
By thoroughly assessing the shed, you’ll gain a clear understanding of its condition, available space, storage needs, and aesthetic considerations. This knowledge will serve as a solid foundation for the next steps in the shed expansion process.
Design and Planning
Once you’ve assessed the existing shed and determined that an expansion is feasible, it’s time to delve into the design and planning phase. This stage is where your vision for the expanded shed starts taking shape, and careful planning is essential to ensure a successful and functional addition.
Begin by outlining your specific goals for the shed expansion. Are you looking to create a dedicated workspace, a storage area for large equipment, or a versatile multi-functional space? Understanding the intended use of the expanded shed will guide the design process and help you prioritize features and amenities.
Consider the layout and configuration of the addition. Will it be a simple extension of the existing structure, or are you envisioning a separate wing or annex? Take into account the flow of traffic, access points, and how the expanded space will integrate with the original shed. This is also the stage to contemplate any interior features such as built-in shelving, workbenches, or electrical installations.
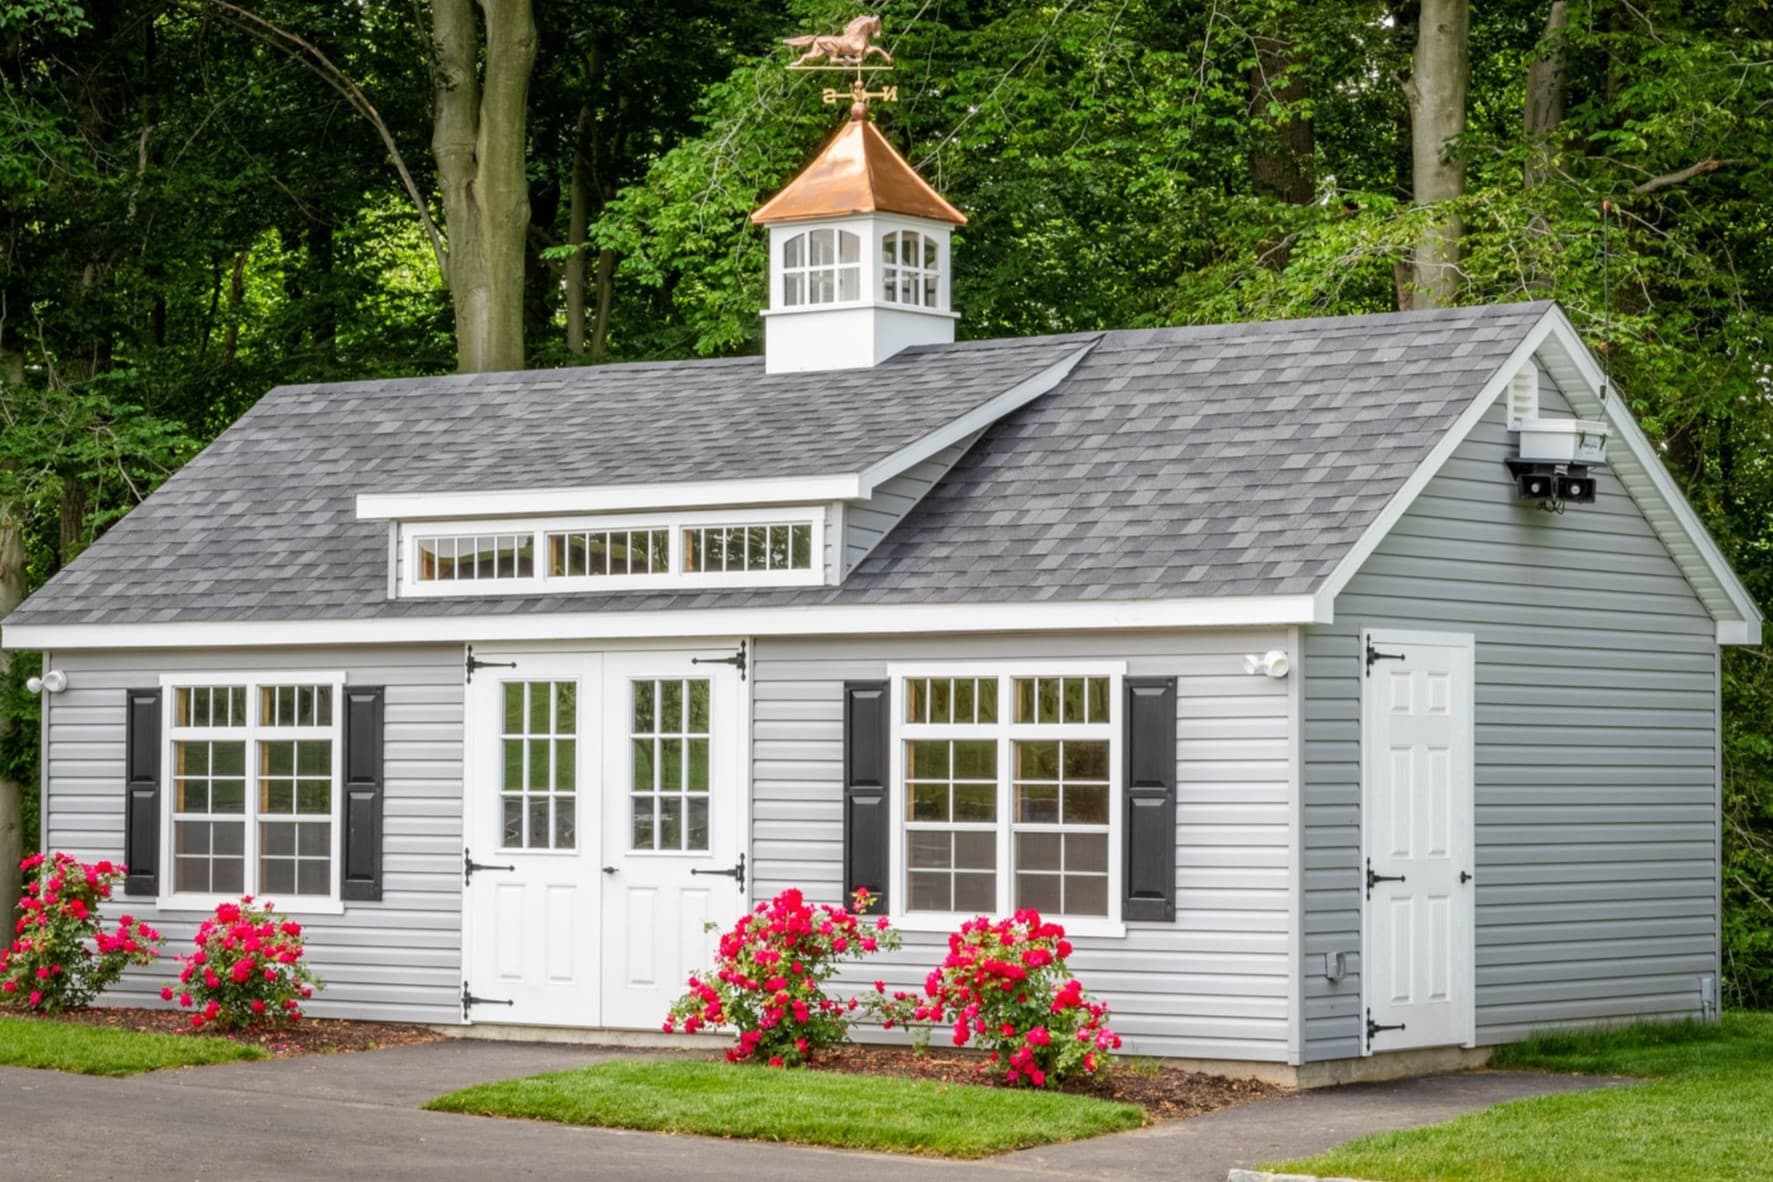
When it comes to the aesthetic aspects, think about how the design of the addition will complement the overall look of your outdoor space. Consider matching the roofing, siding, and trim to create a cohesive appearance. Alternatively, you might opt for a contrasting design to make the addition stand out as a unique feature.
As you brainstorm the design, it’s crucial to adhere to local building codes and zoning regulations. Research the permit requirements and restrictions for shed expansions in your area to ensure compliance. Consider consulting with a professional architect or contractor to create detailed plans that meet the necessary regulations and structural standards.
Throughout the design and planning phase, take the time to sketch out your ideas, create rough blueprints, and gather inspiration from home improvement resources. This process will help you refine your vision and lay the groundwork for the next steps in the shed expansion journey.
Obtaining Permits
Before breaking ground on your shed expansion project, it’s crucial to navigate the regulatory landscape and secure the necessary permits. Building codes and zoning regulations vary by location, and obtaining the required permits is a fundamental step in ensuring that your shed addition complies with legal and safety standards.
Start by researching the specific permit requirements for shed expansions in your area. Contact your local building department or visit their website to familiarize yourself with the application process, documentation needed, and any associated fees. Some jurisdictions may have size limitations for accessory structures, setback requirements from property lines, and design restrictions that you need to consider.
When preparing your permit application, you’ll likely need to provide detailed plans and specifications for the shed expansion. This may include architectural drawings, structural calculations, and a site plan indicating the proposed location of the addition. If you’re working with a contractor or architect, they can assist in preparing these documents to ensure they meet the regulatory standards.
Once you’ve gathered the necessary documentation, submit your permit application to the relevant authorities. Be prepared for a waiting period as the application undergoes review. During this time, inspectors may visit the site to assess the proposed location and ensure that it complies with zoning regulations and building codes.
Upon receiving the approved permits, it’s essential to keep them easily accessible at the construction site. Adhering to the approved plans and permits throughout the building process is crucial to avoid potential legal issues and ensure that the addition meets the required standards upon completion.
While navigating the permit process may seem daunting, obtaining the necessary approvals is a critical step in ensuring a smooth and compliant shed expansion project. By adhering to the regulatory requirements and securing the appropriate permits, you can proceed with confidence, knowing that your addition meets the legal and safety standards set forth by local authorities.
Gathering Materials
With the permits secured and the design finalized, it’s time to gather the materials necessary for your shed expansion project. Whether you’re working with wood, metal, or composite materials, careful consideration and planning are essential to ensure that you have everything needed to bring your vision to life.
Begin by creating a detailed list of materials based on the approved plans and design specifications. This list should encompass structural components such as framing lumber, roofing materials, siding, and windows, as well as finishing touches like trim, paint, and hardware. Consider the quantity, dimensions, and quality of each material to accurately estimate the required quantities.
When sourcing materials, explore a range of suppliers to find the best quality and value for your project. Local lumberyards, home improvement stores, and specialty building material suppliers are excellent places to start. Consider factors such as delivery options, pricing, and the availability of custom or specialty items that may be required for the unique aspects of your shed expansion.
As you gather materials, keep in mind the timeline of your project and plan for any lead times or special orders that may impact the construction schedule. Coordinating the delivery of materials to align with the construction timeline can help streamline the building process and minimize delays.
Additionally, consider the tools and equipment needed to work with the chosen materials. Whether it’s power tools for cutting and fastening, ladders and scaffolding for working at heights, or protective gear for safety, ensuring that you have the necessary tools on hand is essential for a smooth and efficient construction process.
Throughout the material gathering phase, maintain open communication with your contractor or construction team if you’ve enlisted professional assistance. Collaboration and coordination between all involved parties will help ensure that the materials align with the project timeline and specifications, setting the stage for a successful and well-executed shed expansion.
When adding onto a shed, make sure to match the new materials with the existing ones for a cohesive look. Check local building codes and get any necessary permits before starting construction. Always use proper safety equipment and follow manufacturer’s instructions when using power tools.
Read more: How To Add A Bathroom To A Shed
Preparing the Site
Before the physical construction of your shed addition begins, it’s crucial to devote attention to preparing the site. Proper site preparation sets the stage for a successful and efficient building process, ensuring that the ground is ready to support the new structure and that all necessary utilities and access points are in place.
Start by clearing the area where the shed expansion will be located. Remove any vegetation, debris, or obstructions from the site to create a clean and level ground. If the terrain is uneven, consider grading the site to establish a stable and uniform foundation for the addition.
Next, evaluate the utility connections to the existing shed. If the expansion will require electrical, plumbing, or other utility services, ensure that the necessary connections are in place. If modifications or extensions to existing utilities are needed, enlist the assistance of qualified professionals to handle these aspects safely and compliantly.
Consider the foundation requirements for the shed addition. Depending on the design and local building codes, you may need to install footings, piers, or a concrete slab to support the new structure. Properly preparing the foundation is essential for the long-term stability and integrity of the shed expansion.
Additionally, if your shed expansion involves a significant increase in size, it’s essential to assess the impact on the surrounding landscape and property boundaries. Ensure that the new structure complies with setback requirements and does not encroach on neighboring properties. If necessary, consult with a surveyor to confirm property lines and zoning compliance.
Throughout the site preparation process, maintain open communication with your construction team or contractor. Collaborate on site layout, utility connections, and foundation requirements to ensure that the site is ready for the next phase of construction. By dedicating attention to thorough site preparation, you’ll set the stage for a smooth and successful shed expansion project.
Building the Addition
With the site prepared and materials gathered, it’s time to roll up your sleeves and embark on the exciting phase of building the shed addition. This stage marks the transformation of your vision into a tangible structure, and careful execution is key to ensuring a sturdy, functional, and visually appealing expansion.
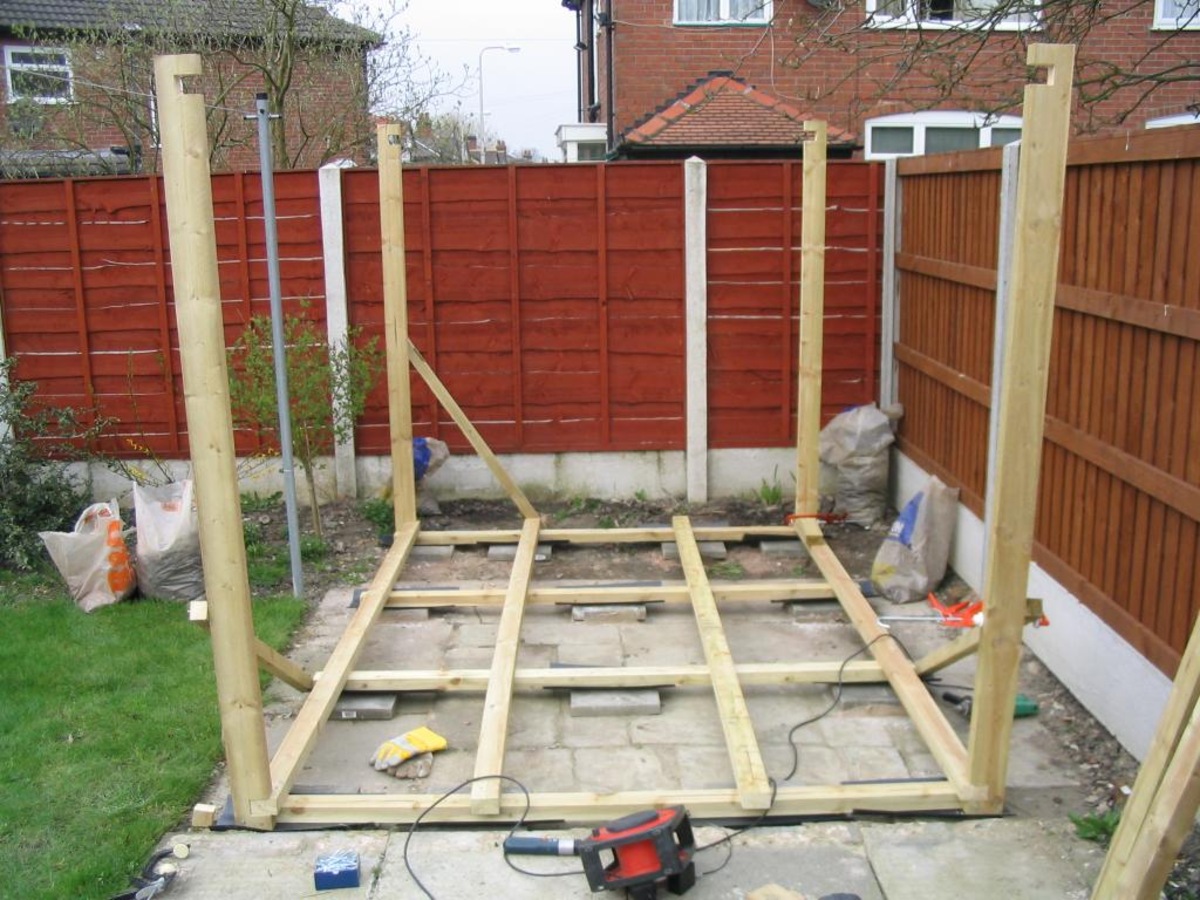
Commence the construction process by erecting the framework for the addition. Whether you’re working with traditional wood framing, metal structures, or prefabricated components, ensure that the framework aligns with the approved plans and meets the necessary structural requirements. As the framework takes shape, pay close attention to alignment, bracing, and the integration of any necessary reinforcements.
Once the framework is in place, proceed with installing the roofing and siding materials. Whether you opt for shingles, metal panels, or other roofing options, ensure that the installation is watertight and durable. Similarly, select siding materials that complement the existing shed’s aesthetic and provide weather protection for the new addition.
As the exterior takes form, focus on the interior features and finishes. Install windows, doors, and any additional openings according to the design specifications. If your shed expansion includes electrical or plumbing components, enlist the expertise of licensed professionals to ensure safe and compliant installations.
Throughout the building process, prioritize attention to detail and quality craftsmanship. Whether you’re handling the construction yourself or working with a professional team, maintain open communication and regular inspections to ensure that the addition meets the approved plans and adheres to building standards.
As the construction nears completion, take the time to address any finishing touches and details that will enhance the functionality and visual appeal of the shed addition. Consider landscaping around the new structure, adding exterior lighting, and integrating storage solutions and organizational features to optimize the space.
By dedicating care and precision to the building process, you’ll bring your shed expansion to life as a seamless and valuable addition to your outdoor space. Whether it’s a workshop, storage area, or a cozy retreat, the completed addition will serve as a testament to your vision and craftsmanship.
Finishing Touches
As the construction of your shed addition nears completion, it’s time to shift focus to the finishing touches that will elevate the functionality, aesthetics, and overall appeal of the expanded space. These final details will add personality and practicality to the new addition, transforming it into a fully realized and inviting part of your outdoor environment.
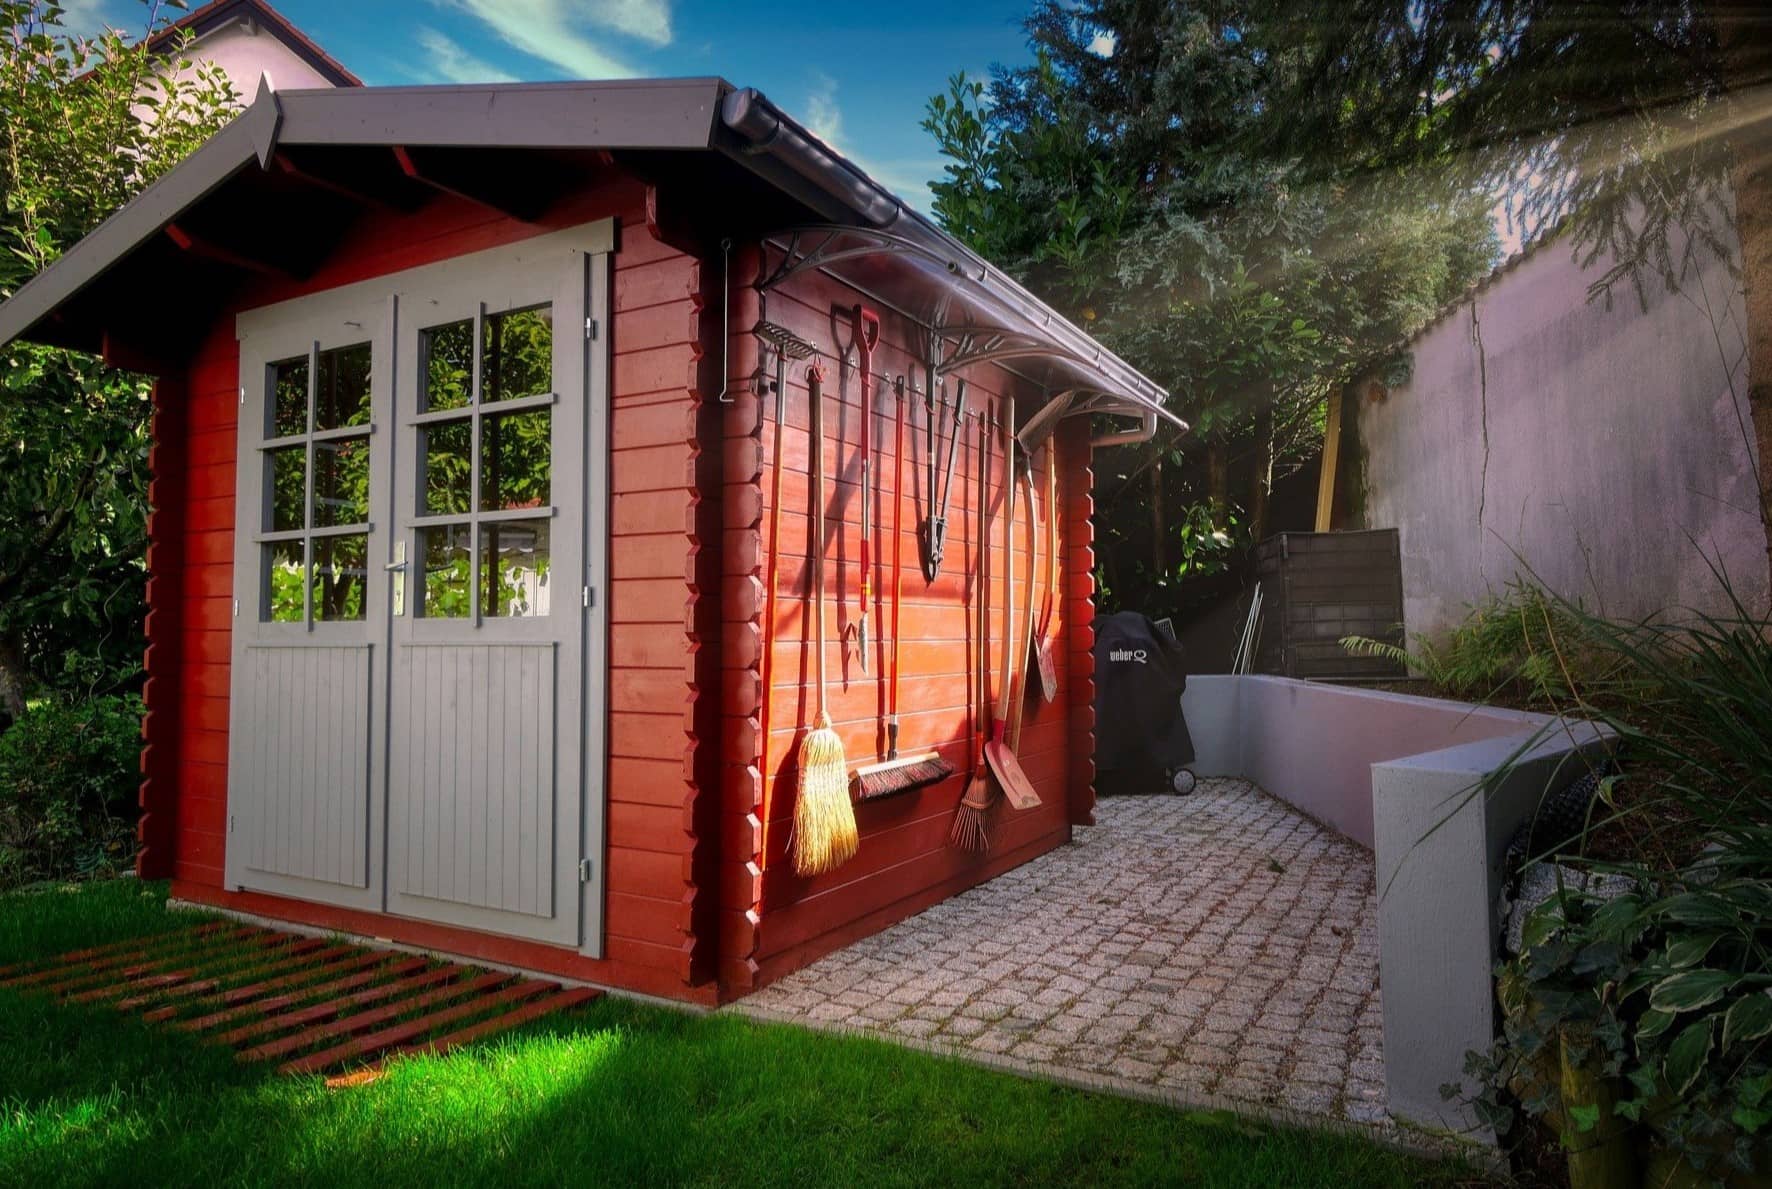
Begin by addressing the interior of the shed addition. If the space will serve as a workshop or storage area, consider installing built-in shelving, workbenches, and storage solutions tailored to your specific needs. This customization will optimize the functionality of the space and ensure efficient organization of tools, equipment, and supplies.
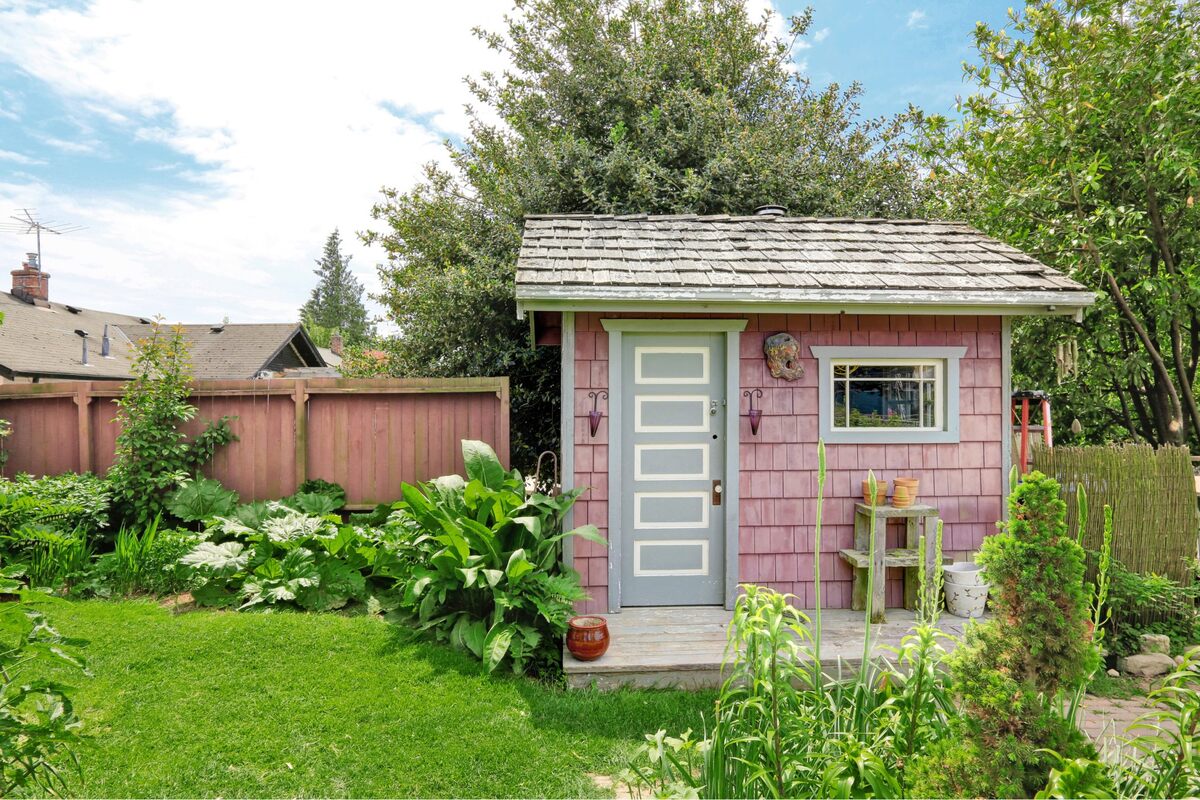
When it comes to the exterior, consider adding landscaping elements to integrate the shed addition with the surrounding environment. Planting shrubs, flowers, or creating a garden bed near the new structure can soften its appearance and enhance the overall aesthetic of your outdoor space.
Lighting is another crucial aspect of the finishing touches. Consider installing exterior lighting fixtures to illuminate the pathways, entry points, and key features of the shed addition. This not only enhances safety and security but also extends the functionality of the space, allowing you to enjoy it during evening hours.
Additionally, consider incorporating decorative elements that reflect your personal style and enhance the visual appeal of the shed addition. Whether it’s a coat of fresh paint, decorative trim, or architectural details, these elements can infuse character and charm into the expanded structure.
Finally, take the time to review the overall safety and functionality of the shed addition. Ensure that all doors, windows, and hardware are properly installed and functional. If the space includes electrical components, conduct a thorough inspection to verify that all wiring and fixtures meet safety standards.
By attending to these finishing touches, you’ll bring your shed addition to its full potential as a functional, visually appealing, and seamlessly integrated part of your outdoor space. Whether it’s a practical workspace, a versatile storage area, or a cozy retreat, the completed shed addition will stand as a testament to your vision and attention to detail.
Conclusion
Congratulations on completing the journey of expanding your shed! What started as a vision for additional space has now materialized into a functional and valuable addition to your outdoor environment. Through meticulous planning, diligent construction, and thoughtful finishing touches, you’ve transformed your existing shed into a versatile and personalized space that meets your evolving needs.
As you reflect on the shed expansion process, take pride in the knowledge and skills you’ve gained throughout the journey. Whether you took a hands-on approach to the construction or collaborated with a professional team, the experience has likely broadened your understanding of structural design, building techniques, and the regulatory aspects of construction projects.
Moreover, the expanded shed now stands as a testament to your creativity and resourcefulness, serving as a practical and visually appealing addition to your outdoor space. Whether it’s a workshop where you bring your DIY projects to life, a storage area that keeps your outdoor gear organized, or a serene retreat where you can unwind, the possibilities for utilizing the new space are endless.
Furthermore, the shed expansion has likely enhanced the overall value and functionality of your property. The seamless integration of the addition with the existing shed and the surrounding landscape has not only expanded your storage capacity but also elevated the aesthetic appeal of your outdoor environment.
As you enjoy the benefits of your expanded shed, consider sharing your experience with others who may be contemplating a similar project. Your insights and firsthand knowledge can serve as a valuable resource for individuals embarking on their shed expansion endeavors, offering guidance and inspiration as they navigate the process.
Ultimately, the completion of your shed addition marks a significant achievement, representing your dedication to improving and personalizing your living space. Whether it’s the satisfaction of a successful DIY project or the joy of having a versatile and customized space at your disposal, the expanded shed stands as a testament to your vision and determination.
As you embark on future projects and endeavors, may the experience gained from expanding your shed continue to inspire and empower you to bring your visions to life.
Frequently Asked Questions about How To Add Onto A Shed
Was this page helpful?
At Storables.com, we guarantee accurate and reliable information. Our content, validated by Expert Board Contributors, is crafted following stringent Editorial Policies. We're committed to providing you with well-researched, expert-backed insights for all your informational needs.




0 thoughts on “How To Add Onto A Shed”