Home>Gardening & Outdoor>Outdoor Structures>How To Add Onto An Existing Shed
Outdoor Structures
How To Add Onto An Existing Shed
Modified: August 27, 2024
Learn how to seamlessly expand your outdoor storage space with our step-by-step guide on adding onto an existing shed. Discover expert tips and techniques for enhancing outdoor structures.
(Many of the links in this article redirect to a specific reviewed product. Your purchase of these products through affiliate links helps to generate commission for Storables.com, at no extra cost. Learn more)
Introduction
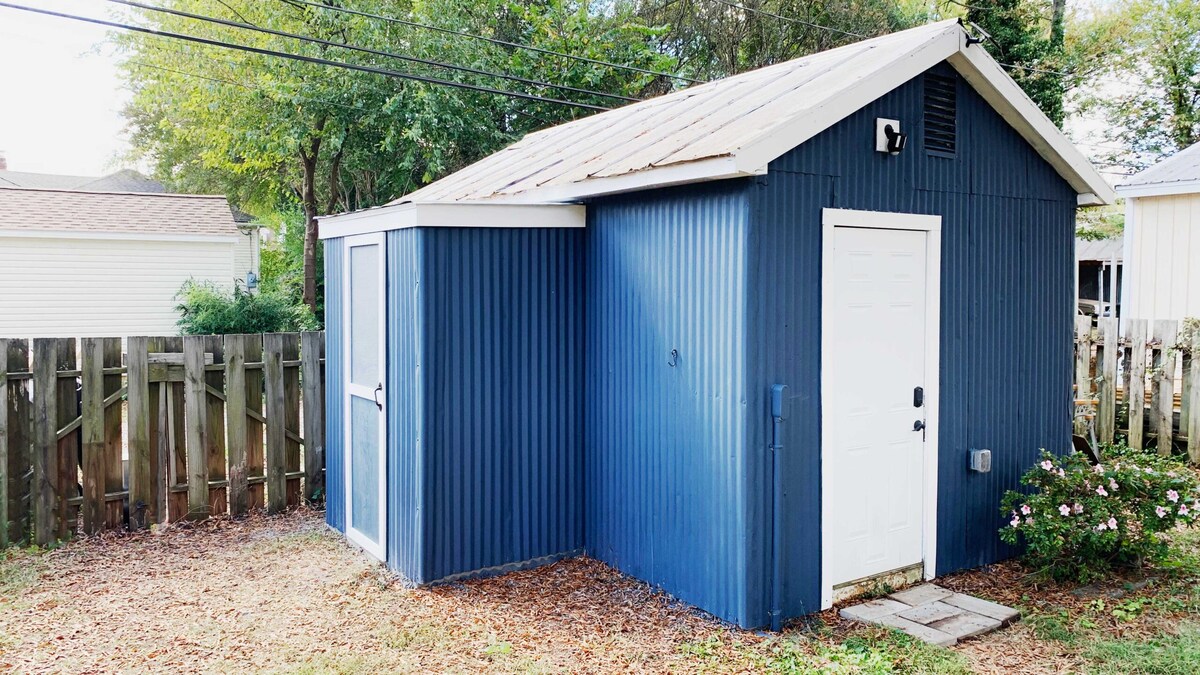
So, you've had your trusty shed for a while now, and it's been a real lifesaver when it comes to storing all your outdoor gear, tools, and whatnot. But as time goes by, it's becoming increasingly clear that your storage needs are outgrowing the current capacity of your shed. Fear not! There's a solution that doesn't involve tearing down the old and starting from scratch: adding onto your existing shed.
Expanding your shed can be a rewarding project that not only increases your storage space but also adds value to your property. Whether you're looking to create a dedicated workspace, a cozy retreat, or simply more room to accommodate your growing collection of equipment, this guide will walk you through the process of seamlessly extending your beloved shed.
In this comprehensive guide, we'll cover everything from assessing your current shed's condition to choosing the right materials, preparing the site, building the addition, and adding those finishing touches that will make your extended shed a seamless and aesthetically pleasing structure.
So, roll up your sleeves, gather your tools, and let's embark on this exciting journey of enhancing your outdoor storage space!
Key Takeaways:
- Expanding your shed is a rewarding project that increases storage space and adds value to your property. Assess the shed’s condition, choose durable materials, and prepare the site for a successful extension.
- Building onto your shed involves careful planning, precision, and attention to detail. Consider the aesthetics, integrate the new addition with the existing structure, and add finishing touches for a seamless and functional extension.
Read more: How To Add Onto A Shed
Assessing the Existing Shed
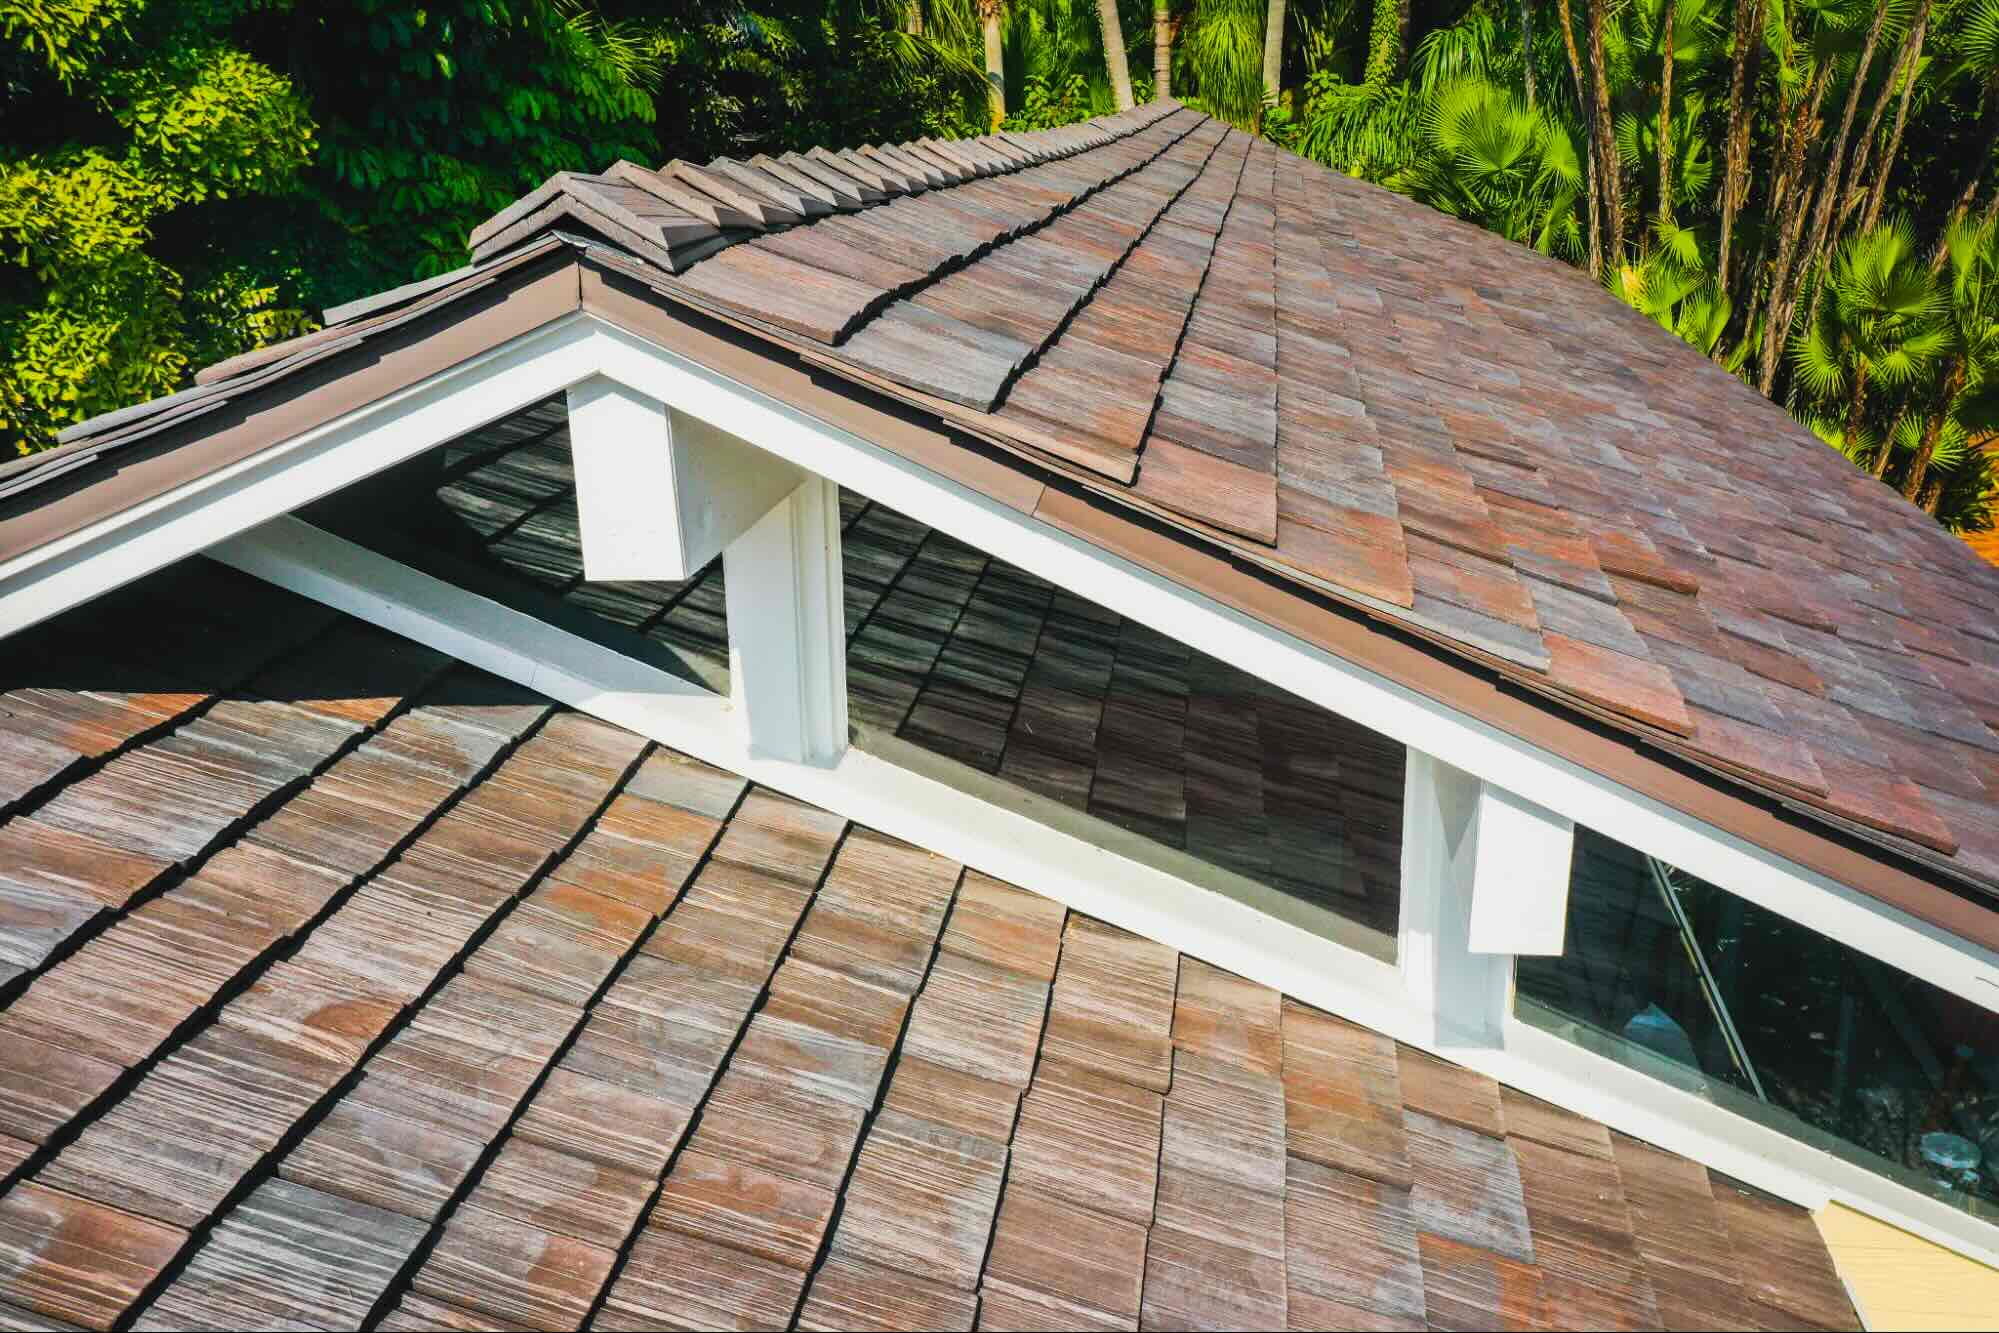
Before diving into the process of expanding your shed, it’s crucial to thoroughly assess the current structure to ensure that it can support the planned addition. Start by examining the foundation, walls, and roof of the existing shed. Look for any signs of damage, rot, or structural weaknesses that may need to be addressed before proceeding with the expansion.
Consider the overall condition of the shed, including the quality of the materials used in its construction and the integrity of its framework. If the existing shed is showing signs of significant wear and tear, it might be more practical to address any necessary repairs or upgrades before adding onto it. This will help ensure that the extended shed is structurally sound and built to last.
Another critical aspect to consider is the size and layout of the current shed. Evaluate whether the existing structure has sufficient space around it to accommodate the planned expansion. Take into account any local building codes or regulations that may dictate the maximum allowable footprint for outbuildings on your property.
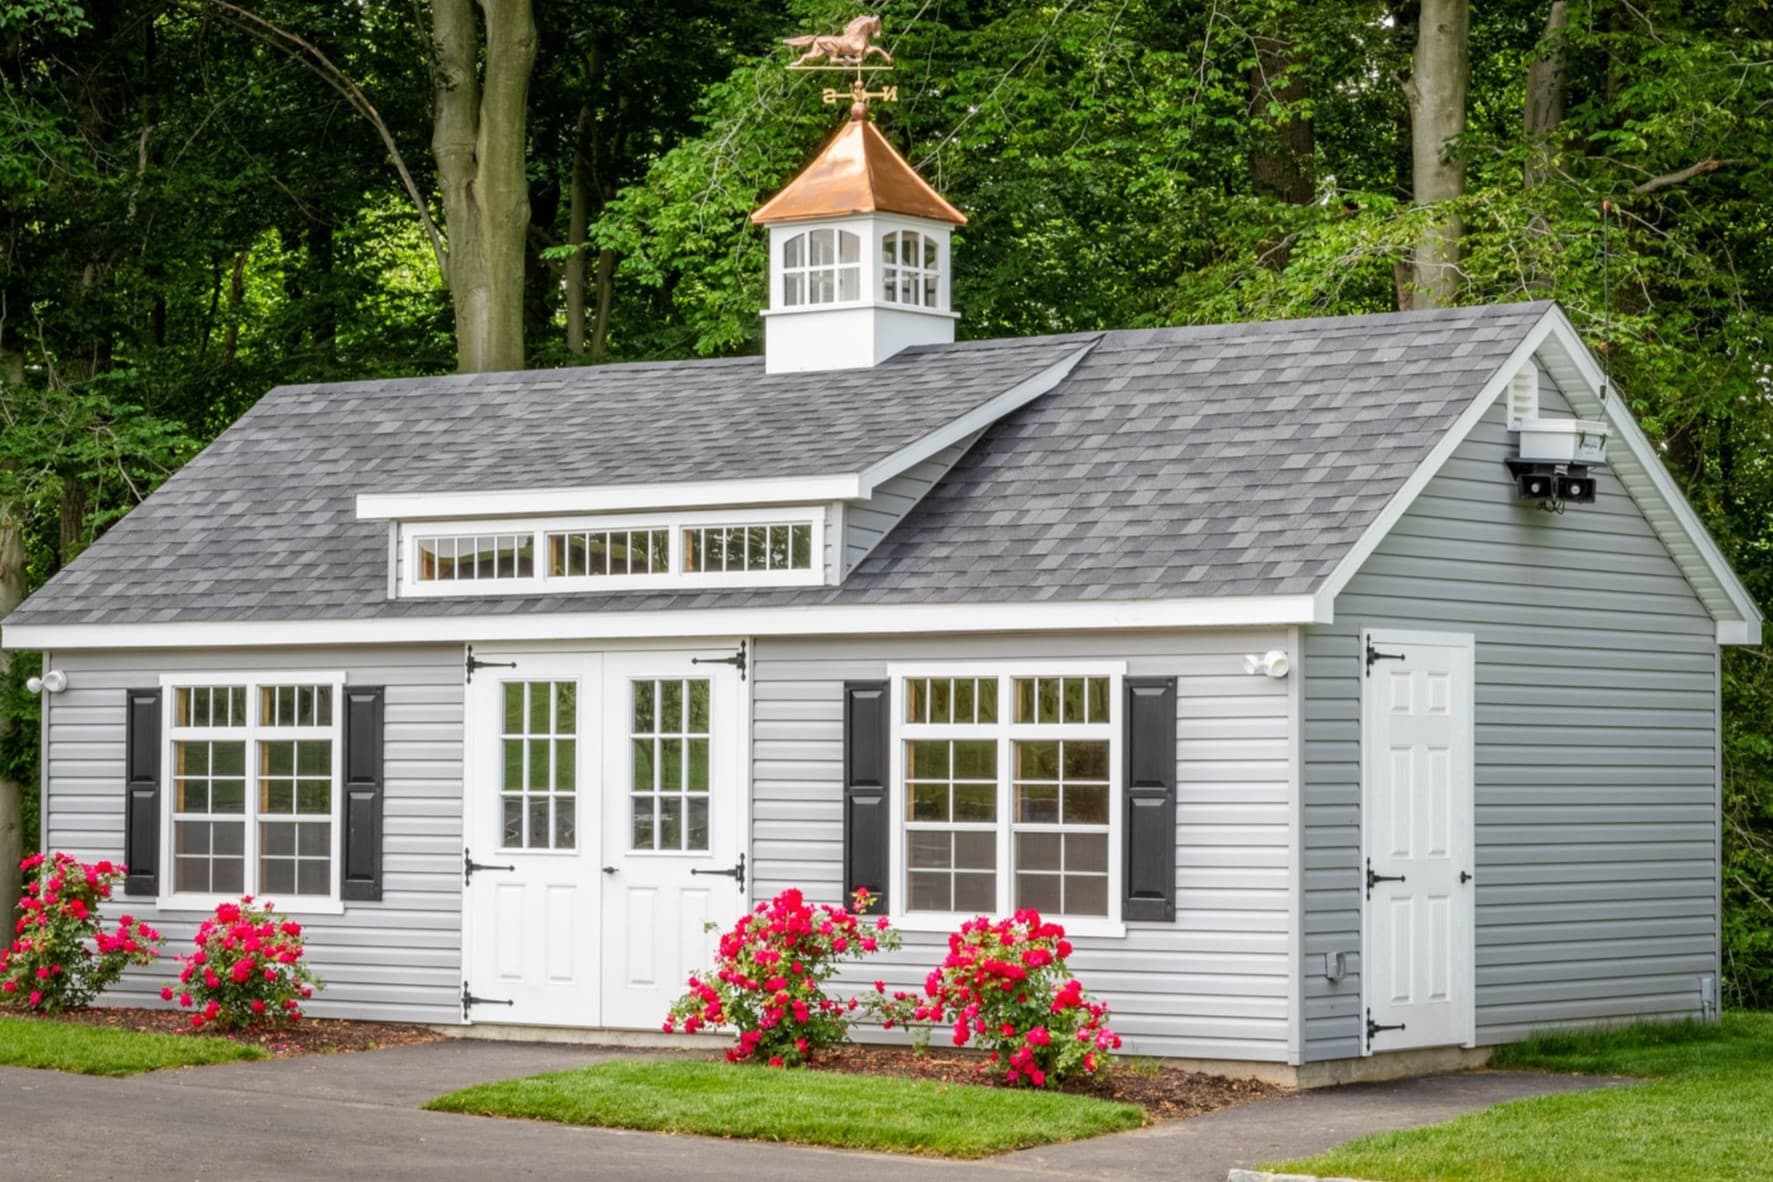
Furthermore, assess the aesthetic appeal of the current shed and how well the planned addition can seamlessly integrate with its design. You may want to consider architectural details, such as matching the roofing materials, siding, and trim to create a cohesive look that enhances the overall visual appeal of the extended shed.
Finally, take stock of the surrounding landscape and environmental factors. Consider how the addition will impact the flow of water, access to sunlight, and the overall functionality of the outdoor space. By carefully evaluating these factors, you can make informed decisions about the best approach to extending your shed while ensuring it complements its surroundings.
Once you’ve thoroughly assessed the existing shed and its surroundings, you’ll be better equipped to move forward with confidence as you embark on the exciting journey of expanding your outdoor storage space.
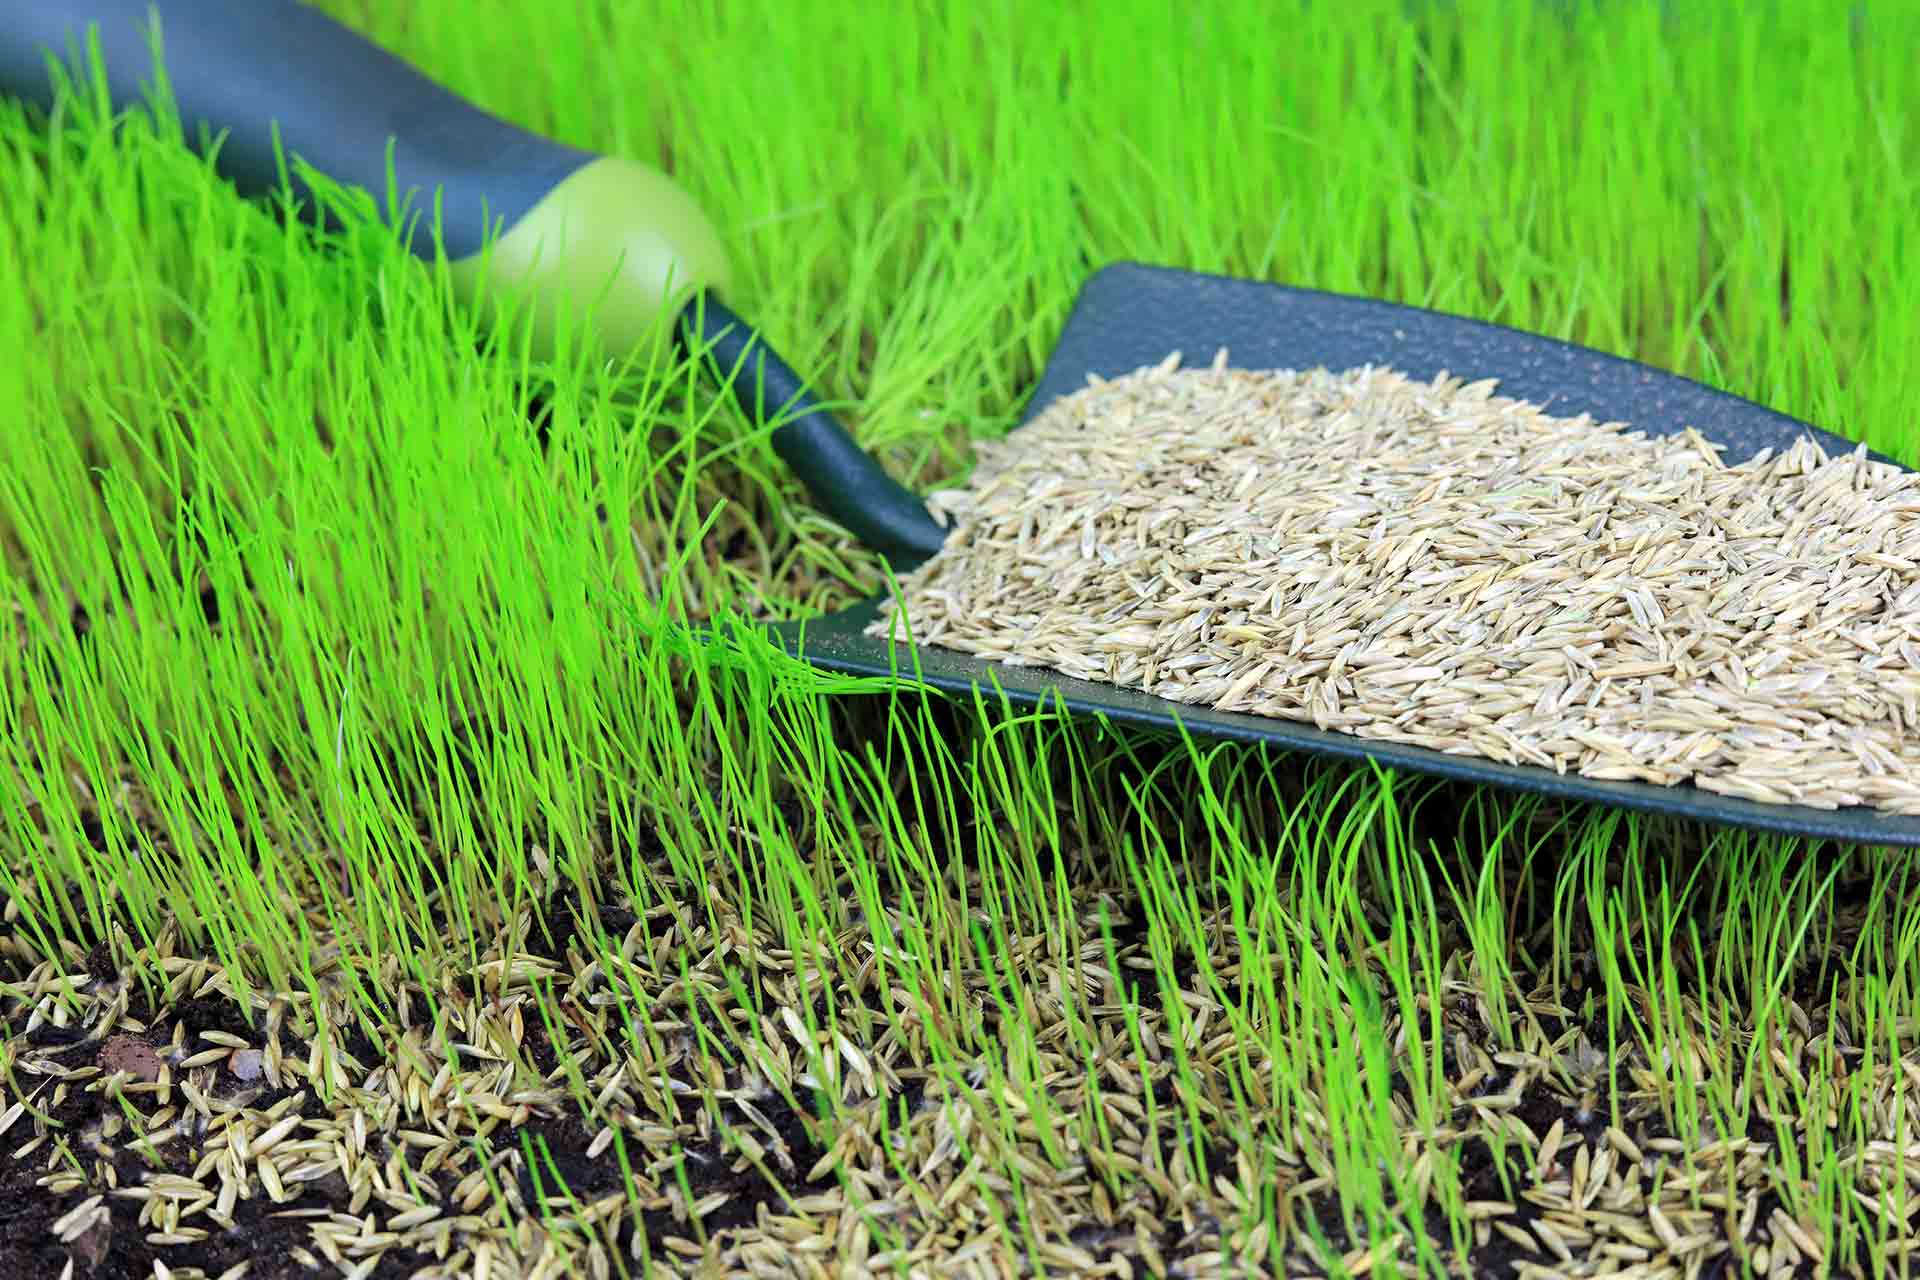
Choosing the Right Materials
When it comes to adding onto an existing shed, selecting the right materials is crucial for ensuring a seamless and durable extension. The chosen materials should not only complement the existing shed but also withstand the elements and provide long-lasting performance. Here are some essential considerations when choosing materials for your shed expansion:
- Matching Aesthetics: Opt for materials that closely match the design and appearance of the current shed. This includes selecting siding, roofing, trim, and other exterior elements that blend harmoniously with the existing structure, creating a unified and visually appealing result.
- Durable and Weather-Resistant: Prioritize materials that are designed to withstand the local climate conditions, including exposure to sunlight, moisture, wind, and temperature fluctuations. Look for options that are resistant to rot, decay, and insect damage to ensure the longevity of the extended shed.
- Structural Integrity: Choose materials that provide the necessary strength and stability for the shed addition. This includes selecting high-quality lumber for framing, sturdy roofing materials, and reliable fasteners to ensure a solid and secure construction.
- Cost-Effective Solutions: While quality is paramount, it’s also important to consider the overall cost of materials. Look for a balance between affordability and durability, exploring different options that meet your budget without compromising on the structural integrity and visual appeal of the extended shed.
- Environmental Impact: Consider eco-friendly and sustainable material options that align with your values and contribute to a greener approach to construction. This may involve choosing recycled or responsibly sourced materials that minimize environmental impact.
Additionally, consult with local building authorities or professionals to ensure that the chosen materials meet the necessary building codes and regulations for shed construction in your area. By carefully evaluating these factors and making informed material selections, you can set the stage for a successful and well-crafted shed expansion that seamlessly integrates with the existing structure.
Preparing the Site
Before breaking ground on the shed addition, thorough site preparation is essential to ensure a stable and level foundation for the new construction. The following steps will guide you through the process of preparing the site for the seamless integration of the shed extension:
- Clearing and Leveling: Begin by clearing the area around the existing shed to create space for the addition. Remove any vegetation, debris, or obstacles that may hinder the construction process. Next, assess the ground for levelness, making any necessary adjustments to ensure a flat and even surface for the foundation.
- Foundation Considerations: Depending on the design and size of the shed addition, you’ll need to determine the appropriate foundation type. This may involve pouring a concrete slab, installing concrete piers, or constructing a skid foundation, depending on the specific requirements of the project and the recommendations of local building codes.
- Utility Connections: If the shed addition will include electrical, plumbing, or other utility connections, it’s essential to plan for these installations during the site preparation phase. Coordinate with qualified professionals to ensure that the necessary infrastructure is in place before proceeding with the construction of the addition.
- Accessibility and Safety: Evaluate the accessibility of the site for construction equipment, materials delivery, and worker mobility. Ensure that the work area is safe and secure, taking necessary precautions to prevent accidents and protect the surrounding property during the construction process.
- Permit and Regulation Compliance: Check with local authorities to determine if any permits or approvals are required for the shed addition. Familiarize yourself with zoning regulations, setback requirements, and any other relevant guidelines to ensure full compliance with legal and safety standards.
By meticulously preparing the site for the shed extension, you’ll establish a solid foundation for the construction process, setting the stage for a successful and well-executed addition to your existing shed. Taking the time to address these critical site preparation considerations will contribute to the overall quality and longevity of the extended structure.
When adding onto an existing shed, make sure to match the new materials with the old ones for a cohesive look. Also, consider the shed’s foundation and roofline to ensure a seamless integration.
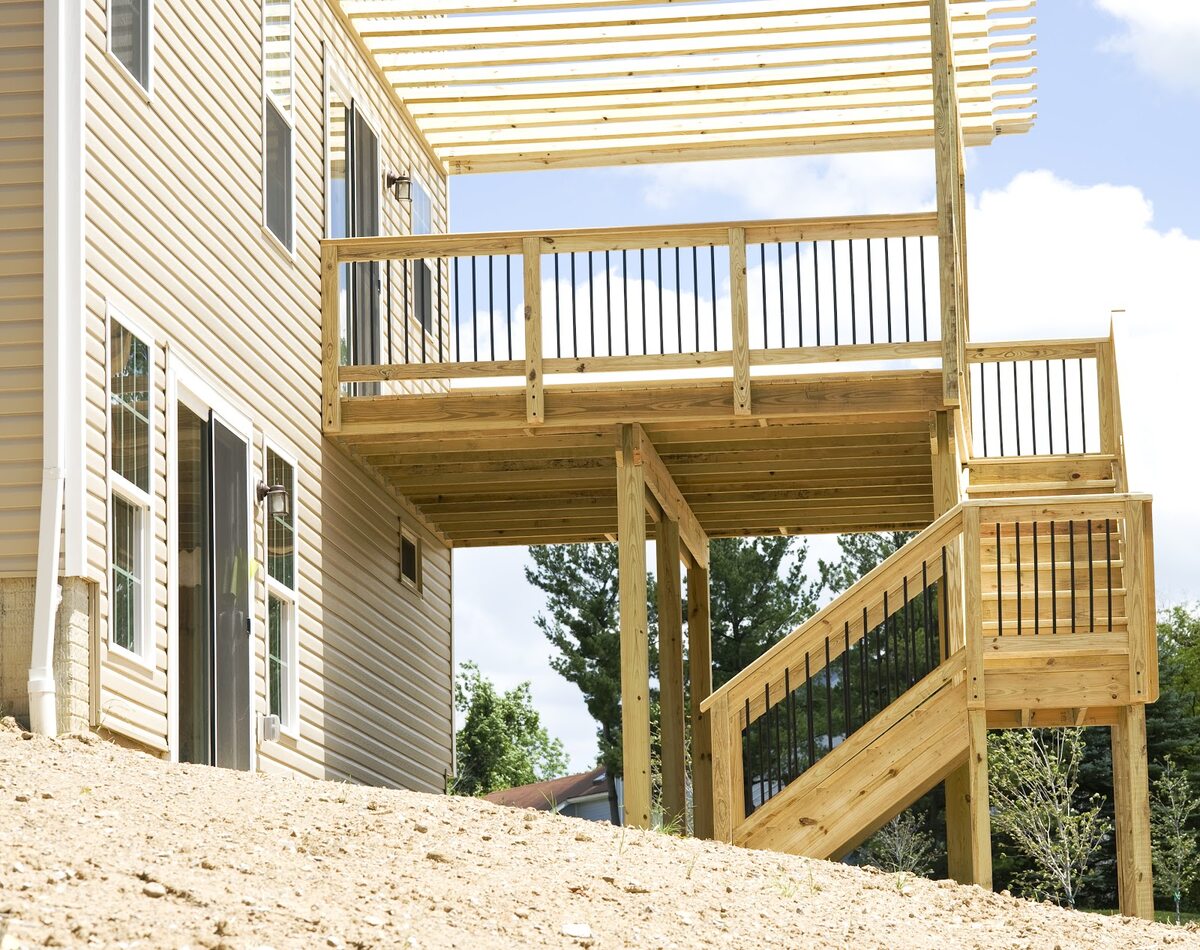
Building the Addition
With the site prepared and the materials at hand, it’s time to embark on the exciting phase of constructing the shed addition. This stage involves bringing the expansion plans to life, integrating the new structure with the existing shed, and ensuring that the construction process is carried out with precision and attention to detail.
Here’s a step-by-step overview of the key aspects involved in building the shed addition:
- Framework Construction: Begin by framing the walls, roof, and any additional structural elements of the shed extension. Use high-quality lumber and reliable fasteners to ensure the stability and integrity of the framework. Pay close attention to aligning the new construction with the existing shed, ensuring a seamless connection between the two structures.
- Roofing and Siding Installation: Once the framework is in place, proceed with installing the roofing materials and siding for the shed addition. Ensure that the roofing system provides proper insulation and weather protection, while the siding enhances the visual appeal and durability of the extended structure.
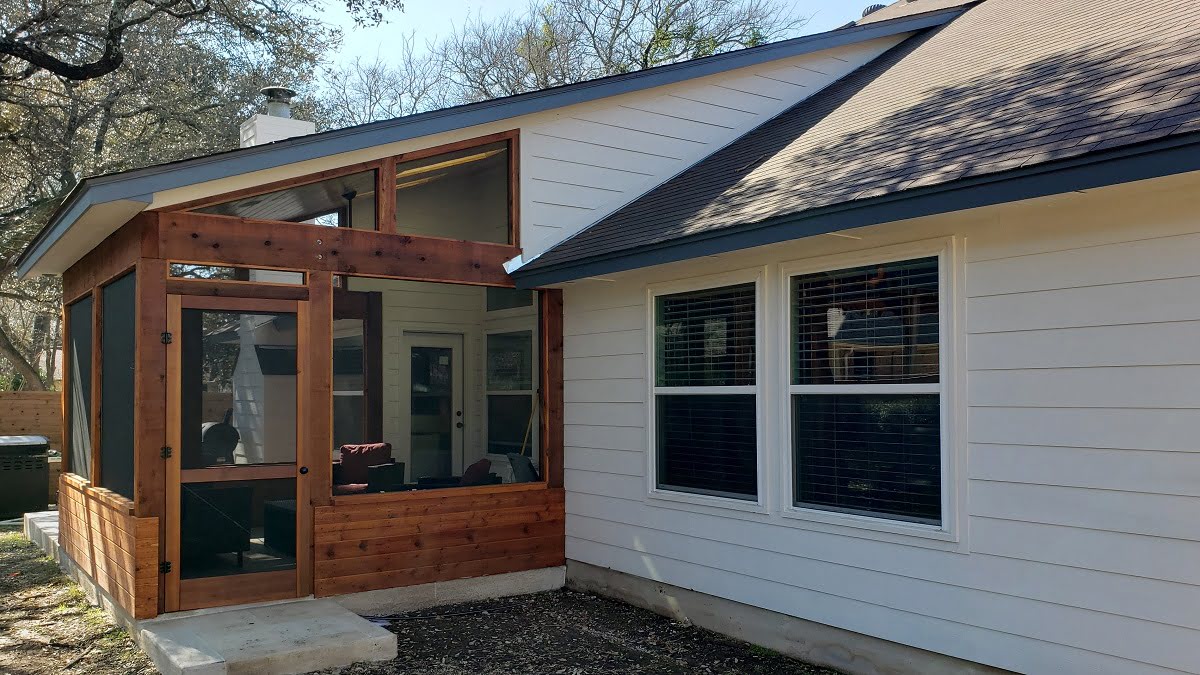
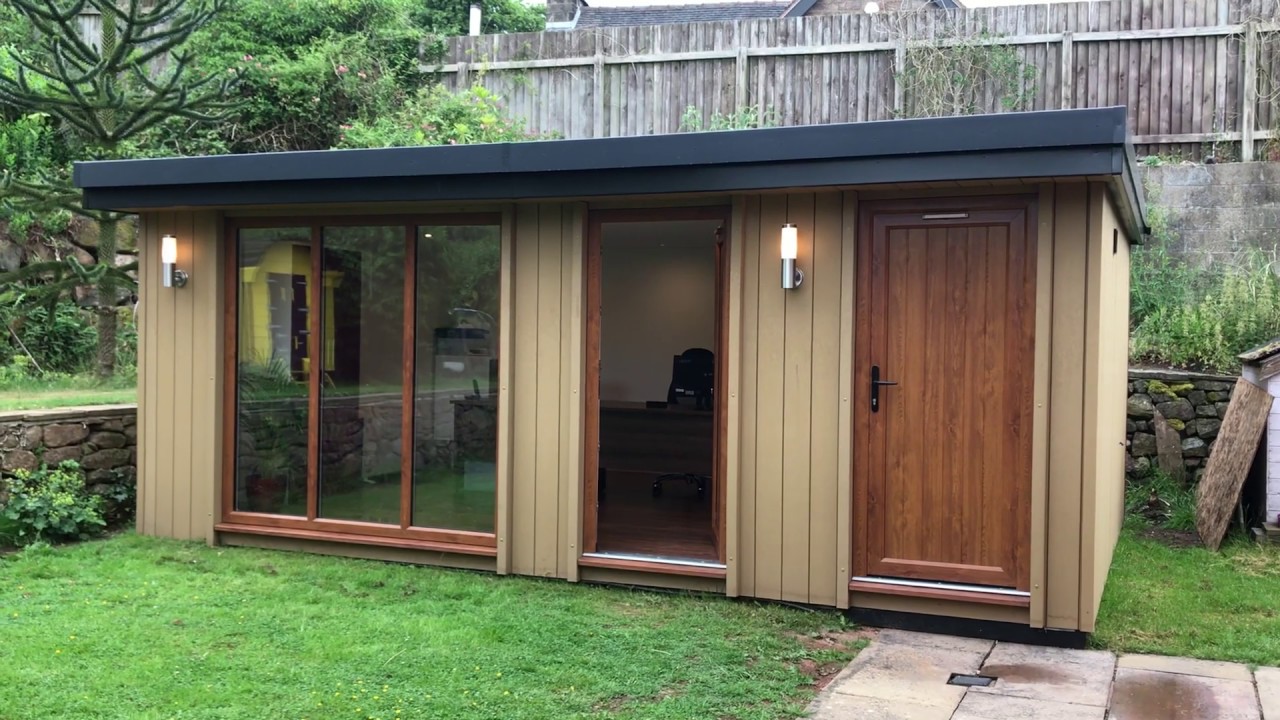
- Integration with Existing Shed: Throughout the construction process, focus on seamlessly integrating the new addition with the current shed. Pay attention to architectural details, such as matching the exterior finishes, aligning rooflines, and ensuring a cohesive transition between the old and new sections of the shed.
- Window and Door Additions: If the shed extension includes windows or doors, carefully install these elements to enhance natural light, ventilation, and accessibility. Ensure that the openings are properly sealed and fitted to maintain energy efficiency and structural integrity.
- Finishing Touches: Once the main construction work is complete, attend to the finishing touches that will elevate the overall look and functionality of the extended shed. This may include painting, trim installation, interior finishing, and any additional customizations to personalize the space to your preferences.
Throughout the construction process, prioritize precision, attention to detail, and adherence to safety practices. Consider consulting with experienced builders or contractors to ensure that the construction meets industry standards and local building codes. By approaching the building phase with care and craftsmanship, you’ll bring your shed addition to fruition, creating a seamless and functional expansion of your outdoor storage space.
Read more: How To Add A Dormer To An Existing Roof
Finishing Touches
As the construction of the shed addition nears completion, it’s time to focus on the finishing touches that will enhance the functionality, aesthetics, and overall appeal of the extended structure. These final details will add personality and practicality to your shed, transforming it into a versatile and inviting space that meets your specific needs.
Here are some essential finishing touches to consider as you put the final polish on your shed addition:
- Interior Organization: Plan the interior layout of the extended shed to maximize storage efficiency and accessibility. Install shelves, cabinets, and organizational systems to keep tools, equipment, and other items neatly arranged and easily retrievable.
- Lighting and Electrical: Ensure that the shed addition is well-lit and equipped with the necessary electrical outlets to support your intended use of the space. Consider energy-efficient lighting options and consult with a qualified electrician to handle the electrical installations safely and effectively.
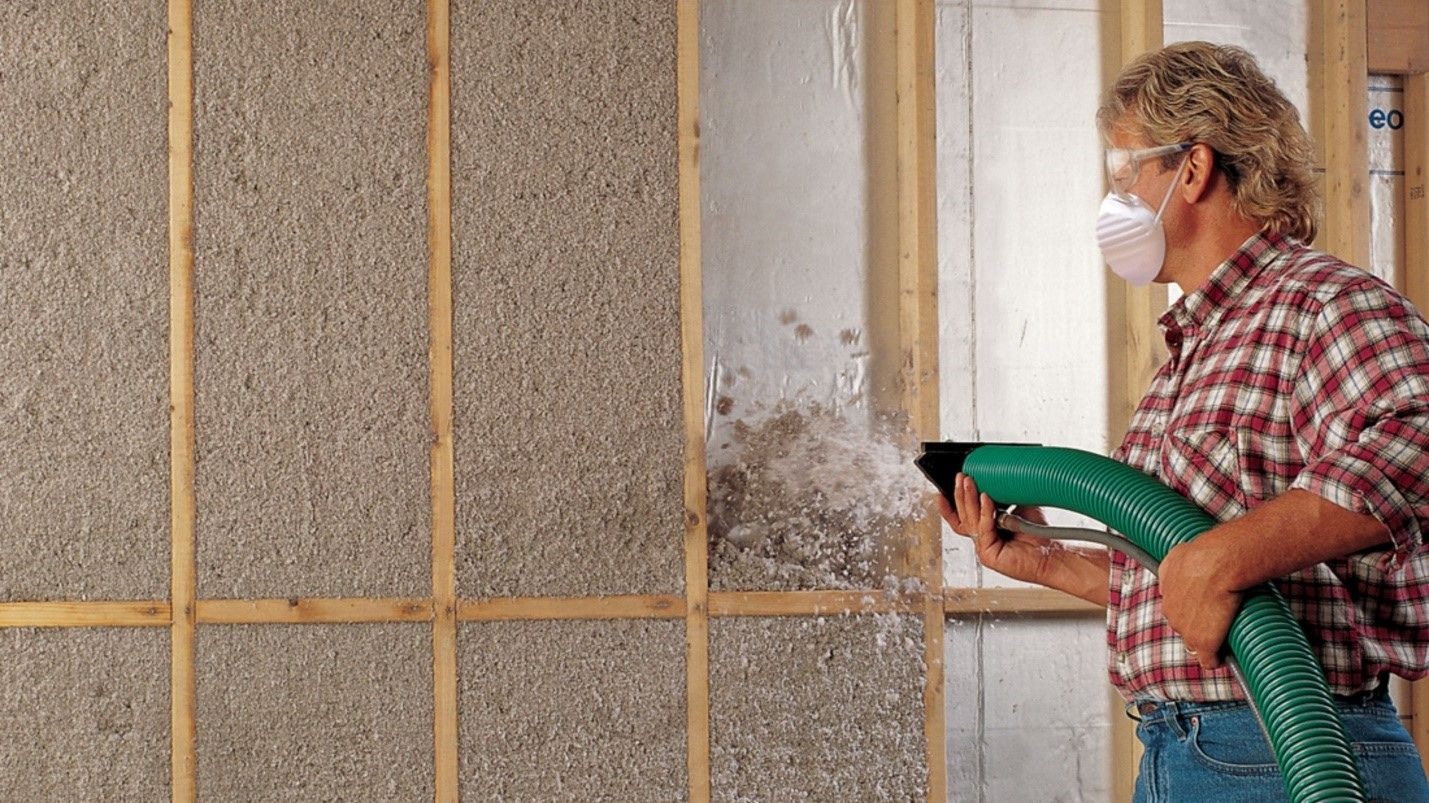
- Climate Control: If the shed extension will be used as a workshop, studio, or other functional space, consider climate control options to maintain a comfortable environment year-round. This may involve insulation, heating, or cooling solutions tailored to the specific needs of the extended shed.
- Exterior Landscaping: Enhance the surrounding landscape to complement the shed addition. Consider adding pathways, gardens, or outdoor seating areas to create an inviting and harmonious outdoor environment around the extended structure.
- Personalized Touches: Infuse the shed addition with your personal style by adding custom details such as decorative trim, signage, or exterior accents that reflect your individual taste and contribute to the overall charm of the extended shed.
By attending to these finishing touches, you’ll transform the shed addition into a fully realized and purposeful space that seamlessly integrates with the existing structure. Consider consulting with interior designers, landscapers, and other professionals to bring your vision to life and ensure that the finishing touches elevate the extended shed to its full potential.
Conclusion
Congratulations on successfully expanding your existing shed! By following the comprehensive steps outlined in this guide, you’ve embarked on a rewarding journey of enhancing your outdoor storage space and creating a functional and versatile extension of your property. As you stand back and admire the seamless integration of the shed addition with the original structure, take pride in the hard work and careful planning that have culminated in this impressive transformation.
Adding onto an existing shed is not just about increasing storage capacity; it’s about creating a space that aligns with your evolving needs and enhances the overall functionality of your outdoor environment. Whether you’ve expanded your shed to accommodate a growing collection of tools, create a dedicated workspace, or establish a cozy retreat, the possibilities for the extended structure are as diverse as your imagination.
As you enjoy the newfound space and utility of your shed addition, remember the importance of regular maintenance and care to preserve the longevity and integrity of the entire structure. Keep an eye on the condition of the roofing, siding, and foundation, and address any maintenance needs promptly to ensure that your extended shed continues to serve you well for years to come.
Lastly, share your experience with others who may be considering a shed expansion project. Your insights, tips, and lessons learned can inspire and guide fellow enthusiasts as they embark on their own ventures to add onto their existing sheds. By contributing to the collective knowledge and creativity within the outdoor structures community, you’ll play a part in fostering a culture of innovation and excellence in shed expansion projects.
Once again, congratulations on completing this exciting endeavor. Your extended shed stands as a testament to your dedication, craftsmanship, and vision for enhancing your outdoor living space. Embrace the possibilities that the expanded shed offers, and may it continue to be a valuable asset that enriches your daily life and outdoor experiences.
Frequently Asked Questions about How To Add Onto An Existing Shed
Was this page helpful?
At Storables.com, we guarantee accurate and reliable information. Our content, validated by Expert Board Contributors, is crafted following stringent Editorial Policies. We're committed to providing you with well-researched, expert-backed insights for all your informational needs.


0 thoughts on “How To Add Onto An Existing Shed”