Home>Gardening & Outdoor>Outdoor Structures>How To Change Fabric On A Retractable Awning
Outdoor Structures
How To Change Fabric On A Retractable Awning
Modified: August 17, 2024
Learn how to easily change the fabric on your retractable awning with our step-by-step guide. Keep your outdoor structures looking fresh and functional!
(Many of the links in this article redirect to a specific reviewed product. Your purchase of these products through affiliate links helps to generate commission for Storables.com, at no extra cost. Learn more)
Introduction
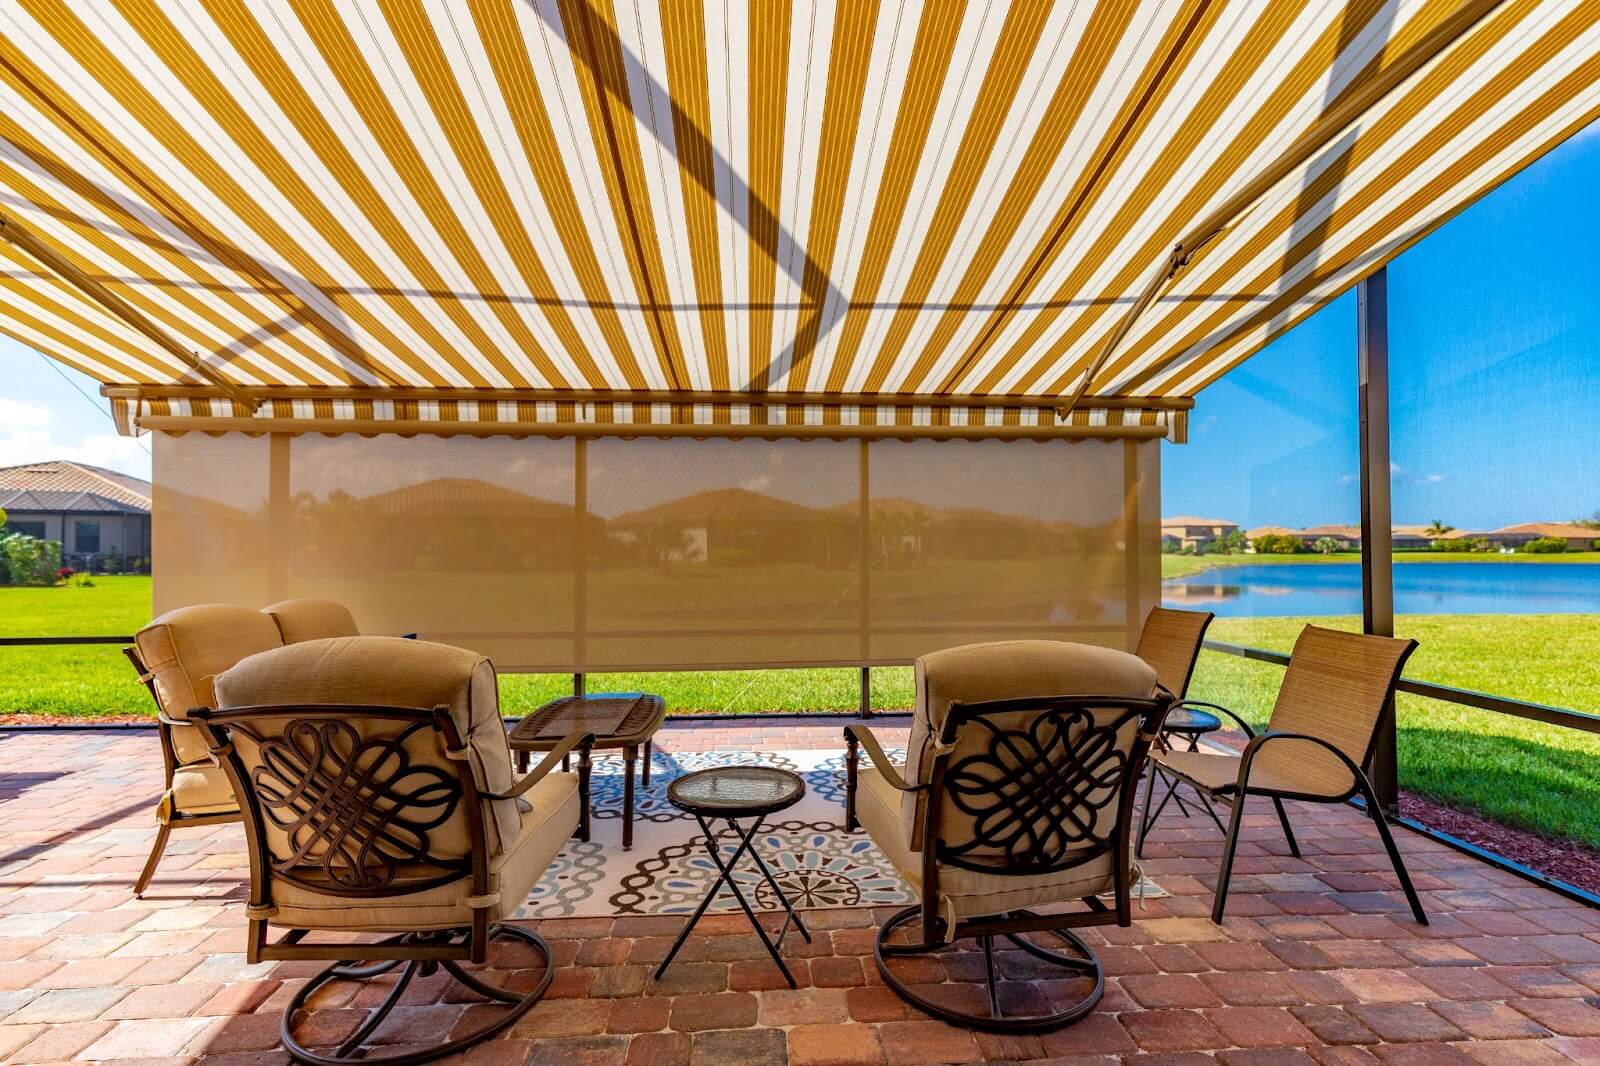
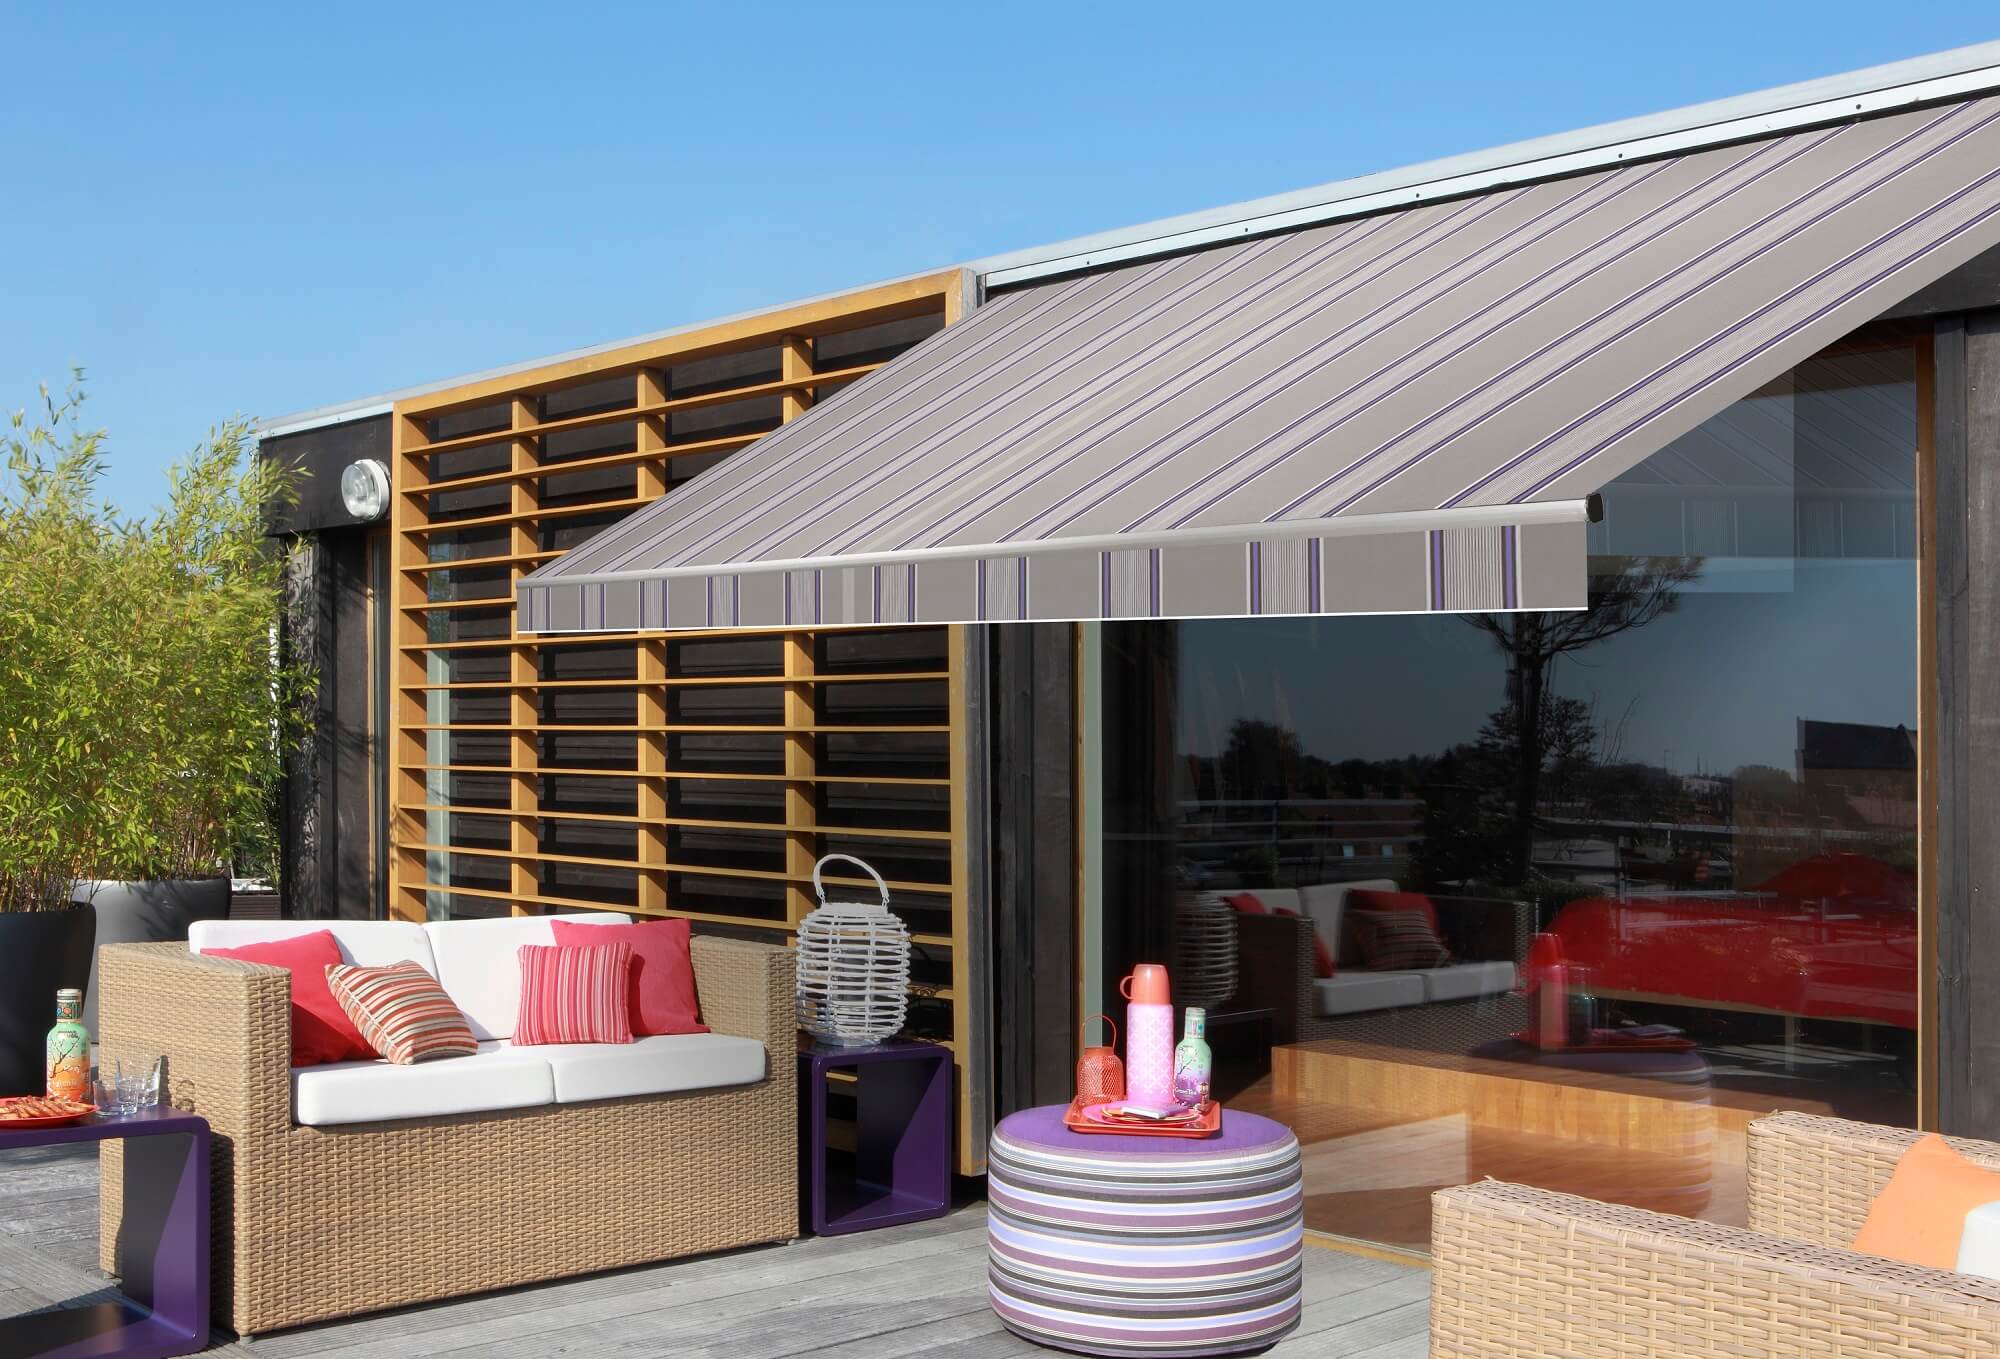
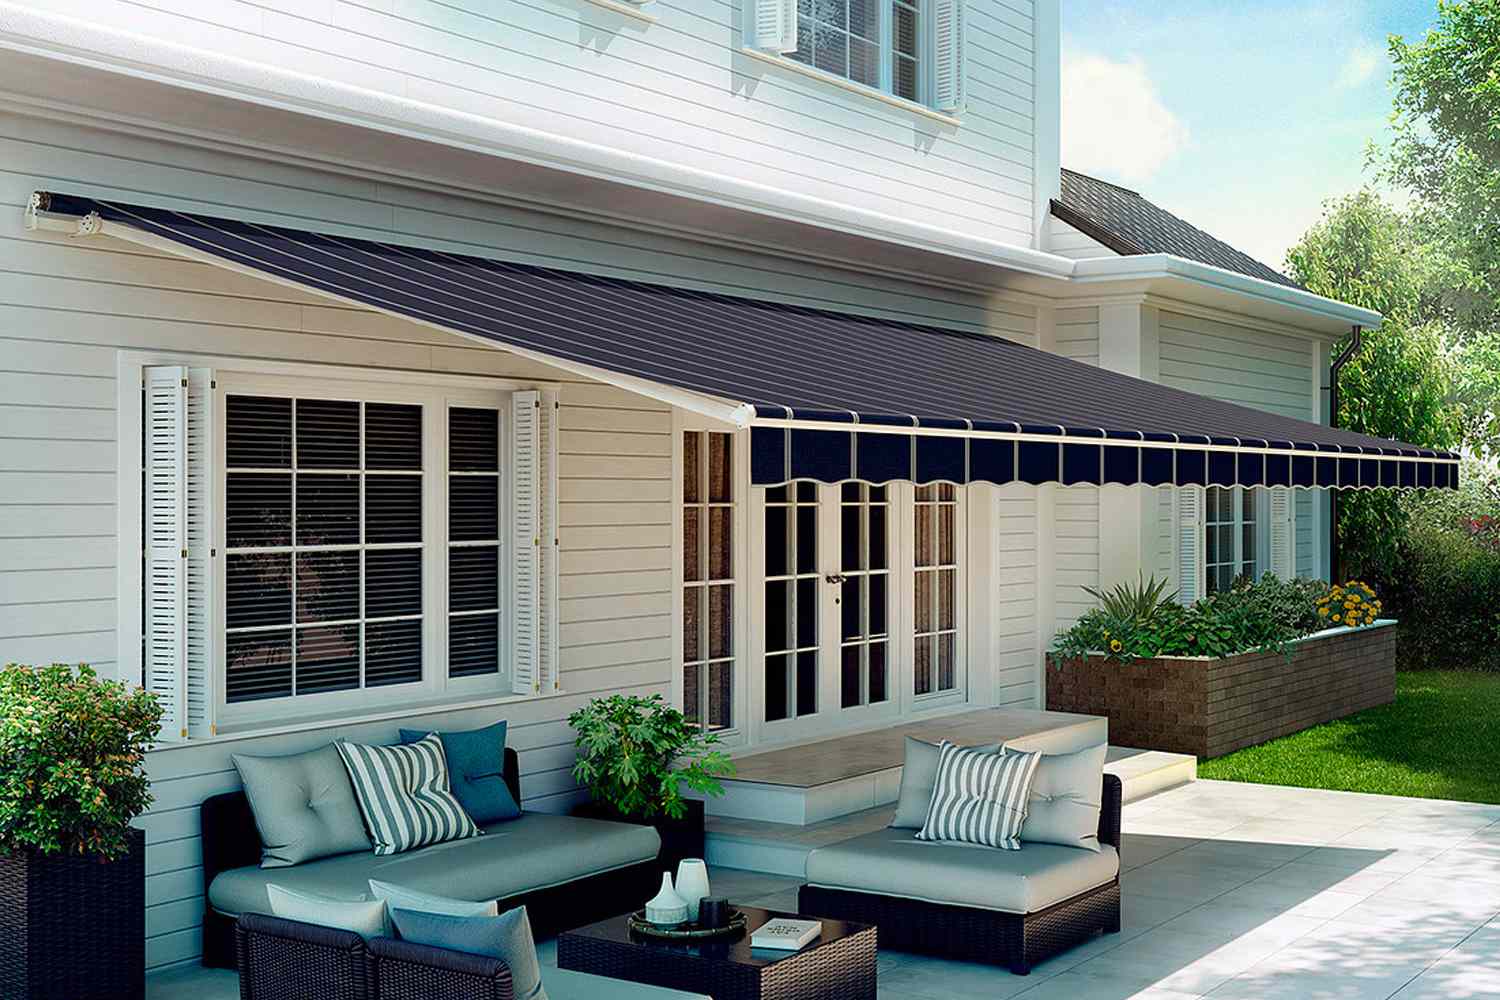
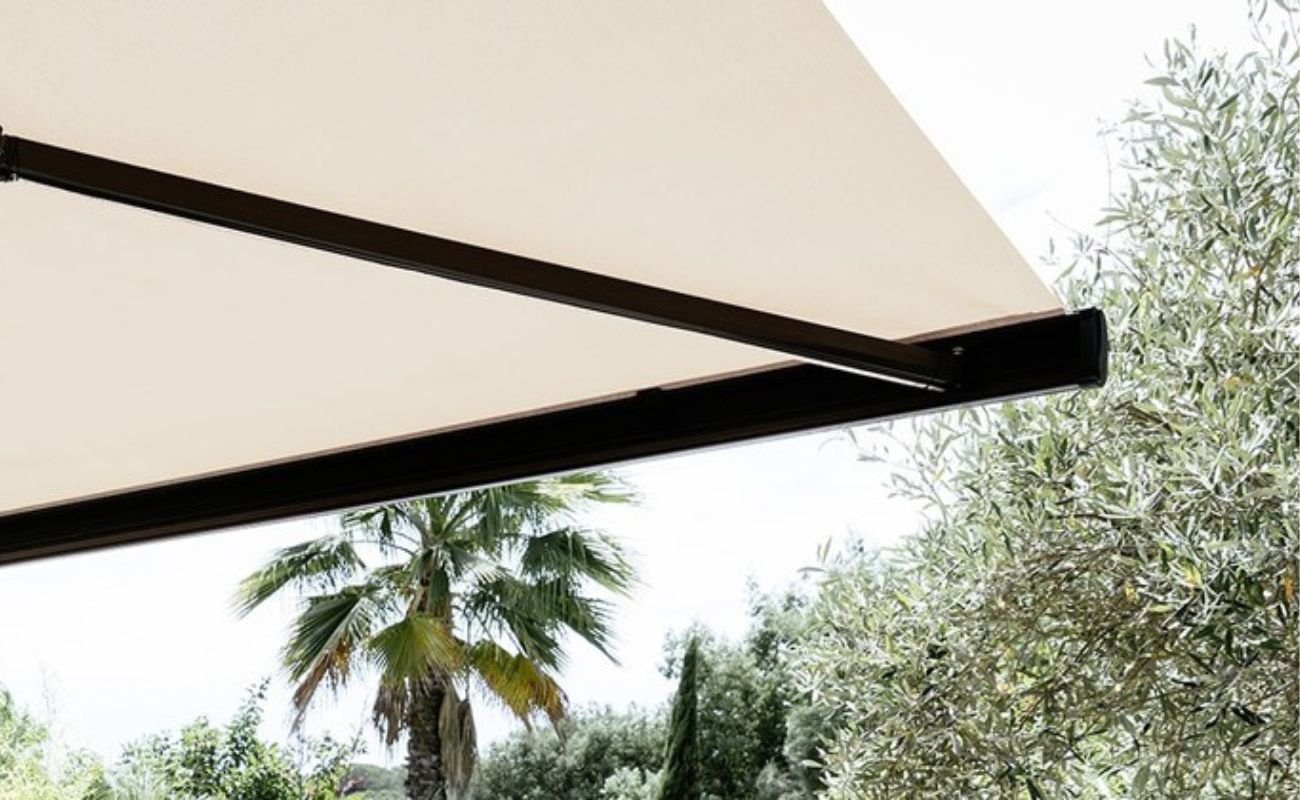
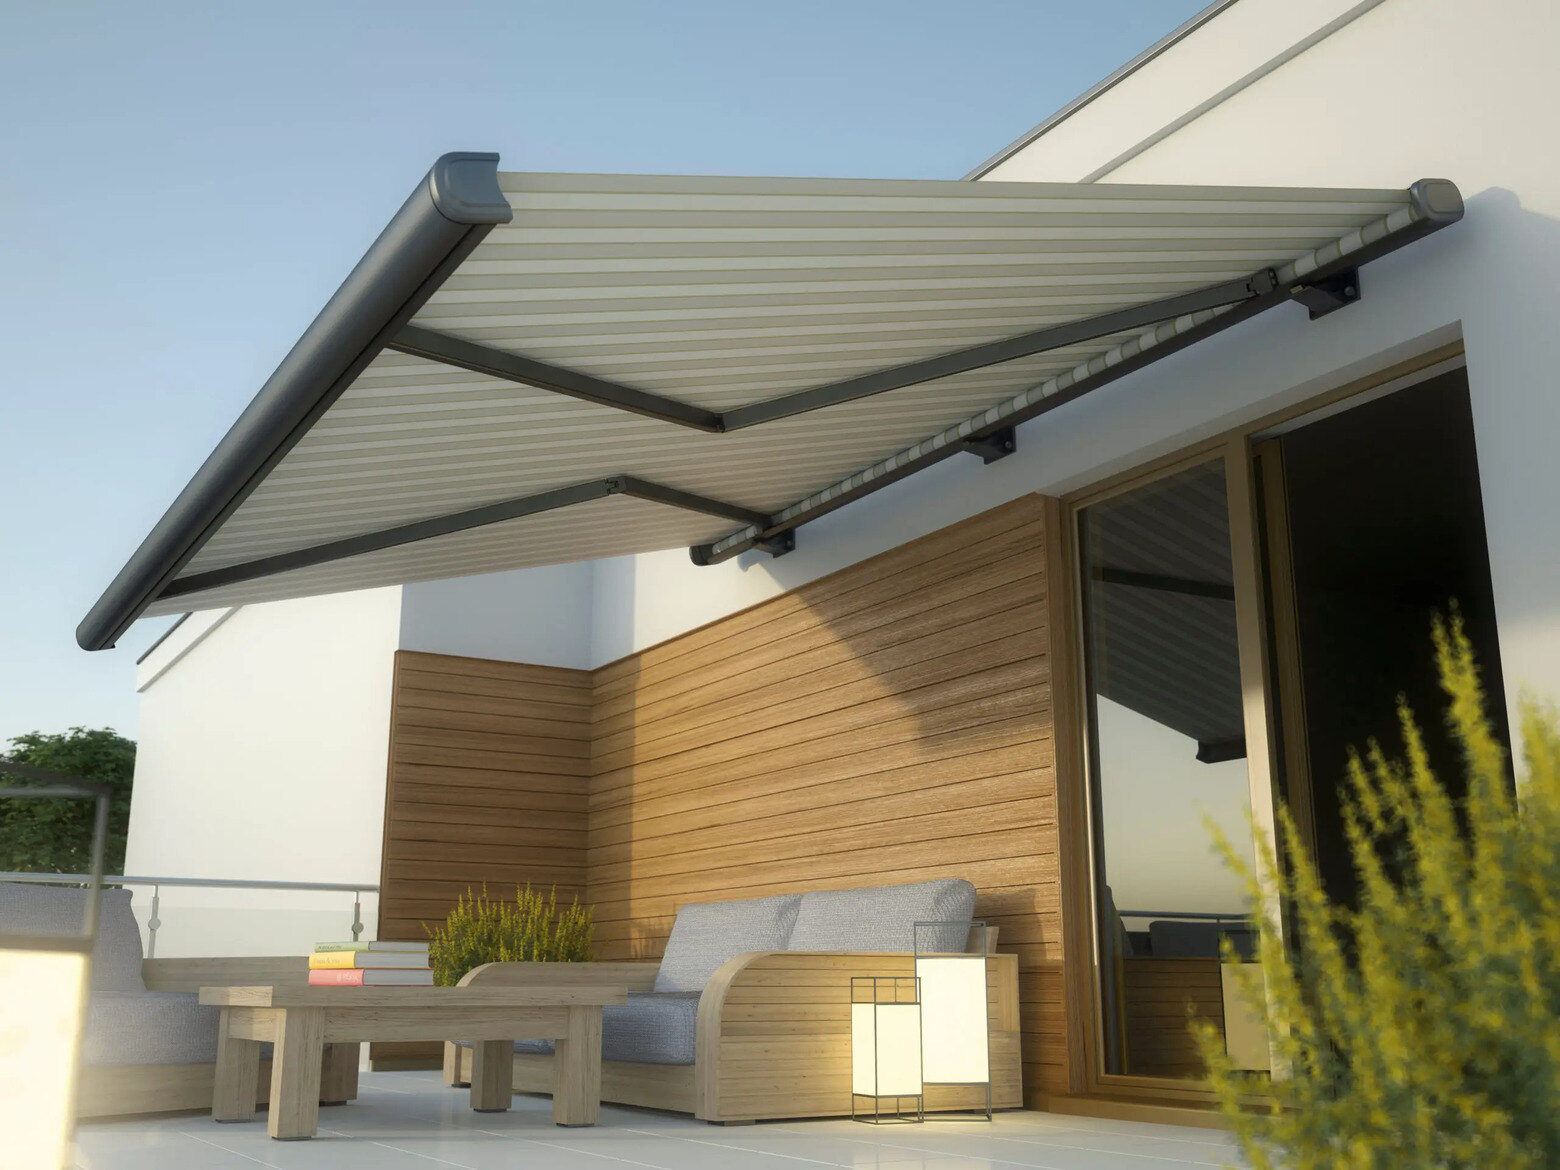
Retractable awnings are a fantastic addition to any outdoor space, providing shade and protection from the elements while enhancing the aesthetic appeal of your home. Over time, the fabric on a retractable awning may become worn, faded, or damaged, prompting the need for replacement. Changing the fabric on a retractable awning is a manageable and rewarding DIY project that can breathe new life into your outdoor living area.
In this comprehensive guide, we will walk you through the step-by-step process of replacing the fabric on a retractable awning. Whether you are looking to update the look of your awning or restore its functionality, this tutorial will equip you with the knowledge and confidence to tackle this project with ease.
By following these instructions, you can revitalize your outdoor space and ensure that your retractable awning continues to provide shade and shelter for years to come. Let's dive into the process of assessing the fabric and determining the necessary steps for a successful fabric replacement.
Key Takeaways:
- Revitalize your outdoor space by replacing the fabric on your retractable awning. Assess, remove, install, and reassemble to breathe new life into your awning with a fresh and vibrant fabric.
- Gain valuable DIY experience while enhancing your outdoor oasis. By replacing the fabric on your retractable awning, you’ll infuse style and functionality, ensuring years of enjoyment and comfort.
Read more: What Is A Retractable Awning
Assessing the Fabric
Before embarking on the journey of replacing the fabric on your retractable awning, it’s crucial to assess the current state of the fabric. Take a close look at the material to determine the extent of wear and tear, including signs of fading, fraying, or structural damage. Additionally, check for mold, mildew, or any other forms of deterioration that may have occurred due to prolonged exposure to the elements.
Inspect the seams, stitching, and overall integrity of the fabric to identify any areas that require attention. It’s essential to assess whether the fabric can be salvaged through cleaning and minor repairs or if a complete replacement is necessary. Keep in mind that the fabric should not only be visually appealing but also structurally sound to ensure optimal functionality and durability.
Furthermore, consider the current color, pattern, and material of the fabric. This is an opportunity to explore different options and envision how a new fabric could complement your outdoor space. Whether you prefer a vibrant, solid color or a pattern that adds character to your awning, assessing the fabric allows you to make an informed decision about the type of material and design that will best suit your preferences and the aesthetic of your home.
By thoroughly evaluating the condition of the fabric, you can determine the most appropriate course of action, whether it involves cleaning, repairing, or replacing the fabric. This initial assessment sets the stage for the subsequent steps involved in the fabric replacement process, empowering you to proceed with confidence and a clear understanding of the task at hand.
Removing the Old Fabric
Once you have assessed the condition of the existing fabric and decided to proceed with a replacement, the next step is to remove the old fabric from the retractable awning. This process requires careful attention to detail and a methodical approach to ensure that the awning structure remains intact throughout the removal.
Begin by fully extending the awning to its open position, providing easy access to the fabric and its attachment points. Depending on the design of your retractable awning, you may need to use a ladder or step stool to reach certain areas safely.
Locate the fasteners, such as screws or bolts, securing the fabric to the frame of the awning. These fasteners are typically situated along the edges of the fabric and may be concealed within pockets or seams. Use a screwdriver or the appropriate tool to carefully remove each fastener, taking care not to damage the surrounding components of the awning.
As you detach the fasteners, gradually release the tension from the fabric to prevent sudden movements or strain on the awning mechanism. Once all the fasteners are removed, gently lower the fabric from the frame, paying attention to any additional attachments or supports that may be present.
Inspect the frame and components of the awning to ensure that no damage has occurred during the removal process. This is also an opportune time to clean the frame and address any maintenance needs before proceeding with the installation of the new fabric.
With the old fabric successfully removed and the awning structure in good condition, you are now ready to move on to the exciting phase of installing the new fabric. The careful and thorough removal of the old fabric sets the stage for a seamless transition to the next step in the fabric replacement process.
When changing the fabric on a retractable awning, make sure to measure the existing fabric carefully before purchasing a new one. Remove the old fabric and attach the new one according to the manufacturer’s instructions for a proper fit.
Installing the New Fabric
With the old fabric removed and the awning frame prepared, it’s time to embark on the installation of the new fabric. This step marks the transformation of your retractable awning, breathing new life and style into your outdoor space. Whether you have chosen a different color, pattern, or material for the fabric, the installation process offers an opportunity to revitalize the appearance and functionality of your awning.
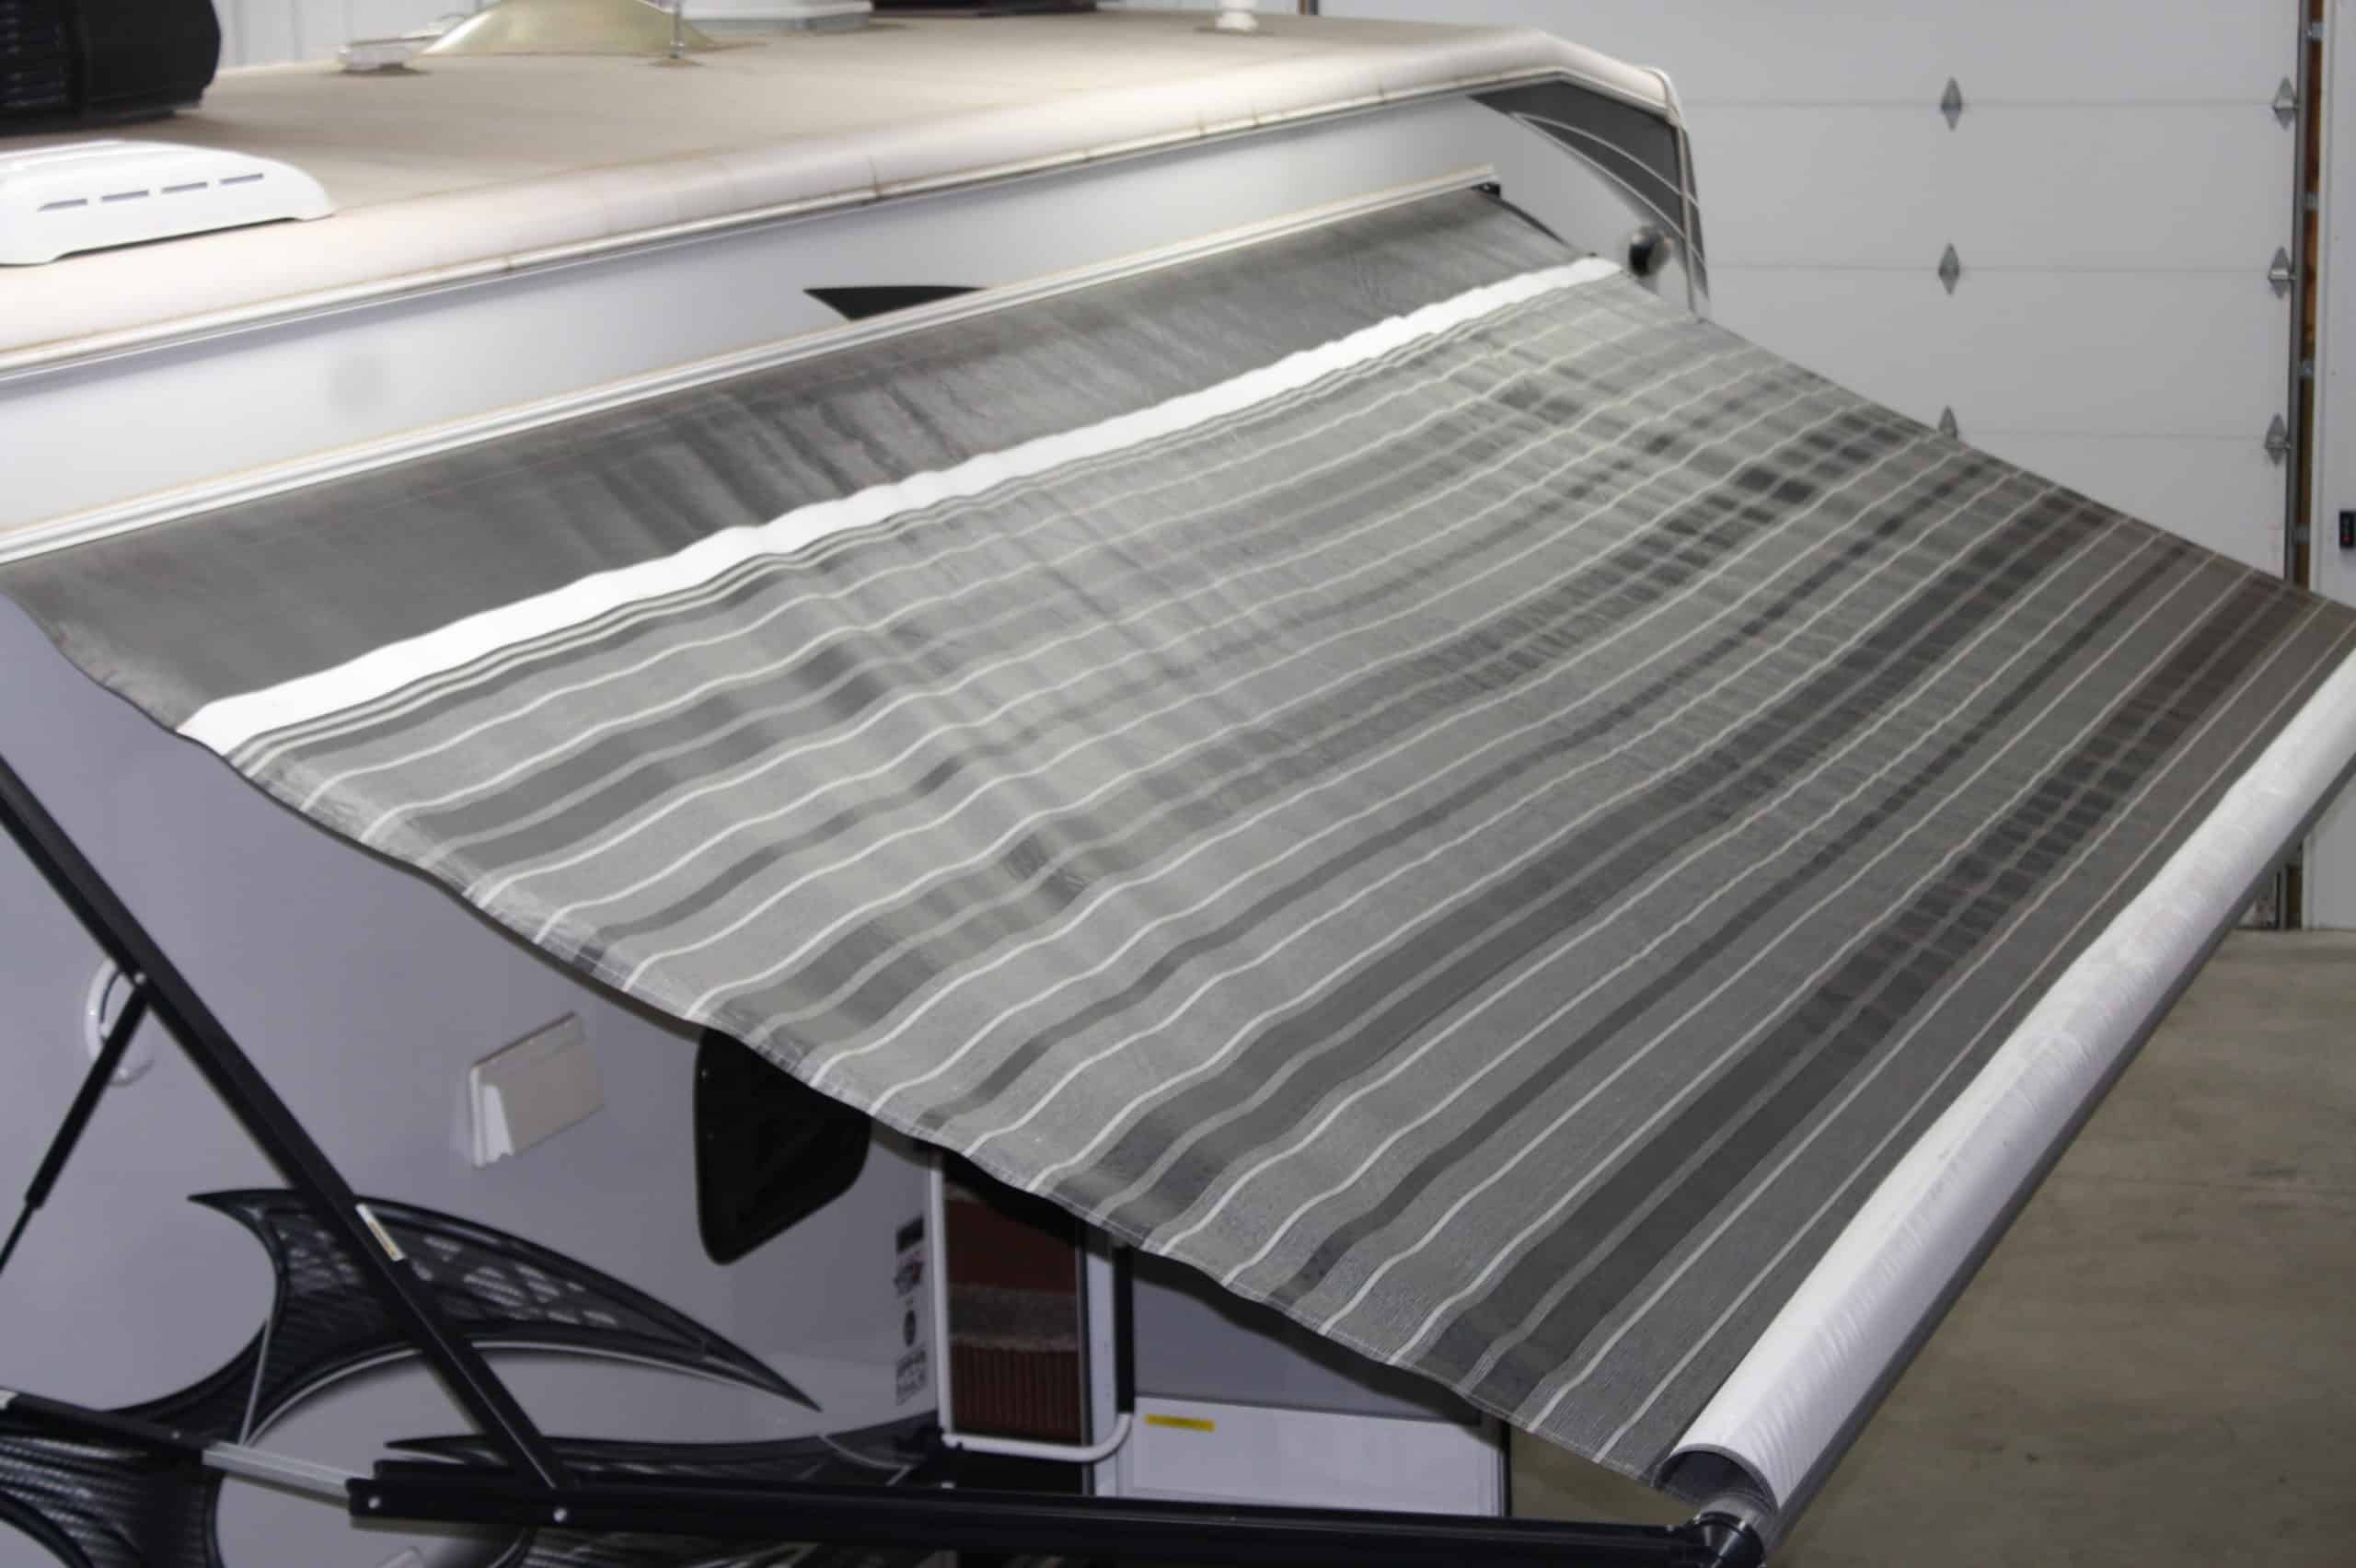
Begin by carefully positioning the new fabric over the awning frame, ensuring that it aligns correctly and drapes smoothly without any twists or tangles. Take note of any markings or labels that indicate the orientation or specific features of the fabric, such as designated front or back sides.
Secure the fabric to the frame by reattaching the fasteners that were removed during the old fabric removal process. Starting from one end of the awning, gradually work your way along the edges, securing the fabric in place while maintaining even tension to prevent sagging or bunching.
As you fasten the fabric, periodically step back to assess its alignment and appearance, making adjustments as necessary to achieve a uniform and aesthetically pleasing fit. Pay attention to the tightness of the fabric to ensure that it is taut without being overstretched, striking a balance that promotes longevity and proper functionality.
If the new fabric features additional components, such as valances or decorative elements, carefully integrate these into the installation process, following any specific instructions provided by the manufacturer. This attention to detail contributes to the overall visual impact and performance of the newly installed fabric.
Once the fabric is securely attached and properly positioned, take a moment to admire the refreshed look of your retractable awning. The installation of the new fabric represents a significant milestone in the fabric replacement process, setting the stage for the final steps of reassembling the awning and experiencing its renewed charm and utility.
Reassembling the Retractable Awning
After successfully installing the new fabric, the final phase of the fabric replacement process involves reassembling the retractable awning. This step integrates the newly installed fabric with the awning’s structure, ensuring that the mechanism operates smoothly and that the overall functionality is restored.
Begin by carefully retracting the awning to its closed position, allowing the fabric to gather neatly and align with the frame. This step provides an opportunity to observe the fabric in motion and verify that it moves without obstruction or excessive friction.
Inspect the retracted fabric to confirm that it is evenly distributed and free from any folds or creases that could affect its appearance or performance. Make any necessary adjustments to the fabric’s positioning to achieve a balanced and uniform appearance when the awning is closed.
Next, test the functionality of the retractable mechanism to ensure that the fabric extends and retracts smoothly without binding or irregular resistance. Pay attention to any unusual sounds or movements, as these may indicate the need for further adjustments or maintenance.
If your retractable awning features additional components, such as motorized controls, sensors, or lighting, verify that these elements are functioning correctly and are synchronized with the newly installed fabric. This comprehensive check ensures that the awning operates as a cohesive and integrated system.
Finally, conduct a visual inspection of the entire awning assembly, confirming that all fasteners, components, and accessories are secure and properly aligned. Address any loose or misaligned elements to uphold the structural integrity and aesthetic appeal of the retractable awning.
With the reassembly process complete, take a moment to celebrate the successful replacement of the fabric on your retractable awning. The meticulous reassembly ensures that the awning operates as intended, providing shade, shelter, and visual allure to your outdoor space.
By following these steps, you have not only revitalized your retractable awning but also gained valuable experience in maintaining and enhancing this essential outdoor structure. The reassembled awning stands ready to enrich your outdoor living experience, offering comfort, style, and lasting enjoyment for years to come.
Read more: How To Install A Retractable Awning
Conclusion
Embarking on the journey of replacing the fabric on a retractable awning has allowed you to breathe new life into your outdoor space, infusing it with renewed style and functionality. This comprehensive guide has equipped you with the knowledge and confidence to undertake this rewarding DIY project, empowering you to revitalize your awning with a fresh and vibrant fabric.
By assessing the fabric, removing the old material, installing the new fabric, and reassembling the retractable awning, you have demonstrated a commitment to maintaining and enhancing this essential outdoor structure. Your attention to detail and methodical approach have ensured that the fabric replacement process unfolds seamlessly, resulting in a visually captivating and fully functional awning.
As you reflect on the journey from assessing the fabric’s condition to experiencing the transformed appeal of your awning, take pride in the care and dedication you have invested in this project. The newly installed fabric not only enhances the aesthetic charm of your outdoor space but also reinforces the awning’s ability to provide shade, protection, and comfort for your enjoyment.
Furthermore, the skills and insights gained from this endeavor extend beyond the fabric replacement process, positioning you as a capable steward of your outdoor environment. Your ability to maintain and enhance the retractable awning underscores your commitment to creating a welcoming and well-tended outdoor oasis.
As you bask in the revitalized allure of your retractable awning, take a moment to appreciate the transformative impact of this project. Your dedication to preserving and beautifying this outdoor structure ensures that it will continue to enrich your outdoor living experience for years to come.
Congratulations on successfully replacing the fabric on your retractable awning, and may your revitalized outdoor space bring joy, comfort, and relaxation to all who gather beneath its shade.
Frequently Asked Questions about How To Change Fabric On A Retractable Awning
Was this page helpful?
At Storables.com, we guarantee accurate and reliable information. Our content, validated by Expert Board Contributors, is crafted following stringent Editorial Policies. We're committed to providing you with well-researched, expert-backed insights for all your informational needs.


0 thoughts on “How To Change Fabric On A Retractable Awning”