Home>Gardening & Outdoor>Outdoor Structures>How To Clean The Underside Of A Camper Awning
Outdoor Structures
How To Clean The Underside Of A Camper Awning
Modified: February 18, 2024
Learn the best methods for cleaning the underside of your camper awning to maintain its longevity and appearance. Keep your outdoor structures in top condition with these helpful tips.
(Many of the links in this article redirect to a specific reviewed product. Your purchase of these products through affiliate links helps to generate commission for Storables.com, at no extra cost. Learn more)
Introduction
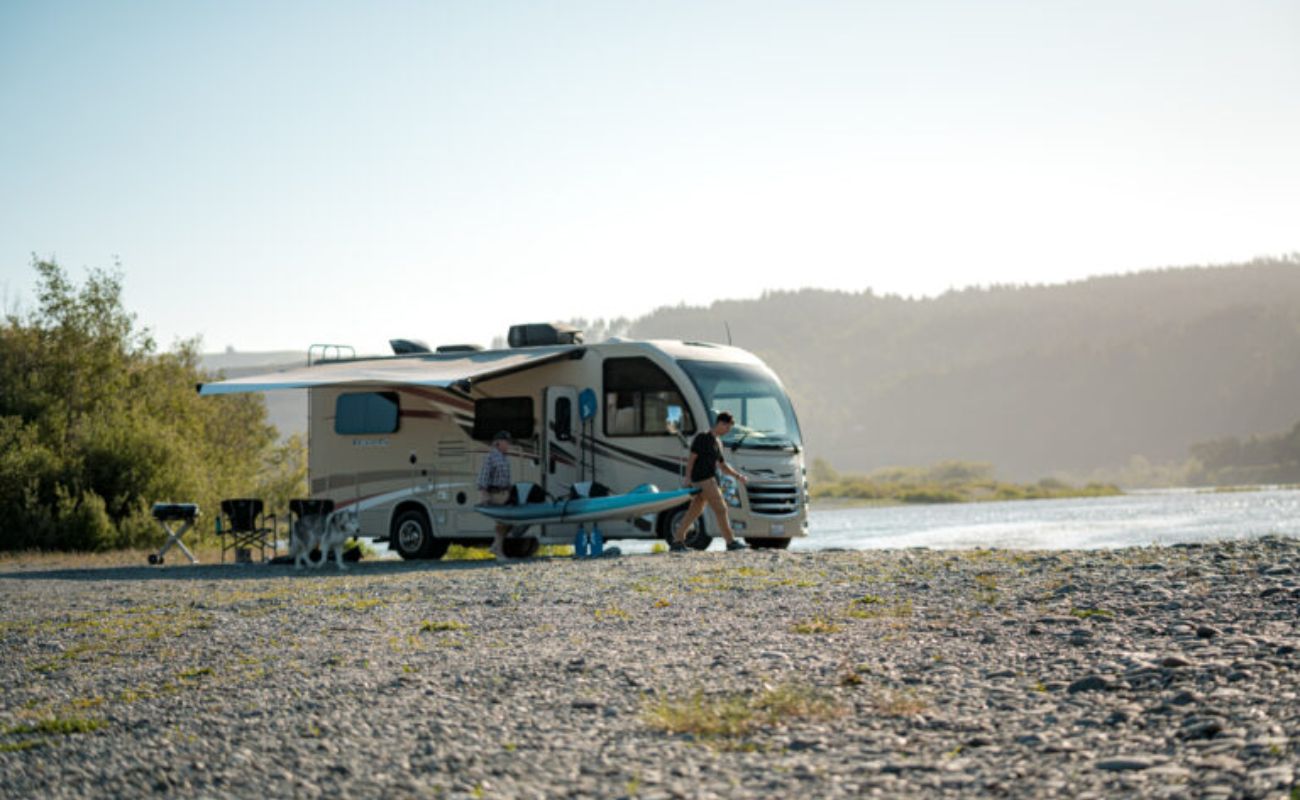
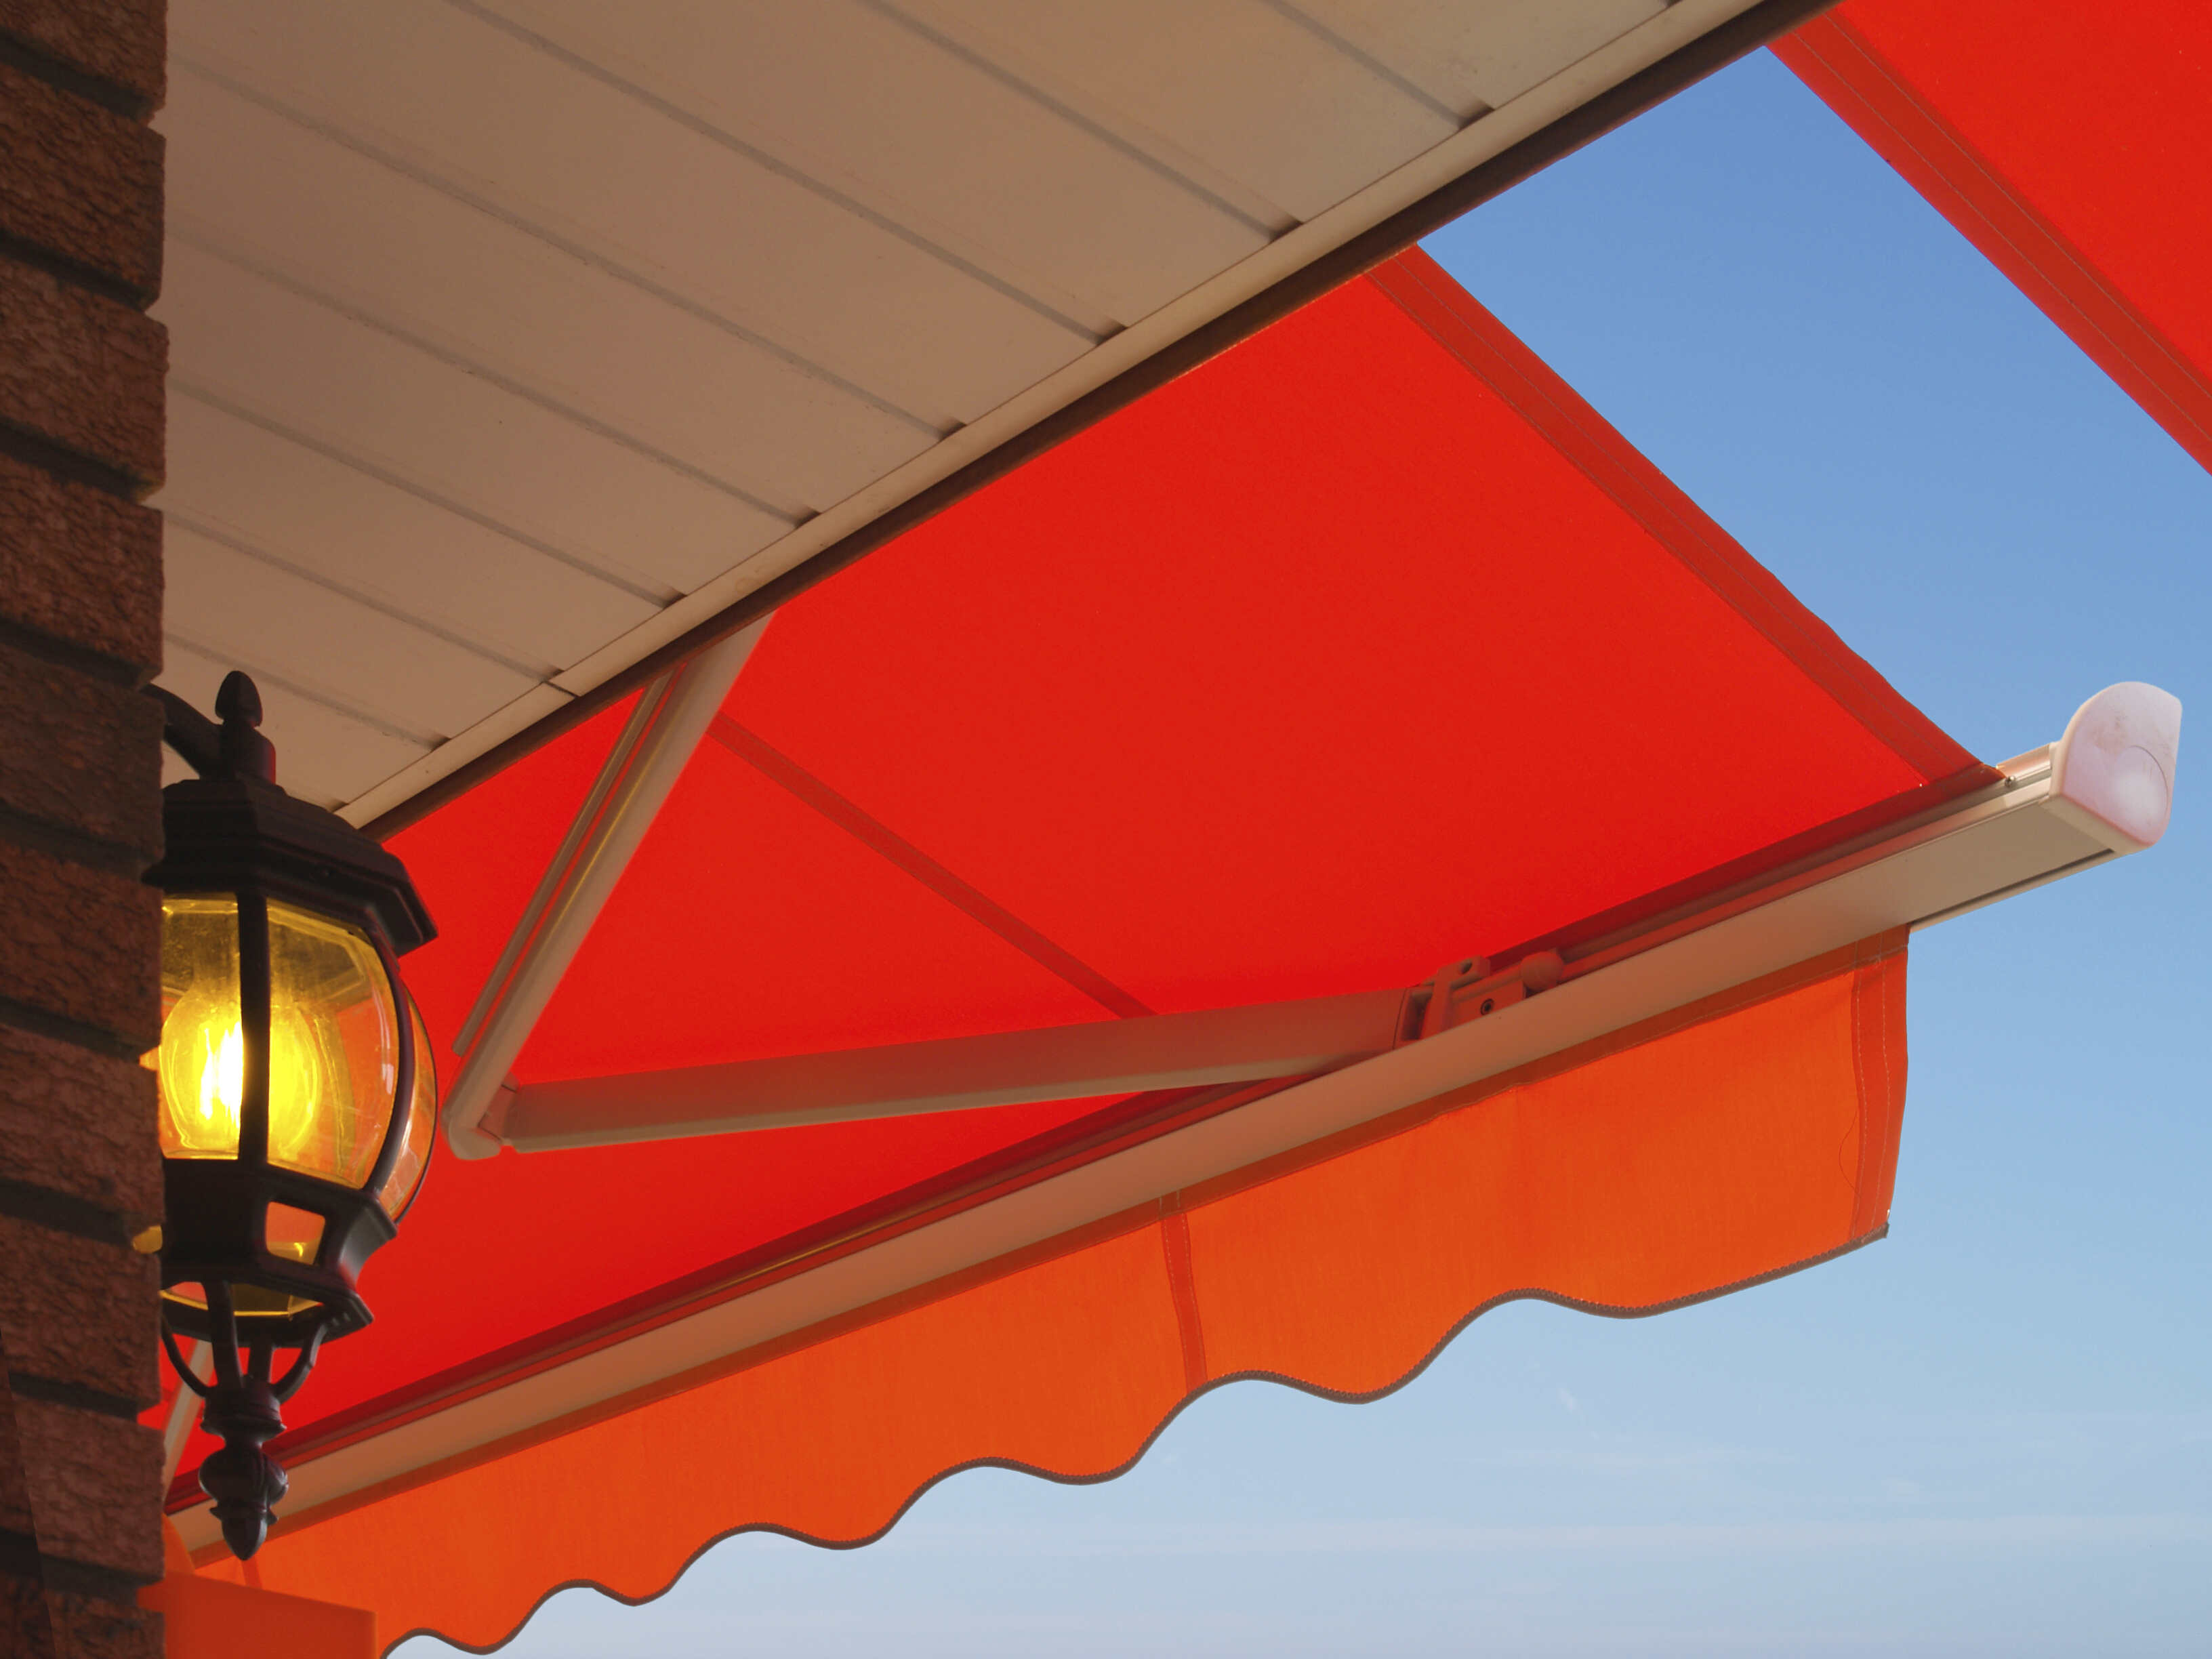
Welcome to the wonderful world of camping! If you own a camper with an awning, you know how it adds comfort and convenience to your outdoor adventures. However, over time, the underside of the awning can accumulate dirt, grime, and even mold, detracting from its functionality and aesthetic appeal. Cleaning the underside of a camper awning is an essential maintenance task that can prolong the life of your awning and ensure a pleasant outdoor experience.
In this guide, we will walk you through the step-by-step process of cleaning the underside of your camper awning, restoring it to its former glory and preserving its longevity. With the right supplies and a little elbow grease, you can easily tackle this task and keep your camper awning looking and performing its best. So, roll up your sleeves and let’s dive into the nitty-gritty of reviving your camper awning!
Key Takeaways:
- Regularly cleaning the underside of your camper awning is essential for preserving its appearance and structural integrity, prolonging its lifespan, and maximizing its performance during outdoor adventures.
- The meticulous cleaning process, from brushing off debris to applying a protective coating, ensures a clean, rejuvenated awning that is resilient, resistant to dirt and stains, and ready for future outdoor excursions.
Read more: How Much Is An Awning For A Camper
Step 1: Gather the Necessary Supplies
Before embarking on the cleaning process, it’s crucial to gather all the essential supplies. Having the right tools at your disposal will make the task more efficient and ensure a thorough cleaning. Here’s what you’ll need:
- Mild Detergent: Opt for a gentle, non-abrasive detergent that is safe for use on awning fabric. Avoid harsh chemicals that could damage the material.
- Soft-Bristled Brush: Look for a brush with soft bristles to avoid causing any damage to the awning fabric. A brush with an extendable handle can be particularly useful for reaching high or hard-to-access areas.
- Bucket: A large bucket will be handy for mixing the cleaning solution and for rinsing the brush between scrubbing.
- Ladder: Depending on the height of your camper, a sturdy ladder may be necessary to reach the underside of the awning comfortably and safely.
- Garden Hose: Ensure you have access to a water source and a garden hose with a spray nozzle for rinsing off the cleaning solution.
- Protective Gloves: It’s advisable to wear protective gloves to shield your hands from the cleaning solution and potential debris.
- Protective Eyewear: Safety should always come first. Consider wearing protective eyewear to prevent any splashes or debris from getting into your eyes.
- Awning Protectant: After cleaning, you may want to apply a specialized awning protectant to maintain and prolong the awning’s cleanliness and integrity.
By ensuring you have all the necessary supplies on hand, you’ll be well-prepared to tackle the cleaning process with confidence and efficiency. With these tools at your disposal, you’re ready to move on to the next step of the cleaning process.
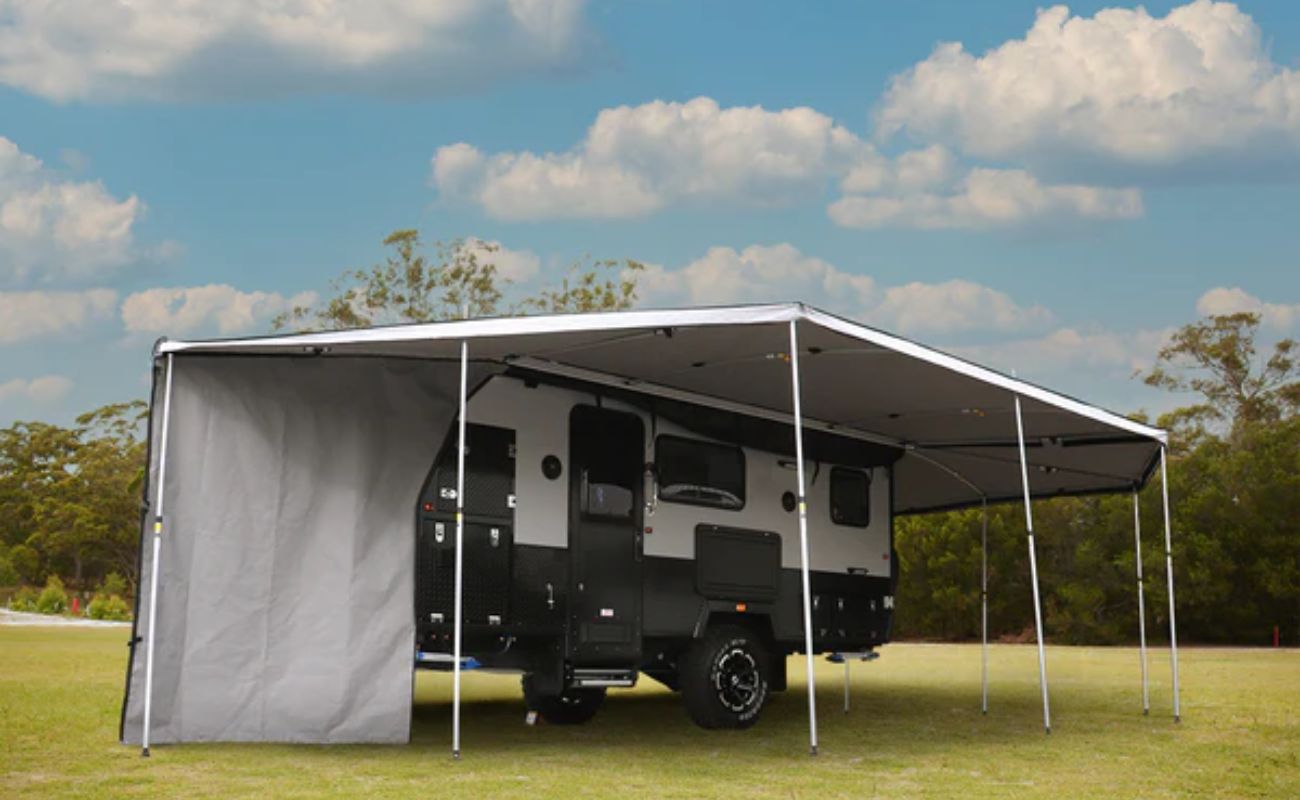
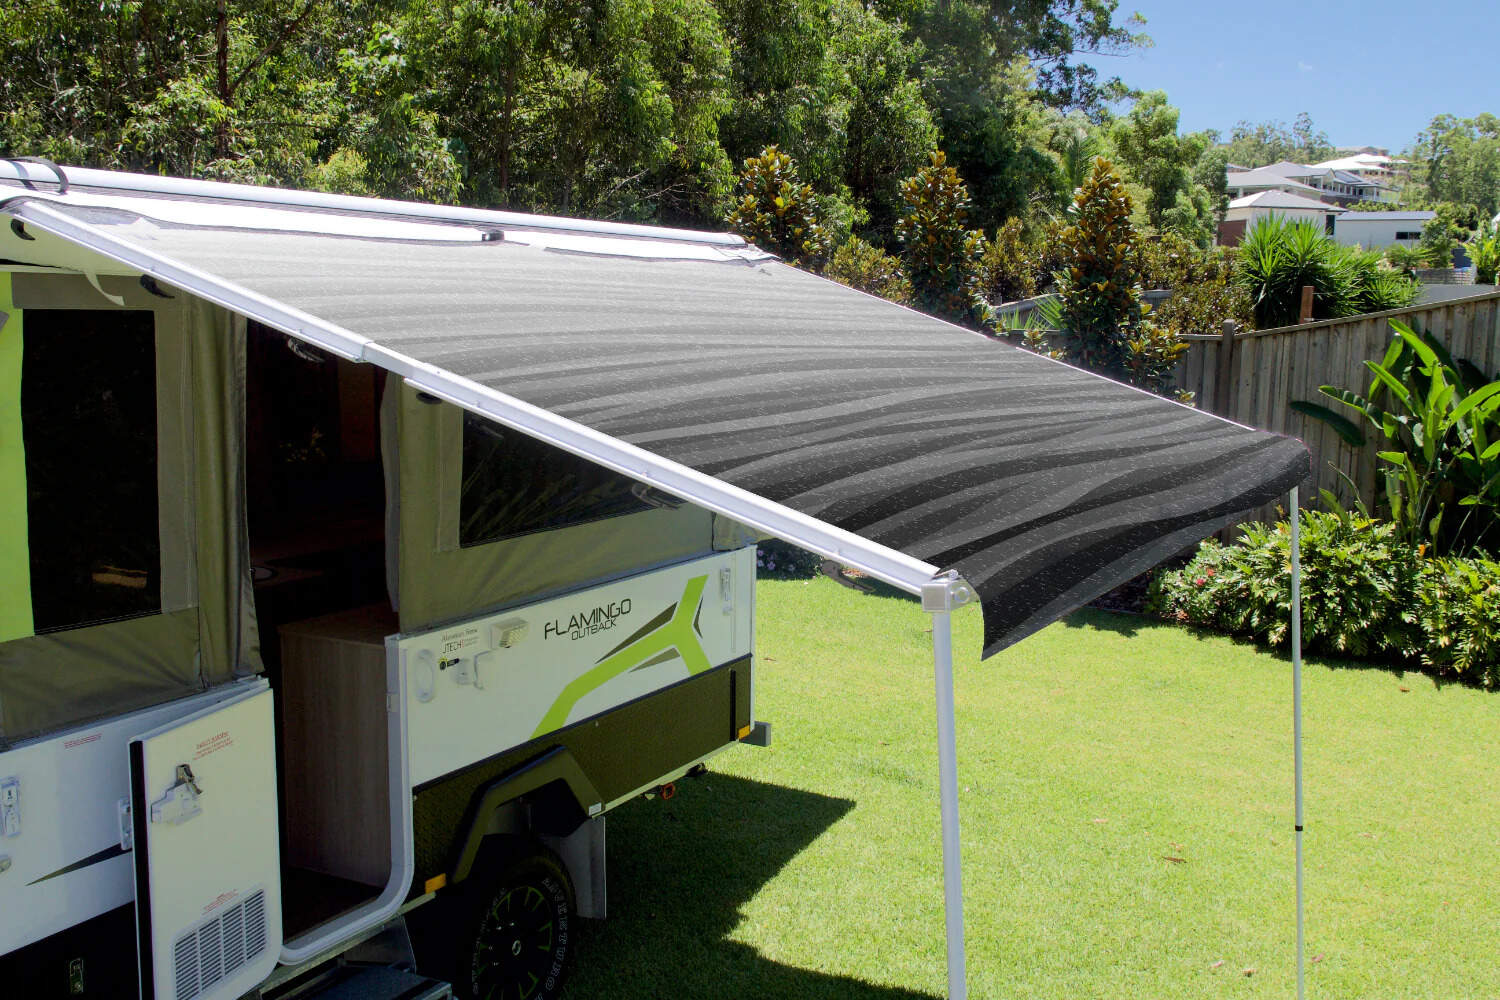
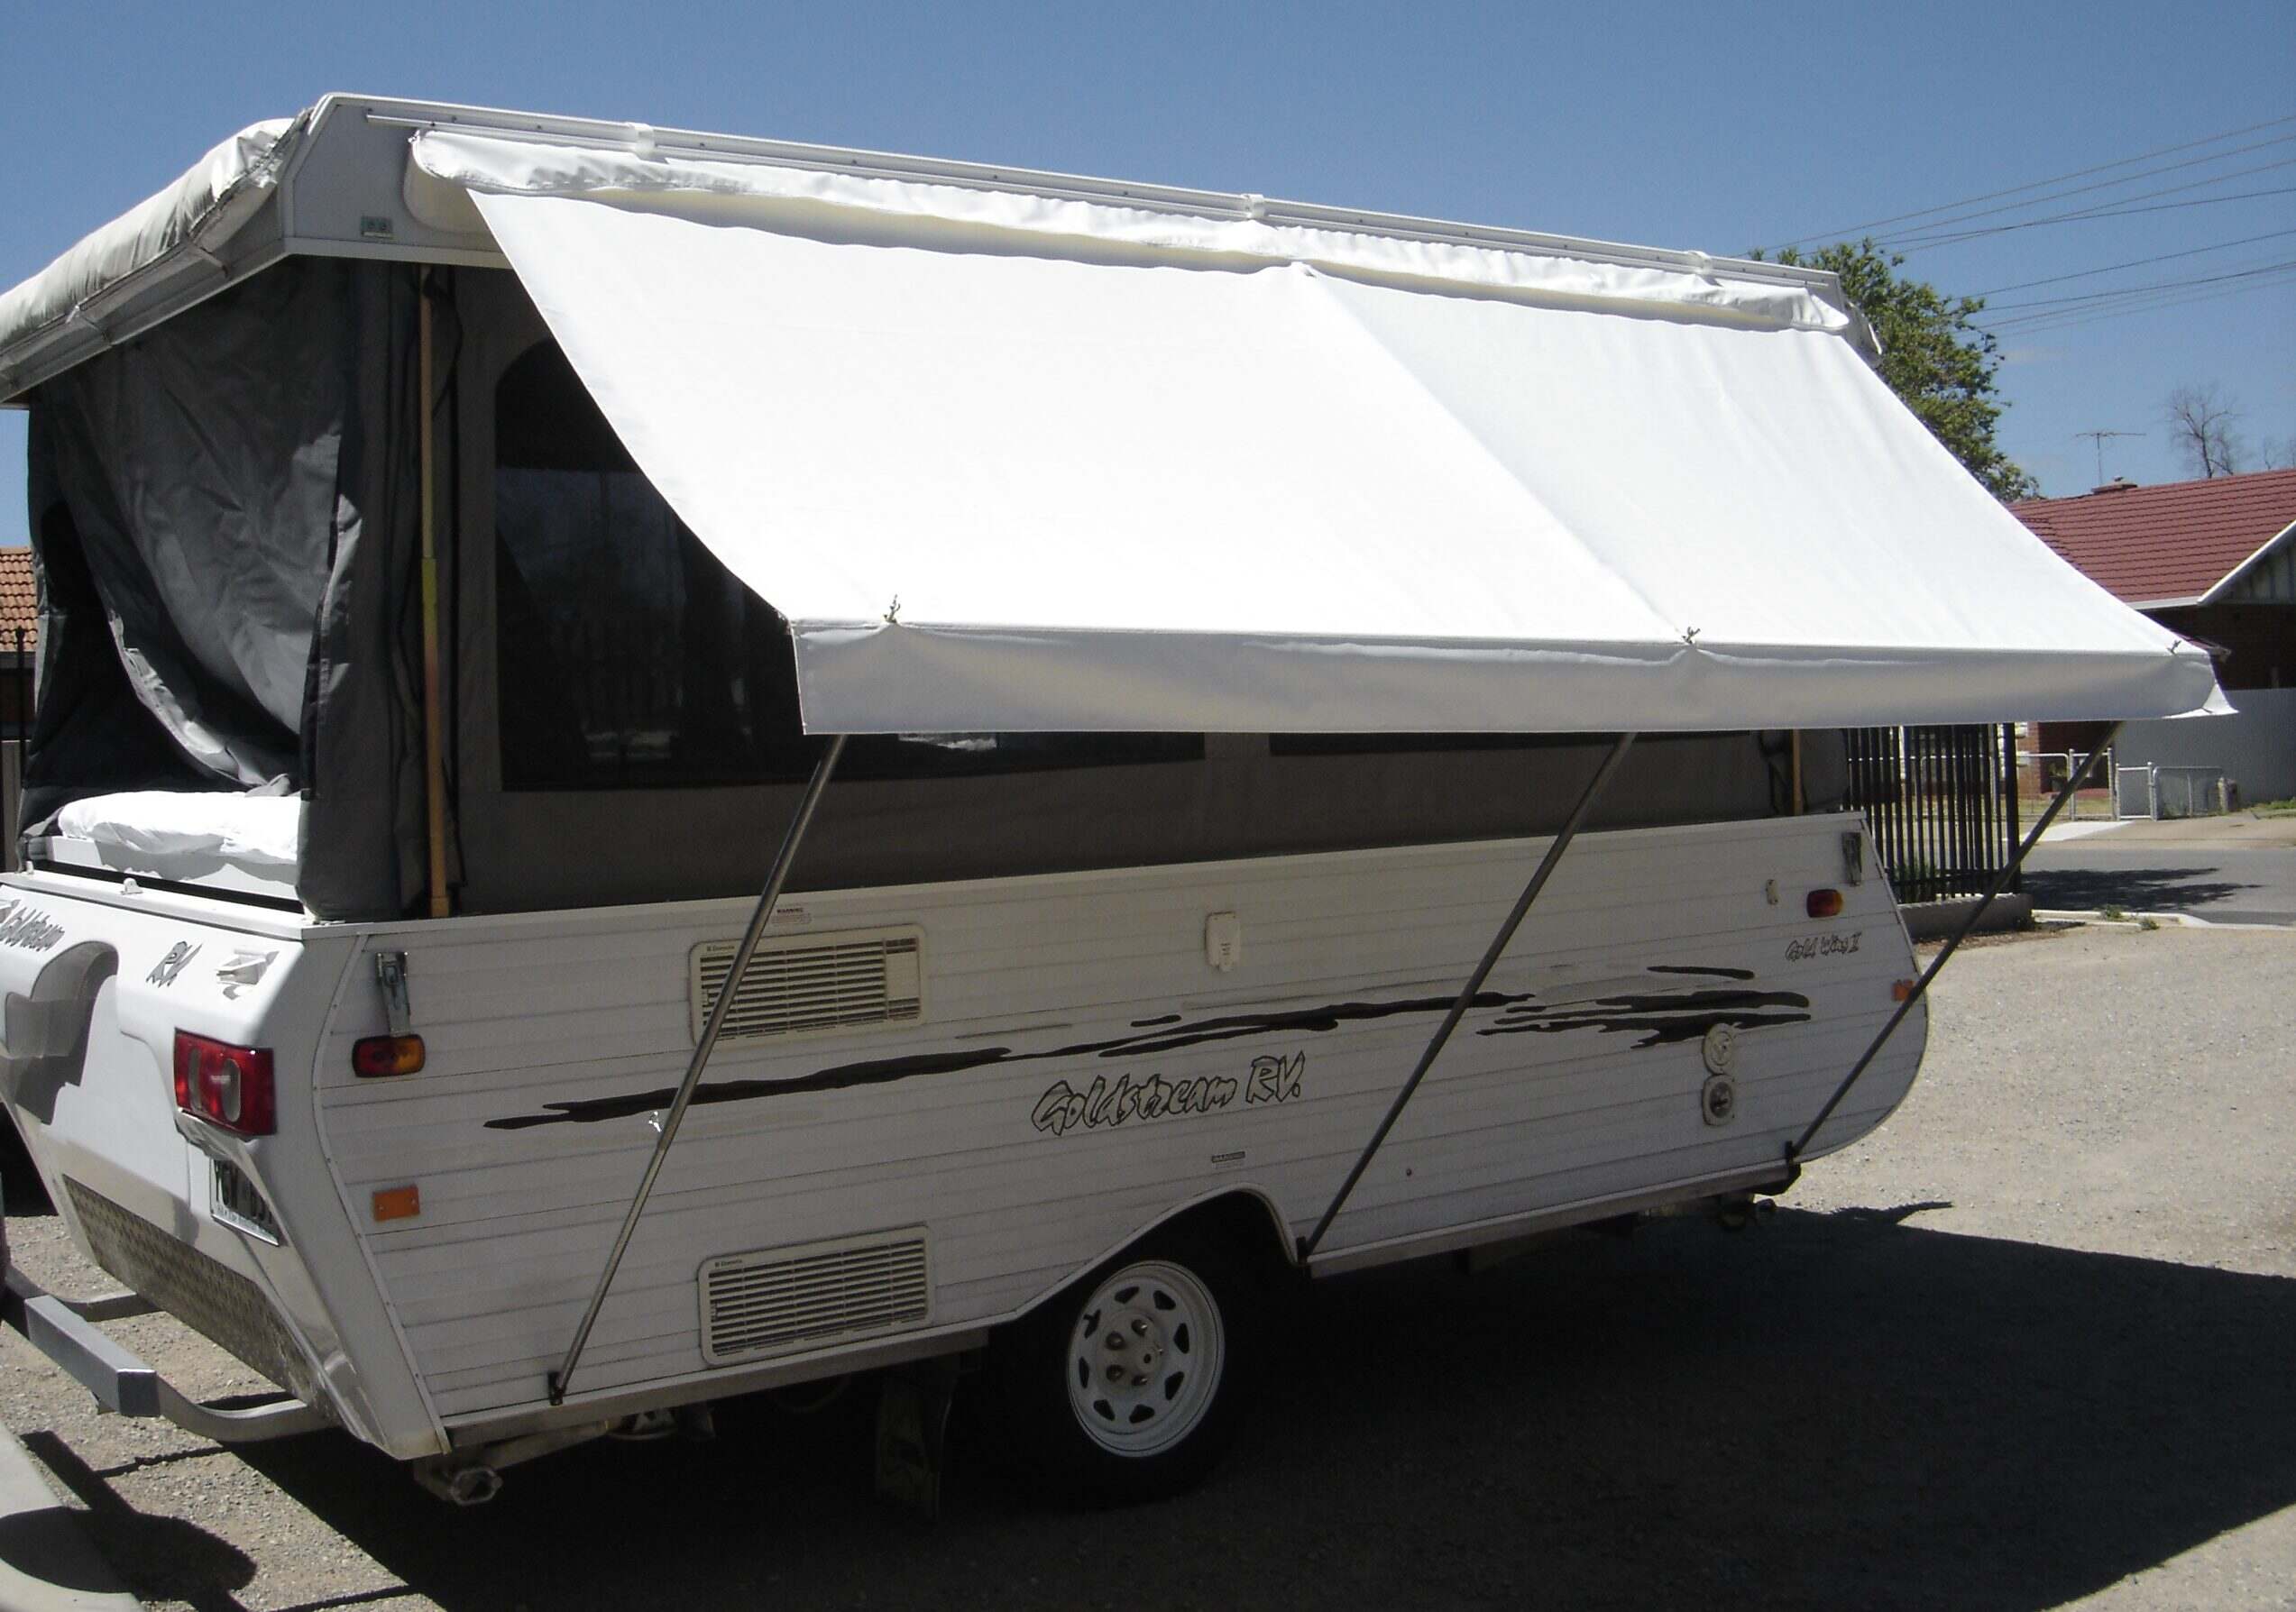
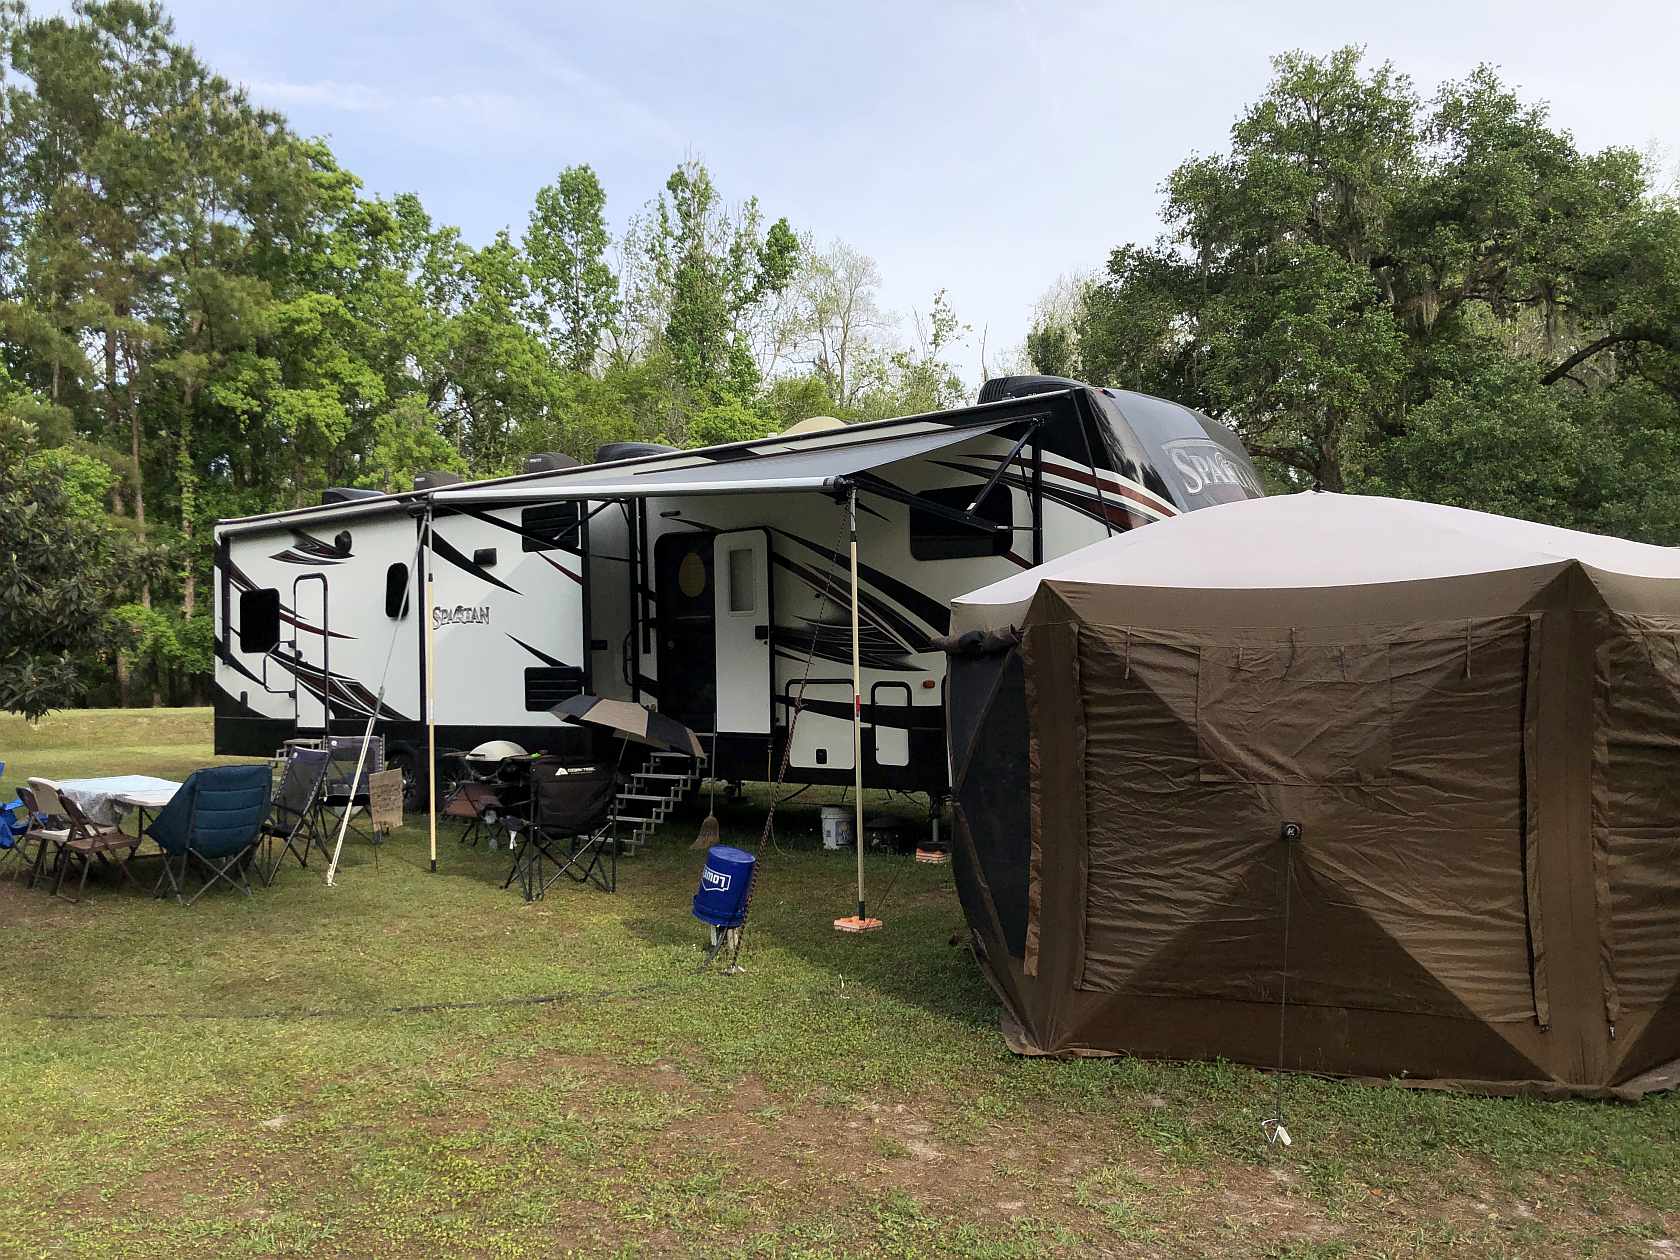
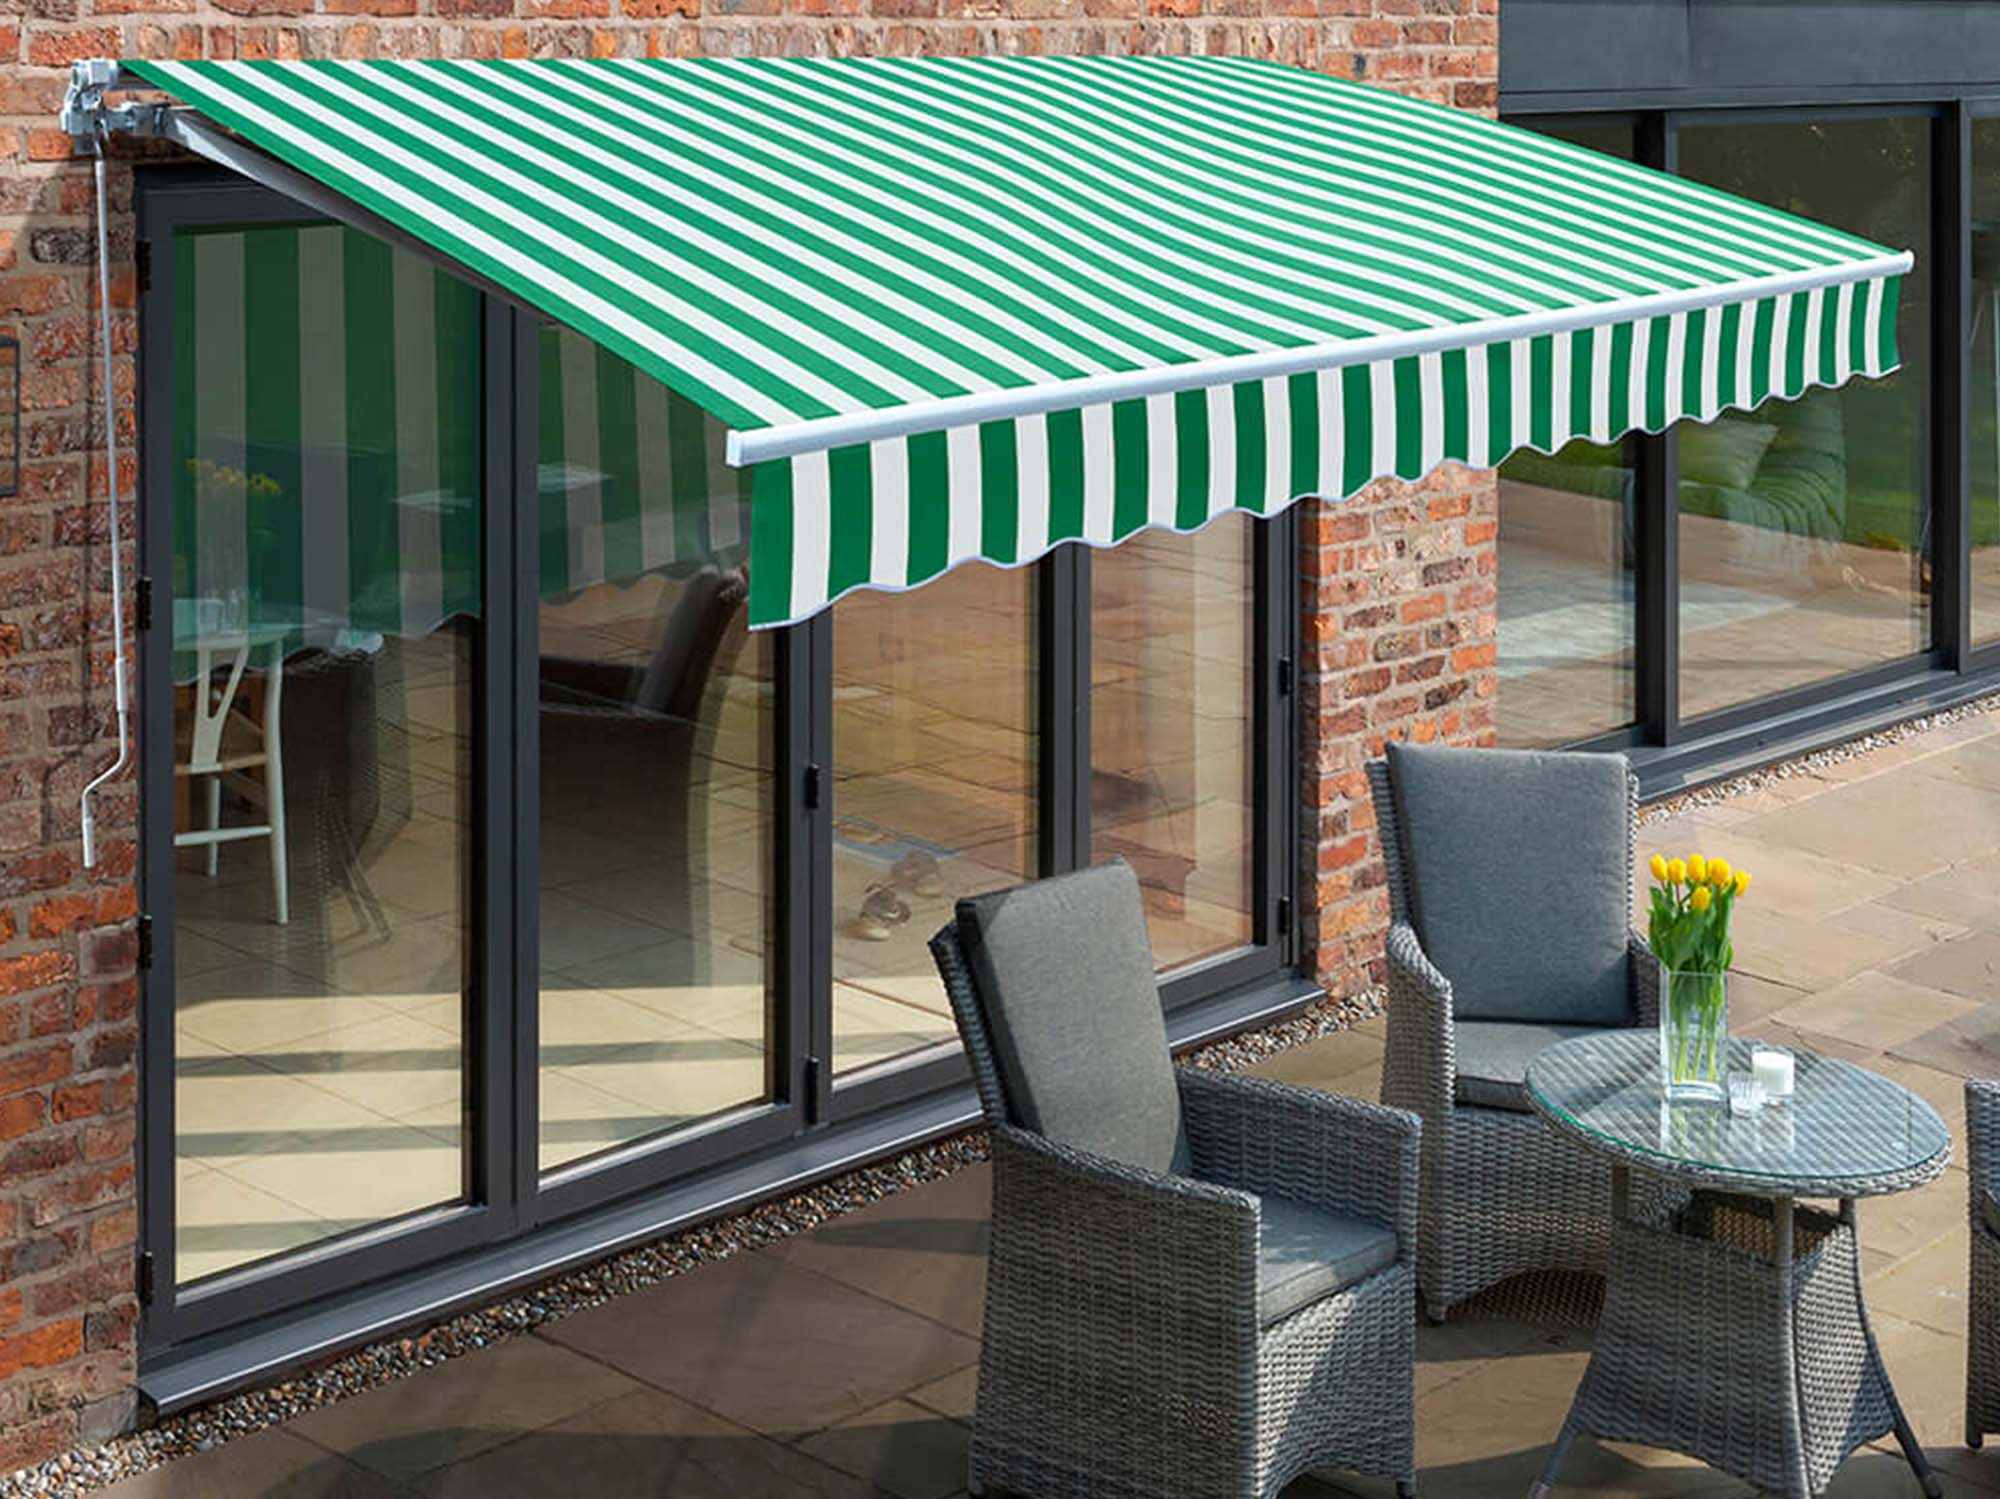
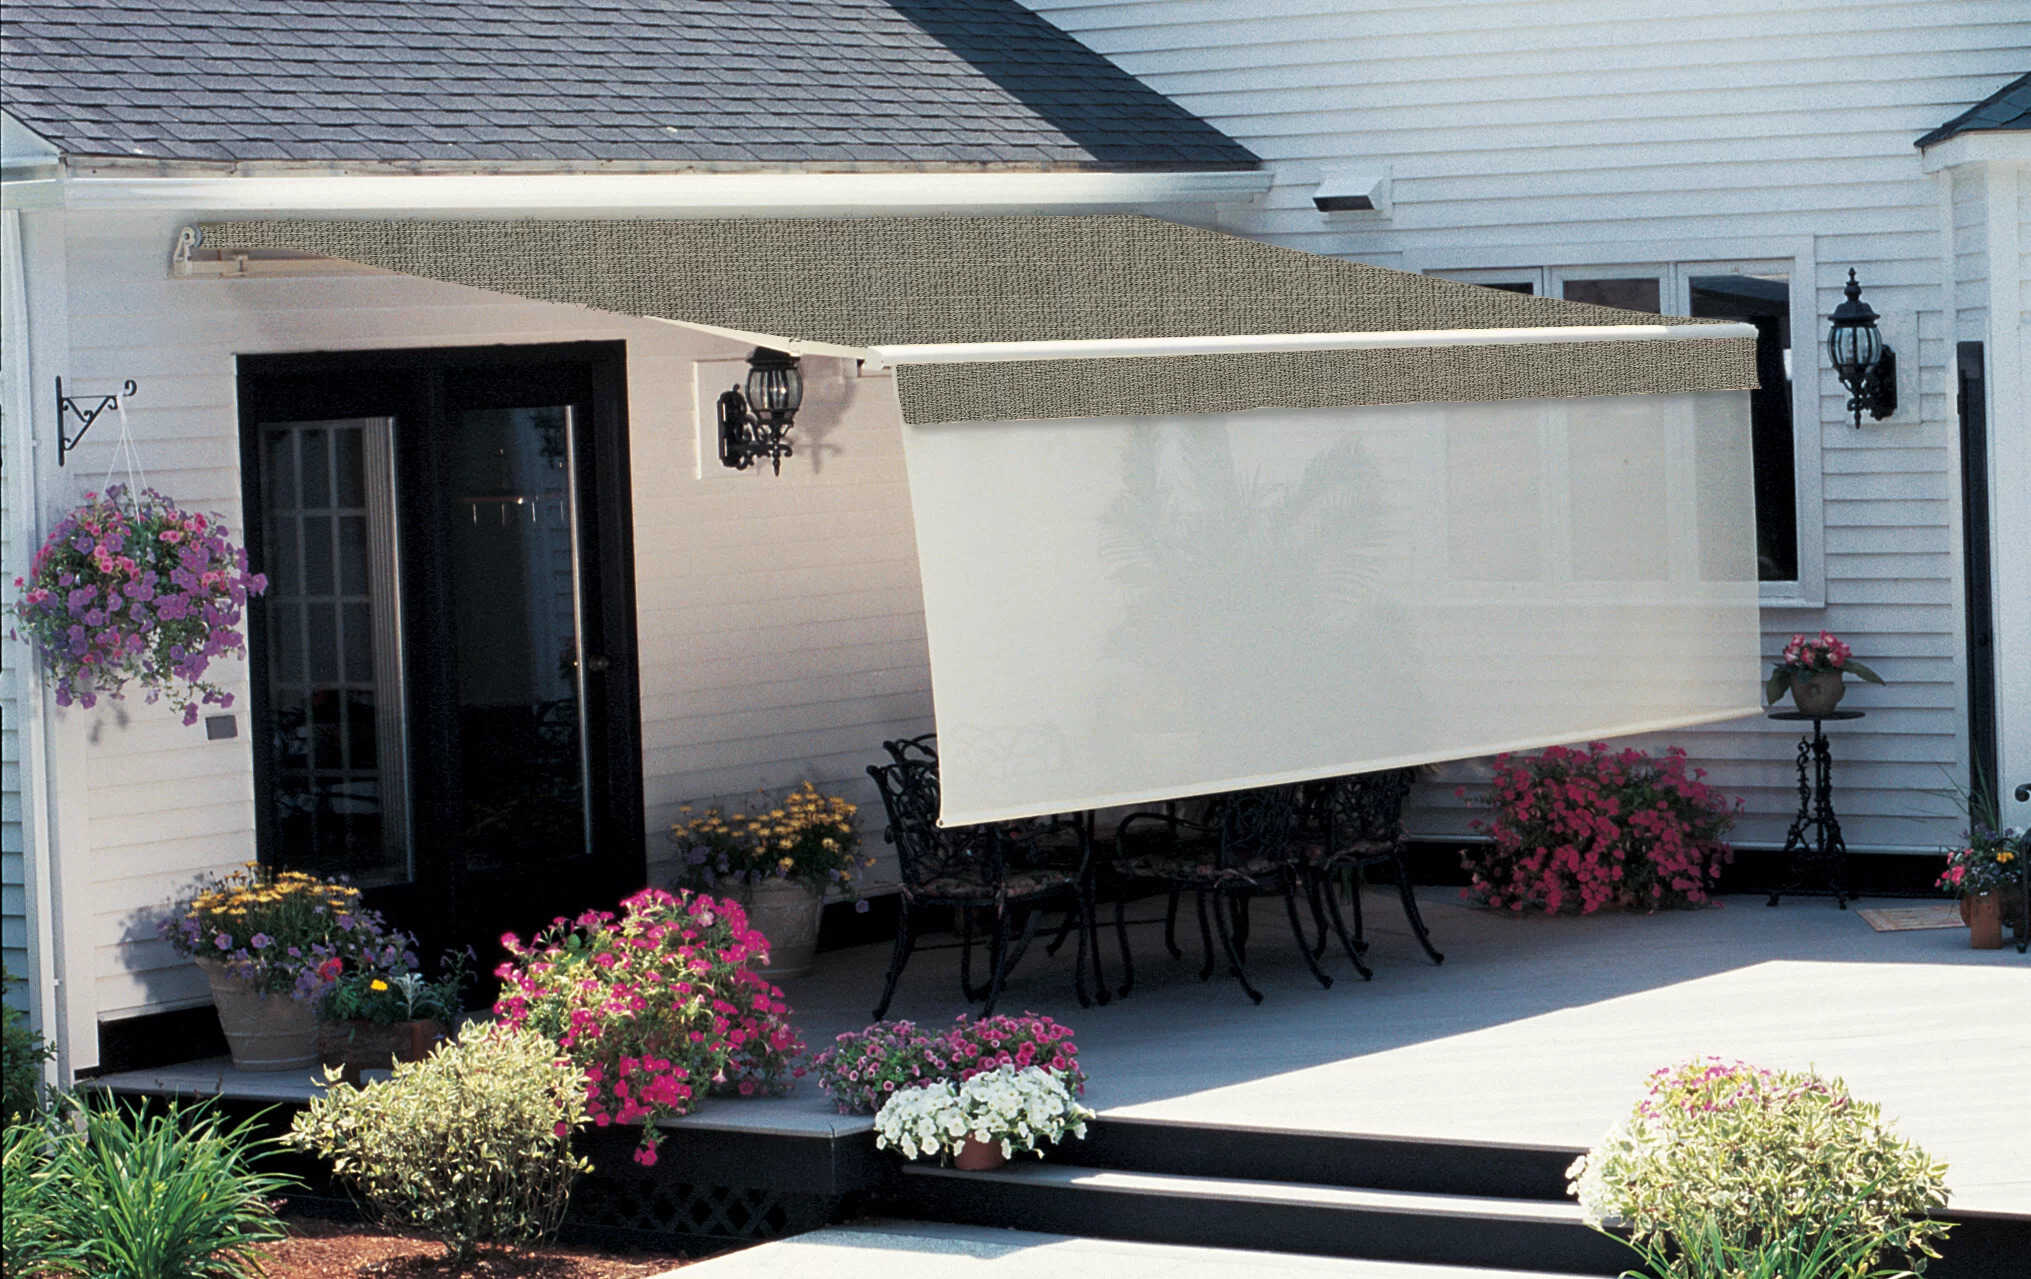
Step 2: Extend and Secure the Awning
Before diving into the cleaning process, it’s important to properly extend and secure the awning to create a safe and accessible workspace. Follow these steps to ensure the awning is in the optimal position for cleaning:
- Choose a Suitable Location: Park your camper in a location that provides ample space for extending the awning without any obstructions. This will make the cleaning process more manageable and prevent any accidental damage to surrounding objects.
- Clear the Area: Remove any furniture, grills, or other items from beneath the awning to create an open workspace. This will prevent obstacles and allow for unrestricted access during the cleaning process.
- Extend the Awning: Carefully extend the awning to its full length, ensuring that it is taut and evenly stretched out. This will expose the entire underside, making it easier to clean and inspect for any areas in need of attention.
- Secure the Awning in Place: Use the awning’s built-in locking mechanism or support legs to secure it in the extended position. This will prevent unexpected retraction and ensure a stable cleaning environment.
By following these steps, you’ll create a safe and accessible workspace for cleaning the underside of the awning. Properly positioning the awning will allow you to work efficiently and cover the entire surface area, leading to a thorough and effective cleaning process.
Step 3: Brush off Loose Debris
With the awning extended and secured, it’s time to prepare the surface for a more thorough cleaning. The first step in this process is to remove any loose debris and dirt that may have accumulated on the underside of the awning. Here’s how to effectively brush off loose debris:
- Start at the Top: Begin at the top edge of the awning and work your way down. Using a soft-bristled brush, gently sweep across the fabric, dislodging any loose dirt, leaves, or other debris. Take care to cover the entire surface area, paying special attention to seams and creases where debris may be trapped.
- Use Light Pressure: Avoid applying excessive pressure while brushing to prevent damaging the fabric. A light, sweeping motion will effectively dislodge debris without causing unnecessary wear and tear.
- Focused Areas: Pay attention to areas where debris tends to accumulate, such as near the roller tube or along the stitching. Thoroughly brush these areas to ensure all loose debris is removed.
- Clear the Workspace: As you brush off the debris, periodically clear the workspace beneath the awning to prevent debris from falling onto cleaned areas. This will maintain a tidy work environment and prevent recontamination.
By diligently brushing off loose debris, you’ll create a clean foundation for the subsequent cleaning steps. This initial preparation will make the overall cleaning process more effective and ensure that the cleaning solution can penetrate the fabric without interference from loose debris.
Step 4: Apply Cleaning Solution
Now that the loose debris has been brushed off, it’s time to apply a gentle cleaning solution to effectively lift and remove any embedded dirt, grime, or stains from the underside of the awning. Here’s how to apply the cleaning solution in a safe and effective manner:
- Dilute the Detergent: In a large bucket, mix the mild detergent with water according to the manufacturer’s recommendations. Ensure that the solution is well-diluted to avoid leaving any residue on the fabric.
- Test in a Small Area: Before applying the cleaning solution to the entire underside of the awning, perform a patch test in a discreet area to ensure that the detergent does not cause any adverse effects, such as discoloration or damage to the fabric.
- Apply the Solution: Using a soft-bristled brush or a clean sponge, gently apply the diluted cleaning solution to the fabric. Work in small sections to ensure thorough coverage and avoid missing any areas.
- Focused on Stains: Pay special attention to any visible stains or areas of heavy soiling. Apply the cleaning solution directly to these areas and allow it to penetrate for a few minutes before proceeding to scrub.
- Avoid Excessive Soaking: While it’s important to ensure that the fabric is adequately saturated with the cleaning solution, avoid allowing the solution to soak for an extended period, as this could lead to over-wetting and potential damage.
By methodically applying the cleaning solution, you’ll effectively prepare the fabric for the next step of the cleaning process. This gentle yet thorough approach will help lift embedded dirt and stains, setting the stage for a comprehensive cleaning of the awning’s underside.
To clean the underside of a camper awning, mix a solution of mild soap and water. Use a soft brush or cloth to gently scrub the underside, then rinse thoroughly with water. Allow the awning to air dry completely before rolling it up.
Read more: How To Open A Camper Awning
Step 5: Scrub the Underside
With the cleaning solution applied, it’s time to roll up your sleeves and tackle the scrubbing process. This step is crucial for dislodging stubborn dirt, grime, and stains from the underside of the awning. Here’s how to effectively scrub the underside of the awning to restore its cleanliness:
- Use Gentle Pressure: Armed with a soft-bristled brush or a clean sponge, begin scrubbing the fabric in a circular motion, applying gentle and even pressure. This approach will effectively lift and remove embedded dirt without causing damage to the fabric.
- Work in Sections: Divide the underside of the awning into manageable sections and focus on one area at a time. This systematic approach will ensure thorough coverage and allow you to concentrate on areas with visible stains or heavy soiling.
- Pay Attention to Seams and Edges: Take extra care to scrub along the seams, edges, and any folds in the fabric where dirt and grime may have accumulated. These areas often require more attention to achieve a comprehensive cleaning result.
- Address Stubborn Stains: For particularly stubborn stains, apply additional cleaning solution and gently agitate the fabric with the brush or sponge. Persistence and patience can often yield impressive results in lifting tough stains.
- Regularly Rinse the Brush: Throughout the scrubbing process, periodically rinse the brush or sponge in clean water to prevent the accumulation of dirt and ensure that you’re working with a clean tool at all times.
By methodically scrubbing the underside of the awning, you’ll effectively lift embedded dirt and stains, restoring the fabric to a clean and refreshed state. This hands-on approach will yield noticeable results and set the stage for the final rinsing and drying steps.
Step 6: Rinse and Dry
After the thorough scrubbing process, it’s time to rinse off the cleaning solution and ensure that the underside of the awning is clean and free of any remaining dirt or detergent residue. Follow these steps to effectively rinse and dry the awning:
- Rinse with Water: Using a garden hose with a gentle spray nozzle, thoroughly rinse the entire underside of the awning. Start from the top and work your way down, ensuring that all traces of the cleaning solution are removed. Pay special attention to seams and creases to eliminate any residual detergent.
- Inspect for Residue: After rinsing, visually inspect the fabric to ensure that no detergent residue remains. Any lingering residue can be gently agitated with a soft brush and rinsed again until the fabric is clean and free of cleaning solution.
- Allow Sufficient Drying Time: Once rinsed, allow the underside of the awning to air dry thoroughly. Avoid retracting the awning until the fabric is completely dry to prevent the development of mold or mildew.
- Patience is Key: Depending on the weather conditions, drying times may vary. Be patient and allow the fabric to air dry naturally, taking advantage of sunny and breezy days to expedite the process.
- Prevent Retraction During Drying: To ensure thorough drying, refrain from retracting the awning prematurely. Allowing the fabric to dry completely will help maintain its cleanliness and prevent potential issues associated with dampness.
By meticulously rinsing and drying the underside of the awning, you’ll complete the cleaning process with a refreshed and revitalized surface. This final step will ensure that the awning is clean, free of residue, and ready to be enjoyed during your outdoor adventures.
Step 7: Apply Protective Coating
Once the underside of the awning is thoroughly cleaned and dried, it’s beneficial to apply a protective coating to safeguard the fabric and maintain its cleanliness over time. A quality protective coating can help repel dirt, prevent staining, and extend the lifespan of the awning. Follow these steps to apply a protective coating to the underside of the awning:
- Select an Awning Protectant: Choose a specialized awning protectant product designed to safeguard awning fabric. Ensure that the protectant is suitable for the specific material of your awning.
- Read and Follow Instructions: Before application, carefully read the manufacturer’s instructions provided with the protectant. Adhering to the recommended application method will ensure optimal results and longevity of the protective coating.
- Apply Evenly and Liberally: Using a clean sponge or applicator recommended by the product manufacturer, apply the protective coating to the entire underside of the awning. Ensure even coverage, paying attention to seams and edges.
- Allow Adequate Drying Time: After applying the protective coating, allow the awning to dry completely as per the product instructions. This will enable the protective agents to bond with the fabric, forming a durable barrier against dirt and environmental elements.
- Reapply as Needed: Depending on the specific product and usage conditions, periodic reapplication of the protective coating may be necessary. Monitor the condition of the awning and follow the manufacturer’s recommendations for maintenance.
By applying a protective coating to the underside of the awning, you’ll enhance its resilience and longevity, ensuring that it remains clean and well-protected during your outdoor excursions. This proactive measure will contribute to maintaining the awning in top condition and ready for future adventures.
Conclusion
Congratulations on successfully completing the comprehensive cleaning process for the underside of your camper awning! By following the step-by-step guide outlined in this article, you’ve revitalized the appearance and functionality of your awning, ensuring that it remains a valuable asset during your outdoor escapades. As you reflect on the cleaning journey, consider the following key takeaways:
- Maintenance is Key: Regularly cleaning the underside of your camper awning is essential for preserving its appearance and structural integrity. By incorporating this task into your maintenance routine, you’ll prolong the lifespan of the awning and maximize its performance.
- Attention to Detail: The meticulous approach to cleaning, from brushing off loose debris to applying a protective coating, demonstrates the importance of thoroughness in maintaining outdoor structures. Each step contributes to a clean, rejuvenated awning.
- Protection for the Future: Applying a protective coating serves as a proactive measure to safeguard the awning against environmental elements, ensuring that it remains resilient and resistant to dirt and stains in the long run.
- Enjoy the Fruits of Your Labor: With a freshly cleaned and protected awning, you’re now ready to embark on new adventures with confidence, knowing that your outdoor space is clean, inviting, and well-cared for.
Remember, the cleanliness and maintenance of your camper awning contribute to the overall enjoyment of your outdoor experiences. By investing time and effort into its care, you’re creating a welcoming and comfortable environment for relaxation, socializing, and appreciating the great outdoors.
As you bask in the satisfaction of a job well done, take a moment to admire your gleaming camper awning, knowing that it’s primed and ready to accompany you on countless memorable journeys. Here’s to many more adventures under the shade of your beautifully maintained awning!
Frequently Asked Questions about How To Clean The Underside Of A Camper Awning
Was this page helpful?
At Storables.com, we guarantee accurate and reliable information. Our content, validated by Expert Board Contributors, is crafted following stringent Editorial Policies. We're committed to providing you with well-researched, expert-backed insights for all your informational needs.


0 thoughts on “How To Clean The Underside Of A Camper Awning”