Home>Gardening & Outdoor>Outdoor Structures>How To Install Led Strip Lights On RV Awning
Outdoor Structures
How To Install Led Strip Lights On RV Awning
Modified: August 16, 2024
Learn how to easily install LED strip lights on your RV awning for a vibrant outdoor atmosphere. Enhance your outdoor structures with this simple DIY project.
(Many of the links in this article redirect to a specific reviewed product. Your purchase of these products through affiliate links helps to generate commission for Storables.com, at no extra cost. Learn more)
Introduction
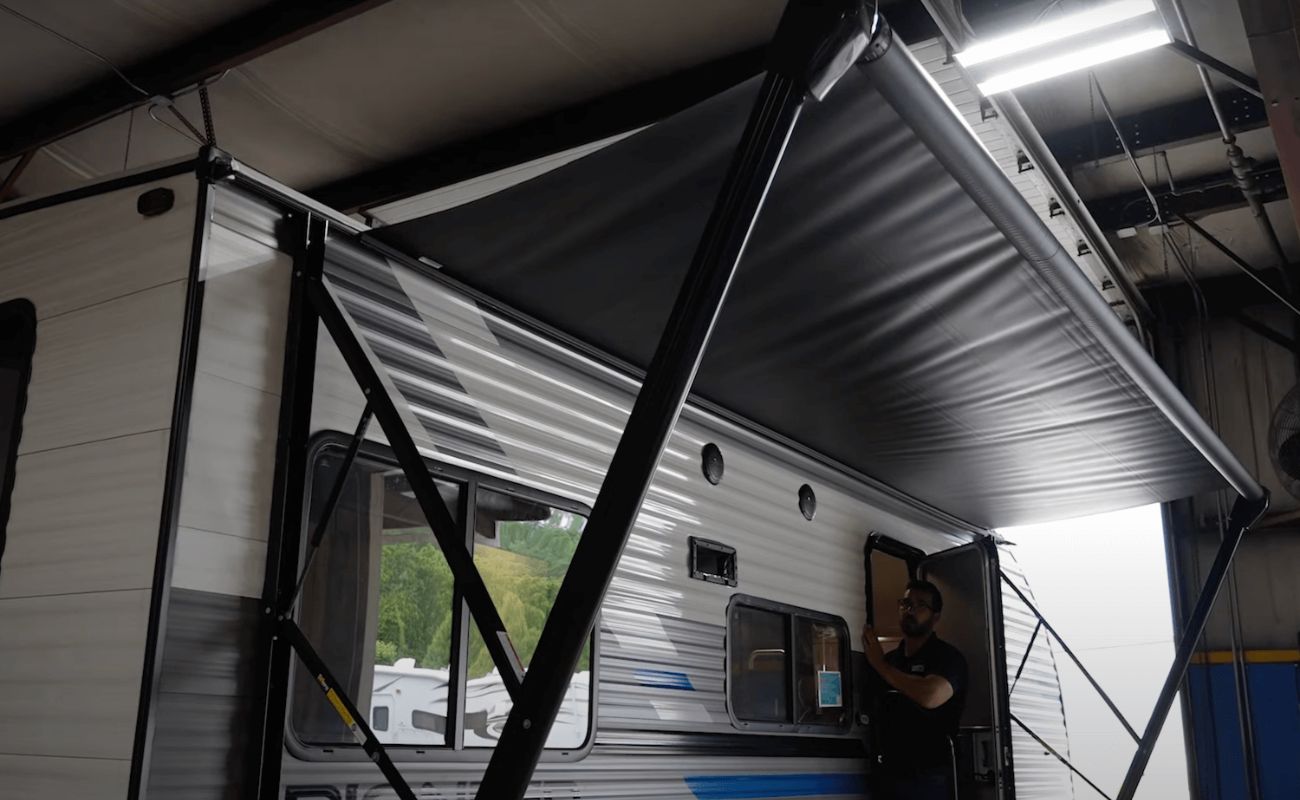
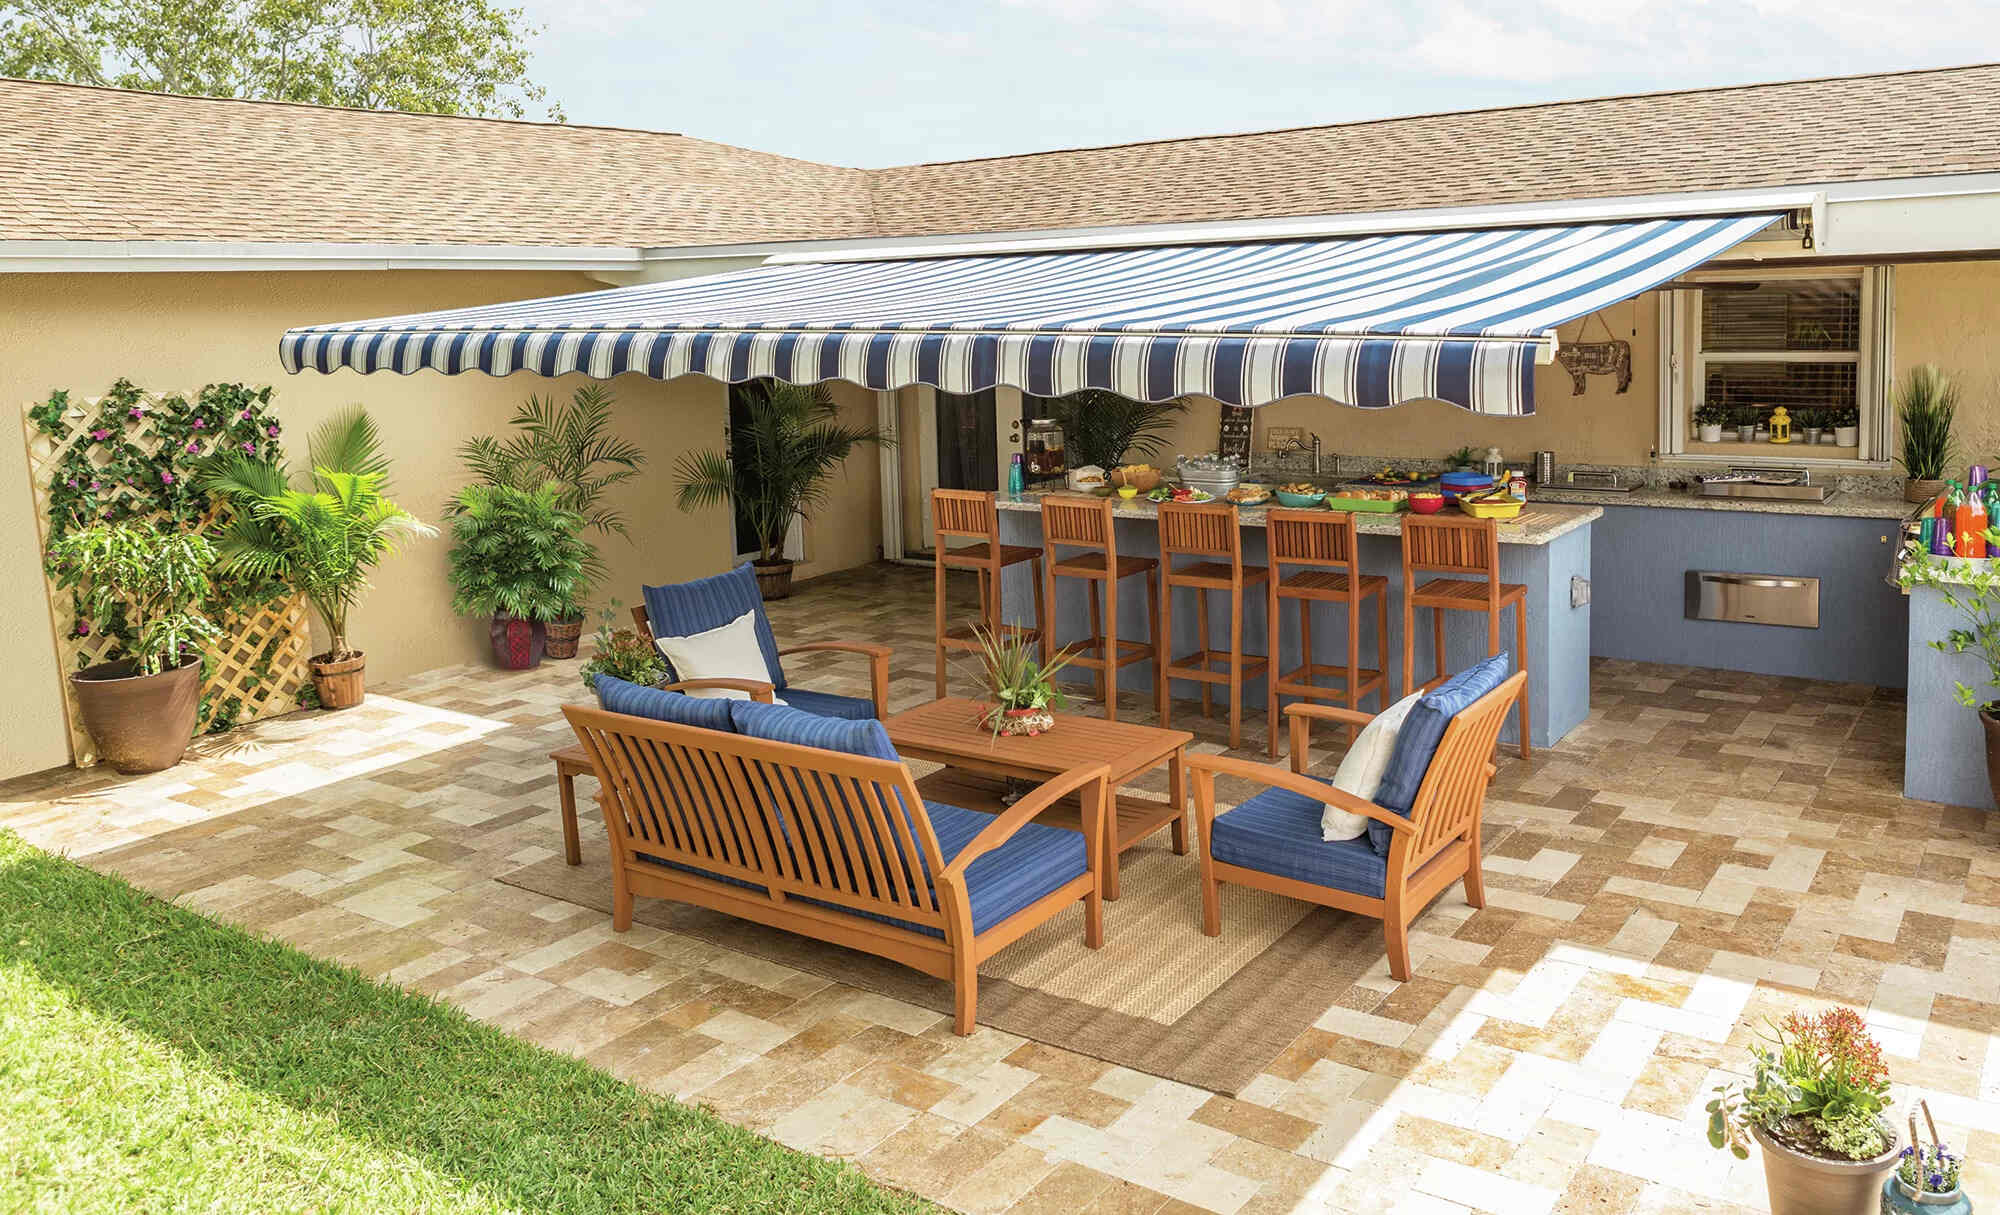
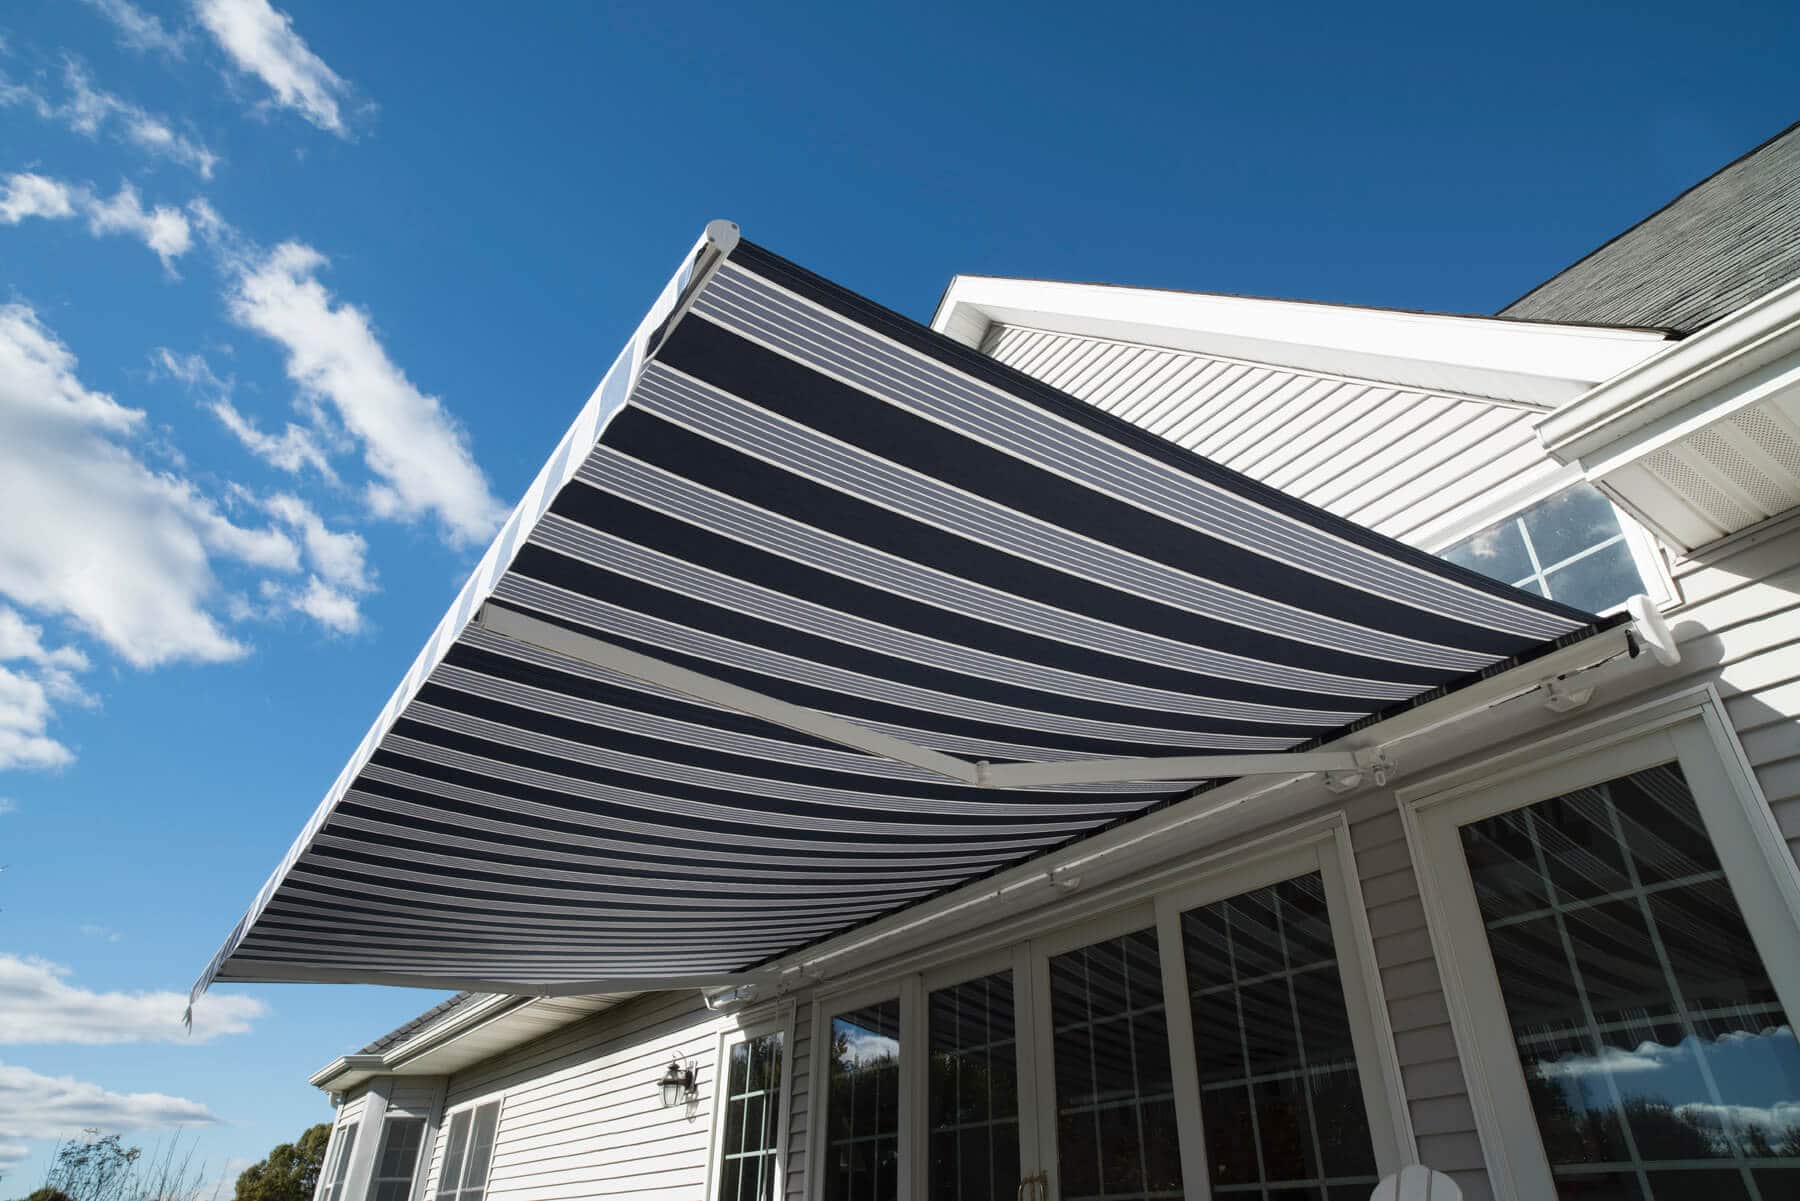
Welcome to the world of outdoor adventure and relaxation! Whether you're a seasoned RV enthusiast or a newcomer to the lifestyle, illuminating your RV awning with LED strip lights can transform your outdoor experience. The soft, ambient glow of these lights not only adds a touch of elegance to your RV setup but also enhances safety and visibility during evening gatherings and activities.
Installing LED strip lights on your RV awning is a fantastic way to personalize your outdoor space and create a welcoming ambiance for friends and family. These versatile lights are energy-efficient, durable, and easy to install, making them an ideal choice for enhancing the aesthetics and functionality of your RV setup.
In this comprehensive guide, we'll walk you through the step-by-step process of installing LED strip lights on your RV awning. From gathering the necessary materials to connecting the power supply and testing the lights, we've got you covered. So, grab your tools and let's illuminate your outdoor adventures with the warm and inviting glow of LED strip lights!
Key Takeaways:
- Transform your RV awning with LED strip lights for a captivating outdoor ambiance and enhanced safety during evening activities. Follow the step-by-step guide for a seamless installation process.
- Prioritize safety and maintenance to preserve the longevity and optimal performance of your newly installed LED strip lights. Embrace the enchanting allure of your illuminated outdoor space for countless memorable moments.
Read more: How To Install An Awning On An RV
Materials Needed
Before you embark on the installation process, it’s essential to gather all the necessary materials and tools. Here’s a comprehensive list of items you’ll need to install LED strip lights on your RV awning:
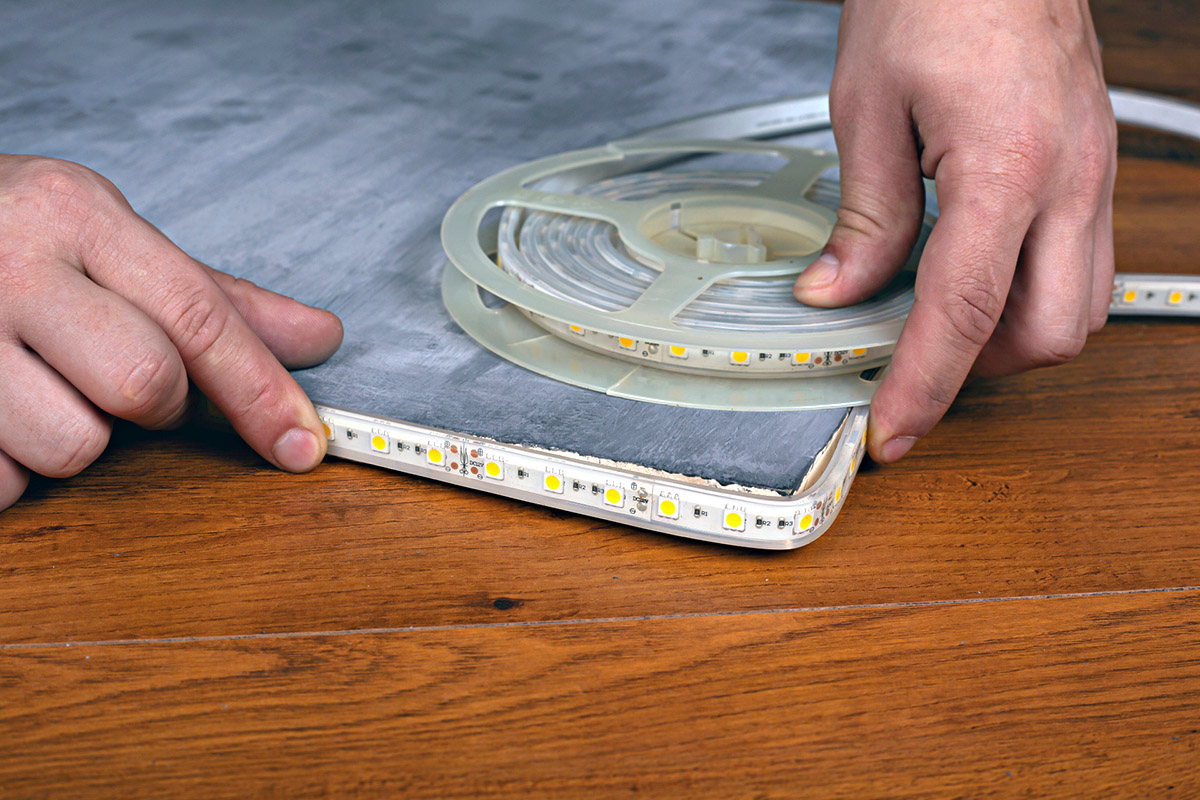
- LED Strip Lights: Choose high-quality, waterproof LED strip lights that are suitable for outdoor use. Measure the length of your awning to determine the required strip length.
- Power Supply: Select a reliable power supply or transformer specifically designed for LED strip lights. Ensure that the power supply is compatible with the voltage requirements of the LED lights.
- Wire Connectors: Acquire wire connectors to facilitate the connection between the LED strip lights and the power supply.
- Adhesive Clips or Mounting Channels: Depending on your preference, you can opt for adhesive clips or mounting channels to secure the LED strip lights along the awning’s edge.
- Wire Cutters and Strippers: These tools are essential for cutting the LED strip lights to the required length and stripping the insulation from the wire ends for proper connections.
- Electrical Tape: Use electrical tape to secure and insulate the connections, providing an added layer of protection.
- Cleaning Supplies: Before installation, ensure that the surface of the awning is clean and dry. You may need cleaning supplies such as rubbing alcohol and a cloth to prepare the mounting surface.
- Measuring Tape and Scissors: These tools will help you accurately measure and cut the LED strip lights to fit the length of your RV awning.
- Step Ladder: Depending on the height of your RV, a step ladder may be necessary to safely access the awning for installation.
- Protective Eyewear and Gloves: Safety first! Wear protective eyewear and gloves when handling tools and electrical components during the installation process.
By ensuring that you have all the required materials and tools at your disposal, you’ll be well-prepared to proceed with the installation of LED strip lights on your RV awning. Let’s move on to the preparation phase to ensure a smooth and successful installation process.
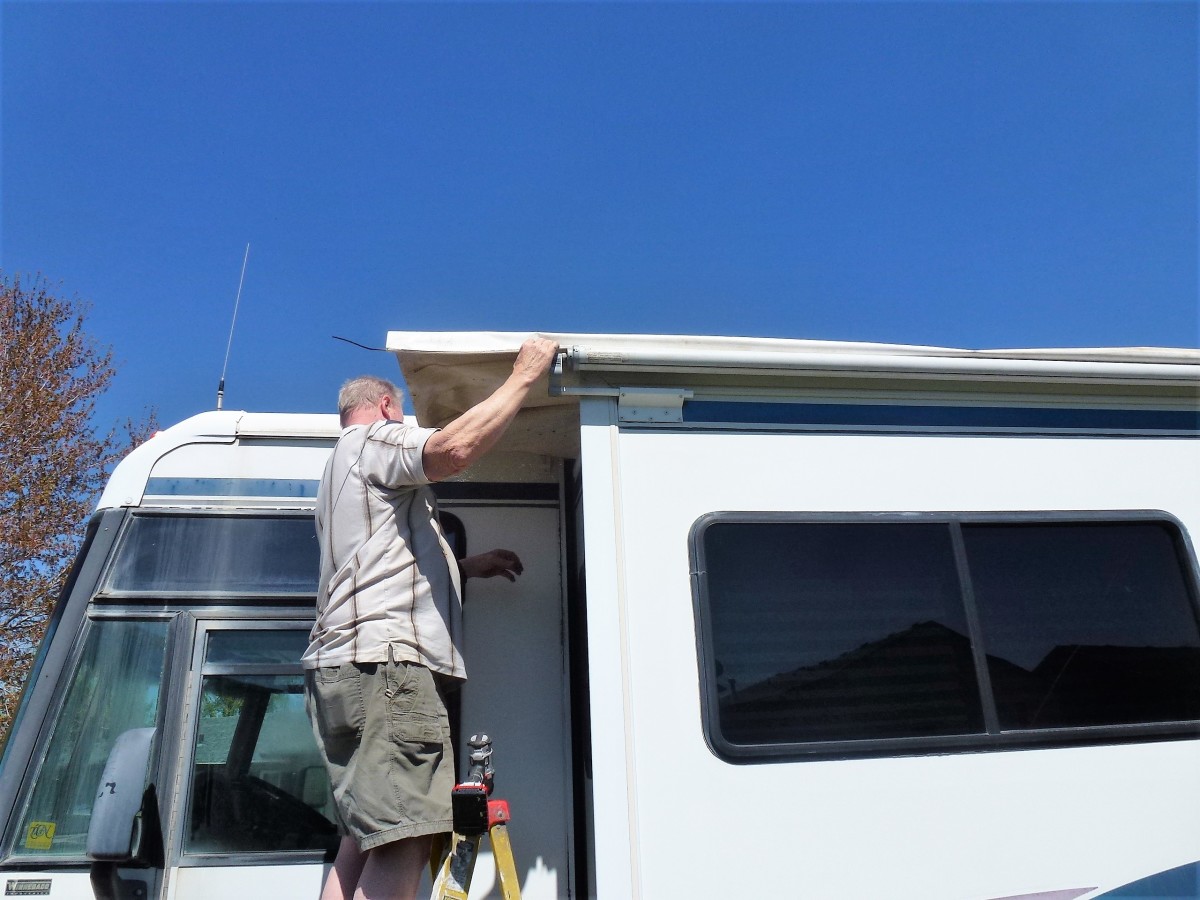
Preparation
Before diving into the installation process, it’s crucial to prepare the area and plan the layout for mounting the LED strip lights on your RV awning. Here’s a step-by-step guide to help you prepare for a seamless installation:
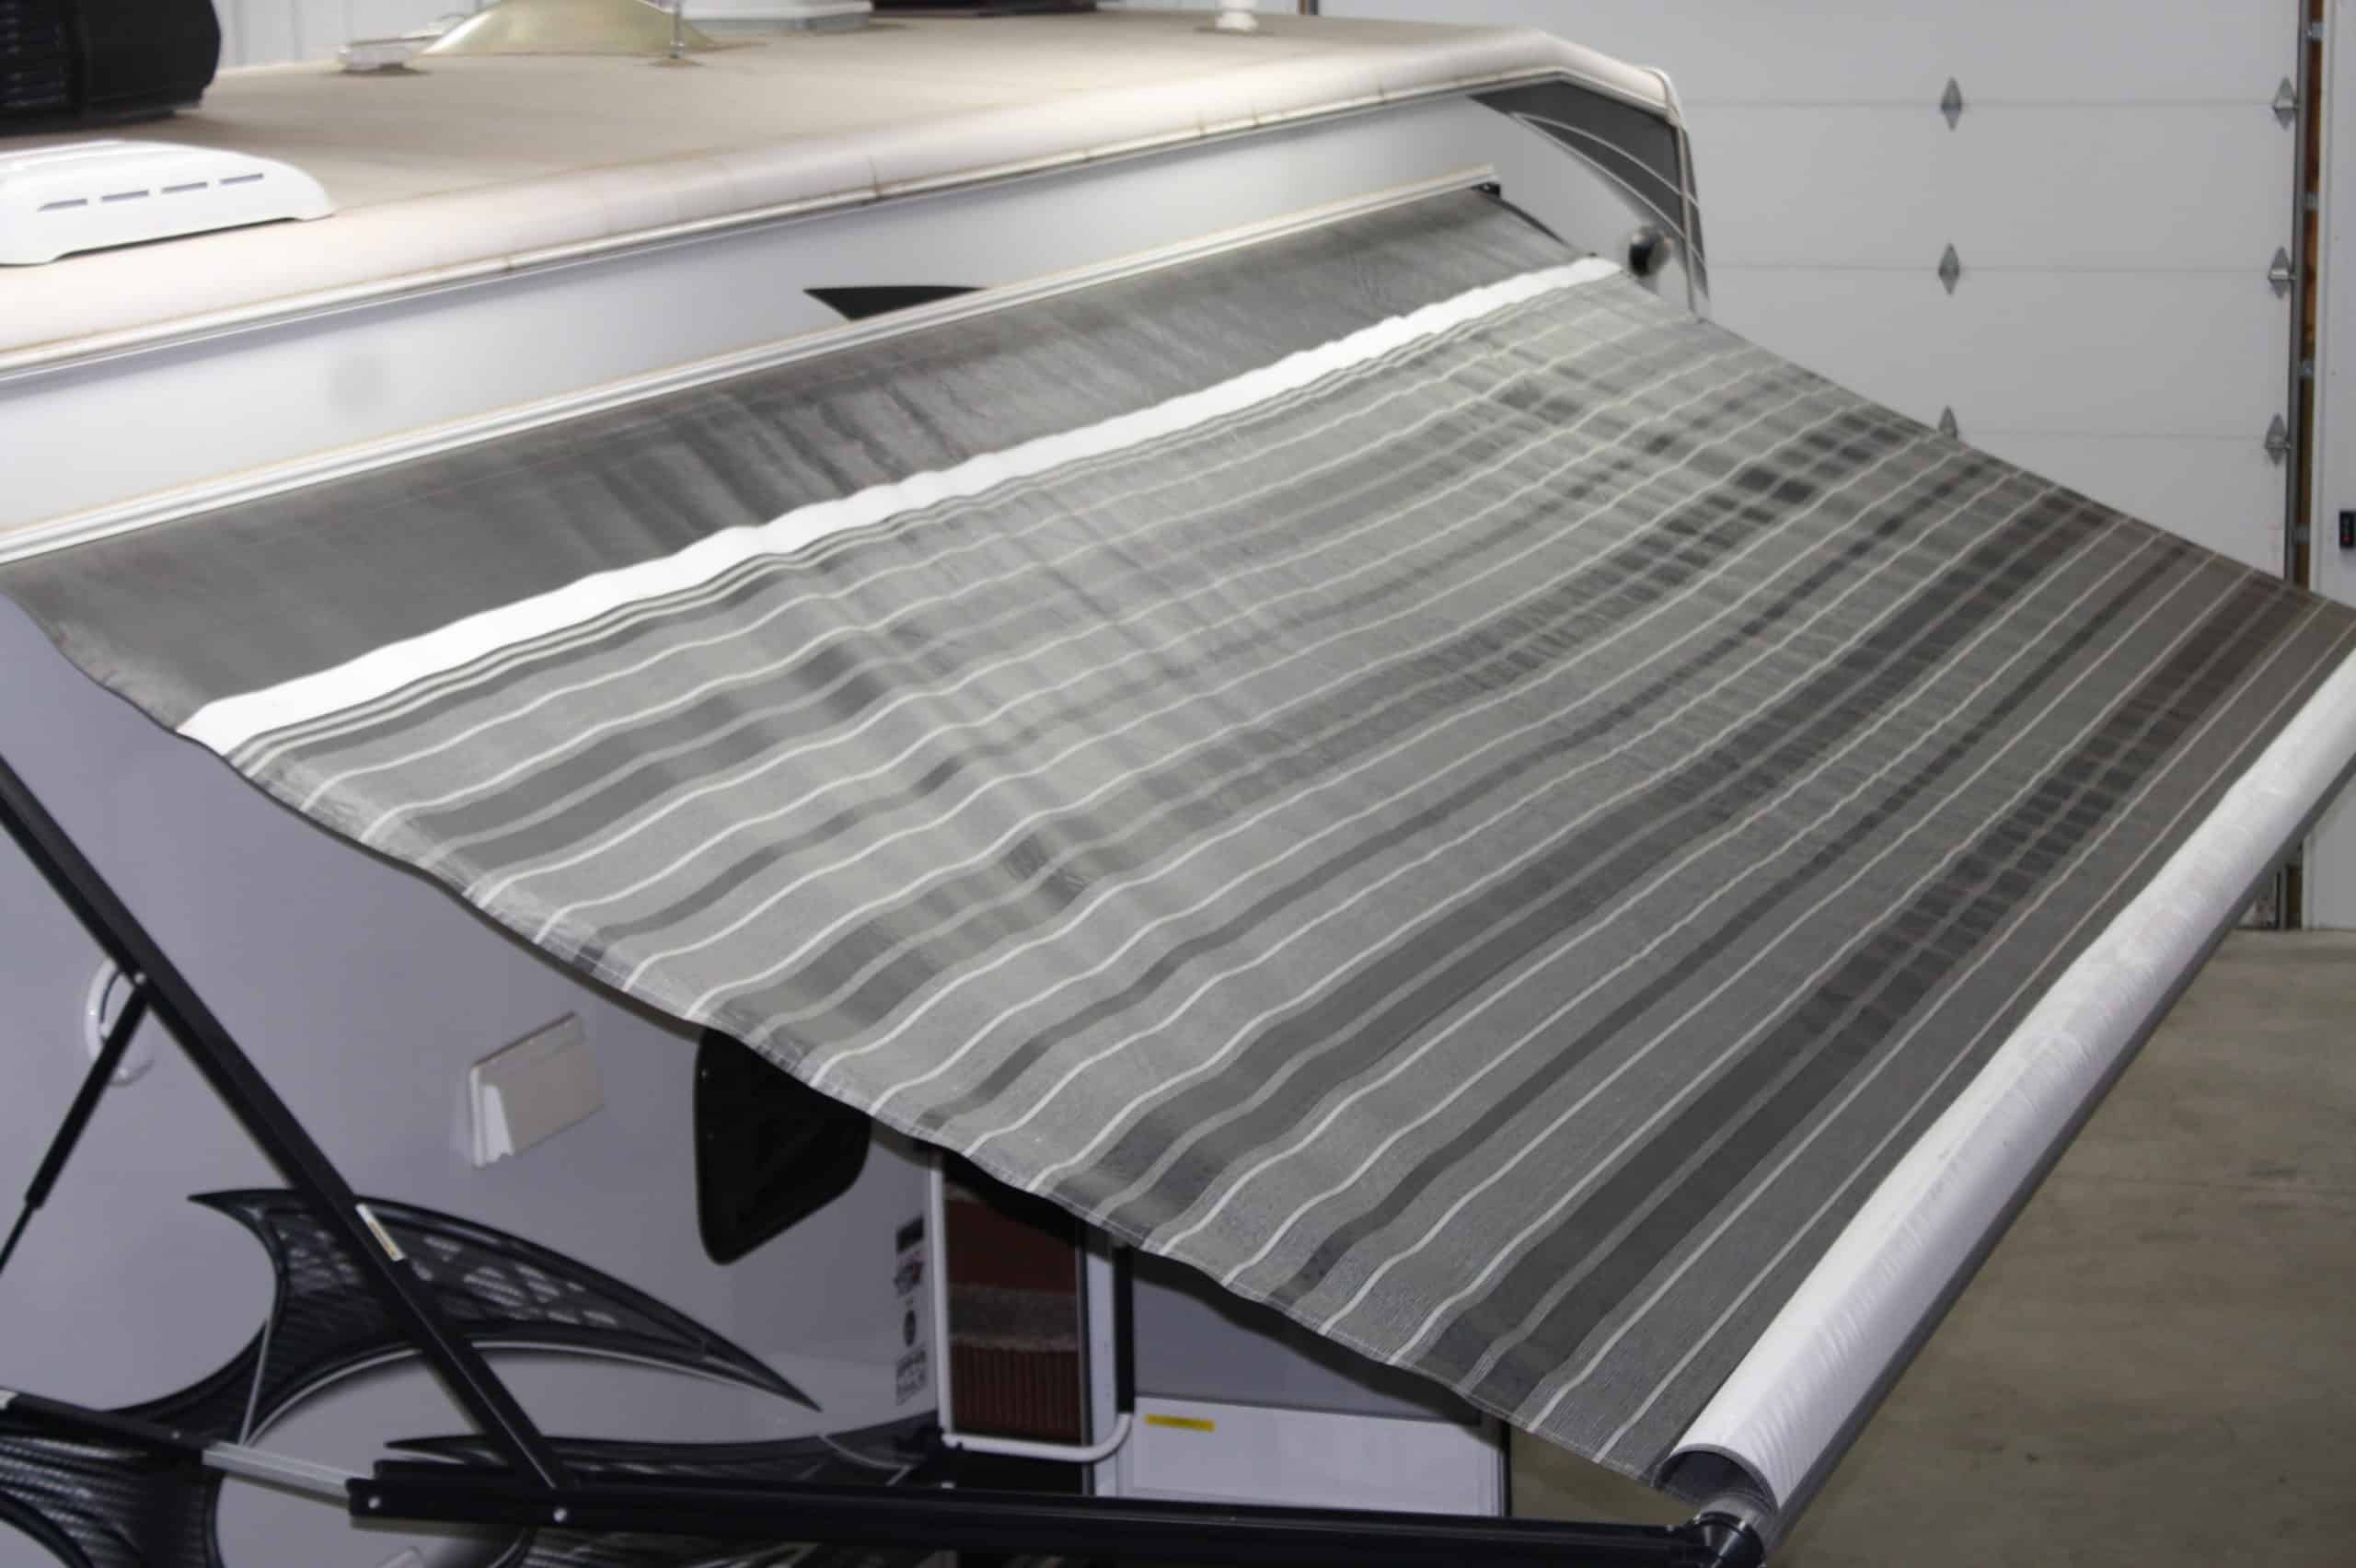
- Inspect the Awning: Carefully examine the awning to ensure that it is clean and free from any debris or residue. If necessary, use a mild cleaning solution and a cloth to remove any dirt or grime from the surface. Allow the awning to dry completely before proceeding.
- Measure and Plan: Use a measuring tape to determine the length of the awning where you intend to install the LED strip lights. Plan the placement of the lights, keeping in mind any obstructions or protrusions that may affect the layout.
- Test the Layout: Before mounting the LED strip lights, perform a dry layout by loosely placing the lights along the intended path. This step allows you to visualize the placement and make any necessary adjustments before securing the lights in place.
- Prepare the Power Source: Identify the location where you will connect the power supply for the LED strip lights. Ensure that the power source is easily accessible and that the power cable can reach the intended connection point without tension or strain.
- Secure the Necessary Tools: Gather all the tools and materials required for the installation, including wire cutters, adhesive clips, electrical tape, and any additional items specific to your installation plan.
- Ensure Safety Measures: Prioritize safety by wearing protective eyewear and gloves when handling tools and electrical components. Additionally, if a step ladder is required for access, ensure that it is stable and positioned on a level surface.
By meticulously preparing the awning and planning the layout of the LED strip lights, you set the stage for a successful installation process. With the area primed and the layout confirmed, you’re ready to move on to the exciting phase of installing the LED strip lights on your RV awning. Let’s illuminate your outdoor space with stunning LED lighting!
Installing the LED Strip Lights
With the preparation phase complete, it’s time to embark on the exciting process of installing the LED strip lights on your RV awning. Follow these step-by-step instructions to ensure a smooth and effective installation:
- Cut the LED Strip Lights: Using scissors, carefully cut the LED strip lights to match the measured length of your RV awning. Most LED strip lights feature designated cut points, ensuring that you can customize the length to fit your specific requirements.
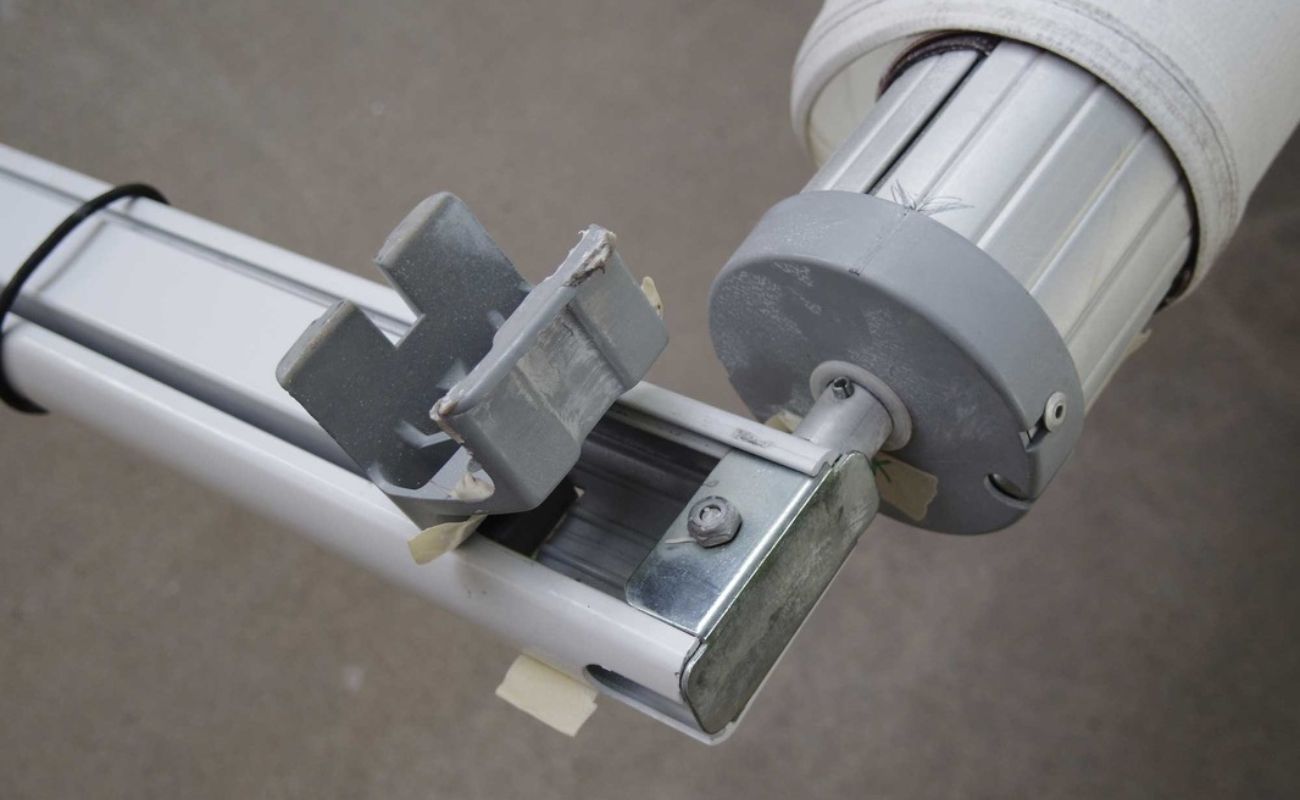
- Attach the Mounting Hardware: Depending on your chosen method, use adhesive clips or mounting channels to secure the LED strip lights along the edge of the awning. Ensure that the mounting surface is clean and dry before applying the adhesive clips or mounting channels.
- Apply the LED Strip Lights: Gently press the LED strip lights onto the mounting surface, following the planned layout. Take care to position the lights evenly and securely along the length of the awning, maintaining a consistent and appealing appearance.
- Secure the End Connections: If necessary, use adhesive or mounting clips to secure the end connections of the LED strip lights, ensuring that the wires are neatly tucked away and protected from environmental elements.
- Test the Adhesion: After applying the LED strip lights, perform a gentle tug test to ensure that the lights are securely attached to the awning. This step helps verify the effectiveness of the mounting method and ensures that the lights will remain in place over time.
By following these steps, you can successfully install the LED strip lights on your RV awning, creating a captivating and inviting outdoor atmosphere. The soft, radiant glow of the LED lights will enhance the aesthetic appeal of your RV setup while providing practical illumination for evening gatherings and activities. With the lights securely in place, it’s time to proceed to the next crucial step: connecting the power supply to bring your LED strip lights to life!
Before installing LED strip lights on your RV awning, make sure to clean the surface thoroughly and measure the length of the awning to determine how much lighting you will need. Use adhesive clips or mounting channels to secure the lights in place, and connect them to a power source using a waterproof connector.
Connecting the Power Supply
Once the LED strip lights are securely installed on your RV awning, the next vital step is to connect the power supply, bringing your outdoor illumination to life. Follow these essential guidelines to ensure a safe and effective connection:
- Locate the Power Supply Connection Point: Identify the designated connection point for the power supply, ensuring that it is easily accessible and positioned in close proximity to the installed LED strip lights.
- Prepare the Power Cable: If the power cable from the LED strip lights requires customization, use wire cutters to trim the cable to the appropriate length, allowing for a seamless connection to the power supply.
- Strip the Wire Ends: Carefully strip the insulation from the wire ends of both the LED strip lights and the power supply cable, exposing a sufficient length of wire for secure connections.
- Connect the Wires: Use wire connectors to join the stripped ends of the LED strip lights and the power supply cable, ensuring a snug and reliable connection. Follow the manufacturer’s guidelines for proper wire connection techniques.
- Insulate the Connections: After securing the wire connectors, use electrical tape to insulate and protect the connections from moisture and environmental factors. This additional safeguard helps maintain the integrity of the electrical connections over time.
- Verify the Connection: Perform a visual inspection of the connections to ensure that they are secure and properly insulated. Confirm that the power supply cable is positioned in a manner that prevents strain or tension on the connections.
By meticulously following these steps, you can confidently connect the power supply to your LED strip lights, activating the captivating illumination that will enhance your outdoor RV experience. With the power supply seamlessly integrated, you’re now ready to proceed to the final phase: testing the LED strip lights to ensure their functionality and performance. Let’s illuminate your outdoor adventures with the warm and inviting glow of LED lighting!
Read more: How To Install LED Strips In Your Car
Testing the Lights
With the LED strip lights installed and the power supply connected, it’s time to conduct a thorough test to ensure that your outdoor illumination is functioning as intended. Follow these essential steps to verify the functionality and performance of the LED lights:
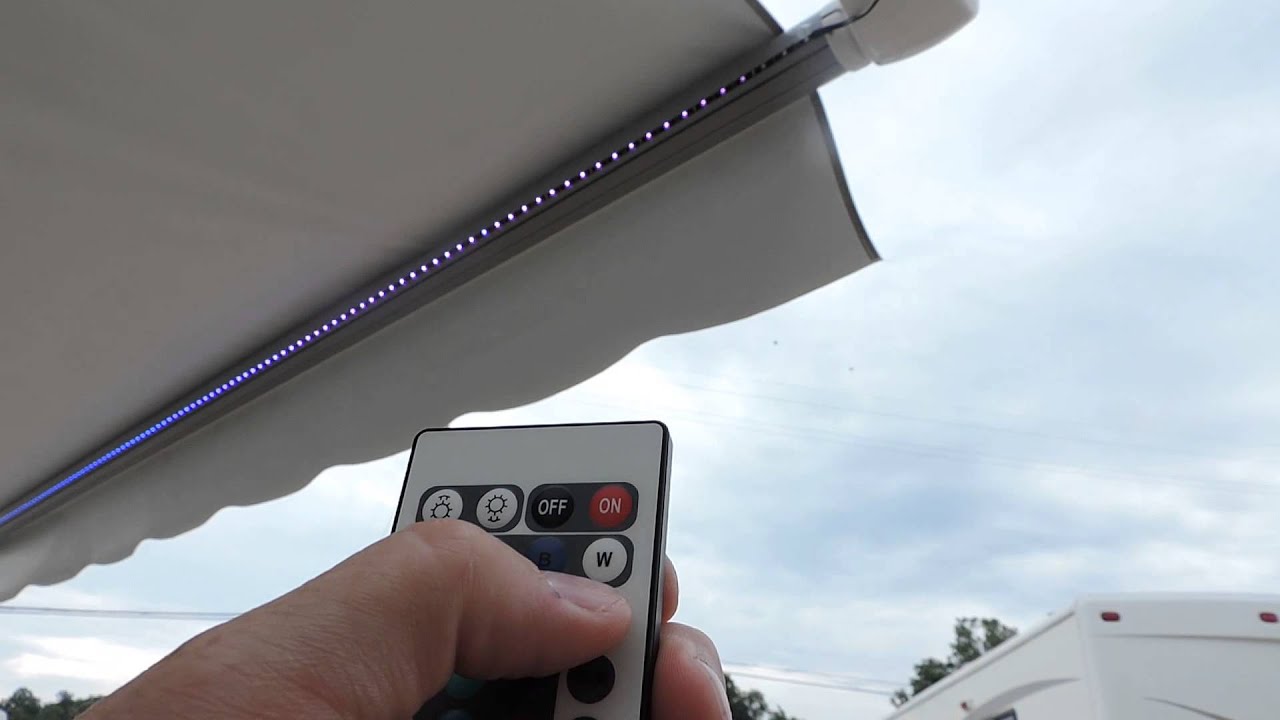
- Power On the Lights: Switch on the power supply to activate the LED strip lights, allowing them to illuminate the area beneath your RV awning. Observe the lights closely to ensure that they power up and emit a consistent, radiant glow along the length of the awning.
- Check for Uniform Illumination: Assess the distribution of light to confirm that the LED strip lights provide uniform illumination without any dim or non-functional sections. This step ensures that the entire length of the awning is effectively illuminated.
- Verify Color and Intensity: If your LED strip lights offer color-changing or dimming capabilities, test these features to ensure that the lights can create the desired ambiance for your outdoor space. Confirm that the colors are vibrant and the intensity of the light is suitable for your preferences.
- Observe for Any Issues: During the testing phase, carefully observe the LED strip lights for any flickering, irregularities, or unexpected behavior. Address any issues promptly to ensure that the lights operate reliably and consistently.
- Adjust and Fine-Tune: If necessary, make adjustments to the placement or alignment of the LED strip lights to optimize their performance and ensure the desired illumination effect. Fine-tune the positioning to achieve the perfect ambiance for your outdoor gatherings.
By conducting a comprehensive test of the LED strip lights, you can confirm their functionality and address any potential issues before fully enjoying the enhanced outdoor atmosphere they provide. With the lights successfully tested and functioning flawlessly, you can now relish the captivating illumination they bring to your RV awning, creating a welcoming and enchanting outdoor space for relaxation and entertainment.
Conclusion
Congratulations on successfully installing and illuminating your RV awning with stunning LED strip lights! By following the step-by-step process outlined in this guide, you’ve transformed your outdoor space into a captivating and inviting environment for relaxation, social gatherings, and outdoor activities. The soft, radiant glow of the LED lights not only enhances the aesthetic appeal of your RV setup but also provides practical illumination for evening enjoyment.
As you bask in the warm ambiance of your newly installed LED strip lights, remember to prioritize safety and maintenance to ensure the longevity and optimal performance of your outdoor lighting. Periodically inspect the lights for any signs of wear or damage, and promptly address any issues to maintain their functionality and appeal. Additionally, adhere to the manufacturer’s guidelines for cleaning and care to preserve the quality and appearance of the LED strip lights.
Whether you’re unwinding under the stars, hosting a delightful outdoor gathering, or simply enjoying the tranquil ambiance of your illuminated RV awning, the LED strip lights serve as a versatile and enchanting addition to your outdoor lifestyle. Embrace the captivating allure of your enhanced outdoor space and relish the countless memorable moments it will facilitate for you and your loved ones.
Thank you for embarking on this illuminating journey with us. May your outdoor adventures be enriched by the radiant glow of LED strip lights, creating cherished memories and fostering a deeper appreciation for the beauty of outdoor living.
Frequently Asked Questions about How To Install Led Strip Lights On RV Awning
Was this page helpful?
At Storables.com, we guarantee accurate and reliable information. Our content, validated by Expert Board Contributors, is crafted following stringent Editorial Policies. We're committed to providing you with well-researched, expert-backed insights for all your informational needs.


0 thoughts on “How To Install Led Strip Lights On RV Awning”