Home>Gardening & Outdoor>Outdoor Structures>How To Install Tool Shed 4 LED Shop Light – 4500 Lumens (4500SL)
Outdoor Structures
How To Install Tool Shed 4 LED Shop Light – 4500 Lumens (4500SL)
Published: December 21, 2023
Learn how to easily install the Tool Shed 4 LED Shop Light, with 4500 lumens, to brighten up your outdoor structures. Illuminate your space with this powerful lighting solution.
(Many of the links in this article redirect to a specific reviewed product. Your purchase of these products through affiliate links helps to generate commission for Storables.com, at no extra cost. Learn more)
Introduction
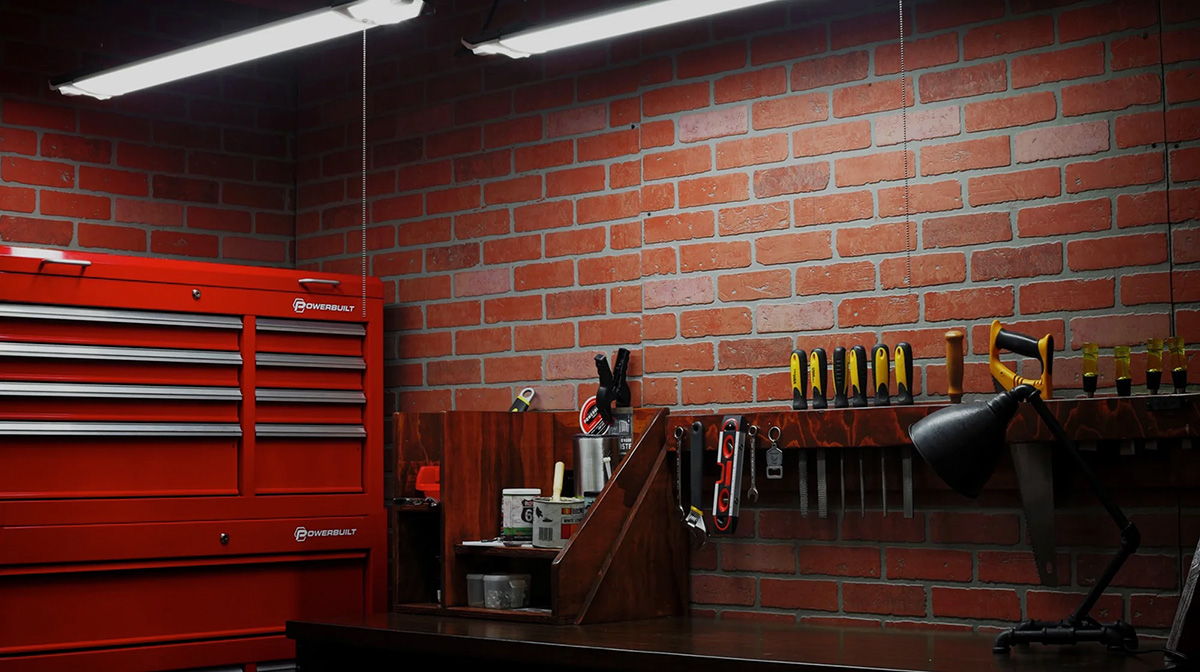
Welcome to the world of enhanced illumination and productivity with the Tool Shed 4 LED Shop Light – 4500 Lumens (4500SL). Whether you're a seasoned DIY enthusiast or a professional craftsman, this powerful lighting solution is designed to elevate your workspace to new heights. In this comprehensive guide, we'll walk you through the seamless installation process, ensuring that you can harness the full potential of this innovative lighting fixture.
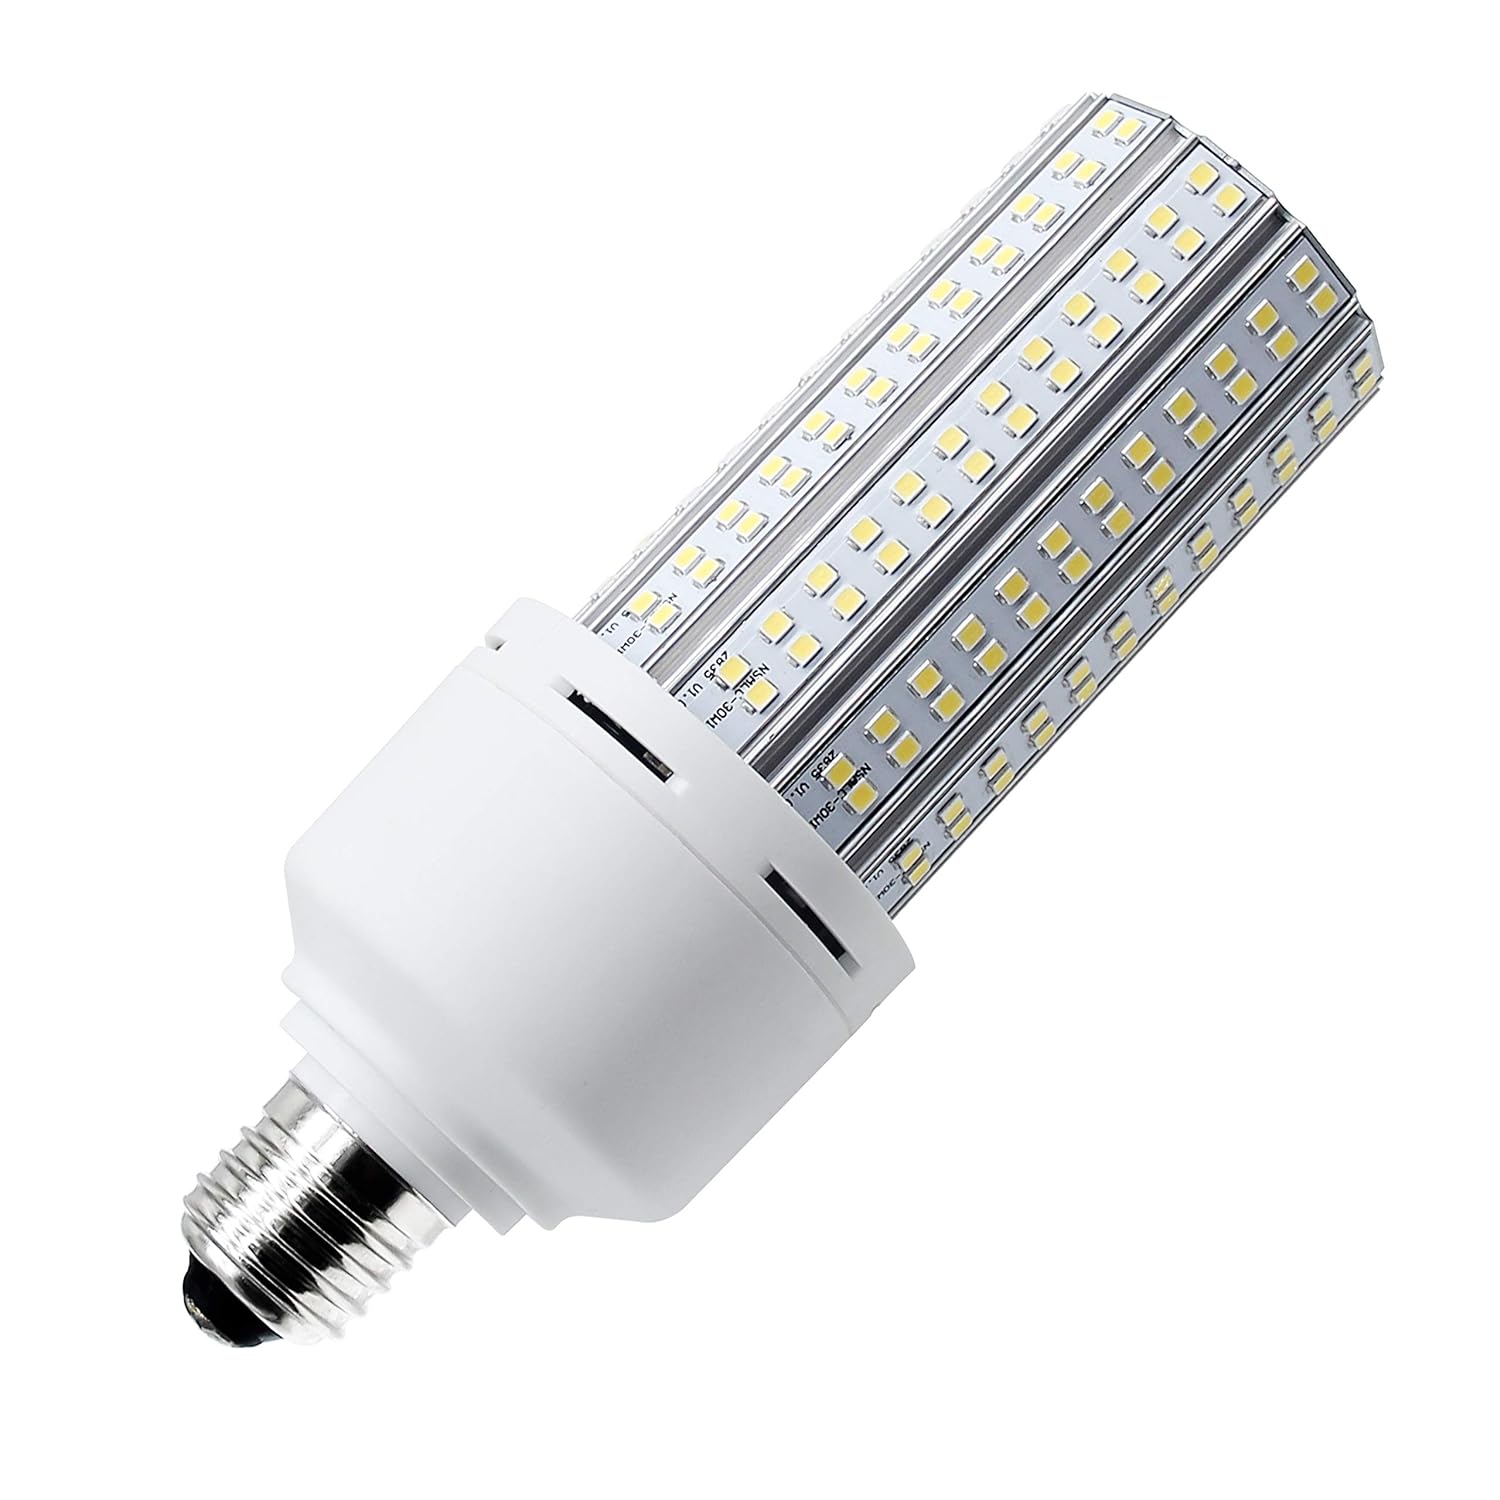
The Tool Shed 4 LED Shop Light – 4500 Lumens (4500SL) is engineered to deliver exceptional brightness, energy efficiency, and durability, making it an indispensable addition to any workshop, garage, or utility area. With its 4500 lumens output, this shop light illuminates your workspace with unparalleled clarity, reducing eye strain and enhancing visibility for intricate tasks. Moreover, its long-lasting LED technology promises extended operational life, ensuring that you can focus on your projects without the hassle of frequent bulb replacements.
Beyond its superior performance, the 4500SL boasts a user-friendly design that simplifies the installation process, allowing you to enjoy its benefits with minimal effort. By following the steps outlined in this guide, you'll be able to mount and wire the shop light efficiently, bringing your workspace to life with brilliant illumination. Whether you're revamping your home workshop or optimizing a professional environment, the Tool Shed 4 LED Shop Light – 4500 Lumens (4500SL) is poised to become an invaluable asset in your arsenal of tools and equipment.
Join us as we delve into the step-by-step installation process, uncovering the seamless integration and robust functionality that define the 4500SL. With a handful of tools and a dash of enthusiasm, you'll soon bask in the radiant glow of this exceptional shop light, setting the stage for a new era of productivity and precision in your workspace. Let's embark on this illuminating journey together, as we unlock the full potential of the Tool Shed 4 LED Shop Light – 4500 Lumens (4500SL).
Key Takeaways:
- Elevate your workspace with the Tool Shed 4 LED Shop Light – 4500 Lumens (4500SL) for enhanced productivity, effortless installation, and reliable performance. Say goodbye to eye strain and hello to precision and inspiration!
- Seamlessly integrate the 4500SL into your workspace with ease, and revel in its exceptional illumination. Embrace the brilliance of this shop light as it transforms your projects with unwavering clarity and productivity.
Read more: How To Link Tool Shed Brand 4Ft Tube Lights
Tools and Materials Needed
Before embarking on the installation process, it’s essential to gather the necessary tools and materials to ensure a smooth and efficient setup of the Tool Shed 4 LED Shop Light – 4500 Lumens (4500SL). Here’s a comprehensive list of items you’ll need:
Tools:
- Phillips screwdriver
- Drill and drill bits
- Measuring tape
- Level
- Wire stripper
- Wire cutter
- Step ladder or platform
Materials:
- 4500SL LED shop light fixture
- Screws and anchors for mounting
- Electrical tape
- Wire nuts
- Electrical cable (if required)
- Protective eyewear
- Gloves
By ensuring that you have these tools and materials at your disposal, you’ll be well-equipped to proceed with the installation process without interruptions or delays. Additionally, it’s crucial to prioritize safety throughout the setup, so don’t forget to wear protective eyewear and gloves to safeguard yourself during the installation. With these essentials in hand, you’re ready to embark on the journey of transforming your workspace with the brilliance of the Tool Shed 4 LED Shop Light – 4500 Lumens (4500SL).
Step 1: Unpack the Shop Light
Before diving into the installation process, it’s essential to unpack the Tool Shed 4 LED Shop Light – 4500 Lumens (4500SL) and familiarize yourself with its components. Here’s a detailed guide to this crucial first step:
Begin by locating a spacious and well-lit area to unpack the shop light. Lay out the packaging materials and carefully remove the contents, ensuring that all components are accounted for. The typical contents of the 4500SL package include the LED fixture, mounting hardware, and any accompanying documentation, such as an installation manual or warranty information.
Inspect the LED shop light for any signs of damage that may have occurred during transit. Check the fixture, lens, and housing for cracks, dents, or other visible defects. If any damage is detected, it’s crucial to contact the manufacturer or retailer promptly to address the issue before proceeding with the installation.
Next, familiarize yourself with the various parts of the shop light, including the housing, LED array, wiring ports, and mounting points. Take note of any pre-installed components, such as suspension hooks or hanging chains, which may facilitate the mounting process.
Refer to the provided documentation to confirm that all the necessary components are included and to review any specific instructions or precautions outlined by the manufacturer. This step will ensure that you have a comprehensive understanding of the shop light’s features and installation requirements, setting the stage for a seamless setup process.
By meticulously unpacking and inspecting the Tool Shed 4 LED Shop Light – 4500 Lumens (4500SL), you’ll lay the groundwork for a successful installation experience. This initial step not only familiarizes you with the product but also allows you to address any potential issues or concerns before proceeding further, ensuring that the installation process progresses smoothly and efficiently.
Read more: How Many Lumens Is In A Regular Light Bulb
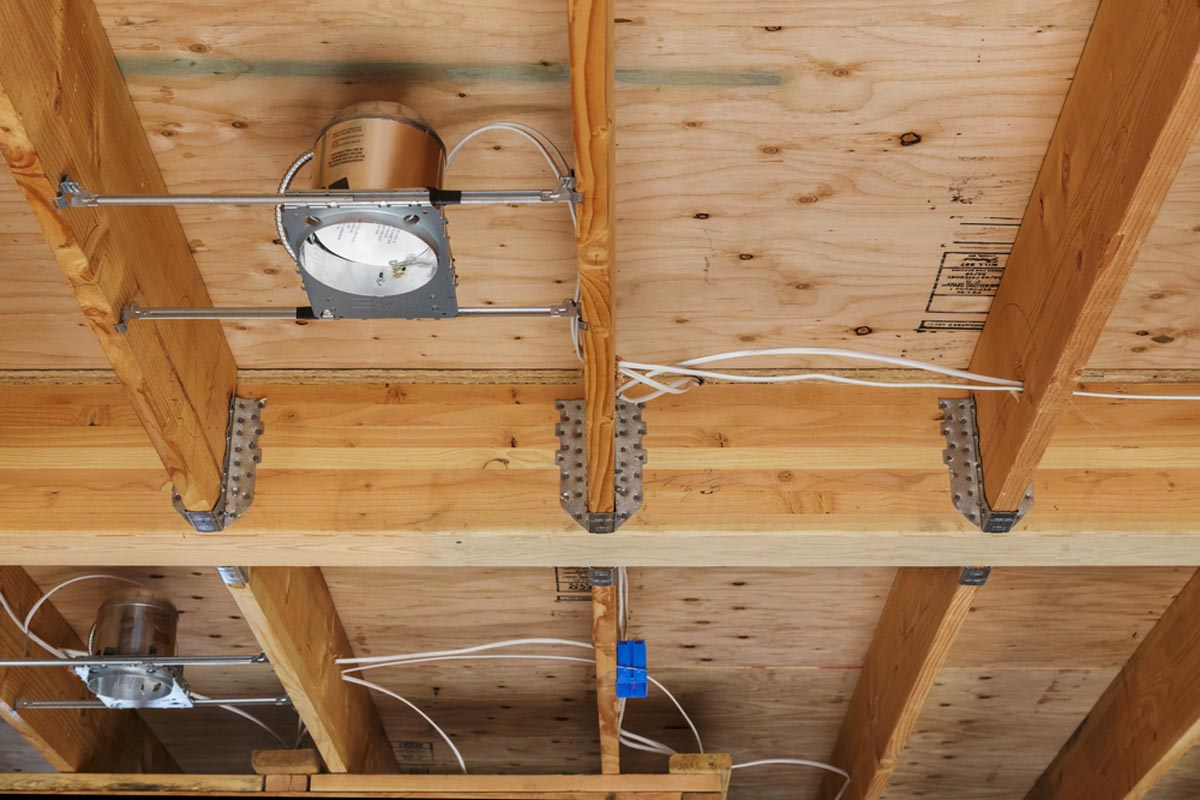
Step 2: Mounting the Shop Light
Mounting the Tool Shed 4 LED Shop Light – 4500 Lumens (4500SL) is a pivotal phase of the installation process, as it determines the fixture’s stability and positioning within your workspace. Follow these comprehensive steps to ensure a secure and optimal mounting:
1. Choose the Mounting Location: Select an appropriate location for the shop light, ensuring that it is positioned to provide uniform illumination across the workspace. Consider factors such as ceiling joists or studs that can support the weight of the fixture and provide a stable mounting surface.
2. Mark the Mounting Points: Use a pencil or marker to mark the precise locations where the shop light will be mounted. If the fixture features multiple mounting points, ensure that the markings align with the intended positioning of the light.
3. Pre-Drill Mounting Holes: With the mounting points identified, use a drill and appropriate drill bit to create pilot holes for the screws or anchors. This preparatory step facilitates the installation of the shop light and reduces the risk of damaging the ceiling or mounting surface during the mounting process.
4. Secure the Mounting Hardware: Depending on the mounting method specified by the manufacturer, secure the shop light to the ceiling or mounting surface using the provided screws, anchors, or other hardware. Exercise caution to ensure that the fixture is firmly affixed and level to guarantee optimal performance and aesthetics.
5. Adjust the Positioning (if applicable): If the shop light features adjustable mounting options, such as swivel brackets or suspension chains, take the opportunity to fine-tune the positioning to achieve the desired angle and coverage of illumination. This step allows you to customize the lighting to suit your specific workspace requirements.
6. Verify Stability and Alignment: Once the shop light is mounted, verify its stability and alignment to confirm that it is securely affixed and level. This assessment ensures that the fixture is poised to deliver consistent and reliable illumination without any compromise in performance.
By meticulously following these steps, you’ll achieve a robust and precise mounting of the Tool Shed 4 LED Shop Light – 4500 Lumens (4500SL), setting the stage for an exceptional lighting experience in your workspace. The careful execution of the mounting process ensures that the shop light is poised to deliver optimal brightness and coverage, enhancing your productivity and comfort as you delve into your projects.
Step 3: Wiring the Shop Light
Wiring the Tool Shed 4 LED Shop Light – 4500 Lumens (4500SL) is a crucial phase of the installation process, as it ensures that the fixture receives power and operates seamlessly. Follow these comprehensive steps to expertly wire the shop light:
1. Turn Off Power: Before commencing the wiring process, turn off the power supply to the designated circuit at the electrical panel to ensure a safe working environment.
2. Identify Wiring Ports: Locate the wiring ports on the shop light fixture, typically positioned on the rear or sides of the housing. These ports facilitate the connection of the electrical wiring that powers the LED array.
3. Prepare the Electrical Wiring: If the shop light requires direct wiring to an electrical circuit, prepare the electrical cable by stripping the insulation from the ends to expose the conductors. Use a wire stripper to carefully remove the insulation, ensuring that the conductors remain intact and undamaged.
4. Connect the Wiring: With the electrical wiring prepared, carefully connect the corresponding conductors from the shop light to the electrical supply. Typically, this involves matching the black (hot) wire from the electrical supply to the black wire from the shop light, and the white (neutral) wire to the white wire. If a ground wire is present, connect it to the grounding conductor in the electrical supply.
5. Secure the Connections: Once the wiring is connected, secure the conductors using wire nuts, ensuring a tight and reliable connection. Wrap electrical tape around the wire nuts and conductors to provide additional insulation and strain relief, safeguarding the integrity of the connections.
6. Tuck and Conceal Wiring: Carefully tuck the connected wiring into the wiring ports or housing of the shop light, ensuring that the conductors are neatly arranged and free from any obstructions. This step contributes to a tidy and professional installation while safeguarding the wiring from potential damage.
7. Restore Power and Test: With the wiring securely connected, restore power to the designated circuit at the electrical panel. Test the shop light to verify that it illuminates properly, confirming that the wiring has been successfully executed and the fixture is ready for operation.
By meticulously following these steps, you’ll expertly wire the Tool Shed 4 LED Shop Light – 4500 Lumens (4500SL), ensuring that it receives the necessary power to deliver exceptional illumination in your workspace. The careful execution of the wiring process not only ensures the functionality of the shop light but also prioritizes safety and reliability, allowing you to harness the full potential of this innovative lighting solution.
When installing the Tool Shed 4 LED Shop Light, make sure to turn off the power to the area where you will be working. Follow the manufacturer’s instructions for mounting and wiring the light, and ensure that it is securely installed before turning the power back on.
Step 4: Testing the Shop Light
Testing the Tool Shed 4 LED Shop Light – 4500 Lumens (4500SL) is the final, pivotal phase of the installation process, allowing you to confirm its functionality and bask in the brilliance of its illumination. Follow these comprehensive steps to expertly test the shop light:
1. Ensure Proper Wiring and Power: Before proceeding with the test, verify that the shop light is properly wired and that power has been restored to the designated circuit. This preliminary check ensures that the fixture is poised to receive power and operate as intended.
2. Turn On the Shop Light: Activate the shop light using the designated switch or control mechanism. As the fixture springs to life, take a moment to appreciate the radiant glow that fills your workspace, illuminating every corner with exceptional brightness and clarity.
3. Assess Illumination Quality: Observe the quality and coverage of the illumination provided by the shop light. Take note of any areas that may require additional lighting or adjustments to optimize the brightness and uniformity across your workspace.
4. Evaluate for Flickering or Irregularities: While the shop light is operational, carefully assess its performance for any signs of flickering, dimming, or irregularities in illumination. A consistently bright and steady glow indicates that the fixture is functioning optimally, providing the reliable illumination you require for your projects.
5. Test Additional Features (if applicable): If the shop light incorporates additional features, such as adjustable brightness settings or color temperature controls, take the opportunity to test and familiarize yourself with these functionalities. This exploration allows you to tailor the lighting to suit your specific preferences and tasks.
6. Verify Operational Noise (if applicable): If the shop light incorporates cooling fans or other operational components, listen for any operational noise to ensure that it falls within acceptable levels. A quiet and unobtrusive operation enhances the comfort and functionality of the shop light in your workspace.
7. Confirm Satisfaction and Readiness: Upon completing the testing process, confirm your satisfaction with the performance and functionality of the Tool Shed 4 LED Shop Light – 4500 Lumens (4500SL). With the fixture successfully tested and operational, your workspace is now poised to benefit from the exceptional illumination provided by this innovative lighting solution.
By meticulously following these steps, you’ll expertly test and validate the performance of the Tool Shed 4 LED Shop Light – 4500 Lumens (4500SL), ensuring that it delivers the superior illumination and functionality you require in your workspace. This final phase of the installation process marks the culmination of your efforts, allowing you to revel in the transformative glow of this exceptional shop light as you embark on your projects with renewed clarity and productivity.
Conclusion
Congratulations on successfully installing the Tool Shed 4 LED Shop Light – 4500 Lumens (4500SL) and elevating your workspace with unparalleled illumination and functionality. As you reflect on the seamless installation process and the transformative impact of this innovative lighting fixture, consider the following key takeaways:
Enhanced Productivity: With its 4500 lumens output and exceptional brightness, the 4500SL illuminates your workspace with remarkable clarity, reducing eye strain and enhancing visibility for intricate tasks. You’re now poised to tackle projects with renewed precision and productivity, empowered by the brilliance of this cutting-edge shop light.
Effortless Installation: The user-friendly design of the 4500SL simplifies the installation process, allowing you to mount and wire the shop light with ease. By following the comprehensive steps outlined in this guide and leveraging the provided tools and materials, you’ve seamlessly integrated this powerful lighting solution into your workspace.
Reliable Performance: Through meticulous testing, you’ve confirmed the exceptional performance and reliability of the 4500SL, ensuring that it delivers consistent, high-quality illumination for your projects. With its long-lasting LED technology and robust construction, this shop light is poised to become an indispensable asset in your arsenal of tools and equipment.
As you bask in the radiant glow of the Tool Shed 4 LED Shop Light – 4500 Lumens (4500SL), envision the countless projects and tasks that will benefit from its exceptional illumination. Whether you’re engaging in DIY endeavors, pursuing professional craftsmanship, or simply optimizing your workspace for enhanced functionality, the 4500SL stands as a beacon of innovation and efficiency, illuminating your path to success.
Embrace the brilliance of the 4500SL as it transforms your workspace into a realm of clarity, precision, and inspiration. With its seamless installation, robust performance, and exceptional illumination, this shop light embodies the perfect synergy of innovation and practicality, setting the stage for a new era of productivity and accomplishment in your workspace.
Thank you for embarking on this illuminating journey with us, and may the Tool Shed 4 LED Shop Light – 4500 Lumens (4500SL) illuminate your projects and endeavors with unwavering brilliance and clarity.
Frequently Asked Questions about How To Install Tool Shed 4 LED Shop Light - 4500 Lumens (4500SL)
Was this page helpful?
At Storables.com, we guarantee accurate and reliable information. Our content, validated by Expert Board Contributors, is crafted following stringent Editorial Policies. We're committed to providing you with well-researched, expert-backed insights for all your informational needs.


0 thoughts on “How To Install Tool Shed 4 LED Shop Light – 4500 Lumens (4500SL)”