Home>Gardening & Outdoor>Outdoor Structures>How To Connect Power To A Tool Shed

Outdoor Structures
How To Connect Power To A Tool Shed
Modified: October 20, 2024
Learn how to properly connect power to your outdoor structures with this comprehensive guide. Ensure safety and functionality for your tool shed with expert tips and advice.
(Many of the links in this article redirect to a specific reviewed product. Your purchase of these products through affiliate links helps to generate commission for Storables.com, at no extra cost. Learn more)
Introduction
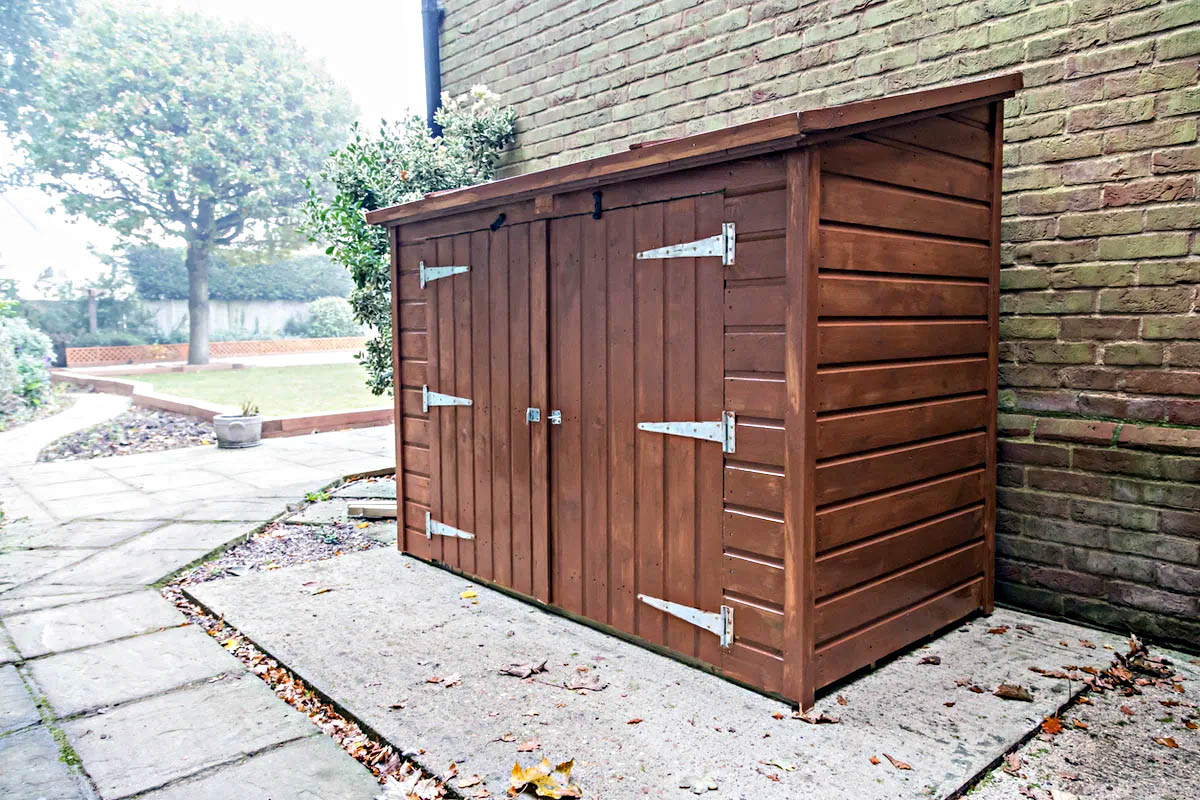
Building a tool shed in your backyard can be an exciting and rewarding project. Whether you plan to use it for storage, as a workshop, or for other purposes, having a reliable power source in your tool shed can greatly enhance its functionality. Connecting power to a tool shed allows you to power lights, tools, and other electrical equipment, making it a more versatile and convenient space.
In this comprehensive guide, we will explore the essential steps and considerations for connecting power to a tool shed safely and effectively. From planning and choosing the right power source to installing electrical wiring and ensuring safety precautions, this article will provide you with the knowledge and confidence to tackle this project with success.
So, whether you're a seasoned DIY enthusiast or a homeowner looking to expand the functionality of your outdoor space, read on to discover the key insights and practical tips for connecting power to your tool shed. By the end of this guide, you'll be well-equipped to bring electricity to your tool shed and unlock its full potential.
Key Takeaways:
- Plan carefully by assessing power needs, checking local regulations, and strategically placing outlets and lighting. This sets the stage for a successful and compliant power connection to your tool shed.
- Prioritize safety by turning off power, using protective equipment, and implementing grounding and regular inspections. Educate yourself and others on electrical safety practices for a hazard-free environment.
Read more: How To Dismantle A Tool Shed
Planning for Power
Before embarking on the process of connecting power to your tool shed, thorough planning is essential to ensure a successful and safe installation. Start by determining your specific power needs based on how you intend to use the shed. Consider the number and types of electrical devices and tools that will require power, as well as any potential future additions. This assessment will help you determine the appropriate electrical capacity required for your tool shed.
Next, it’s crucial to check local building codes and regulations regarding electrical installations. Contact your local building department to inquire about necessary permits and any specific requirements for running power to an outdoor structure. Adhering to these regulations is essential for both safety and legal compliance.
Furthermore, carefully plan the placement of electrical outlets and light fixtures within the tool shed. Consider the layout of your workspace and where you will need access to power the most. Strategically positioning outlets and lighting can improve the functionality and convenience of the shed.
When planning the power source for your tool shed, assess the distance from your main electrical panel to the shed. This will determine the method of running power, whether underground or overhead. Additionally, consider the terrain and any potential obstacles that may affect the installation process.
Lastly, create a detailed materials list based on your power requirements and the installation method. This should include wiring, conduit, junction boxes, outlets, switches, and any other necessary components. Having a comprehensive list will streamline the purchasing process and ensure that you have all the materials needed for the installation.
By carefully planning for power, you can set the stage for a smooth and efficient installation process while ensuring that your tool shed meets your electrical needs effectively.
Choosing the Right Power Source
When connecting power to a tool shed, selecting the most suitable power source is a critical decision that will impact the shed’s functionality and safety. There are several options to consider, each with its own advantages and considerations.
If your tool shed is in close proximity to your home, extending power from your main electrical panel may be a viable option. This can be achieved through underground wiring or an overhead line, depending on the distance and local regulations. Extending power from your home’s electrical panel provides a reliable and convenient source of electricity for your shed.
Another popular option for providing power to a tool shed is the use of solar panels. Solar power offers a sustainable and environmentally friendly solution, especially for sheds located in areas with ample sunlight. By harnessing solar energy, you can power your shed’s lights and equipment while reducing your reliance on traditional utility power.
In situations where running electrical cables from the main panel or using solar power is not feasible, a standalone generator may be the most practical solution. Generators can provide temporary or backup power to the tool shed, offering flexibility and independence from the main electrical grid.
Consider the power requirements of your shed, your budget, and your long-term plans when evaluating these options. Each power source has its own installation and maintenance considerations, so it’s important to weigh the pros and cons based on your specific needs and circumstances.
Ultimately, the right power source for your tool shed will provide a reliable and efficient supply of electricity, enhancing the shed’s usability and contributing to a safer and more productive workspace.
Installing Electrical Wiring
Once you have planned for power and selected the appropriate power source for your tool shed, the next step is to install the electrical wiring. This crucial phase requires careful attention to detail and adherence to safety standards to ensure a reliable and secure electrical system.
Begin by determining the route for the electrical wiring based on the chosen power source. If you are extending power from your home’s electrical panel, you will need to run wiring underground or install an overhead line, following the local regulations and best practices for outdoor electrical installations. For solar power, the wiring will connect the solar panels to the shed’s electrical system, requiring proper sizing and protection from the elements.
When installing the electrical wiring, it is essential to use the correct type and gauge of wire suitable for outdoor use. Weather-resistant and durable wiring will withstand exposure to the elements and ensure the safety and longevity of the electrical system. Additionally, proper insulation and grounding are critical aspects to consider during the installation process.
As you lay the wiring, protect it with conduit or bury it at the appropriate depth to safeguard against physical damage and environmental factors. Junction boxes and conduit fittings should be used to secure and protect the wiring connections, providing accessibility for future maintenance or modifications.
Throughout the installation, it’s essential to comply with electrical codes and regulations to ensure the safety and compliance of the electrical system. This may involve obtaining inspections at various stages of the installation process to verify that the wiring meets the required standards.
Lastly, as you connect the wiring to the shed’s electrical panel or distribution system, ensure that all connections are secure and properly terminated. Testing the electrical circuits and verifying the integrity of the wiring will provide peace of mind and guarantee a functional and safe electrical installation for your tool shed.
When connecting power to a tool shed, make sure to use outdoor-rated extension cords and outlets. Consider hiring a professional electrician to install a dedicated circuit for the shed to ensure safety and compliance with local building codes.
Connecting Power to the Tool Shed
With the electrical wiring in place, the final steps involve connecting power to the tool shed, bringing your electrical system to life. This phase requires precision and attention to detail to ensure a seamless and safe power connection.
If you are extending power from your home’s electrical panel, the connection process will involve carefully routing the wiring to the shed’s electrical panel or distribution system. Properly terminating the wiring, installing circuit breakers, and grounding the system are essential steps to establish a reliable and secure power supply.
For solar power systems, the connection process will involve integrating the solar panels with the shed’s electrical system. This may require the installation of charge controllers, inverters, and batteries to store and regulate the solar-generated power. Ensuring that the solar panels are properly aligned and connected to the electrical system is crucial for optimal performance.
In the case of a standalone generator, connecting power to the tool shed involves installing a transfer switch to safely and seamlessly transition between utility power and generator power. This switch prevents backfeeding and ensures that the shed’s electrical system is powered by the generator when necessary, providing a reliable backup power source.
Throughout the power connection process, it is imperative to conduct thorough testing and verification to confirm that the electrical system is functioning as intended. This includes testing circuits, verifying voltage levels, and ensuring that all components of the electrical system are operating within safe parameters.
Once the power connection is established, consider labeling the electrical panel and circuits to clearly identify the purpose of each circuit and facilitate future maintenance and troubleshooting. This simple yet valuable step can enhance safety and convenience when working with the electrical system in the tool shed.
By completing the process of connecting power to the tool shed with care and precision, you can enjoy a fully functional and reliable electrical system, empowering your shed to support a wide range of activities and equipment.
Read more: How To Organize A Tool Shed
Safety Precautions
When connecting power to a tool shed, prioritizing safety is paramount to protect yourself, your property, and anyone who may use the shed. Implementing essential safety precautions throughout the installation process and beyond is crucial for minimizing the risk of electrical hazards and ensuring the long-term safety and reliability of the electrical system.
Before commencing any electrical work, always turn off the power at the main electrical panel to prevent the risk of electric shock. Additionally, use appropriate personal protective equipment (PPE) such as insulated gloves, safety goggles, and footwear to safeguard against potential electrical hazards.
When working with electrical wiring, be mindful of the potential for underground utilities, such as gas lines, water pipes, or communication cables. Before digging or trenching for underground wiring, contact your local utility companies to mark the locations of these services to avoid accidental damage during the installation process.
Proper grounding and bonding of the electrical system are essential for safety and should be performed in accordance with local electrical codes. This includes connecting the electrical system to a grounding electrode and ensuring that all metal components are bonded to the grounding system to prevent electrical shock and fire hazards.
Throughout the installation and connection of power to the tool shed, regularly inspect and test the electrical components and connections to identify any potential issues or deficiencies. This includes verifying the integrity of wiring, checking for proper insulation, and ensuring that all electrical connections are secure and free from damage.
After completing the power connection, consider installing ground fault circuit interrupters (GFCIs) and arc fault circuit interrupters (AFCIs) to provide enhanced protection against electrical shocks and fire hazards. These devices can detect and interrupt electrical faults, significantly reducing the risk of electrical accidents in the tool shed.
It’s essential to educate yourself and anyone who will use the shed about electrical safety practices, including the proper use of electrical equipment, the identification of electrical hazards, and the location of electrical disconnects and circuit breakers. Promoting awareness and understanding of electrical safety can contribute to a safer and more secure environment.
By integrating these safety precautions into the process of connecting power to the tool shed, you can establish a robust and secure electrical system that prioritizes the well-being and protection of all individuals who interact with the shed’s power supply.
Conclusion
Connecting power to a tool shed is a significant undertaking that can greatly enhance the functionality and versatility of this outdoor space. By carefully planning for power, choosing the right power source, installing electrical wiring, and connecting power to the shed, you can create a well-equipped and efficient workspace that meets your electrical needs.
Thorough planning is essential for determining your power requirements, understanding local regulations, and strategizing the placement of electrical components within the shed. This preparatory phase lays the groundwork for a successful and compliant installation process.
Choosing the most suitable power source, whether it’s extending power from the main electrical panel, harnessing solar energy, or utilizing a standalone generator, involves evaluating your specific needs, budget, and long-term plans for the shed. Each power source presents unique advantages and considerations, and selecting the right option is crucial for the shed’s long-term functionality.
Installing electrical wiring demands precision and adherence to safety standards to ensure the durability and reliability of the electrical system. Proper insulation, grounding, and protection of the wiring are fundamental aspects of this phase, contributing to the safety and longevity of the shed’s electrical infrastructure.
Connecting power to the tool shed marks the culmination of the installation process, requiring meticulous attention to detail and thorough testing to verify the functionality and safety of the electrical system. Whether extending power from the main panel, integrating solar power, or establishing a generator connection, this phase brings your shed to life with a reliable power supply.
Throughout the entire process, prioritizing safety precautions is paramount to safeguard against electrical hazards and ensure the long-term well-being of individuals interacting with the shed’s electrical system. Implementing safety measures, including proper grounding, regular inspections, and the use of protective equipment, contributes to a secure and hazard-free environment.
By following the insights and recommendations outlined in this guide, you can confidently navigate the process of connecting power to your tool shed, unlocking its full potential as a functional and efficient workspace. Whether you’re pursuing DIY projects, pursuing hobbies, or simply seeking additional storage space, a well-equipped and safely powered tool shed can enhance your outdoor living experience.
Now that you’re equipped with the knowledge and guidance to connect power to your tool shed, it’s time to embark on this transformative project and enjoy the benefits of a fully powered and versatile outdoor space.
Frequently Asked Questions about How To Connect Power To A Tool Shed
Was this page helpful?
At Storables.com, we guarantee accurate and reliable information. Our content, validated by Expert Board Contributors, is crafted following stringent Editorial Policies. We're committed to providing you with well-researched, expert-backed insights for all your informational needs.


0 thoughts on “How To Connect Power To A Tool Shed”