Home>Gardening & Outdoor>Outdoor Structures>How To Install A Shed Roof

Outdoor Structures
How To Install A Shed Roof
Modified: August 27, 2024
Learn how to install a shed roof for your outdoor structures with our step-by-step guide. Get expert tips and advice for a successful installation.
(Many of the links in this article redirect to a specific reviewed product. Your purchase of these products through affiliate links helps to generate commission for Storables.com, at no extra cost. Learn more)
Introduction
So, you've decided to add a shed to your property. Congratulations! A shed is a versatile and valuable addition that can serve as a storage space, a workshop, or even a cozy retreat. One of the most crucial elements of a shed is its roof. A well-installed roof not only protects the contents of the shed from the elements but also adds to the overall aesthetic appeal of the structure.
In this guide, we'll walk you through the process of installing a shed roof. Whether you're a seasoned DIY enthusiast or a novice looking to take on a new project, we've got you covered. We'll cover everything from gathering the necessary materials and tools to adding the finishing touches that will make your shed roof both functional and visually appealing.
By the end of this guide, you'll have the knowledge and confidence to tackle the installation of a shed roof, adding a valuable skill to your DIY repertoire. So, grab your tools and let's get started on creating a sturdy and reliable roof for your shed!
Key Takeaways:
- Installing a shed roof requires gathering materials and tools, preparing the roof frame, installing roof sheathing, laying the roofing material, and adding finishing touches for a sturdy and visually appealing structure.
- By following the steps in this guide, you can create a reliable and durable shed roof that adds value to your property. Attention to detail and commitment to quality are key to a successful installation.
Read more: How To Install A Metal Roof On A Shed
Step 1: Gather Materials and Tools
Before you begin installing a shed roof, it's essential to gather all the necessary materials and tools. Here's a comprehensive list to ensure you have everything you need:
Materials:
- Roofing materials (shingles, metal panels, or other preferred roofing material)
- Roof sheathing
- Drip edge
- Roofing felt or synthetic underlayment
- Roofing nails or screws
- Roofing adhesive or sealant
- Flashing
- Roofing nails or screws
- Paint or sealant (if desired for finishing)
Tools:
- Hammer or nail gun
- Tape measure
- Chalk line
- Circular saw
- Roofing nailer or screw gun
- Roofing knife
- Roofing shovel or pry bar
- Ladder or scaffolding
- Safety harness and fall protection equipment
- Protective gear (gloves, safety glasses, etc.)
Once you have all the required materials and tools assembled, you'll be well-prepared to move on to the next step of preparing the roof frame for installation.
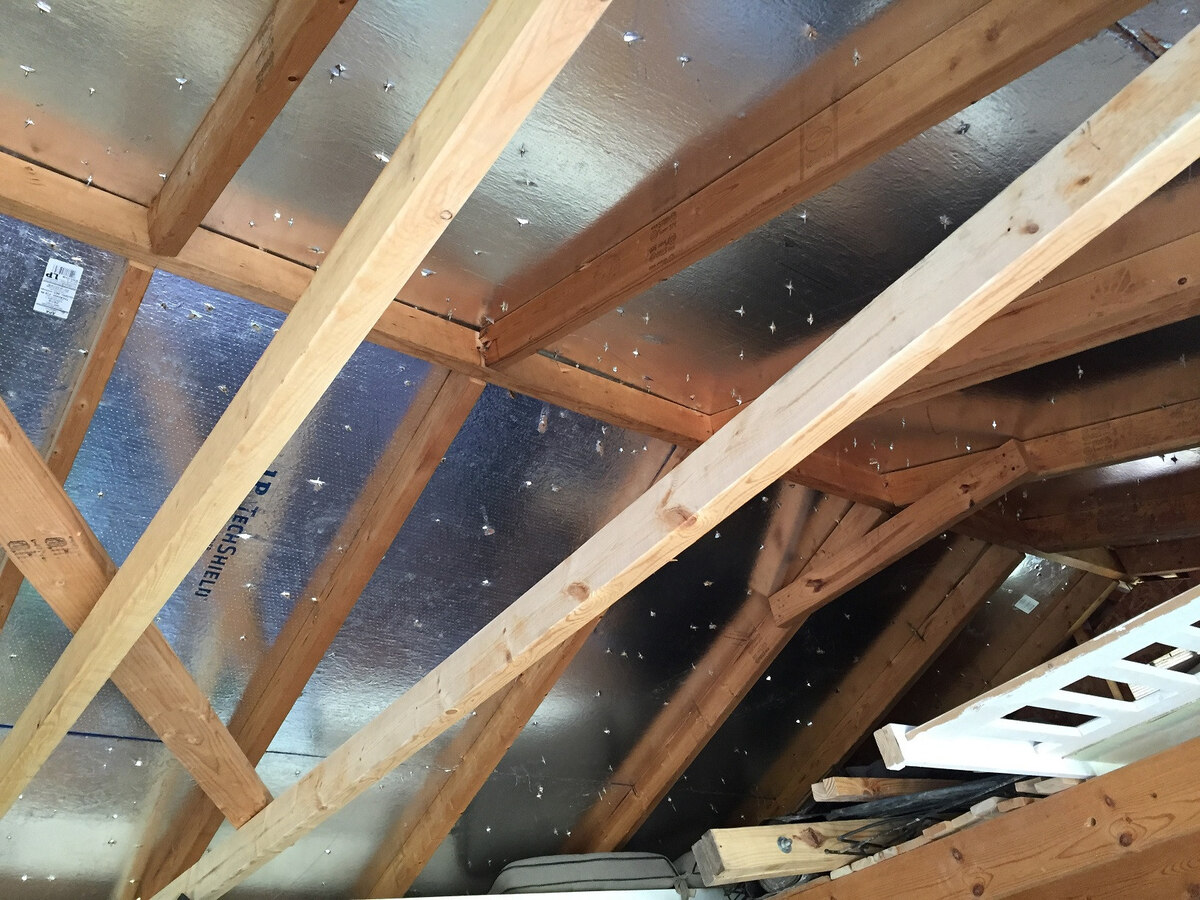
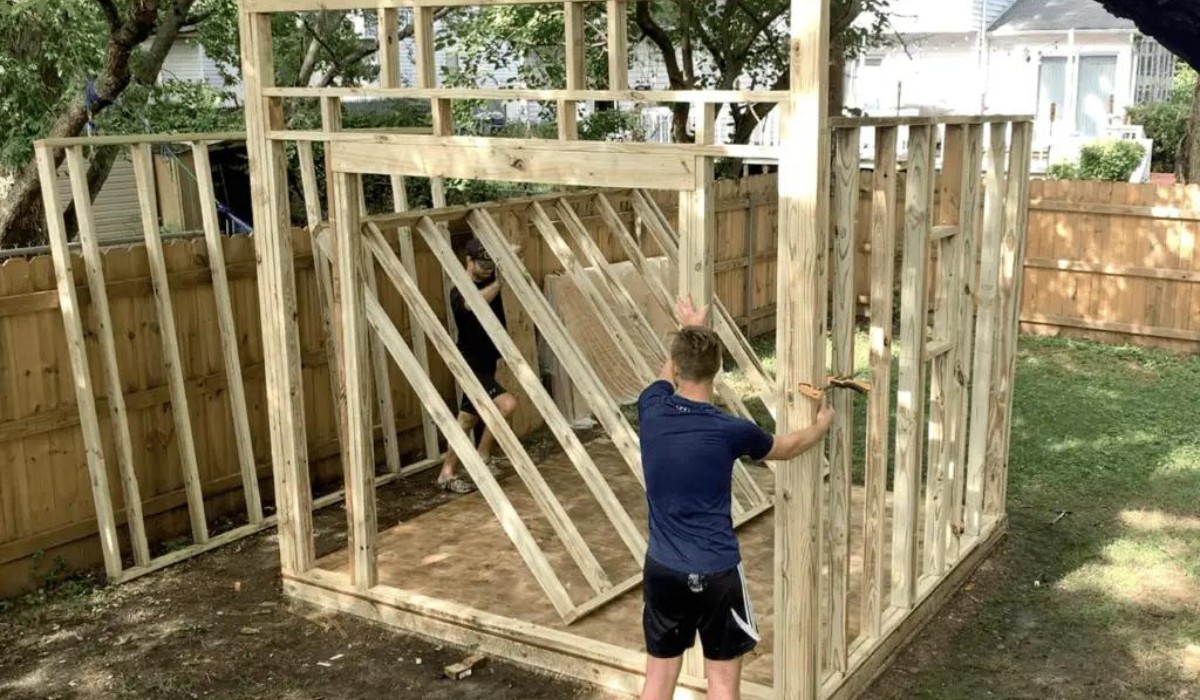
Step 2: Prepare the Roof Frame
With your materials and tools at the ready, it’s time to prepare the roof frame for the installation process. Follow these steps to ensure that your shed roof frame is ready for the next stages:
Read more: How To Roof A Flat Roof Shed
1. Measure and Cut the Rafters:
Using the appropriate measurements for your shed’s dimensions, carefully measure and cut the rafters to the required length. Ensure that the cuts are precise to guarantee a snug fit during assembly.
2. Install Ridge Beam or Board:
If your shed design includes a ridge beam or board, position and secure it at the peak of the roof. This component provides crucial support for the rafters and helps maintain the structural integrity of the roof.
3. Place and Secure Rafters:
Position the cut rafters in place, ensuring they are evenly spaced and properly aligned. Secure them to the top plate of the shed walls using nails or screws, depending on the design and materials used.
4. Add Collar Ties or Ceiling Joists (if applicable):
Depending on the design of your shed, you may need to add collar ties or ceiling joists to provide additional support and prevent the walls from spreading. These components contribute to the overall stability of the roof structure.
Read more: How To Tie A Shed Roof Into An Existing Roof
5. Check for Level and Plumb:
Use a level to ensure that the rafters, ridge beam, and any additional structural elements are perfectly level and plumb. This step is crucial for the proper alignment and stability of the entire roof framework.
By meticulously preparing the roof frame, you’ll lay a solid foundation for the subsequent stages of installing the shed roof. With the frame in place, you’re ready to move on to the next step: installing the roof sheathing.
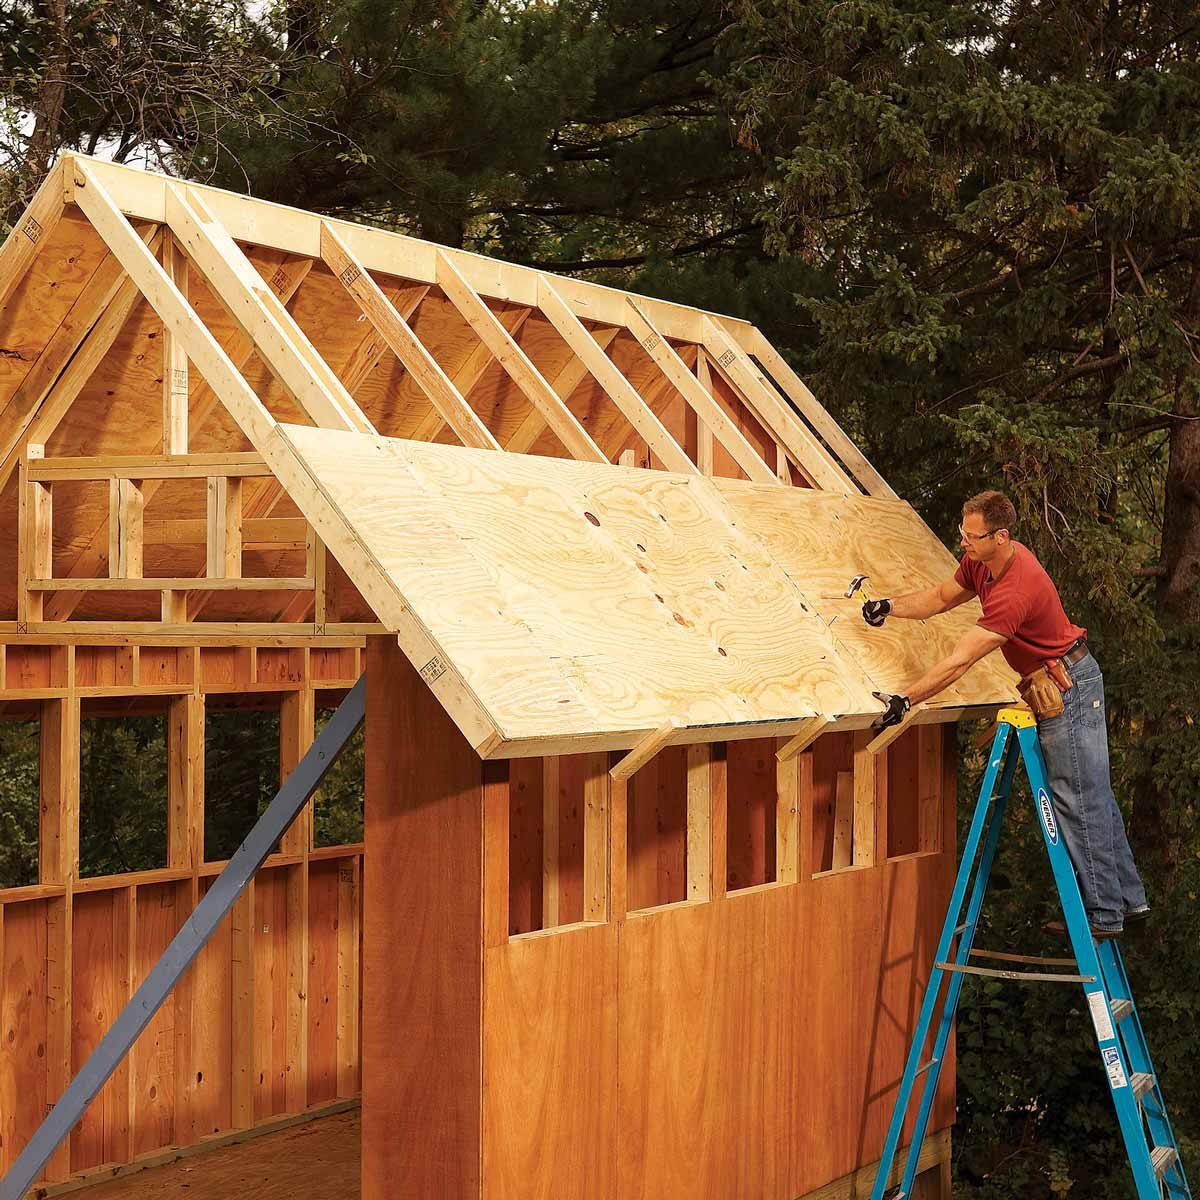
Step 3: Install Roof Sheathing
With the roof frame securely in place, it’s time to move on to the critical step of installing the roof sheathing. This essential layer provides structural support for the roofing materials and contributes to the overall stability and durability of the shed roof. Follow these steps to ensure a successful installation:
1. Measure and Cut Sheathing Panels:
Using precise measurements based on the dimensions of your roof, carefully measure and cut the sheathing panels to fit the roof frame. Ensure that the panels align with the edges of the roof and any openings for vents or other fixtures.
2. Position and Secure Sheathing:
Place the cut sheathing panels onto the roof frame, starting from the bottom edge and working your way up. Ensure that the panels are properly aligned and leave the necessary expansion gaps as recommended by the manufacturer.
Read more: How To Attach Shed Roof To Existing Roof
3. Fasten Sheathing to Rafters:
Secure the sheathing panels to the rafters using appropriate fasteners, such as nails or screws. Follow the recommended spacing and placement guidelines to ensure a strong and uniform attachment.
4. Apply Sealant or Adhesive (if applicable):
Depending on the type of sheathing material used, you may need to apply sealant or adhesive at the seams and edges to enhance the weatherproofing and structural integrity of the roof. Follow the manufacturer’s instructions for the specific product being used.
5. Check for Evenness and Stability:
After securing the sheathing, inspect the entire roof surface to ensure that the panels are even, stable, and free from any protrusions or defects. This step is crucial for preparing the surface for the next stage of laying the roofing material.
By meticulously installing the roof sheathing, you’re one step closer to completing the shed roof installation. The sheathing provides a solid foundation for the final layer of roofing material, which will further protect your shed from the elements. With the sheathing in place, you’re ready to move on to the next step: laying the roofing material.
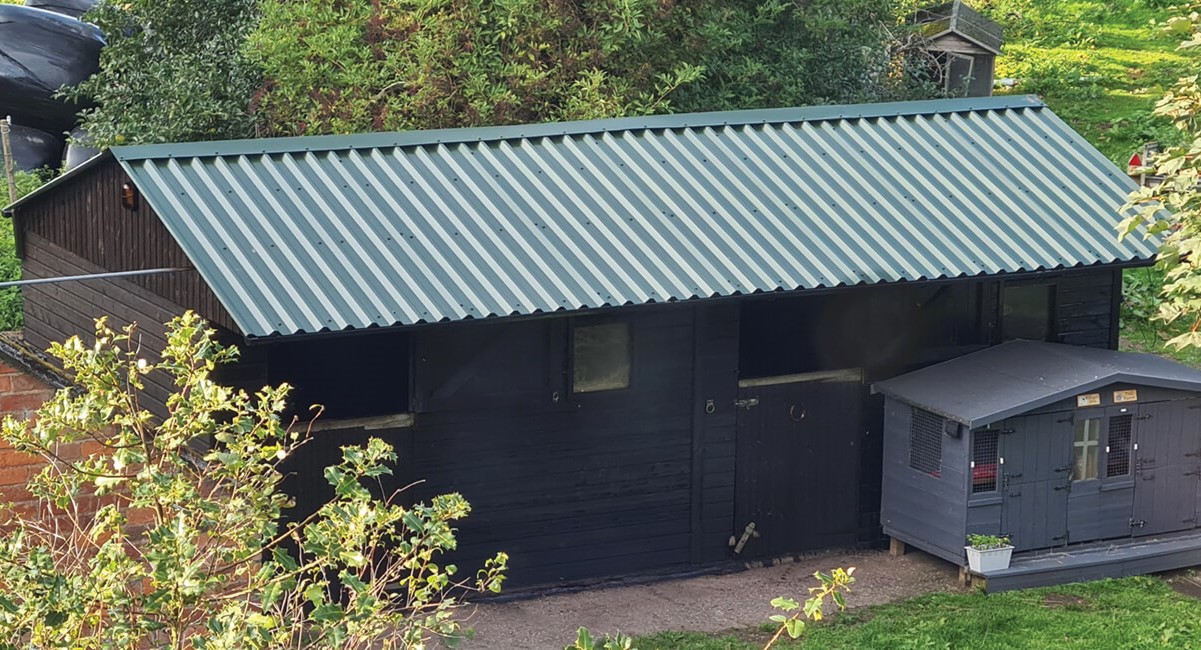
Step 4: Lay the Roofing Material
With the roof sheathing securely in place, it’s time to proceed with laying the roofing material. This step not only adds the finishing touch to your shed but also serves as the primary defense against the elements. Whether you’ve chosen traditional shingles, durable metal panels, or another preferred roofing material, the following steps will guide you through the installation process:
Read more: How To Build A Roof For A Shed
1. Start at the Bottom Edge:
Begin laying the roofing material at the bottom edge of the roof, ensuring that it overhangs the eaves according to the manufacturer’s specifications. This overhang provides essential protection for the underlying structure and contributes to the overall aesthetics of the shed.
2. Follow the Recommended Installation Method:
Depending on the type of roofing material chosen, follow the recommended installation method provided by the manufacturer. This may involve interlocking shingles, overlapping metal panels, or other specific techniques tailored to the chosen material.
3. Secure the Roofing Material:
Use the appropriate fasteners, such as roofing nails or screws, to securely attach the roofing material to the sheathing. Follow the recommended nailing patterns and spacing to ensure a strong and uniform attachment that withstands wind and weather.
4. Install Flashing and Trim (if applicable):
Depending on the design of your shed and the roofing material used, you may need to install flashing around roof penetrations, valleys, and edges to prevent water infiltration. Additionally, trim pieces may be required to provide a polished and weatherproof finish.
Read more: How To Patch A Shed Roof
5. Inspect for Proper Alignment and Weatherproofing:
After laying the roofing material, carefully inspect the entire roof surface to ensure that the material is properly aligned, free from defects, and provides effective weatherproofing. Address any issues or discrepancies before proceeding to the final step of adding finishing touches.
With the roofing material expertly installed, your shed is now equipped with a reliable and resilient roof that will safeguard its contents for years to come. The next step involves adding the finishing touches that will not only enhance the functionality of the roof but also elevate the overall appearance of your shed. Let’s move on to the final step: adding finishing touches to the shed roof.
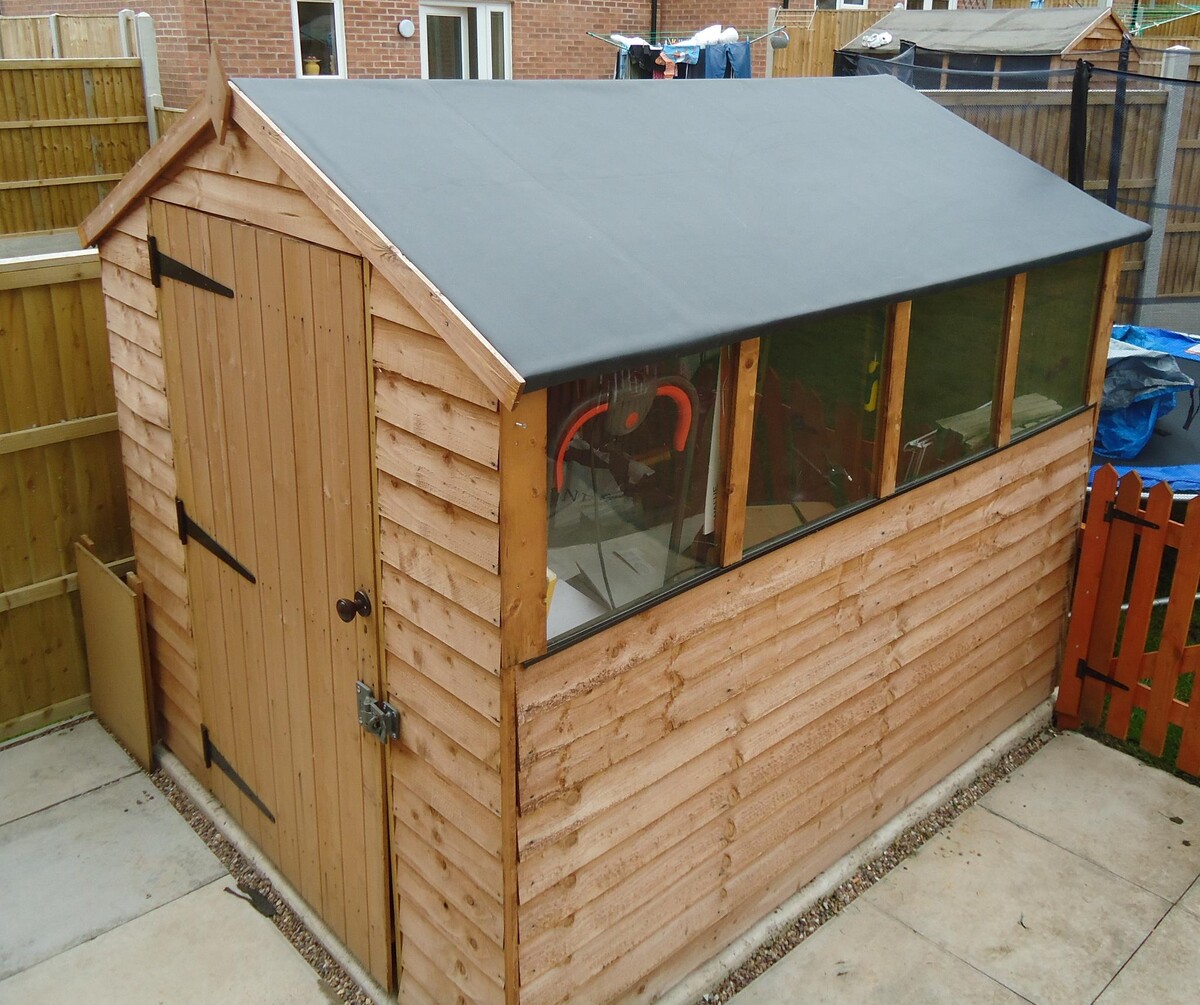
Step 5: Add Finishing Touches
As you near the completion of installing your shed roof, it’s time to add the finishing touches that will enhance both its functionality and visual appeal. These final details not only contribute to the overall aesthetics of your shed but also play a crucial role in ensuring the longevity and weather resistance of the roof. Here’s how to add those essential finishing touches:
1. Apply Sealant and Protective Coating:
Consider applying a sealant or protective coating to the installed roofing material. This additional layer of protection can enhance durability and weather resistance, prolonging the lifespan of the roof and minimizing maintenance requirements.
2. Install Ventilation and Insulation (if needed):
Depending on the purpose of your shed and local climate conditions, consider installing ventilation and insulation to regulate temperature and moisture levels within the structure. Proper ventilation and insulation contribute to the overall comfort and longevity of the shed and its contents.
Read more: How To Refelt A Shed Roof
3. Add Gutters and Downspouts (optional):
If your shed will be used to store items sensitive to water or if you want to manage rainwater effectively, consider adding gutters and downspouts to direct water away from the shed’s foundation. This can help prevent water damage and erosion around the structure.
4. Inspect for Any Remaining Issues:
Thoroughly inspect the entire roof, including the sheathing, roofing material, and any added components, for any remaining issues or potential areas of concern. Address any issues promptly to ensure the roof’s optimal performance and longevity.
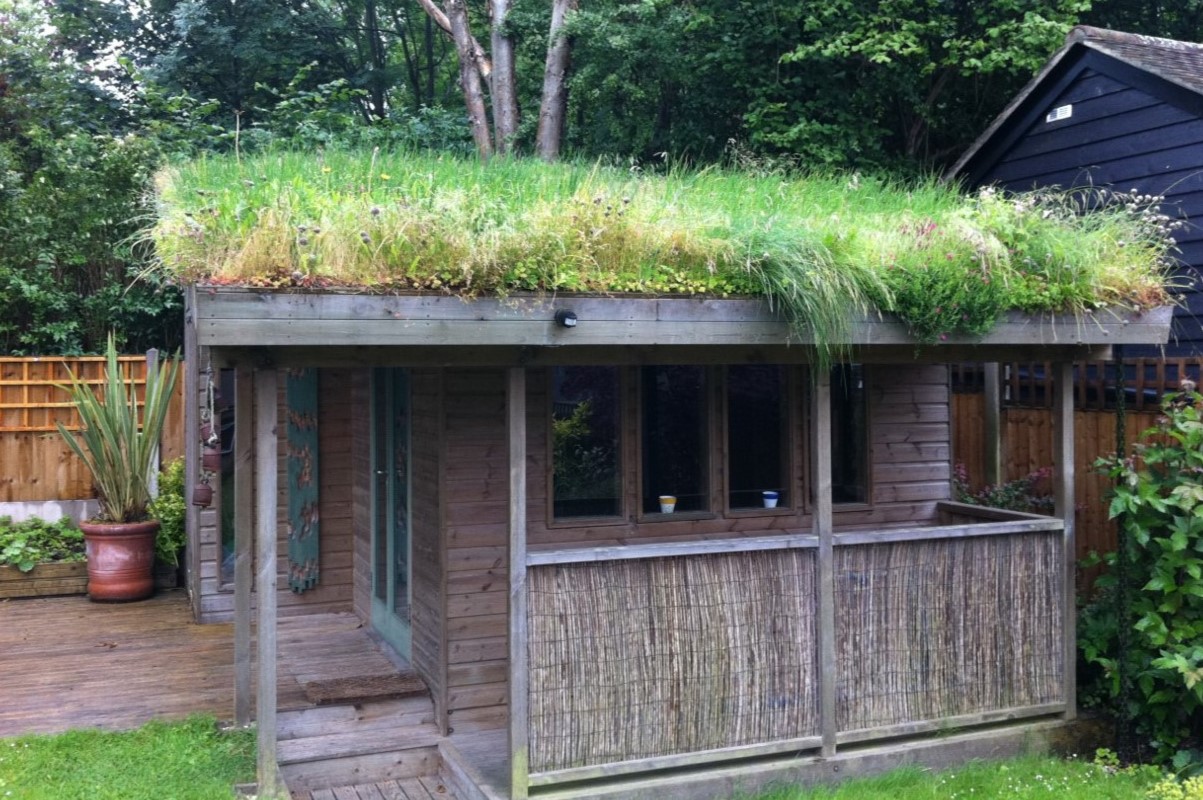
5. Add Personal Touches and Decorative Elements:
Consider adding personal touches and decorative elements to the shed roof to complement the overall design of your property. This could include paint or stain to match the shed’s exterior, decorative trim, or other embellishments that reflect your individual style and preferences.
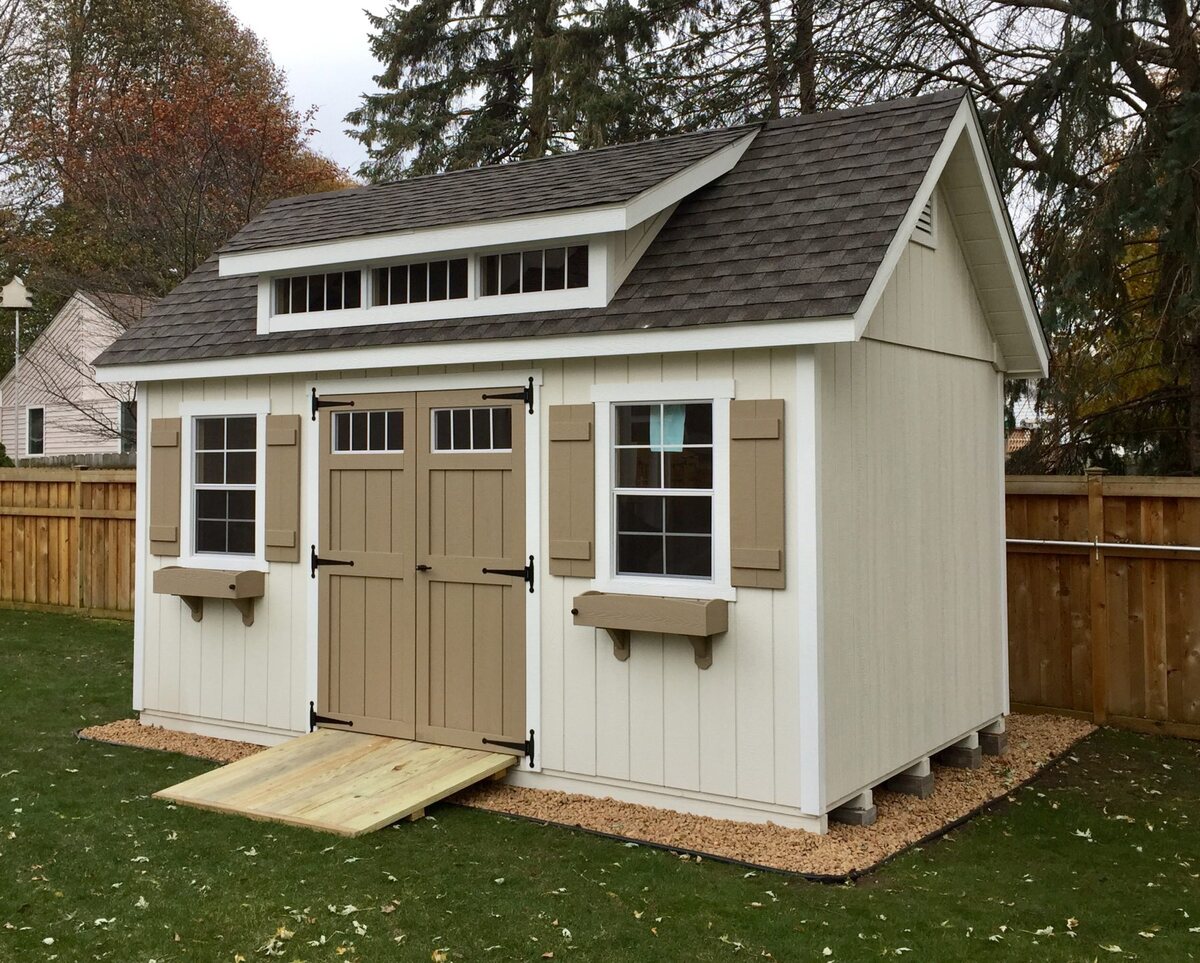
With the finishing touches in place, your shed roof installation is now complete, and your shed is ready to fulfill its intended purpose, whether as a storage space, workshop, or any other functional use. By following these steps and paying attention to the details, you have created a sturdy and visually appealing roof that will serve you well for years to come.
Conclusion
Congratulations on successfully completing the installation of your shed roof! By following the steps outlined in this guide, you’ve not only acquired valuable DIY skills but also added a functional and visually appealing asset to your property. The effort and attention to detail you’ve invested in this project will undoubtedly pay off in the form of a reliable and durable shelter for your belongings, a productive workspace, or a cozy retreat.
As you stand back and admire your completed shed roof, take pride in the knowledge that you’ve created a structure that not only serves a practical purpose but also adds to the overall aesthetic appeal of your property. The careful selection of materials, precise installation techniques, and thoughtful finishing touches have culminated in a roof that is both resilient and attractive.
Remember, the successful installation of a shed roof is a testament to your dedication and craftsmanship. Whether you chose traditional shingles, robust metal panels, or another preferred roofing material, your attention to detail and commitment to quality have resulted in a reliable and weather-resistant shelter for your shed’s contents.
As you move forward, make sure to maintain your shed roof regularly, addressing any potential issues promptly to ensure its continued performance and longevity. By doing so, you’ll maximize the lifespan of your shed roof and continue to enjoy the benefits it provides for years to come.
Thank you for entrusting us with guiding you through the process of installing a shed roof. We hope that this comprehensive guide has equipped you with the knowledge and confidence to tackle future DIY projects and make the most of your outdoor spaces. Now, take a moment to appreciate your handiwork and the valuable addition you’ve made to your property. Happy building!
Frequently Asked Questions about How To Install A Shed Roof
Was this page helpful?
At Storables.com, we guarantee accurate and reliable information. Our content, validated by Expert Board Contributors, is crafted following stringent Editorial Policies. We're committed to providing you with well-researched, expert-backed insights for all your informational needs.
0 thoughts on “How To Install A Shed Roof”