Home>Gardening & Outdoor>Outdoor Structures>How To Set Pergola Posts
Outdoor Structures
How To Set Pergola Posts
Published: January 18, 2024
Learn how to properly set pergola posts for your outdoor structures. Follow our step-by-step guide for a sturdy and durable installation.
(Many of the links in this article redirect to a specific reviewed product. Your purchase of these products through affiliate links helps to generate commission for Storables.com, at no extra cost. Learn more)
Introduction
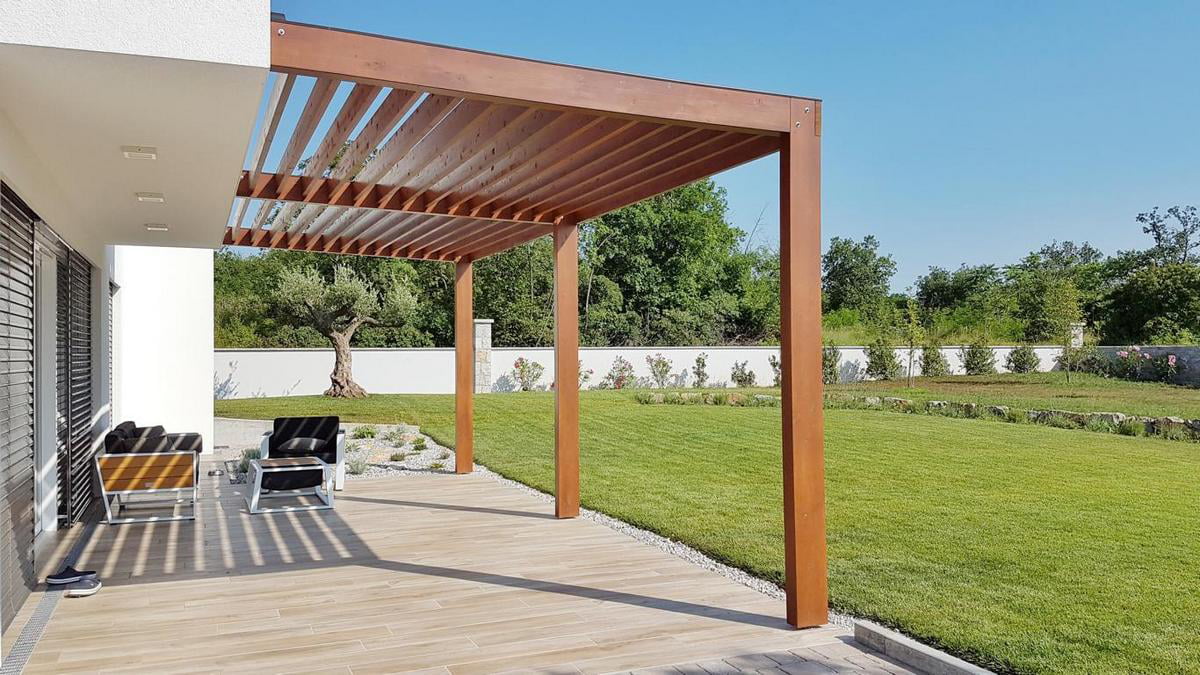
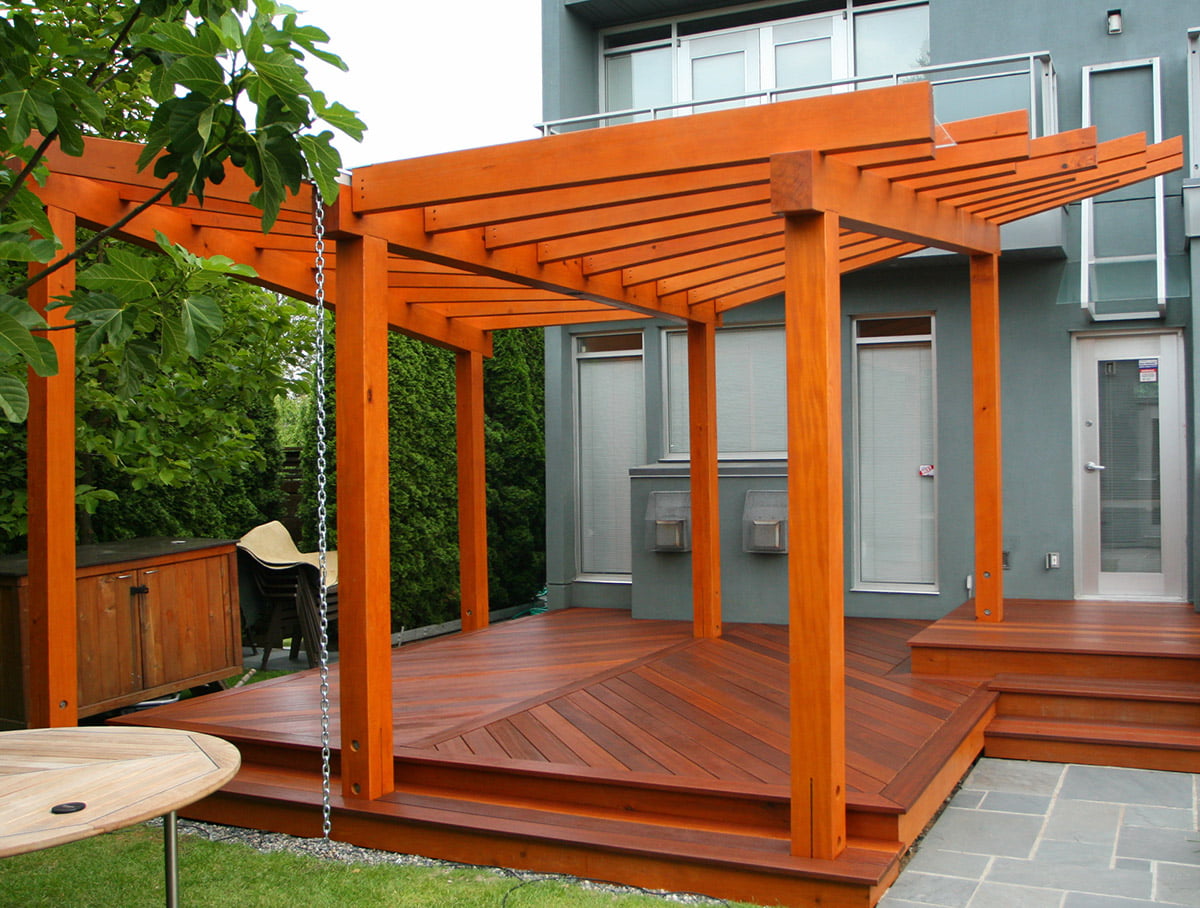
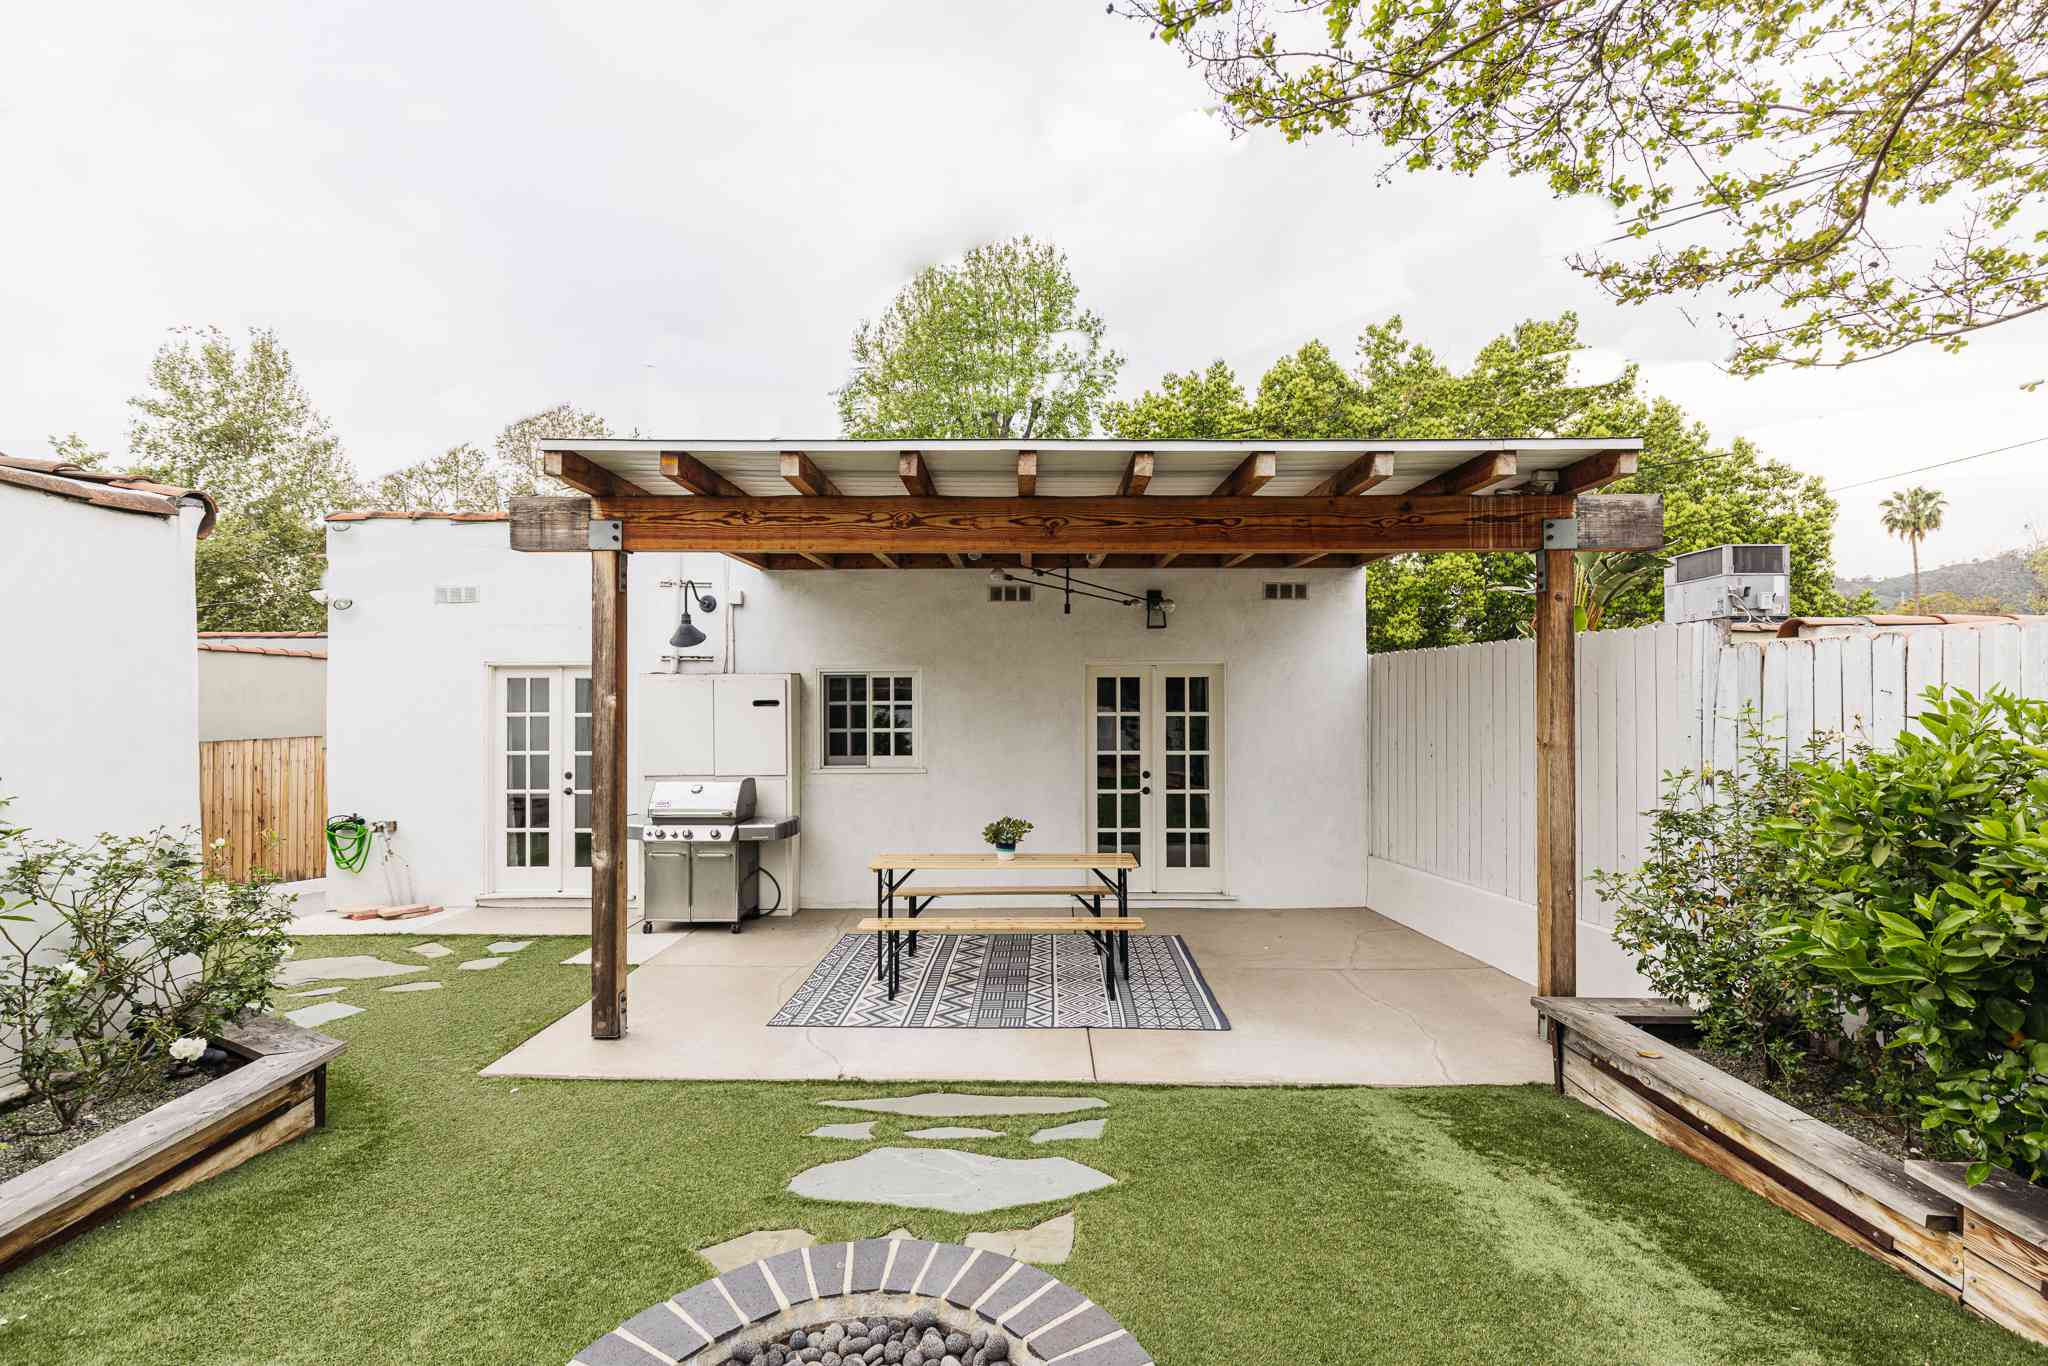
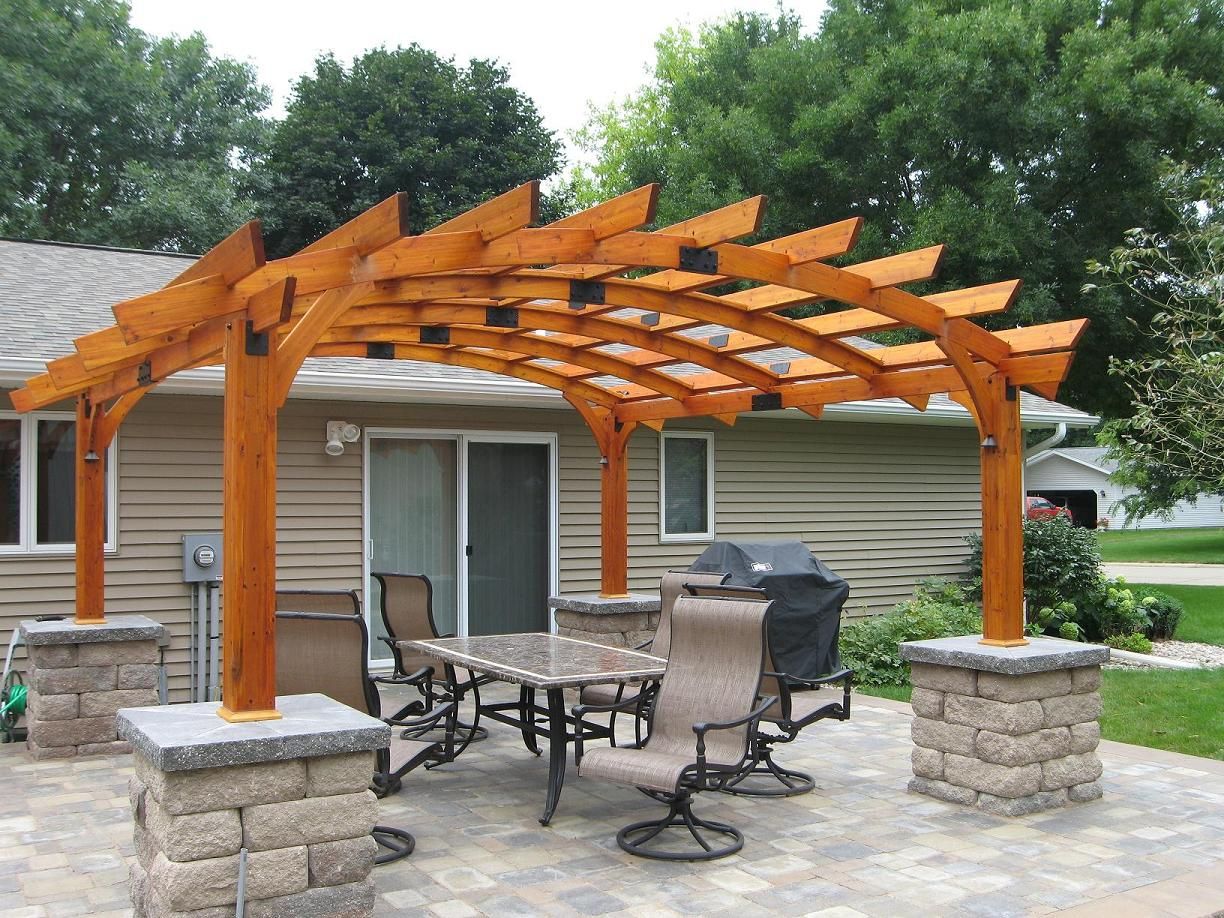
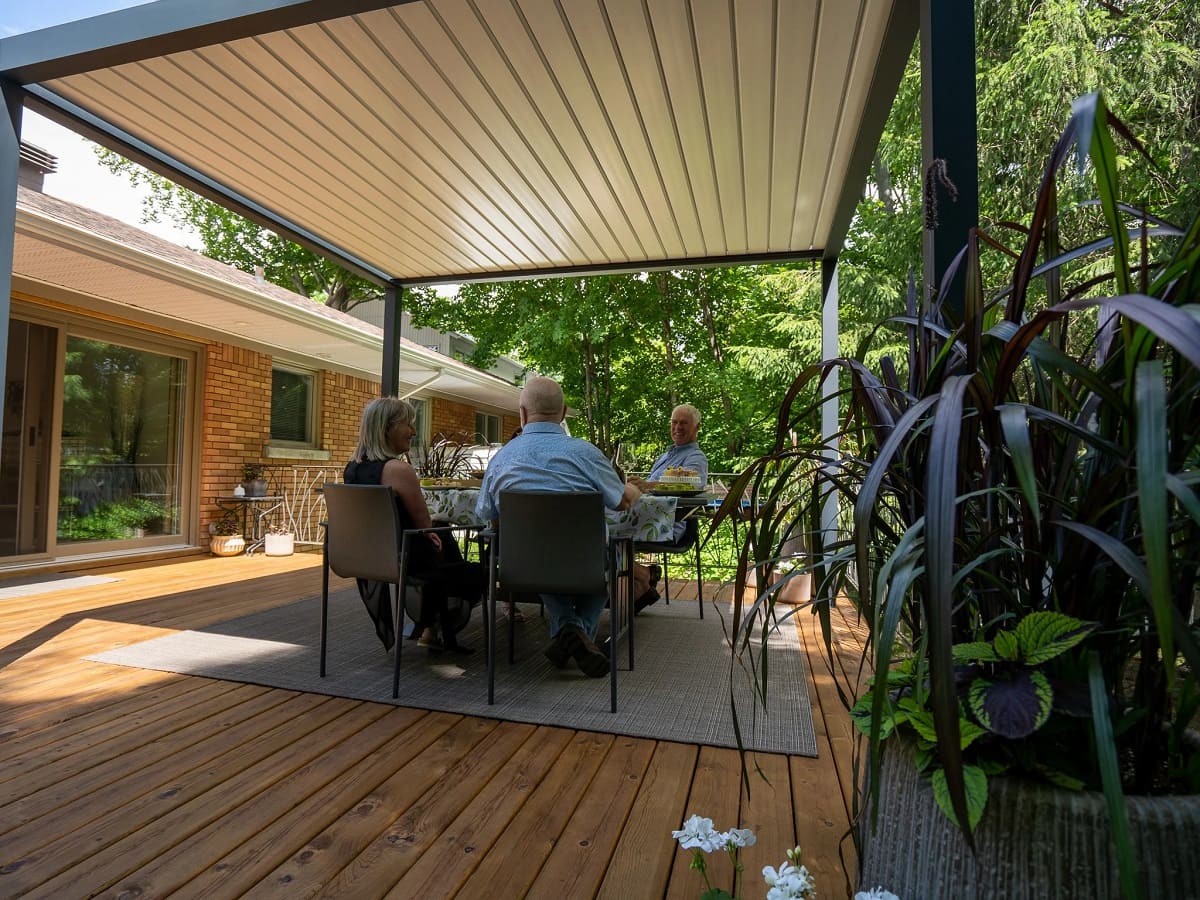
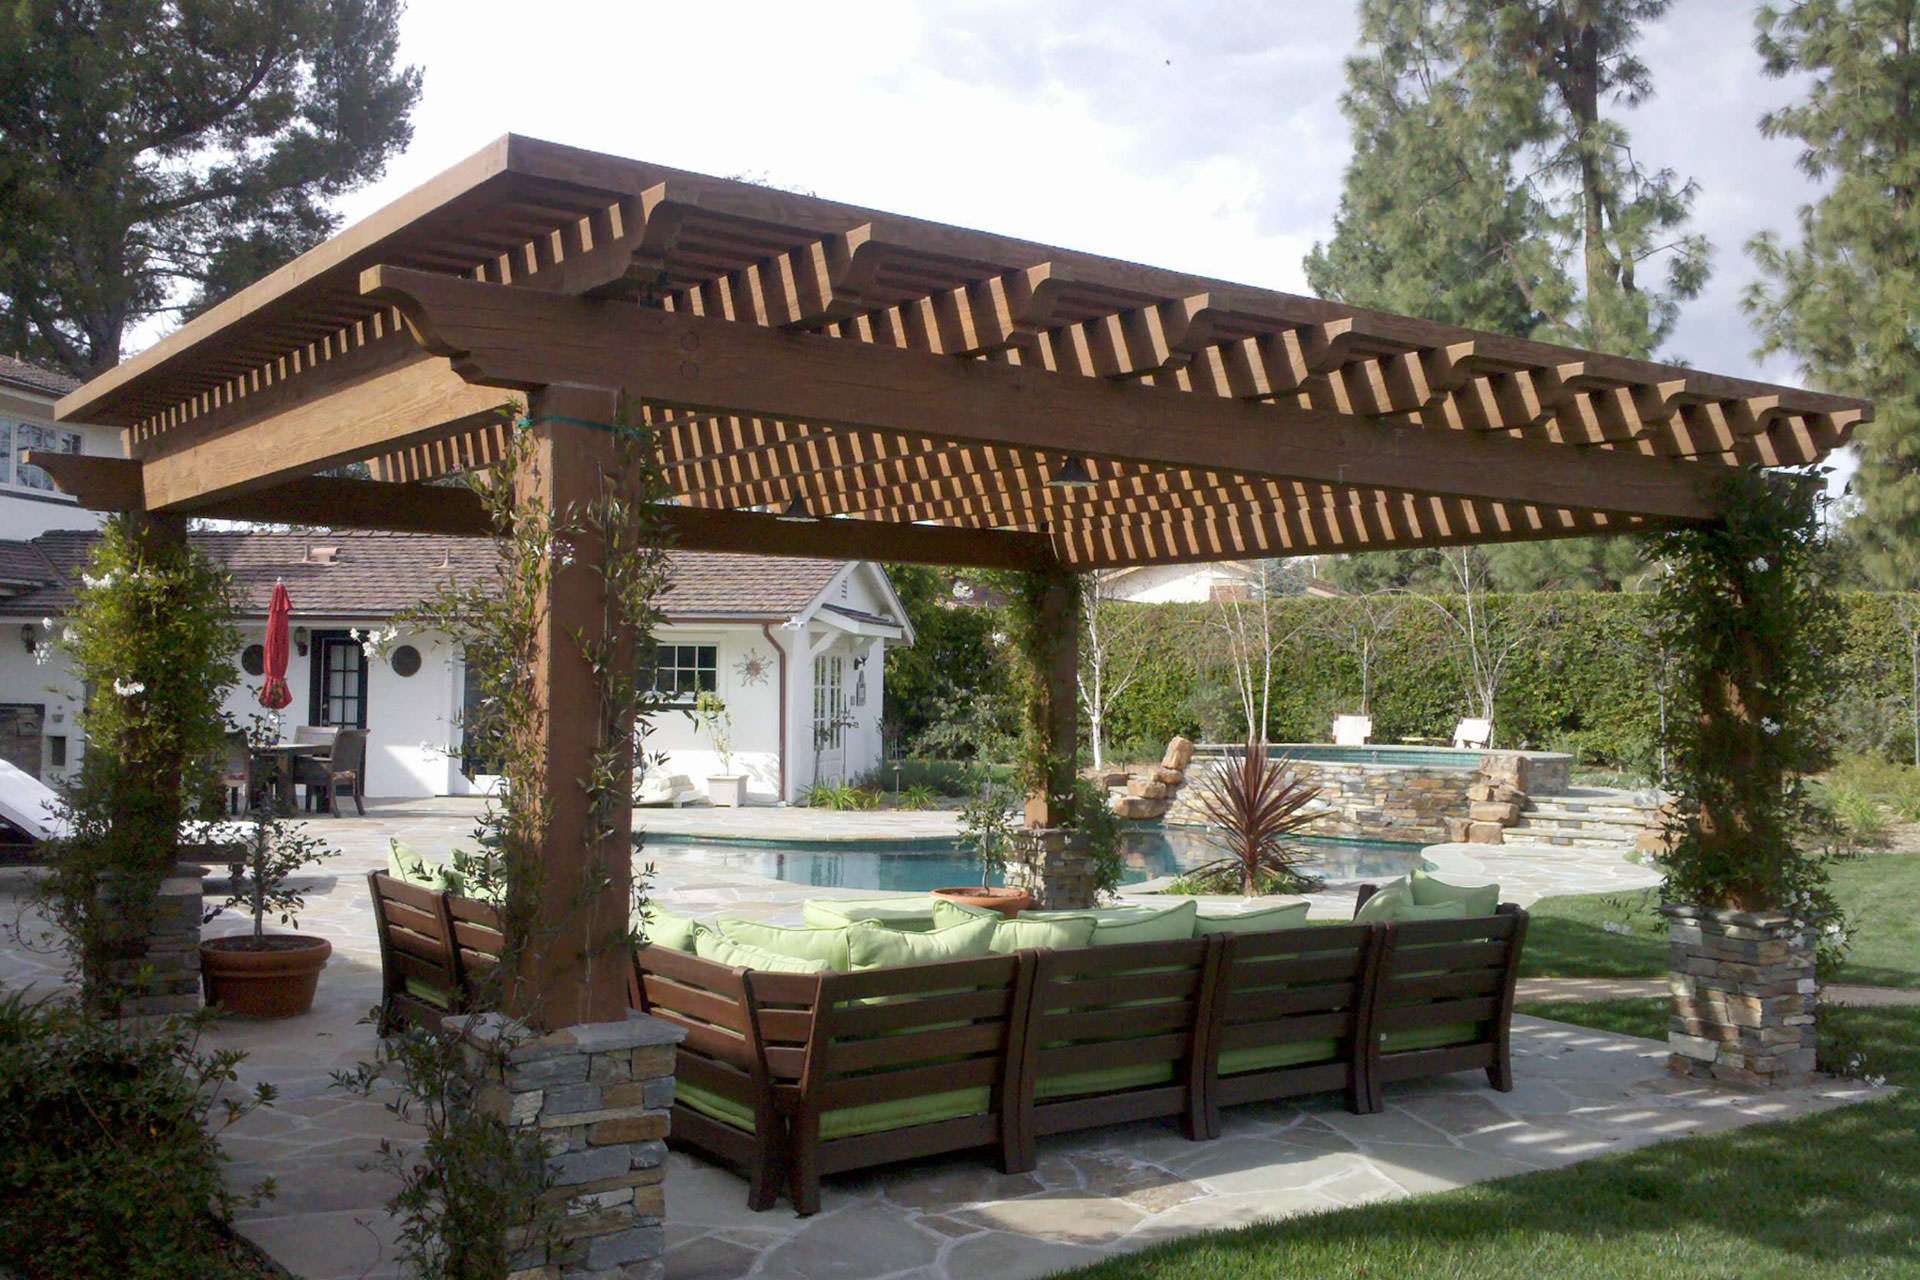
When it comes to creating a stunning outdoor space, a pergola can be a game-changer. This elegant outdoor structure not only adds a touch of sophistication to your backyard but also provides a perfect spot for relaxation and entertainment. However, before you can start enjoying the benefits of a pergola, you need to ensure that its foundation is solid and secure. One of the crucial steps in this process is setting the pergola posts.
Setting pergola posts may seem like a daunting task, but with the right guidance and a bit of elbow grease, you can accomplish it with confidence. In this comprehensive guide, we will walk you through the step-by-step process of setting pergola posts, from marking the location to ensuring the posts are level and secure. By the end of this journey, you will have the knowledge and skills to embark on this exciting outdoor project.
So, roll up your sleeves, gather your tools, and let's dive into the art of setting pergola posts. Whether you're a seasoned DIY enthusiast or a novice looking to expand your skill set, this guide is designed to equip you with the expertise needed to bring your pergola vision to life. Let's get started!
Key Takeaways:
- Setting pergola posts requires careful planning, precise measurements, and attention to detail. From marking the locations to allowing the concrete to cure, each step contributes to the stability and longevity of the structure.
- Verifying the levelness and plumb of the posts is crucial for a visually striking and structurally sound pergola. Embrace the process as an opportunity to connect with your outdoor space and unleash your creativity.
Read more: What Size Post For A Pergola
Step 1: Marking the Location for the Posts
Before you can begin setting the pergola posts, it’s essential to determine the precise locations where the posts will be placed. This initial step is crucial as it sets the foundation for the entire structure and ensures that the pergola will be properly aligned and balanced.
Start by envisioning the layout of your pergola and identifying where you want the posts to be situated. Consider factors such as the size of the pergola, the surrounding landscape, and any specific design preferences. Once you have a clear idea of the post locations, use marking paint or stakes and string to outline the positions on the ground. This visual guide will help you visualize the footprint of the pergola and make any necessary adjustments before proceeding.
It’s important to take precise measurements and ensure that the post locations are symmetrical and aligned according to your design plan. Utilize a tape measure, level, and right-angle tools to confirm that the distances and angles between the marked positions are accurate. Additionally, consider factors such as the orientation of the pergola in relation to the sun and the surrounding scenery to optimize the positioning of the posts for shade and aesthetic appeal.
When marking the locations, it’s also beneficial to account for any potential obstructions or underground utilities that may impact the placement of the posts. Take the time to inspect the area and make any necessary adjustments to avoid complications during the post installation process.
By meticulously marking the location for the posts, you are laying the groundwork for a successful pergola construction project. This attention to detail in the initial phase will contribute to the overall stability and visual harmony of the completed structure, setting the stage for the subsequent steps in the process.
Step 2: Digging the Holes for the Posts
With the locations for the pergola posts clearly marked, the next crucial step is to prepare the ground by digging the holes where the posts will be anchored. This phase of the process requires careful planning and precision to ensure that the posts will be securely supported and aligned.
Start by using a post hole digger or an auger to excavate the holes at the designated locations. The depth and diameter of the holes will depend on the specific requirements of your pergola design and the type of soil in your area. Typically, the holes should be deep enough to accommodate a stable foundation, accounting for factors such as frost lines and soil composition.
As you dig the holes, periodically check the depth using a tape measure to ensure uniformity across all the holes. It’s essential to maintain consistency in the depth of the holes to guarantee that the posts will be level when installed. Additionally, consider using a level to confirm that the bottoms of the holes are flat and even, providing a solid base for the posts.
While digging the holes, it’s important to exercise caution and be mindful of any potential underground utilities or obstacles that may be present. If you encounter any obstructions or encounter challenging soil conditions, such as rocky terrain, take the necessary precautions to address these obstacles and modify the hole dimensions as needed.
Once the holes have been excavated to the appropriate specifications, take the opportunity to remove any debris or loose soil from the bottoms of the holes. This will create a clean and stable foundation for the posts and facilitate a seamless transition to the next phase of the installation process.
By diligently digging the holes for the pergola posts, you are laying the groundwork for a sturdy and enduring structure. This preparatory step sets the stage for securely anchoring the posts and ensures that the foundation of the pergola is robust and reliable, setting the stage for the subsequent phases of the installation process.
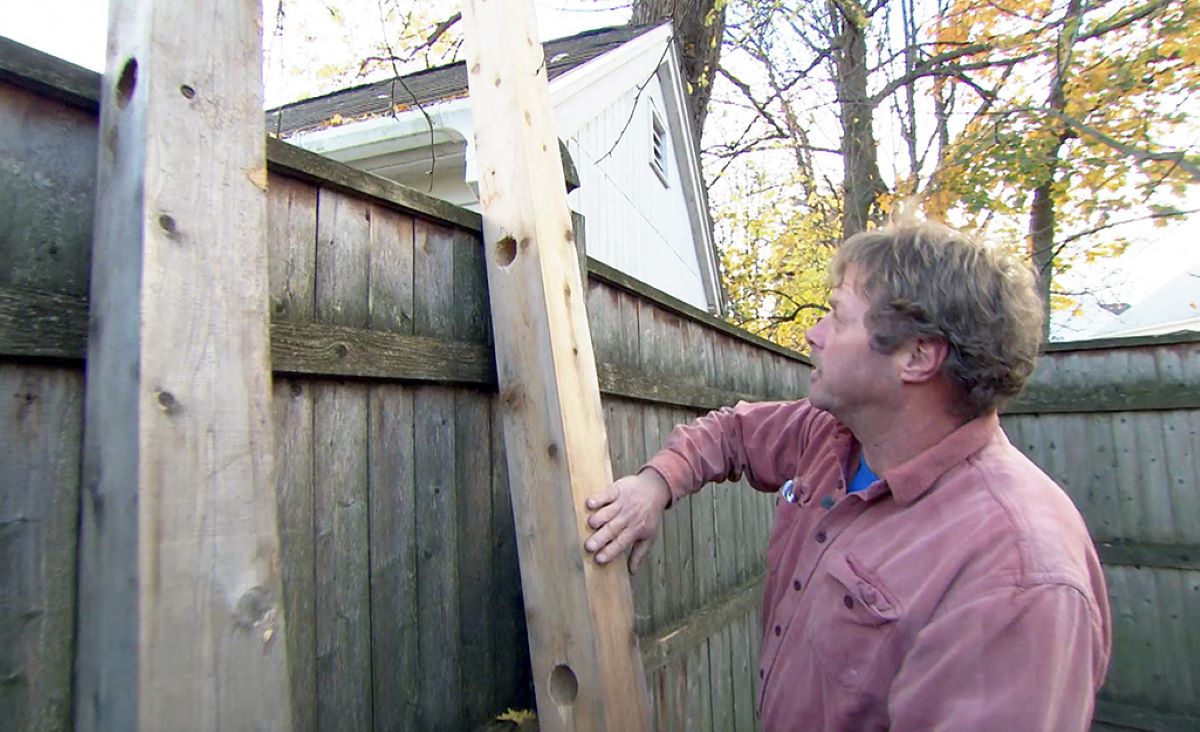
Step 3: Setting the Posts in Concrete
Once the holes for the pergola posts have been excavated, the next critical phase involves setting the posts in concrete to establish a solid and durable foundation. Properly securing the posts in concrete is essential for ensuring the stability and longevity of the pergola structure.
Begin by placing the posts in the center of each hole, ensuring that they are positioned vertically and aligned according to the layout plan. Use temporary bracing or support structures to hold the posts in place and prevent them from shifting during the concrete pouring process. This step is crucial for maintaining the precise positioning of the posts as the concrete sets.
With the posts securely positioned, it’s time to prepare the concrete mix for pouring into the holes. Use a high-quality concrete mix and follow the manufacturer’s instructions for the proper water-to-concrete ratio. Thoroughly mix the concrete to achieve a uniform consistency, ensuring that it is free of lumps and air pockets that could compromise its strength.
Carefully pour the concrete into each hole, ensuring that it completely surrounds the base of the posts and fills the voids in the holes. As you pour the concrete, periodically agitate the posts to help eliminate air pockets and ensure that the concrete fully encapsulates the lower portion of the posts. This process is essential for creating a secure bond between the posts and the concrete foundation.
As the concrete is poured, use a level to confirm that the posts remain plumb and aligned. Make any necessary adjustments to the post positions to ensure that they are perfectly vertical before the concrete begins to set. Additionally, consider using a measuring tape to verify that the posts are set at the correct height relative to the ground level and the desired height of the pergola.
After the concrete has been poured, allow sufficient time for it to cure and achieve its full strength. Follow the recommended curing time provided by the concrete manufacturer, ensuring that the posts remain undisturbed during this critical phase. Once the concrete has fully cured, the posts will be firmly anchored and ready to support the framework of the pergola.
By meticulously setting the posts in concrete, you are establishing a solid and reliable foundation for your pergola. This phase of the installation process is essential for ensuring the structural integrity of the posts and laying the groundwork for the subsequent steps in constructing a beautiful and enduring outdoor space.
When setting pergola posts, make sure to dig deep holes for stability, use concrete for secure anchoring, and double-check for proper alignment before setting the posts in place.
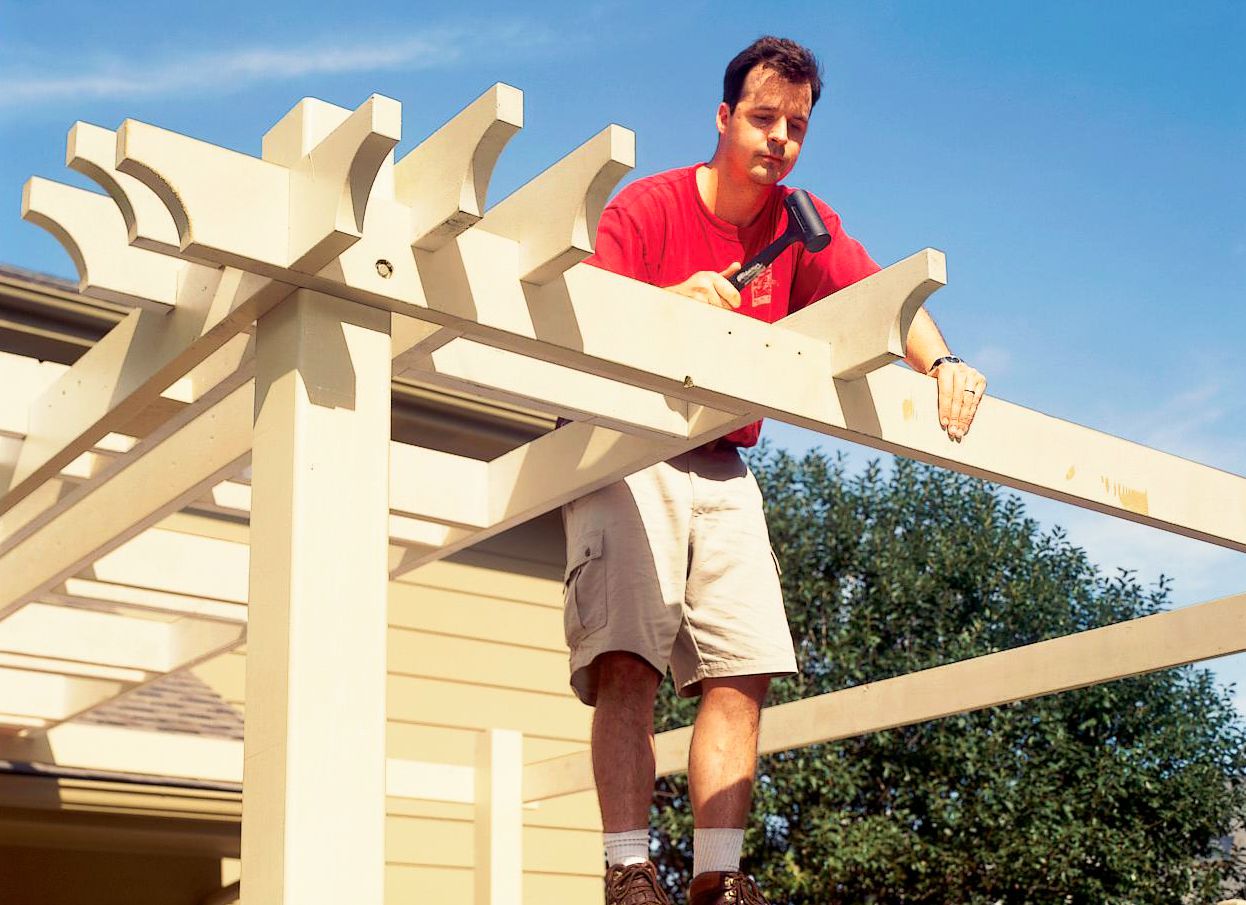
Step 4: Checking for Level and Plumb
After setting the pergola posts in concrete, it’s essential to verify that they are perfectly level and plumb before proceeding with the construction of the pergola framework. Ensuring that the posts are precisely aligned will contribute to the stability and visual appeal of the completed structure.
Begin by using a reliable level to check each post for plumb, confirming that they are perfectly vertical and not leaning in any direction. Adjust the temporary bracing or support structures as needed to correct any deviations from plumb, ensuring that each post stands upright with precision. This meticulous attention to detail will contribute to the overall stability and aesthetics of the pergola.
Once the posts have been confirmed to be plumb, it’s time to assess their levelness. Use a spirit level to check the tops of the posts, ensuring that they are perfectly level relative to the ground. Make any necessary adjustments to the post heights to achieve uniformity across all the posts, creating a solid foundation for the pergola framework.
As you check for level and plumb, it’s important to take into account the specific requirements of your pergola design and the intended use of the structure. Consider factors such as the slope of the surrounding terrain and any architectural features that may impact the alignment of the posts. By carefully evaluating the levelness and plumb of the posts, you can ensure that the pergola will stand with grace and stability in its designated space.
In addition to using traditional spirit levels, consider utilizing modern laser leveling tools to achieve precise and consistent results. Laser levels can provide enhanced accuracy and efficiency in verifying the alignment of the posts, especially for larger pergola projects or installations in complex terrain.
By meticulously checking for level and plumb, you are laying the groundwork for a visually striking and structurally sound pergola. This attention to detail in verifying the alignment of the posts will contribute to the overall quality and longevity of the completed structure, setting the stage for the final phases of the pergola construction process.
Read more: How To Decorate A Pergola
Step 5: Allowing the Concrete to Cure
After setting the pergola posts in concrete and confirming their levelness and alignment, it’s crucial to allow the concrete to cure properly before proceeding with the construction of the pergola framework. The curing process is essential for ensuring that the concrete achieves its full strength and stability, providing a solid foundation for the entire structure.
Once the concrete has been poured and the posts have been verified for level and plumb, it’s important to protect the newly installed foundation from disturbances that could compromise its integrity. Create a clear and secure perimeter around the posts to prevent accidental damage or interference during the curing period. This precaution will help maintain the stability and alignment of the posts as the concrete sets.
Follow the recommended curing guidelines provided by the concrete manufacturer, allowing sufficient time for the concrete to achieve its specified strength. Typically, concrete will continue to gain strength over time, with the initial curing phase being critical for establishing a solid bond between the posts and the foundation. Avoid placing heavy loads or exerting excessive pressure on the posts during this period to prevent any potential shifting or settling of the concrete.
During the curing process, monitor the weather conditions to ensure that the concrete is protected from adverse elements such as heavy rain or extreme temperatures. Consider using protective coverings or temporary shelters to shield the concrete from inclement weather, safeguarding the integrity of the curing foundation. Additionally, avoid applying any finishes or loads to the pergola posts until the concrete has fully cured to prevent premature stress on the structure.
As the concrete cures, take the opportunity to plan and prepare for the subsequent phases of the pergola construction process. Consider the materials and design elements that will be incorporated into the framework, ensuring that they are ready for installation once the concrete has fully set. This proactive approach will streamline the progression of the project and contribute to the efficient and successful completion of the pergola.
By allowing the concrete to cure thoroughly, you are ensuring the long-term stability and durability of your pergola foundation. This patient and attentive approach to the curing process will lay the groundwork for a resilient and enduring outdoor structure, setting the stage for the exciting stages of completing your pergola project.
Conclusion
Embarking on the journey of setting pergola posts is a pivotal step in bringing your outdoor oasis to life. By meticulously following the steps outlined in this guide, you have equipped yourself with the knowledge and skills needed to lay a solid foundation for your pergola construction project. From marking the precise locations for the posts to allowing the concrete to cure, each phase of the process plays a crucial role in ensuring the stability, longevity, and visual appeal of your pergola.
As you delve into the art of setting pergola posts, remember that attention to detail and precision are key elements in achieving a successful outcome. Taking the time to meticulously plan the post locations, excavate the holes, and set the posts in concrete will contribute to the overall quality and resilience of your pergola structure. Additionally, verifying the levelness and plumb of the posts and allowing the concrete to cure thoroughly will set the stage for the subsequent phases of constructing a stunning outdoor space.
Throughout this journey, embrace the opportunity to infuse your unique style and vision into the construction process. Whether you’re crafting a cozy retreat for relaxation or a captivating venue for outdoor gatherings, your pergola reflects your personal taste and lifestyle. Consider incorporating design elements, such as decorative post caps or climbing vines, to add a touch of charm and character to your pergola, transforming it into a captivating focal point in your outdoor environment.
As you bring your pergola vision to fruition, remember that the journey is as rewarding as the destination. Embrace the process of setting pergola posts as an opportunity to connect with your outdoor space and unleash your creativity. With each step, you are not only constructing a physical structure but also crafting a space where cherished memories will unfold and moments of tranquility and joy will be savored.
So, as you set forth on this inspiring endeavor, may your pergola stand as a testament to your passion for outdoor living, a sanctuary where the beauty of nature converges with the artistry of human craftsmanship. With the foundation firmly set, the canvas is yours to embellish, and the possibilities are as boundless as the open sky above your pergola.
Frequently Asked Questions about How To Set Pergola Posts
Was this page helpful?
At Storables.com, we guarantee accurate and reliable information. Our content, validated by Expert Board Contributors, is crafted following stringent Editorial Policies. We're committed to providing you with well-researched, expert-backed insights for all your informational needs.

0 thoughts on “How To Set Pergola Posts”