Home>Gardening & Outdoor>Outdoor Structures>How To Put A Roof On A Pergola
Outdoor Structures
How To Put A Roof On A Pergola
Modified: August 17, 2024
Learn how to put a roof on a pergola to enhance your outdoor space. Discover expert tips and ideas for outdoor structures.
(Many of the links in this article redirect to a specific reviewed product. Your purchase of these products through affiliate links helps to generate commission for Storables.com, at no extra cost. Learn more)
Introduction
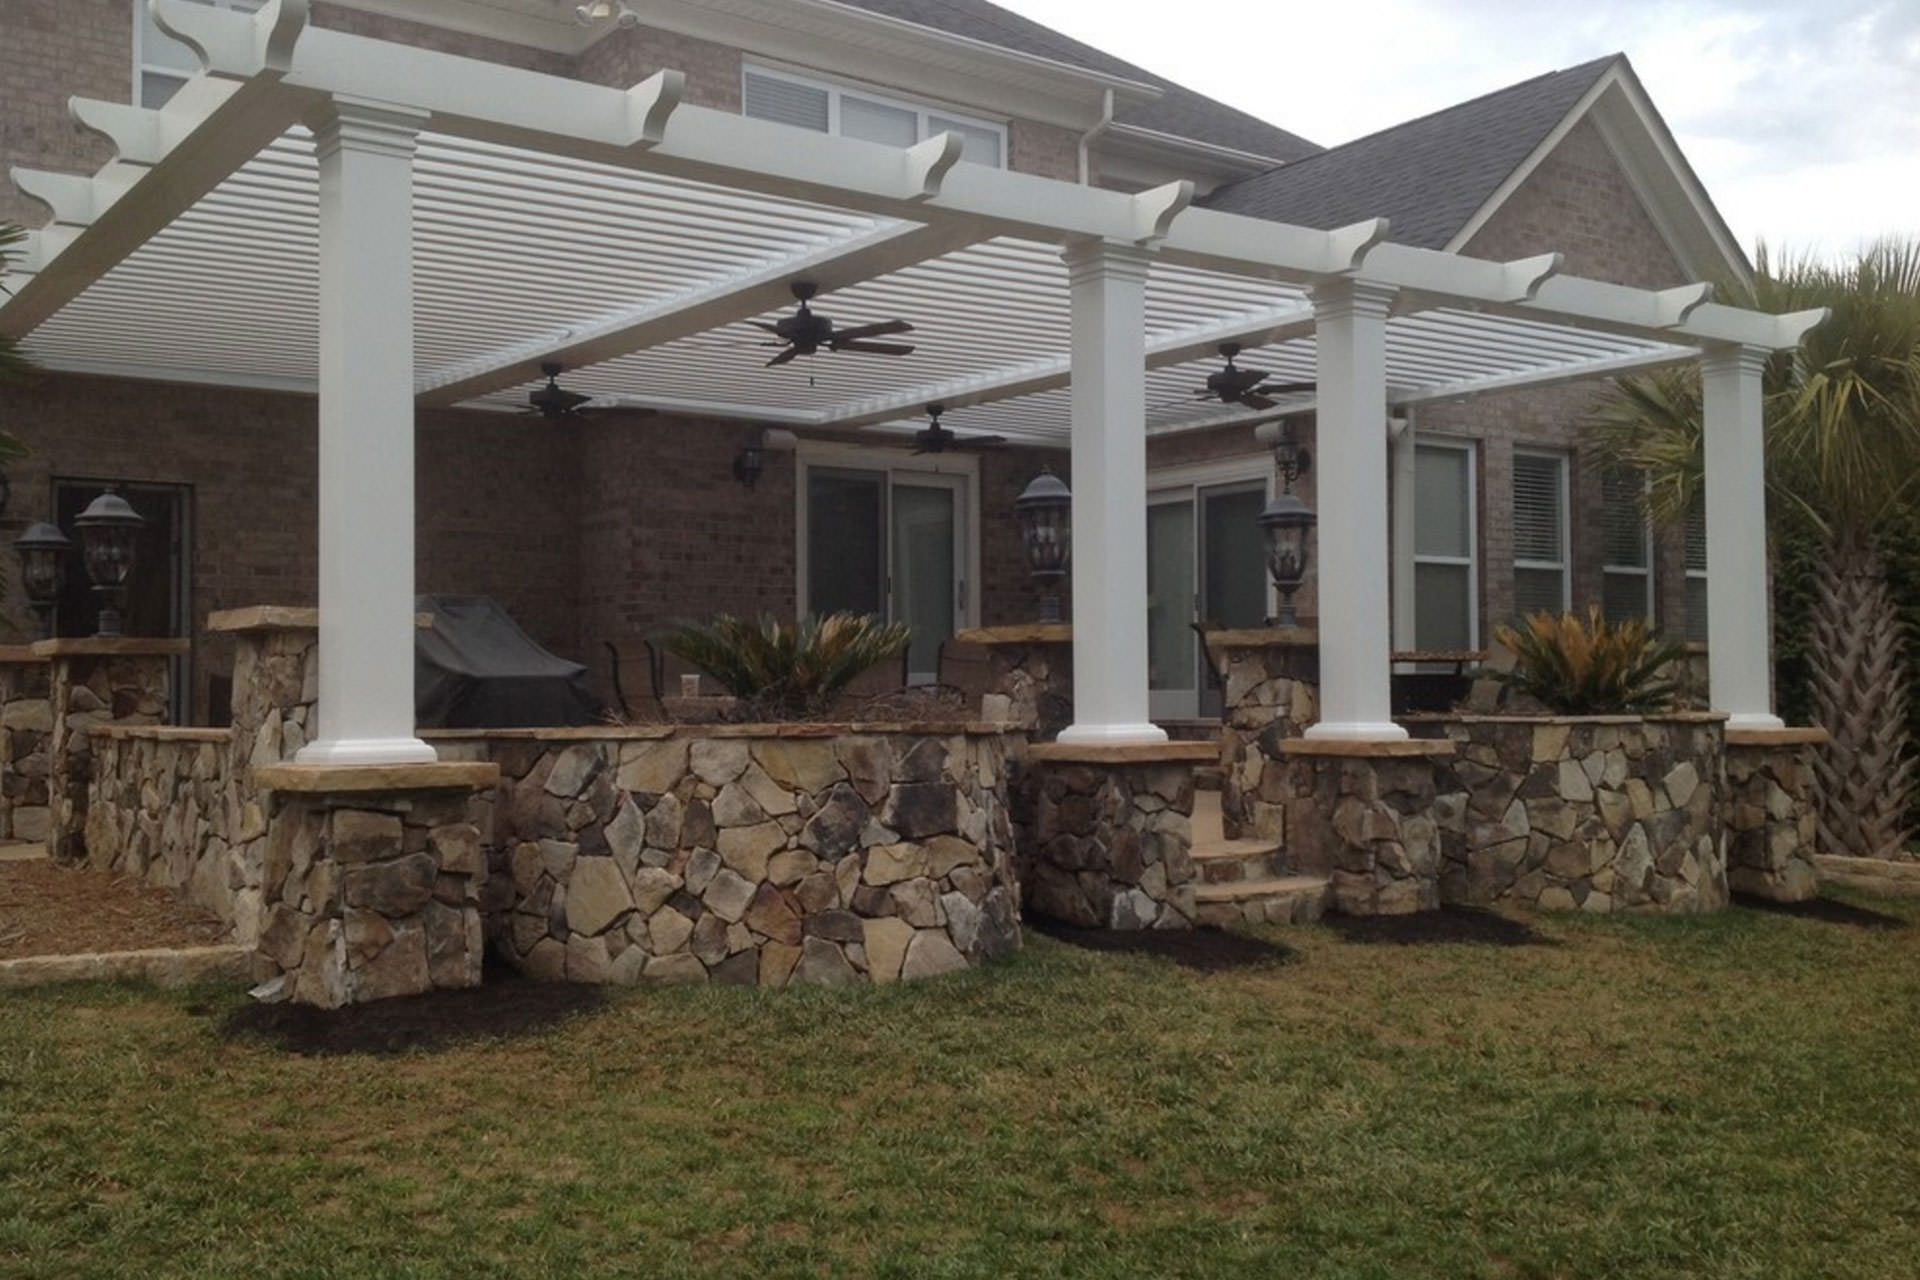
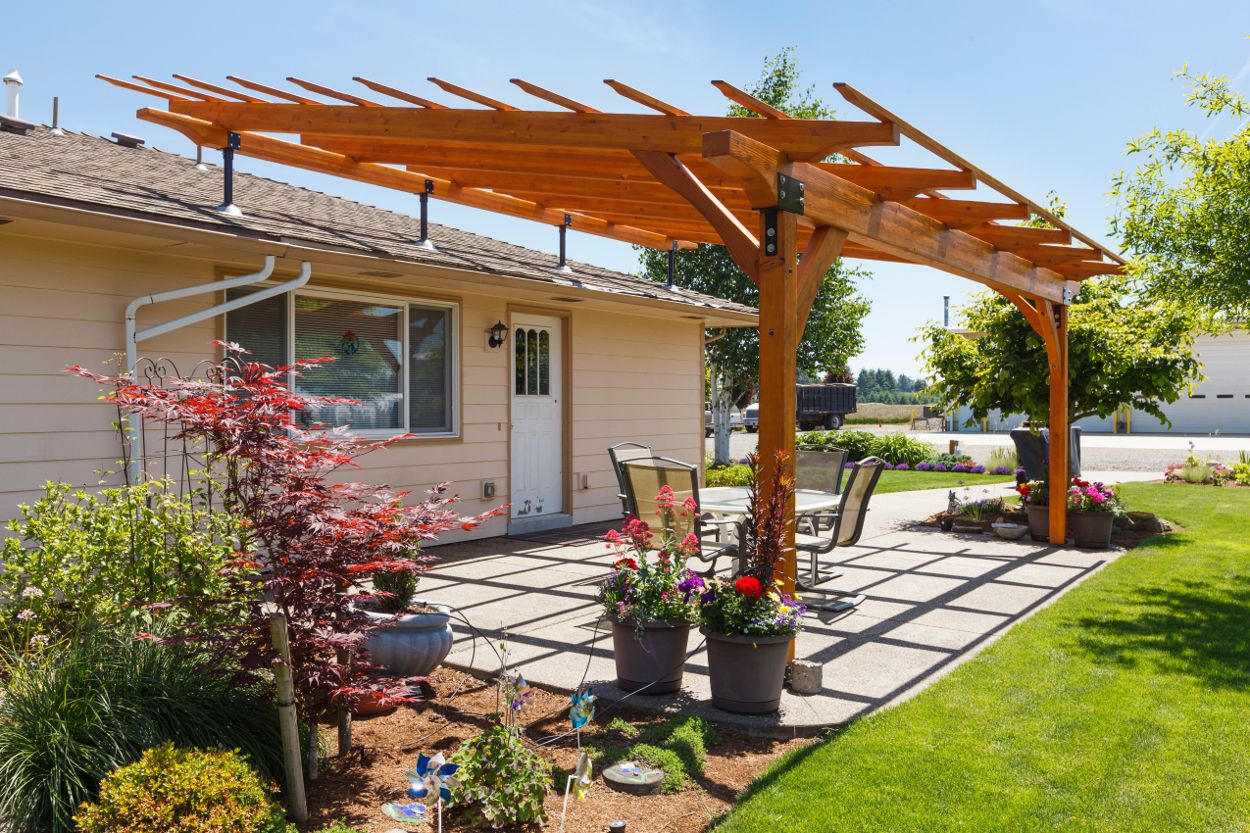
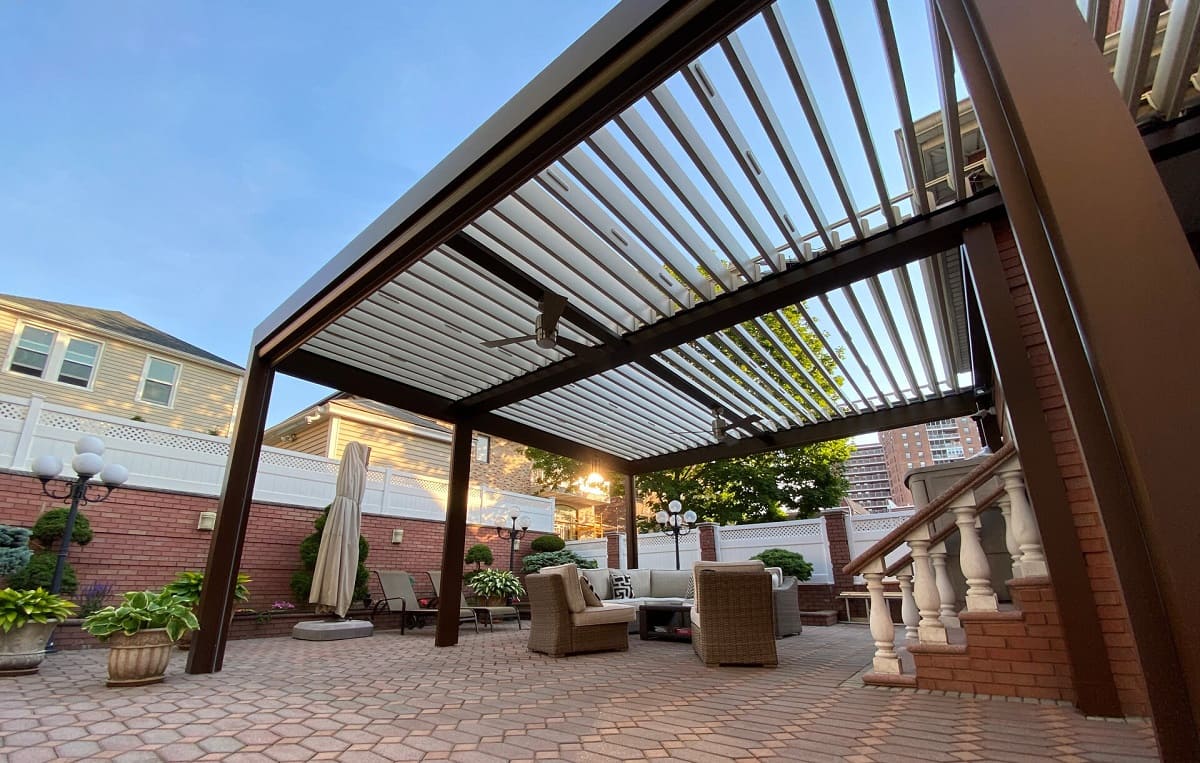
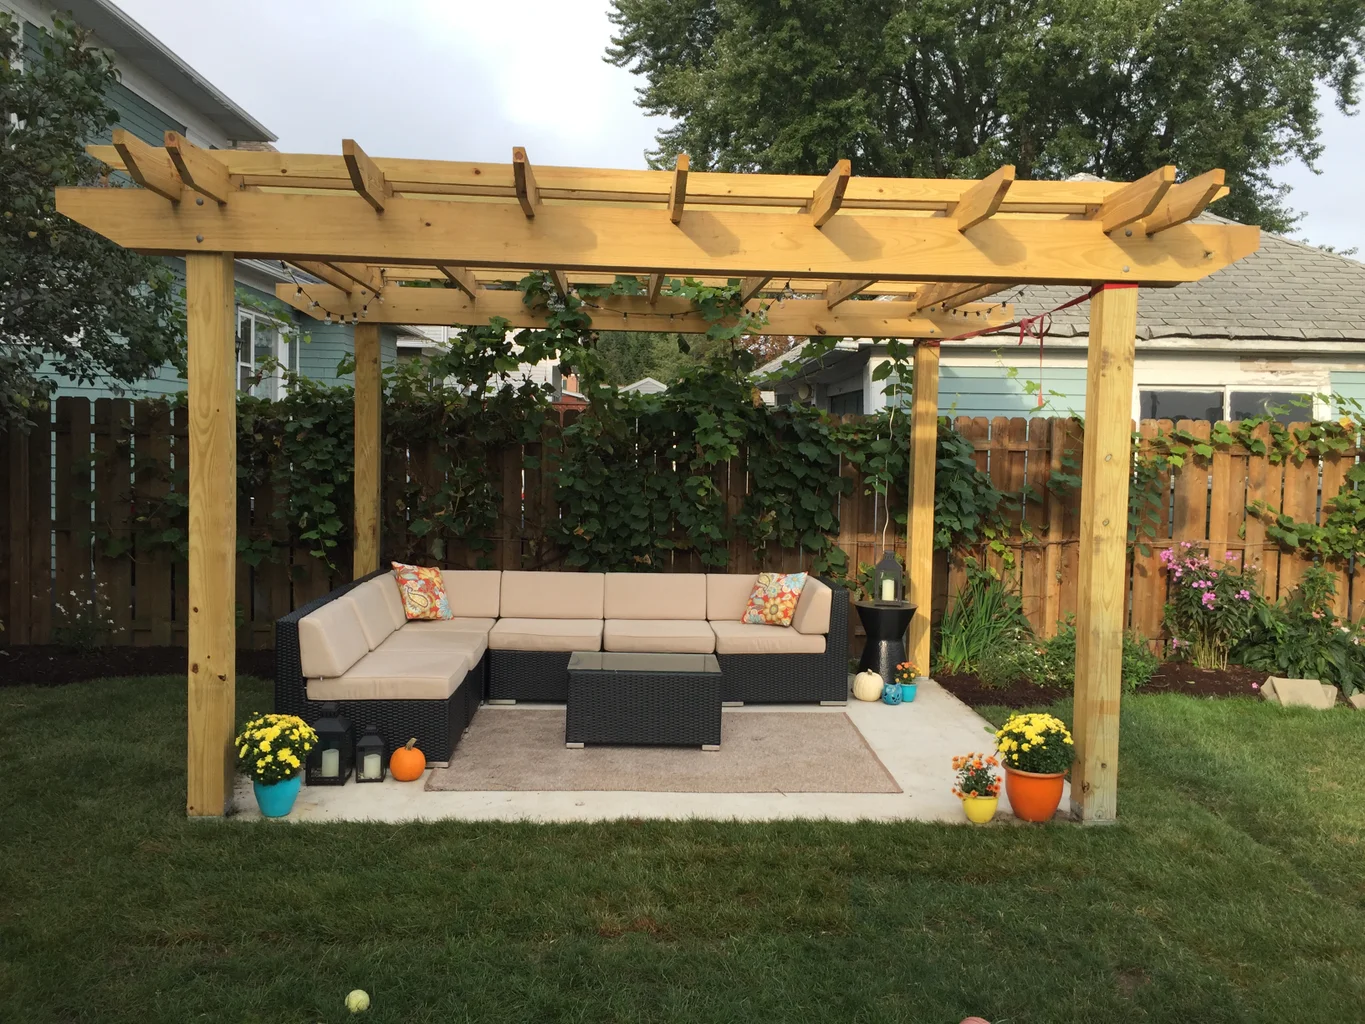
So, you've got a beautiful pergola in your backyard, and you love spending time under it, but you find yourself wishing for a bit more shade or protection from the elements. Well, the good news is that you can easily add a roof to your pergola to create a more comfortable and versatile outdoor space. Whether you want to shield your outdoor furniture from the sun, create an outdoor dining area, or simply enjoy the space in all types of weather, adding a roof to your pergola is a fantastic solution.
In this guide, we'll walk you through the process of adding a roof to your pergola, from gathering the necessary materials and tools to the finishing touches and maintenance. With just a bit of DIY spirit and some basic carpentry skills, you can transform your pergola into a shaded oasis where you can relax, entertain, and enjoy the outdoors in style.
Are you ready to take your pergola to the next level? Let's dive in and learn how to put a roof on your pergola!
Key Takeaways:
- Transform your pergola into a shaded oasis by adding a roof with the right materials and tools. Enjoy a versatile outdoor space for relaxation, entertainment, and protection from the elements.
- Securely attach the roofing material to your pergola for long-term durability. Add finishing touches and regular maintenance to ensure a functional and attractive outdoor space for years to come.
Read more: How To Put A Metal Roof On A Pergola
Step 1: Gather Materials and Tools
Before you begin the process of putting a roof on your pergola, it’s essential to gather all the necessary materials and tools. Here’s a list of what you’ll need:
- Roofing material (options include polycarbonate panels, metal sheets, or outdoor fabric)
- Pressure-treated lumber for the support beams
- Galvanized screws or nails
- Drill and drill bits
- Saw for cutting the support beams and roofing material
- Measuring tape
- Level
- Ladder or step stool
- Safety goggles and work gloves
- Sealant or waterproofing material (if needed)
Once you have all the necessary materials and tools, you’ll be ready to move on to the next steps of the process. Proper preparation is key to ensuring a smooth and efficient installation of the pergola roof.
Step 2: Measure and Cut the Roofing Material
After gathering the required materials and tools, the next step is to measure and cut the roofing material to fit the dimensions of your pergola. Whether you’ve chosen polycarbonate panels, metal sheets, or outdoor fabric for the roof, precise measurements are crucial for a seamless installation.
Start by measuring the length and width of your pergola to determine the exact size of the roofing material needed. If you’re using polycarbonate panels or metal sheets, use a saw to cut the material to the appropriate dimensions. Be sure to wear safety goggles and work gloves during this process to protect yourself from any sharp edges or debris.
If you’ve opted for outdoor fabric as the roofing material, measure the dimensions required and add extra length for overhang, allowing the fabric to drape over the edges of the pergola for added protection. Once you’ve measured and cut the roofing material to size, you’re ready to move on to the next step of the installation process.
Accurate measurements and precise cuts are essential for ensuring that the roofing material fits your pergola perfectly, creating a polished and professional-looking end result. Taking the time to measure carefully and cut the material accurately will set the stage for a successful installation.
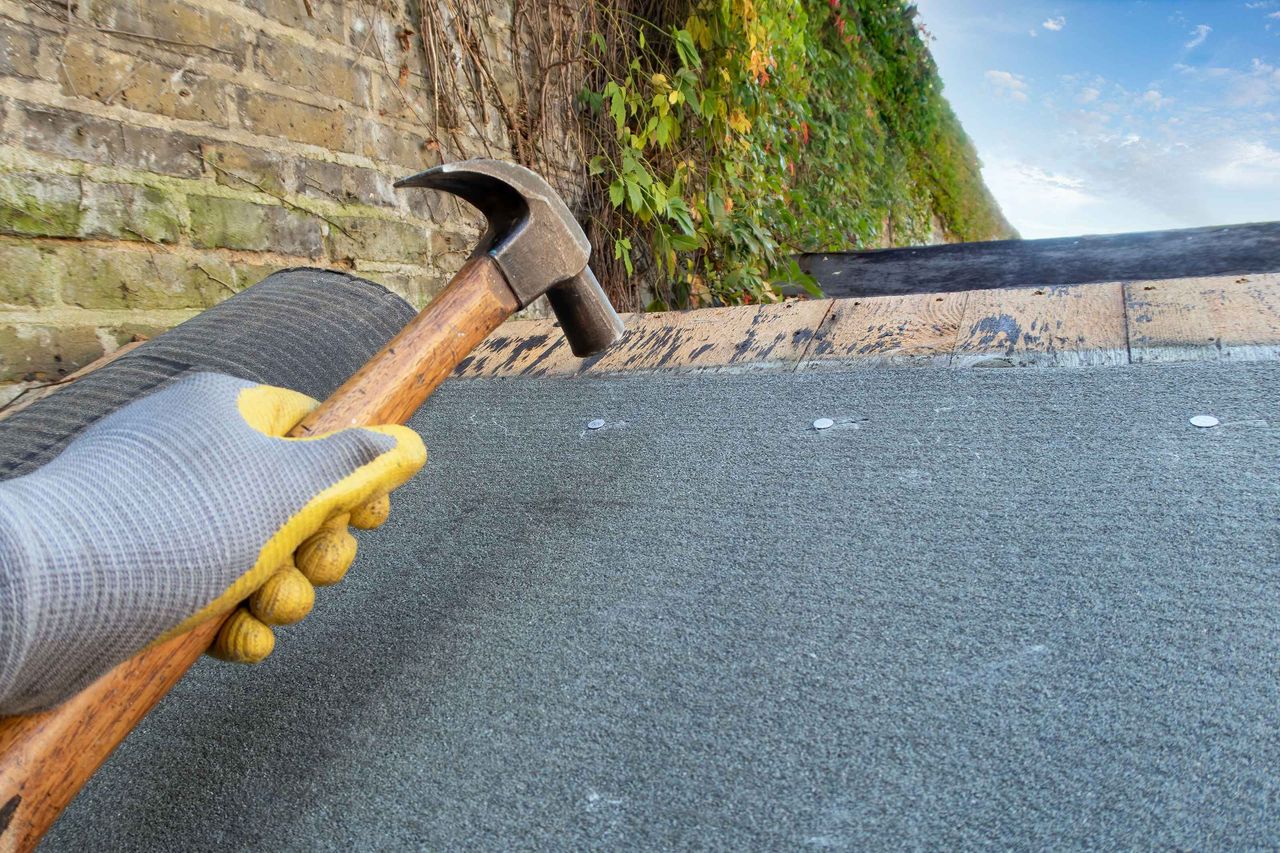
Step 3: Install Support Beams for the Roof
With the roofing material prepared, it’s time to install the support beams that will hold the roof in place. The support beams are crucial for providing stability and ensuring that the roof can withstand various weather conditions. Here’s how to proceed with this step:
- Positioning the Beams: Determine the placement of the support beams on top of the pergola structure. They should be positioned to provide adequate support for the roofing material and evenly distribute the weight across the pergola.
- Attaching the Beams: Use pressure-treated lumber to construct the support beams, ensuring that they are securely attached to the existing pergola structure. Galvanized screws or nails can be used to fasten the beams in place. Be sure to use a level to ensure that the beams are installed evenly and are not slanted.
- Reinforcement: Depending on the size of your pergola and the type of roofing material chosen, additional reinforcement may be necessary to support the weight of the roof. Consider adding cross beams or braces for extra stability, especially if you live in an area prone to high winds or heavy snowfall.
Proper installation of the support beams is essential for the long-term durability and functionality of the pergola roof. Taking the time to position the beams correctly and secure them firmly in place will ensure that your roof is structurally sound and capable of withstanding the elements.
Consider using polycarbonate panels for your pergola roof. They are lightweight, durable, and provide protection from the sun and rain while still allowing natural light to filter through. Make sure to secure the panels properly to prevent them from being lifted by strong winds.
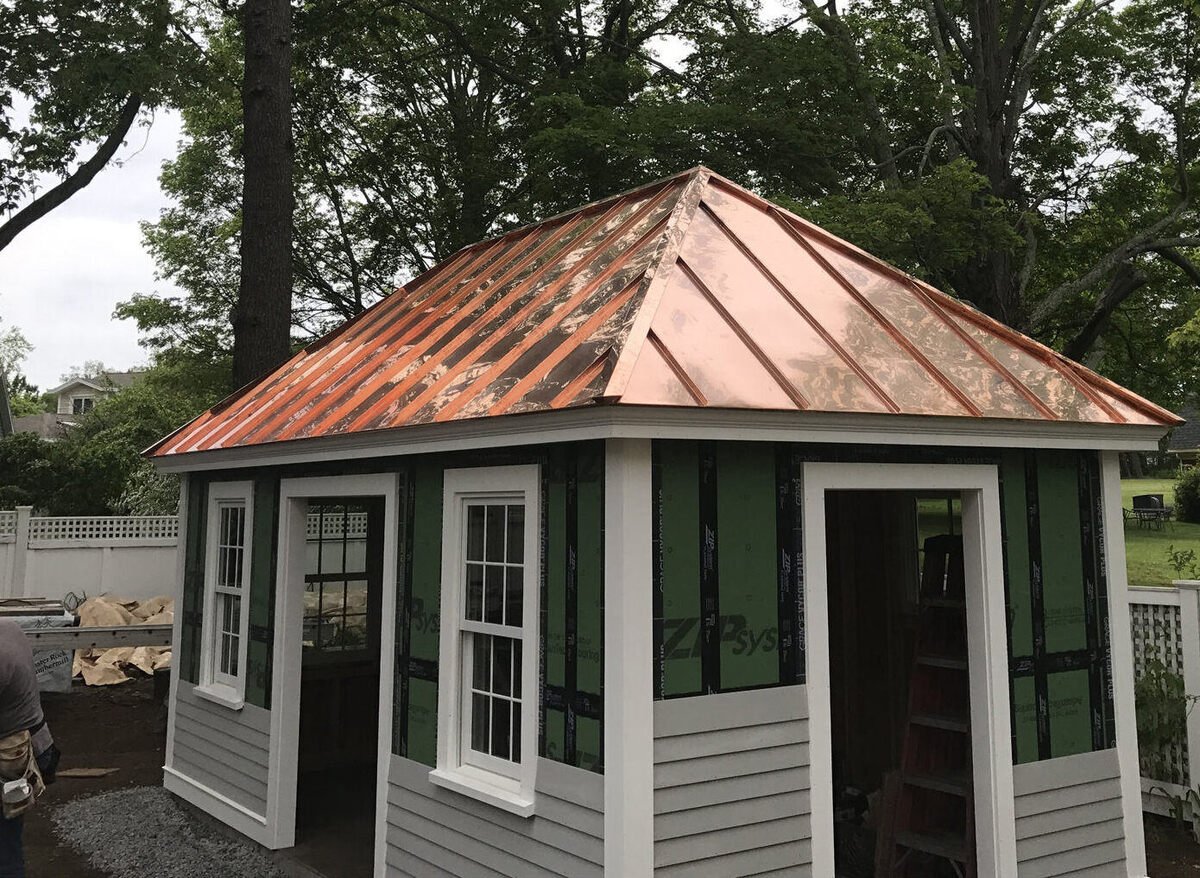
Step 4: Attach Roofing Material to the Pergola
With the support beams in place, it’s time to attach the roofing material to the pergola. The method of attachment will depend on the type of roofing material you’ve chosen, whether it’s polycarbonate panels, metal sheets, or outdoor fabric. Here’s a general overview of how to proceed with this step:
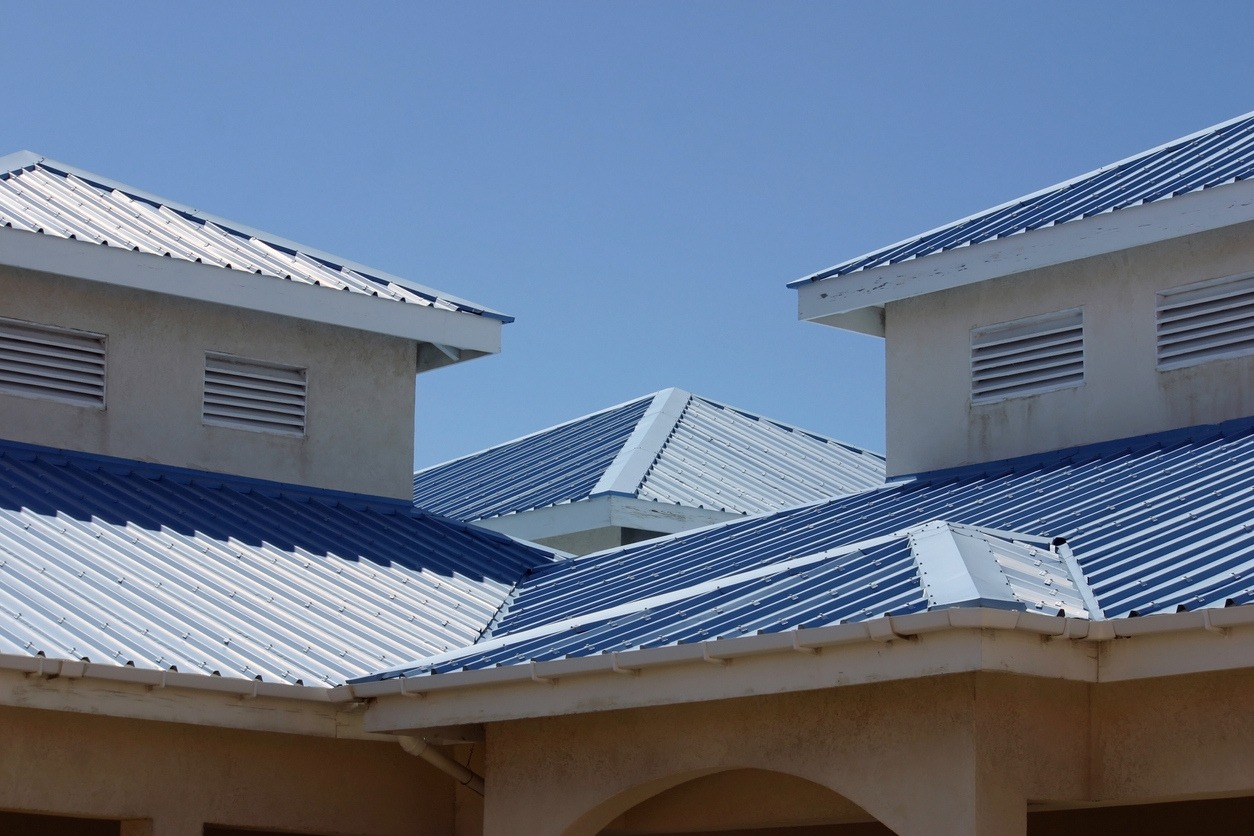
Polycarbonate Panels or Metal Sheets: If you’ve opted for polycarbonate panels or metal sheets, use galvanized screws to secure the roofing material to the support beams. Be sure to pre-drill holes in the panels or sheets to prevent cracking or damage during installation. Space the screws evenly along the edges and across the surface of the roofing material to ensure a secure fit.
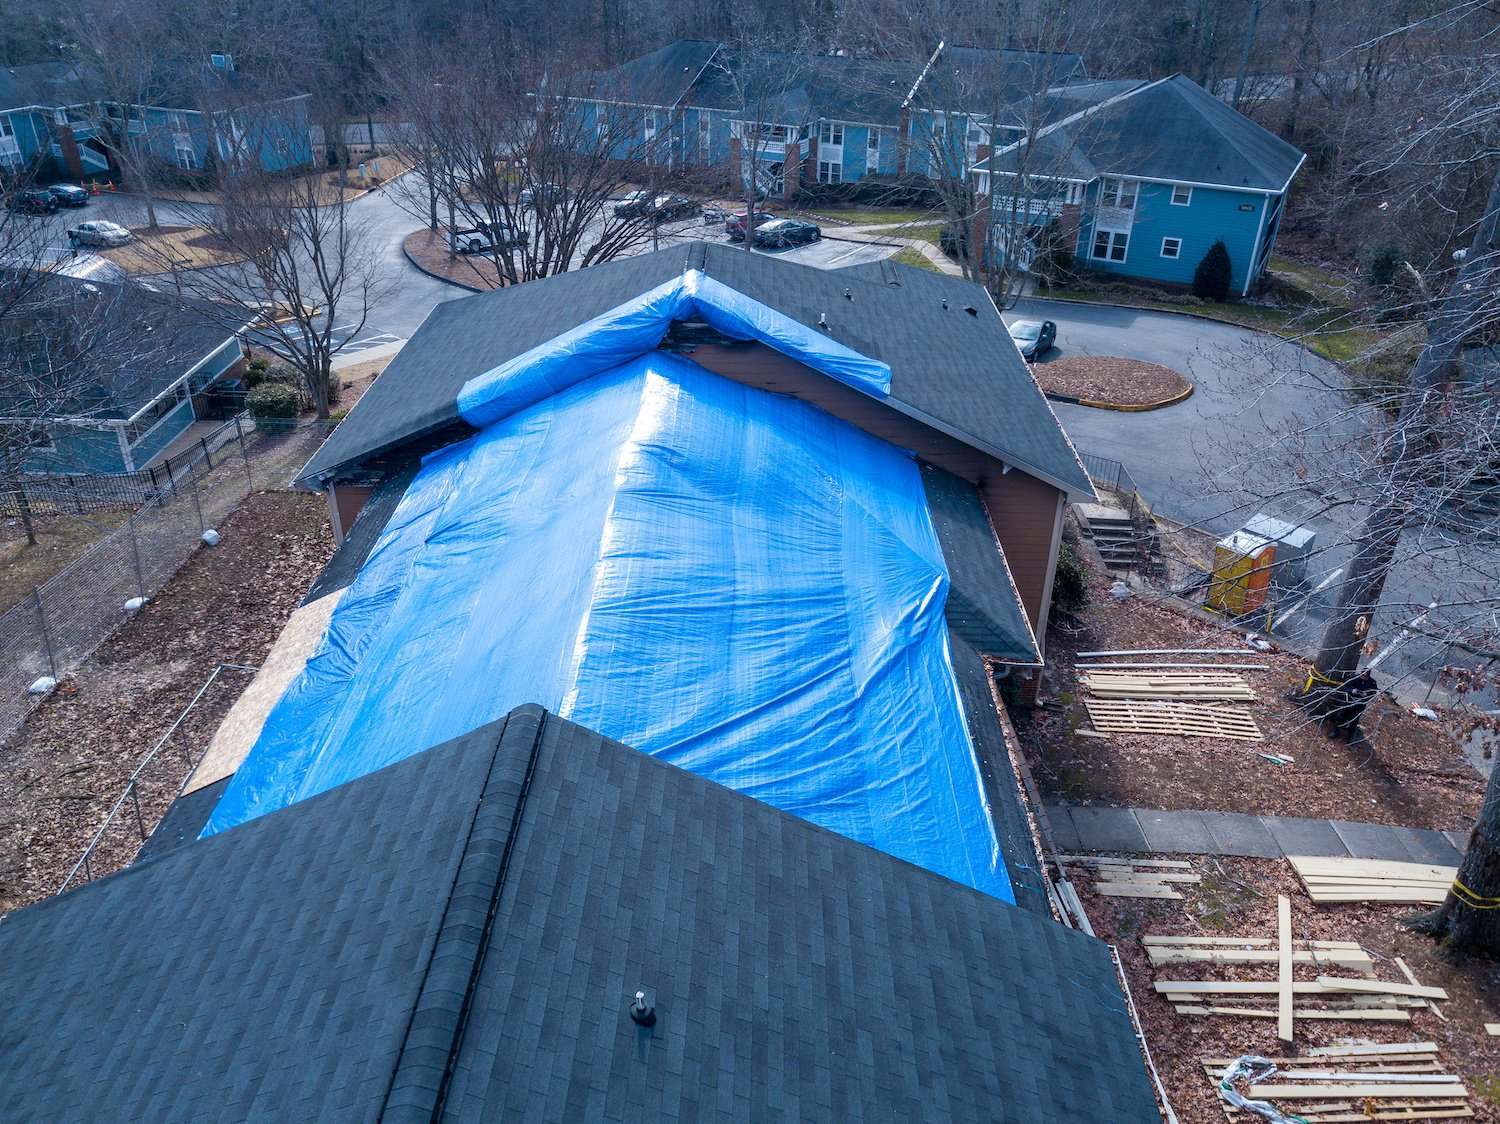
Outdoor Fabric: If you’ve chosen outdoor fabric for the roof, it can be attached using a combination of grommets, hooks, or Velcro straps. Secure the fabric to the support beams, ensuring that it is taut and free from sagging or wrinkles. Consider using waterproof outdoor fabric to provide protection from rain and moisture.
Regardless of the type of roofing material you’ve selected, it’s important to ensure that it is installed securely and is able to withstand various weather conditions. Taking the time to attach the roofing material properly will contribute to the longevity and functionality of your pergola roof.
Read more: How To Build A Pergola Roof
Step 5: Finishing Touches and Maintenance
Once the roofing material is securely attached to the pergola, it’s time to add the finishing touches that will enhance both the appearance and functionality of the new roof. Additionally, regular maintenance is essential to ensure that your pergola roof remains in top condition over time. Here’s what you need to consider:
Sealant and Waterproofing: Depending on the type of roofing material used, applying a sealant or waterproofing product can help protect the roof from moisture, UV rays, and other environmental factors. This step is particularly important for polycarbonate panels, metal sheets, or any exposed wood surfaces.
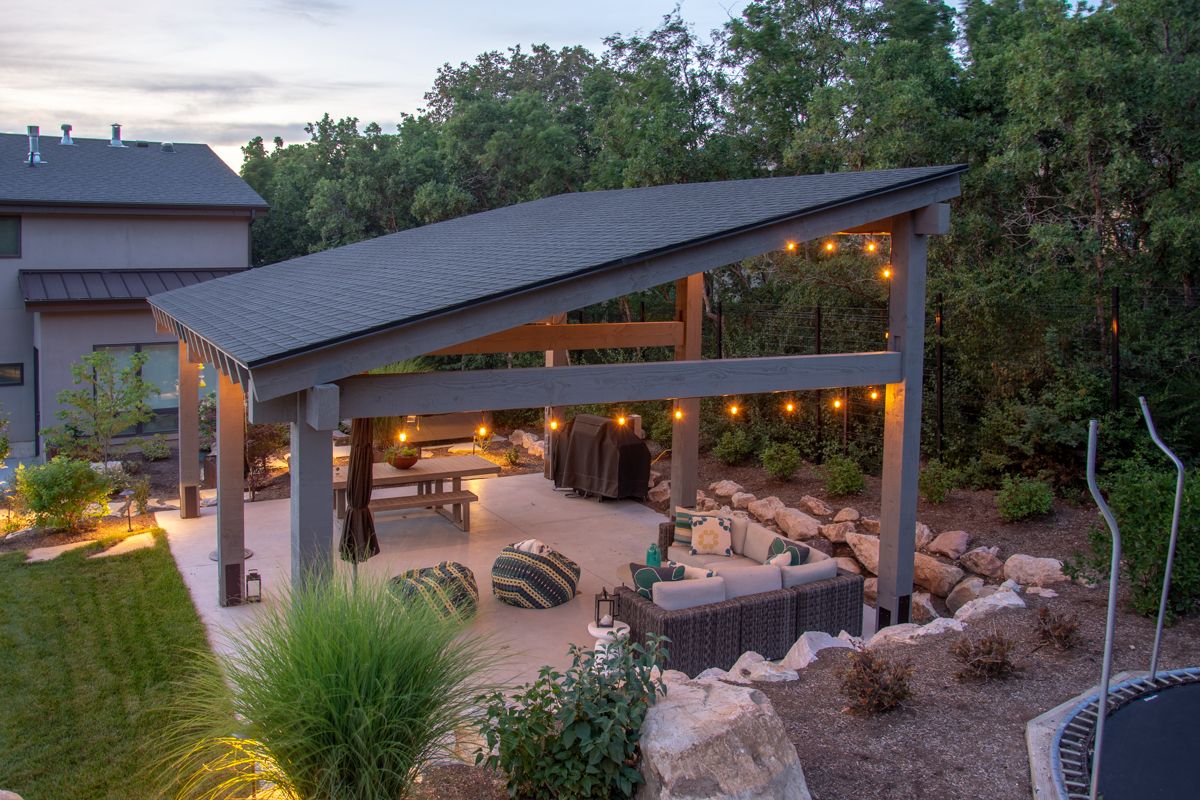
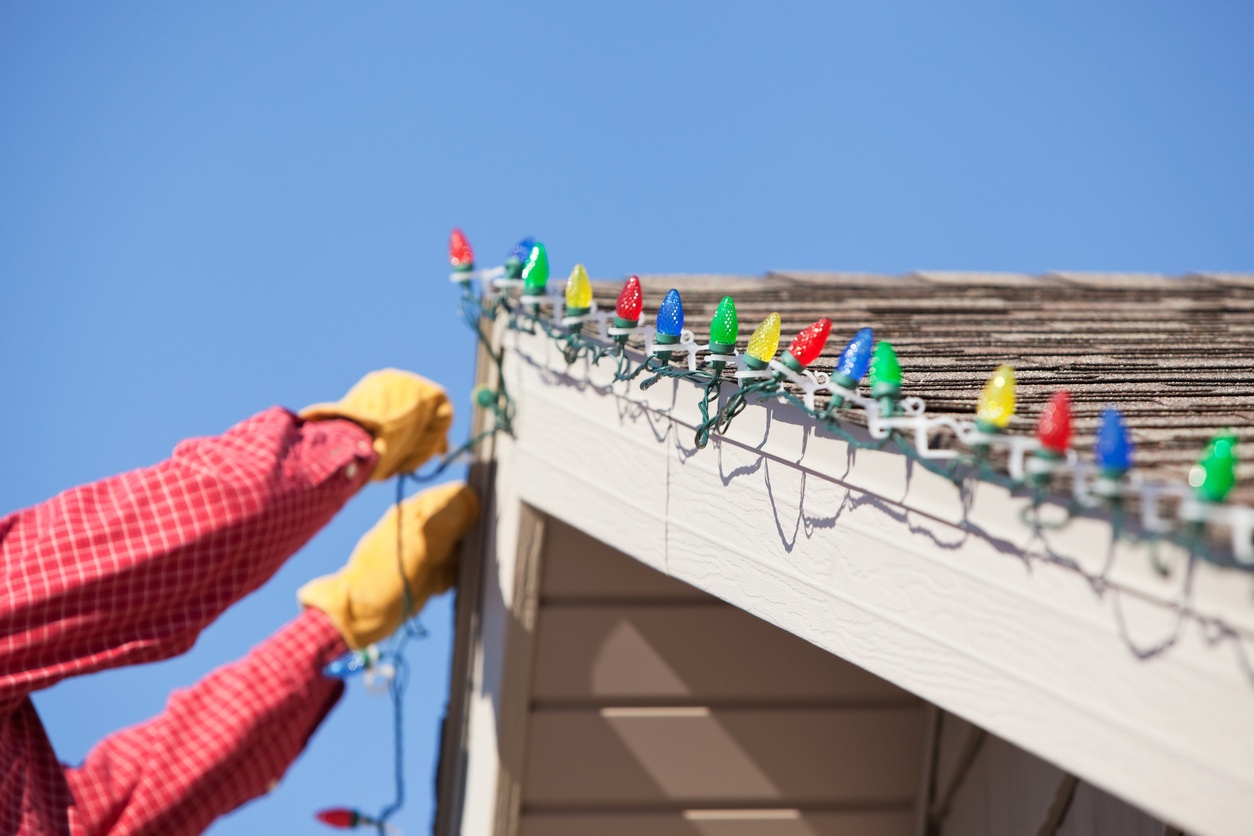
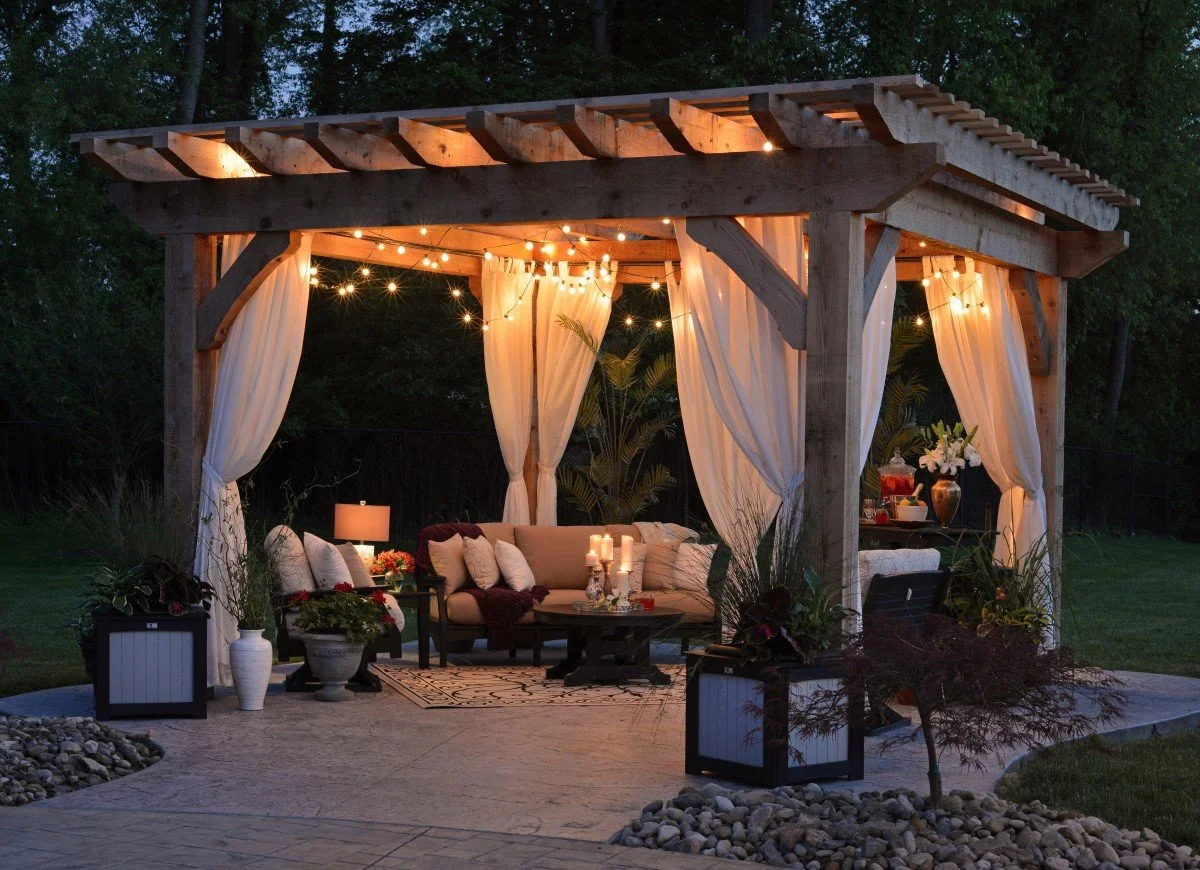
Decorative Elements: Consider adding decorative elements to the pergola roof to enhance its visual appeal. This could include hanging plants, string lights, or outdoor curtains. These additions can transform the space and create a cozy and inviting atmosphere.
Maintenance: Regular maintenance is key to preserving the integrity of your pergola roof. Inspect the roof periodically for signs of damage, such as loose fasteners, tears in fabric, or corrosion on metal surfaces. Address any issues promptly to prevent further damage and extend the lifespan of the roof.
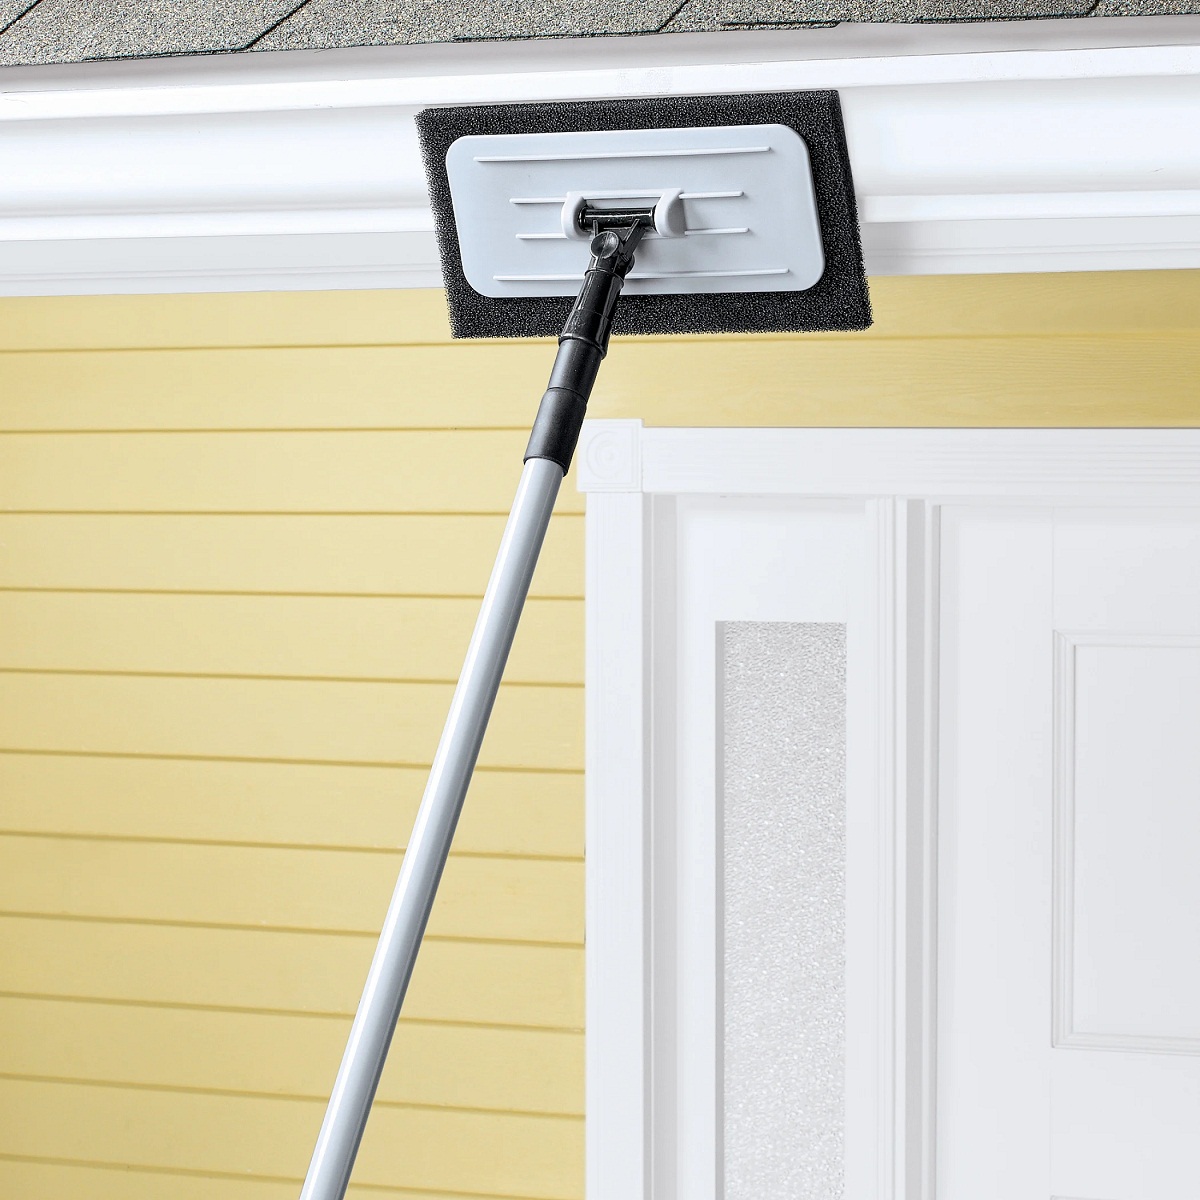
Cleaning: Keep the pergola roof clean by removing debris, dirt, and leaves that may accumulate over time. Regular cleaning will not only keep the roof looking its best but also prevent potential damage and deterioration.
By adding these finishing touches and staying proactive with maintenance, you can ensure that your pergola roof remains a functional and attractive addition to your outdoor space for years to come.
Conclusion
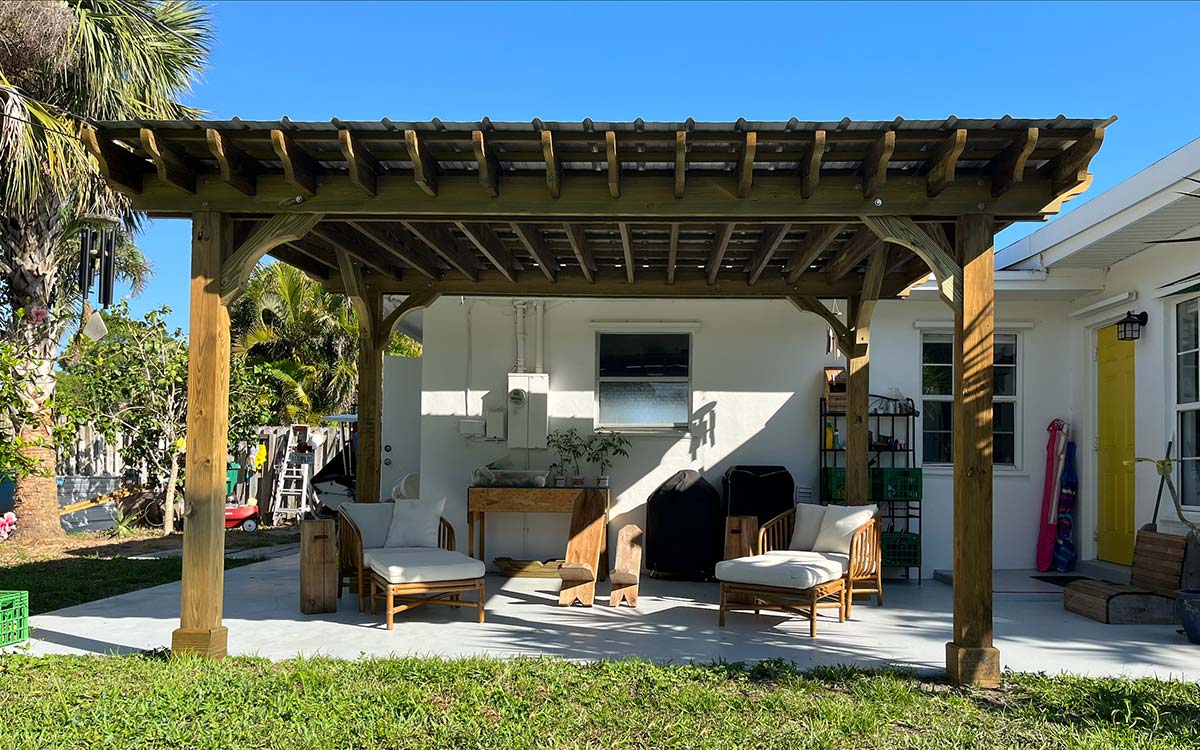
Congratulations on successfully completing the process of adding a roof to your pergola! By following the steps outlined in this guide, you’ve transformed your outdoor space into a versatile and inviting area that provides shade, protection, and aesthetic appeal. With the right materials, tools, and a bit of DIY enthusiasm, you’ve created a pergola roof that enhances the functionality and beauty of your outdoor living space.
Adding a roof to your pergola not only expands its usability but also allows you to enjoy the outdoors in various weather conditions, whether it’s providing shelter from the sun’s rays or shielding you from light rain. The versatility and comfort offered by a pergola roof make it a valuable addition to any backyard or outdoor setting.
As you relax and entertain under your newly roofed pergola, take pride in the craftsmanship and creativity that went into the project. Whether you chose polycarbonate panels, metal sheets, or outdoor fabric for the roof, your attention to detail and commitment to quality installation have resulted in a functional and aesthetically pleasing outdoor structure.
Remember to enjoy your enhanced outdoor space and make the most of your newly roofed pergola. Whether it’s hosting gatherings, unwinding with a good book, or simply savoring a quiet moment surrounded by nature, your pergola is now equipped to meet your outdoor lifestyle needs.
Thank you for joining us on this journey to elevate your pergola to new heights. We hope this guide has been informative and inspiring, empowering you to create a welcoming and comfortable outdoor oasis. Here’s to many memorable moments under your beautifully roofed pergola!
Frequently Asked Questions about How To Put A Roof On A Pergola
Was this page helpful?
At Storables.com, we guarantee accurate and reliable information. Our content, validated by Expert Board Contributors, is crafted following stringent Editorial Policies. We're committed to providing you with well-researched, expert-backed insights for all your informational needs.
0 thoughts on “How To Put A Roof On A Pergola”