Home>Gardening & Outdoor>Outdoor Structures>How To Raise A Shed Off The Ground

Outdoor Structures
How To Raise A Shed Off The Ground
Modified: February 18, 2024
Learn the best methods for raising an outdoor shed off the ground to protect it from moisture and pests. Discover essential tips for building and maintaining outdoor structures.
(Many of the links in this article redirect to a specific reviewed product. Your purchase of these products through affiliate links helps to generate commission for Storables.com, at no extra cost. Learn more)
Introduction
So, you've decided to add a shed to your property. Whether it's for storing tools, housing your gardening equipment, or creating a cozy retreat, a shed is a valuable addition to any outdoor space. However, have you considered the importance of raising your shed off the ground? This often-overlooked step can significantly impact the longevity and functionality of your shed.
In this article, we'll delve into the benefits of raising a shed off the ground, explore the tools and materials needed for the task, and provide a step-by-step guide to help you elevate your shed to new heights. By the end, you'll understand the importance of this process and feel confident in undertaking the project.
Let's embark on this journey to elevate your shed and enhance its durability and usability!
Key Takeaways:
- Elevating your shed off the ground protects it from moisture, pests, and structural damage, extending its lifespan and ensuring a durable outdoor structure.
- By following the step-by-step guide and using the necessary tools and materials, you can confidently raise your shed and enjoy its long-term benefits.
Read more: How High Should A Shed Be Off The Ground
Benefits of Raising a Shed Off the Ground
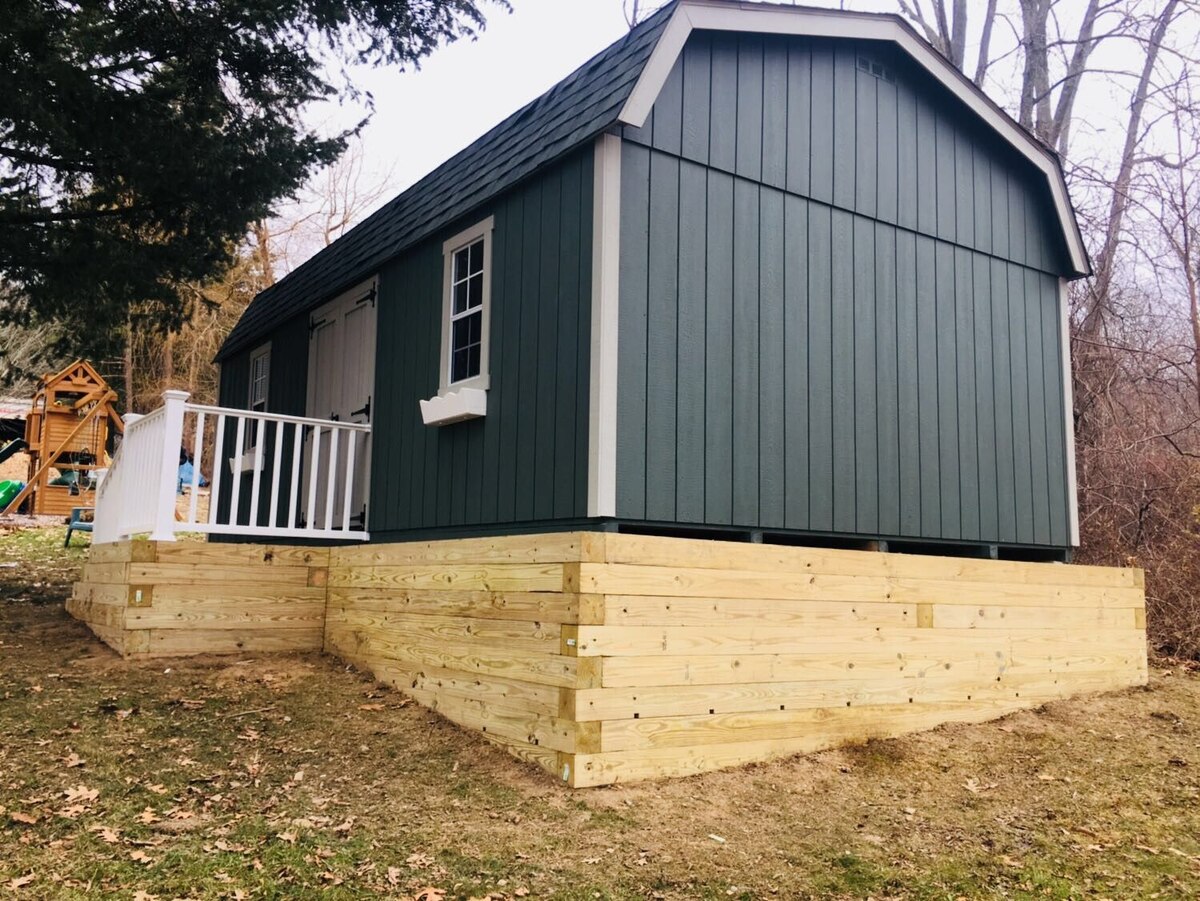
Raising a shed off the ground offers a multitude of benefits that can positively impact the structure and its contents. Let’s explore some of the key advantages:
- Preventing Moisture Damage: Elevating your shed helps to protect it from moisture and water damage. When a shed sits directly on the ground, it is more susceptible to water seepage, which can lead to rot, mold, and decay. By lifting the shed, you create a barrier that helps safeguard it against these detrimental effects.
- Improving Air Circulation: By allowing air to flow beneath the shed, raising it off the ground aids in ventilation. This circulation helps prevent the buildup of dampness and condensation, further reducing the risk of mold and mildew formation.
- Enhancing Structural Stability: Elevating the shed provides a more stable foundation, especially in areas prone to ground movement or shifting soil. This can help mitigate the risk of structural damage caused by ground instability, ensuring the shed remains sturdy and secure.
- Protecting Against Pests: Keeping the shed off the ground can deter pests such as rodents and insects from making their home underneath it. This reduces the likelihood of infestations and helps maintain a clean and pest-free environment within the shed.
- Extending Lifespan: By minimizing exposure to ground moisture and potential pests, raising the shed off the ground can significantly extend its lifespan. This investment in longevity can save you time and money in the long run, as the shed will require less maintenance and repairs.
These benefits collectively demonstrate the value of raising a shed off the ground. By taking this proactive step, you can protect your shed from various environmental threats and ensure it remains a functional and durable asset on your property.
Tools and Materials Needed
Before embarking on the process of raising your shed off the ground, it’s important to gather the necessary tools and materials. Here’s a comprehensive list to ensure you’re well-prepared for the task:
Tools:
- Shovel: Essential for digging holes for the support posts.
- Level: To ensure the shed is elevated evenly and securely.
- Tape Measure: For accurate measurements of the shed and the support posts.
- Hammer: Used for driving in stakes and nails.
- Saw: If adjustments or cutting of materials are necessary.
- Drill: For attaching components and securing the shed to the supports.
Materials:
- Pressure-Treated Wood Posts: These will serve as the supports for elevating the shed.
- Concrete: For securing the support posts in the ground.
- Gravel: To create a stable and level base for the shed supports.
- Shims: For making minor adjustments and ensuring the shed is level.
- Anchor Brackets: To connect the shed to the support posts securely.
- Lumber: For constructing beams and joists to support the shed.
By having these tools and materials on hand, you’ll be equipped to undertake the process of raising your shed off the ground with confidence and efficiency. With careful planning and preparation, you can ensure a successful and durable elevation for your shed.
Read more: How To Anchor A Shed To The Ground
Steps to Raise a Shed Off the Ground
Now that you’re equipped with the necessary tools and materials, it’s time to embark on the process of raising your shed off the ground. Follow these step-by-step guidelines to elevate your shed and reap the benefits of a well-protected and durable structure:
Step 1: Prepare the Site
Clear the area around the shed and ensure it is free from any obstructions. Use a shovel to level the ground and remove any debris or vegetation that may interfere with the elevation process.
Step 2: Determine the Elevation Height
Measure and determine the desired height for elevating the shed. This will depend on factors such as the shed’s size, the terrain, and the level of protection required from ground moisture.
Step 3: Dig Support Post Holes
Using the shovel, dig holes for the support posts at each corner of the shed. The depth of the holes will depend on the desired elevation height and the length of the support posts.
Read more: How To Level The Ground For A Shed
Step 4: Place and Secure Support Posts
Insert the pressure-treated wood posts into the holes and ensure they are level and securely positioned. Use concrete to anchor the posts in the ground, providing a stable foundation for the elevated shed.
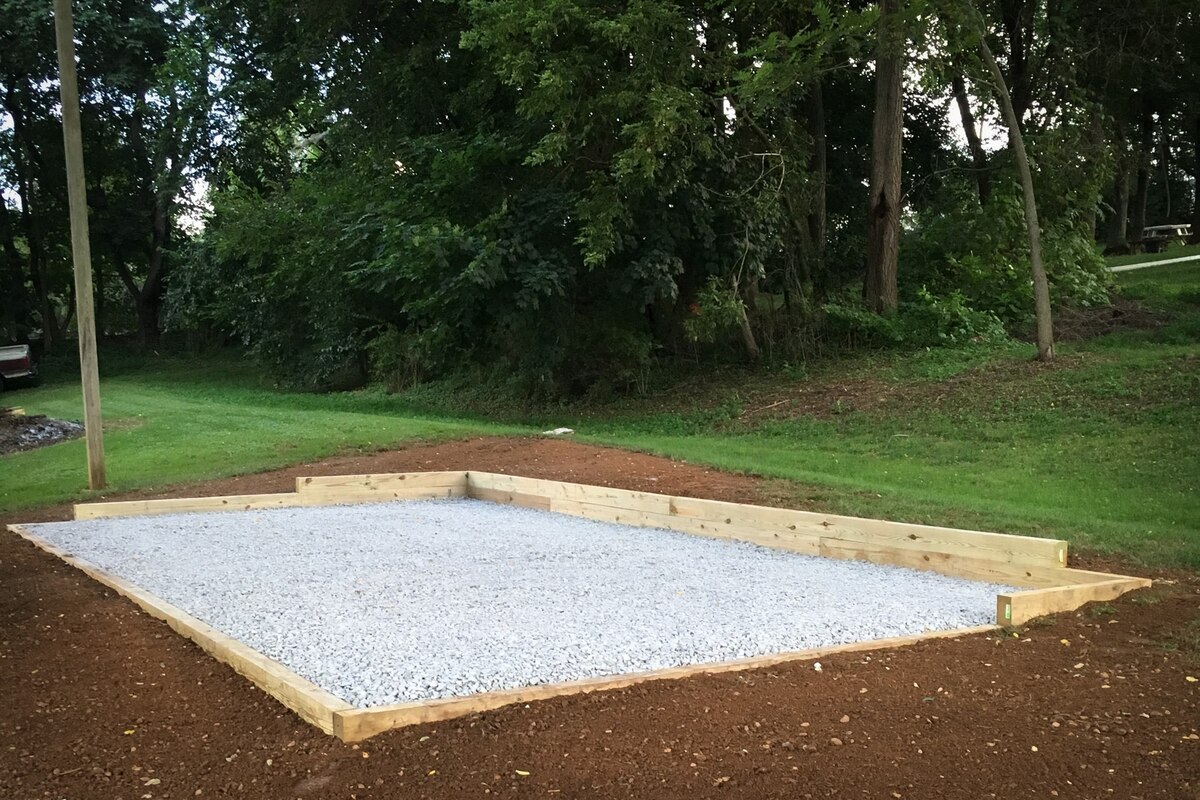
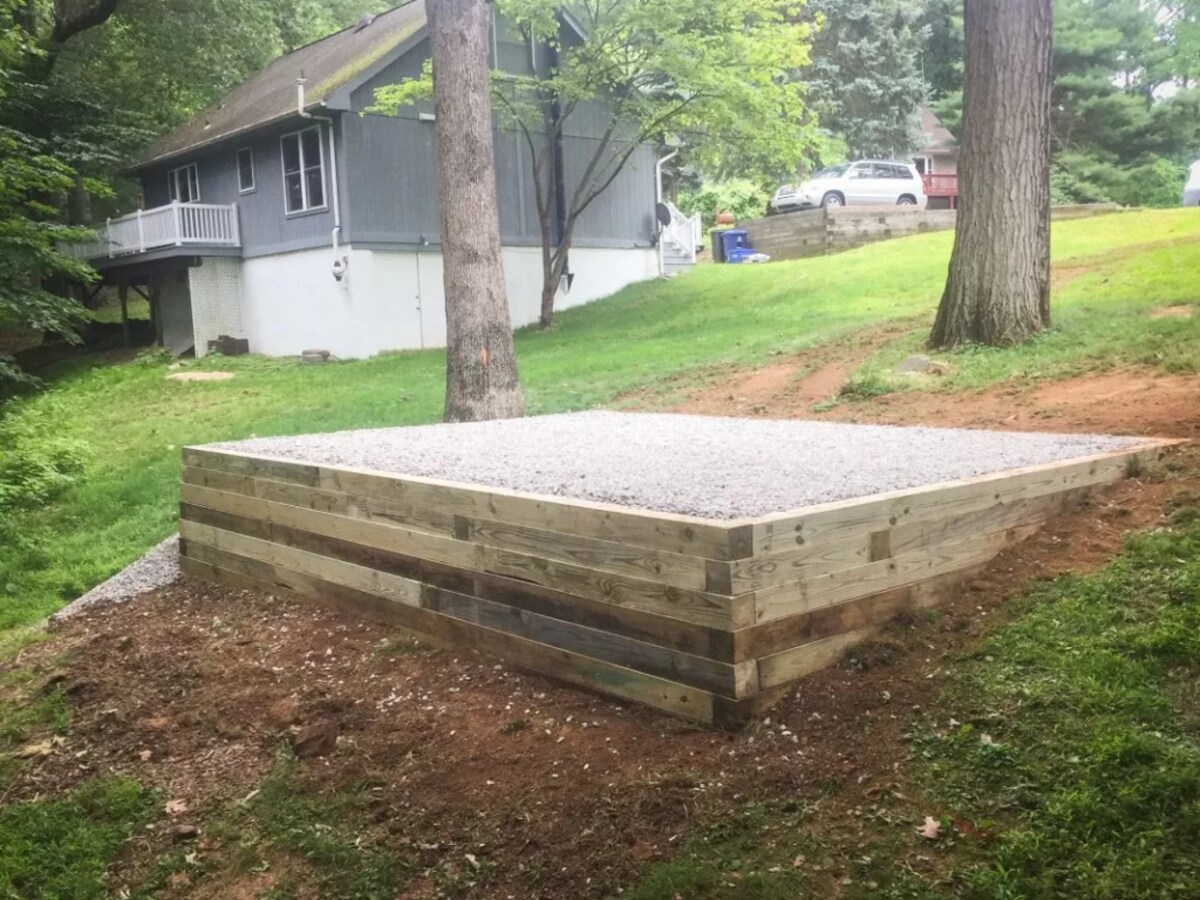
Step 5: Create a Gravel Base
Spread gravel evenly within the shed’s perimeter to create a stable and level base for the support posts. This will aid in drainage and further protect the shed from ground moisture.
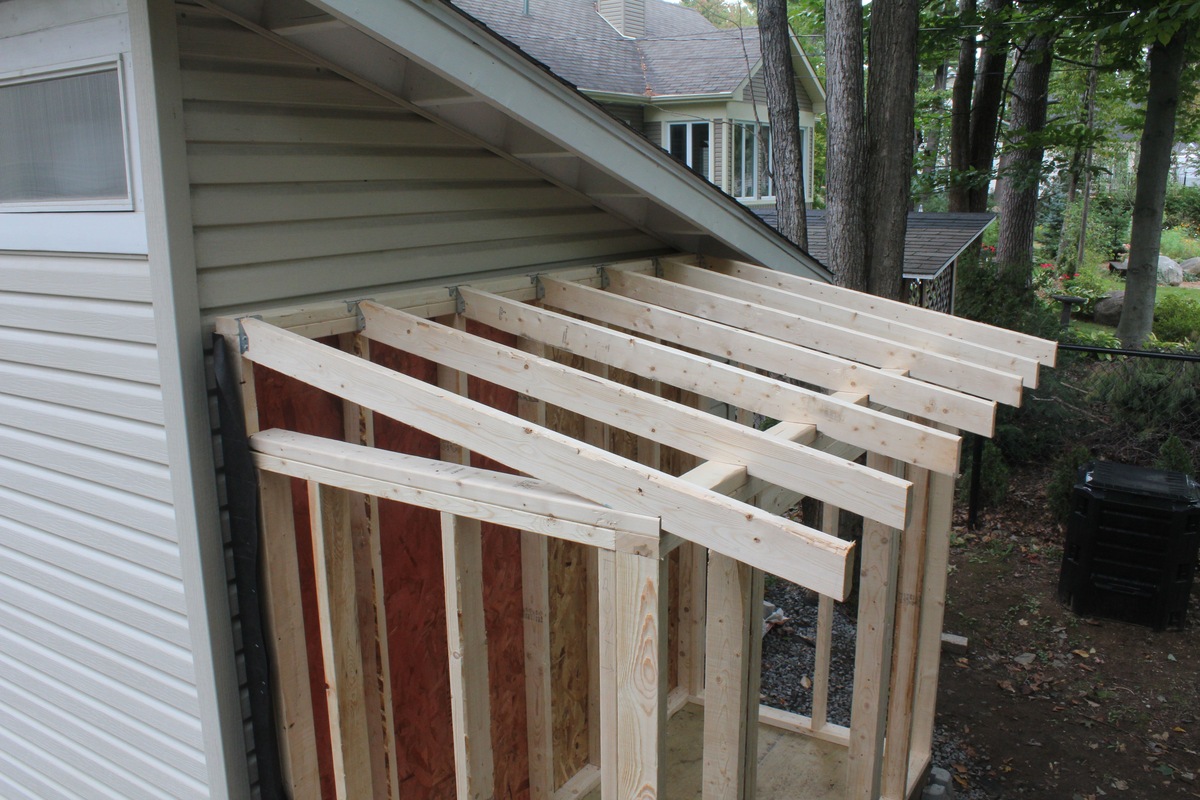
Step 6: Construct Beams and Joists
Using lumber, construct beams and joists to support the shed at the desired elevation. Ensure these components are securely attached to the support posts and provide a stable framework for the shed.
Step 7: Secure the Shed to Supports
Utilize anchor brackets to connect the shed to the support posts, ensuring a secure and stable attachment. Make any necessary adjustments to ensure the shed is level and well-supported.
Read more: How To Raise Mattress Off Floor
Step 8: Verify Stability and Leveling
Use a level to check the stability and leveling of the elevated shed. Make any final adjustments using shims to ensure the shed is evenly raised and securely positioned.
By following these steps, you can successfully raise your shed off the ground, providing it with essential protection against moisture, pests, and structural instability. This process will contribute to the longevity and functionality of your shed, ensuring it remains a valuable asset on your property for years to come.
Conclusion
Congratulations! You’ve taken the proactive step of raising your shed off the ground, and in doing so, you’ve significantly enhanced its durability and protection. By elevating your shed, you’ve created a barrier against moisture, improved ventilation, and bolstered its structural stability. Additionally, you’ve mitigated the risk of pest infestations and extended the shed’s overall lifespan.
As you stand back and admire your elevated shed, take pride in knowing that you’ve invested in its long-term well-being. The process of raising a shed off the ground may initially seem daunting, but the benefits far outweigh the effort involved. With the right tools, materials, and a methodical approach, you’ve successfully safeguarded your shed against environmental threats and potential damage.
Remember, the steps you’ve taken to elevate your shed will pay dividends in the future. Your shed is now better equipped to withstand the elements and provide a secure storage or work space for your needs. Whether it’s protecting your garden tools, creating a workshop, or storing outdoor equipment, your raised shed is poised to fulfill its purpose effectively and reliably.
By understanding the importance of raising a shed off the ground and following the outlined steps, you’ve empowered yourself to maintain a valuable asset on your property. Your shed is now elevated, protected, and ready to serve you for years to come.
So, take a moment to appreciate the impact of your efforts and the resilience of your newly elevated shed. With this essential task completed, you can confidently enjoy the benefits of a well-protected and long-lasting outdoor structure.
Frequently Asked Questions about How To Raise A Shed Off The Ground
Was this page helpful?
At Storables.com, we guarantee accurate and reliable information. Our content, validated by Expert Board Contributors, is crafted following stringent Editorial Policies. We're committed to providing you with well-researched, expert-backed insights for all your informational needs.





0 thoughts on “How To Raise A Shed Off The Ground”