Home>Gardening & Outdoor>Outdoor Structures>How To Prepare The Ground For A Storage Shed
Outdoor Structures
How To Prepare The Ground For A Storage Shed
Modified: August 28, 2024
Learn how to properly prepare the ground for your outdoor structures, such as storage sheds, with our comprehensive guide. Ensure a stable and long-lasting foundation for your project.
(Many of the links in this article redirect to a specific reviewed product. Your purchase of these products through affiliate links helps to generate commission for Storables.com, at no extra cost. Learn more)
Choosing the Right Location
When preparing the ground for a storage shed, selecting the ideal location is paramount. The chosen spot should not only accommodate the size of the shed but also provide a level and stable foundation for the structure. Here are some essential factors to consider when choosing the location:
- Accessibility: Ensure the location allows easy access to the shed. This facilitates the transportation of materials during construction and provides convenient entry and exit points for future use.
- Drainage: Opt for an area with good natural drainage to prevent water accumulation around the shed. Proper drainage helps to protect the shed’s base and prevents moisture-related issues.
- Sunlight: Consider the path of the sun throughout the day. Position the shed in an area that receives ample sunlight, as this can help prevent mold and moisture buildup inside the structure.
- Ground Stability: Choose a location with stable ground to ensure the shed’s longevity. Avoid areas prone to erosion or soil shifting, as these can compromise the structural integrity of the shed over time.
- Utility Lines: Before finalizing the location, verify the absence of underground utility lines such as water, gas, or electrical lines. This prevents accidental damage during ground preparation and shed installation.
By carefully considering these factors, you can select an optimal location that promotes the longevity and functionality of your storage shed.
Key Takeaways:
- Choose a level, stable, and sunny location for your shed, ensuring easy access and good drainage to protect the structure from moisture and stability issues.
- Clear the area, level the ground, add a suitable base material, and set up a solid foundation to prepare for a successful and durable shed installation.
Read more: How To Prepare Ground For Garden
Clearing the Area
Before commencing the ground preparation for a storage shed, it’s crucial to clear the chosen area of any obstructions or debris. This process ensures a clean and unobstructed space for the shed’s foundation. Here’s a step-by-step guide to effectively clear the area:
- Remove Vegetation: Start by clearing the area of any grass, weeds, or vegetation. Use a shovel, rake, or a sod cutter to eliminate the top layer of grass and roots. This step creates a clear surface for the subsequent groundwork.
- Clear Debris: Inspect the area for any debris, including rocks, branches, and other objects. Remove these items to prevent interference with the leveling and base preparation processes.
- Check for Underground Obstructions: Before proceeding, check for any underground obstructions such as tree roots, large rocks, or old concrete. These obstructions can impede the leveling process and affect the stability of the shed’s foundation.
- Mark the Shed’s Perimeter: Use stakes and string to outline the perimeter of the shed. This visual guide helps in determining the exact area that needs to be cleared and prepared, ensuring precision in the subsequent steps.
By meticulously clearing the area, you create a clean canvas for the ground preparation process, setting the stage for the subsequent steps of leveling the ground and laying the shed’s foundation.
Leveling the Ground
Once the area for the storage shed is cleared, the next crucial step is to level the ground. A level foundation is essential for ensuring the stability and structural integrity of the shed. Here’s a detailed guide on how to effectively level the ground:
- Assess the Terrain: Begin by assessing the terrain to identify any uneven areas or slopes. Use a long piece of lumber or a builder’s level to determine the high and low points across the site.
- Excavation: For areas with significant slopes or unevenness, excavation may be necessary. Use a shovel or a rented skid-steer loader to remove excess soil from high spots and redistribute it to fill in low areas.
- Compact the Soil: Once the ground is relatively level, use a mechanical compactor to firmly pack the soil. This process helps to stabilize the ground and prevent future settling, ensuring a solid base for the shed.
- Use of Fill Material: In cases where significant leveling is required, adding a layer of fill material such as crushed stone or gravel can aid in achieving a uniform and stable surface. Spread the fill material evenly and compact it thoroughly.
- Check for Uniformity: Regularly check the levelness of the ground using a long, straight board and a spirit level. This ensures that the entire area is uniformly leveled and ready for the next phase of preparing the base.
By meticulously leveling the ground, you create a solid and stable foundation for the storage shed, minimizing the risk of structural issues and ensuring the longevity of the structure.
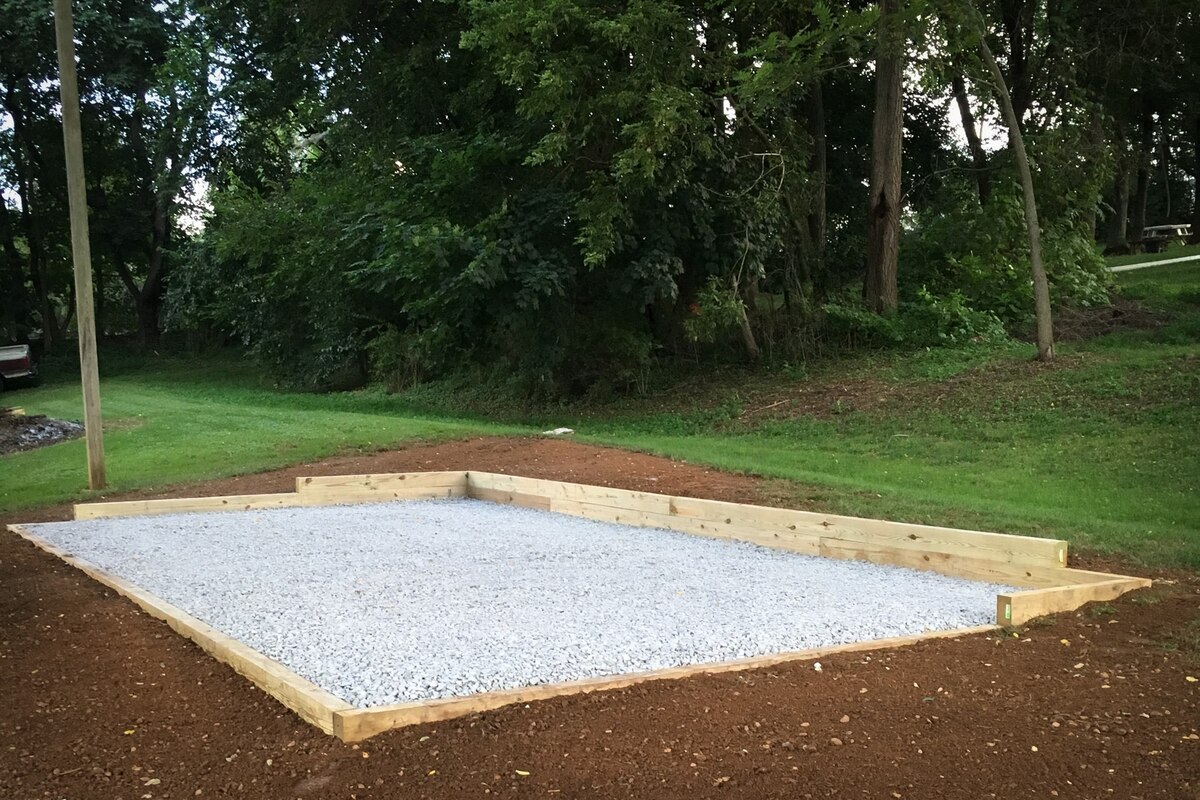
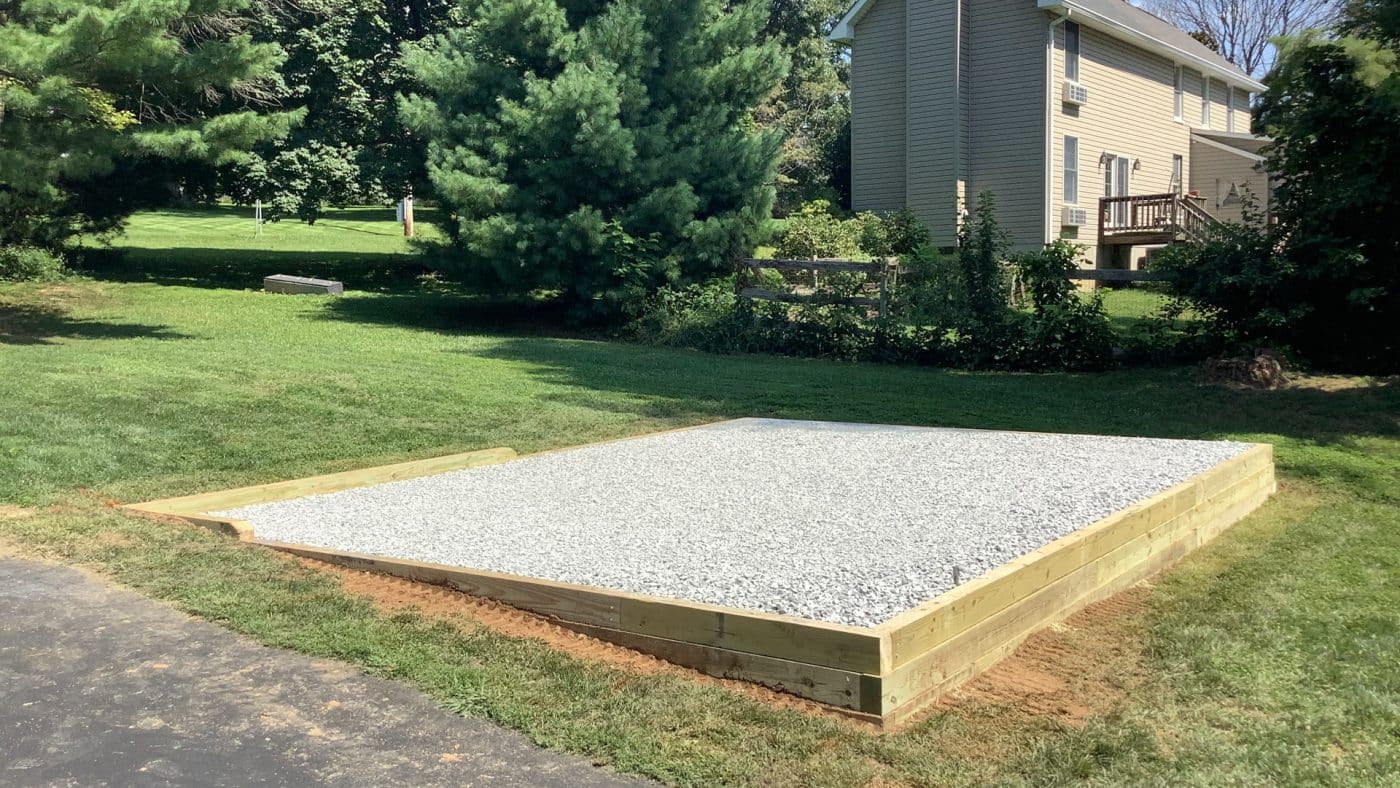
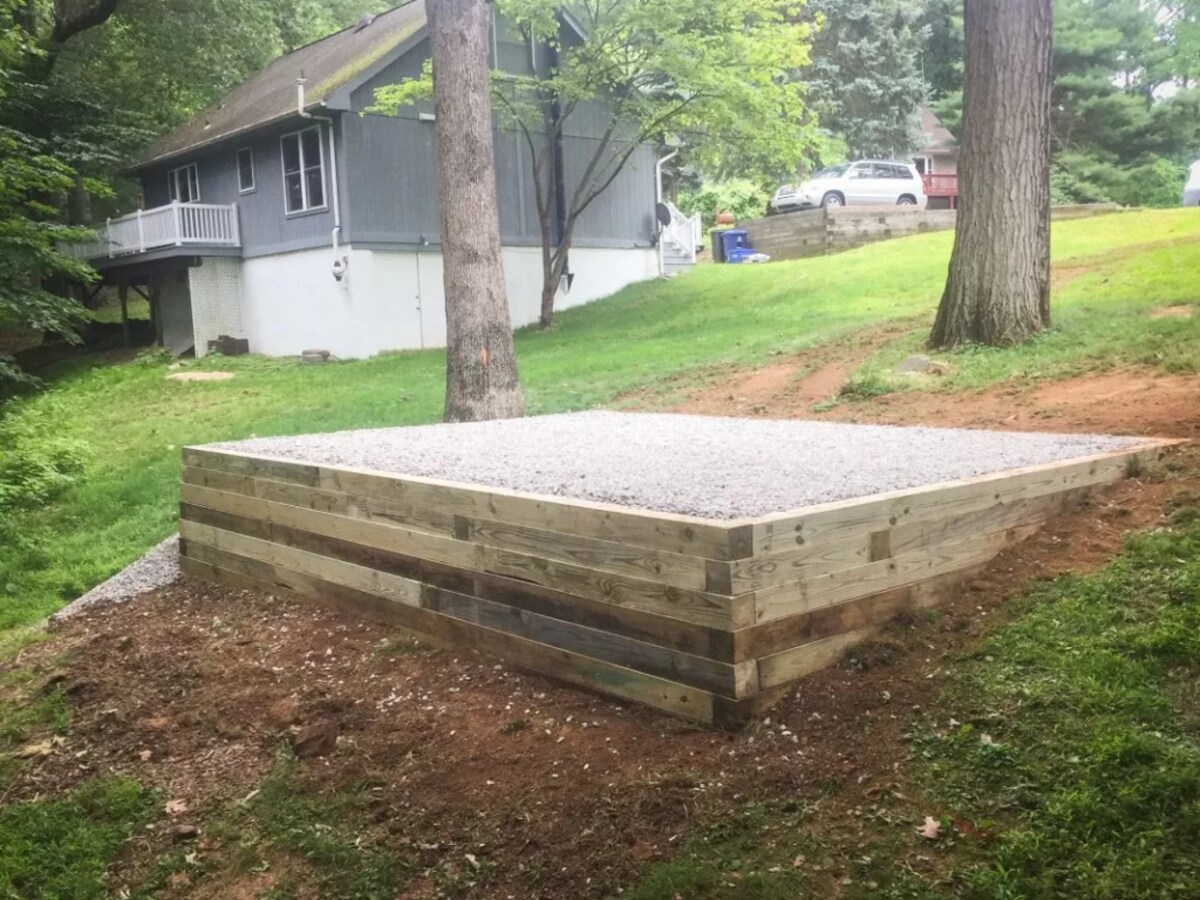
Adding a Base Material
Once the ground is leveled, the next critical step in preparing the site for a storage shed is to add a suitable base material. The base material serves as a foundational layer that enhances stability, drainage, and load-bearing capacity. Here’s a comprehensive guide on adding the base material:
- Selecting the Base Material: Choose a suitable base material such as crushed stone, gravel, or concrete pavers. Consider the specific requirements of your shed and the local climate when selecting the material.
- Calculating the Quantity: Determine the amount of base material required based on the shed’s dimensions and the depth of the base layer. It’s essential to ensure adequate coverage to support the entire shed footprint.
- Even Distribution: Spread the selected base material evenly across the prepared site using shovels and rakes. Aim for a uniform layer with consistent thickness to provide a solid and stable base for the shed.
- Compaction: Use a mechanical compactor to firmly compact the base material. This process increases the material’s load-bearing capacity, minimizes settling, and enhances the overall stability of the shed’s foundation.
- Ensure Proper Drainage: Pay attention to the slope and grading of the base material to facilitate proper drainage away from the shed. Adequate drainage helps prevent water accumulation around the structure, reducing the risk of moisture-related issues.
By adding a suitable base material, you establish a robust foundation that provides essential support for the storage shed, ensuring long-term structural integrity and performance.
Before building a storage shed, make sure to clear the area of any debris, level the ground, and consider adding a layer of gravel for drainage and stability.
Compact the Base
After adding the base material for the storage shed, the next crucial step is to thoroughly compact the base. Proper compaction is essential for enhancing the stability and load-bearing capacity of the foundation, ensuring the longevity of the shed. Here’s a detailed guide on effectively compacting the base:
- Selection of Compaction Equipment: Depending on the size of the project, choose the appropriate compaction equipment, such as a plate compactor or a vibrating roller. These tools exert significant force to compress the base material, minimizing air gaps and increasing its density.
- Initial Compaction: Begin by making multiple passes over the entire base area with the compactor. Ensure that each pass overlaps the previous one to achieve uniform compaction. Pay particular attention to the edges and corners to prevent weak spots in the foundation.
- Moisture Content: Optimal compaction often requires a controlled moisture content in the base material. If the material is too dry, lightly moisten it with water before compaction. Conversely, if it’s excessively wet, allow it to dry before compaction to achieve the desired density.
- Observation and Adjustment: Regularly inspect the compacted base for any uneven areas or soft spots. Use additional base material to fill in low spots and repeat the compaction process to ensure uniform density across the entire area.
- Final Compaction: Once the base material is uniformly compacted, make a final pass with the compactor to achieve the desired level of density. This step is crucial for creating a solid and stable foundation for the storage shed.
By diligently compacting the base, you establish a robust and durable foundation that provides essential support for the storage shed, ensuring its stability and structural integrity over time.
Read more: How To Prepare The Ground For Fake Grass
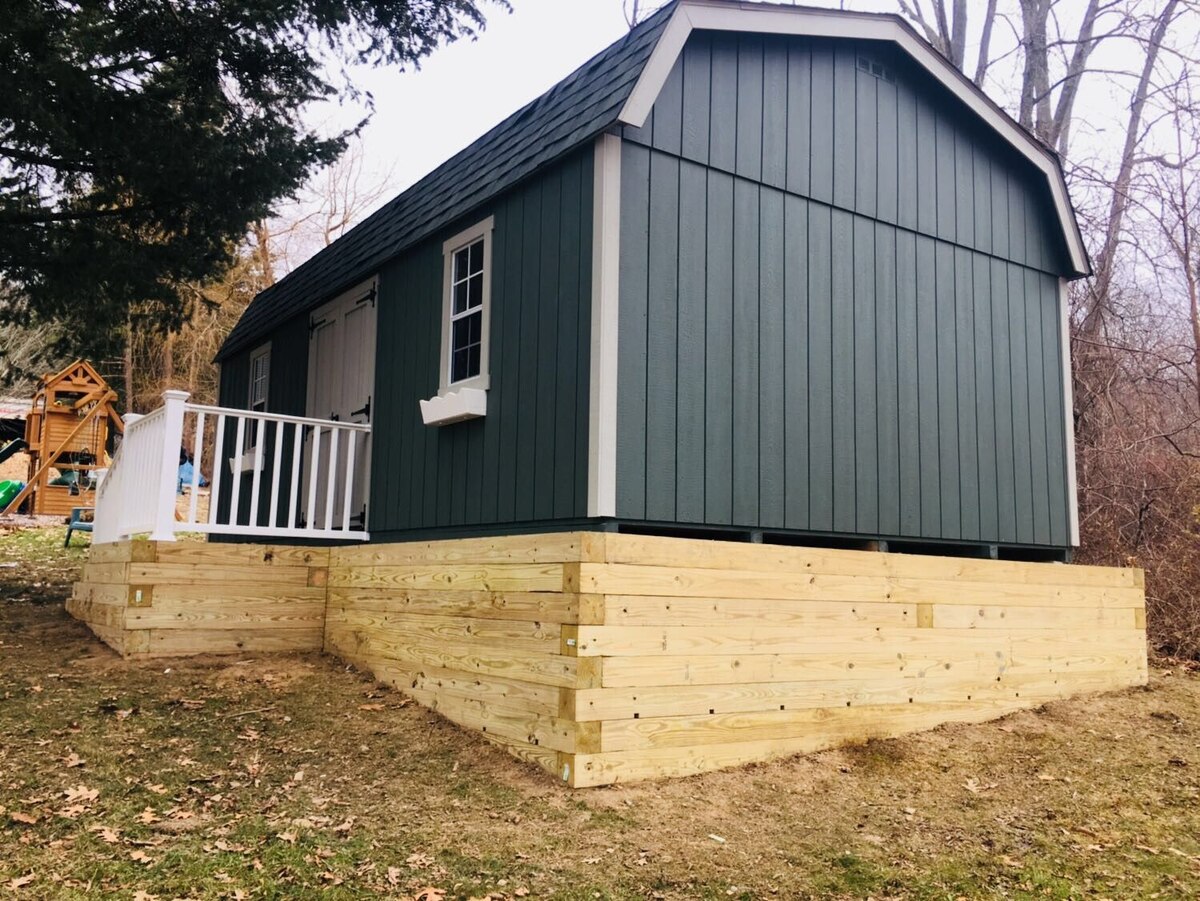
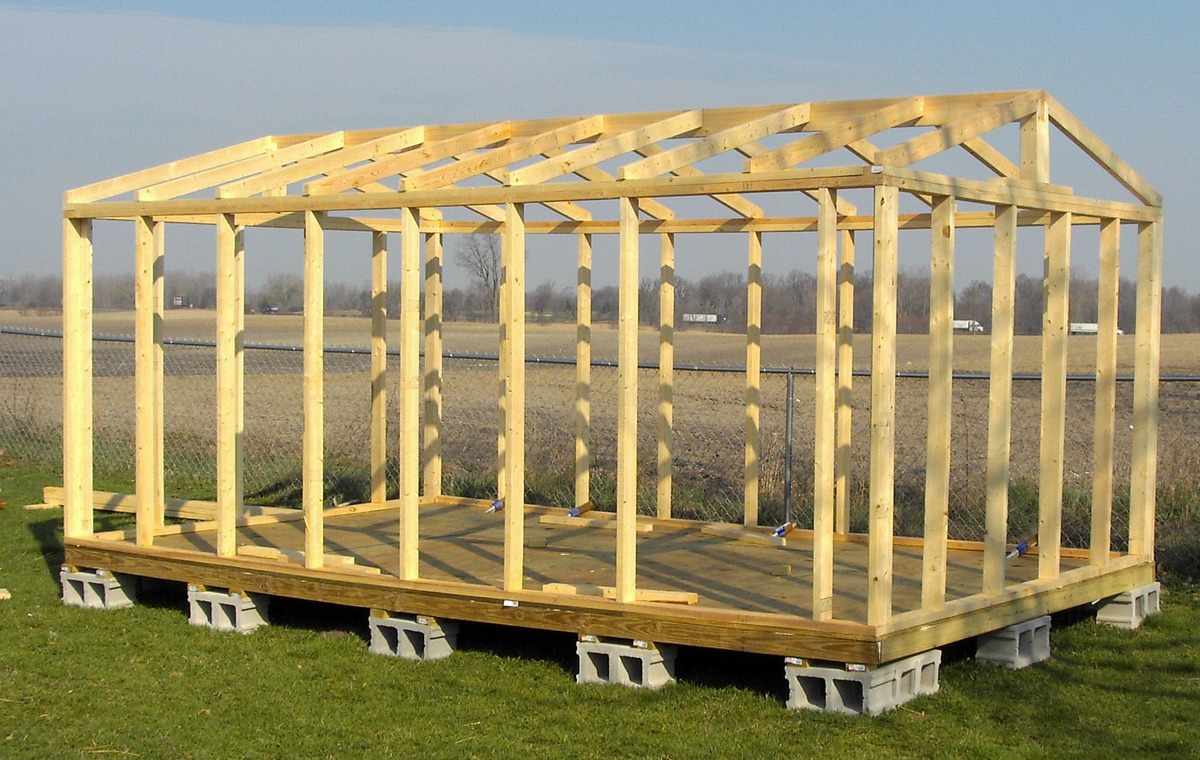
Setting up a Foundation
With the ground prepared and the base material compacted, the next pivotal phase in the process of preparing the ground for a storage shed is setting up a solid foundation. The foundation serves as the anchor for the shed, providing essential support and stability. Here’s a comprehensive guide on how to effectively set up the foundation:
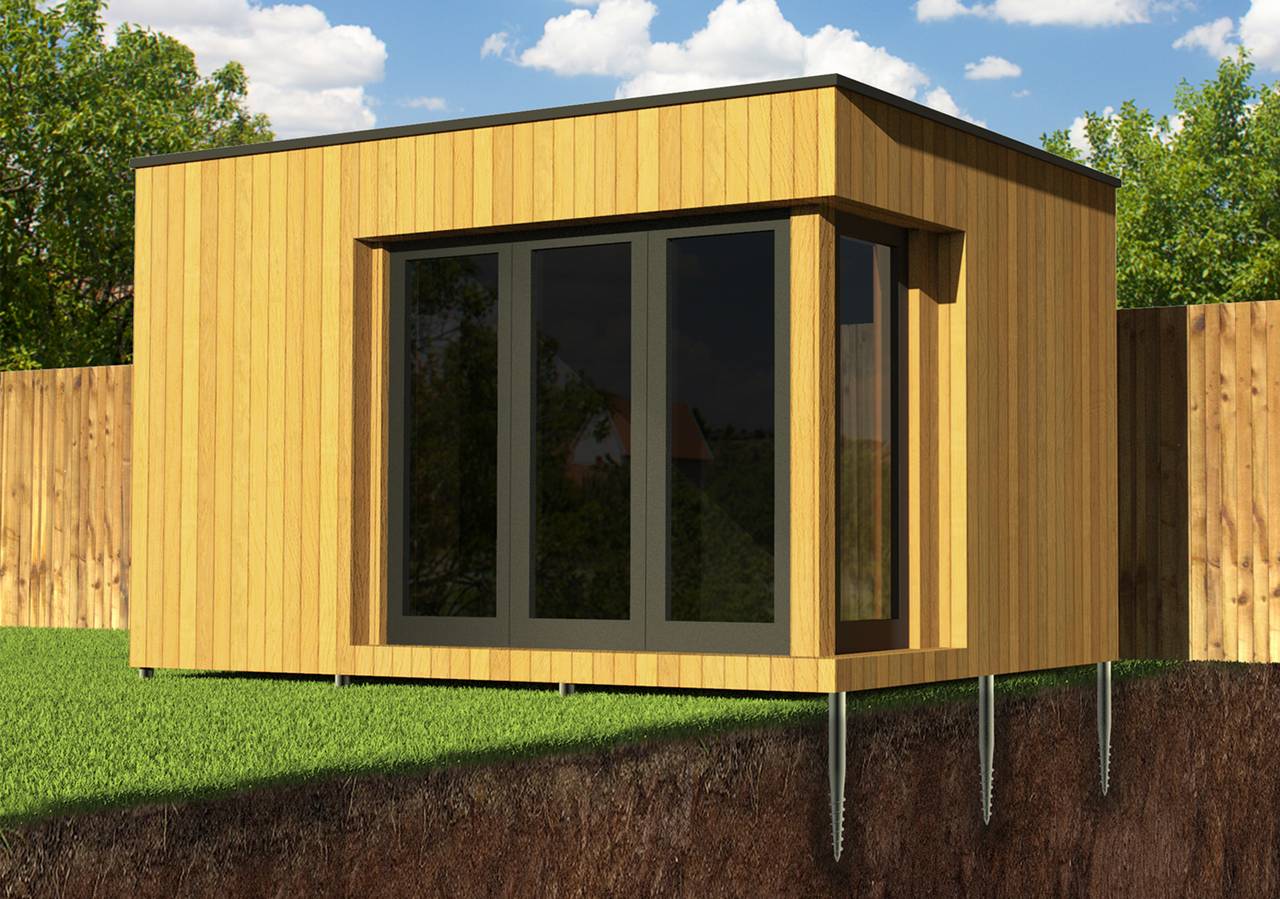
- Choosing the Foundation Type: Select the most suitable foundation type based on factors such as soil composition, shed size, and local building codes. Common options include concrete slab, concrete blocks, or pressure-treated wood skids.
- Positioning Foundation Elements: Place the foundation elements, such as concrete blocks or skids, in accordance with the shed’s layout and dimensions. Ensure that they are aligned and leveled to provide a stable base for the shed.
- Securing the Foundation: Anchor the foundation elements to the ground using appropriate hardware, such as anchor bolts or ground anchors. This step enhances the foundation’s resistance to shifting and uplift forces, bolstering the shed’s stability in various weather conditions.
- Verifying Levelness: Use a spirit level to verify the levelness of the foundation elements. Adjust as necessary to ensure uniformity, which is crucial for the proper installation and long-term stability of the shed.
- Consideration for Sloped Sites: If the site has a significant slope, additional measures such as grading or the use of retaining walls may be necessary to create a level foundation. This ensures that the shed is positioned on a stable and secure base.
By meticulously setting up a solid foundation, you establish a robust and stable base for the storage shed, laying the groundwork for the successful installation of the structure and ensuring its long-term durability.
Final Inspection and Preparation for Shed Installation
As the ground preparation nears completion, conducting a final inspection and making the necessary preparations for the shed installation are crucial steps to ensure a seamless and successful construction process. Here’s a comprehensive guide on the final inspection and preparation phase:
- Structural Integrity Check: Thoroughly inspect the leveled ground, compacted base, and the foundation for any irregularities or deficiencies. Address any issues to ensure that the site is fully prepared to support the shed’s weight and withstand external forces.
- Utility Access: Verify the accessibility of essential utilities such as electricity if the shed requires power. Ensure that the site is strategically positioned for convenient utility connections, facilitating the shed’s functionality upon completion.
- Organize Materials and Tools: Gather all the necessary materials, tools, and equipment required for the shed installation. This includes the shed kit, fasteners, roofing materials, and any specialized tools needed for the assembly process.
- Clear Pathways: Ensure that pathways leading to the installation site are clear of obstacles, allowing unobstructed movement of construction materials and equipment. This facilitates a smooth and efficient installation process.
- Weather Considerations: Monitor weather forecasts and plan the shed installation during favorable conditions. This helps prevent weather-related delays and ensures a conducive environment for the construction process.
- Review Installation Instructions: Familiarize yourself with the shed manufacturer’s installation instructions and guidelines. Understanding the assembly process in advance can streamline the installation and reduce the likelihood of errors during construction.
By conducting a thorough final inspection and making comprehensive preparations, you set the stage for a successful and efficient shed installation. This meticulous approach ensures that the groundwork is meticulously laid, paving the way for the completion of a durable and functional storage shed.
Frequently Asked Questions about How To Prepare The Ground For A Storage Shed
Was this page helpful?
At Storables.com, we guarantee accurate and reliable information. Our content, validated by Expert Board Contributors, is crafted following stringent Editorial Policies. We're committed to providing you with well-researched, expert-backed insights for all your informational needs.


0 thoughts on “How To Prepare The Ground For A Storage Shed”