Articles
How To Raise A Concrete Driveway
Modified: August 25, 2024
Learn helpful articles on how to raise a concrete driveway and get expert tips for a successful driveway repair. Improve your driveway's durability and appearance with our informative guides.
(Many of the links in this article redirect to a specific reviewed product. Your purchase of these products through affiliate links helps to generate commission for Storables.com, at no extra cost. Learn more)
Introduction
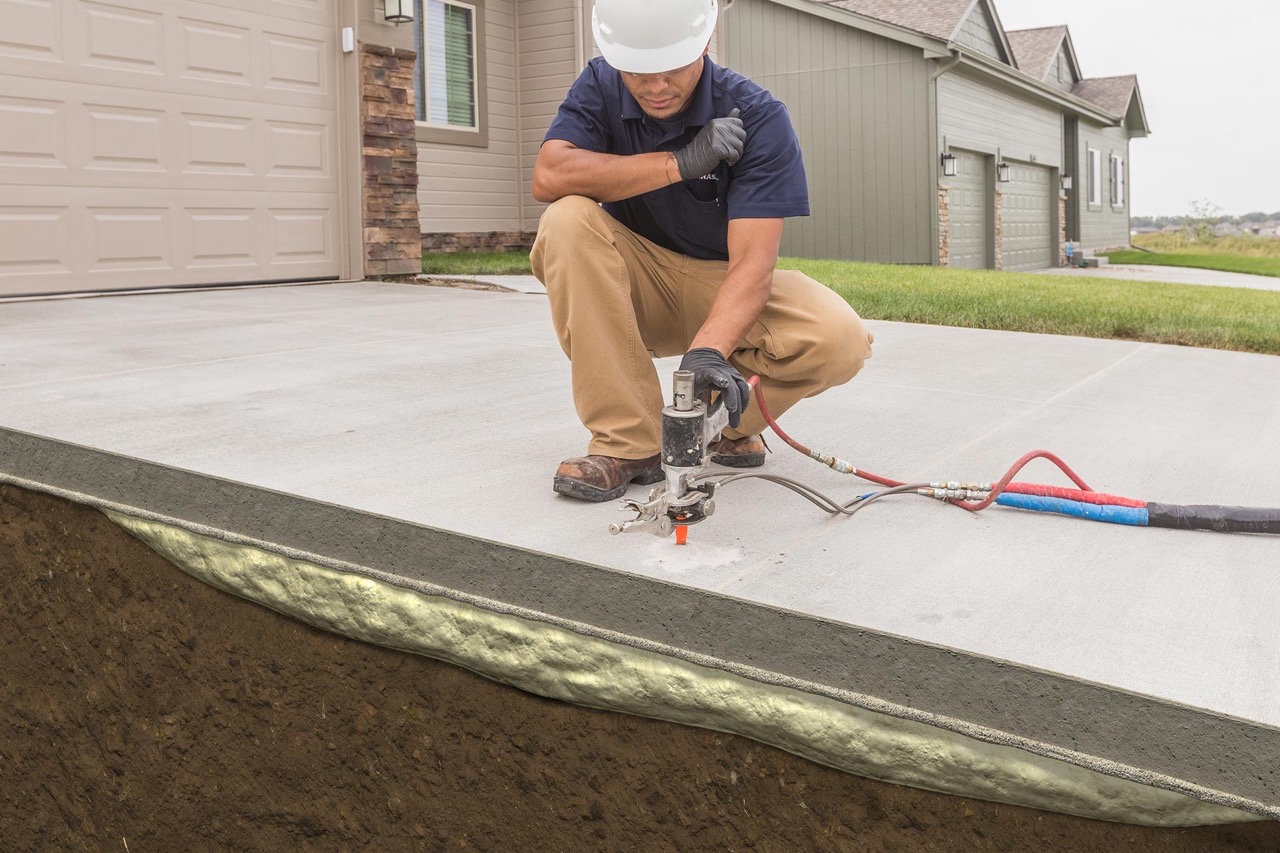
Welcome to our comprehensive guide on how to raise a concrete driveway. Over time, concrete driveways can become uneven due to shifting soil, heavy use, or other factors. This unevenness can not only be unsightly, but it can also cause potential hazards such as tripping or water drainage issues. However, raising a concrete driveway is a viable solution that can restore its level surface and improve its functionality.
In this article, we will walk you through the step-by-step process of assessing the condition of your driveway, gathering the necessary tools and materials, preparing the area for concrete raising, mixing the concrete, pouring and leveling it, curing and finishing the concrete, and ensuring proper maintenance for its longevity. By following these instructions, you’ll be able to raise your concrete driveway and enhance both its aesthetic appeal and practicality.
Before we dive into the details, it’s essential to note that this guide assumes that you have basic knowledge of working with tools and have access to the required equipment. If you are unsure about any step or lack the necessary skills, it’s always advisable to consult a professional to ensure safe and effective results.
So, if you’re ready to learn how to raise a concrete driveway and take matters into your own hands, let’s get started with assessing the condition of your driveway.
Key Takeaways:
- Proper assessment, preparation, and maintenance are essential for successfully raising a concrete driveway. Prioritize safety, gather the right tools, and follow the step-by-step process for a durable and visually appealing outcome.
- While it’s possible to raise a concrete driveway yourself, complex or extensive projects may benefit from professional expertise. Regular maintenance, including cleaning, sealing, and prompt repairs, is crucial for long-term durability and aesthetics.
Read more: How To Resurface A Concrete Driveway
Assessing the Condition of Your Driveway
Before you begin the process of raising your concrete driveway, it’s essential to assess its condition thoroughly. This step will help you determine the extent of the repairs needed and guide you in choosing the most appropriate approach. Here are a few key factors to consider:
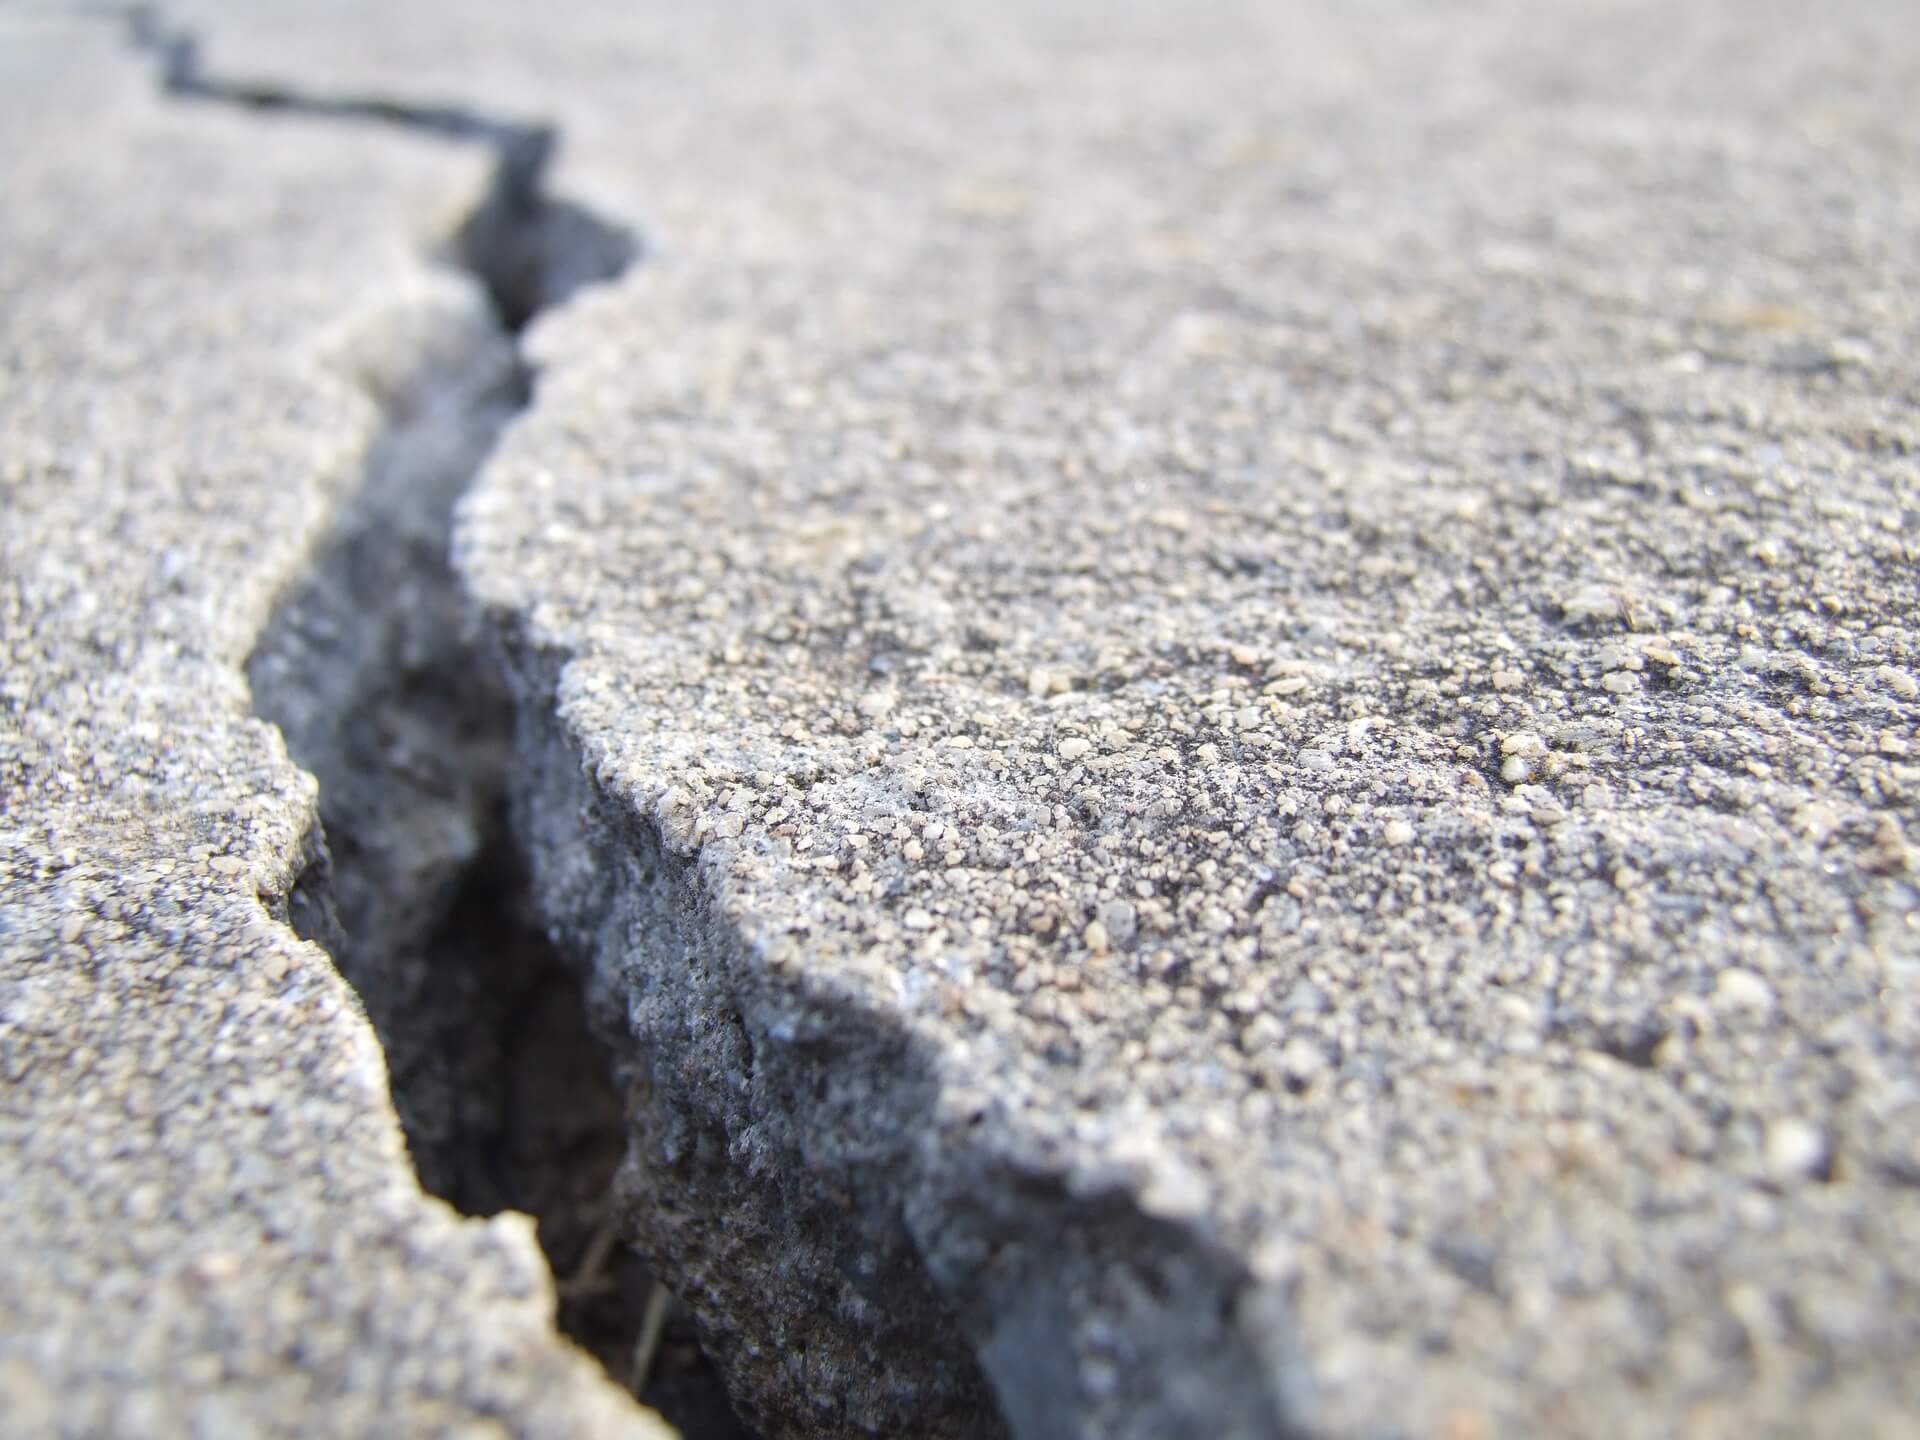
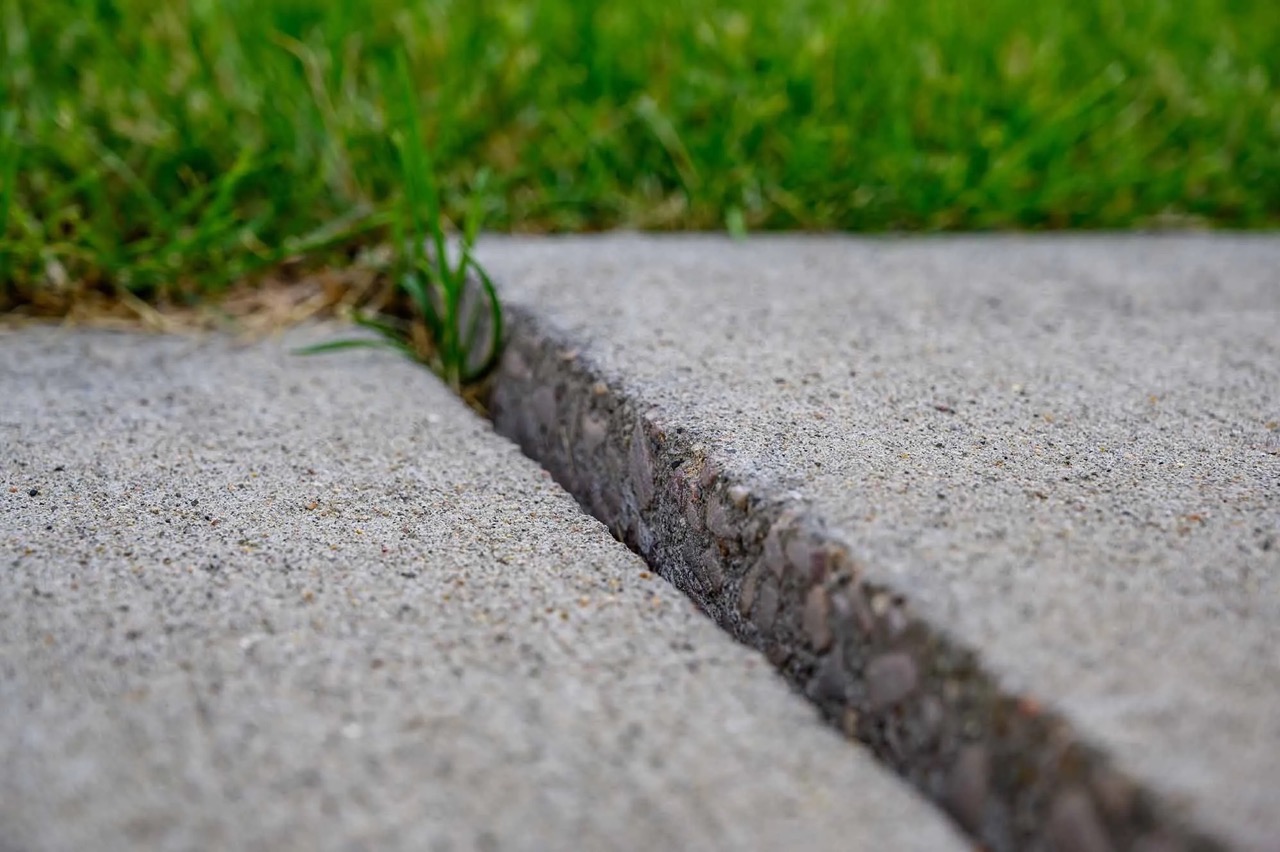
1. Surface irregularities: Walk along your driveway and carefully inspect the surface for any visible irregularities, such as cracks, sinking areas, or sections that have become uneven. Note the severity and extent of these issues as it will influence the repair method required.
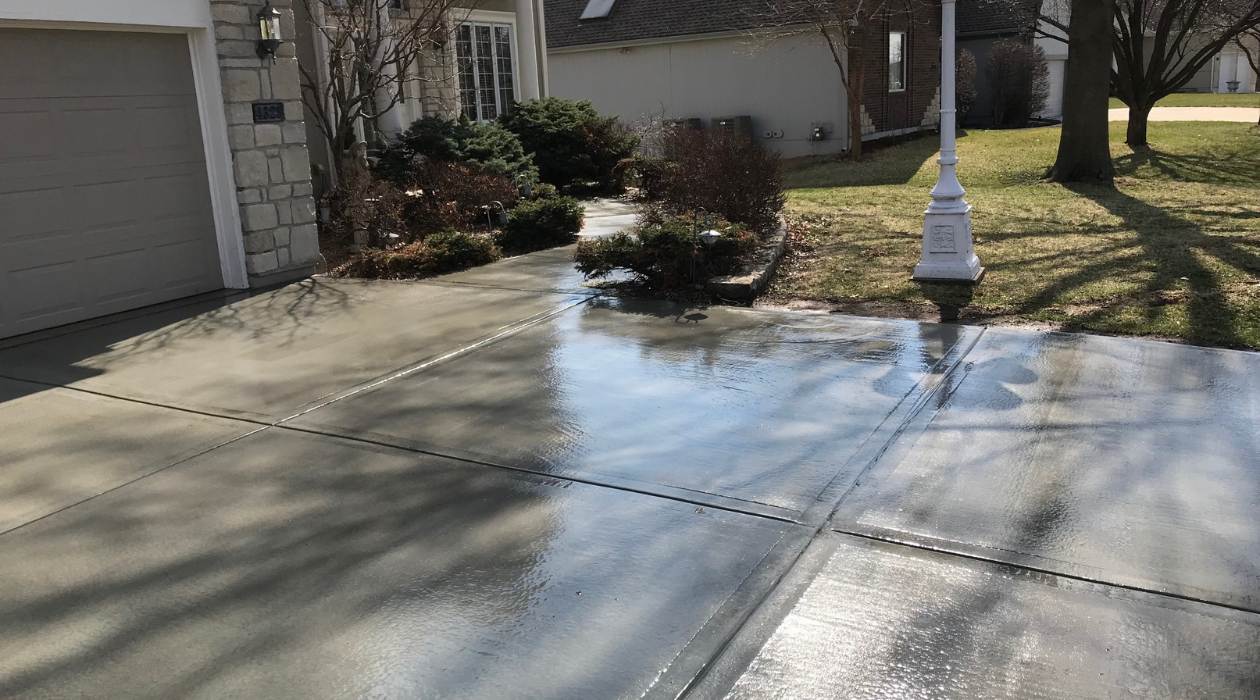
2. Drainage problems: Evaluate how well your driveway is draining water. Look for any low spots where water tends to accumulate or areas where water flow is impeded. Proper drainage is crucial to prevent water damage and ensure the longevity of the raised concrete surface.
3. Stability and structural integrity: Assess the overall stability and structural integrity of your driveway. Look for signs of significant damage, such as deep cracks or sections that have completely separated. These issues may require more extensive repairs or professional intervention.
4. Soil conditions: Pay attention to the soil conditions around your driveway. Areas with loose or heavily compacted soil may be prone to sinking, which could lead to further problems down the line. Understanding the soil conditions will help you determine the appropriate measures to take during the concrete raising process.
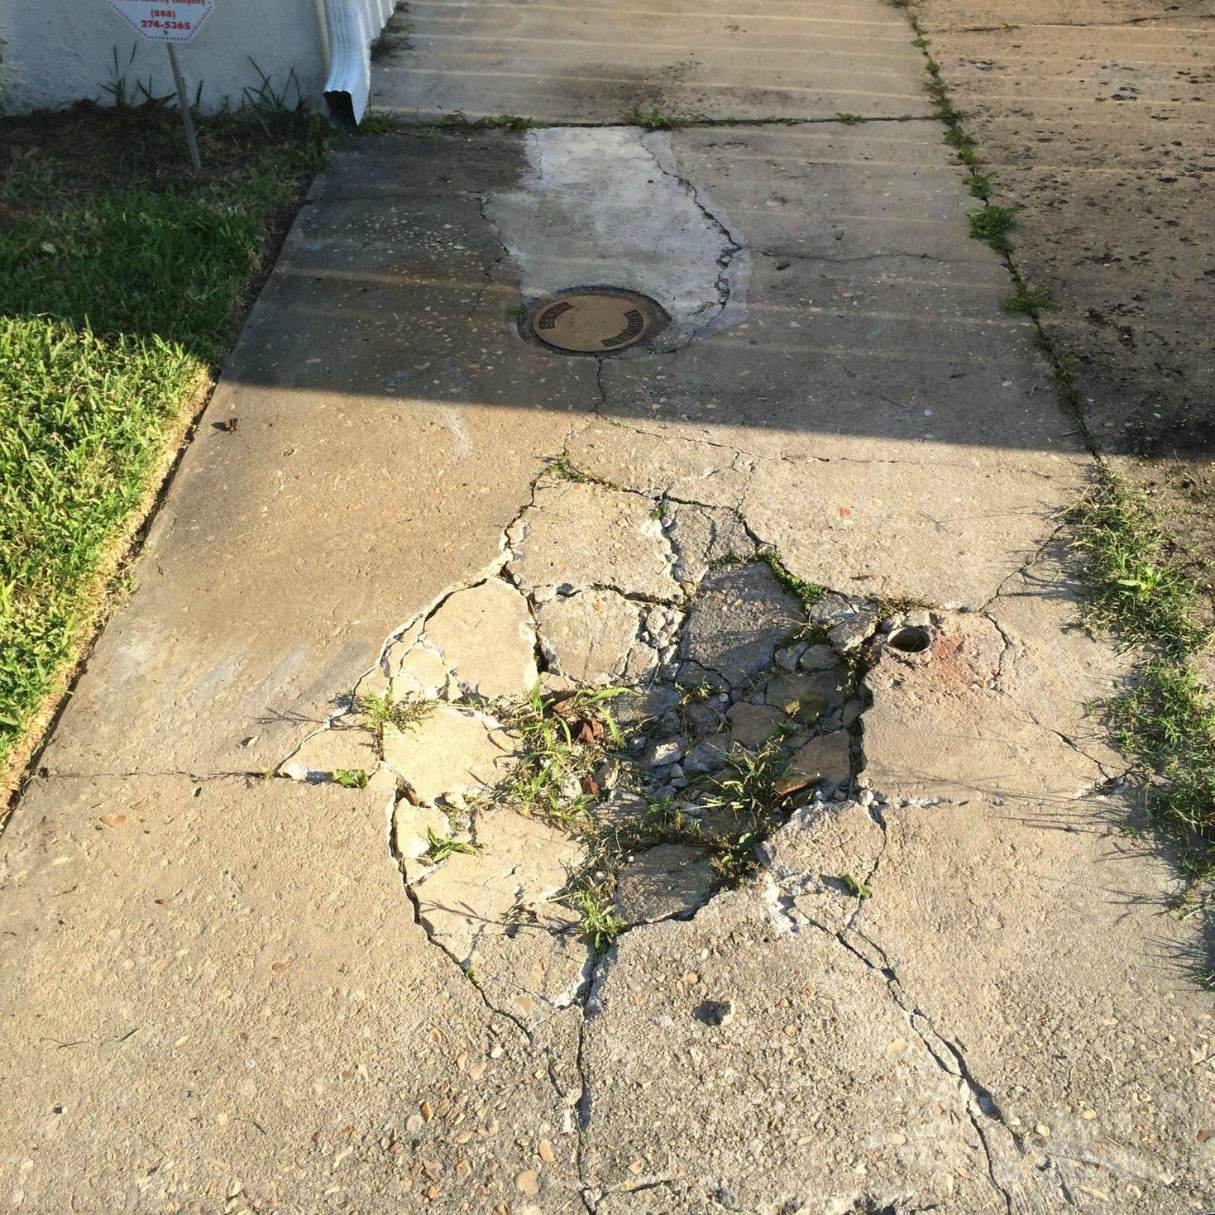
5. Safety hazards: Finally, consider any safety hazards that may be present, such as large potholes or raised edges that can lead to trip and fall accidents. Identifying and addressing these hazards will ensure the safety of your driveway for both residents and visitors.
By conducting a thorough assessment of your concrete driveway, you will have a clear understanding of the repairs required and can proceed with confidence in choosing the right approach. In the next section, we will discuss the tools and materials you will need for the concrete raising process.
Gathering the Necessary Tools and Materials
Once you have assessed the condition of your driveway, it’s time to gather the necessary tools and materials for the concrete raising process. Having the right equipment on hand will make the task more efficient and ensure optimal results. Here are the essential tools and materials you will need:
1. Safety gear: Before starting any project, it’s crucial to prioritize your safety. Make sure you have the following safety gear: safety glasses, work gloves, a dust mask, and sturdy work boots. These items will protect you from potential hazards and keep you safe during the process.
2. Measuring tools: Accurate measurements are essential for determining the correct amount of materials needed. Equip yourself with a measuring tape, a long straight edge, and a level to ensure precise measurements and level alignment of the raised concrete surface.
3. Shovel and wheelbarrow: A sturdy shovel is necessary for removing any loose soil, gravel, or debris from the area. A wheelbarrow will come in handy for transporting materials such as sand, gravel, or concrete mix.
4. Concrete mix: Depending on the size and scope of your project, you will need to source an appropriate amount of concrete mix. Consult with a local supplier or home improvement store to determine the quantity required. Remember to choose a mix that is suitable for your climate and meets your specific needs (e.g., high-strength, fast-setting, etc.).
5. Sand and gravel: Sand and gravel are commonly used as a base for the concrete to ensure proper stability and drainage. Make sure to acquire the right type and quantity of sand and gravel based on your project requirements.
6. Formwork: Formwork is needed to contain and shape the poured concrete. You can use wooden boards or metal stakes and boards to create the necessary forms for your driveway. Ensure that the formwork is strong, level, and securely in place before pouring the concrete.
7. Concrete mixing tools: Depending on the scope of your project, you may need a concrete mixer or a large mixing tub. If you opt for a manual mixing method, ensure you have a sturdy mixing hoe or shovel to blend the concrete thoroughly.
8. Concrete finishing tools: To achieve a smooth and level surface, you will need concrete finishing tools such as a concrete float, a trowel, and a broom. These tools will allow you to spread and finish the concrete evenly, creating a durable and visually appealing driveway surface.
By gathering these essential tools and materials, you will be well-prepared to tackle the concrete raising process. In the next section, we will discuss the steps involved in preparing the area for concrete raising.
Preparing the Area for Concrete Raising
Before you can begin raising your concrete driveway, it’s crucial to properly prepare the area to ensure a successful and long-lasting outcome. Here are the steps involved in preparing the area:
1. Clear the driveway: Start by removing any obstacles, vehicles, or debris from the driveway. Clear the area as much as possible to provide ample space for the concrete raising process.
2. Mark the boundaries: Use marking paint or stakes and string to clearly define the boundaries of the area you will be working on. This will help you stay within the designated space and ensure a neat and precise outcome.
3. Remove the existing concrete: If there are any sections of the driveway that are severely damaged or uneven, you may need to remove them before raising the concrete. Use a jackhammer or concrete saw to carefully break up and remove the damaged portions. Be sure to dispose of the debris properly and clear the area for the next steps.
4. Compact the base: The base on which the raised concrete will sit should be compacted to ensure stability. Use a plate compactor or hand tamper to compact the soil underneath. This will help prevent future settling and sinking of the concrete.
5. Add a layer of gravel: Adding a layer of gravel to the compacted base will further improve stability and drainage. Spread a uniform layer of gravel and use a rake or shovel to level it.
6. Install formwork: Now it’s time to install the formwork along the edges of the area where you will pour the concrete. Secure the formwork tightly and ensure it is level and aligned. This will contain the concrete and help achieve straight edges and smooth contours.
7. Check the slope: Proper drainage is crucial for your driveway’s longevity. Use a level or laser level to ensure that the area has a slight slope away from any adjacent structures. This will ensure that water drains away from the driveway, reducing the risk of water damage.
8. Apply a bonding agent: If you are pouring new concrete adjacent to an existing slab, it’s recommended to apply a bonding agent to help create a strong bond between the old and new surfaces. Follow the manufacturer’s instructions to properly apply the bonding agent.
By following these steps, you will have a well-prepared area ready for concrete raising. In the next section, we will discuss the process of mixing the concrete.
Mixing the Concrete
Now that you have prepared the area for concrete raising, it’s time to mix the concrete. Properly mixing the concrete is crucial for achieving a strong and durable driveway surface. Follow these steps to mix the concrete:
1. Calculate the amount of concrete: Determine the amount of concrete mix you will need based on the size and thickness of your driveway. Consider the recommended ratio of water to concrete mix provided by the manufacturer.
2. Set up the mixing equipment: If you’re using a concrete mixer, ensure that it is clean and in good working condition. If you’re mixing the concrete manually, use a large mixing tub or wheelbarrow that is clean and sturdy. Place the mixing equipment on a stable and level surface.
3. Add water: Begin by adding the appropriate amount of water to the mixing equipment. Slowly pour in the water while continuously mixing to ensure even distribution.
4. Add the concrete mix: Gradually add the concrete mix to the water in the mixing equipment. Follow the manufacturer’s instructions to determine the correct mixing ratio. Use a shovel or mixing tool to blend the water and concrete mix thoroughly.
5. Mix thoroughly: Mix the concrete thoroughly until it reaches a smooth and uniform consistency. Pay attention to any dry pockets or lumps and break them up with the mixing tool. Continue mixing until there are no visible dry areas in the mixture.
6. Check the consistency: The consistency of the concrete should be workable and easily pourable, but not overly wet or runny. It should hold its shape when formed into a ball and not slump excessively. Adjust the water or concrete mixture as needed to achieve the desired consistency.
7. Follow curing time: Depending on the type of concrete mix you’re using, it may require a specific curing time before pouring. Follow the manufacturer’s instructions regarding the curing time to ensure the best results.
Remember to work efficiently during the concrete mixing process to prevent the concrete from drying out before pouring. If necessary, mix the concrete in small batches to maintain the workability of the mixture.
In the next section, we will discuss the important steps involved in pouring and leveling the concrete.
Regularly inspect your concrete driveway for any cracks or damage. Promptly repair any issues to prevent them from worsening and causing more extensive damage.
Read more: How To Lay A Concrete Driveway
Pouring and Leveling the Concrete
After you’ve mixed the concrete to the desired consistency, it’s time to pour and level it on your prepared driveway area. Follow these steps for pouring and leveling the concrete:
1. Start pouring: Begin pouring the mixed concrete into the prepared area. Start at one end of the formwork and work your way towards the other end. Ensure a consistent flow, avoiding any gaps or sudden changes in the pouring process.
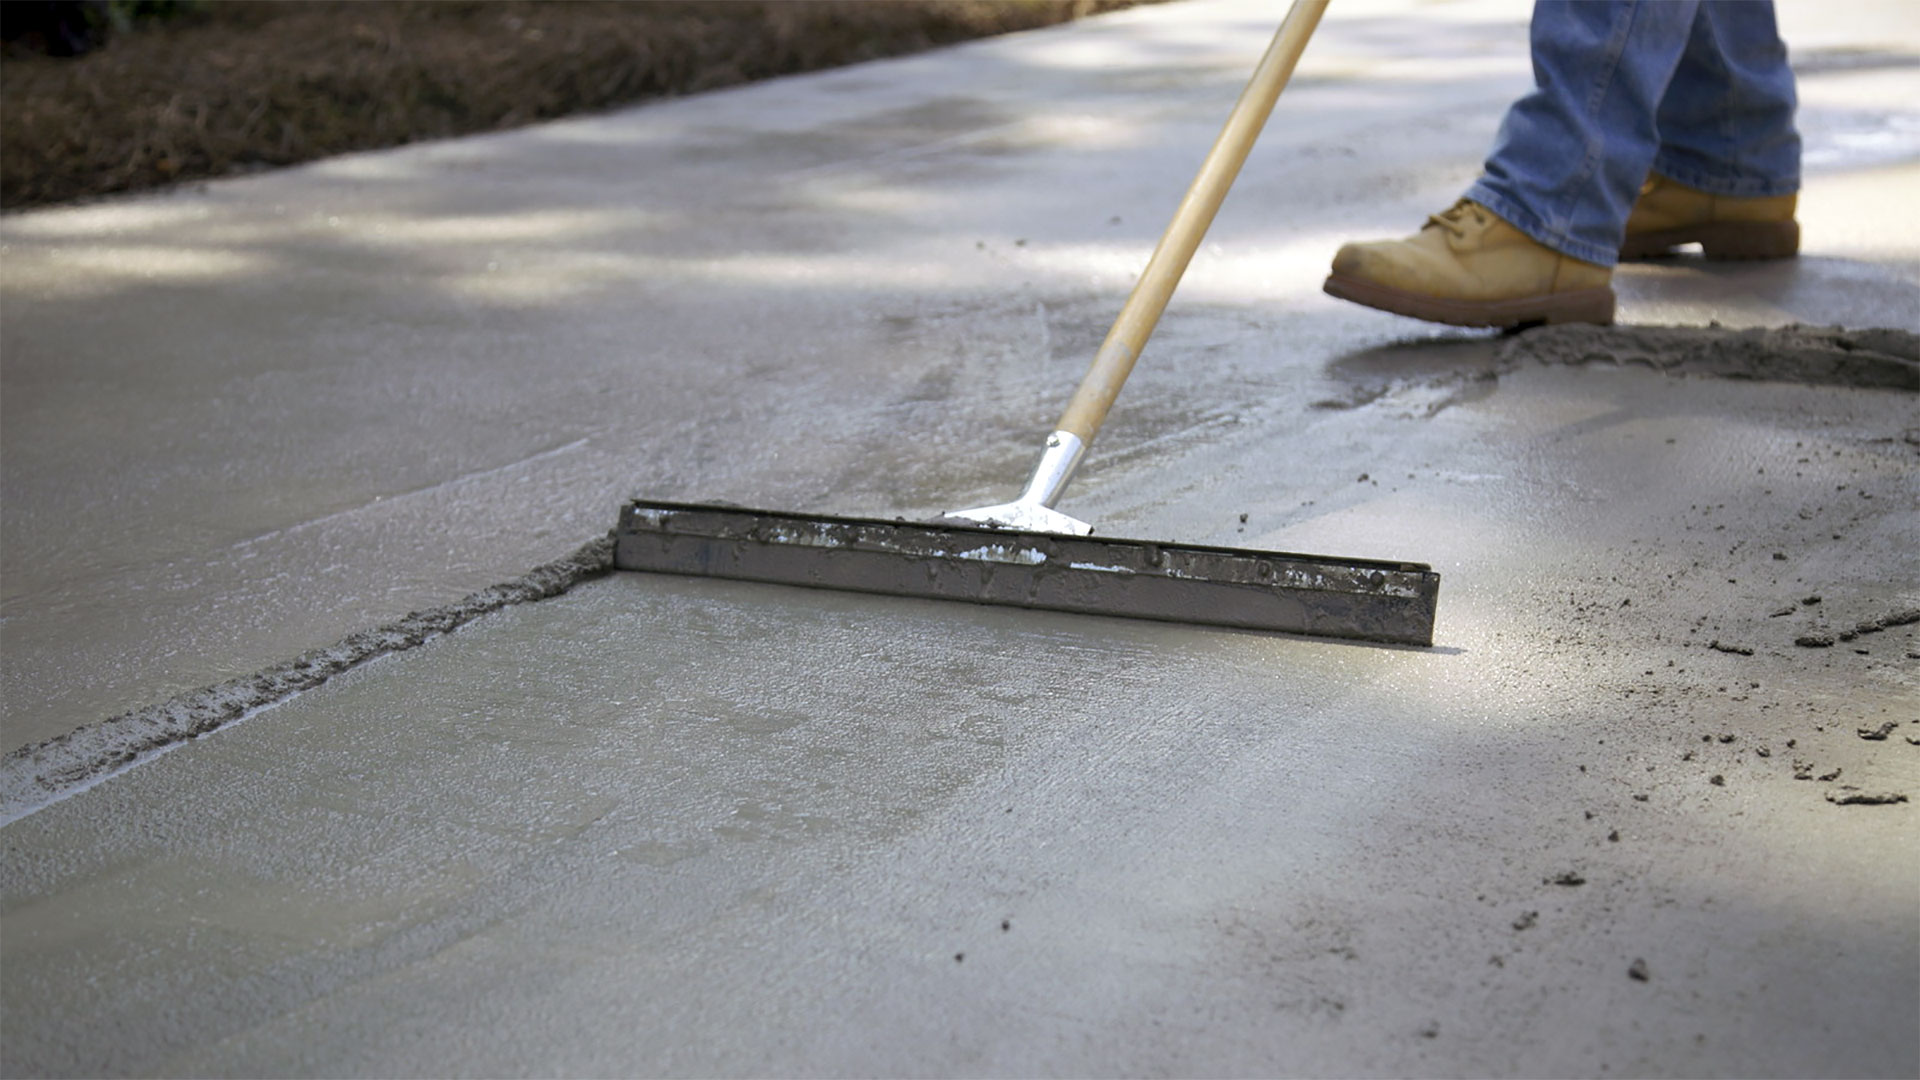
2. Spread the concrete: Use a concrete float or a square-ended shovel to spread the freshly poured concrete evenly across the designated area. Push the concrete towards the edges and fill any low spots to achieve a uniform layer.
3. Work quickly: Concrete is easiest to work with when it’s still wet, so it’s important to work efficiently. Use smooth, sweeping motions to spread and level the concrete as you move along the driveway area.
4. Use a screed board: Use a screed board, such as a long straight piece of wood, to level the concrete. Rest the screed board on the formwork and move it back and forth in a sawing motion to smooth and level the surface. This will help remove excess concrete and fill in any low areas.
5. Check for levelness: Use a level to ensure that the surface of the concrete is level and aligned with the desired slope for proper water drainage. Make any necessary adjustments by adding or removing concrete as needed.
6. Finish the surface: Once the concrete is level, use a concrete float to smooth and finish the surface. Move the float in long, sweeping motions to create a smooth and even surface. If desired, you can create a decorative texture using a broom or a specialized finishing tool.
7. Remove the formwork: After finishing the surface, allow the concrete to partially set for a few hours. Then carefully remove the formwork, taking care not to disrupt the concrete. Allow the concrete to fully cure according to the manufacturer’s instructions.
Remember to work efficiently while pouring and leveling the concrete to maintain a consistent and smooth finish. Aim for a thickness of about 4 inches for the concrete for optimal strength and stability.
In the next section, we will discuss the steps involved in curing and finishing the concrete to ensure a durable and attractive driveway surface.
Curing and Finishing the Concrete
After pouring and leveling the concrete, it’s crucial to properly cure and finish the surface to ensure its durability and longevity. Follow these steps for curing and finishing the concrete on your driveway:
1. Cover the concrete: Immediately after pouring and leveling the concrete, cover it with plastic sheeting or moist burlap to create a moist curing environment. This will prevent the concrete from drying too quickly and help it achieve maximum strength.
2. Maintain moisture: Regularly mist the concrete with water over the course of several days to keep it moist. This will aid in the curing process and prevent cracking. Avoid applying excessive water that may result in erosion or uneven curing.
3. Avoid heavy traffic: During the curing period, avoid driving vehicles or placing heavy objects on the newly poured concrete. This could disrupt the curing process and lead to cracks or other structural issues. Wait for the recommended curing time before allowing any significant traffic on the driveway.
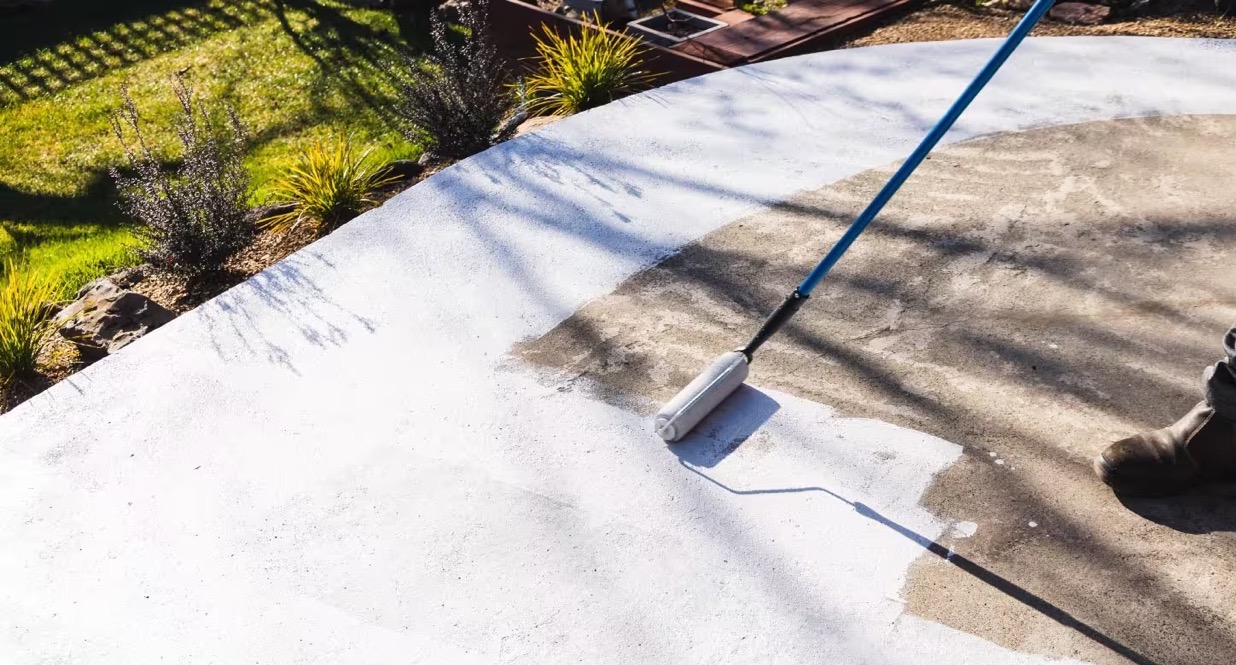
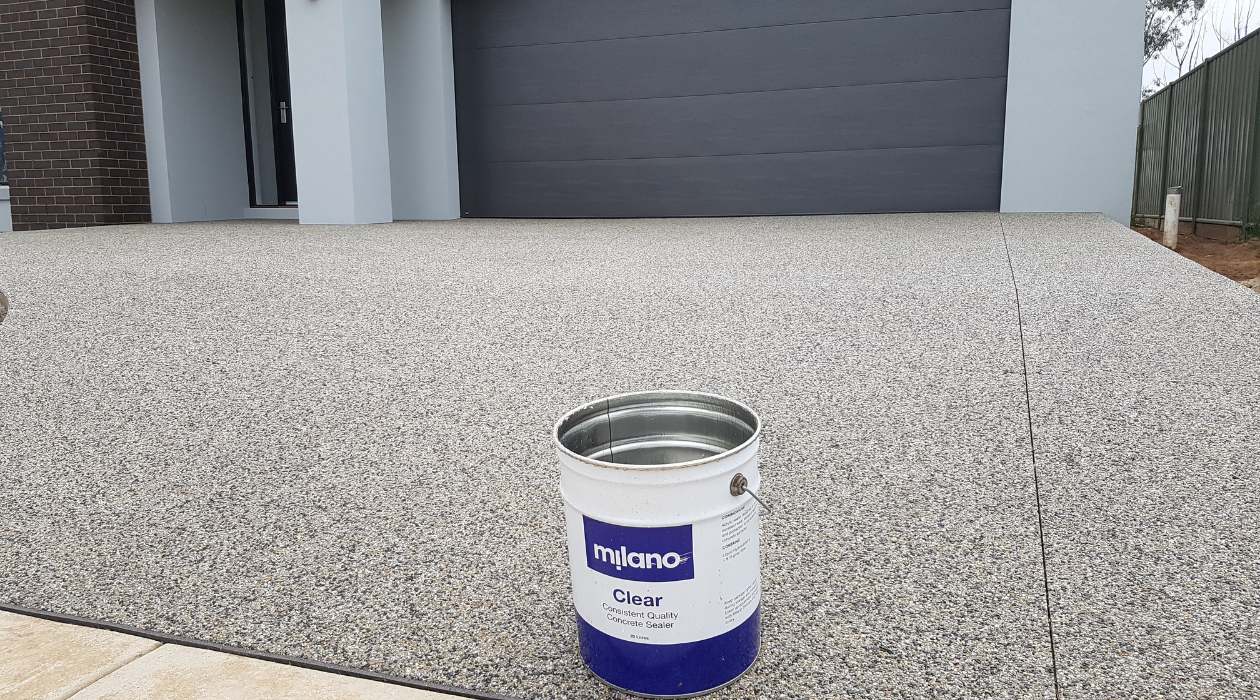
4. Apply a concrete sealer: Once the concrete has fully cured, consider applying a concrete sealer to enhance its appearance and protect it from stains and weathering. Choose a sealer suitable for exterior concrete surfaces and follow the manufacturer’s instructions for application.
5. Consider decorative options: If you desire a more decorative look for your driveway, you can explore various finishing options. This may include concrete staining, stamping, or using decorative aggregates. Consult with a professional or a knowledgeable supplier for guidance on achieving your desired look.
6. Regular maintenance: To ensure the longevity and continued appearance of your concrete driveway, it’s important to perform regular maintenance. This may include periodic cleaning, sealing, and addressing any cracks or damages as soon as they arise.
By properly curing and finishing the concrete, you will enhance its strength, durability, and overall appearance. It’s important to follow these steps diligently to achieve the best results for your driveway.
In the next section, we will address some commonly asked questions related to raising concrete driveways.
Ensuring Proper Maintenance and Longevity
After raising your concrete driveway, it’s crucial to implement proper maintenance practices to ensure its longevity and continued functionality. By following these steps, you can keep your driveway in excellent condition for years to come:
1. Regular cleaning: Keep your concrete driveway clean by regularly removing any debris, leaves, or dirt. Use a broom or leaf blower to sweep the surface and rinse it with water periodically to remove any stains or spills.
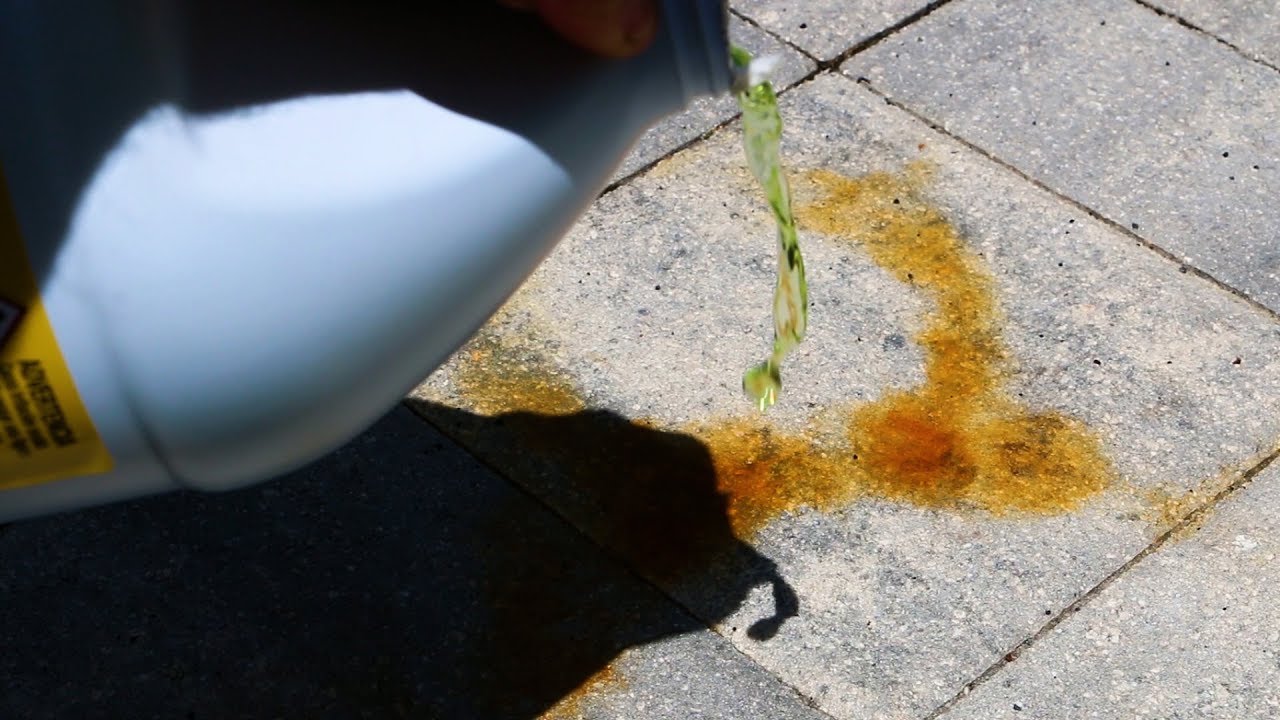
2. Avoid harsh chemicals: When cleaning your driveway, avoid using harsh chemicals or solvents as they can damage the concrete. Instead, opt for mild detergents or specially formulated concrete cleaners. Always follow the manufacturer’s instructions.
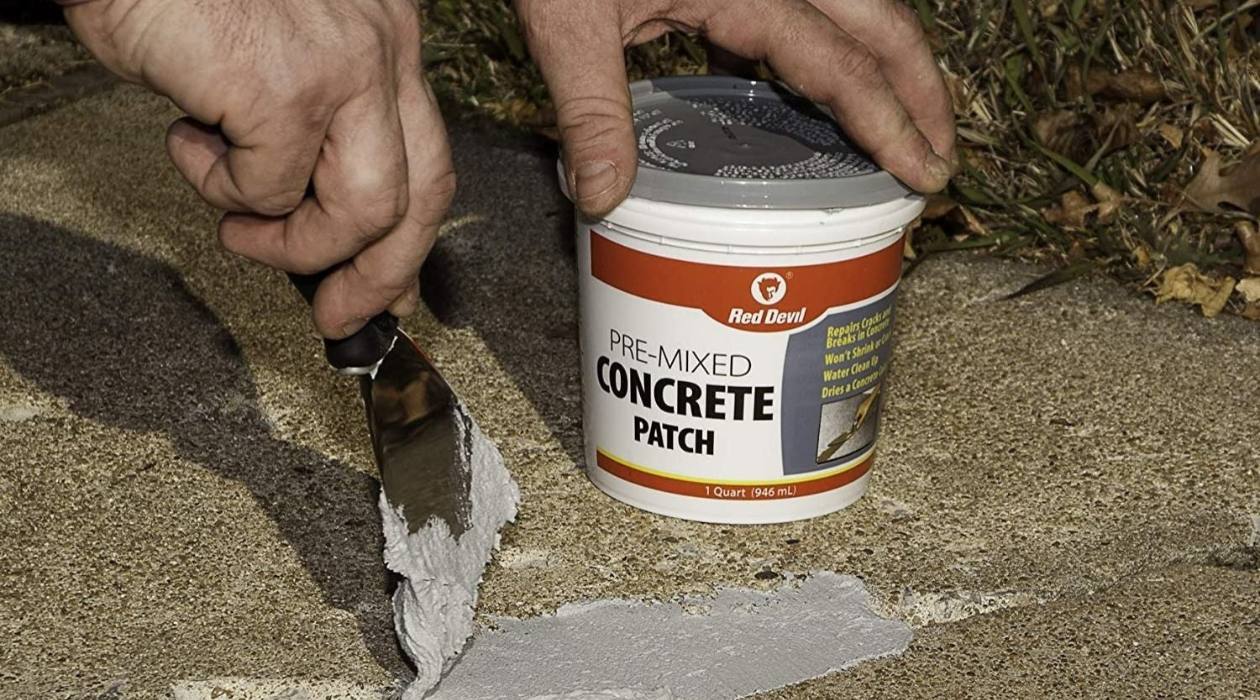
3. Address cracks and damages promptly: Monitor your driveway for any cracks or damages and address them as soon as possible. Small cracks can be filled with concrete crack repair products, while larger damages may require professional repairs. Prompt action will prevent further deterioration.
4. Reseal when necessary: Over time, the protective seal on your concrete driveway may wear off. As a result, the surface may become more susceptible to stains, moisture penetration, and degradation. Consider resealing your driveway every 2-3 years to maintain its protective barrier.
5. Use caution with de-icing chemicals: During colder months, de-icing chemicals may be necessary to prevent ice accumulation on your driveway. However, certain chemicals can damage concrete surfaces. Opt for products that are safe for concrete or use sand or kitty litter for traction instead.
6. Avoid heavy vehicle traffic: While concrete is a durable material, excessive and heavy vehicle traffic can cause premature wear and damage. Try to limit heavy vehicle use when possible, and avoid parking heavy vehicles in the same spot for extended periods.
7. Take care of surrounding vegetation: Avoid allowing plants, shrubs, or trees to grow too close to your concrete driveway. Their roots can penetrate and disrupt the concrete, leading to cracks and potential damage. Regularly trim and maintain the vegetation around your driveway.
By implementing these maintenance practices, you will extend the lifespan of your concrete driveway and keep it looking its best for years to come. Regular inspections and proactive maintenance will minimize the need for extensive repairs and ensure your driveway remains safe and functional.
Now, let’s address some commonly asked questions related to raising concrete driveways.
Frequently Asked Questions
Q: Can I raise my concrete driveway myself, or should I hire a professional?
A: Raising a concrete driveway can be a challenging task, especially for those without experience or the necessary tools. While it is possible to do it yourself, hiring a professional is recommended for complex or large-scale projects to ensure proper leveling and long-term durability.
Q: How long does the concrete raising process take?
A: The duration of the concrete raising process depends on factors such as the size of the driveway, the extent of repairs needed, and the curing time of the concrete. Generally, it can take anywhere from a few days to a couple of weeks to complete the entire process.
Q: How long does it take for the concrete to cure?
A: Concrete typically takes around 28 days to fully cure and reach its maximum strength. However, it’s important to note that the concrete will gain enough strength to support light foot traffic within 24 to 48 hours of pouring, but avoid heavy vehicle traffic until the concrete has fully cured.
Q: How can I prevent my raised concrete driveway from cracking?
A: To minimize the risk of cracking, ensure proper preparation of the base, use reinforcement such as wire mesh or rebar, control the amount of water used in the concrete mix, and provide adequate curing time. Additionally, avoid placing heavy loads on the driveway and maintain proper drainage to prevent water accumulation.
Q: Can I raise a concrete driveway that has significant structural damage?
A: If your concrete driveway has substantial structural damage, such as deep cracks or sections that have completely separated, it may not be suitable for raising. It’s best to consult a professional to assess the extent of the damage and determine the most appropriate solution, which may involve full replacement.
Q: How often should I seal my raised concrete driveway?
A: Generally, it’s recommended to reseal your concrete driveway every 2-3 years. However, the frequency may vary depending on factors such as climate, usage, and the type of sealer used. Regularly inspect the surface of your driveway, and if water no longer beads up on the surface, it may be time to reapply the sealer.
Q: Can I add decorative elements to my raised concrete driveway?
A: Yes, adding decorative elements to your raised concrete driveway can enhance its visual appeal. Options such as stamped patterns, exposed aggregates, or colored stains can be used to create different textures and finishes. Consult with a professional or a specialized supplier to explore the various decorative options available.
Remember that proper maintenance and regular inspections are crucial to the longevity and performance of your raised concrete driveway. If you have specific concerns or questions regarding your project, it’s always best to consult a professional concrete contractor for tailored advice and guidance.
With that, we conclude our guide on how to raise a concrete driveway. By following the steps outlined in this article and implementing proper maintenance practices, you can achieve a level and functional driveway that will serve you well for years to come.
Read more: How Much Is A Concrete Driveway
Conclusion
Raising a concrete driveway is a task that can improve both the appearance and functionality of your outdoor space. By following the steps outlined in this comprehensive guide, you can successfully raise your concrete driveway and ensure its longevity.
From assessing the condition of your driveway to gathering the necessary tools and materials, preparing the area, mixing the concrete, pouring and leveling it, and finally, curing and finishing the surface, each step is crucial in achieving a professionally raised driveway.
Proper maintenance is also key to preserving the beauty and durability of your concrete driveway. Regular cleaning, addressing cracks promptly, avoiding harsh chemicals, and resealing when needed are just a few of the maintenance practices you should implement.
While it’s possible to undertake the concrete raising process on your own, consider hiring a professional for complex or large-scale projects. Their expertise and specialized equipment will ensure precise leveling and a high-quality finish.
Remember to always prioritize safety when working on any DIY project. Wear the appropriate safety gear, take necessary precautions, and consult professionals when needed to ensure a successful and safe outcome.
With the completion of your raised concrete driveway, you’ll have a smooth and inviting entryway that enhances the overall curb appeal of your property and provides a durable surface for vehicles and foot traffic.
Now it’s time to roll up your sleeves, gather the necessary tools and materials, and embark on the journey of raising your concrete driveway. Enjoy the process, take your time, and revel in the finished product that you can proudly call your own.
Frequently Asked Questions about How To Raise A Concrete Driveway
Was this page helpful?
At Storables.com, we guarantee accurate and reliable information. Our content, validated by Expert Board Contributors, is crafted following stringent Editorial Policies. We're committed to providing you with well-researched, expert-backed insights for all your informational needs.


0 thoughts on “How To Raise A Concrete Driveway”