Home>Home Appliances>Bathroom Appliances>How To Clean The Base Of An Electric Toothbrush

Bathroom Appliances
How To Clean The Base Of An Electric Toothbrush
Modified: August 16, 2024
Learn the best methods for cleaning the base of your electric toothbrush to maintain hygiene in your bathroom. Follow our expert tips for effective cleaning.
(Many of the links in this article redirect to a specific reviewed product. Your purchase of these products through affiliate links helps to generate commission for Storables.com, at no extra cost. Learn more)
Introduction
Maintaining the cleanliness of your electric toothbrush is crucial for ensuring optimal oral hygiene. While we often focus on cleaning the brush head, the base of the electric toothbrush also requires regular attention to prevent the buildup of bacteria, toothpaste residue, and other impurities. Neglecting this aspect can compromise the effectiveness of your toothbrush and potentially lead to oral health issues.
In this comprehensive guide, we will walk you through the step-by-step process of effectively cleaning the base of your electric toothbrush. By following these simple yet essential cleaning techniques, you can ensure that your electric toothbrush remains hygienic and functions at its best, promoting a healthy oral care routine.
Let's dive into the details of gathering the necessary supplies and executing the cleaning process to keep your electric toothbrush in top condition.
Key Takeaways:
- Regularly cleaning the base and charging port of your electric toothbrush with simple supplies like vinegar and baking soda ensures a hygienic and long-lasting oral care device.
- Safely reassembling the brush head after cleaning the base ensures your electric toothbrush is ready for effective oral hygiene, promoting a healthy and confident smile.
Read more: How To Clean Your Electric Toothbrush
Step 1: Gather Necessary Supplies
Before embarking on the cleaning process, it’s essential to gather the required supplies to ensure a thorough and effective cleaning of the base of your electric toothbrush. Here’s a list of the supplies you’ll need:
- Vinegar: This natural cleaning agent helps to break down stubborn residue and disinfect the base of the toothbrush.
- Baking Soda: Known for its gentle abrasive properties, baking soda aids in removing surface stains and grime from the base.
- Toothpicks or Cotton Swabs: These tools are useful for reaching tight spaces and crevices around the base and charging port.
- Warm Water: Using warm water for the cleaning process can help to dissolve debris and enhance the effectiveness of the cleaning agents.
- Mild Dish Soap: Opt for a gentle dish soap to effectively remove grease and residue from the base without causing damage.
- Clean Cloth or Towel: A soft, lint-free cloth or towel is ideal for wiping and drying the base of the electric toothbrush.
By ensuring that you have these supplies on hand, you can proceed with confidence, knowing that you have everything necessary to thoroughly clean the base of your electric toothbrush.
Step 2: Remove the Brush Head
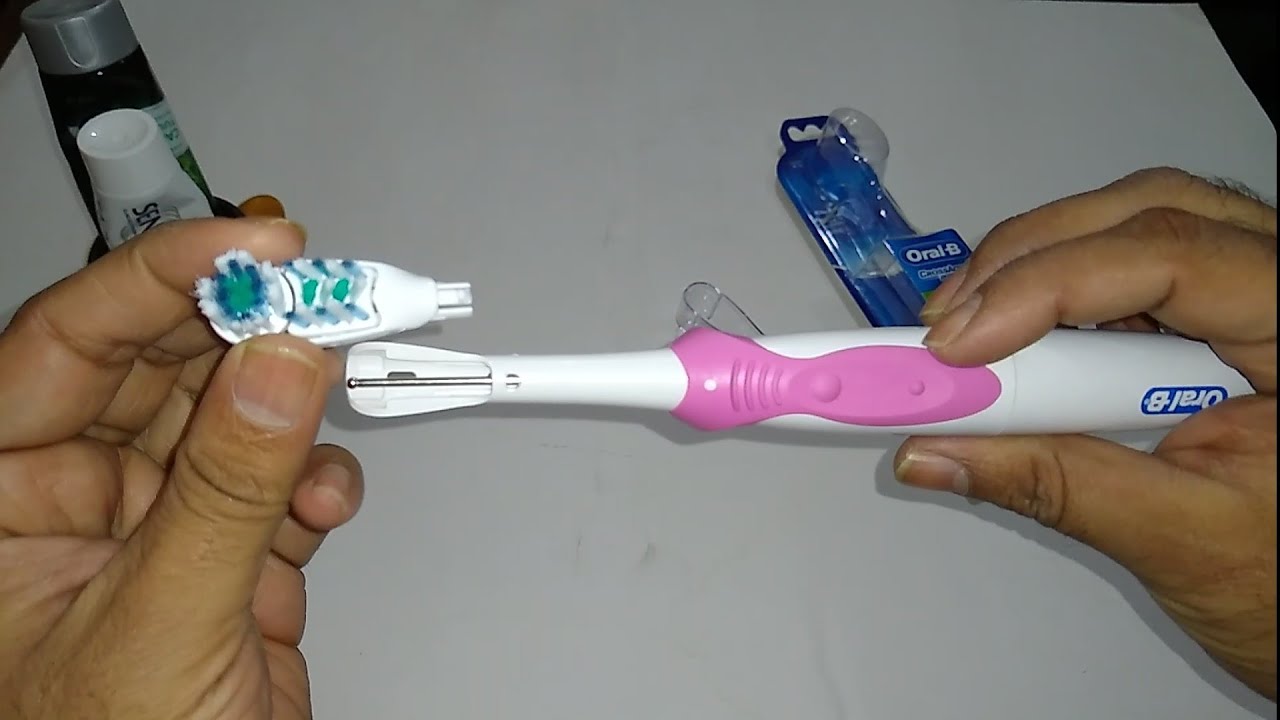
Prior to cleaning the base of your electric toothbrush, it’s important to remove the brush head to facilitate thorough access to the base and prevent any damage to the bristles during the cleaning process. Follow these simple steps to safely remove the brush head:
- Turn Off the Toothbrush: Ensure that the electric toothbrush is powered off to prevent any accidental activation during the removal process.
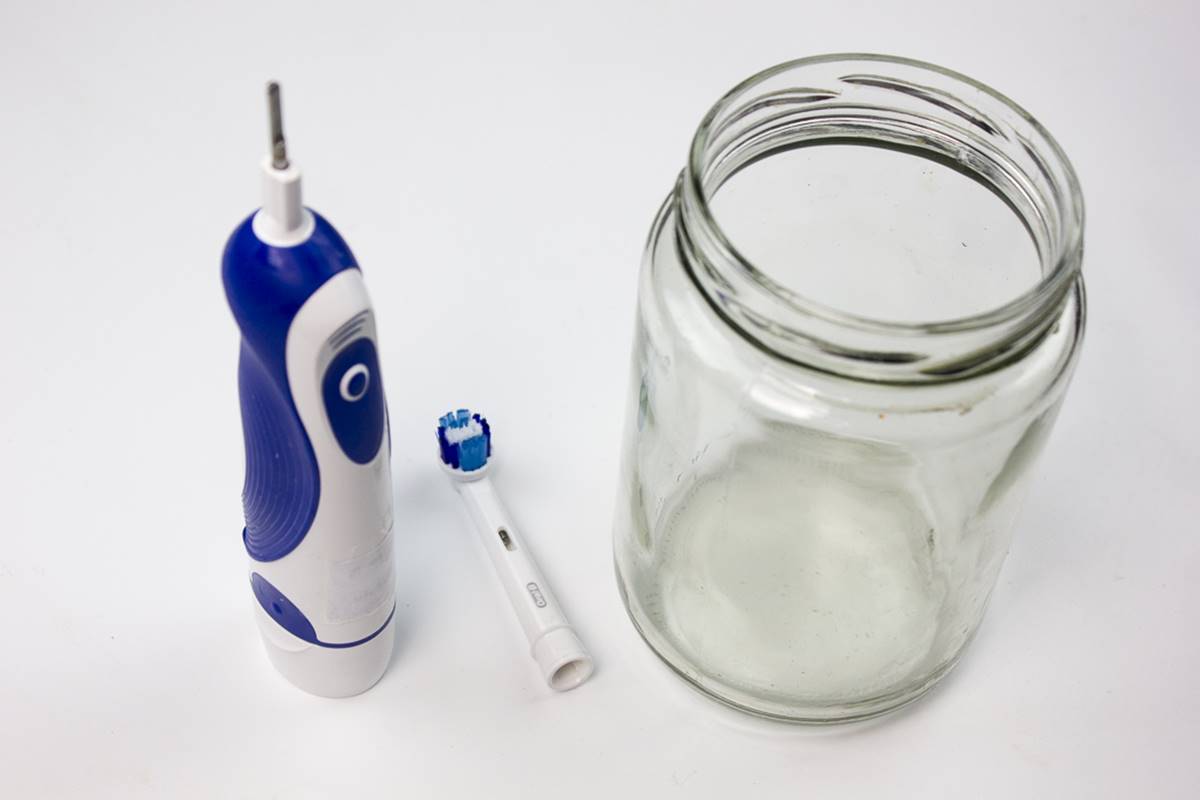
- Gently Twist or Pull: Depending on the model of your electric toothbrush, gently twist or pull the brush head to detach it from the base. Be cautious to avoid applying excessive force that could potentially damage the connection.
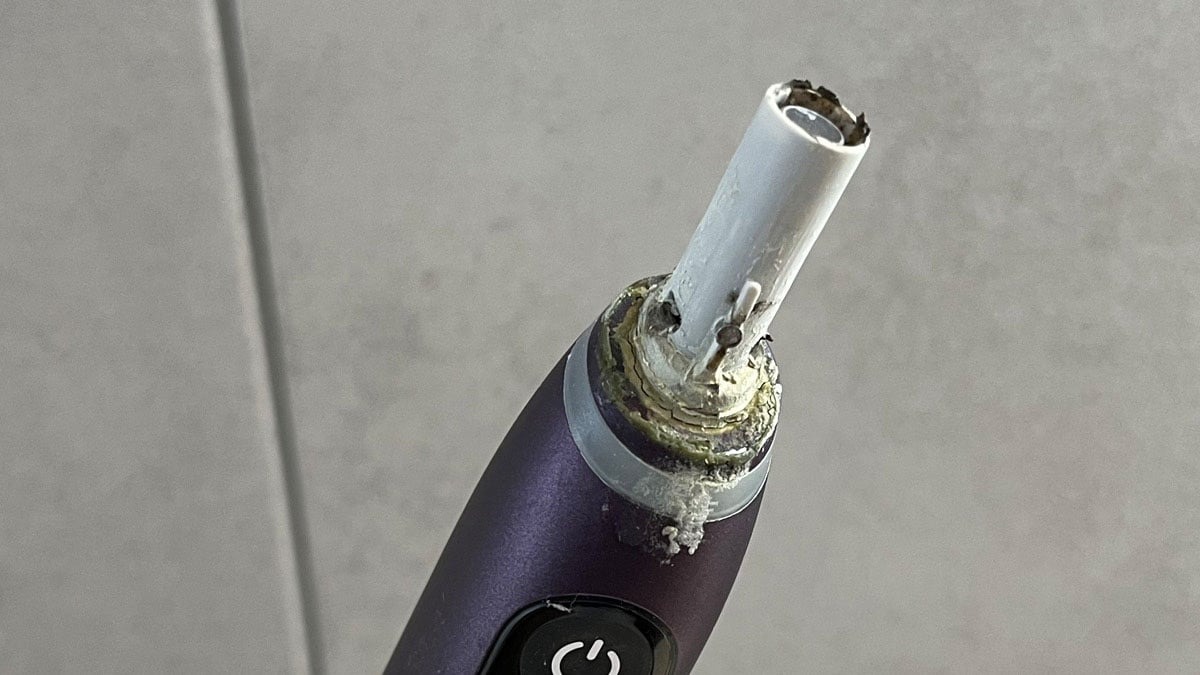
- Inspect the Connection: Take a moment to inspect the connection point between the brush head and the base for any visible debris or buildup. If present, use a clean toothpick or cotton swab to gently remove any accumulated residue.
- Set Aside the Brush Head: Once removed, set the brush head aside in a clean and dry location, ensuring that it remains free from any contaminants during the base cleaning process.
By following these steps to safely detach the brush head from the base of your electric toothbrush, you can prepare the device for thorough cleaning without compromising the integrity of the bristles or the internal components.
Step 3: Clean the Base
Now that the brush head has been safely removed, it’s time to focus on cleaning the base of your electric toothbrush. This process involves the removal of accumulated residue, bacteria, and other impurities to ensure the hygiene and functionality of the device. Follow these steps to effectively clean the base:
- Create a Cleaning Solution: In a small container, mix equal parts of vinegar and warm water to create a gentle yet effective cleaning solution. This solution will help to break down residue and disinfect the base of the toothbrush.
- Dip a Cloth or Cotton Swab: Dip a clean cloth or cotton swab into the prepared cleaning solution, ensuring that it is damp but not excessively saturated.
- Gently Wipe the Base: Carefully wipe the entire surface of the base, including the area where the brush head attaches, using the damp cloth or cotton swab. Pay attention to any seams or crevices where debris may accumulate, ensuring thorough coverage.
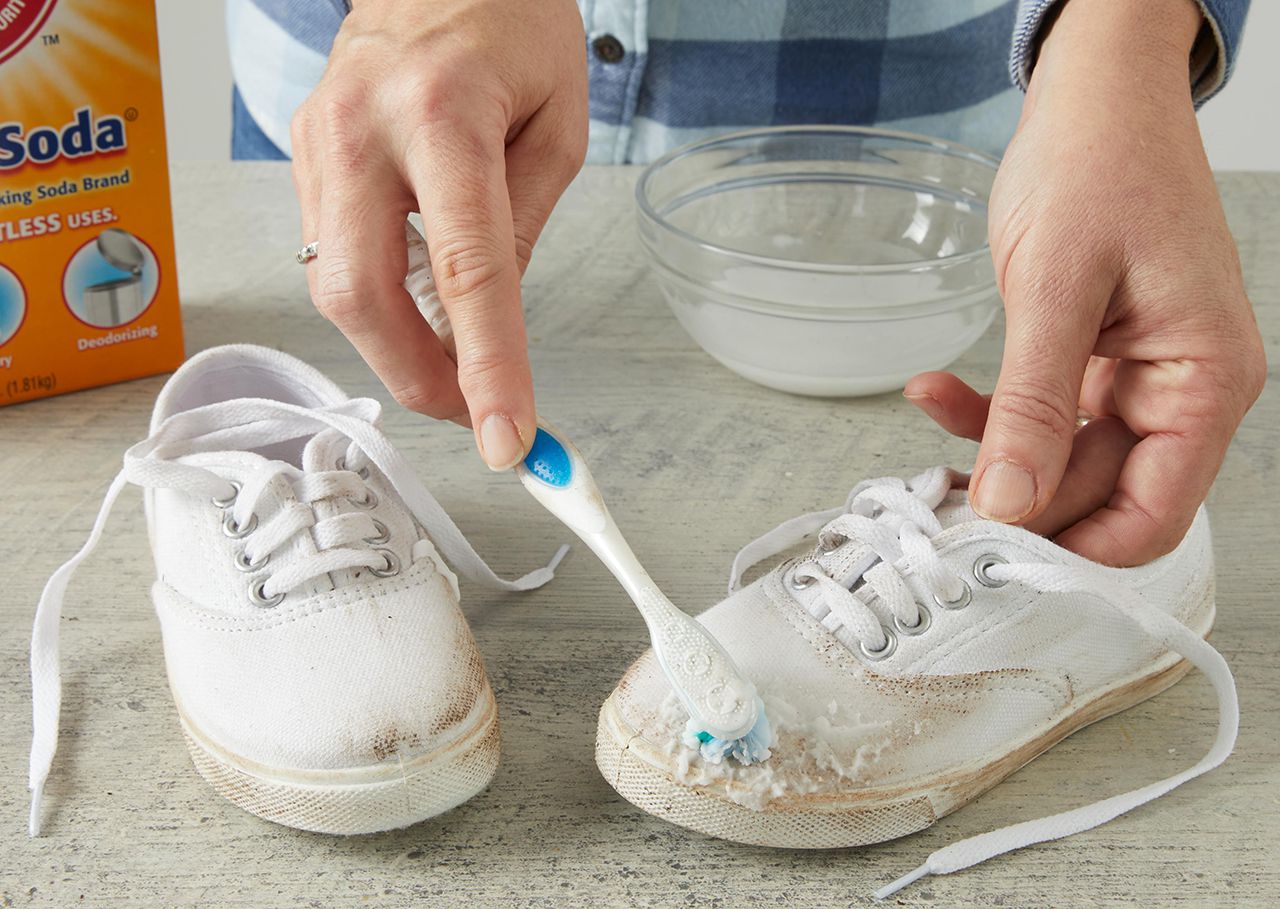
- Use Baking Soda for Stubborn Stains: For any stubborn stains or residue, create a paste using baking soda and a small amount of water. Apply this paste to the affected areas of the base and gently scrub with a soft toothbrush or cloth to lift the stains.
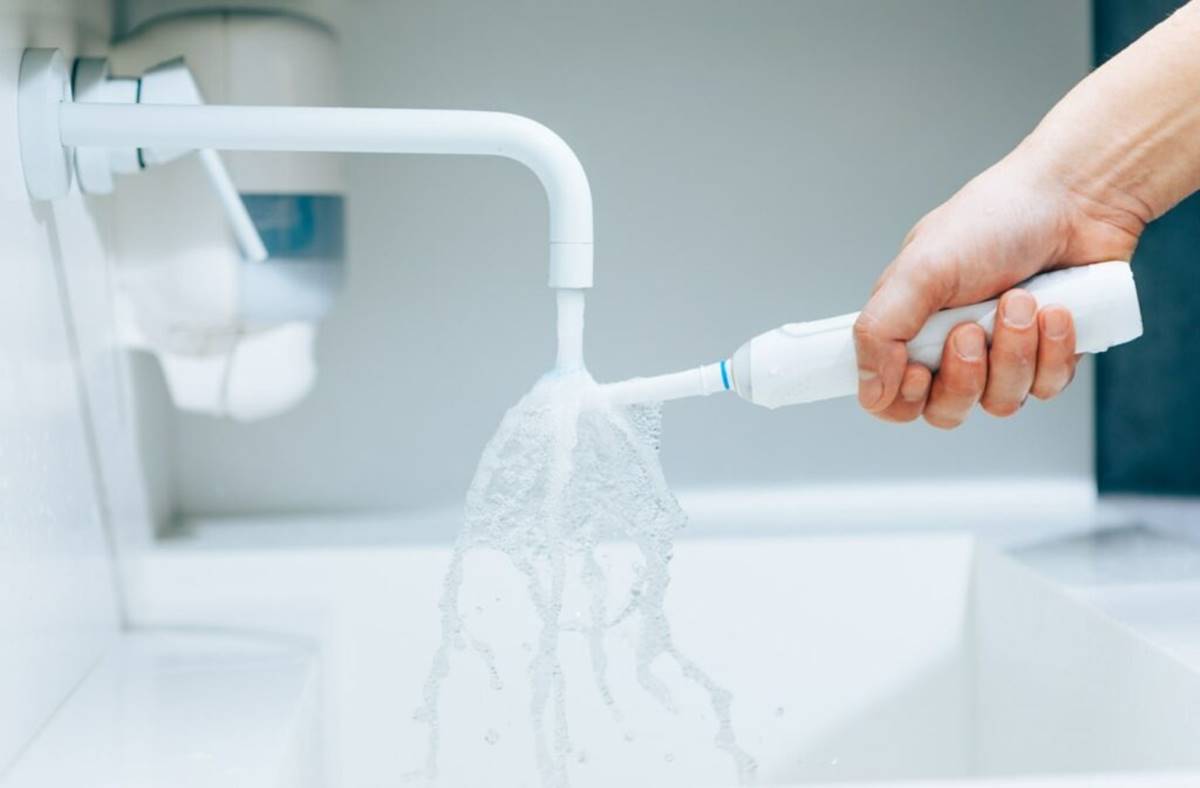
- Rinse and Dry: Once the base has been effectively cleaned, rinse it with clean water to remove any remaining cleaning solution or baking soda residue. Use a dry cloth to thoroughly dry the base, ensuring that no moisture remains.
By diligently following these steps, you can effectively clean the base of your electric toothbrush, removing any accumulated residue and ensuring that it remains hygienic and ready for use.
To clean the base of an electric toothbrush, use a damp cloth or cotton swab to wipe away any toothpaste or water residue. Be sure to unplug the toothbrush before cleaning to avoid any electrical hazards.
Step 4: Clean the Charging Port
While cleaning the base of your electric toothbrush, it’s essential to pay special attention to the charging port to maintain its functionality and prevent potential issues. The charging port can accumulate debris and residue over time, potentially hindering the charging process. Follow these steps to effectively clean the charging port:
- Inspect the Charging Port: Carefully examine the charging port to identify any visible debris, dust, or buildup that may be present. Use a flashlight if necessary to ensure a clear view of the interior.
- Utilize a Toothpick or Cotton Swab: Gently insert a clean toothpick or cotton swab into the charging port to dislodge any visible debris. Be cautious not to apply excessive force or damage the internal components.
- Apply Compressed Air (Optional): If accessible, using a can of compressed air can effectively remove stubborn debris from the charging port. Direct short bursts of air into the port to dislodge any remaining particles.
- Clean with a Damp Cloth: Dampen a cloth or cotton swab with a small amount of isopropyl alcohol and carefully wipe the interior of the charging port. This will help to disinfect the area and remove any remaining residue.
- Allow to Dry: After cleaning the charging port, allow it to air dry completely before reassembling the electric toothbrush. Ensure that no moisture remains within the port to prevent potential damage during future use.
By meticulously cleaning the charging port using these steps, you can maintain its functionality and ensure that your electric toothbrush remains ready for use whenever needed.
Read more: How To Clean Your Oral-B Electric Toothbrush
Step 5: Reassemble the Electric Toothbrush
After completing the thorough cleaning of the base and charging port, it’s time to reassemble your electric toothbrush to ensure that it is fully functional and ready for use. Follow these steps to safely reattach the brush head and prepare the device for your oral care routine:
- Inspect the Base: Take a moment to ensure that the base of the electric toothbrush is completely dry and free from any residual cleaning agents or moisture.
- Align the Brush Head: Position the brush head in alignment with the connection point on the base, ensuring that the bristles are facing outward and ready for use.
- Gently Attach the Brush Head: Carefully press the brush head onto the base, using a gentle twisting motion if necessary to secure it in place. Avoid applying excessive force to prevent damage to the connection.
- Confirm Secure Attachment: Once reattached, gently tug on the brush head to ensure that it is securely connected to the base. A firm connection will prevent the brush head from becoming dislodged during use.
- Power On and Test: Power on the electric toothbrush to ensure that it is functioning properly and that the reassembly process has been completed successfully.
By carefully following these steps, you can safely and effectively reassemble your electric toothbrush, readying it for your oral care routine and ensuring that it remains in optimal condition for future use.
Conclusion
Maintaining the cleanliness of the base and charging port of your electric toothbrush is a vital aspect of ensuring effective oral hygiene and the longevity of your device. By following the step-by-step cleaning process outlined in this guide, you can effectively remove accumulated residue, bacteria, and impurities, thereby promoting a hygienic and functional electric toothbrush.
Regularly cleaning the base and charging port not only safeguards your oral health but also contributes to the overall performance and durability of your electric toothbrush. By utilizing simple yet effective cleaning solutions and techniques, you can uphold the hygiene standards of your oral care routine and enhance the lifespan of your device.
Remember to incorporate these cleaning steps into your regular maintenance routine, ensuring that your electric toothbrush remains in top condition for a healthy and effective oral care experience. With a clean and well-maintained electric toothbrush, you can confidently prioritize your oral health and enjoy the benefits of a reliable and efficient oral care device.
By dedicating a small amount of time to the cleaning process, you can maximize the effectiveness of your electric toothbrush, contributing to a comprehensive and sustainable oral care regimen.
Frequently Asked Questions about How To Clean The Base Of An Electric Toothbrush
Was this page helpful?
At Storables.com, we guarantee accurate and reliable information. Our content, validated by Expert Board Contributors, is crafted following stringent Editorial Policies. We're committed to providing you with well-researched, expert-backed insights for all your informational needs.


0 thoughts on “How To Clean The Base Of An Electric Toothbrush”