Home>Home Appliances>Bathroom Appliances>How To Charge A Nicwell Water Flosser
Bathroom Appliances
How To Charge A Nicwell Water Flosser
Modified: August 17, 2024
Learn how to charge a Nicwell water flosser for efficient use. Get step-by-step instructions and tips for maintaining your bathroom appliances.
(Many of the links in this article redirect to a specific reviewed product. Your purchase of these products through affiliate links helps to generate commission for Storables.com, at no extra cost. Learn more)
Introduction
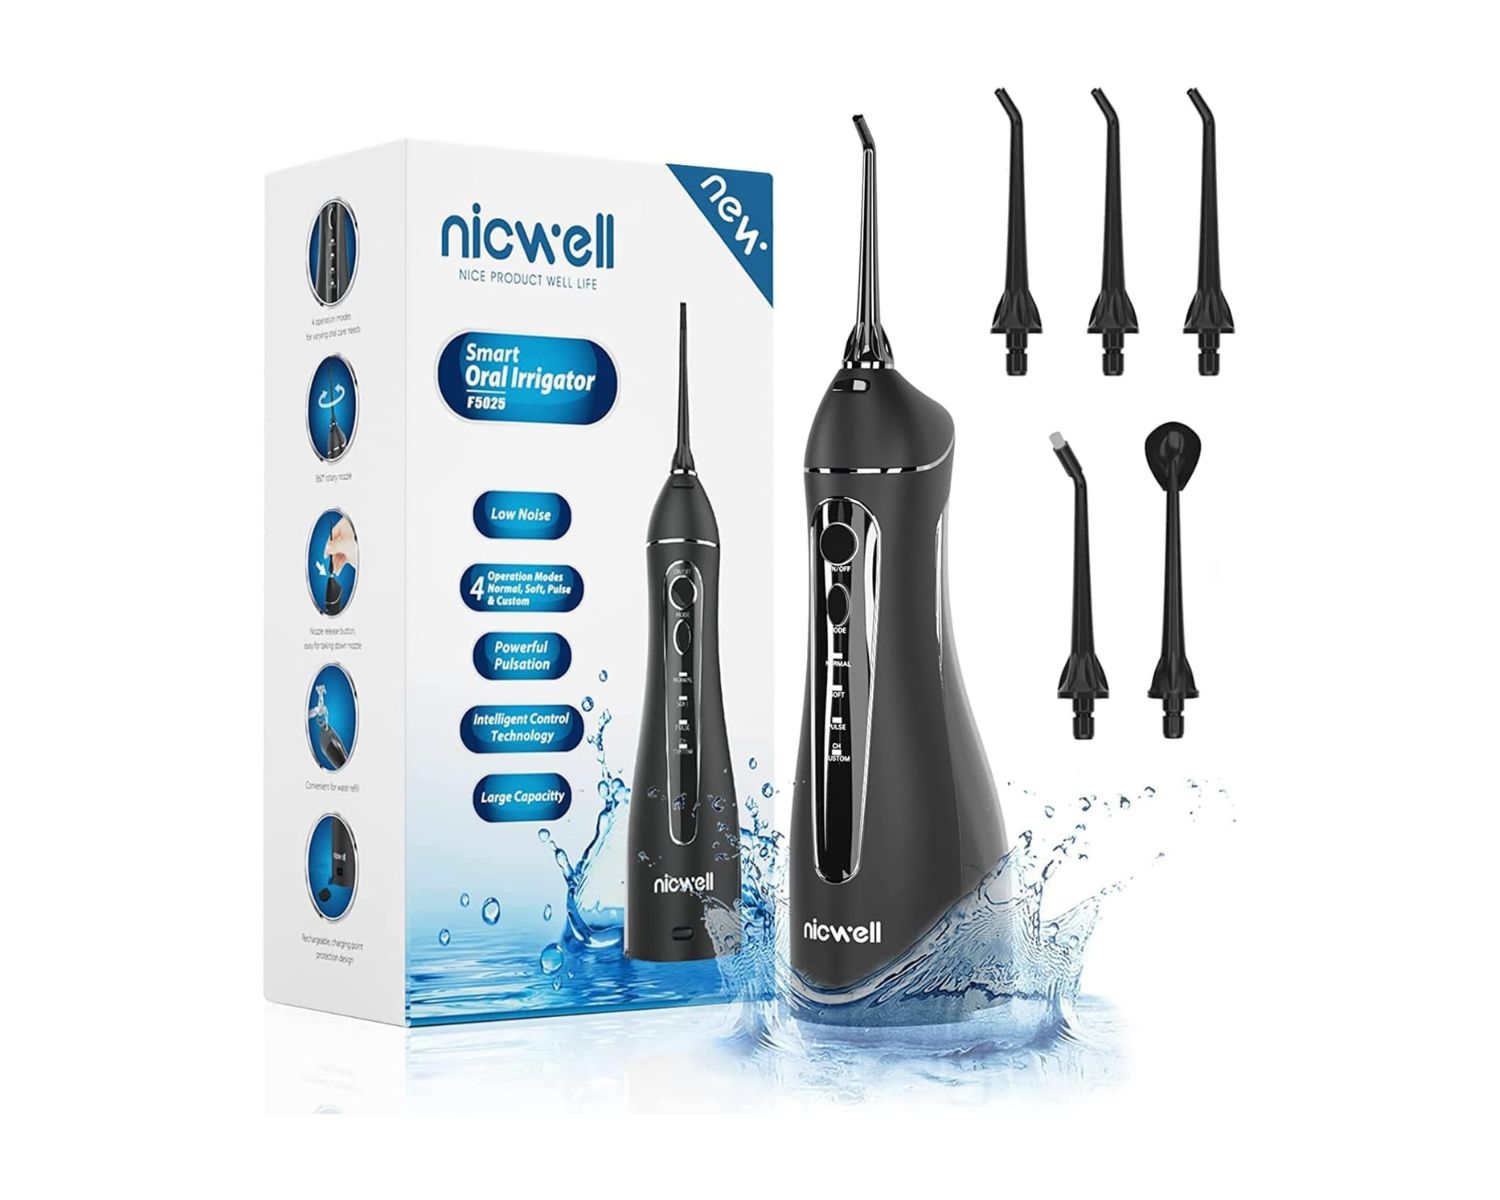
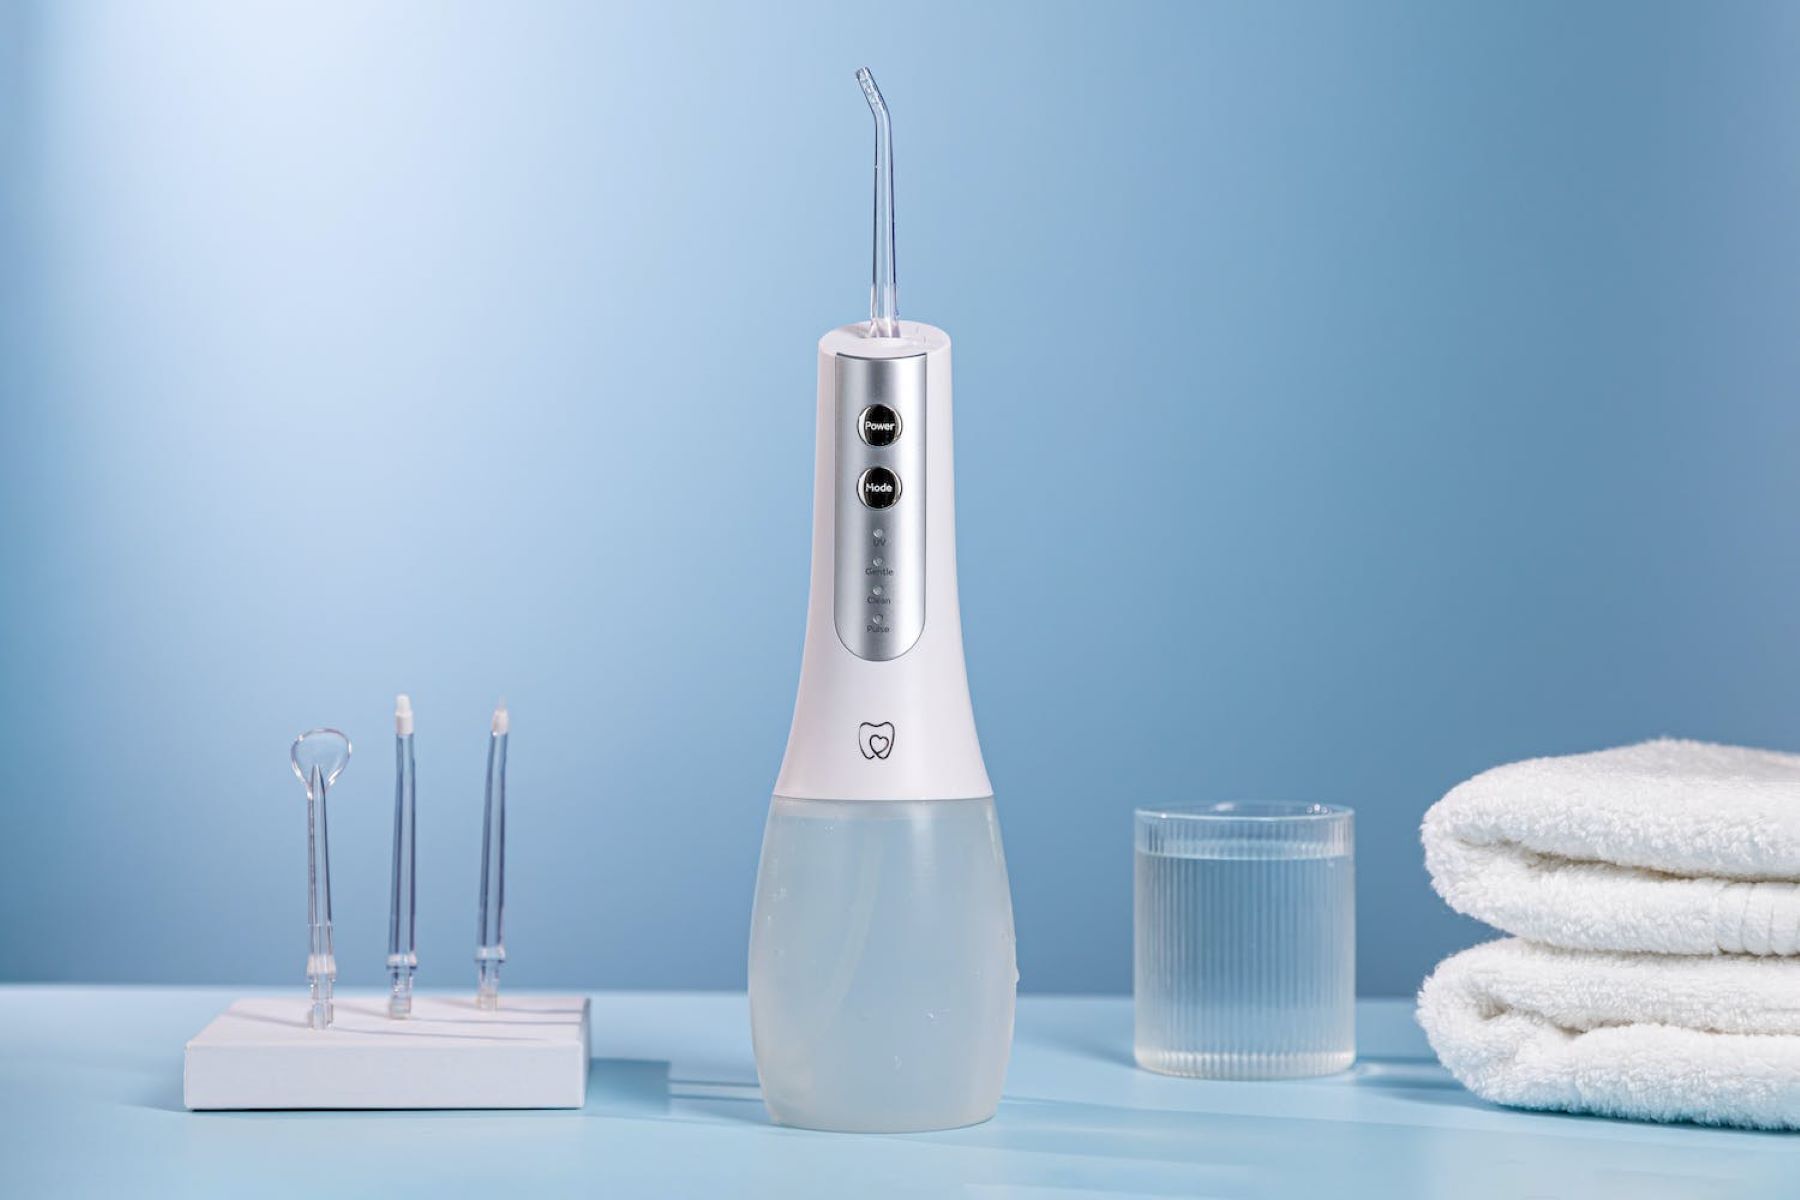
Charging a Nicwell water flosser is a simple yet essential aspect of maintaining its functionality. Whether you're a seasoned user or a newcomer to the world of water flossing, understanding the proper charging process is crucial for ensuring that your device is always ready to provide optimal performance.
In this comprehensive guide, we will walk you through the step-by-step process of charging your Nicwell water flosser. By following these instructions, you can ensure that your device remains powered up and ready to deliver a refreshing and effective oral hygiene experience.
Properly charging your Nicwell water flosser is not only about convenience but also about ensuring that it operates at its best. With a fully charged battery, you can enjoy uninterrupted flossing sessions, whether at home or on the go. Additionally, maintaining a consistent charging routine can help prolong the lifespan of your water flosser, ensuring that it continues to provide reliable service for the long term.
Now, let's delve into the specific steps required to charge your Nicwell water flosser effectively. Whether you're preparing for your first use or simply need a refresher on the charging process, this guide will equip you with the knowledge and confidence to keep your water flosser powered up and ready to go.
Key Takeaways:
- Keep your Nicwell water flosser ready for action by following simple charging steps. Prepare, connect, and monitor to ensure a refreshing oral care experience every time!
- Master the art of charging to maintain your Nicwell water flosser in optimal condition. Stay powered up for uninterrupted oral hygiene with confidence and convenience.
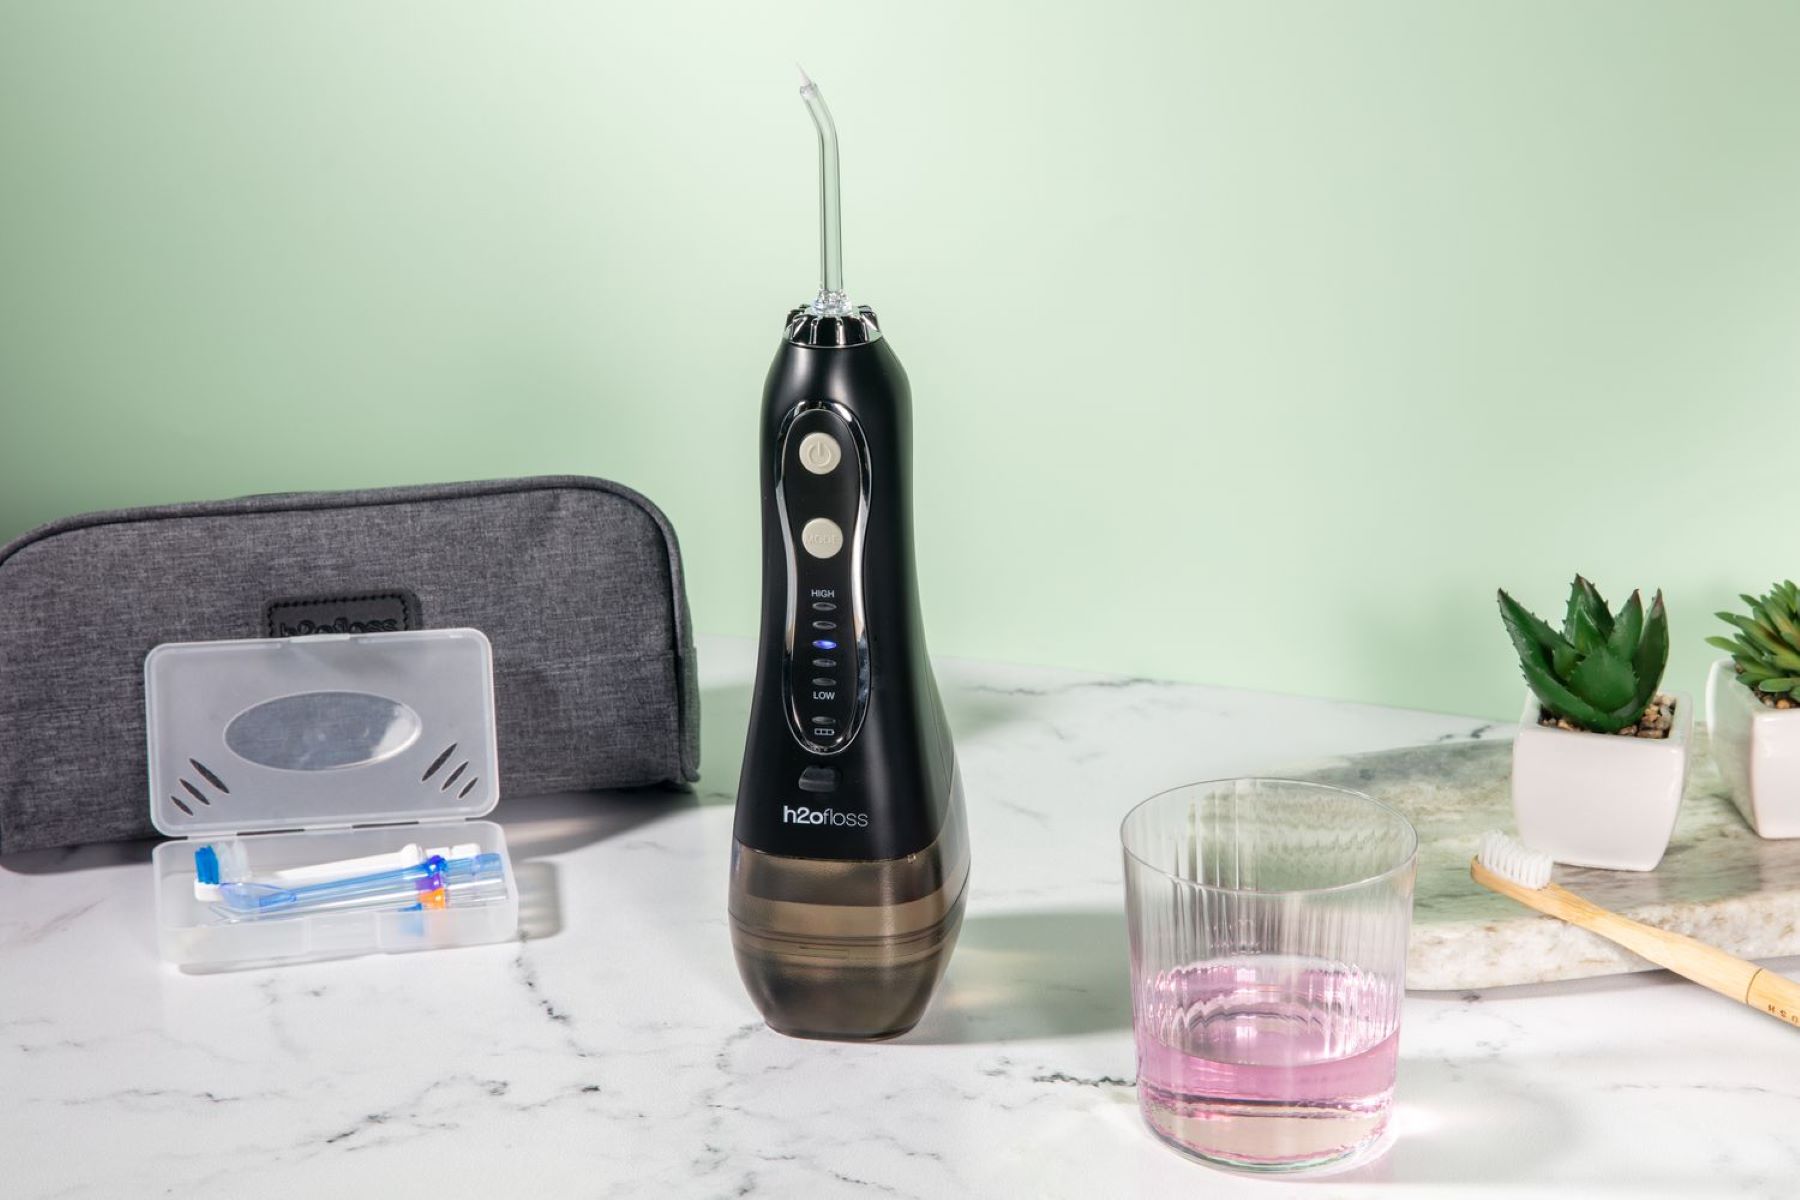
Read more: How To Use The Waterpik Water Flosser
Step 1: Prepare the Water Flosser
Before initiating the charging process for your Nicwell water flosser, it's crucial to ensure that the device is properly prepared. This step sets the foundation for a seamless and effective charging experience. Here's a detailed breakdown of the preparatory measures:
-
Unplug the Water Flosser: If your Nicwell water flosser is currently in use, make sure to unplug it from any power source. This ensures safety and prevents any potential hazards during the charging process.
-
Check the Water Reservoir: Take a moment to inspect the water reservoir of the flosser. Ensure that it is empty or contains minimal water. It's important to avoid charging the device with a full water reservoir to prevent any water-related damage to the internal components.
-
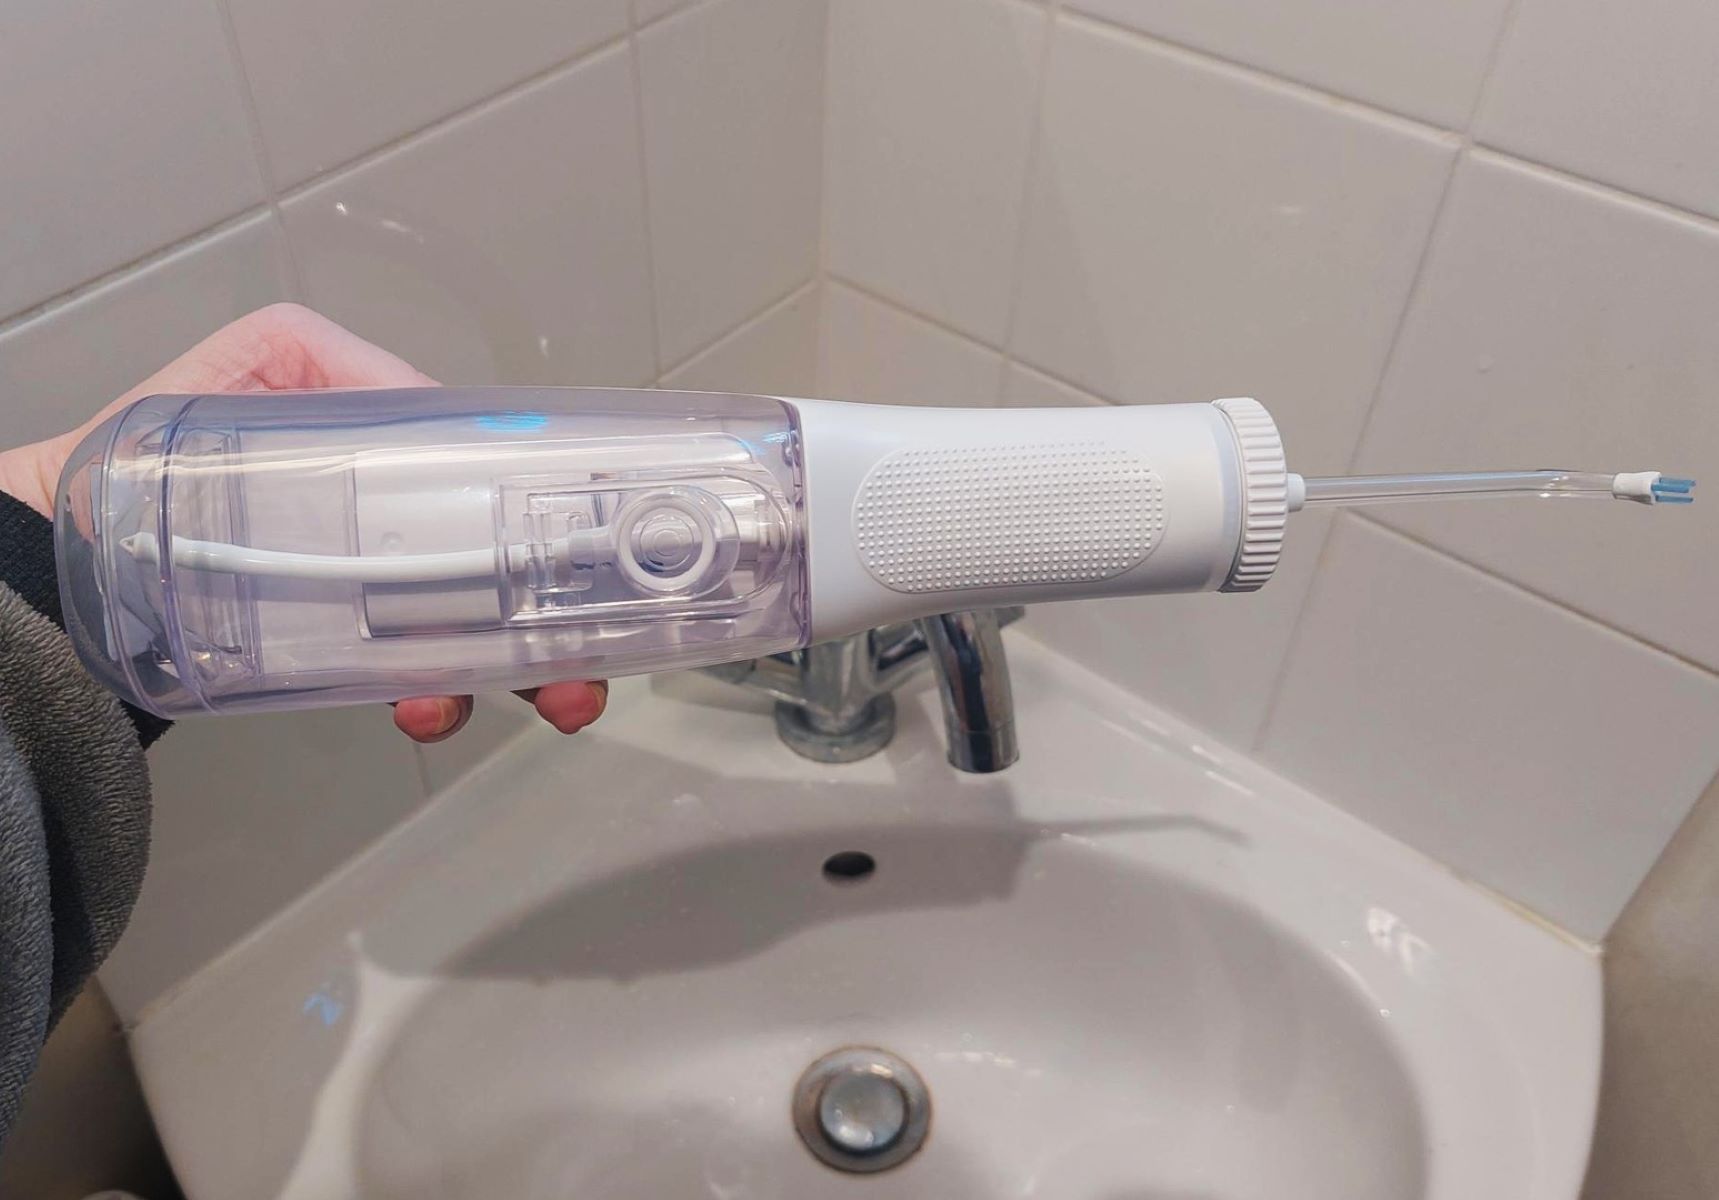
Inspect the Charging Port: Examine the charging port of the water flosser to ensure that it is clean and free from any debris or obstructions. A clear charging port facilitates a secure connection with the charger, allowing for efficient charging without any interruptions.
-
Gather the Charging Components: Locate the charger that was provided with your Nicwell water flosser. Ensure that the charger is in good condition and free from any damage. Additionally, if your water flosser comes with a charging base, make sure it is readily accessible for the next step.
By meticulously preparing your Nicwell water flosser for the charging process, you set the stage for a smooth and effective charging experience. These preparatory steps not only contribute to the safety and longevity of your device but also ensure that the subsequent charging steps can be carried out without any hindrances. With the water flosser properly prepared, you are now ready to proceed to the next step of connecting the charger.
This level of preparation not only ensures the safety and longevity of your device but also sets the stage for a smooth and effective charging experience. With the water flosser properly prepared, you are now ready to proceed to the next step of connecting the charger.
Step 2: Connect the Charger
Once you have prepared your Nicwell water flosser for charging, the next crucial step is to connect the charger. This step is pivotal in ensuring that the device receives the necessary power to replenish its battery and remain fully operational. Here's a detailed guide on how to effectively connect the charger to your Nicwell water flosser:
-
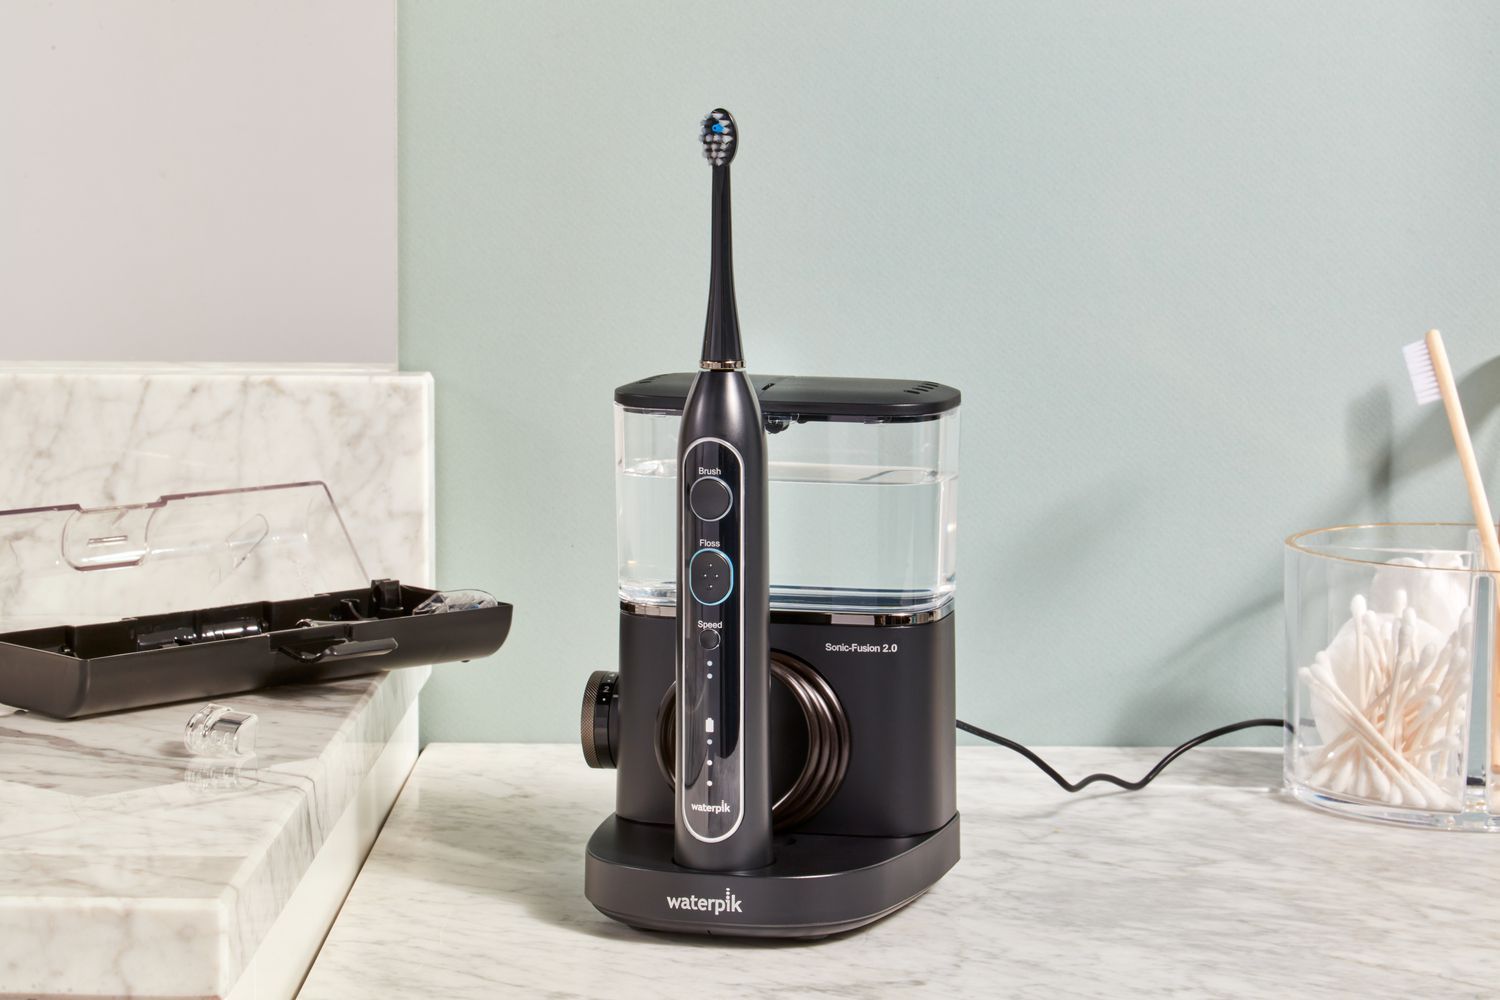
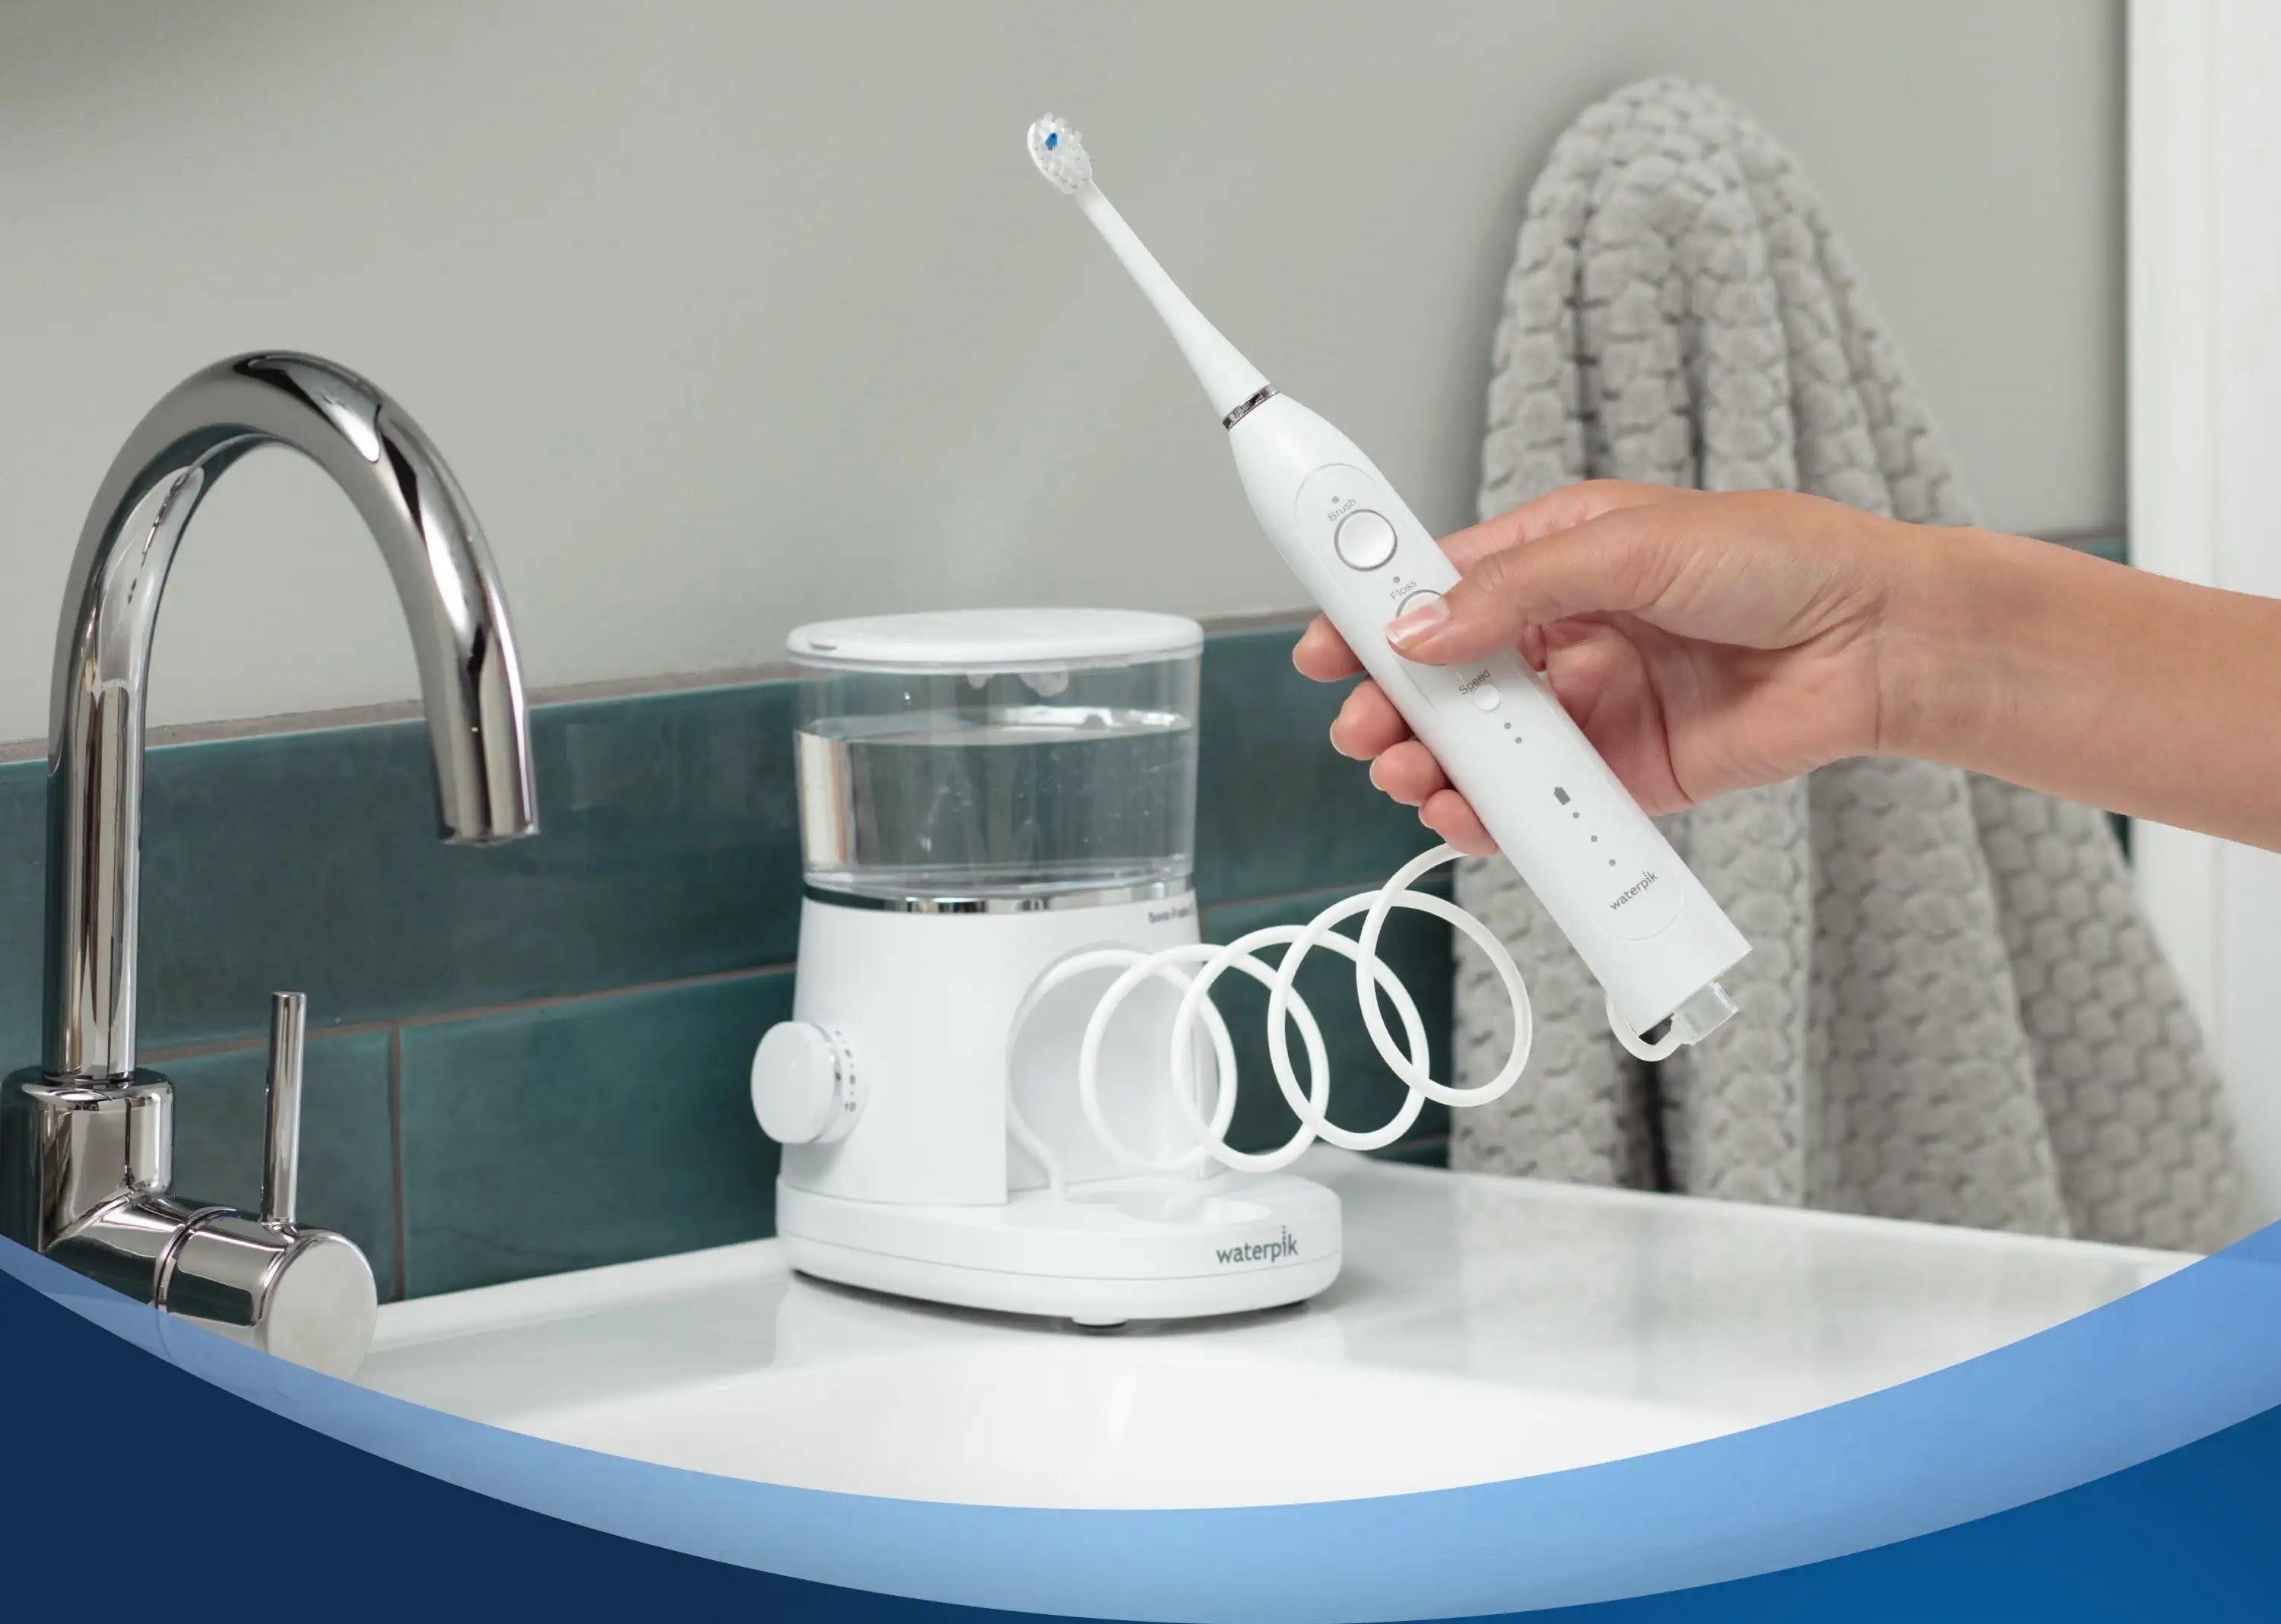
Locate the Charging Port: Begin by identifying the charging port on your Nicwell water flosser. The charging port is typically located on the base of the device or on the handle, depending on the specific model. Take a moment to familiarize yourself with the location of the charging port to facilitate a seamless connection with the charger.
-
Align the Charger: With the charging port identified, take the charger provided with your Nicwell water flosser and ensure that it is in good condition. Align the connector of the charger with the charging port on the water flosser. It's essential to align the charger correctly to avoid any potential damage to the charging port or the connector.
-
Secure Connection: Gently insert the connector of the charger into the charging port of the water flosser. Apply steady and even pressure to ensure a secure connection. You may hear a subtle click or feel a slight resistance when the charger is properly inserted. This indicates that the charger is securely connected to the water flosser.
-
Verify the Connection: Once the charger is connected, take a moment to verify the connection. Ensure that the charger is firmly attached to the water flosser and that there are no loose connections. A secure connection is essential for the effective transfer of power from the charger to the water flosser's battery.
-
Power Source: After connecting the charger to the water flosser, plug the other end of the charger into a suitable power source. This can be a wall outlet or any other compatible power supply. Ensure that the power source is stable and functioning to facilitate uninterrupted charging.
By following these steps, you can effectively connect the charger to your Nicwell water flosser, setting the stage for a successful charging process. With the charger securely connected and the power source established, your water flosser is now ready to receive the necessary power to replenish its battery. This seamless connection ensures that your Nicwell water flosser remains powered up and ready to deliver optimal performance during your oral hygiene routine.
To charge a Nicwell Water Flosser, simply plug the charging cable into the device and then into a power source. The flosser will indicate when it is fully charged and ready to use.
Step 3: Charge the Water Flosser
Charging your Nicwell water flosser is a straightforward yet crucial process that ensures the device remains powered up and ready to deliver effective oral care. Once the charger is securely connected to the water flosser and plugged into a power source, the charging process can commence. Here's a detailed breakdown of how to effectively charge your Nicwell water flosser:
-
Charging Indicator: Upon connecting the charger and plugging it into a power source, the water flosser's charging indicator, typically located on the handle or the charging base, will illuminate. This indicator serves as a visual cue, signaling that the charging process has commenced. The illumination of the charging indicator indicates that the battery of the water flosser is receiving power from the charger.
-
Charging Time: The duration required to fully charge your Nicwell water flosser may vary depending on the specific model and the current battery level. Typically, it is recommended to allow the water flosser to charge for a specified period, as indicated in the product manual. This ensures that the battery reaches its full capacity, maximizing the device's operational time before the next charge is required.
-
Uninterrupted Charging: It is essential to allow the water flosser to charge uninterrupted until the battery reaches its full capacity. Avoid disconnecting the charger prematurely, as this may result in an incomplete charge, potentially impacting the device's performance during use. Allowing the water flosser to charge undisturbed ensures that the battery is fully replenished, ready to support your oral hygiene routine.
-
Charging Completion: Once the water flosser has been charging for the recommended duration, refer to the product manual or the charging indicator to determine if the charging process is complete. Many Nicwell water flossers feature a charging indicator that changes color or turns off when the battery is fully charged. This visual cue indicates that the water flosser is ready for use and that the battery has reached its optimal capacity.
-
Unplugging the Charger: Upon confirming that the water flosser is fully charged, carefully unplug the charger from the power source and disconnect it from the water flosser. This ensures that the device is not left connected to the charger unnecessarily, promoting energy efficiency and preventing overcharging, which can potentially impact the battery's long-term performance.
By following these steps, you can effectively charge your Nicwell water flosser, ensuring that it remains powered up and ready to provide a refreshing and efficient oral care experience. A fully charged water flosser enables you to maintain your oral hygiene regimen without interruptions, ensuring that your device is always prepared to support your dental wellness.
Step 4: Check the Battery Status
After completing the charging process for your Nicwell water flosser, it's essential to verify the battery status to ensure that the device is ready for use. Checking the battery status provides valuable insight into the current power level of the water flosser, allowing you to gauge its operational capacity and plan your oral hygiene routine accordingly. Here's a detailed guide on how to effectively check the battery status of your Nicwell water flosser:
-
Charging Indicator: Upon completing the charging process, refer to the water flosser's charging indicator, typically located on the handle or the charging base. The charging indicator serves as a visual cue, providing information about the battery status. Depending on the specific model, the charging indicator may change color, turn off, or exhibit a steady illumination to indicate the current battery level.
-
Interpreting the Charging Indicator: Familiarize yourself with the meaning of the charging indicator's various states. For instance, a steady green light may indicate a fully charged battery, while a flashing or red light could signify a low battery level. Understanding the charging indicator's signals empowers you to make informed decisions regarding the usage of your Nicwell water flosser.
-
Product Manual Reference: If you encounter any uncertainty regarding the interpretation of the charging indicator, refer to the product manual provided with your Nicwell water flosser. The manual often contains detailed information about the charging indicator's behavior and the corresponding battery status. By consulting the product manual, you can gain clarity on the battery status and make informed decisions about using the water flosser.
-
Battery Level Awareness: It's beneficial to develop an awareness of the typical battery level indicators and their implications. This awareness enables you to anticipate the need for recharging and plan your oral care routine accordingly. By regularly checking the battery status, you can integrate the recharging process seamlessly into your routine, ensuring that your Nicwell water flosser remains consistently available for use.
-
Post-Charging Usage: Once you have verified the battery status and confirmed that the water flosser is adequately charged, you can proceed to incorporate it into your oral hygiene regimen. Whether you plan to use the water flosser immediately or store it for future use, understanding the battery status provides assurance that the device is prepared to support your oral care needs.
By following these steps, you can effectively check the battery status of your Nicwell water flosser, empowering you to make informed decisions about its usage and ensuring that it remains ready to deliver a refreshing and effective oral care experience. Regularly monitoring the battery status contributes to the seamless integration of the water flosser into your oral hygiene routine, promoting consistent and reliable performance.
Read more: How Often To Use A Water Flosser
Conclusion
In conclusion, mastering the art of charging your Nicwell water flosser is a fundamental aspect of ensuring that your oral hygiene routine remains uninterrupted and effective. By following the step-by-step process outlined in this guide, you have gained valuable insights into the essential preparatory measures, the seamless connection of the charger, the charging process itself, and the verification of the battery status. These insights empower you to maintain your water flosser in optimal condition, ready to support your oral care needs.
Properly preparing the water flosser for charging sets the stage for a safe and efficient process. Ensuring that the device is unplugged, the water reservoir is clear, and the charging port is clean and accessible not only promotes safety but also contributes to the longevity of the water flosser. This level of preparation establishes a solid foundation for the subsequent steps, ensuring that the charging process can be carried out without any hindrances.
The seamless connection of the charger to the water flosser is pivotal in facilitating the effective transfer of power to replenish the device's battery. By aligning the charger correctly, securing the connection, and plugging it into a stable power source, you set the stage for a successful charging experience. This step ensures that your Nicwell water flosser receives the necessary power to remain fully operational, ready to deliver a refreshing and efficient oral care experience.
Throughout the charging process, monitoring the charging indicator and allowing the water flosser to charge uninterrupted are essential practices. By adhering to the recommended charging duration and verifying the completion of the process, you ensure that the water flosser's battery reaches its full capacity, maximizing its operational time before the next charge is required. This attention to detail contributes to the consistent and reliable performance of your Nicwell water flosser.
Finally, checking the battery status post-charging provides valuable insight into the current power level of the water flosser, empowering you to make informed decisions about its usage. Developing an awareness of the typical battery level indicators and their implications enables you to seamlessly integrate the water flosser into your oral hygiene routine, ensuring that it remains consistently available for use.
By mastering the art of charging your Nicwell water flosser, you have equipped yourself with the knowledge and confidence to maintain your device in optimal condition, ready to support your oral care needs. This essential aspect of water flosser maintenance ensures that your oral hygiene routine remains uninterrupted, refreshing, and effective, empowering you to prioritize your dental wellness with confidence and convenience.
Frequently Asked Questions about How To Charge A Nicwell Water Flosser
Was this page helpful?
At Storables.com, we guarantee accurate and reliable information. Our content, validated by Expert Board Contributors, is crafted following stringent Editorial Policies. We're committed to providing you with well-researched, expert-backed insights for all your informational needs.

0 thoughts on “How To Charge A Nicwell Water Flosser”