Home>Home Appliances>Bathroom Appliances>How To Clean The Waterpik Water Flosser

Bathroom Appliances
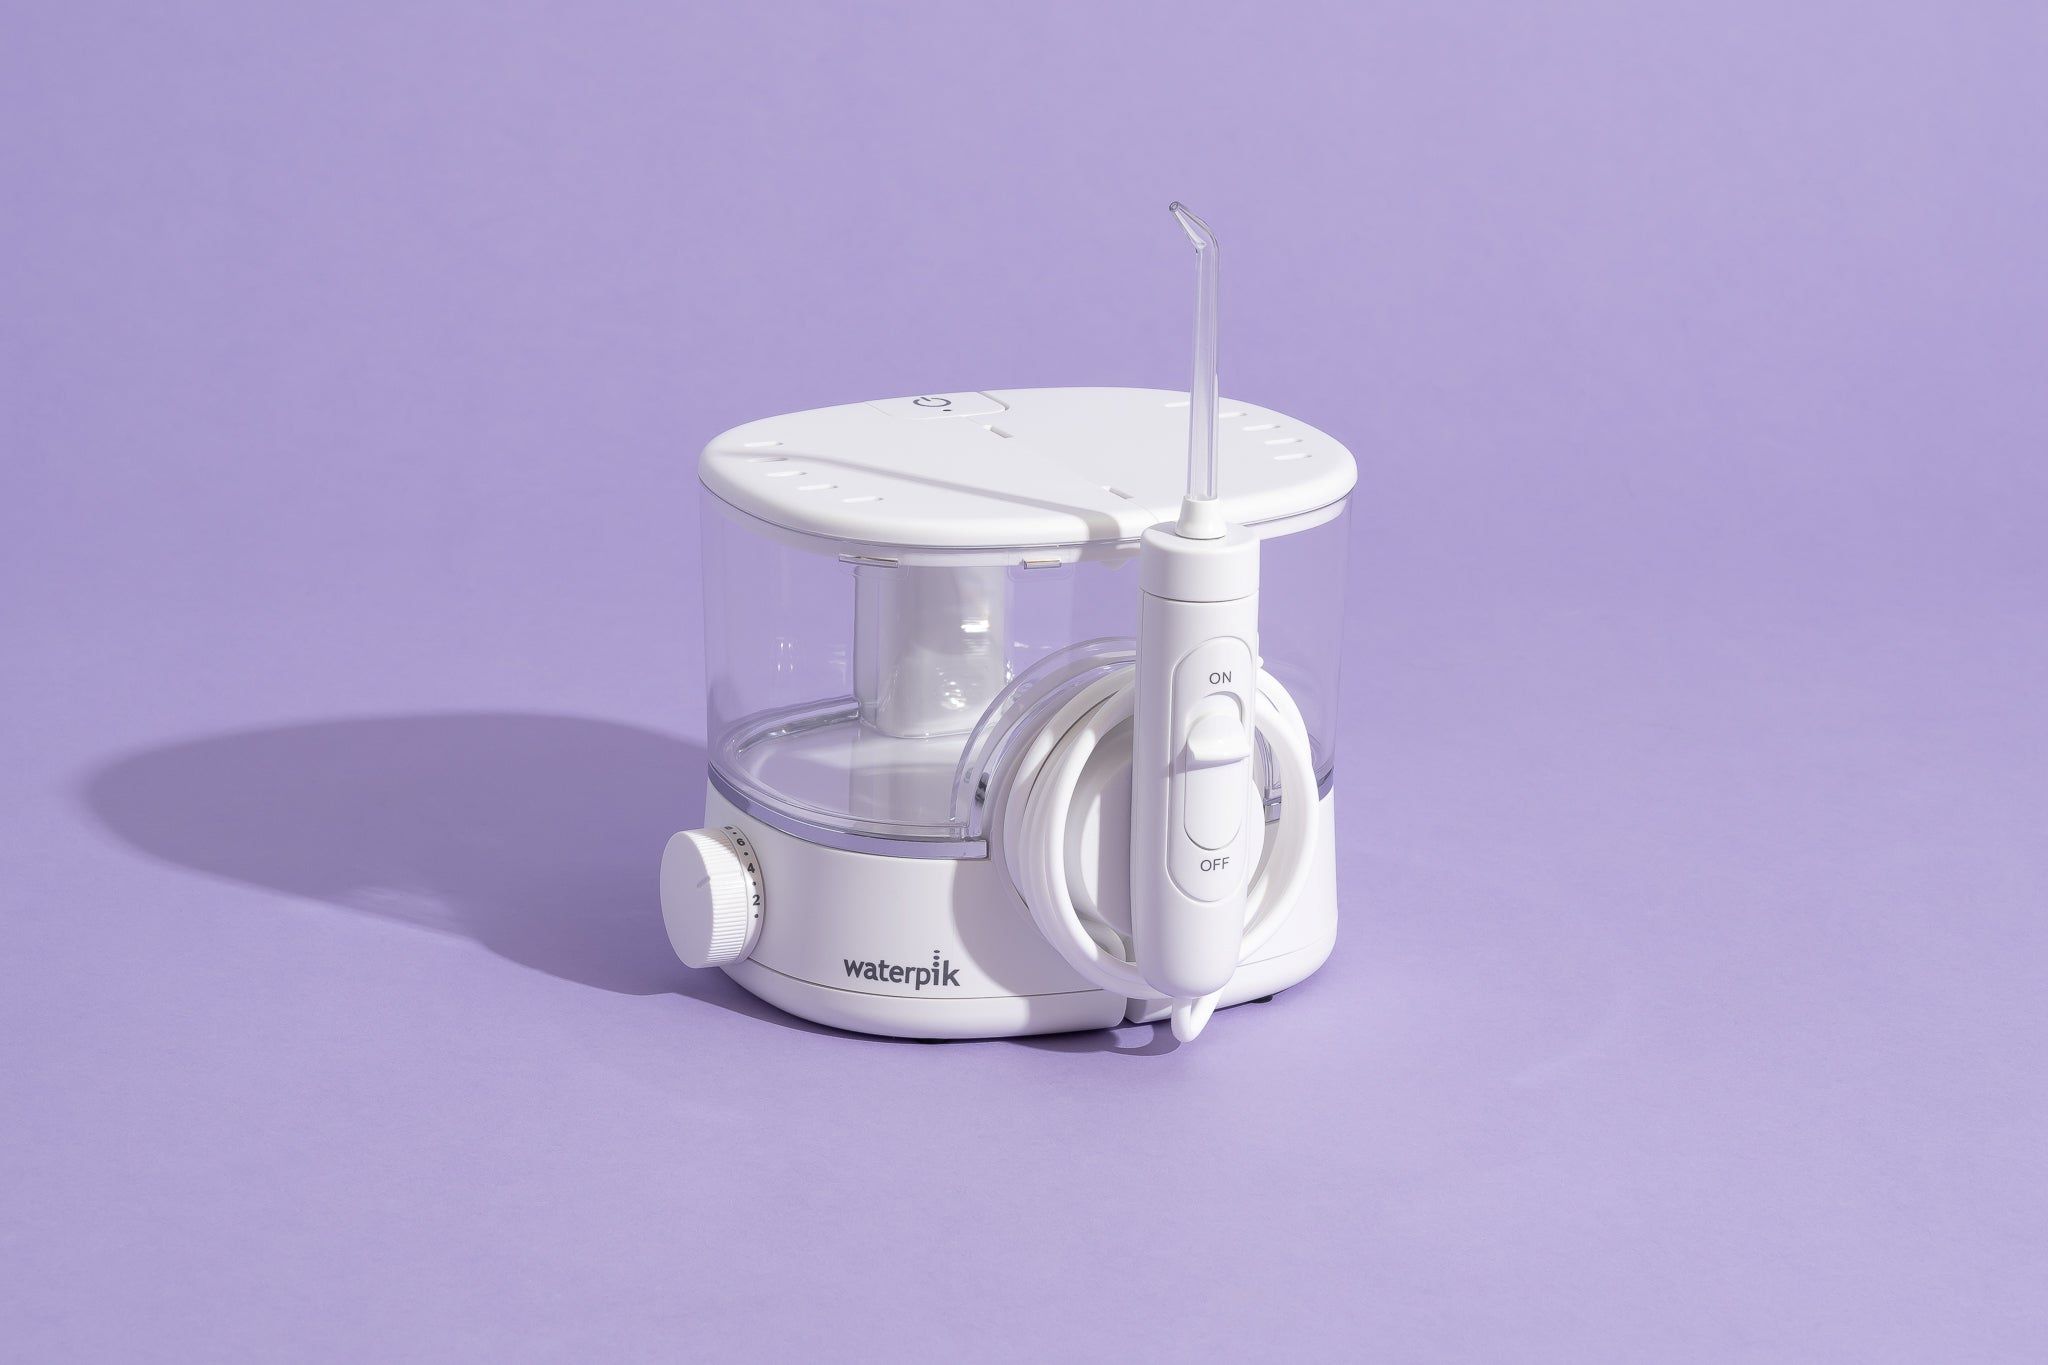
How To Clean The Waterpik Water Flosser
Published: February 12, 2024
Learn how to properly clean and maintain your Waterpik Water Flosser for optimal performance. Keep your bathroom appliances in top condition with our expert tips.
(Many of the links in this article redirect to a specific reviewed product. Your purchase of these products through affiliate links helps to generate commission for Storables.com, at no extra cost. Learn more)
Introduction
Keeping your Waterpik Water Flosser clean is essential for maintaining its effectiveness and ensuring optimal oral hygiene. Regular cleaning not only prolongs the lifespan of your device but also prevents the buildup of bacteria and mold, safeguarding your dental health.
In this comprehensive guide, we will walk you through the step-by-step process of cleaning your Waterpik Water Flosser. By following these instructions, you can ensure that your device remains in top condition, providing you with efficient and hygienic flossing every time.
Proper maintenance of your Waterpik Water Flosser involves disassembling the unit, cleaning the water reservoir, flosser tip, and internal components, and reassembling the device. By dedicating a few minutes to this routine maintenance, you can enjoy the full benefits of your Waterpik Water Flosser for years to come.
Now, let's dive into the detailed steps to effectively clean your Waterpik Water Flosser and maintain a healthy oral care routine.
Key Takeaways:
- Regular cleaning of your Waterpik Water Flosser is crucial for keeping it working well and preventing bacteria buildup. It’s like giving your flosser a refreshing shower to keep your teeth healthy and happy!
- By following the step-by-step cleaning process, you can ensure that your Waterpik Water Flosser remains a reliable tool for efficient and hygienic flossing. It’s like giving your flosser a spa day to keep it in top shape for years to come!
Read more: What Is A Waterpik Water Flosser
Step 1: Gather the necessary materials
Before embarking on the cleaning process for your Waterpik Water Flosser, it's essential to gather the required materials. Having these items at hand will streamline the cleaning procedure and ensure that you can thoroughly maintain your device. Here's a list of the necessary materials:
-
Warm Water: Prepare a bowl or container of warm water to use for cleaning the various components of your Waterpik Water Flosser. Warm water is effective in dislodging debris and buildup without causing damage to the device.
-
Vinegar or Waterpik Cleaning Solution: Vinegar is a natural and cost-effective cleaning agent that effectively removes mineral deposits and bacteria from the water reservoir and flosser tip. Alternatively, you can use the Waterpik Cleaning Solution, specifically designed for maintaining Waterpik products.
-
Soft-bristled Brush or Toothbrush: A soft-bristled brush or toothbrush will be used to gently scrub the flosser tip and internal components, ensuring thorough cleaning without causing damage.
-
Mild Dish Soap: A mild dish soap can be used to clean the exterior of the Waterpik Water Flosser, removing any accumulated grime or residue.
-
Lint-free Cloth or Towel: Prepare a lint-free cloth or towel for drying the components after cleaning. This will help prevent water spots and ensure that the device is completely dry before reassembly.
-
Optional: Pipe Cleaners or Dental Floss: For a more meticulous cleaning, you may consider using pipe cleaners or dental floss to remove any stubborn debris or buildup from the flosser tip and internal components.
By ensuring that you have these materials readily available, you can proceed with confidence through the subsequent steps of disassembling, cleaning, and reassembling your Waterpik Water Flosser. With the necessary materials in hand, you are well-equipped to maintain the hygiene and functionality of your device, promoting optimal oral care and overall well-being.
Step 2: Disassemble the Waterpik Water Flosser
Disassembling your Waterpik Water Flosser is the initial step in the cleaning process and is crucial for accessing all the components that require thorough cleaning. Follow these detailed instructions to safely disassemble your device:
-
Unplug the Water Flosser: Before beginning the disassembly, ensure that the Waterpik unit is unplugged from the power source. This precautionary measure prevents any electrical mishaps during the cleaning process.
-
Remove the Water Reservoir: Start by detaching the water reservoir from the main unit. Depending on the model of your Waterpik Water Flosser, the reservoir can be easily removed by lifting it upwards or sliding it out from the designated slot. Set the reservoir aside for cleaning in the subsequent steps.
-
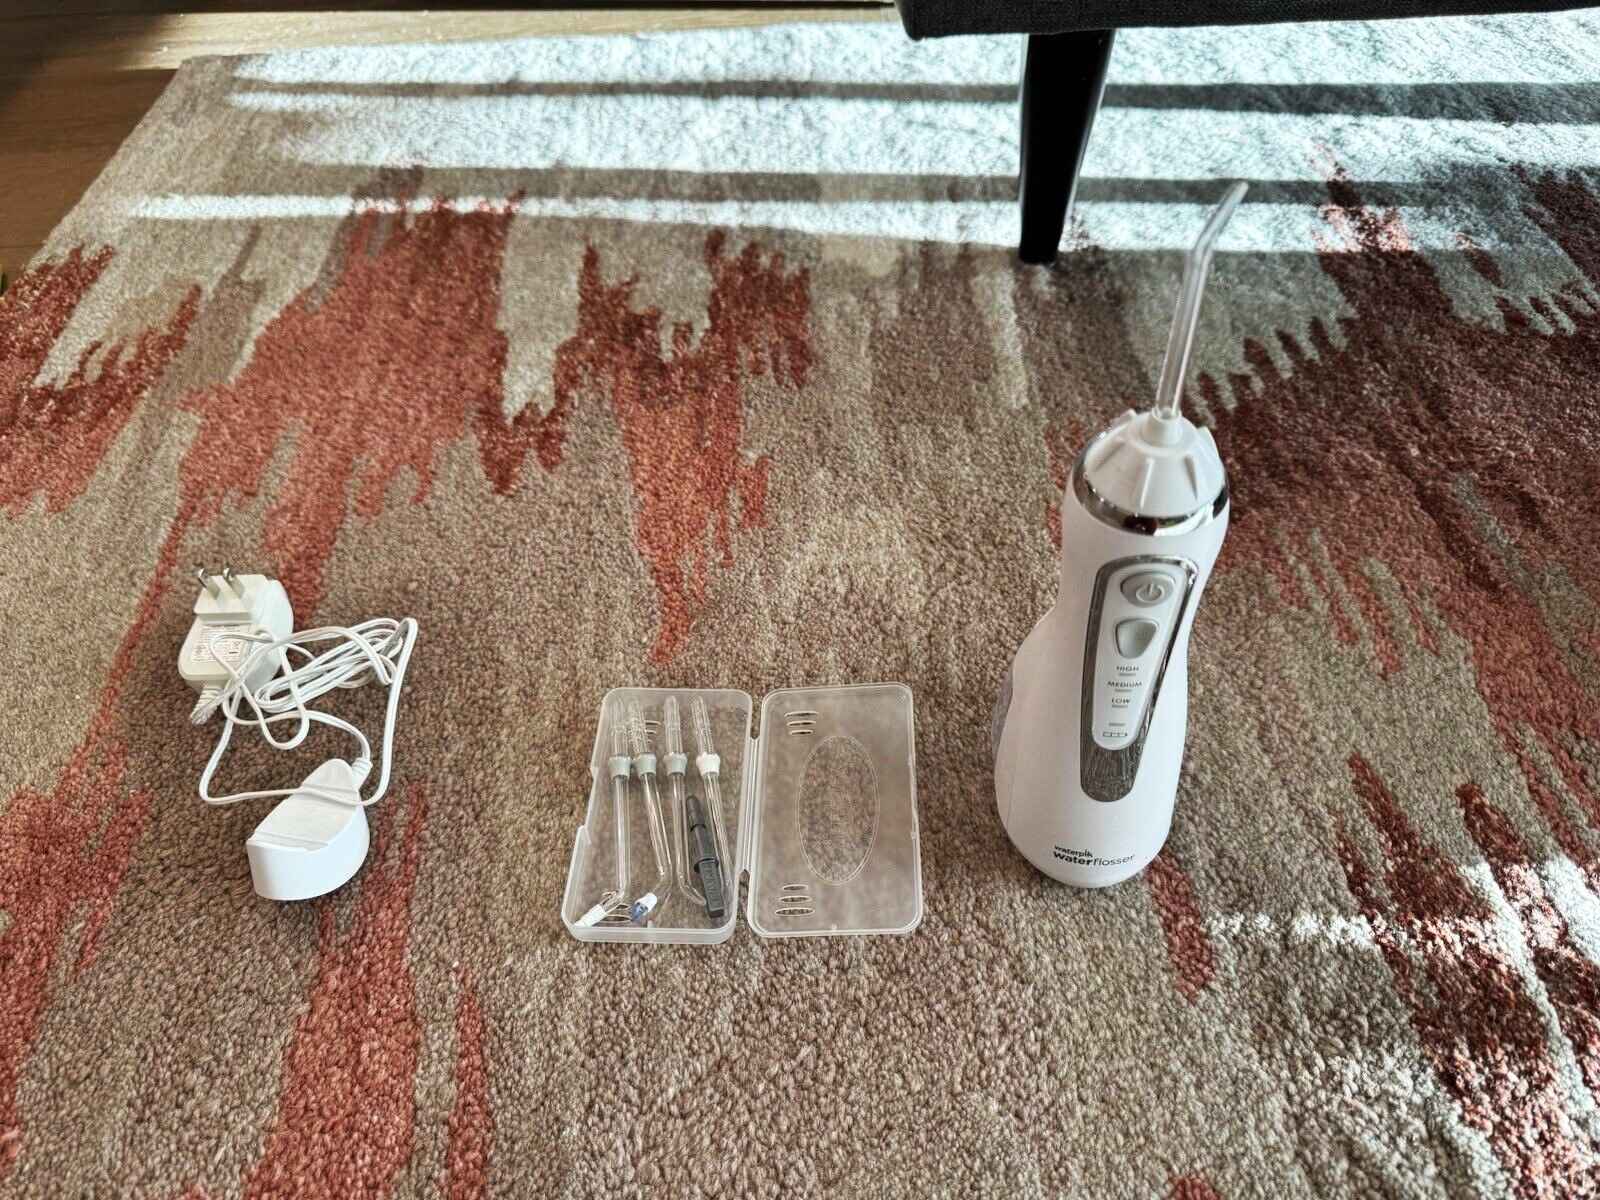
Detach the Flosser Tip: Gently remove the flosser tip from the handle of the Waterpik unit. Most flosser tips can be detached by firmly grasping the base of the tip and pulling it away from the handle. Place the flosser tip in a safe location for cleaning.
-
Separate Other Removable Components: Some Waterpik models may have additional removable components, such as the reservoir valve or cover. If applicable, carefully detach these components according to the manufacturer's instructions. This will allow for comprehensive cleaning and maintenance of all removable parts.
By methodically disassembling your Waterpik Water Flosser, you can effectively access all the components that require cleaning. This preparatory step sets the stage for thorough maintenance, ensuring that each part of your device is meticulously cleaned and maintained. With the disassembly complete, you are now ready to proceed to the subsequent steps of cleaning the individual components of your Waterpik Water Flosser.
Step 3: Clean the water reservoir
Cleaning the water reservoir of your Waterpik Water Flosser is essential for maintaining optimal oral hygiene and ensuring the longevity of your device. Over time, mineral deposits, bacteria, and mold can accumulate in the reservoir, potentially compromising the effectiveness of your flosser and posing a risk to your dental health. Follow these detailed steps to thoroughly clean the water reservoir:
-
Empty the Reservoir: Begin by emptying any remaining water from the reservoir. Hold the Waterpik unit over a sink and pour out the water, ensuring that the reservoir is completely emptied before proceeding with the cleaning process.
-
Prepare a Cleaning Solution: In a bowl or container, mix a solution of warm water and either white vinegar or the recommended Waterpik Cleaning Solution. The acidic properties of vinegar effectively dissolve mineral deposits and eliminate bacteria, while the Waterpik Cleaning Solution is specifically formulated for maintaining Waterpik products.
-
Soak the Reservoir: Submerge the water reservoir in the prepared cleaning solution, ensuring that it is fully immersed. Allow the reservoir to soak for approximately 5-10 minutes to loosen any buildup and disinfect the interior surfaces.
-
Scrub the Interior: After soaking, use a soft-bristled brush or toothbrush to gently scrub the interior of the reservoir. Pay particular attention to areas where mineral deposits or discoloration are present, ensuring thorough cleaning to remove any stubborn buildup.
-
Rinse Thoroughly: Once the interior of the reservoir has been scrubbed, thoroughly rinse it with warm water to remove any traces of the cleaning solution. Ensure that all residue is completely washed away, leaving the reservoir clean and free from any cleaning agents.
-
Dry the Reservoir: Using a lint-free cloth or towel, carefully dry the reservoir to remove any excess moisture. Ensure that the reservoir is completely dry before reassembling the Waterpik unit, preventing the accumulation of water and potential mold growth.
By meticulously cleaning the water reservoir of your Waterpik Water Flosser, you can effectively eliminate mineral deposits, bacteria, and mold, ensuring that your device operates at peak performance. This proactive maintenance not only safeguards your oral health but also prolongs the lifespan of your Waterpik Water Flosser, allowing you to enjoy the benefits of efficient and hygienic flossing for years to come.
Step 4: Clean the flosser tip
Cleaning the flosser tip of your Waterpik Water Flosser is a crucial step in maintaining optimal oral hygiene and ensuring the effectiveness of your device. Over time, the flosser tip can accumulate debris, plaque, and bacteria, potentially compromising its performance and hygiene. Follow these detailed steps to thoroughly clean the flosser tip:
-
Remove the Flosser Tip: Start by detaching the flosser tip from the handle of the Waterpik unit. Most flosser tips can be easily removed by firmly grasping the base of the tip and pulling it away from the handle. Place the flosser tip in a safe location for cleaning.
-
Rinse the Flosser Tip: Hold the flosser tip under running water to rinse off any visible debris or residual plaque. Use your fingers to gently rub the tip and dislodge any loose particles, ensuring that the exterior is thoroughly rinsed.
-
Soak the Flosser Tip: Prepare a solution of warm water and either white vinegar or the recommended Waterpik Cleaning Solution in a bowl or container. Submerge the flosser tip in the cleaning solution, ensuring that it is fully immersed. Allow the tip to soak for approximately 5-10 minutes to loosen any stubborn debris and disinfect the surfaces.
-
Brush the Flosser Tip: After soaking, use a soft-bristled brush or toothbrush to gently scrub the flosser tip, focusing on the areas around the nozzle and along the bristles. Pay particular attention to any areas where plaque or debris may have accumulated, ensuring thorough cleaning without causing damage to the tip.
-
Rinse and Dry: Thoroughly rinse the flosser tip with warm water to remove any traces of the cleaning solution. Ensure that all residue is completely washed away, leaving the tip clean and free from any cleaning agents. Using a lint-free cloth or towel, carefully dry the flosser tip to remove any excess moisture, ensuring that it is completely dry before reattachment.
By meticulously cleaning the flosser tip of your Waterpik Water Flosser, you can effectively remove debris, plaque, and bacteria, ensuring that the tip functions optimally and promotes superior oral hygiene. This proactive maintenance not only safeguards your dental health but also enhances the longevity of your Waterpik Water Flosser, allowing you to maintain a consistent and effective flossing routine.
To clean your Waterpik Water Flosser, regularly remove the water reservoir and clean it with warm, soapy water. Use a soft brush to clean the inside of the reservoir and the water flosser handle. Rinse thoroughly and allow to air dry before reassembling.
Step 5: Clean the internal components
Cleaning the internal components of your Waterpik Water Flosser is a critical step in maintaining its functionality and ensuring optimal oral hygiene. Over time, mineral deposits, bacteria, and other debris can accumulate within the internal pathways of the device, potentially affecting its performance and hygiene. Follow these detailed steps to thoroughly clean the internal components:
-
Prepare the Cleaning Solution: In a bowl or container, mix a solution of warm water and either white vinegar or the recommended Waterpik Cleaning Solution. The acidic properties of vinegar effectively dissolve mineral deposits and eliminate bacteria, while the Waterpik Cleaning Solution is specifically formulated for maintaining Waterpik products.
-
Soak the Internal Components: If your Waterpik Water Flosser allows for disassembly of internal components, such as the pump or tubing, carefully detach these parts according to the manufacturer's instructions. Submerge the internal components in the prepared cleaning solution, ensuring that they are fully immersed. Allow the components to soak for approximately 5-10 minutes to loosen any buildup and disinfect the surfaces.
-
Scrub the Internal Components: After soaking, use a soft-bristled brush or pipe cleaner to gently scrub the internal components, paying particular attention to areas where mineral deposits or debris may have accumulated. Ensure thorough cleaning without causing damage to the delicate pathways and mechanisms within the device.
-
Rinse Thoroughly: Once the internal components have been scrubbed, thoroughly rinse them with warm water to remove any traces of the cleaning solution. Ensure that all residue is completely washed away, leaving the components clean and free from any cleaning agents.
-
Dry the Internal Components: Using a lint-free cloth or towel, carefully dry the internal components to remove any excess moisture. Ensure that the components are completely dry before reassembling the Waterpik unit, preventing the accumulation of water and potential mold growth within the device.
By meticulously cleaning the internal components of your Waterpik Water Flosser, you can effectively eliminate mineral deposits, bacteria, and debris, ensuring that the device operates at peak performance. This proactive maintenance not only safeguards your oral health but also prolongs the lifespan of your Waterpik Water Flosser, allowing you to enjoy the benefits of efficient and hygienic flossing for years to come.
Step 6: Reassemble the Waterpik Water Flosser
After completing the thorough cleaning of the various components of your Waterpik Water Flosser, the next crucial step is to reassemble the device. Proper reassembly ensures that all parts are securely in place, allowing the flosser to function effectively and maintain its hygiene. Follow these detailed instructions to safely and accurately reassemble your Waterpik Water Flosser:
-
Reattach the Flosser Tip: Begin by reattaching the cleaned flosser tip to the handle of the Waterpik unit. Align the base of the flosser tip with the nozzle on the handle and gently push it into place until it securely clicks or locks into position. Ensure that the flosser tip is firmly attached, preventing any leaks or instability during operation.
-
Reinstall the Water Reservoir: If you removed the water reservoir during the cleaning process, carefully reinstall it onto the main unit of the Waterpik Water Flosser. Depending on the model of your device, the reservoir can be reattached by sliding it into the designated slot or firmly pressing it into place. Ensure that the reservoir is securely positioned to prevent any potential leaks.
-
Secure Additional Components: If your Waterpik model includes additional removable components, such as the reservoir valve or cover, ensure that these parts are securely reinstalled according to the manufacturer's instructions. Verify that all components are properly aligned and fastened to maintain the integrity of the device.
-
Check for Proper Alignment: Before proceeding, visually inspect the reassembled Waterpik Water Flosser to ensure that all components are correctly aligned and securely attached. Verify that the flosser tip, water reservoir, and any other removable parts are in their designated positions, minimizing the risk of malfunctions or leaks.
-
Test the Reassembled Flosser: Once the device is fully reassembled, perform a brief test to ensure that the flosser operates as expected. Fill the water reservoir with clean water, power on the unit, and activate the flosser to verify that water flows smoothly through the flosser tip without any leaks or irregularities.
By meticulously following these reassembly steps, you can rest assured that your Waterpik Water Flosser is fully operational and ready to deliver efficient and hygienic flossing. Proper reassembly not only ensures the functionality of the device but also reflects your commitment to maintaining optimal oral hygiene and prolonging the lifespan of your Waterpik Water Flosser.
Step 7: Test the Waterpik Water Flosser
After completing the comprehensive cleaning and reassembly of your Waterpik Water Flosser, it is essential to conduct a thorough testing process to ensure that the device functions optimally. Testing the Waterpik Water Flosser allows you to verify its performance, water flow, and overall functionality, providing confidence in its ability to deliver efficient and hygienic flossing. Follow these detailed steps to effectively test your Waterpik Water Flosser:
-
Fill the Water Reservoir: Begin by filling the water reservoir with clean, lukewarm water. Ensure that the reservoir is securely in place and properly filled to the recommended level, as indicated by the device's guidelines. Using clean water is crucial to prevent the introduction of bacteria or contaminants into the flosser.
-
Power On the Unit: Plug the Waterpik unit into a power source and switch it on. Depending on the model, ensure that the power settings are adjusted to your preferred intensity level for flossing. The activation of the unit allows you to assess its functionality and water flow.
-
Activate the Flosser: With the water reservoir filled and the unit powered on, activate the flosser to initiate the water flow. Observe the flosser tip to ensure that a steady and consistent stream of water is emitted, indicating proper functionality. Pay attention to any irregularities or fluctuations in the water flow.
-
Check for Leaks or Malfunctions: While the flosser is in operation, carefully inspect the device for any signs of leaks, unusual noises, or malfunctions. Verify that the water remains contained within the reservoir and flows smoothly through the flosser tip without any unexpected drips or disruptions.
-
Assess Comfort and Effectiveness: As the flosser operates, assess the comfort and effectiveness of the water pressure and pulsation. Ensure that the water pressure settings align with your preferences and provide a comfortable yet thorough flossing experience. Pay attention to any discomfort or unexpected sensations during the testing process.
-
Evaluate Overall Performance: Throughout the testing process, evaluate the overall performance of the Waterpik Water Flosser, considering factors such as ease of use, noise level, and the effectiveness of water pulsation in reaching interdental areas. This assessment allows you to gauge the device's ability to deliver a superior flossing experience.
By meticulously testing your Waterpik Water Flosser, you can confirm its operational integrity and ensure that it meets your expectations for efficient and hygienic flossing. This final step in the cleaning and maintenance process provides peace of mind, knowing that your Waterpik Water Flosser is ready to support your oral care routine effectively.
Conclusion
In conclusion, maintaining a clean Waterpik Water Flosser is essential for preserving its functionality, promoting optimal oral hygiene, and prolonging its lifespan. By following the comprehensive cleaning process outlined in this guide, you can ensure that your Waterpik Water Flosser remains a reliable tool for efficient and hygienic flossing.
Regular cleaning of the water reservoir, flosser tip, and internal components is crucial for preventing the buildup of mineral deposits, bacteria, and mold. These maintenance efforts not only contribute to the device's performance but also safeguard your dental health by eliminating potential sources of contamination.
The step-by-step cleaning process, from disassembly to reassembly and testing, empowers you to maintain your Waterpik Water Flosser with confidence. By gathering the necessary materials, disassembling the device, and meticulously cleaning each component, you demonstrate a commitment to oral care and device maintenance.
Furthermore, the reassembly and testing steps ensure that your Waterpik Water Flosser is fully operational and capable of delivering a superior flossing experience. The attention to detail in reattaching components and testing the device's functionality reflects your dedication to maintaining optimal oral hygiene.
By incorporating these cleaning practices into your oral care routine, you can enjoy the benefits of a clean and efficient Waterpik Water Flosser, supporting your overall dental health and well-being. The proactive maintenance outlined in this guide not only enhances the device's longevity but also contributes to a consistent and effective flossing routine.
In essence, the thorough cleaning and maintenance of your Waterpik Water Flosser exemplify your commitment to oral hygiene and device care. By integrating these practices into your regular maintenance routine, you can continue to experience the full benefits of your Waterpik Water Flosser for years to come.
Frequently Asked Questions about How To Clean The Waterpik Water Flosser
Was this page helpful?
At Storables.com, we guarantee accurate and reliable information. Our content, validated by Expert Board Contributors, is crafted following stringent Editorial Policies. We're committed to providing you with well-researched, expert-backed insights for all your informational needs.

0 thoughts on “How To Clean The Waterpik Water Flosser”