Articles
How To Attach A Waterpik Showerhead
Modified: August 28, 2024
Discover our step-by-step guide on how to attach a Waterpik showerhead. Read our informative articles to learn the best techniques for a seamless installation.
(Many of the links in this article redirect to a specific reviewed product. Your purchase of these products through affiliate links helps to generate commission for Storables.com, at no extra cost. Learn more)
Introduction
Are you tired of your old, lackluster showerhead? Are you looking to upgrade your showering experience with a Waterpik showerhead? Well, you’re in luck! In this article, we will guide you through the process of attaching a Waterpik showerhead to your existing shower setup.
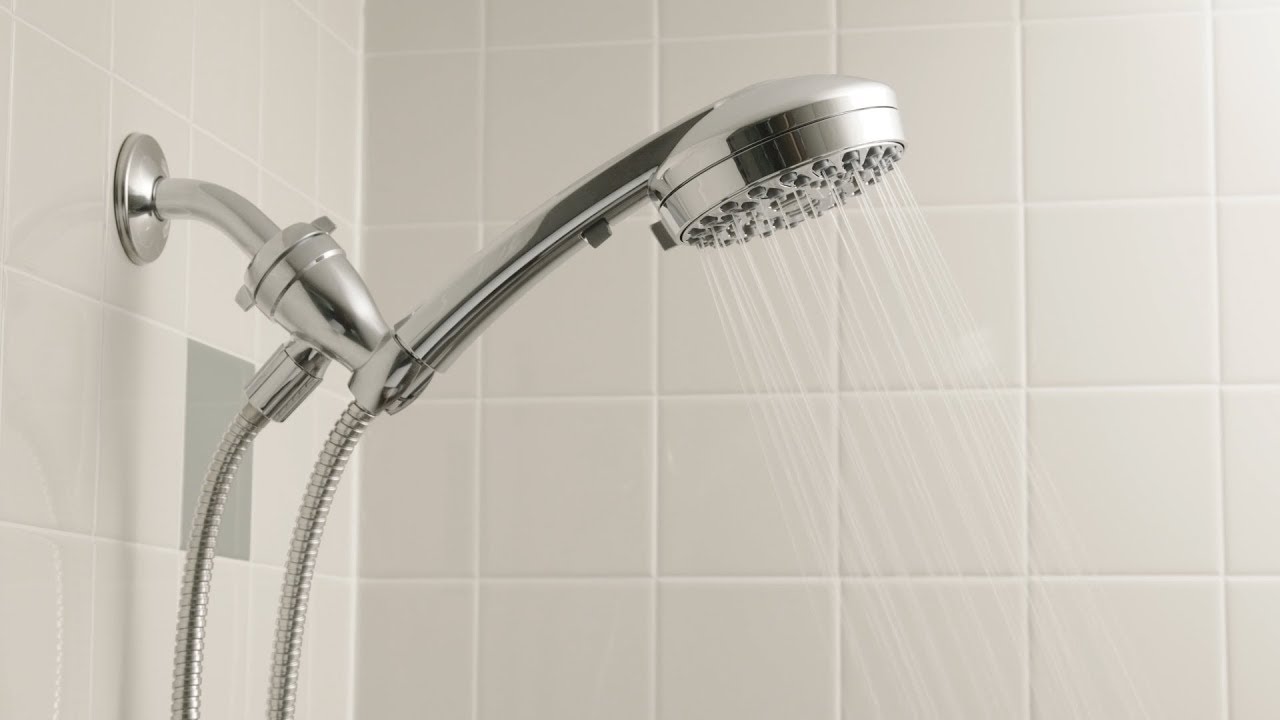
Waterpik showerheads are known for their superior performance, innovative design, and advanced features. Whether you’re seeking a refreshing rainfall experience or a targeted massage, Waterpik has a showerhead that will fulfill your desires.
Before we dive into the step-by-step instructions, let’s take a moment to understand the benefits of installing a Waterpik showerhead. First and foremost, Waterpik showerheads are designed to optimize water flow, providing a powerful and invigorating showering experience. With various spray settings and pressure options, you can customize your shower to suit your preferences.
Another advantage of Waterpik showerheads is their water-saving capabilities. These showerheads are equipped with efficient technology that helps reduce water consumption without compromising on performance. By conserving water, you not only contribute to the environment but also save on your water bills.
Furthermore, Waterpik showerheads are engineered with easy installation in mind. With a few simple steps, you can quickly attach your new showerhead without the need for professional assistance. So, let’s get started on upgrading your shower experience!
Key Takeaways:
- Upgrade your shower experience with a Waterpik showerhead, known for superior performance, water-saving features, and easy installation. Enjoy a powerful and customized shower with the benefits of various spray settings and pressure options.
- Follow the step-by-step guide to attach your Waterpik showerhead securely, ensuring a leak-free connection. Enjoy the rejuvenating showers and remember to maintain your showerhead for optimal performance.
Read also: 15 Amazing Waterpik Showerhead for 2025
Step 1: Gather the necessary tools and materials
Before you begin the installation process, it is essential to gather all the tools and materials you will need. By having everything ready, you can avoid any interruptions or delays during the process. Here is a list of the items you will require:
- Waterpik showerhead
- Adjustable wrench or pliers
- Teflon tape
- Cloth or sponge
- Bucket or bowl
- Step stool or ladder (if needed)
Once you have gathered these items, ensure that the Waterpik showerhead package is complete and contains all the necessary components. Check for any additional instructions or tools specific to your model to ensure a smooth installation process.
It is also a good idea to inspect your existing shower arm to ensure it is in good condition. If you notice any damage or corrosion, it might be necessary to replace the shower arm before attaching the new showerhead. Consult a professional or refer to the manufacturer’s guidelines if you are uncertain.
Now that you have gathered all the tools and materials, you are ready to proceed to the next step of removing the existing showerhead.
Step 2: Remove the existing showerhead
Before you can attach your new Waterpik showerhead, you will need to remove the old one. Follow these simple steps to remove the existing showerhead:
- Start by turning off the water supply to your shower. You can usually find a shut-off valve near the shower area.
- If there is any water remaining in the pipes, turn on the shower to release the pressure.
- Using an adjustable wrench or pliers, grip the showerhead firmly, making sure not to damage the shower arm.
- Turn the wrench counterclockwise to loosen the showerhead. It may require a bit of force, especially if it has been in place for a long time or if there is residual mineral buildup.
- Continue turning until the showerhead is completely detached from the shower arm. Set the old showerhead aside.
Once you have successfully removed the old showerhead, inspect the shower arm for any debris or mineral deposits. Use a cloth or sponge to wipe away any dirt or buildup. Cleaning the shower arm will ensure a smooth and secure connection with the new Waterpik showerhead.
Now that the old showerhead is out of the way and the shower arm is cleaned, you are ready to move on to the next step: preparing the shower arm threads for installation.
Step 3: Clean the shower arm threads
Before attaching your new Waterpik showerhead, it is important to clean the shower arm threads. Over time, mineral deposits, debris, or old Teflon tape may accumulate on the threads, which can hinder a proper and secure connection. Follow these steps to clean the shower arm threads:
- Use a cloth or sponge to wipe away any visible dirt or residue on the shower arm threads.
- If there is stubborn buildup or mineral deposits, you can use a mild cleaning solution or vinegar to dissolve them. Apply a small amount of the cleaning solution to a cloth or sponge, then gently scrub the threads.
- Rinse the shower arm threads thoroughly with water to remove any cleaning residue.
- Inspect the threads to ensure they are clean and free from debris. Use a cloth or sponge to wipe away any remaining particles if necessary.
Cleaning the shower arm threads will not only ensure a proper connection but also help prevent leaks and maintain the longevity of your new Waterpik showerhead. Once you have cleaned the threads, it’s time to prepare them for installation by applying Teflon tape.
Continue to the next step for instructions on how to properly apply Teflon tape to the shower arm threads.
Step 4: Apply Teflon tape to the shower arm
Applying Teflon tape to the shower arm threads is an essential step in ensuring a watertight seal and preventing any leaks. Teflon tape, also known as plumber’s tape, is a thin white tape made of PTFE (polytetrafluoroethylene) that is designed to create airtight and waterproof seals.
Follow these steps to apply Teflon tape to the shower arm threads:
- Start by locating the end of the Teflon tape roll. Ensure that the threads of the shower arm are clean and dry.
- Hold the end of the tape against the shower arm threads and wrap it around clockwise. Apply slight pressure to stretch the tape as you wrap it around the threads.
- Continue wrapping the tape around the threads, overlapping each new layer slightly with the previous one. Ensure that the entire threaded area is covered with at least two to three layers of Teflon tape.
- Once you have wrapped the tape around the shower arm threads, tear or cut it from the roll.
Make sure to avoid wrapping the tape over the end of the shower arm, as this can prevent a proper connection with the Waterpik showerhead.
After applying the Teflon tape, press it firmly against the threads to ensure it adheres properly. The tape should be snug and tightly wrapped on the threads without any loose or hanging ends.
With the Teflon tape in place, you are now ready to attach the Waterpik showerhead to the shower arm. Proceed to the next step for detailed instructions.
When attaching a Waterpik showerhead, make sure to use plumber’s tape on the threads to prevent leaks. Tighten the showerhead securely, but be careful not to over-tighten and damage the threads.
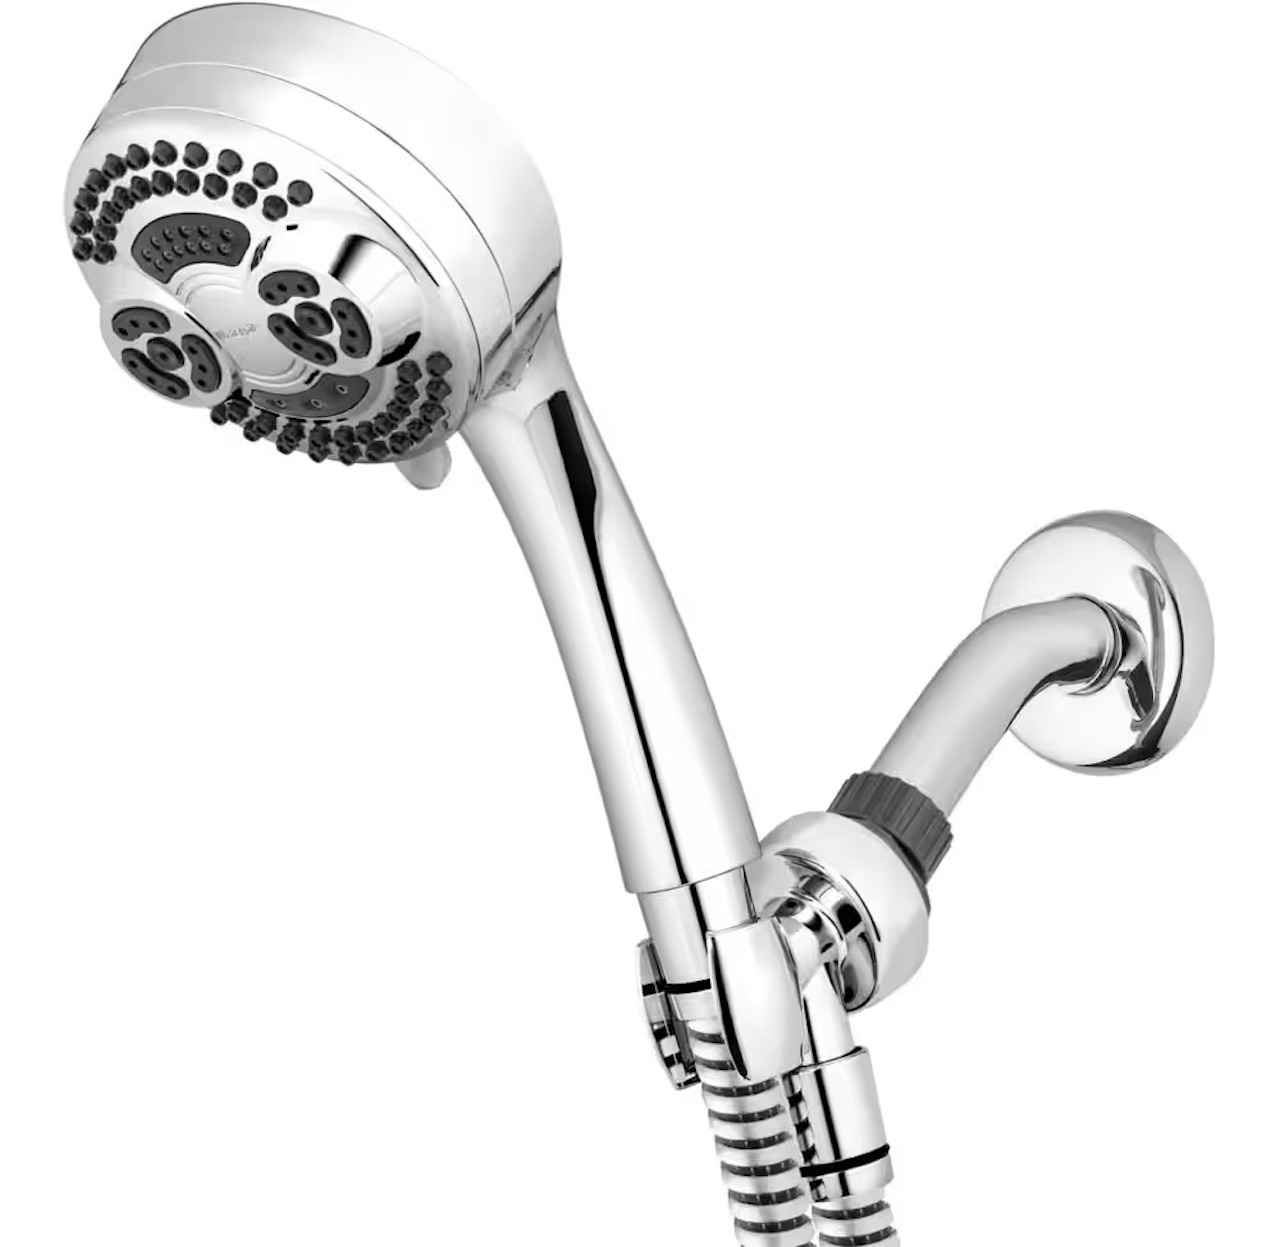
Step 5: Attach the Waterpik showerhead
Now that the shower arm threads are prepared with Teflon tape, it’s time to attach the Waterpik showerhead. Follow these steps to ensure a secure and proper connection:
- Take your Waterpik showerhead out of its packaging and inspect its components. Make sure all parts, such as the showerhead itself, the hose, and any accompanying attachments, are present and in good condition.
- Hold the Waterpik showerhead in one hand and locate the threaded end.
- Slowly and carefully thread the showerhead onto the shower arm. Begin by aligning the threads and carefully turning the showerhead clockwise. Use your hand to tighten it as much as possible, ensuring a snug fit.
- Continue turning the showerhead until it is securely attached to the shower arm. Be careful not to overtighten, as this can potentially damage the showerhead or the shower arm.
Make sure that the showerhead is straight and flush against the shower arm, without any gaps or misalignment. This ensures proper water flow and prevents leaks.
If your Waterpik showerhead has a hose attachment, make sure to connect it securely as well. Follow the manufacturer’s instructions for attaching the hose and any additional attachments.
With the Waterpik showerhead successfully attached, you are now ready to move on to the next step: tightening the showerhead securely.
Step 6: Tighten the showerhead securely
After attaching the Waterpik showerhead to the shower arm, it is important to ensure that it is tightened securely. A properly tightened showerhead prevents leaks and ensures a stable connection. Follow these steps to tighten the showerhead securely:
- Using an adjustable wrench or pliers, grip the showerhead or the shower arm fitting.
- Turn the wrench or pliers clockwise to tighten the connection. Apply gentle pressure to avoid overtightening and potential damage.
- Continue tightening until the showerhead feels securely in place and doesn’t move or wobble.
Ensure that the showerhead is straight and aligned with the shower arm. Adjust it if necessary before finalizing the tightening process.
Remember not to use excessive force while tightening, as this can cause damage to the showerhead or the shower arm. It is better to have a snug fit rather than overtightening and risking damage.
Once you have securely tightened the showerhead, give it a gentle twist to confirm that it doesn’t easily move. This extra step ensures that the connection is firm and will not create any issues during use.
Now that the showerhead is securely fastened, it’s time to move onto the final step: testing the connection for leaks.
Step 7: Test the connection for leaks
Before considering the installation process complete, it’s crucial to test the connection for any potential leaks. Follow these steps to ensure that your newly attached Waterpik showerhead is leak-free:
- Turn on the water supply to your shower by opening the shut-off valve.
- Allow the water to flow through the showerhead at its normal pressure for a few minutes.
- Observe the connection between the showerhead and the shower arm, as well as any other connection points, such as the hose if applicable.
- Check for any signs of water leakage. This includes water dripping or spraying from the connections or any visible water pooling around the showerhead or on the shower floor.
- If you notice any leaks, try tightening the connections slightly. Be careful not to overtighten and cause damage.
- If the leaks persist, you may need to disassemble the connections and reapply Teflon tape or inspect the parts for damage. Consider seeking professional assistance if necessary.
It’s important to address any leaks promptly to prevent water damage and ensure the optimal functioning of your Waterpik showerhead.
Once you have confirmed that there are no leaks and the showerhead is functioning properly, congratulations! You have successfully attached your Waterpik showerhead.
Enjoy the enhanced shower experience that your new Waterpik showerhead provides. Take advantage of the various spray settings and features to personalize your showers and indulge in ultimate relaxation.
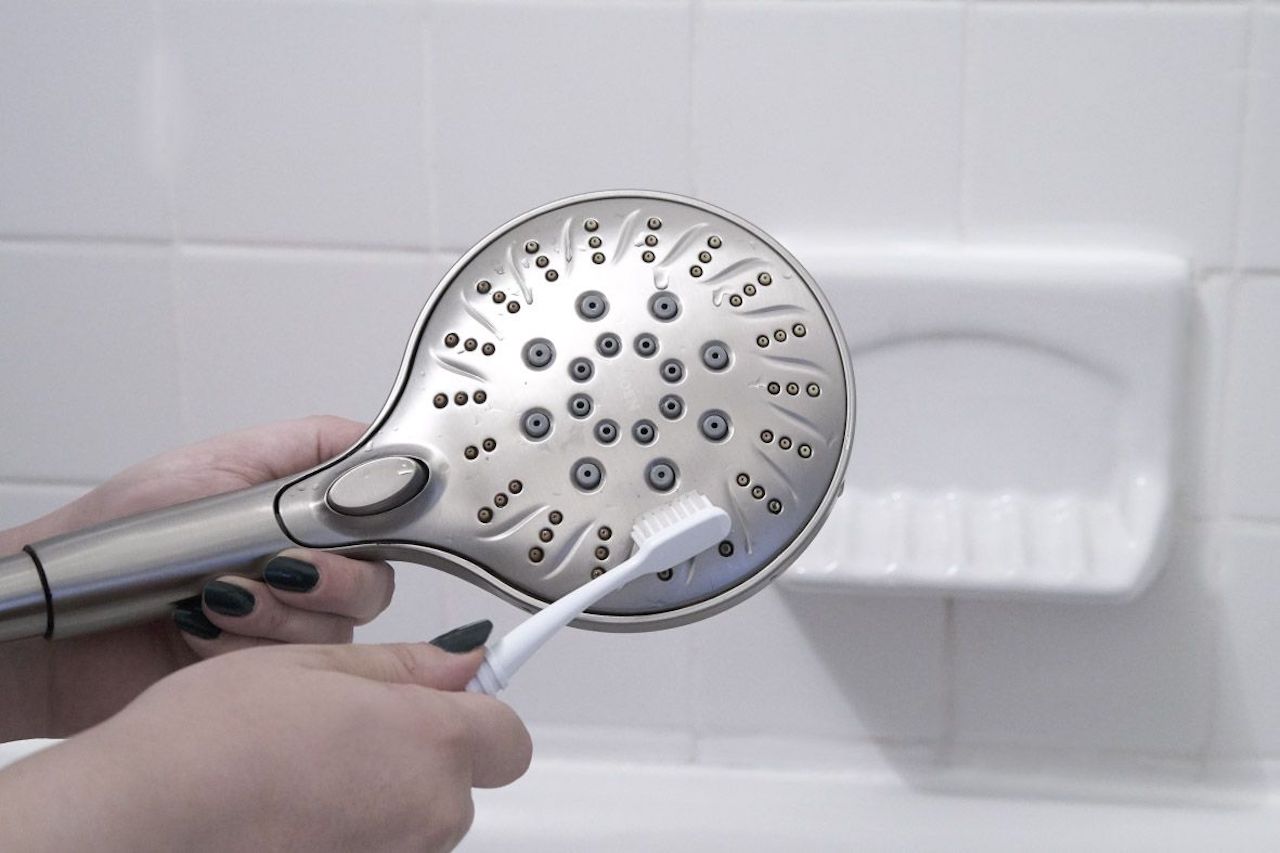
Remember to periodically clean and maintain your Waterpik showerhead to keep it performing at its best. Refer to the manufacturer’s instructions for specific maintenance guidelines.
With the installation process completed and the showerhead functioning flawlessly, it’s time to sit back, relax, and enjoy your rejuvenating showers with your new Waterpik showerhead.
Thank you for following these step-by-step instructions. Happy showering!
Disclaimer: The installation steps provided in this article are general guidelines. Always refer to the specific instructions provided by the manufacturer for your particular model of the Waterpik showerhead.
Conclusion
Attaching a Waterpik showerhead to your existing shower setup is a straightforward process that can significantly enhance your showering experience. With the right tools, materials, and step-by-step instructions, you can enjoy a powerful and customized shower in no time.
In this article, we discussed the benefits of Waterpik showerheads, such as their superior performance, water-saving capabilities, and easy installation. We then guided you through each step of the installation process, including gathering the necessary tools, removing the existing showerhead, cleaning the shower arm threads, applying Teflon tape, attaching the Waterpik showerhead, tightening it securely, and testing the connection for leaks.
Remember, it is crucial to follow the specific instructions provided by the manufacturer for your particular model of the Waterpik showerhead. Always ensure that the water supply is turned off and take care not to overtighten the connections, as this can lead to damage.
Once you have successfully installed your Waterpik showerhead and confirmed that there are no leaks, it’s time to enjoy the benefits of a rejuvenating shower. Take advantage of the various spray settings and features to personalize your showering experience and indulge in relaxation.
Don’t forget to periodically clean and maintain your Waterpik showerhead to keep it performing optimally. Refer to the manufacturer’s instructions for specific maintenance guidelines.
Thank you for following along with this comprehensive guide on how to attach a Waterpik showerhead. We hope you found it informative and helpful. Now, it’s time to enjoy your upgraded shower!
Frequently Asked Questions about How To Attach A Waterpik Showerhead
Was this page helpful?
At Storables.com, we guarantee accurate and reliable information. Our content, validated by Expert Board Contributors, is crafted following stringent Editorial Policies. We're committed to providing you with well-researched, expert-backed insights for all your informational needs.

0 thoughts on “How To Attach A Waterpik Showerhead”