Home>Home Appliances>Bathroom Appliances>How To Remove The Reservoir From A Waterpik Water Flosser
Bathroom Appliances
How To Remove The Reservoir From A Waterpik Water Flosser
Modified: August 25, 2024
Learn how to easily remove the reservoir from your Waterpik Water Flosser with our step-by-step guide. Keep your bathroom appliances in top condition!
(Many of the links in this article redirect to a specific reviewed product. Your purchase of these products through affiliate links helps to generate commission for Storables.com, at no extra cost. Learn more)
Introduction
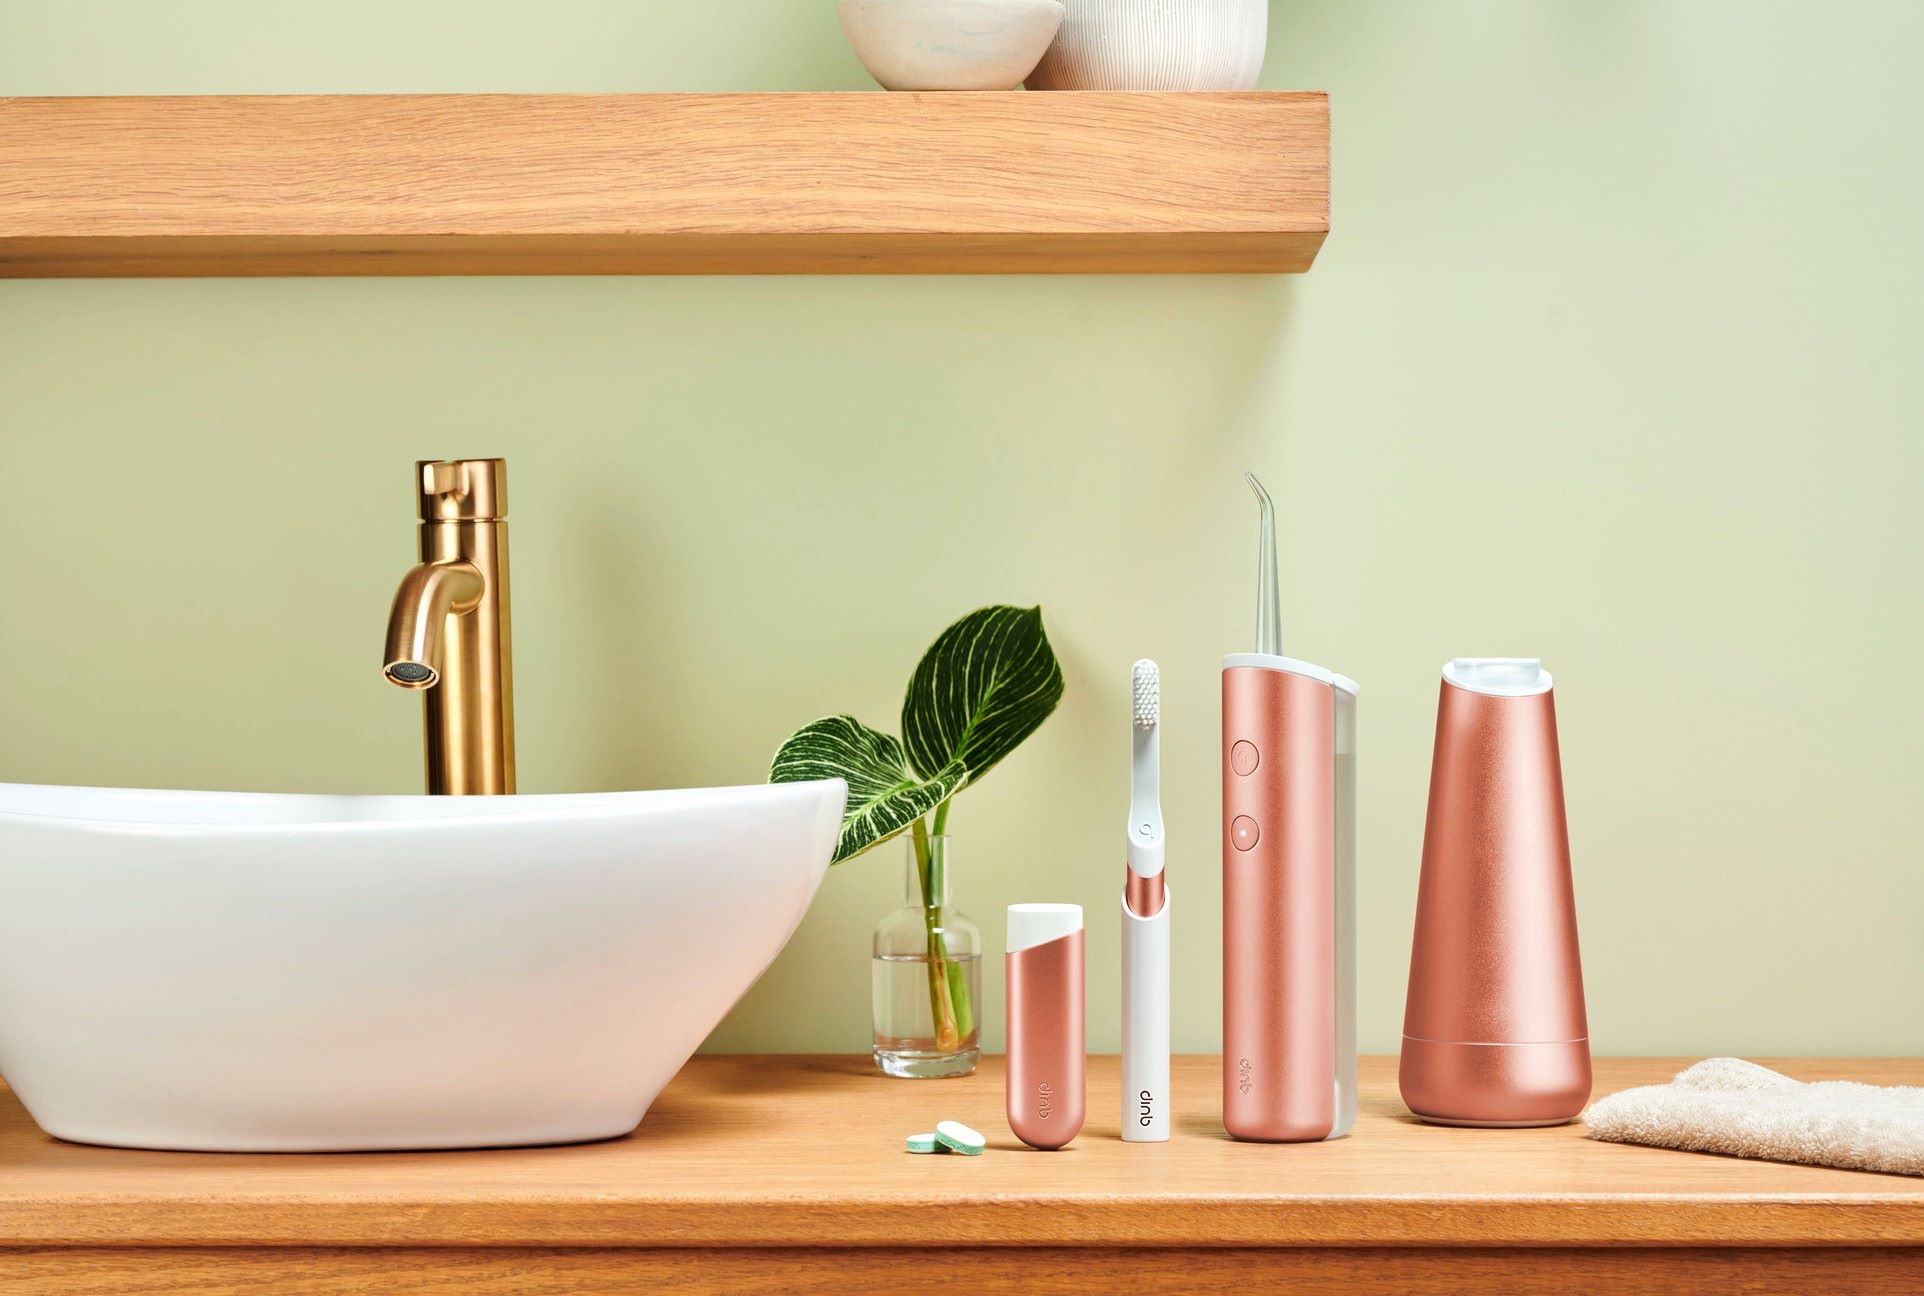
The Waterpik Water Flosser is a revolutionary tool for maintaining optimal oral hygiene. Its advanced technology allows for effective plaque removal and gum stimulation, promoting overall dental health. However, to ensure its continued performance, it's essential to properly maintain and clean the device. One crucial aspect of this maintenance is removing and cleaning the reservoir, which can become a breeding ground for bacteria and mold if not properly cared for.
In this comprehensive guide, we will walk you through the step-by-step process of removing the reservoir from your Waterpik Water Flosser. By following these instructions, you can maintain the cleanliness and functionality of your device, ultimately contributing to your oral health and overall well-being.
Let's dive into the details of this essential maintenance task, ensuring that you can confidently and effectively remove, clean, and reattach the reservoir of your Waterpik Water Flosser.
Key Takeaways:
- Regularly removing and cleaning the reservoir of your Waterpik Water Flosser prevents bacteria and mold buildup, ensuring effective plaque removal and gum stimulation for a healthier smile.
- Gather the necessary tools, follow safety precautions, and handle the reservoir with care to maintain your Waterpik Water Flosser’s cleanliness and functionality for optimal oral hygiene.
Read more: How To Use The Waterpik Water Flosser
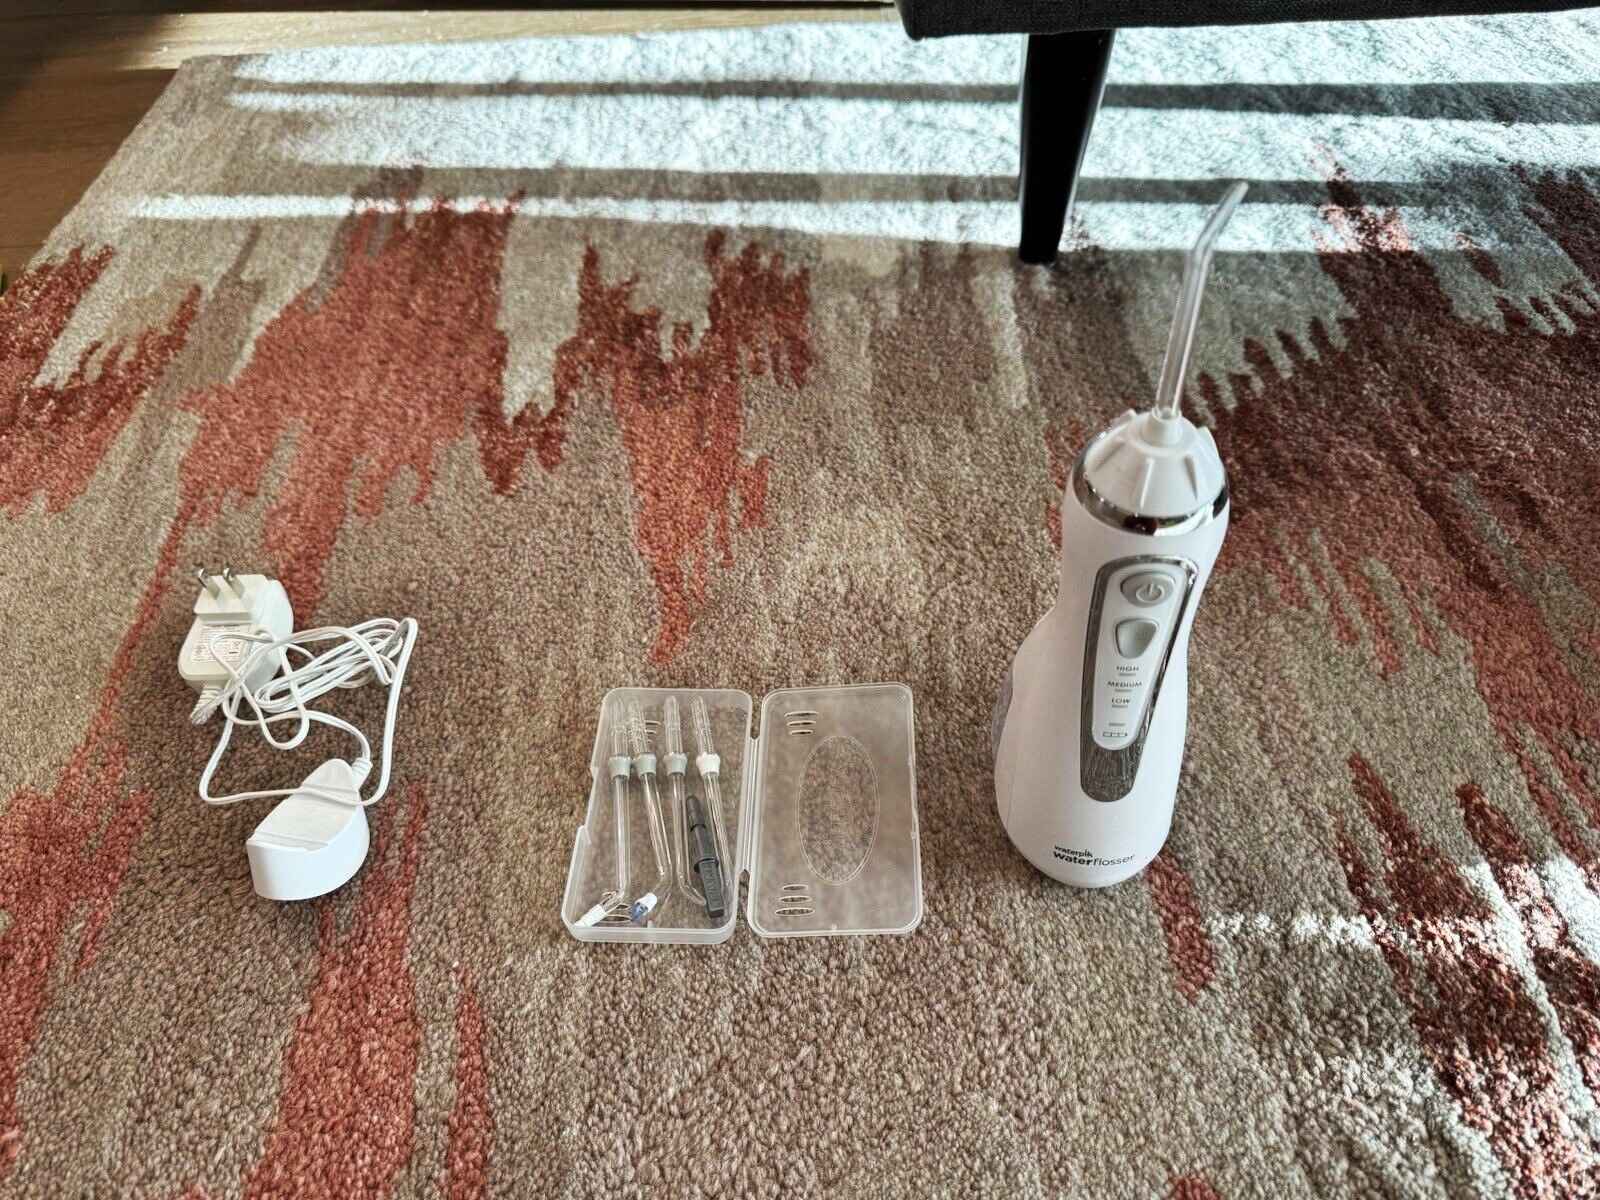
Step 1: Gather Necessary Tools
Before beginning the process of removing the reservoir from your Waterpik Water Flosser, it's important to gather the necessary tools to ensure a smooth and efficient experience. Having the right tools at hand will not only streamline the task but also contribute to the overall maintenance of your device. Here's a list of essential tools you'll need:
-
Clean Cloth or Towel: Prepare a clean, dry cloth or towel to place the Water Flosser on during the reservoir removal process. This will help prevent any water or residue from spilling onto the surface and keep the area tidy.
-
Container for Soaking: Depending on the cleaning solution you plan to use, have a container ready for soaking the reservoir. This could be a small basin or a bowl that is large enough to accommodate the reservoir and cleaning solution.
-
Cleaning Solution: Prepare a suitable cleaning solution for the reservoir. This can be a mixture of warm water and mild dish soap or a solution recommended by the Waterpik manufacturer. Having the cleaning solution ready will ensure that you can immediately proceed with cleaning the reservoir once it is removed.
-
Soft-bristled Brush: A soft-bristled brush, such as a toothbrush or a dedicated brush for cleaning the Water Flosser, will be essential for scrubbing and removing any residue or buildup from the reservoir.
-
Replacement Reservoir Seal (Optional): If you are planning to replace the reservoir seal during the maintenance process, ensure that you have a replacement seal available. This is particularly important if the current seal shows signs of wear or damage.
By gathering these essential tools beforehand, you can approach the reservoir removal process with confidence and efficiency. With the necessary tools at your disposal, you'll be well-prepared to maintain the cleanliness and functionality of your Waterpik Water Flosser, ensuring its continued effectiveness in promoting your oral health.
Step 2: Turn Off and Unplug the Water Flosser
Before proceeding with the removal of the reservoir from your Waterpik Water Flosser, it is crucial to ensure the safety of the device and yourself by following proper shutdown procedures.
-
Turn Off the Water Flosser: Locate the power switch or button on your Waterpik Water Flosser and switch it to the "Off" position. This step is essential to prevent any accidental activation of the device during the reservoir removal process.
-
Unplug the Power Cord: Once the Water Flosser is turned off, unplug the power cord from the electrical outlet. This precautionary measure eliminates the risk of electric shock and ensures that the device is completely powered down before any maintenance tasks are performed.
-
Allow the Device to Cool (If Applicable): If you have been using the Water Flosser recently, it is advisable to allow the device to cool down before proceeding with the reservoir removal. This can prevent accidental burns or discomfort during the maintenance process.
By diligently following these steps to turn off and unplug the Waterpik Water Flosser, you prioritize safety and set the stage for a smooth and secure reservoir removal process. Taking these precautions not only safeguards the device but also ensures your own well-being as you proceed with the essential maintenance tasks.
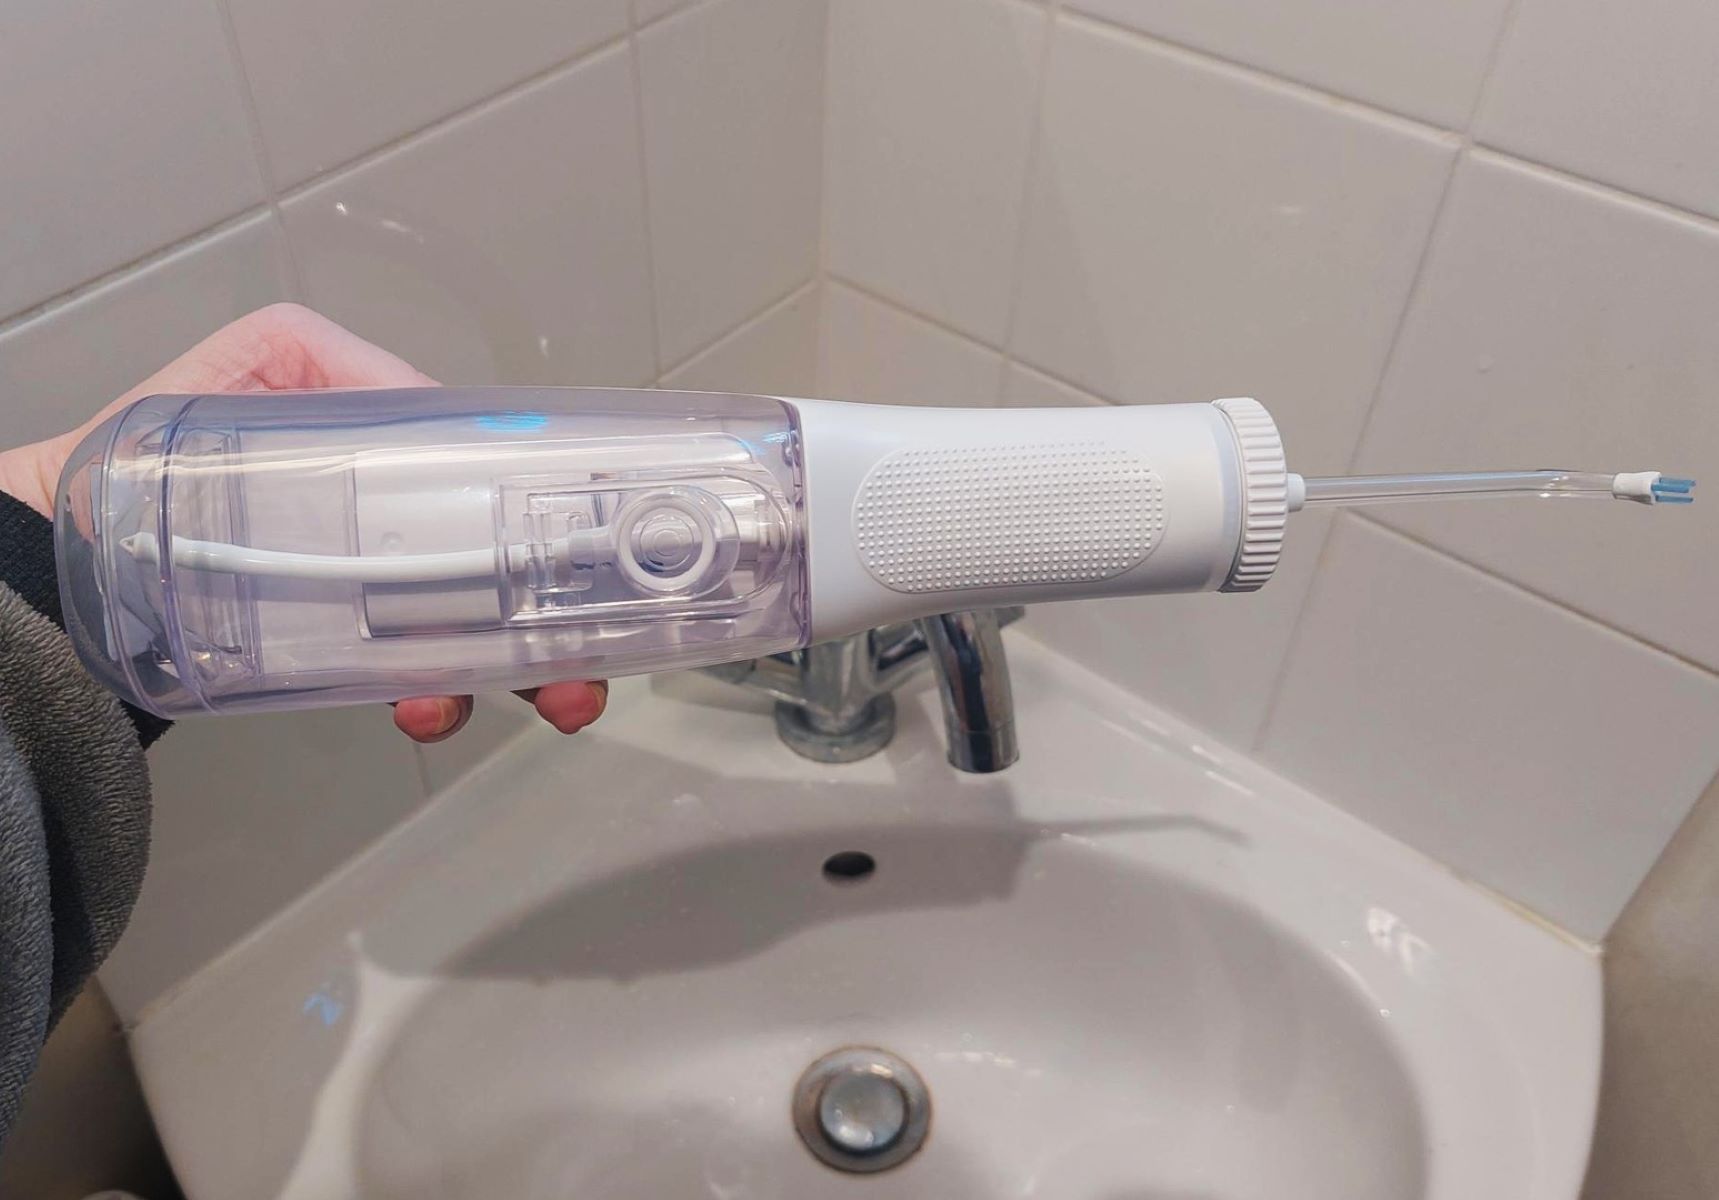
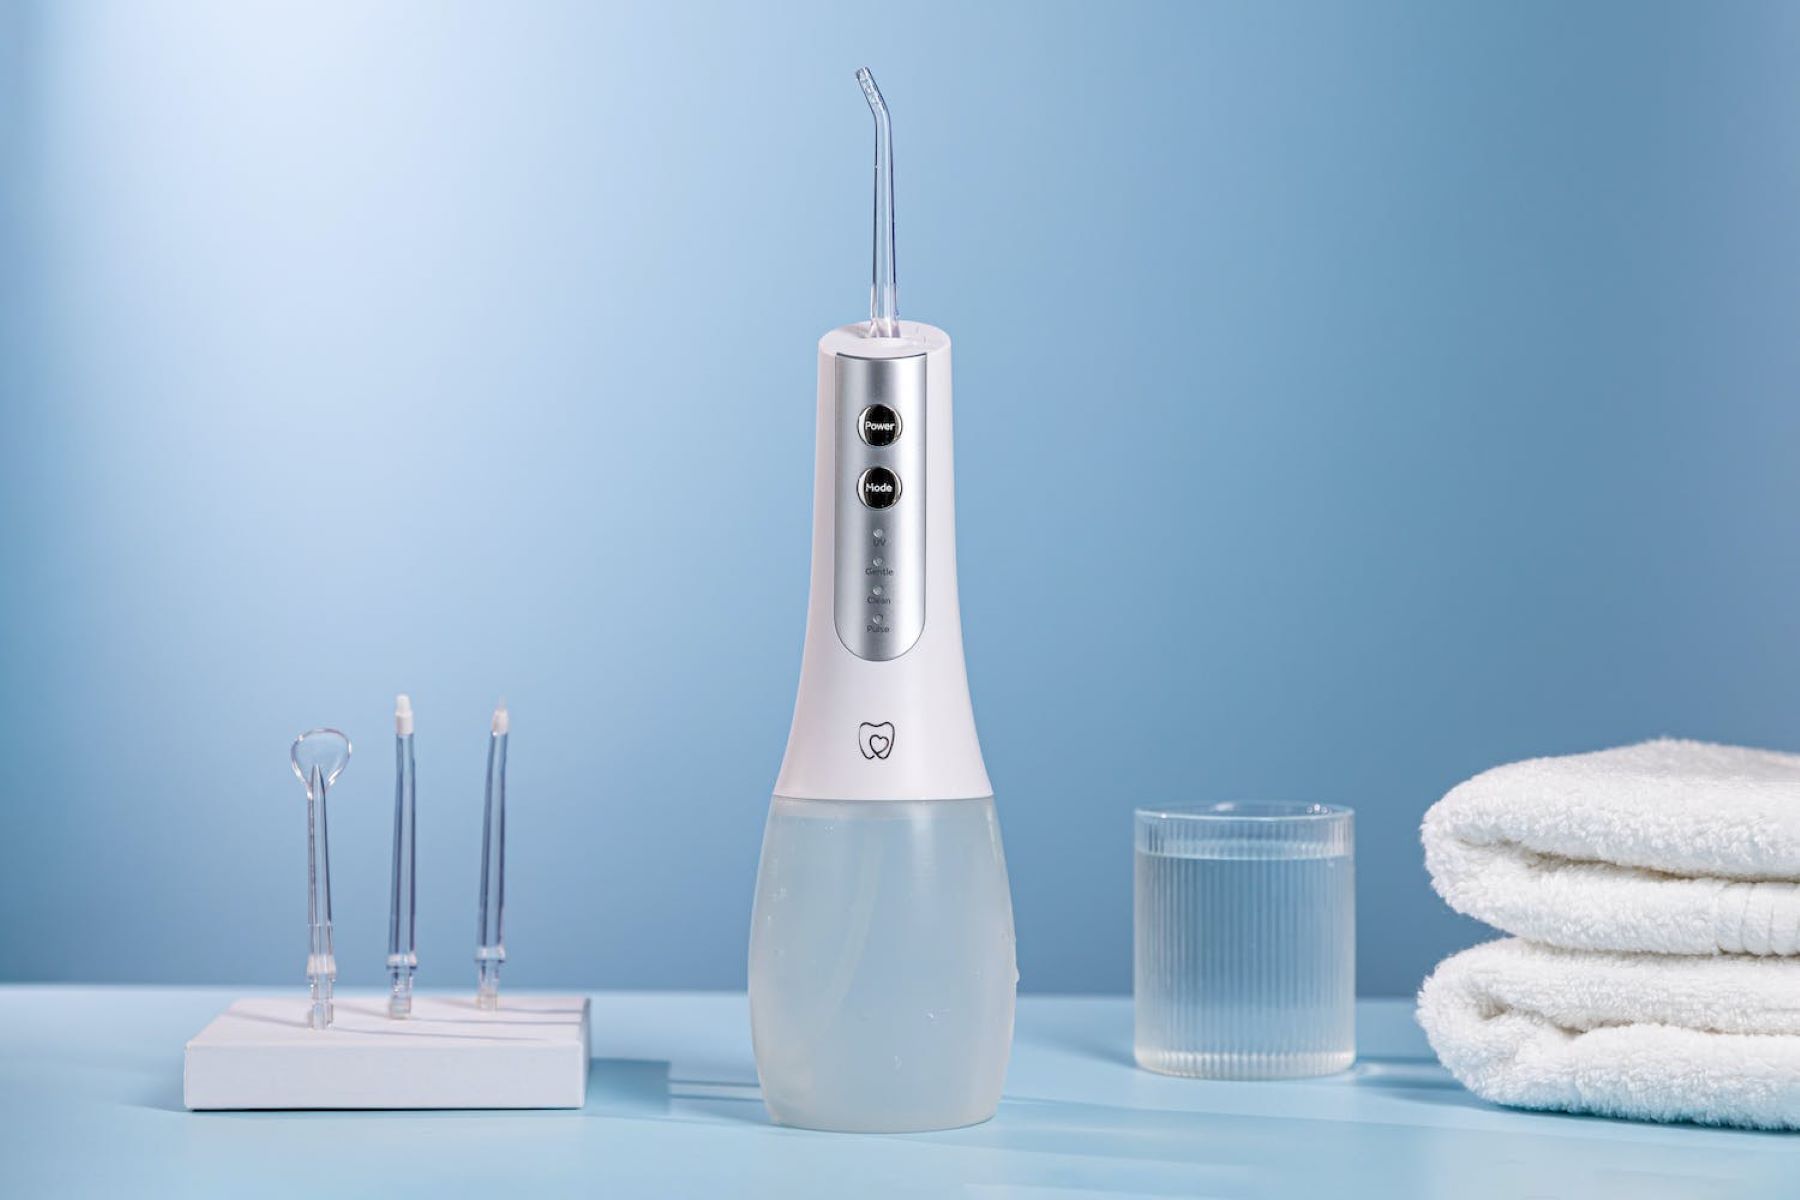
Step 3: Remove the Reservoir
With the necessary tools gathered and the Waterpik Water Flosser safely turned off and unplugged, you are now ready to proceed with removing the reservoir. This step is crucial for accessing and cleaning the reservoir, ensuring that it remains free from any accumulated debris or residue. Follow these detailed instructions to successfully remove the reservoir from your Waterpik Water Flosser:
-
Position the Water Flosser: Place a clean cloth or towel on a flat surface to provide a secure and cushioned area for the Water Flosser. Gently set the Water Flosser on the cloth, ensuring stability and preventing any accidental movement during the reservoir removal process.
-
Locate the Reservoir Release Button: On most Waterpik Water Flosser models, the reservoir is designed to be easily detachable for maintenance purposes. Locate the reservoir release button, which is typically positioned on the front or side of the device, near the top of the reservoir.
-
Press and Release the Reservoir: Firmly press the reservoir release button while gently grasping the top of the reservoir with your other hand. As you press the release button, you will feel the reservoir slightly disengage from the main unit. With a smooth and controlled motion, lift the reservoir upward to detach it completely from the Water Flosser.
-
Handle the Reservoir with Care: Once the reservoir is released, handle it with care to prevent any accidental spills or damage. Hold the reservoir upright to avoid any water or residual contents from leaking out. Place the reservoir on a stable surface, ready for the subsequent cleaning steps.
By following these detailed instructions, you can confidently and effectively remove the reservoir from your Waterpik Water Flosser. This process sets the stage for thorough cleaning and maintenance, ensuring that the reservoir remains free from any buildup that could compromise the performance and hygiene of your device. With the reservoir successfully removed, you are now ready to proceed with the essential cleaning steps to maintain the optimal functionality of your Waterpik Water Flosser.
To remove the reservoir from a Waterpik Water Flosser, simply grasp the sides of the reservoir and pull it straight up and away from the unit. It should come off easily for refilling or cleaning.
Step 4: Clean the Reservoir
Now that the reservoir is successfully removed from your Waterpik Water Flosser, it's time to focus on thorough cleaning to maintain optimal hygiene and functionality. The reservoir is a critical component of the device, and regular cleaning is essential to prevent the buildup of bacteria, mold, or other contaminants that could compromise its performance. Follow these detailed steps to effectively clean the reservoir:
-
Empty the Reservoir: Begin by emptying any remaining water or cleaning solution from the reservoir. Ensure that it is completely drained before proceeding with the cleaning process.
-
Disassemble Removable Parts (If Applicable): Some Waterpik Water Flosser models have removable parts within the reservoir, such as valves or gaskets. If your reservoir includes these components, carefully disassemble them according to the manufacturer's instructions. This will allow for thorough cleaning and prevent any residue from accumulating in hard-to-reach areas.
-
Soak in Cleaning Solution: Prepare a cleaning solution by mixing warm water with a mild dish soap or a solution recommended by the Waterpik manufacturer. Submerge the reservoir in the cleaning solution and allow it to soak for a few minutes. This soaking process helps to loosen and dissolve any buildup or residue inside the reservoir.
-
Scrub the Interior: Using a soft-bristled brush, gently scrub the interior of the reservoir to remove any remaining residue or buildup. Pay close attention to the corners and crevices to ensure comprehensive cleaning. Take care not to use abrasive materials or harsh chemicals that could damage the reservoir.
-
Rinse Thoroughly: After scrubbing, thoroughly rinse the reservoir with clean water to remove any traces of the cleaning solution. Ensure that all soap or cleaning agents are completely removed to prevent any unwanted tastes or odors during future use.
-
Dry Completely: Once the reservoir is clean and rinsed, allow it to air dry completely before reattaching it to the Water Flosser. Ensure that there is no residual moisture to prevent the growth of mold or bacteria.
-
Inspect and Reassemble: Before reattaching the reservoir, inspect it for any signs of damage or wear. If necessary, replace the reservoir seal or any other components to maintain optimal performance. Reassemble any removable parts according to the manufacturer's instructions.
By diligently following these steps, you can effectively clean the reservoir of your Waterpik Water Flosser, ensuring that it remains free from contaminants and functions at its best. This maintenance task contributes to the longevity and effectiveness of your device, ultimately supporting your oral health and hygiene.
Read more: How To Clean The Waterpik Water Flosser
Step 5: Reattach the Reservoir
After successfully cleaning the reservoir of your Waterpik Water Flosser, the final step involves reattaching the reservoir to the main unit. This critical step ensures that the device is fully functional and ready for future use. Follow these detailed instructions to seamlessly reattach the reservoir:
-
Inspect the Reservoir Seal: Before reattaching the reservoir, carefully inspect the seal for any signs of wear, damage, or residue. The seal plays a crucial role in preventing leaks and maintaining the integrity of the reservoir. If the seal shows any signs of deterioration, it is advisable to replace it with a new one to ensure optimal performance.
-
Align and Position the Reservoir: Hold the clean and dry reservoir in an upright position and align it with the designated slot or connection point on the Water Flosser. Ensure that the reservoir is positioned correctly and securely, ready for reattachment.
-
Secure the Reservoir: With gentle and controlled pressure, push the reservoir downward into the designated slot or connection point. You may hear a click or feel a slight resistance as the reservoir securely locks into place. Ensure that the reservoir is firmly attached to the main unit, indicating a successful reattachment.
-
Test for Stability: Once the reservoir is reattached, gently wiggle it to ensure that it is securely in place. Verify that there are no loose or unstable connections that could compromise the functionality of the Water Flosser. A stable and secure attachment is essential for the device to operate effectively.
-
Power On and Test: After reattaching the reservoir, plug in the Waterpik Water Flosser and turn it on to verify that it operates as expected. Run a brief test cycle to ensure that the device functions properly and that there are no issues with the reattached reservoir.
By following these detailed steps to reattach the reservoir, you can confidently complete the maintenance process of your Waterpik Water Flosser. This final step ensures that the device is ready for use, with a clean and properly secured reservoir that contributes to its optimal performance and your overall oral hygiene.
With the reservoir successfully reattached, you have completed the essential maintenance tasks for your Waterpik Water Flosser, ensuring its continued effectiveness in promoting your oral health and hygiene.
Conclusion
In conclusion, the process of removing, cleaning, and reattaching the reservoir of your Waterpik Water Flosser is a fundamental aspect of maintaining optimal oral hygiene and ensuring the longevity of your device. By following the step-by-step guide outlined in this article, you have gained valuable insights into the essential maintenance tasks required to keep your Water Flosser in top condition.
Regularly removing the reservoir allows for thorough cleaning, preventing the buildup of bacteria, mold, or other contaminants that could compromise the device's performance. The detailed instructions provided in this guide empower you to approach this maintenance task with confidence and efficiency, ultimately contributing to the overall effectiveness of your Waterpik Water Flosser.
By gathering the necessary tools and following proper shutdown procedures, you set the stage for a smooth and secure reservoir removal process. The careful handling and cleaning of the reservoir ensure that it remains free from any accumulated debris or residue, promoting optimal hygiene and functionality.
Reattaching the clean and properly maintained reservoir to the main unit signifies the completion of the maintenance process, ensuring that your Waterpik Water Flosser is ready for future use. The stability and secure attachment of the reservoir are essential for the device to operate effectively, supporting your ongoing oral health and hygiene.
Incorporating these maintenance tasks into your regular oral care routine not only enhances the performance of your Waterpik Water Flosser but also contributes to the overall health of your gums and teeth. With a clean and well-maintained reservoir, you can continue to enjoy the benefits of effective plaque removal and gum stimulation provided by your Water Flosser.
By prioritizing the maintenance and cleanliness of your Waterpik Water Flosser, you are taking proactive steps to support your oral health and well-being. With the knowledge and guidance provided in this comprehensive guide, you are well-equipped to ensure that your Waterpik Water Flosser remains a reliable and effective tool in your oral care regimen.
Frequently Asked Questions about How To Remove The Reservoir From A Waterpik Water Flosser
Was this page helpful?
At Storables.com, we guarantee accurate and reliable information. Our content, validated by Expert Board Contributors, is crafted following stringent Editorial Policies. We're committed to providing you with well-researched, expert-backed insights for all your informational needs.


0 thoughts on “How To Remove The Reservoir From A Waterpik Water Flosser”