Home>Home Appliances>Laundry Appliances>How To Shrink A Hat In The Washing Machine


Laundry Appliances
How To Shrink A Hat In The Washing Machine
Published: February 21, 2024
Learn how to shrink a hat in the washing machine with our expert laundry appliances tips. Discover the best techniques for achieving the perfect fit.
(Many of the links in this article redirect to a specific reviewed product. Your purchase of these products through affiliate links helps to generate commission for Storables.com, at no extra cost. Learn more)
Introduction
Shrinking a hat in the washing machine may seem like a risky endeavor, but with the right knowledge and techniques, it can be a simple and effective way to achieve the perfect fit. Whether your favorite baseball cap has become too loose or your wool beanie has stretched out over time, knowing how to shrink a hat in the washing machine can save you from the hassle of finding a replacement.
In this comprehensive guide, we will explore the step-by-step process of shrinking different types of hats, from cotton and wool to polyester and acrylic blends. By understanding the material of your hat and preparing the washing machine accordingly, you can ensure a successful shrinking process without compromising the quality of your headwear.
So, if you've ever found yourself wishing for a snugger fit or wanting to restore your hat to its original size, this guide is for you. Get ready to learn the ins and outs of shrinking hats in the washing machine, and say goodbye to ill-fitting headwear for good.
Key Takeaways:
- Give your favorite hat a perfect fit by shrinking it in the washing machine. Understand the material, prepare the machine, and monitor the process for a snug and rejuvenated headwear.
- Whether it’s a cotton baseball cap or a wool beanie, shrinking hats in the washing machine is a simple way to restore their original size and shape. Just follow the material-specific steps and enjoy a well-fitting hat!
Read more: How To Shrink A Shirt In The Washing Machine
Understanding the Material of Your Hat
Before embarking on the journey of shrinking your hat in the washing machine, it's crucial to understand the material it's made of. Different hat materials react differently to washing and heat, and this knowledge will guide you in determining the appropriate shrinking method.
Cotton Hats
Cotton hats are known for their breathability and comfort. When exposed to water and heat, cotton has a tendency to shrink. Therefore, if your cotton hat has become too loose, shrinking it in the washing machine can help restore its original size. However, it's important to note that excessive heat and agitation can cause cotton to shrink too much, so it's essential to monitor the process carefully.
Wool Hats
Wool hats are prized for their warmth and durability. While wool has natural elasticity, it can also shrink when subjected to moisture and heat. When shrinking a wool hat in the washing machine, it's crucial to use cold water and gentle agitation to prevent excessive shrinkage and preserve the integrity of the fibers.
Polyester and Acrylic Hats
Polyester and acrylic hats are popular for their durability and color retention. These synthetic materials are less prone to shrinking compared to natural fibers like cotton and wool. When attempting to shrink a polyester or acrylic hat, it's important to exercise caution, as these materials may not shrink significantly in the washing machine. However, if a slight adjustment in size is desired, a delicate washing cycle with warm water can be employed.
By understanding the unique properties of the material your hat is made of, you can make informed decisions when preparing for the shrinking process. With this knowledge in mind, you'll be better equipped to select the appropriate washing machine settings and techniques to achieve the desired fit for your hat.
Read more: What Shrinks Clothes The Washer Or Dryer
Preparing the Washing Machine
Before initiating the hat shrinking process, it's essential to prepare the washing machine to ensure optimal results. The following steps will guide you through the preparation phase, setting the stage for a successful hat-shrinking endeavor.
-
Selecting the Right Washing Machine
The type of washing machine you use can significantly impact the hat-shrinking process. If possible, opt for a top-loading washing machine, as it provides a gentler washing experience compared to front-loading machines. The agitator in top-loading machines facilitates a more even distribution of water and detergent, which is crucial for shrinking hats without causing excessive damage to the fabric.
-
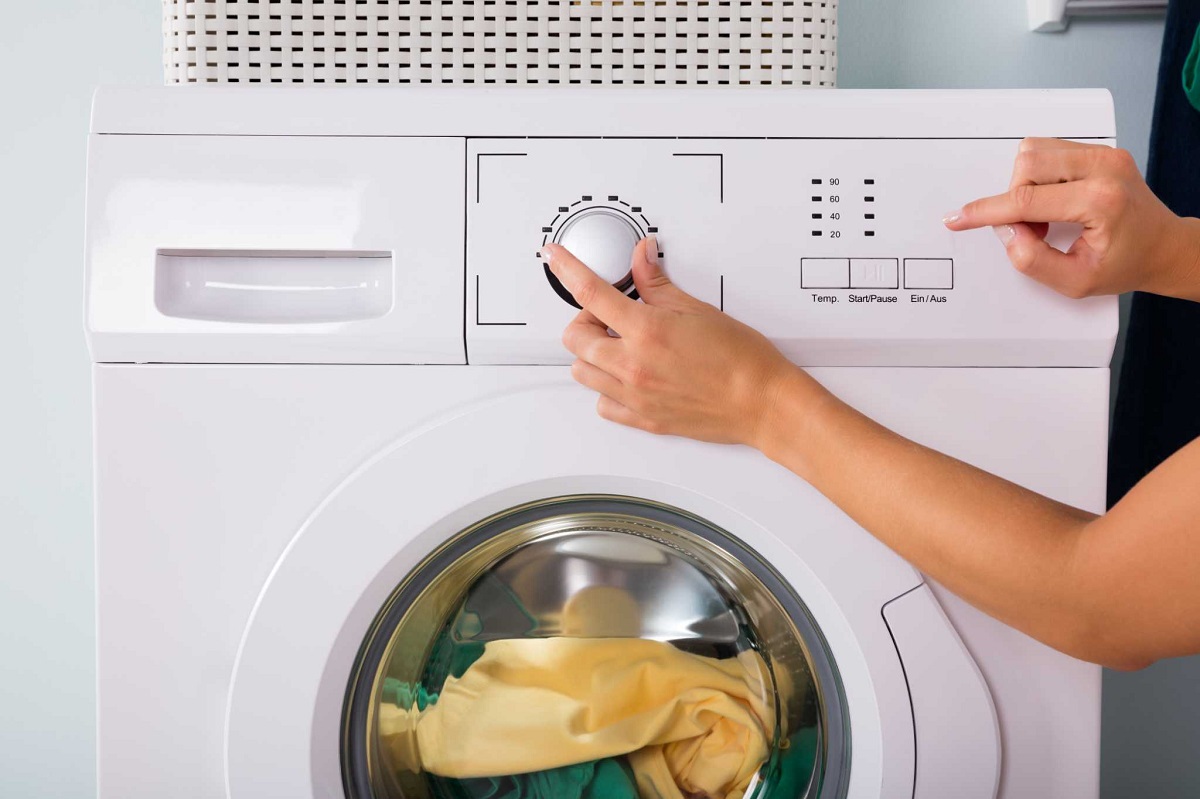
Adjusting the Water Temperature
The water temperature plays a pivotal role in the shrinking process, as it directly affects the fibers of the hat. For cotton and wool hats, it's recommended to use cold water to minimize the risk of over-shrinking. Conversely, polyester and acrylic hats may require slightly warmer water to facilitate a subtle reduction in size. By adjusting the water temperature according to the hat material, you can achieve the desired level of shrinkage without compromising the hat's quality.
-
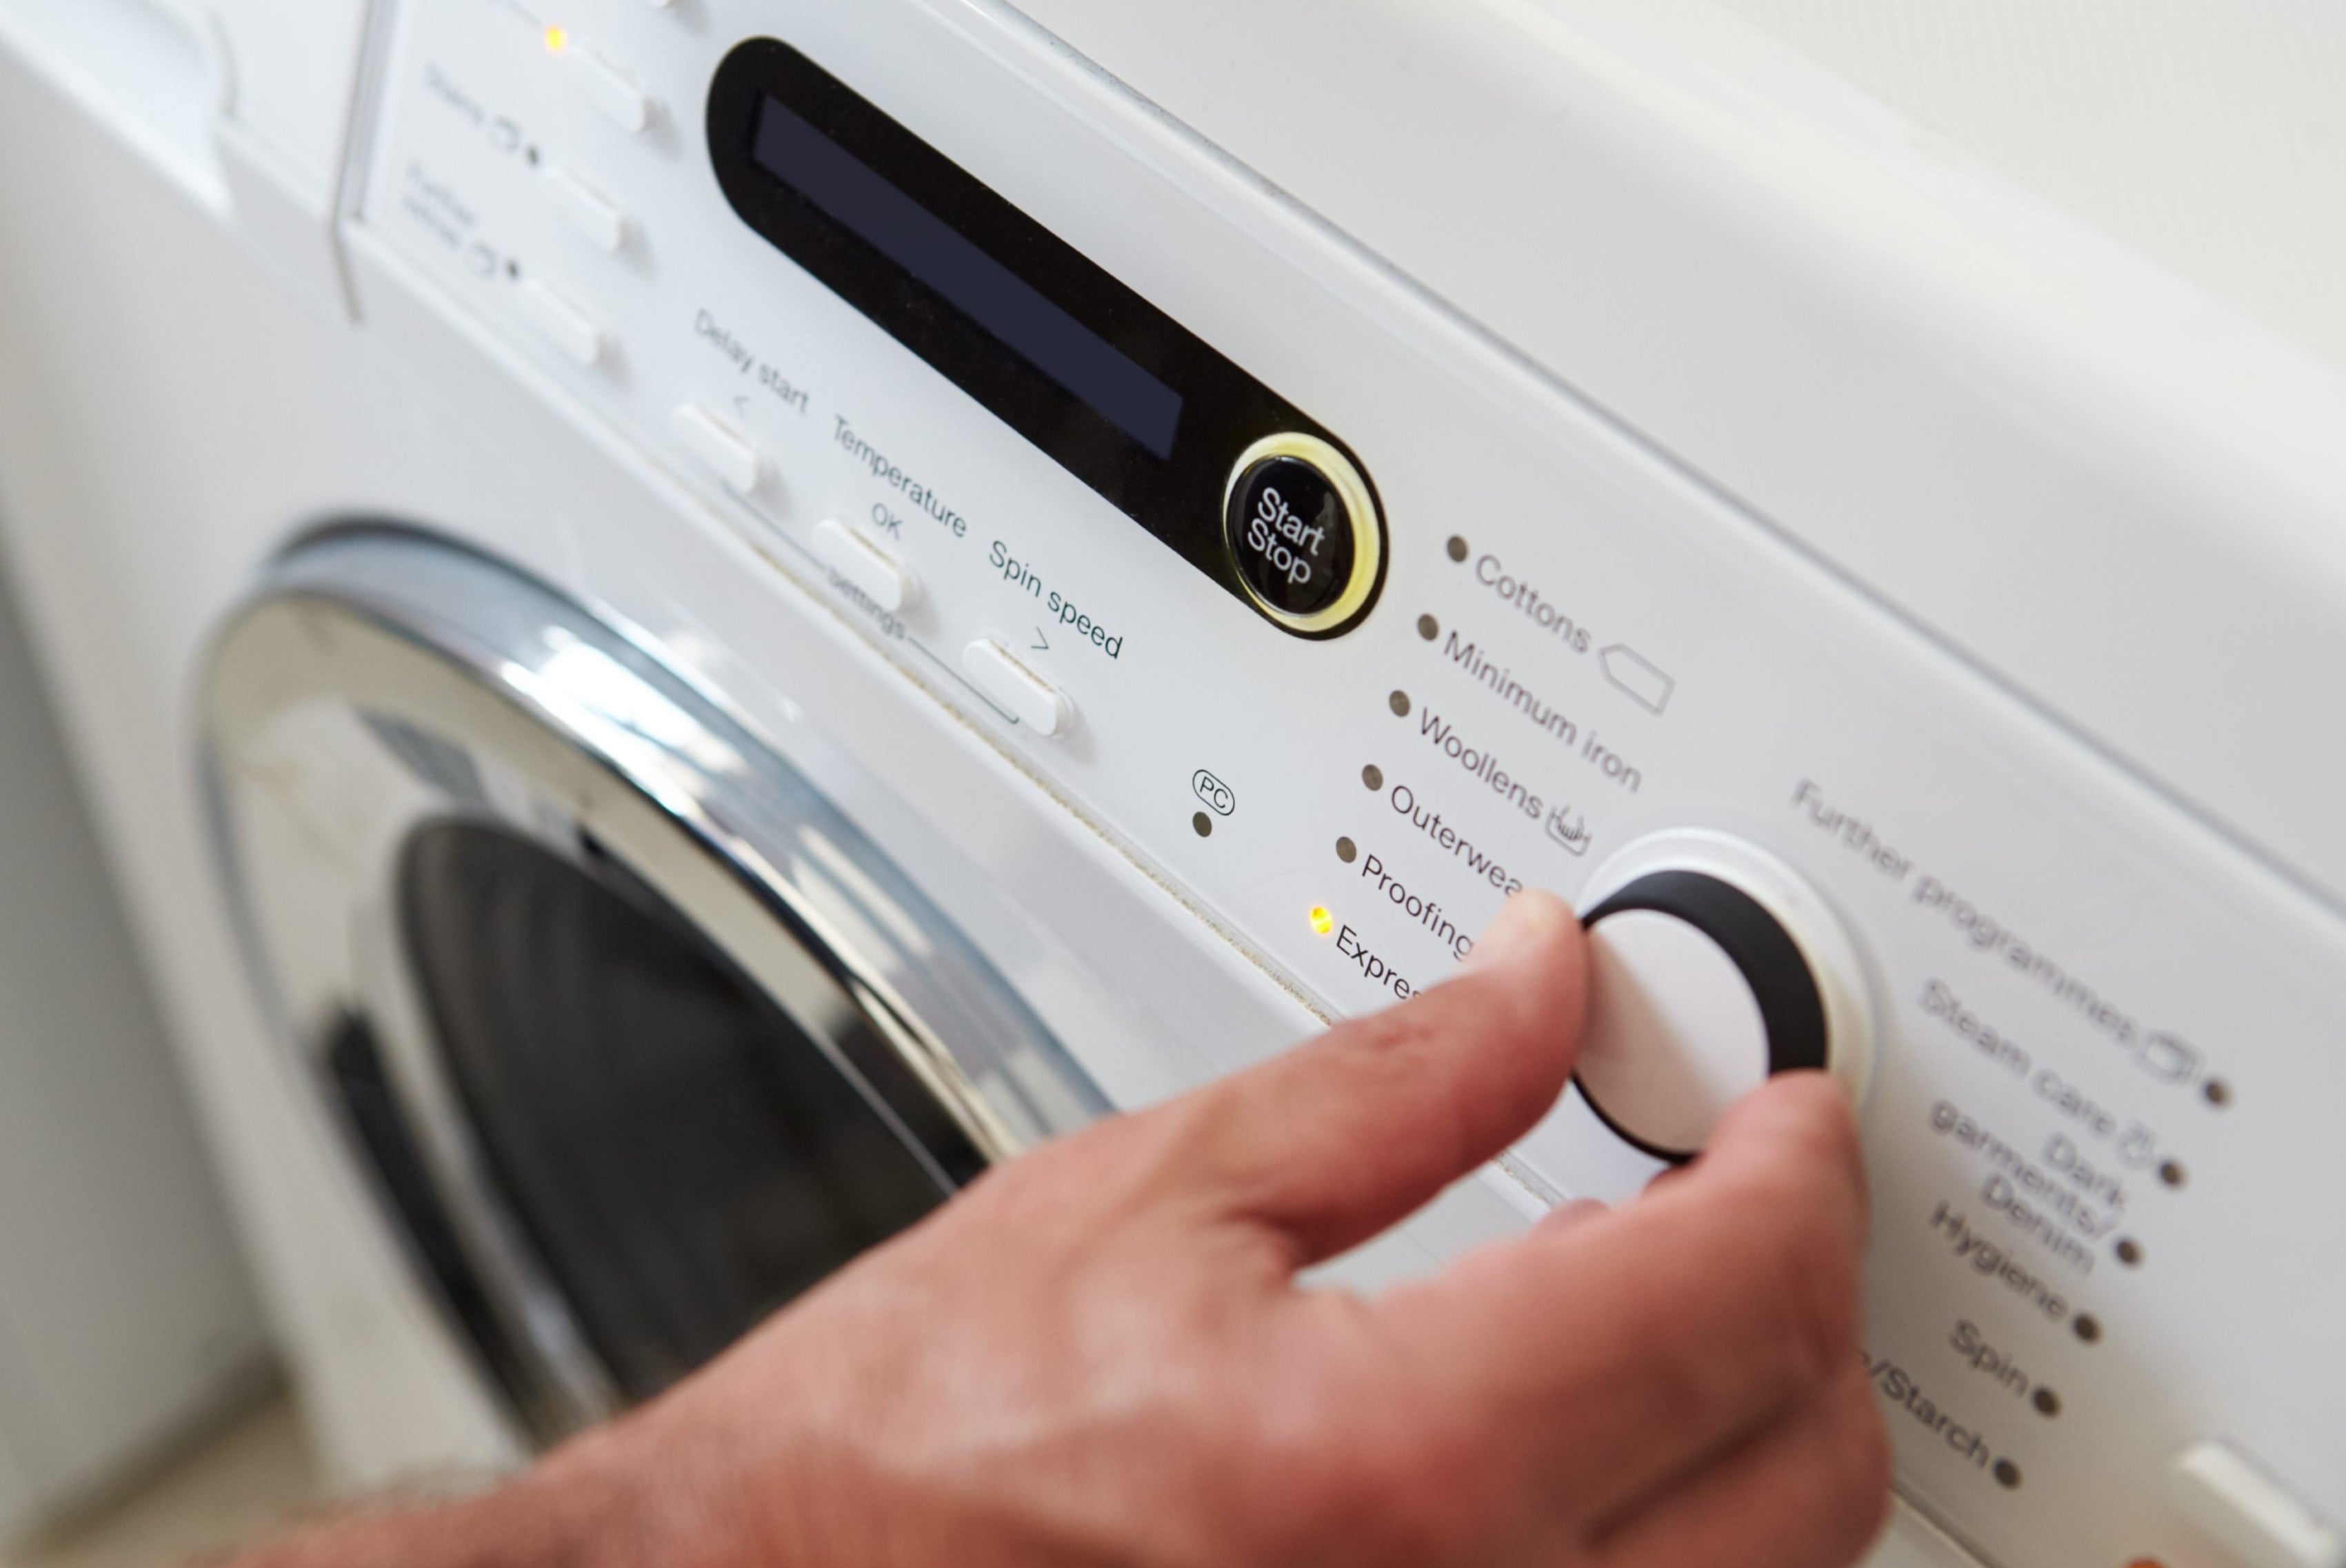
Choosing the Right Washing Cycle
When preparing the washing machine, select a gentle or delicate washing cycle to minimize agitation. This is particularly important for wool and cotton hats, as excessive agitation can lead to unwanted shrinkage and potential damage to the fabric. For polyester and acrylic hats, a standard washing cycle with a gentle spin may be suitable, as these materials are less prone to significant shrinkage.
-
Using the Appropriate Detergent
Select a mild detergent suitable for the material of your hat. Avoid using harsh chemicals or bleach, as they can adversely affect the fabric and compromise the shrinking process. Opt for a gentle, color-safe detergent to maintain the integrity of the hat while facilitating the shrinking process.
By meticulously preparing the washing machine according to the material of your hat, you can lay the groundwork for a successful shrinking process. These preparatory steps are essential in ensuring that the hat is exposed to the right conditions for shrinking, ultimately leading to a well-fitting and rejuvenated headwear.
Setting Up the Hat for Washing
Once the washing machine is prepared, the next crucial step is to properly set up the hat for the shrinking process. This involves taking specific measures to protect the hat from potential damage while ensuring that it undergoes the necessary treatment to achieve the desired level of shrinkage.
Inspecting the Hat
Before placing the hat in the washing machine, carefully inspect it for any stains, dirt, or debris. Spot-cleaning the hat with a gentle stain remover or detergent can help ensure that it emerges from the washing machine in a clean and refreshed state. Additionally, addressing any visible stains beforehand can prevent them from setting in during the washing process.
Securing the Hat
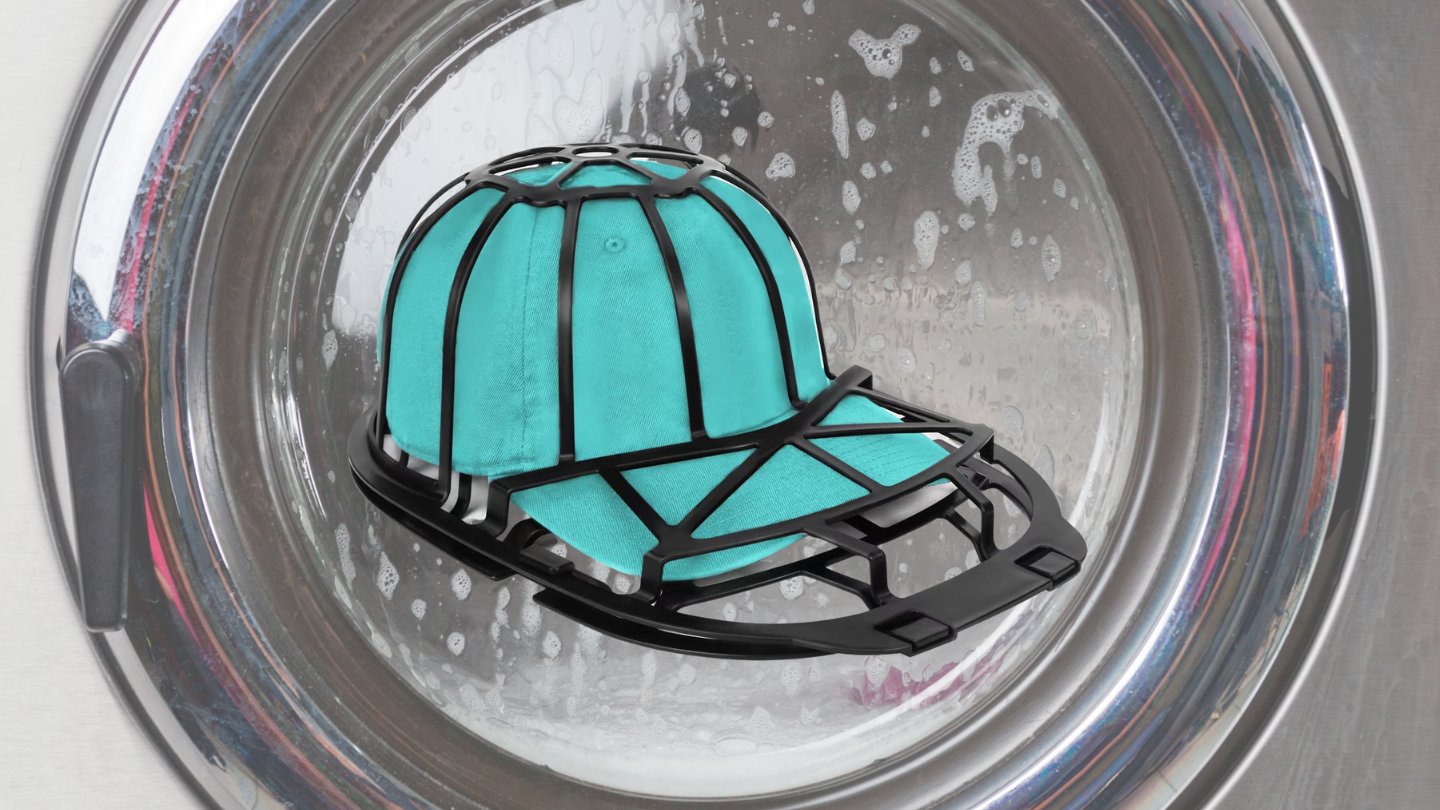
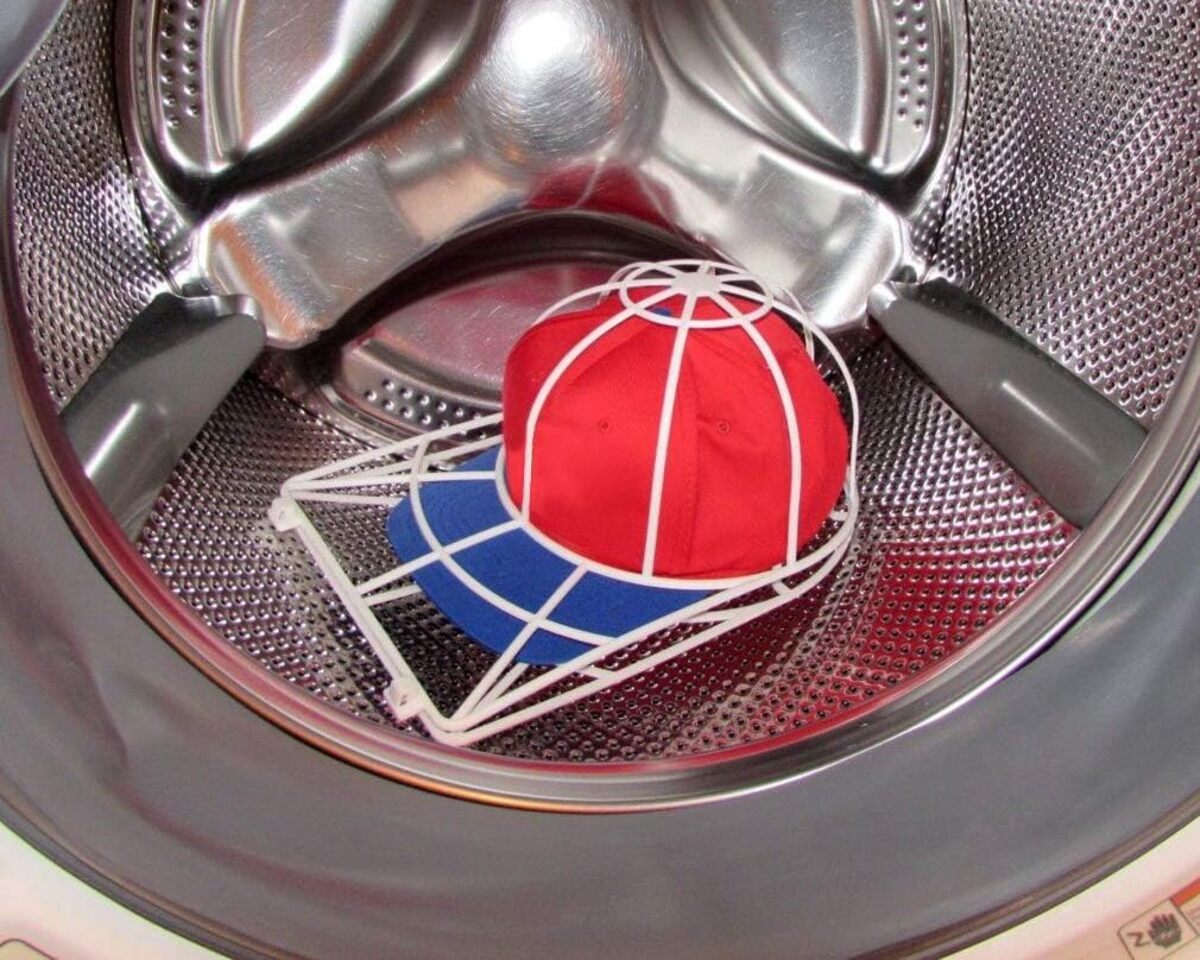
To prevent the hat from losing its shape during washing, it's advisable to secure it within a mesh laundry bag or a pillowcase. Placing the hat in a protective enclosure helps minimize direct agitation and friction, safeguarding its structure and integrity. For wool hats, in particular, using a mesh laundry bag can prevent excessive felting and distortion of the fibers.
Adding Support
For hats with a specific shape, such as fedoras or structured caps, adding support during the washing process is essential. This can be achieved by using a form-fitting object, such as a bowl or a hat form, to maintain the hat's original shape. Placing the hat over the chosen support ensures that it retains its intended form while undergoing the shrinking process, preventing it from becoming misshapen or deformed.
Distributing Weight
In the case of larger or floppy hats, distributing weight within the hat can help maintain its shape and prevent excessive flopping or distortion during washing. Placing a soft, lightweight material, such as a towel or a small cloth, inside the hat can provide internal support and help preserve its silhouette. This simple yet effective technique can make a notable difference in ensuring that the hat retains its original structure after the shrinking process.
By meticulously setting up the hat for washing, you can minimize the risk of damage and maximize the chances of achieving the desired level of shrinkage. These preparatory measures not only protect the hat from potential harm but also contribute to a successful and effective shrinking process, ultimately leading to a well-fitting and rejuvenated headwear.
Running the Washing Machine
Once the hat is properly prepared and placed inside the washing machine, it's time to initiate the shrinking process. This phase requires careful monitoring and adherence to the selected settings to ensure that the hat undergoes the appropriate treatment for achieving the desired level of shrinkage.
Initiating the Washing Cycle
Start the washing machine, ensuring that the selected washing cycle aligns with the recommendations for the specific hat material. For cotton and wool hats, a gentle or delicate cycle with cold water is ideal to minimize excessive agitation and prevent over-shrinking. Conversely, polyester and acrylic hats may benefit from a standard washing cycle with slightly warmer water to facilitate a subtle reduction in size.
Read also: 12 Incredible Baseball Hat Washer For 2024
Monitoring the Agitation
Throughout the washing cycle, it's essential to monitor the level of agitation to prevent potential damage to the hat. Excessive agitation can lead to unwanted shrinkage and distortion of the fabric, particularly in the case of delicate wool hats. By keeping a close eye on the washing machine, you can intervene if necessary to ensure that the hat is treated with the appropriate level of care.
Adding the Detergent
If using a mild detergent, add the recommended amount to the washing machine according to the manufacturer's instructions. The detergent should be gentle and suitable for the specific material of the hat to avoid any adverse effects on the fabric. The detergent works in tandem with the water and agitation to facilitate the shrinking process while maintaining the integrity of the hat.
Allowing the Cycle to Complete
Once the washing cycle is in progress, allow it to run its course without interruption. The duration of the cycle will vary depending on the selected settings and the specific washing machine model. It's important to exercise patience and refrain from opening the washing machine prematurely, as this can disrupt the shrinking process and compromise the final results.
Removing the Hat
After the washing cycle is complete, carefully remove the hat from the washing machine. Take note of any changes in size and texture, as these will indicate the effectiveness of the shrinking process. If the hat has achieved the desired level of shrinkage, proceed to the drying and reshaping phase to complete the rejuvenation process.
By following these steps and closely monitoring the washing machine, you can ensure that the hat receives the appropriate treatment for shrinking without compromising its quality. The running of the washing machine marks a pivotal stage in the hat-shrinking process, setting the foundation for a well-fitting and revitalized headwear.
Drying and Reshaping the Hat
After the hat has undergone the shrinking process in the washing machine, the next crucial step is to ensure proper drying and reshaping. This phase is essential for restoring the hat to its original form while solidifying the achieved level of shrinkage. By following the appropriate drying and reshaping techniques, you can complete the rejuvenation process and enjoy a well-fitting and revitalized headwear.
Gently Removing Excess Water
Upon removing the hat from the washing machine, gently press it between clean, dry towels to absorb excess water. Avoid wringing or twisting the hat, as this can distort its shape and compromise the shrinking results. The goal is to remove moisture without causing unnecessary stress on the fabric or structure of the hat.
Air Drying in the Correct Form
To facilitate the reshaping process, place the damp hat on a clean, dry towel and carefully mold it back to its original shape. For structured hats, such as fedoras or caps, use a form-fitting object, such as a bowl or a hat form, to maintain the intended shape during drying. Ensure that the hat is placed in a well-ventilated area away from direct sunlight or heat sources, as excessive heat can lead to further shrinkage or damage to the fabric.
Patience and Monitoring
Allow the hat to air dry naturally, periodically checking its progress and adjusting the shaping as needed. This process may take some time, especially for thicker materials like wool. Exercise patience and refrain from rushing the drying process, as this can impact the final fit and shape of the hat. By allowing the hat to air dry at its own pace, you can ensure that it retains its intended form and size.
Read also: 12 Unbelievable Hat Washer For 2024
Final Assessment and Adjustments
Once the hat is completely dry, assess its size and shape to determine if any further adjustments are necessary. If the hat has achieved the desired level of shrinkage and has regained its original form, it is ready to be worn. However, if slight modifications are needed, consider repeating the reshaping process or employing specific techniques tailored to the hat's material to achieve the perfect fit.
By meticulously following the drying and reshaping phase, you can complete the hat-shrinking process with precision and care. This final stage ensures that the hat emerges from the rejuvenation process in optimal condition, ready to be worn with a snug and comfortable fit.
Conclusion
In conclusion, mastering the art of shrinking a hat in the washing machine opens up a world of possibilities for hat enthusiasts seeking the perfect fit and rejuvenation of their beloved headwear. By understanding the unique properties of different hat materials and meticulously preparing the washing machine, individuals can embark on a journey to restore their hats to their original size and shape.
The process begins with a thorough understanding of the material of the hat, whether it's cotton, wool, polyester, or acrylic. Each material requires specific care and attention during the shrinking process to achieve optimal results without compromising the integrity of the fabric. Armed with this knowledge, hat owners can confidently proceed to prepare the washing machine, ensuring that the water temperature, washing cycle, and detergent align with the requirements of the hat material.
Setting up the hat for washing is a crucial step that involves inspecting the hat for stains, securing it in a protective enclosure, and adding support to maintain its shape. These preparatory measures lay the foundation for a successful shrinking process, safeguarding the hat from potential damage and distortion.
Running the washing machine marks a pivotal stage in the hat-shrinking journey, requiring careful monitoring of the agitation, water temperature, and detergent usage. By following the recommended settings and allowing the washing cycle to complete without interruption, individuals can ensure that their hats receive the appropriate treatment for achieving the desired level of shrinkage.
The drying and reshaping phase solidifies the rejuvenation process, allowing the hat to regain its original form and size. By gently removing excess water, air drying the hat in the correct form, and exercising patience during the reshaping process, hat owners can complete the journey of shrinking their hats with precision and care.
In essence, the art of shrinking a hat in the washing machine is a blend of science and craftsmanship, requiring a deep understanding of materials, meticulous preparation, and attentive execution. By mastering these techniques, individuals can breathe new life into their hats, ensuring a snug and comfortable fit that revitalizes their headwear collection.
So, whether it's a cherished baseball cap, a cozy wool beanie, or a stylish polyester fedora, the knowledge and techniques shared in this guide empower hat enthusiasts to take control of the fit and rejuvenation of their hats, ensuring that they can be enjoyed for years to come.
Frequently Asked Questions about How To Shrink A Hat In The Washing Machine
Was this page helpful?
At Storables.com, we guarantee accurate and reliable information. Our content, validated by Expert Board Contributors, is crafted following stringent Editorial Policies. We're committed to providing you with well-researched, expert-backed insights for all your informational needs.




0 thoughts on “How To Shrink A Hat In The Washing Machine”