Home>Home Appliances>Cleaning Appliances>How To Change Mop Head On Libman Mop
Cleaning Appliances
How To Change Mop Head On Libman Mop
Modified: October 21, 2024
Learn how to easily change the mop head on your Libman mop for efficient cleaning. Keep your cleaning appliances in top condition with this simple guide.
(Many of the links in this article redirect to a specific reviewed product. Your purchase of these products through affiliate links helps to generate commission for Storables.com, at no extra cost. Learn more)
Introduction
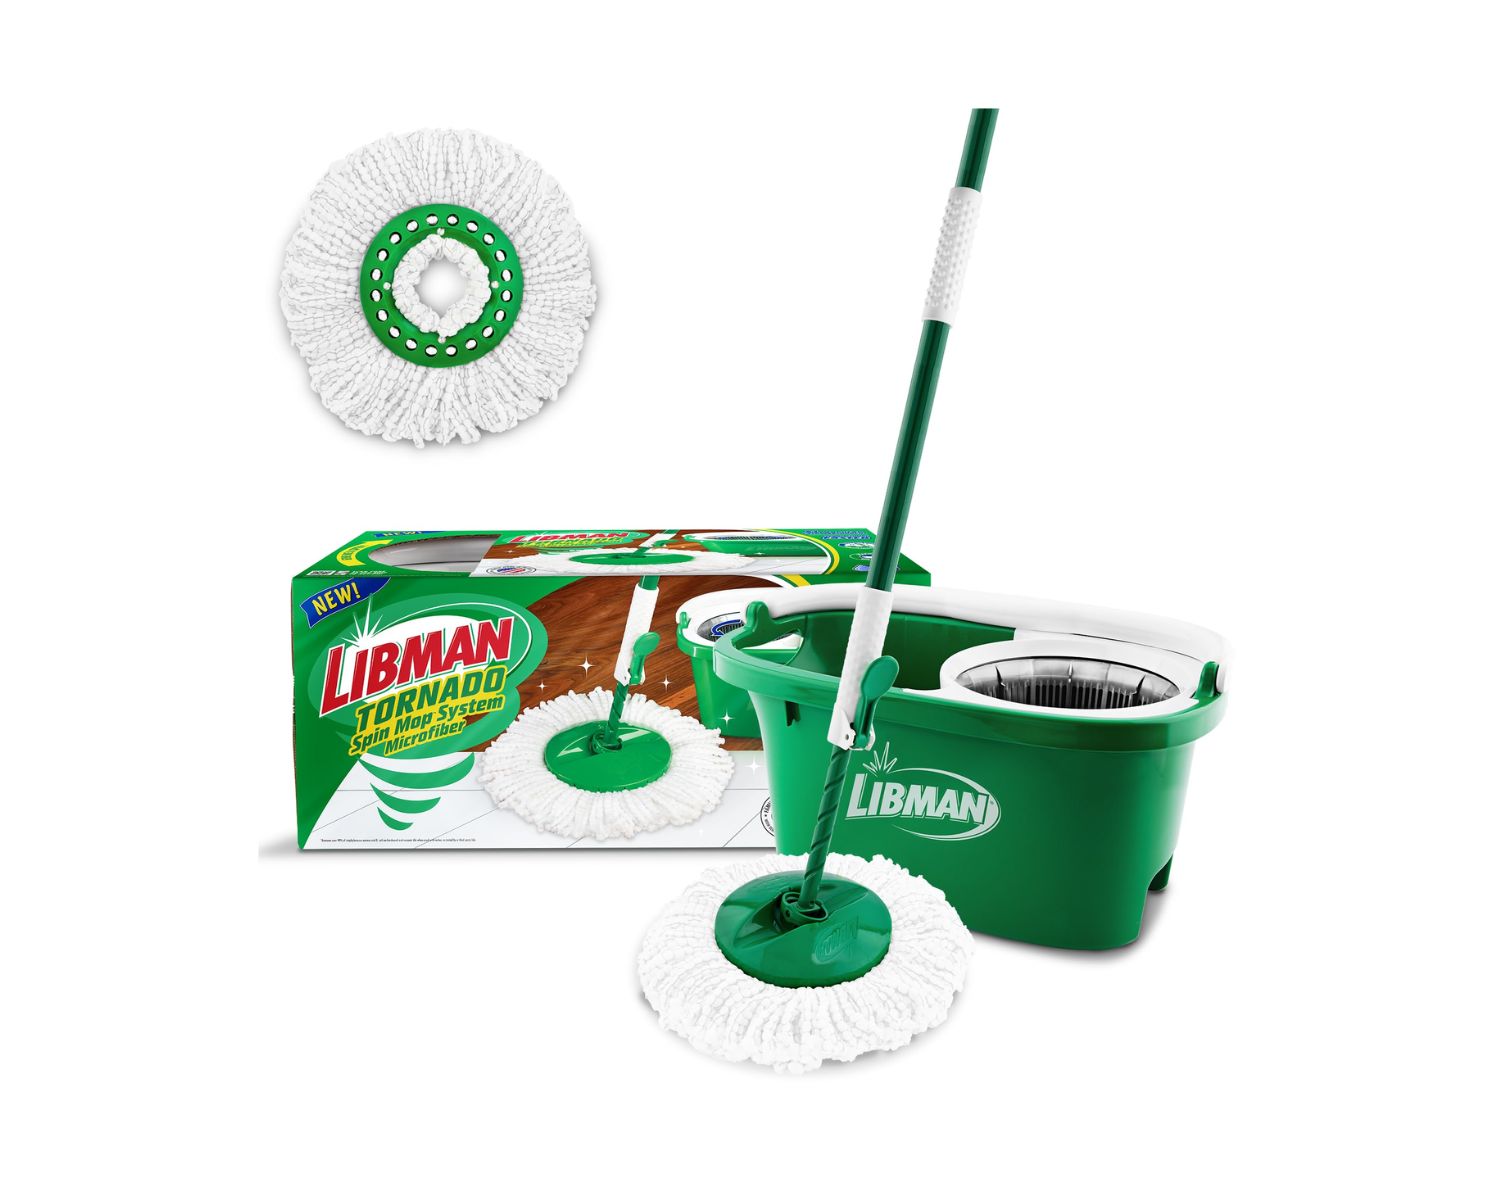
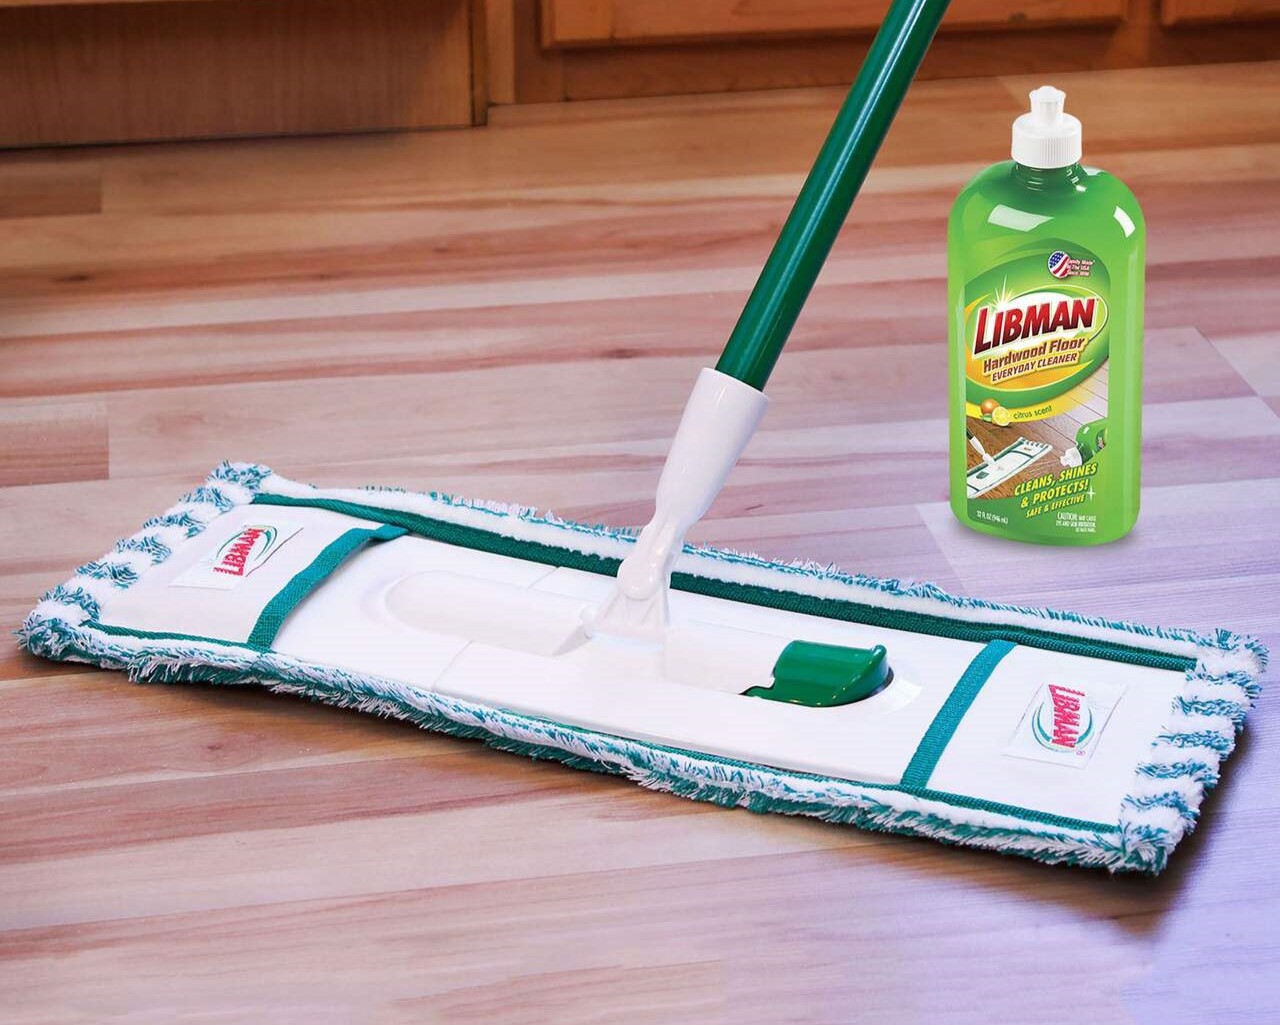
Welcome to the ultimate guide on how to change the mop head on your Libman mop! Whether you're a cleaning enthusiast or a novice, knowing how to properly replace the mop head is essential for maintaining a clean and hygienic home. The Libman mop is a versatile and effective cleaning tool, and knowing how to change its mop head will ensure that it continues to serve you well for years to come.
In this comprehensive guide, we will walk you through the step-by-step process of replacing the mop head on your Libman mop. You'll learn the tools you need, the techniques to remove the old mop head, and how to securely attach the new one. By the end of this tutorial, you'll feel confident and empowered to keep your floors sparkling clean with your Libman mop.
So, grab your mop and let's dive into the world of hassle-free mop head replacement!
Key Takeaways:
- Easily replace the mop head on your Libman mop by gathering materials, removing the old head, and securely attaching the new one. Keep your floors sparkling clean hassle-free!
- Revitalize your cleaning routine with a new mop head for your Libman mop. Secure attachment ensures efficient cleaning, leaving your floors sparkling and inviting.
Read more: How To Clean A Libman Mop Head
Step 1: Gather Your Materials
Before diving into the process of changing the mop head on your Libman mop, it’s essential to gather the necessary materials. Having the right tools at your disposal will streamline the process and ensure a seamless transition to the new mop head.
Here’s what you’ll need:
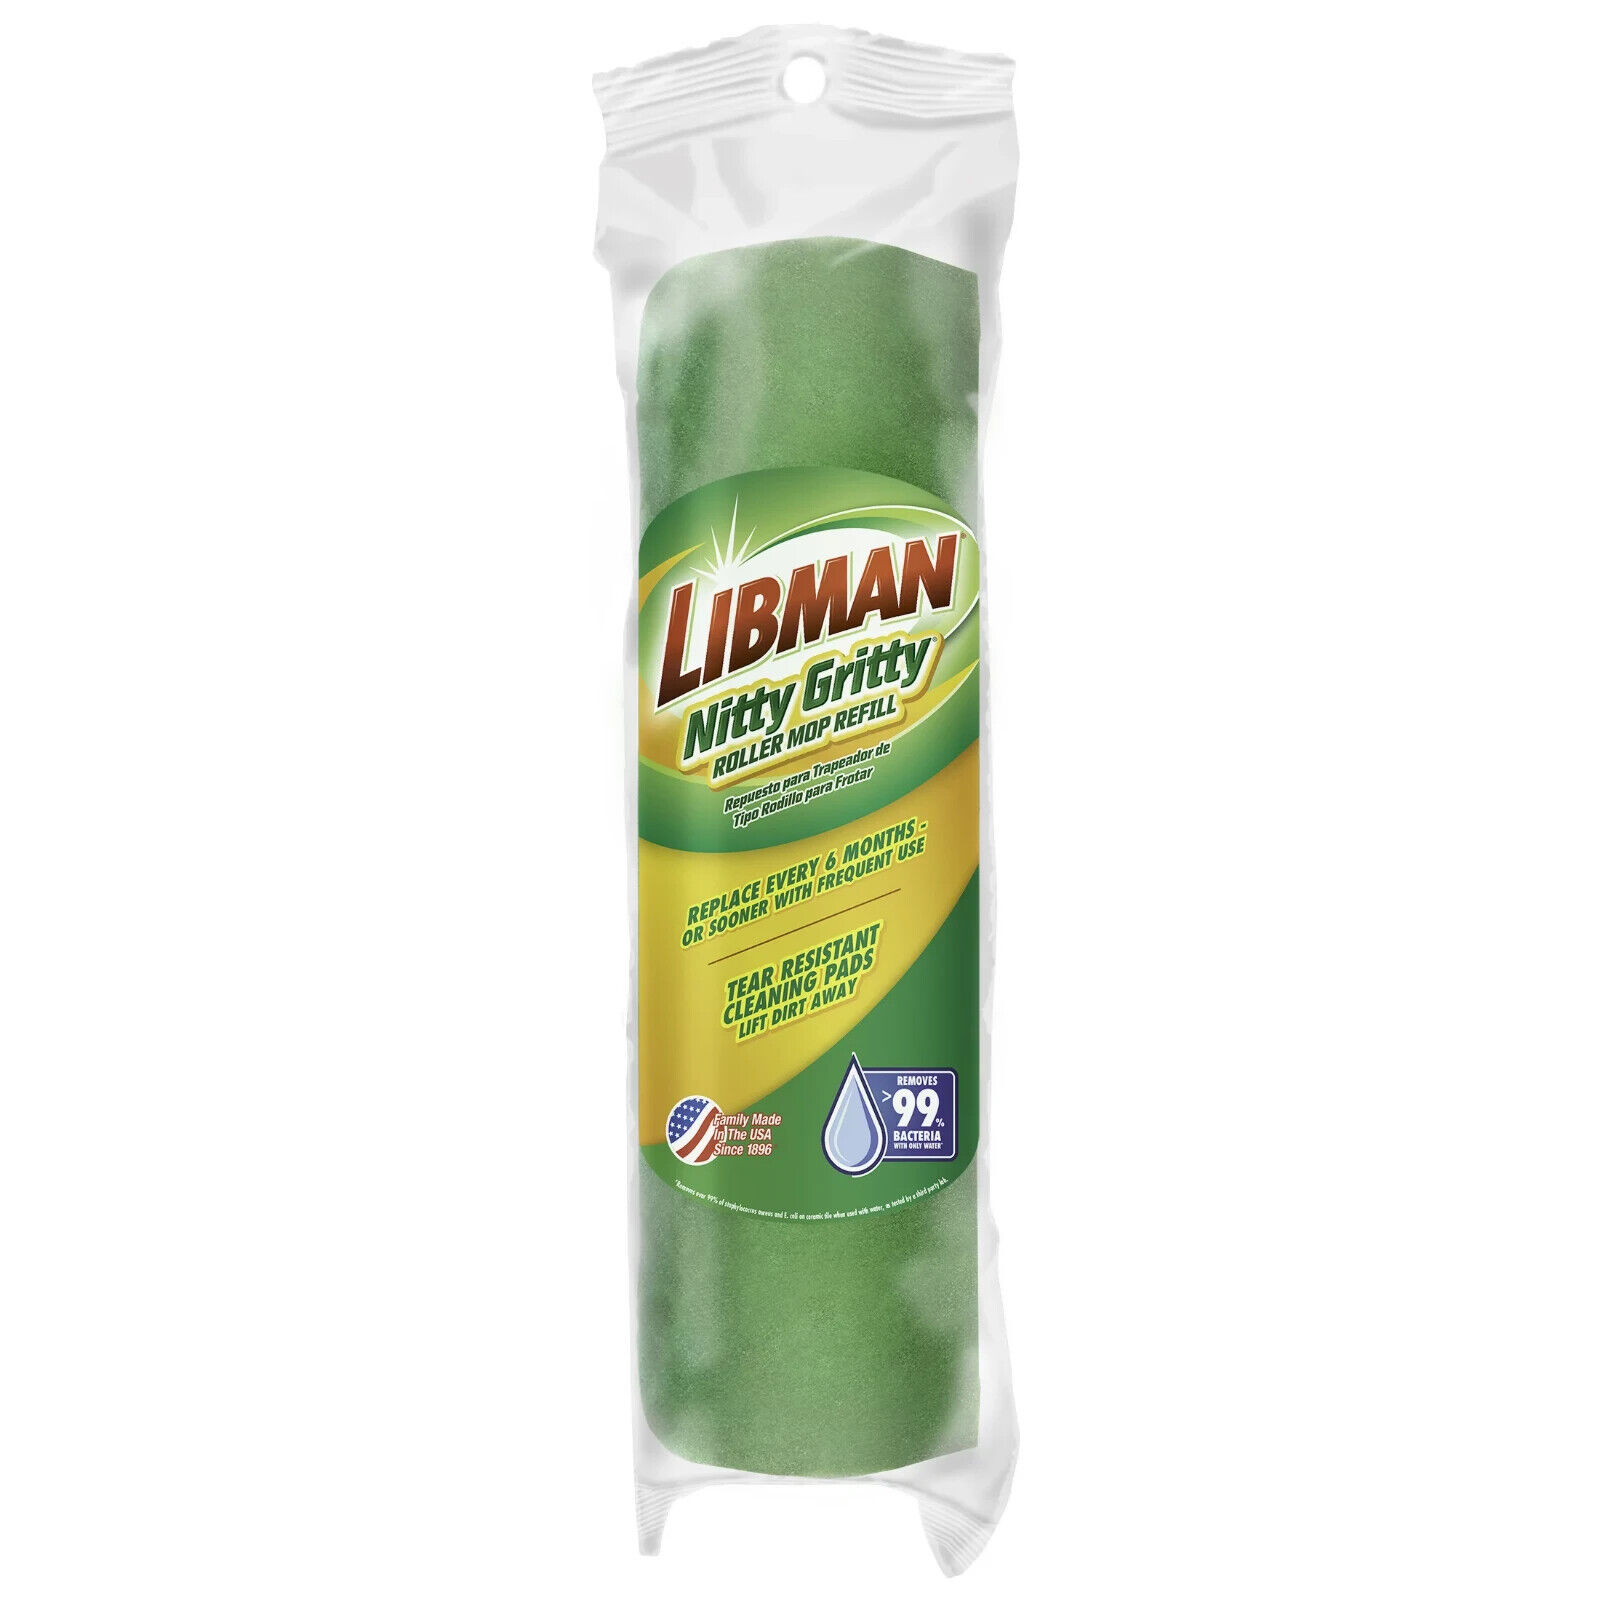
- New Mop Head: Ensure that you have a compatible replacement mop head specifically designed for your Libman mop model. This will guarantee a perfect fit and optimal cleaning performance.
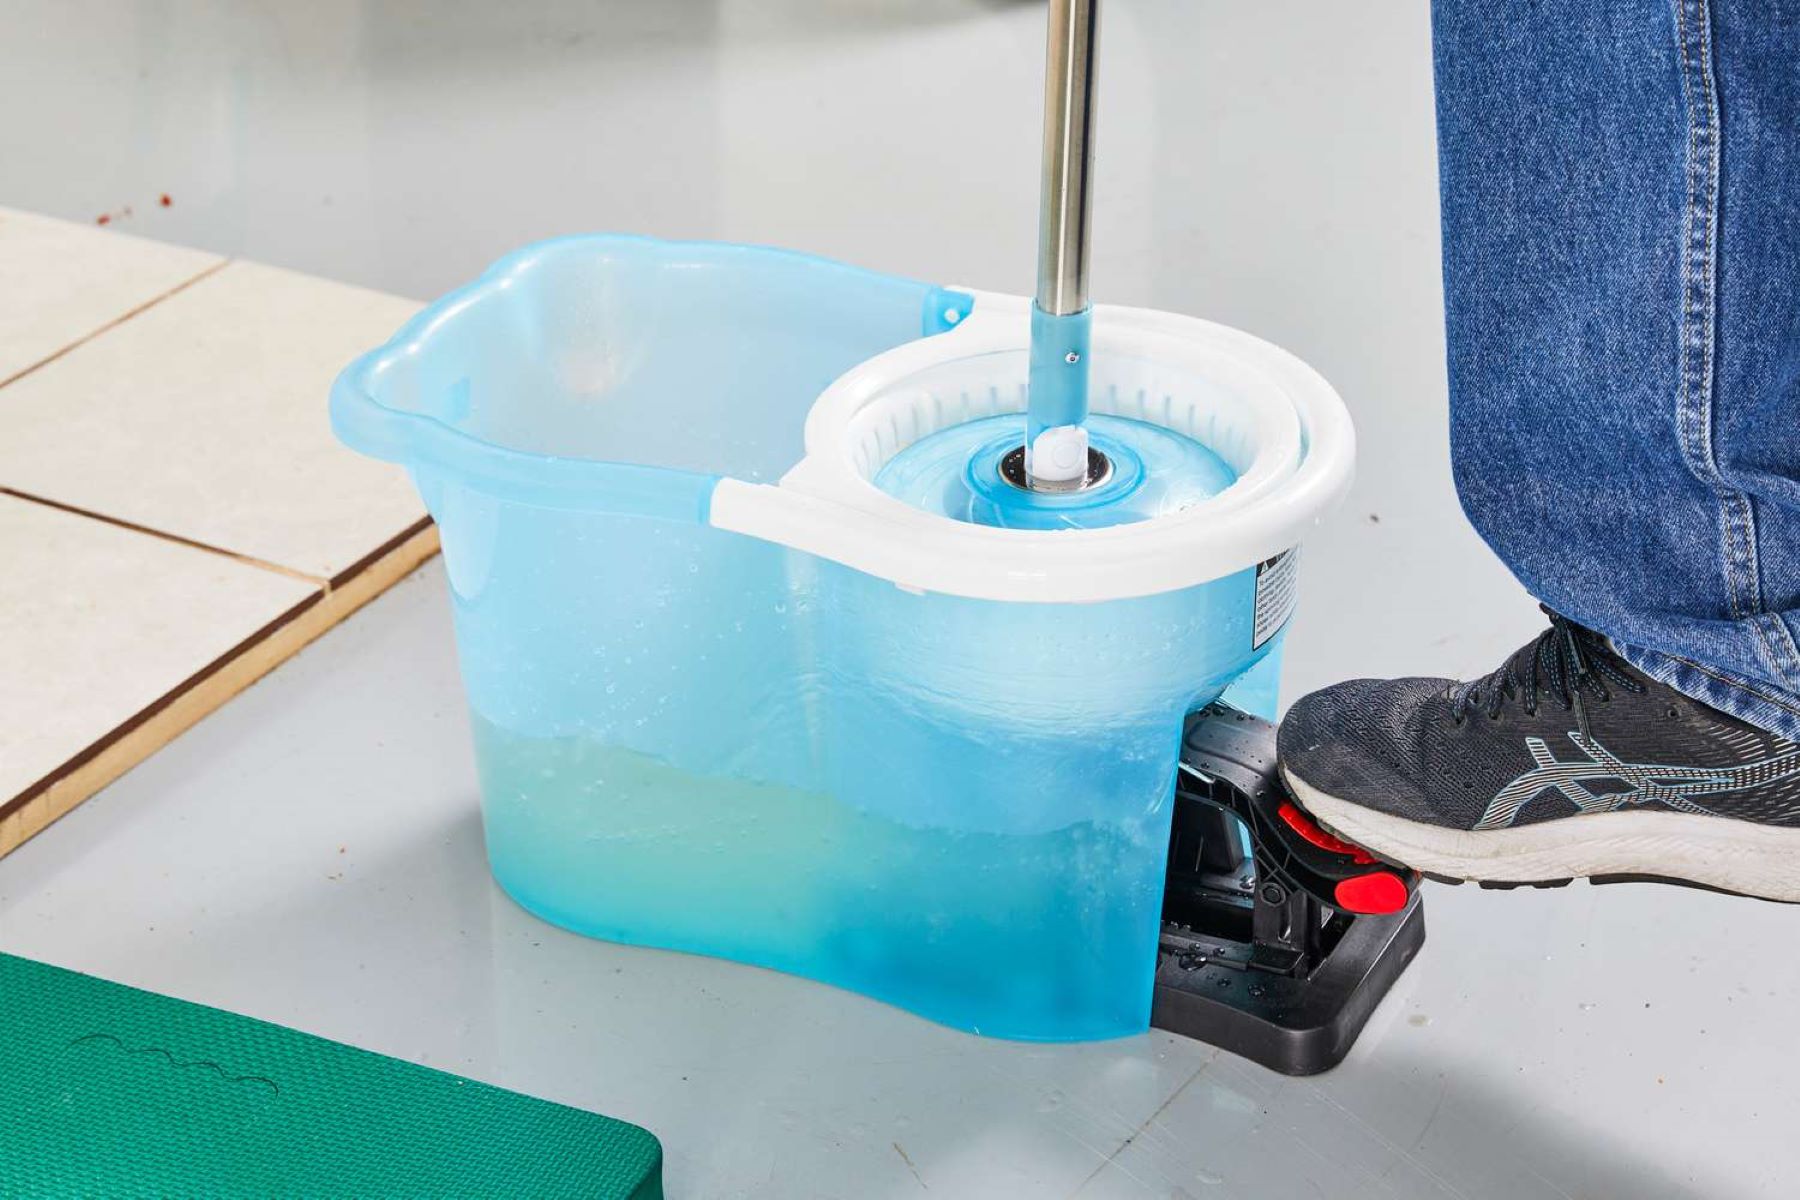
- Clean Water: Having a bucket of clean water nearby will be helpful for rinsing the new mop head before attaching it to the mop handle.
- Flat Surface: Find a flat and spacious area where you can comfortably work on replacing the mop head without any obstructions.
- Optional Cleaning Solution: Depending on your cleaning preferences, you may choose to have a mild cleaning solution or a floor cleaner on hand to prep the new mop head before use.
- Towels: Keeping a few clean towels nearby will help in drying the mop head or cleaning up any spills during the process.
By ensuring that you have all the necessary materials within reach, you’ll be well-prepared to smoothly transition from the old mop head to the new one, allowing you to maintain a clean and efficient cleaning routine.
Step 2: Remove the Old Mop Head
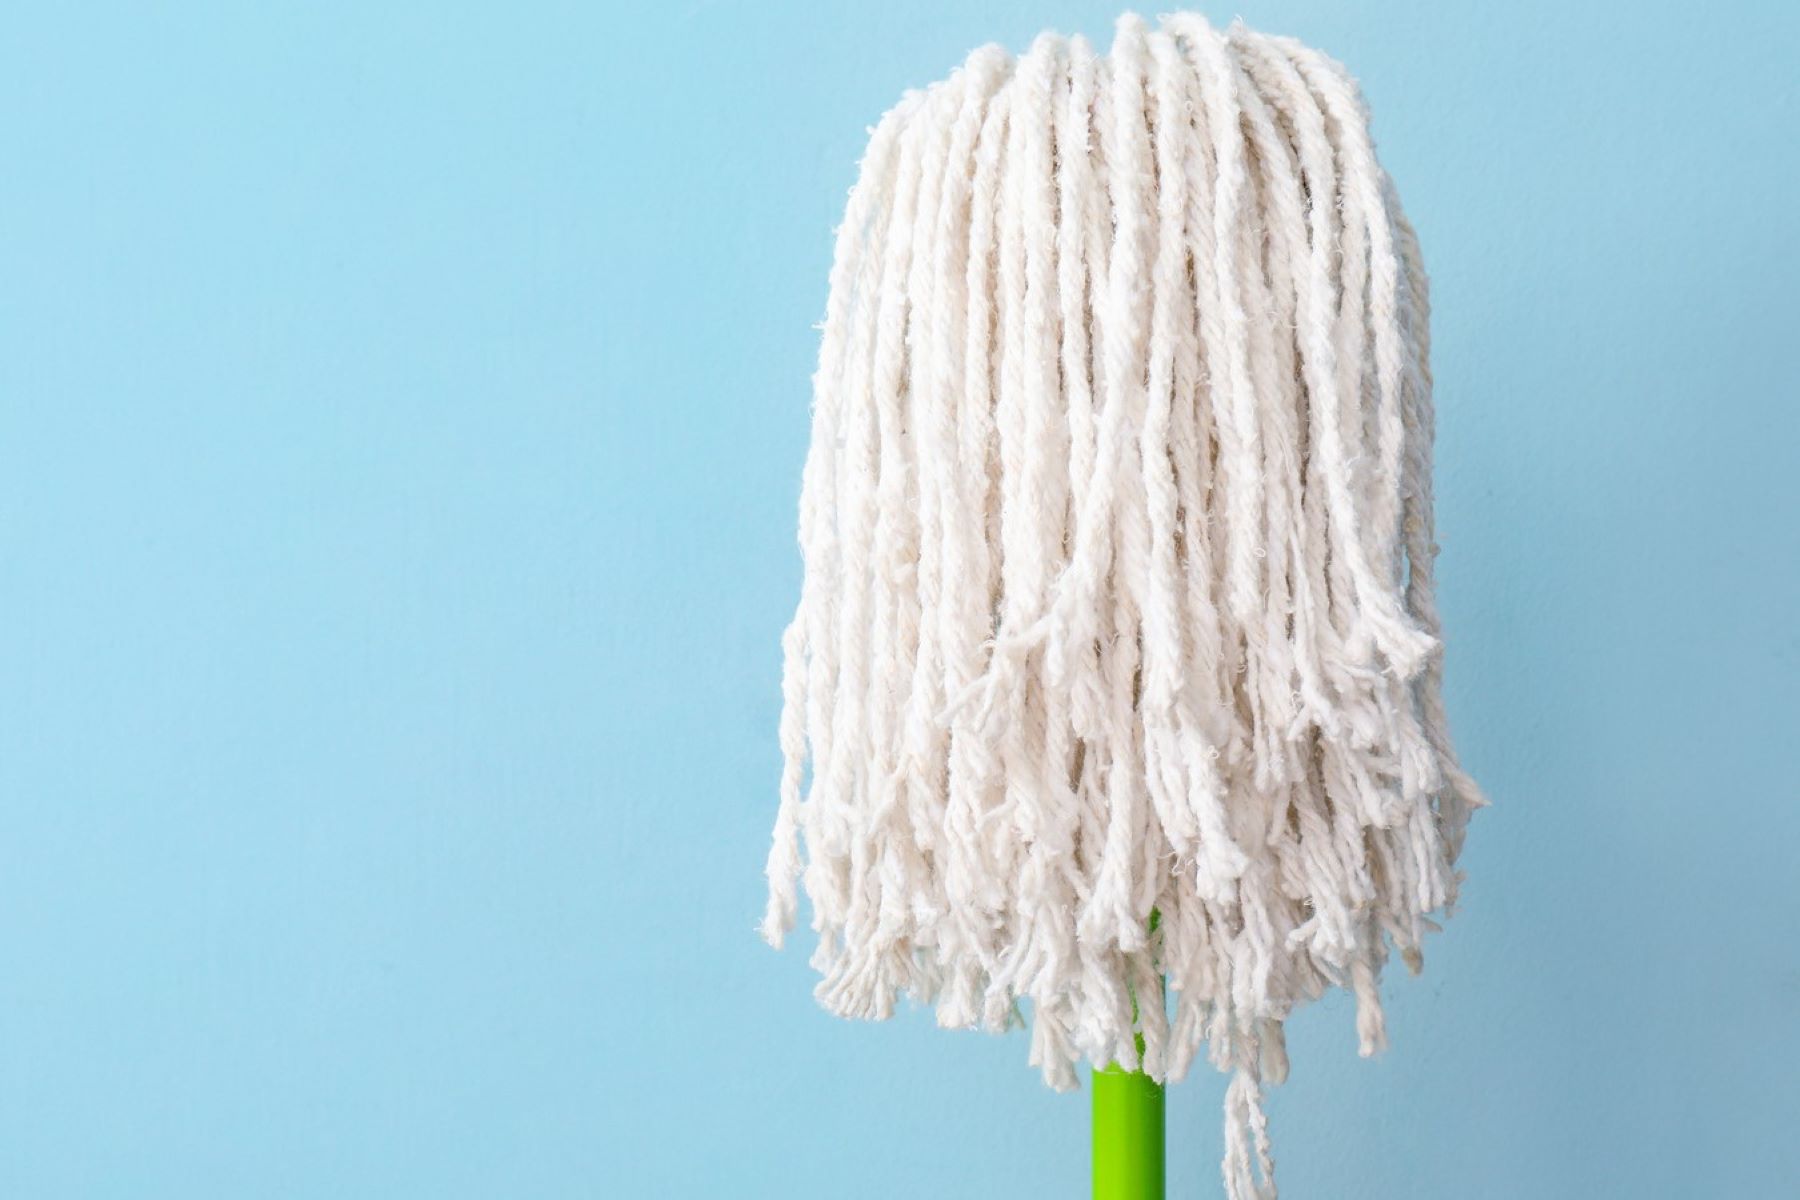
Now that you’ve gathered your materials, it’s time to bid farewell to the old mop head. Removing the old mop head from your Libman mop is a straightforward process that sets the stage for the introduction of a fresh, clean mop head. Follow these simple steps to seamlessly remove the old mop head:
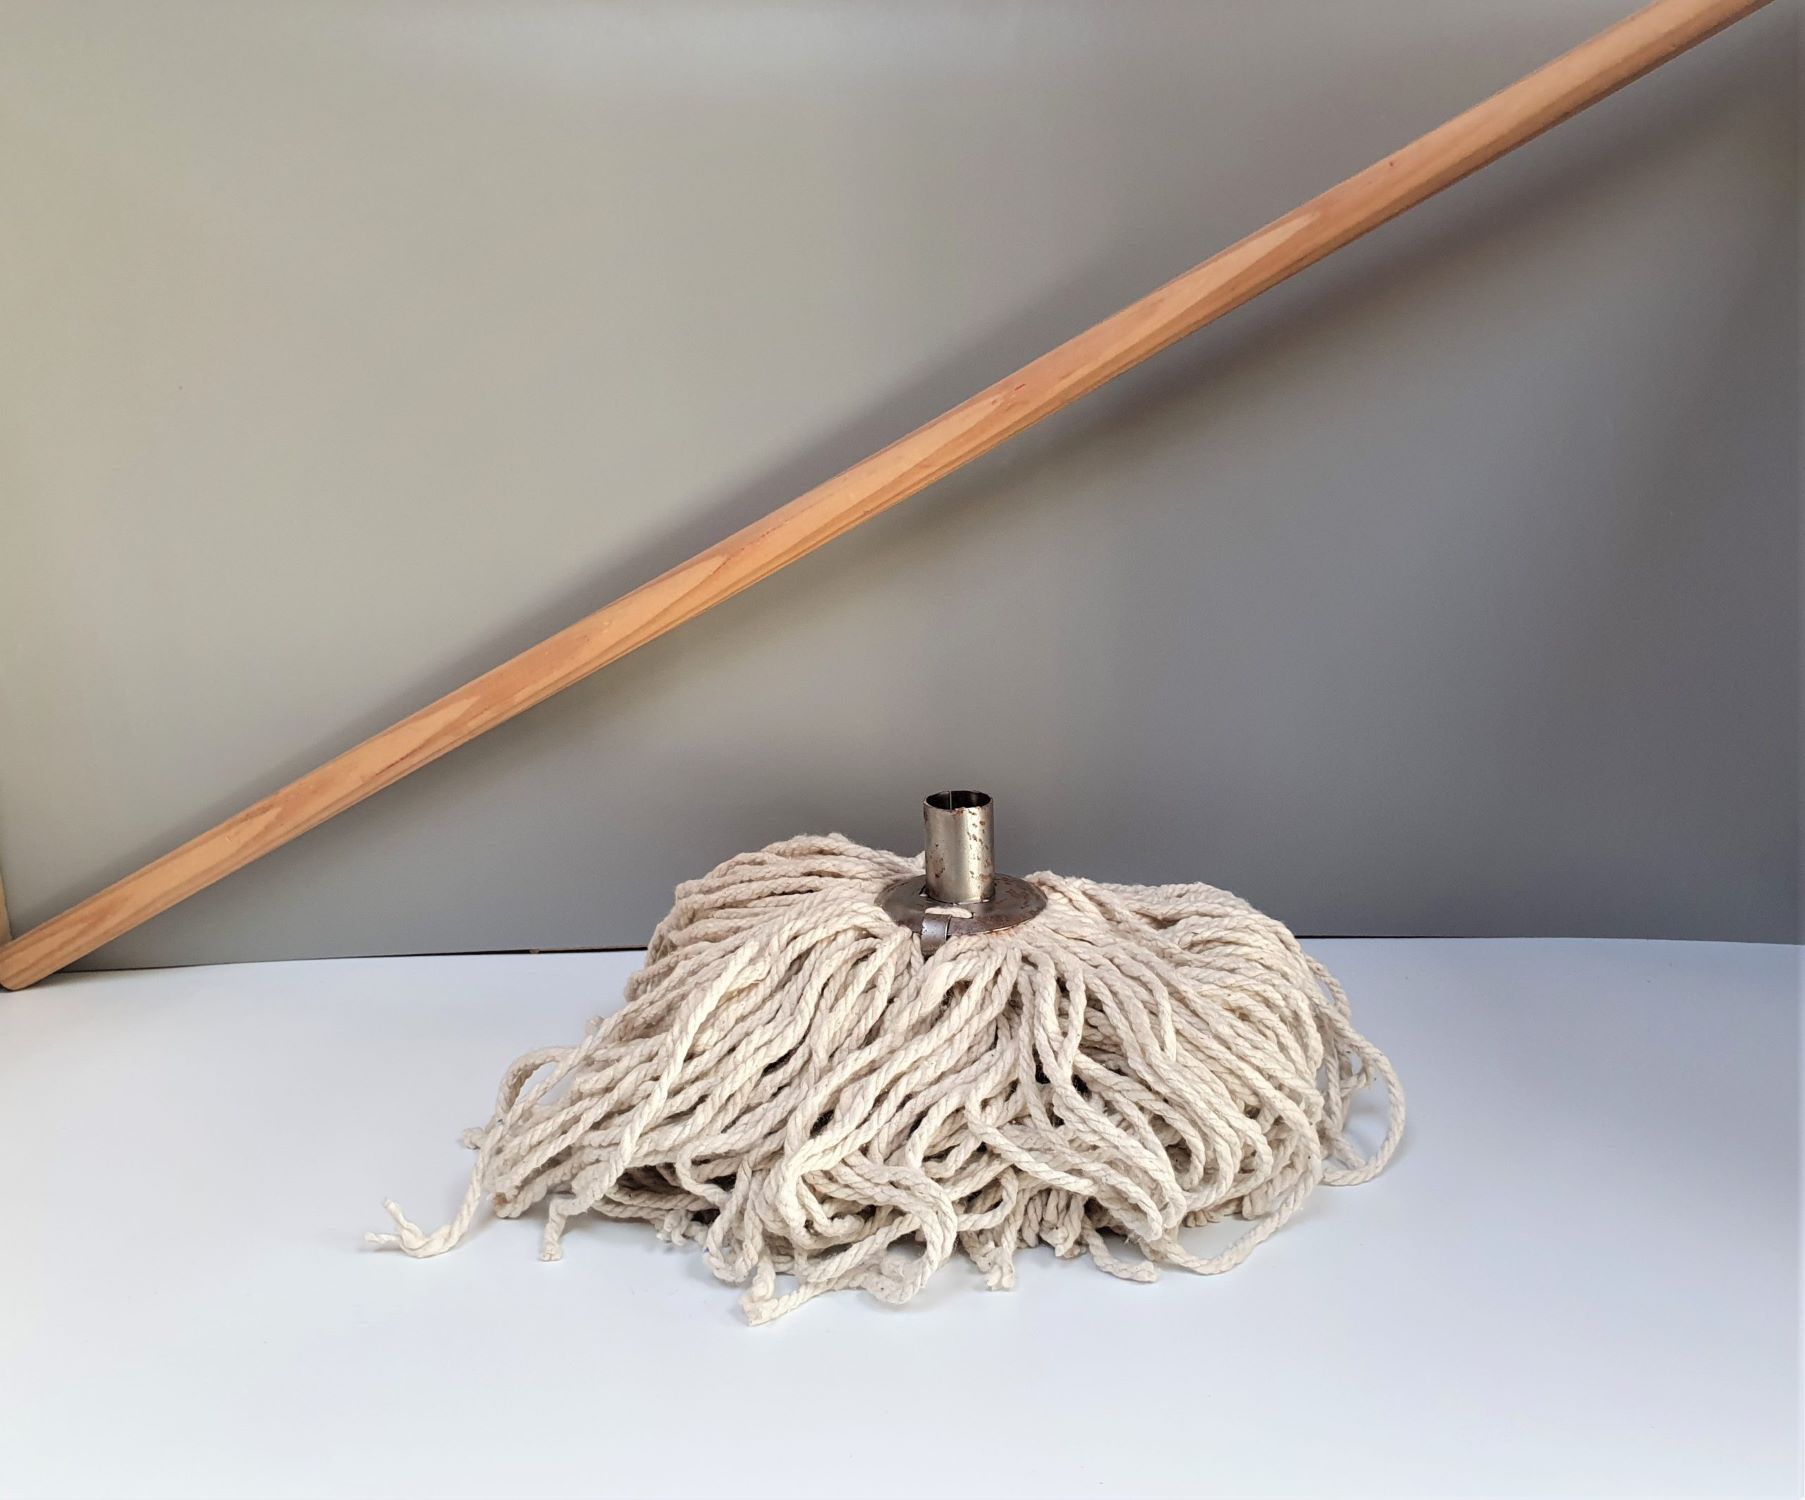
- Prepare the Mop: Lay the mop on a flat surface, ensuring that the mop head is easily accessible for removal. If the mop head is detachable, gently unscrew or unclip it from the mop handle, depending on the specific design of your Libman mop.
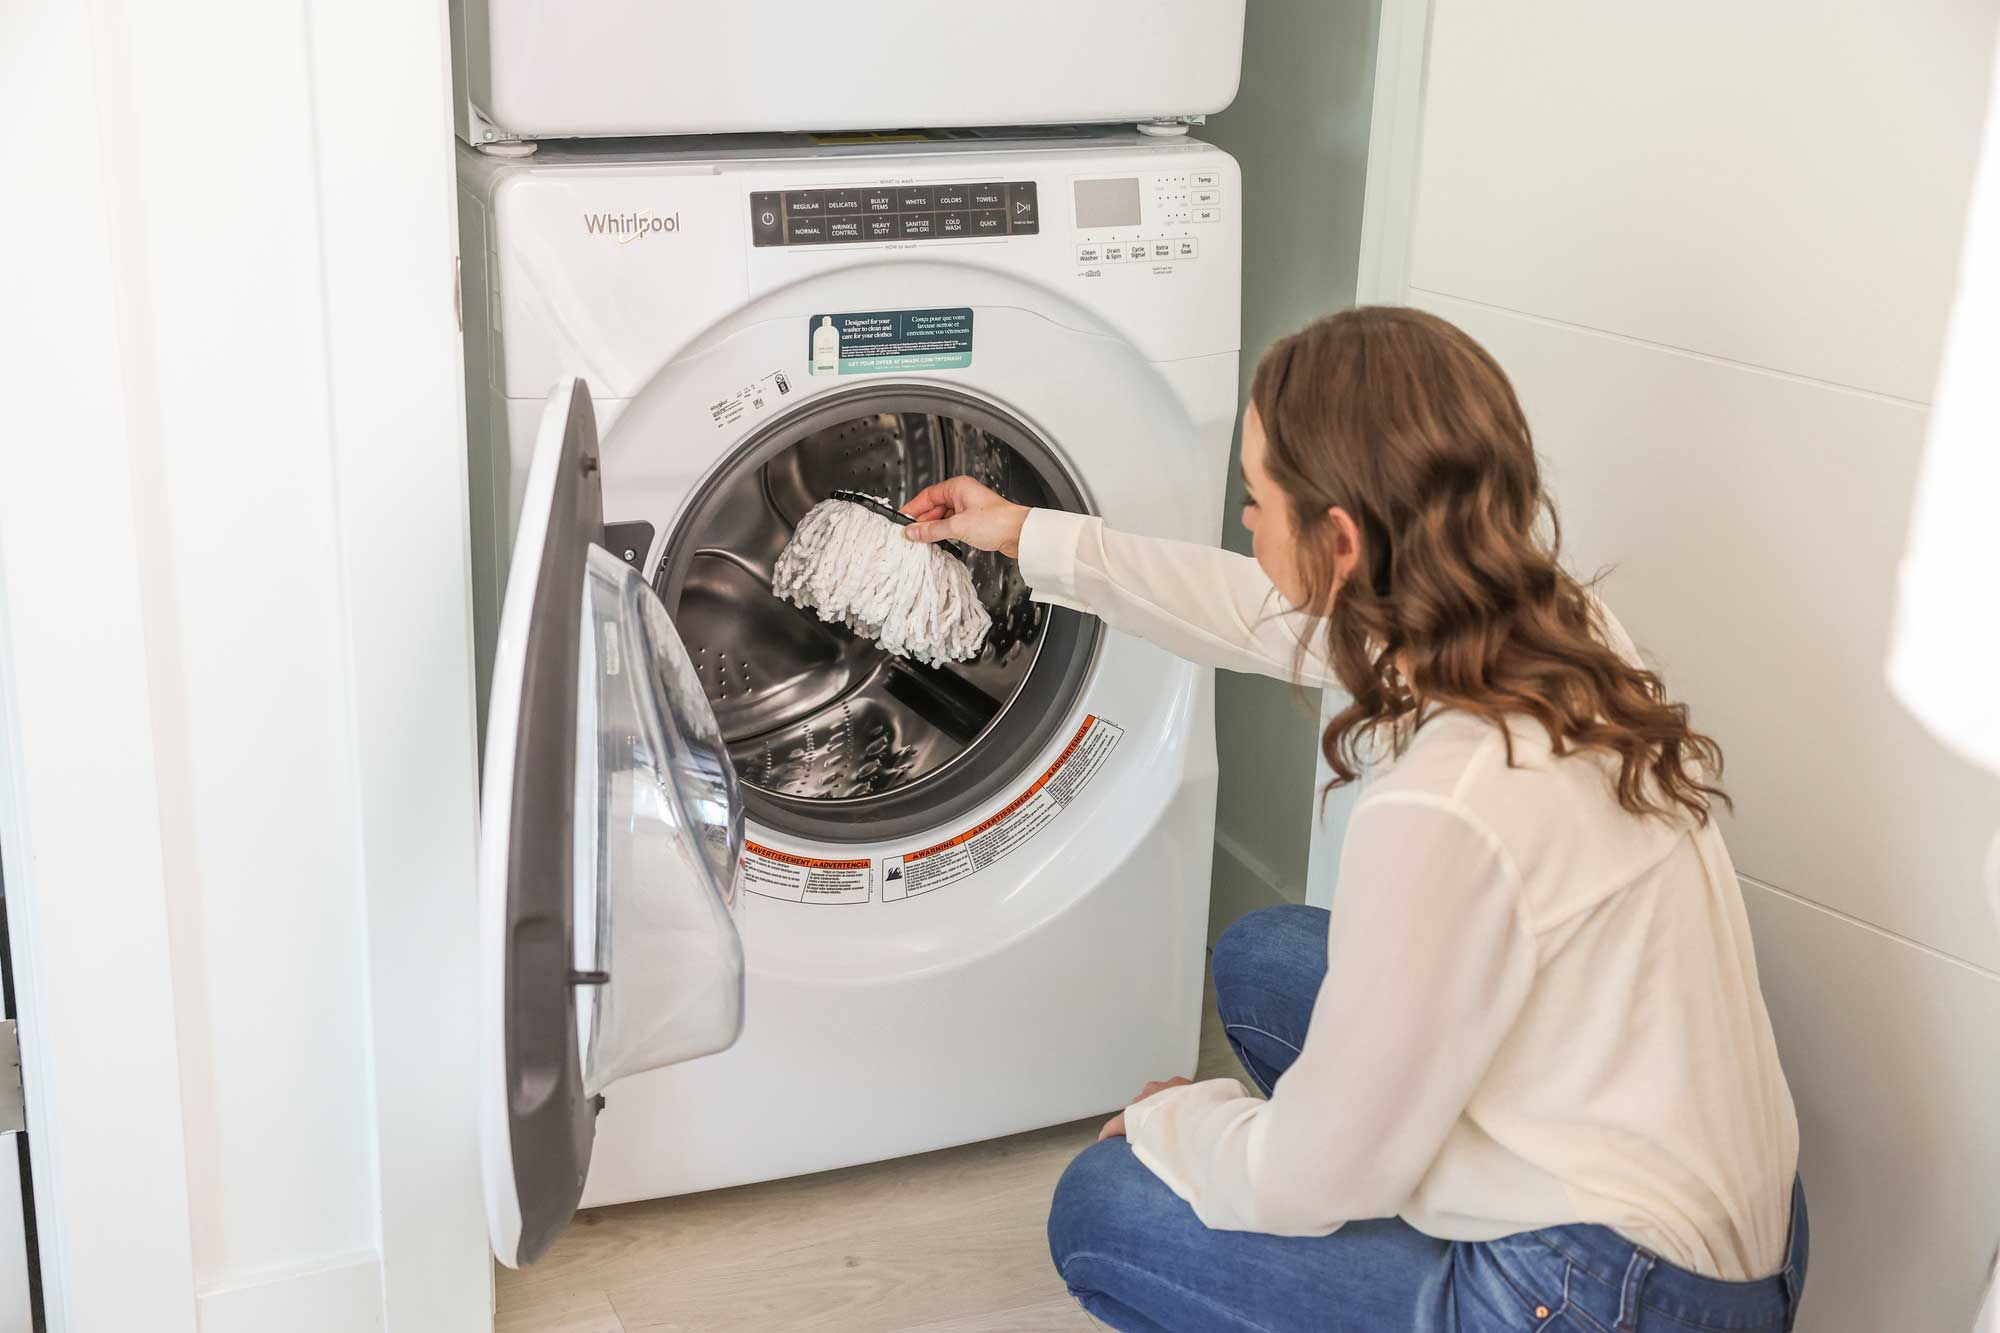
- Dispose of the Old Mop Head: Once the old mop head is detached, dispose of it responsibly. If the mop head is machine washable and reusable, consider washing it according to the manufacturer’s instructions for future use.
- Clean the Mop Handle: Take a moment to wipe down the mop handle with a damp cloth to ensure that it’s free from any dust, debris, or residual dirt from the old mop head.
By following these steps, you’ll successfully remove the old mop head from your Libman mop, clearing the way for the exciting transition to a new and pristine mop head. With the old mop head gracefully retired, it’s time to welcome its replacement with open arms.
To change the mop head on a Libman mop, simply unscrew the handle from the mop head, remove the old mop head, and attach the new mop head by screwing the handle back on.
Step 3: Attach the New Mop Head
With the old mop head gracefully retired, it’s time to introduce the new star of the show – the fresh and clean mop head that will revitalize your Libman mop. Follow these simple steps to seamlessly attach the new mop head and prepare it for action:
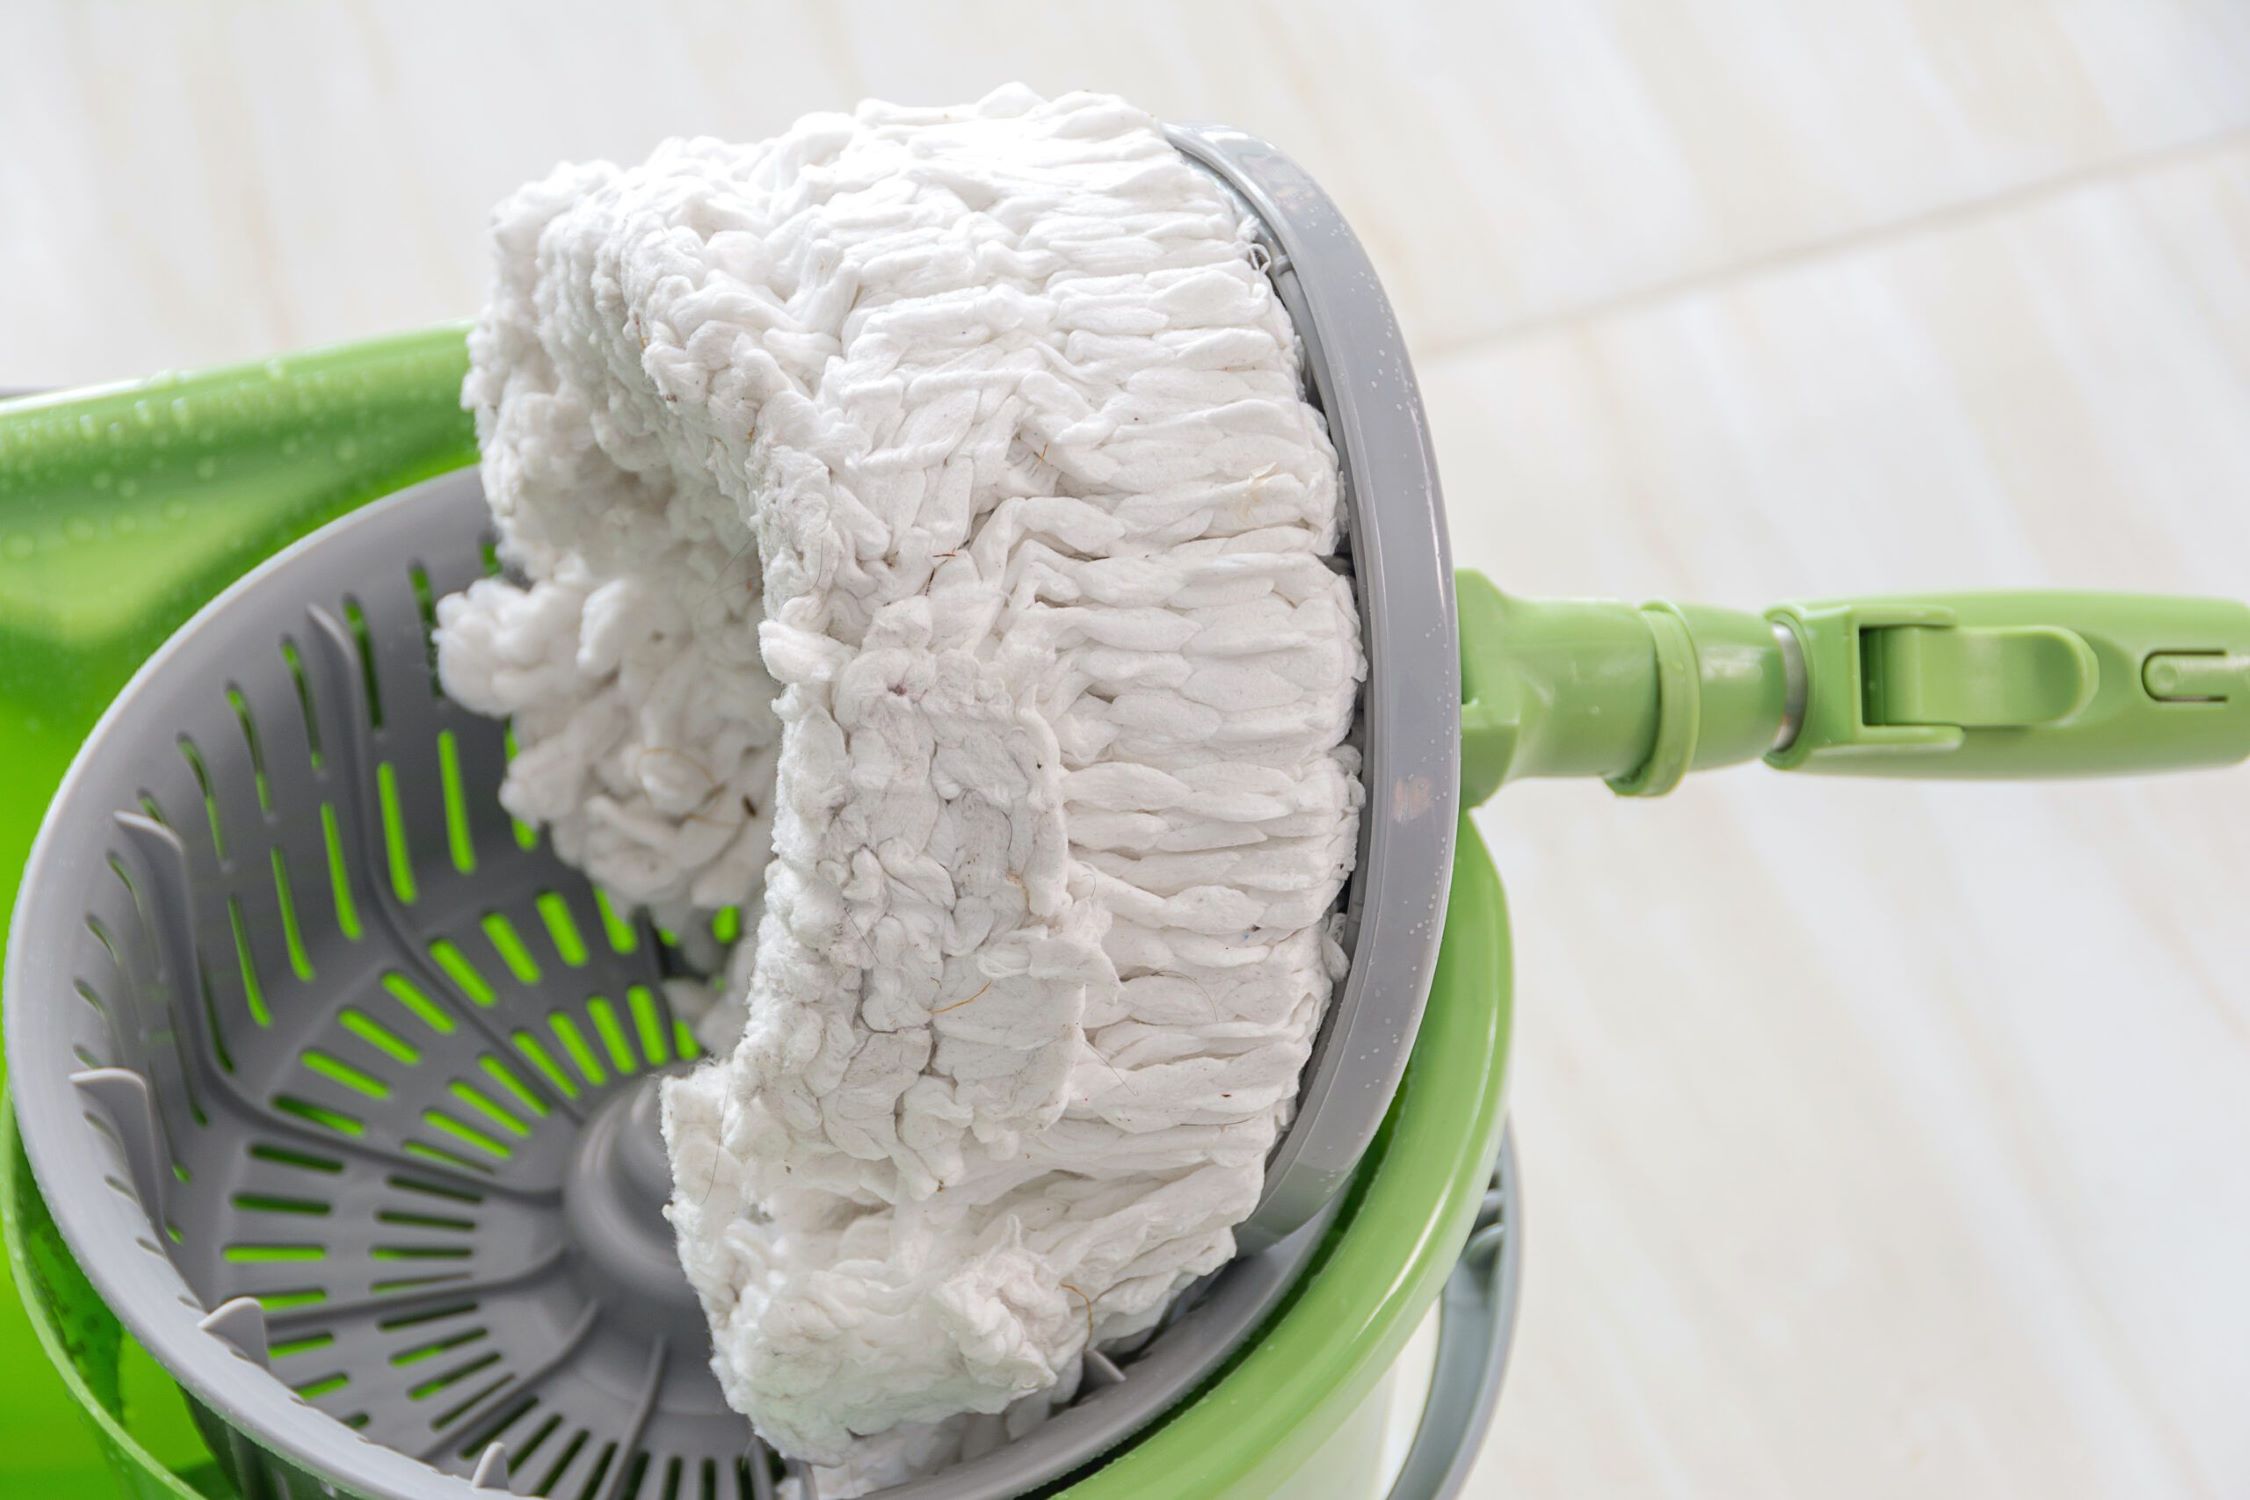
- Prepare the New Mop Head: If your new mop head is machine washable, consider giving it a quick rinse with clean water to remove any manufacturing residues and ensure its optimal cleaning performance.
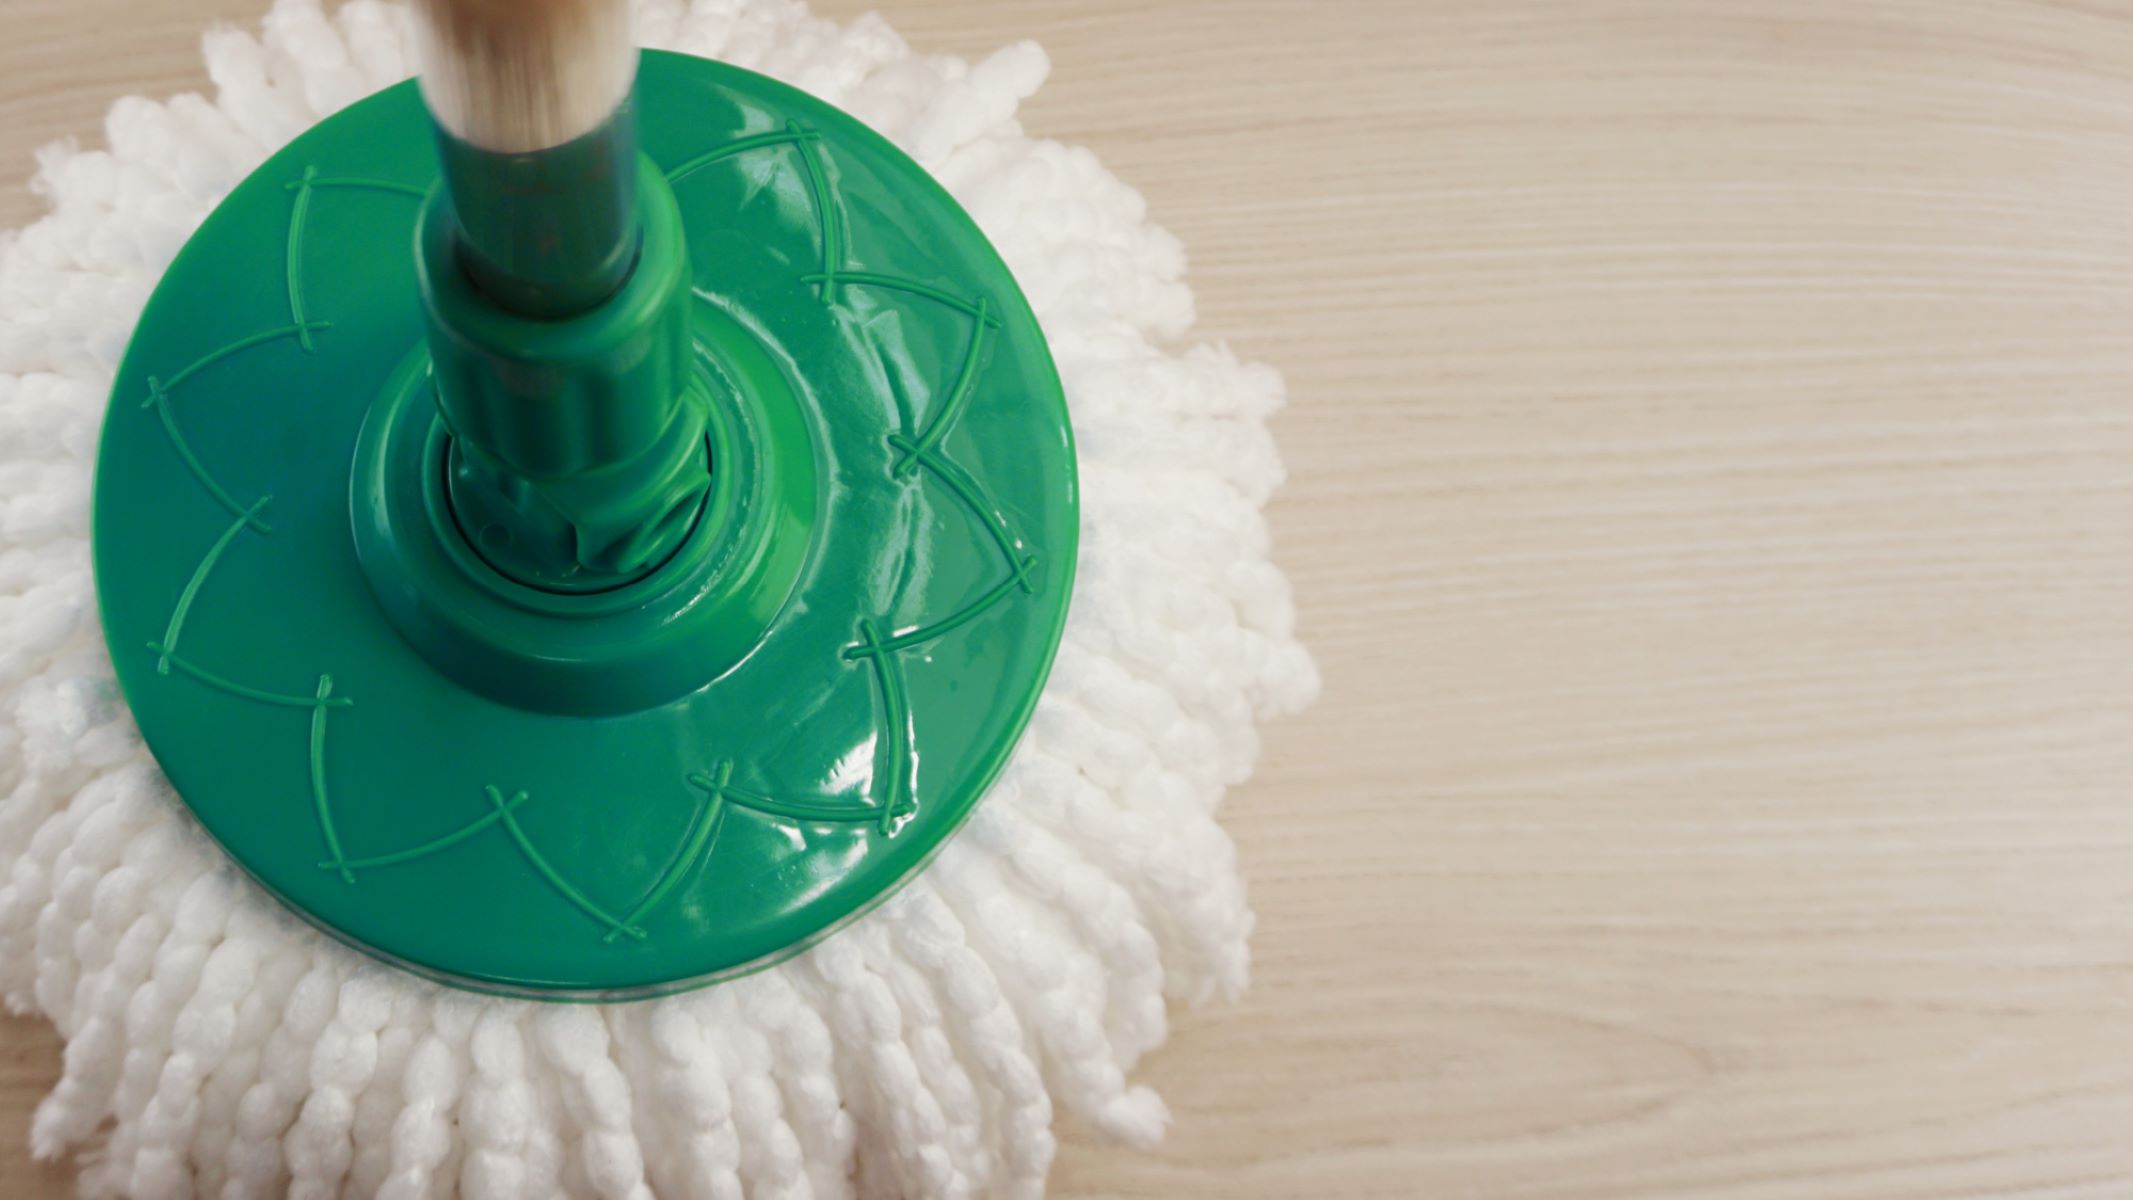
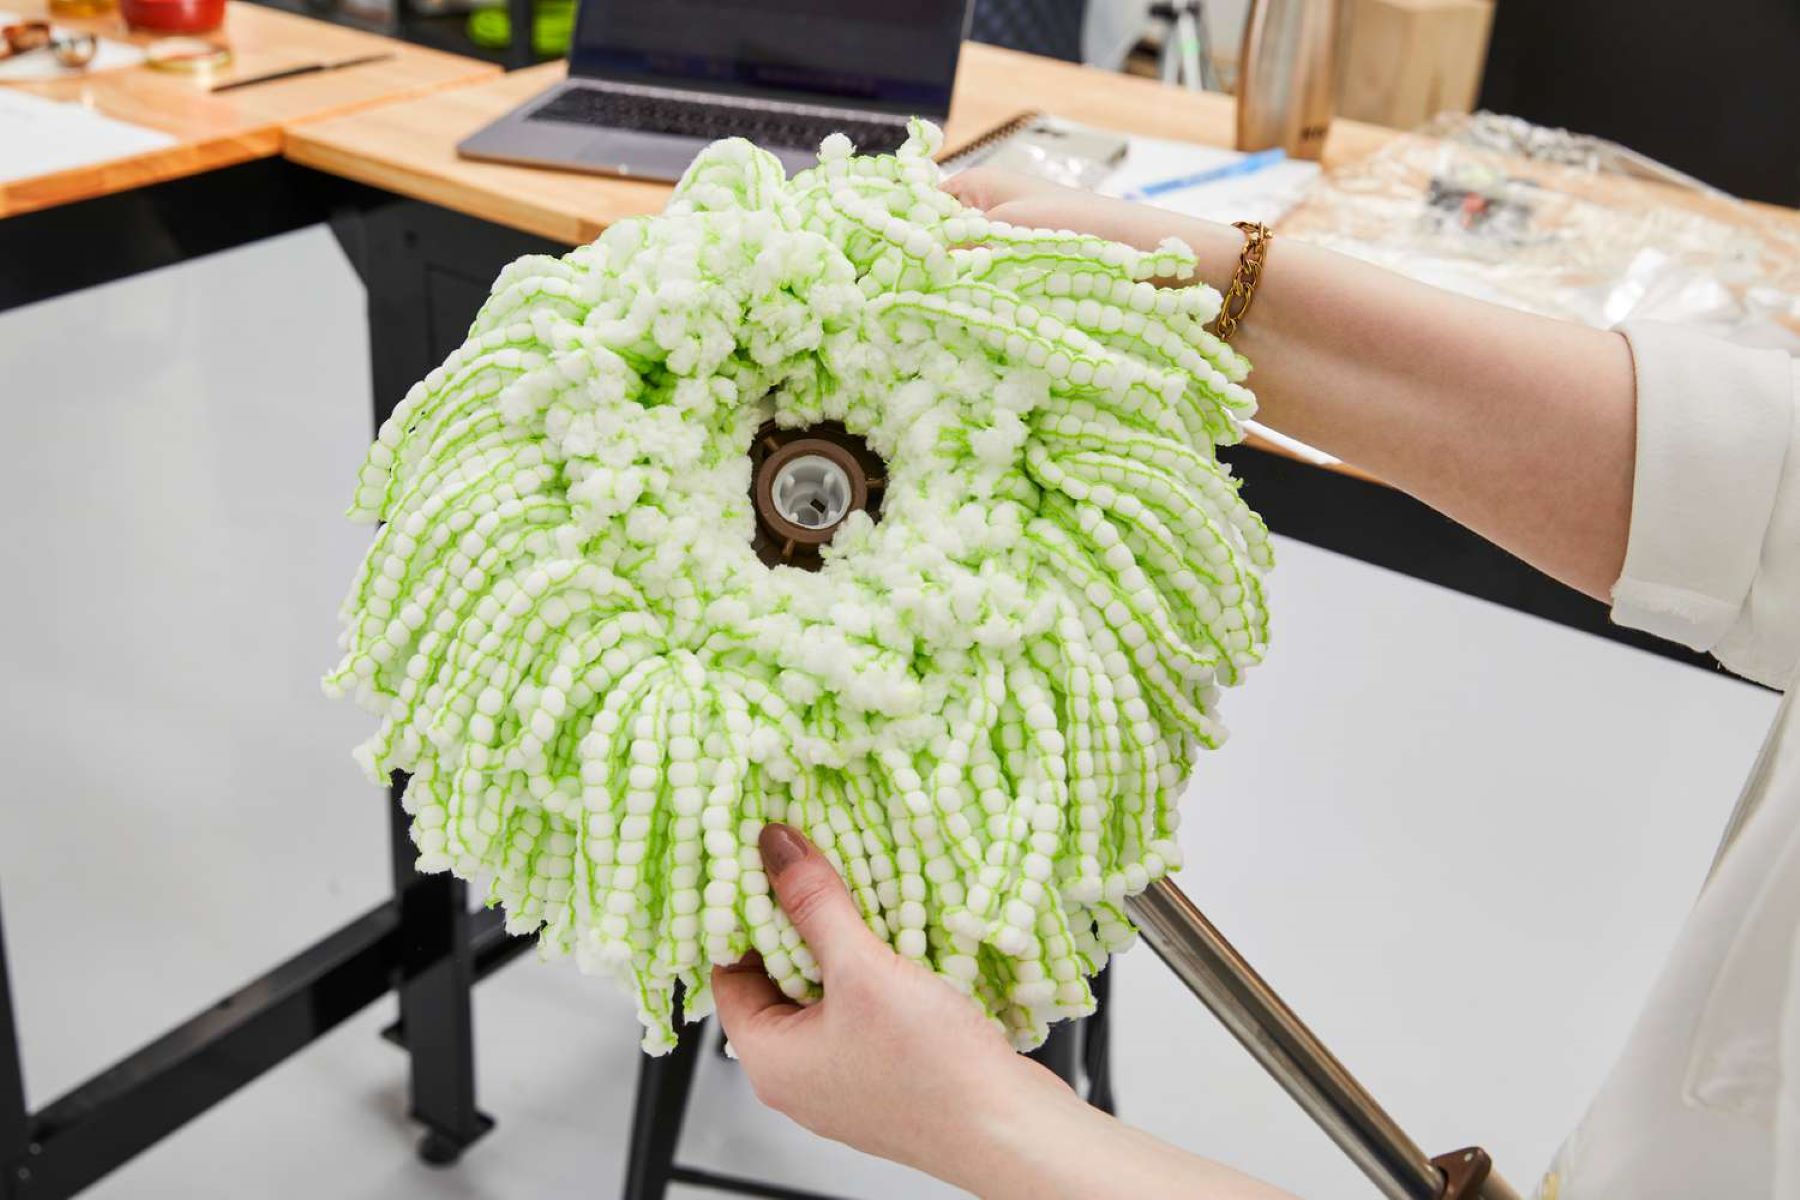
- Align the Mop Head: Position the new mop head in alignment with the mop handle, ensuring that it securely fits into place. If your Libman mop features a twist-on or clip-on mechanism, follow the manufacturer’s instructions to attach the mop head securely.
- Secure the Attachment: Once the new mop head is aligned with the mop handle, ensure that it is securely fastened to prevent any wobbling or detachment during cleaning. This step is crucial for maintaining stability and maximizing the effectiveness of your Libman mop.
By following these steps, you’ll seamlessly attach the new mop head to your Libman mop, setting the stage for a rejuvenated cleaning experience. With the new mop head in place, your Libman mop is ready to tackle dirt, spills, and grime with renewed vigor, ensuring that your floors gleam with cleanliness.
Step 4: Secure the Mop Head
Now that the new mop head is in place, it’s crucial to ensure that it is securely fastened to the mop handle. A properly secured mop head not only enhances cleaning efficiency but also minimizes the risk of detachment during use. Follow these essential steps to secure the new mop head on your Libman mop:
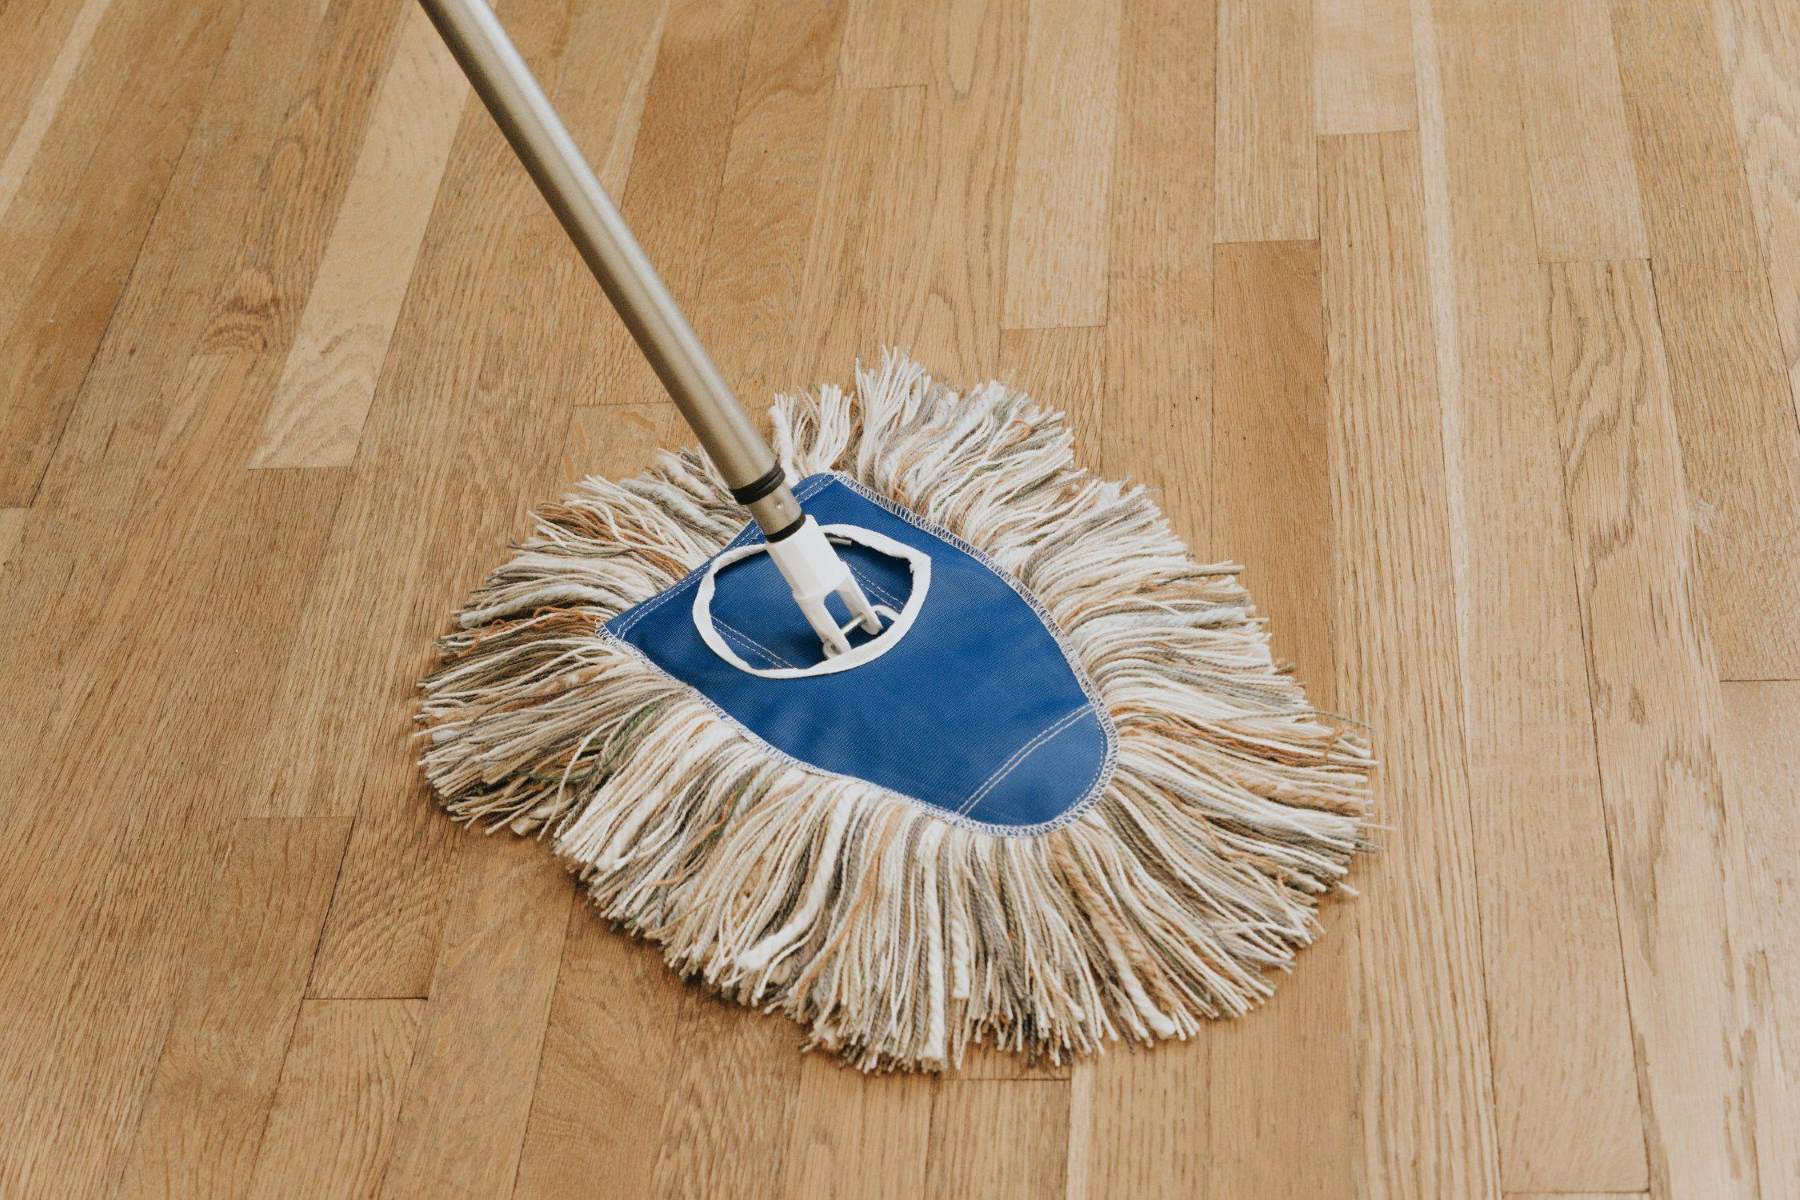
- Double-Check the Attachment: Take a moment to inspect the attachment of the new mop head, ensuring that it is firmly and evenly secured to the mop handle. Any loose or uneven attachment can affect the mop’s performance and stability during cleaning.
- Test the Stability: Gently give the mop head a few light tugs to confirm its stability. A securely attached mop head should remain firmly in place without any wobbling or shifting, indicating that it’s ready for action.
- Adjust if Necessary: If you notice any signs of instability or uneven attachment, carefully readjust the mop head to achieve a secure and balanced fit. This simple step can make a significant difference in the overall performance of your Libman mop.
By following these steps, you’ll ensure that the new mop head is securely fastened to your Libman mop, guaranteeing a hassle-free and effective cleaning experience. With the mop head firmly in place, you can confidently glide across your floors, knowing that your Libman mop is poised to deliver exceptional cleaning results.
Read more: How To Remove Mop Head From Libman Spin Mop
Conclusion
Congratulations! You’ve successfully mastered the art of changing the mop head on your Libman mop. By following the step-by-step process outlined in this guide, you’ve empowered yourself to maintain a clean and hygienic home with ease. As you stand back and admire your freshly rejuvenated Libman mop, it’s time to revel in the satisfaction of knowing that your cleaning arsenal is ready for any mess that comes its way.
Remember, the process of changing the mop head is not just a chore; it’s an opportunity to revitalize your cleaning routine and ensure that your floors receive the care and attention they deserve. With a new mop head in place, your Libman mop is poised to tackle spills, dirt, and grime, leaving your floors sparkling clean and inviting.
As you embark on your next cleaning adventure, armed with your newly replaced mop head, take pride in the knowledge that you’ve mastered an essential aspect of maintaining a clean and healthy living environment. Embrace the convenience and effectiveness of your Libman mop, and let its renewed cleaning prowess elevate your home maintenance experience.
So go ahead, put your freshly adorned Libman mop to the test, and revel in the joy of effortlessly gliding across your floors, knowing that you’ve seamlessly transitioned to a new chapter of cleaning excellence.
Here’s to a sparkling clean home, courtesy of your newly revitalized Libman mop!
Frequently Asked Questions about How To Change Mop Head On Libman Mop
Was this page helpful?
At Storables.com, we guarantee accurate and reliable information. Our content, validated by Expert Board Contributors, is crafted following stringent Editorial Policies. We're committed to providing you with well-researched, expert-backed insights for all your informational needs.


0 thoughts on “How To Change Mop Head On Libman Mop”