Home>Home Appliances>Cleaning Appliances>How To Clean A Libman Mop Head
Cleaning Appliances
How To Clean A Libman Mop Head
Modified: August 23, 2024
Learn how to effectively clean a Libman mop head and keep your cleaning appliances in top condition with our step-by-step guide. Keep your mop head fresh and ready for action!
(Many of the links in this article redirect to a specific reviewed product. Your purchase of these products through affiliate links helps to generate commission for Storables.com, at no extra cost. Learn more)
Introduction
Welcome to the ultimate guide on how to effectively clean a Libman mop head! Keeping your mop head clean is crucial for maintaining a hygienic home environment and ensuring that your floors are sparkling clean with every use. As we delve into the step-by-step process of cleaning a Libman mop head, you'll discover valuable tips and techniques to help you achieve outstanding results.
A clean mop head not only enhances the efficiency of your cleaning routine but also prolongs the lifespan of your mop, saving you money in the long run. Whether you're dealing with everyday dirt and grime or tackling stubborn stains, this comprehensive guide will equip you with the knowledge and expertise to restore your Libman mop head to its pristine condition.
Throughout this guide, we'll explore the essential supplies you'll need, the meticulous process of removing and washing the mop head, and the best practices for drying and reattaching it. By the end, you'll be equipped with the confidence and know-how to maintain a spotless Libman mop head, ensuring that your floors receive the care and attention they deserve.
So, roll up your sleeves and get ready to transform your cleaning routine as we embark on this journey to master the art of cleaning a Libman mop head!
Key Takeaways:
- Regular maintenance of your Libman mop head ensures long-lasting cleanliness and performance, making it a crucial part of your household cleaning routine.
- Pre-treating stains and ensuring thorough drying not only enhances cleaning efficacy but also preserves the quality and extends the lifespan of your Libman mop.
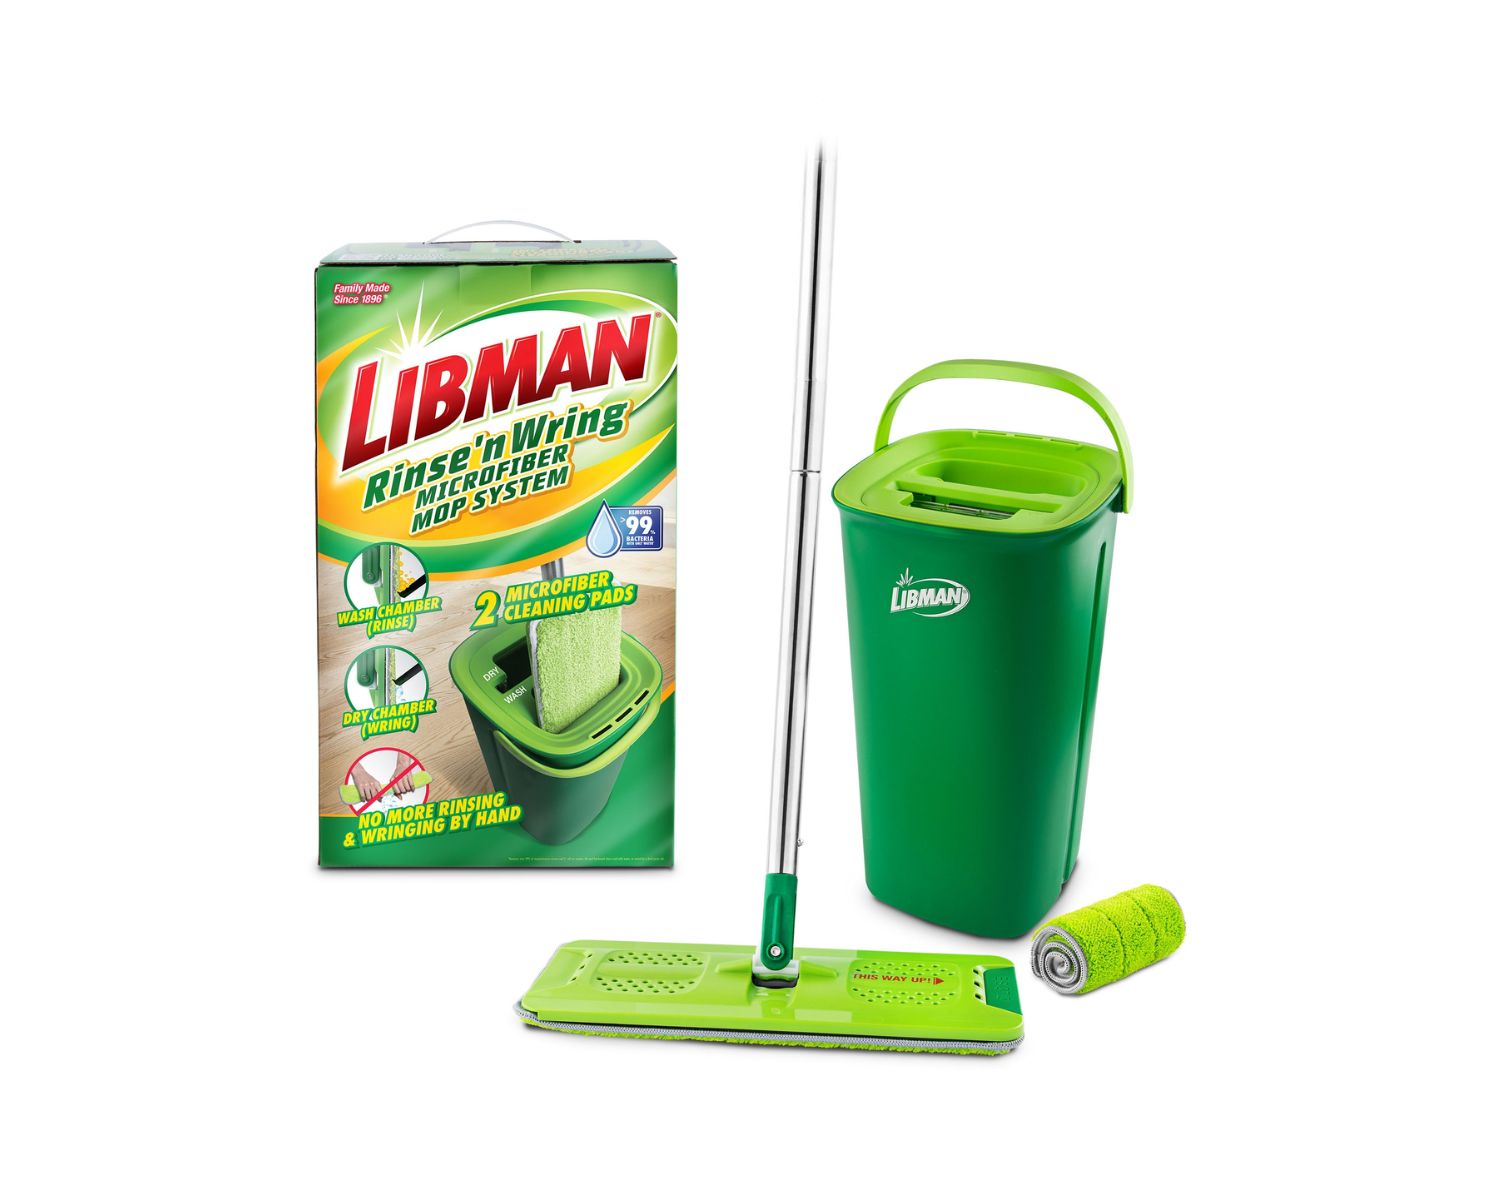
Read more: How To Change Mop Head On Libman Mop
Gather Your Supplies
Before diving into the cleaning process, it’s essential to gather the necessary supplies to ensure a thorough and effective cleaning session for your Libman mop head. Here’s a list of items you’ll need:
- Bucket: A sturdy bucket large enough to accommodate the mop head and allow for ample soaking and rinsing.
- Mild Detergent: Opt for a gentle, non-abrasive detergent to preserve the quality of the mop head fibers.
- White Vinegar: This natural cleaning agent is excellent for removing odors and disinfecting the mop head.
- Bleach (Optional): If your mop head is heavily soiled or stained, consider using a small amount of bleach to tackle tough grime.
- Stain Remover (Optional): For particularly stubborn stains, a specialized stain remover can be a valuable addition to your cleaning arsenal.
- Gloves: Protect your hands with a pair of rubber gloves, especially when working with cleaning solutions.
- Drying Rack or Line: Ensure you have a designated space for air-drying the mop head post-cleaning.
By assembling these supplies, you’ll be well-prepared to address various cleaning challenges and restore your Libman mop head to its optimal condition. With the right tools at your disposal, the cleaning process will be efficient and yield impressive results.
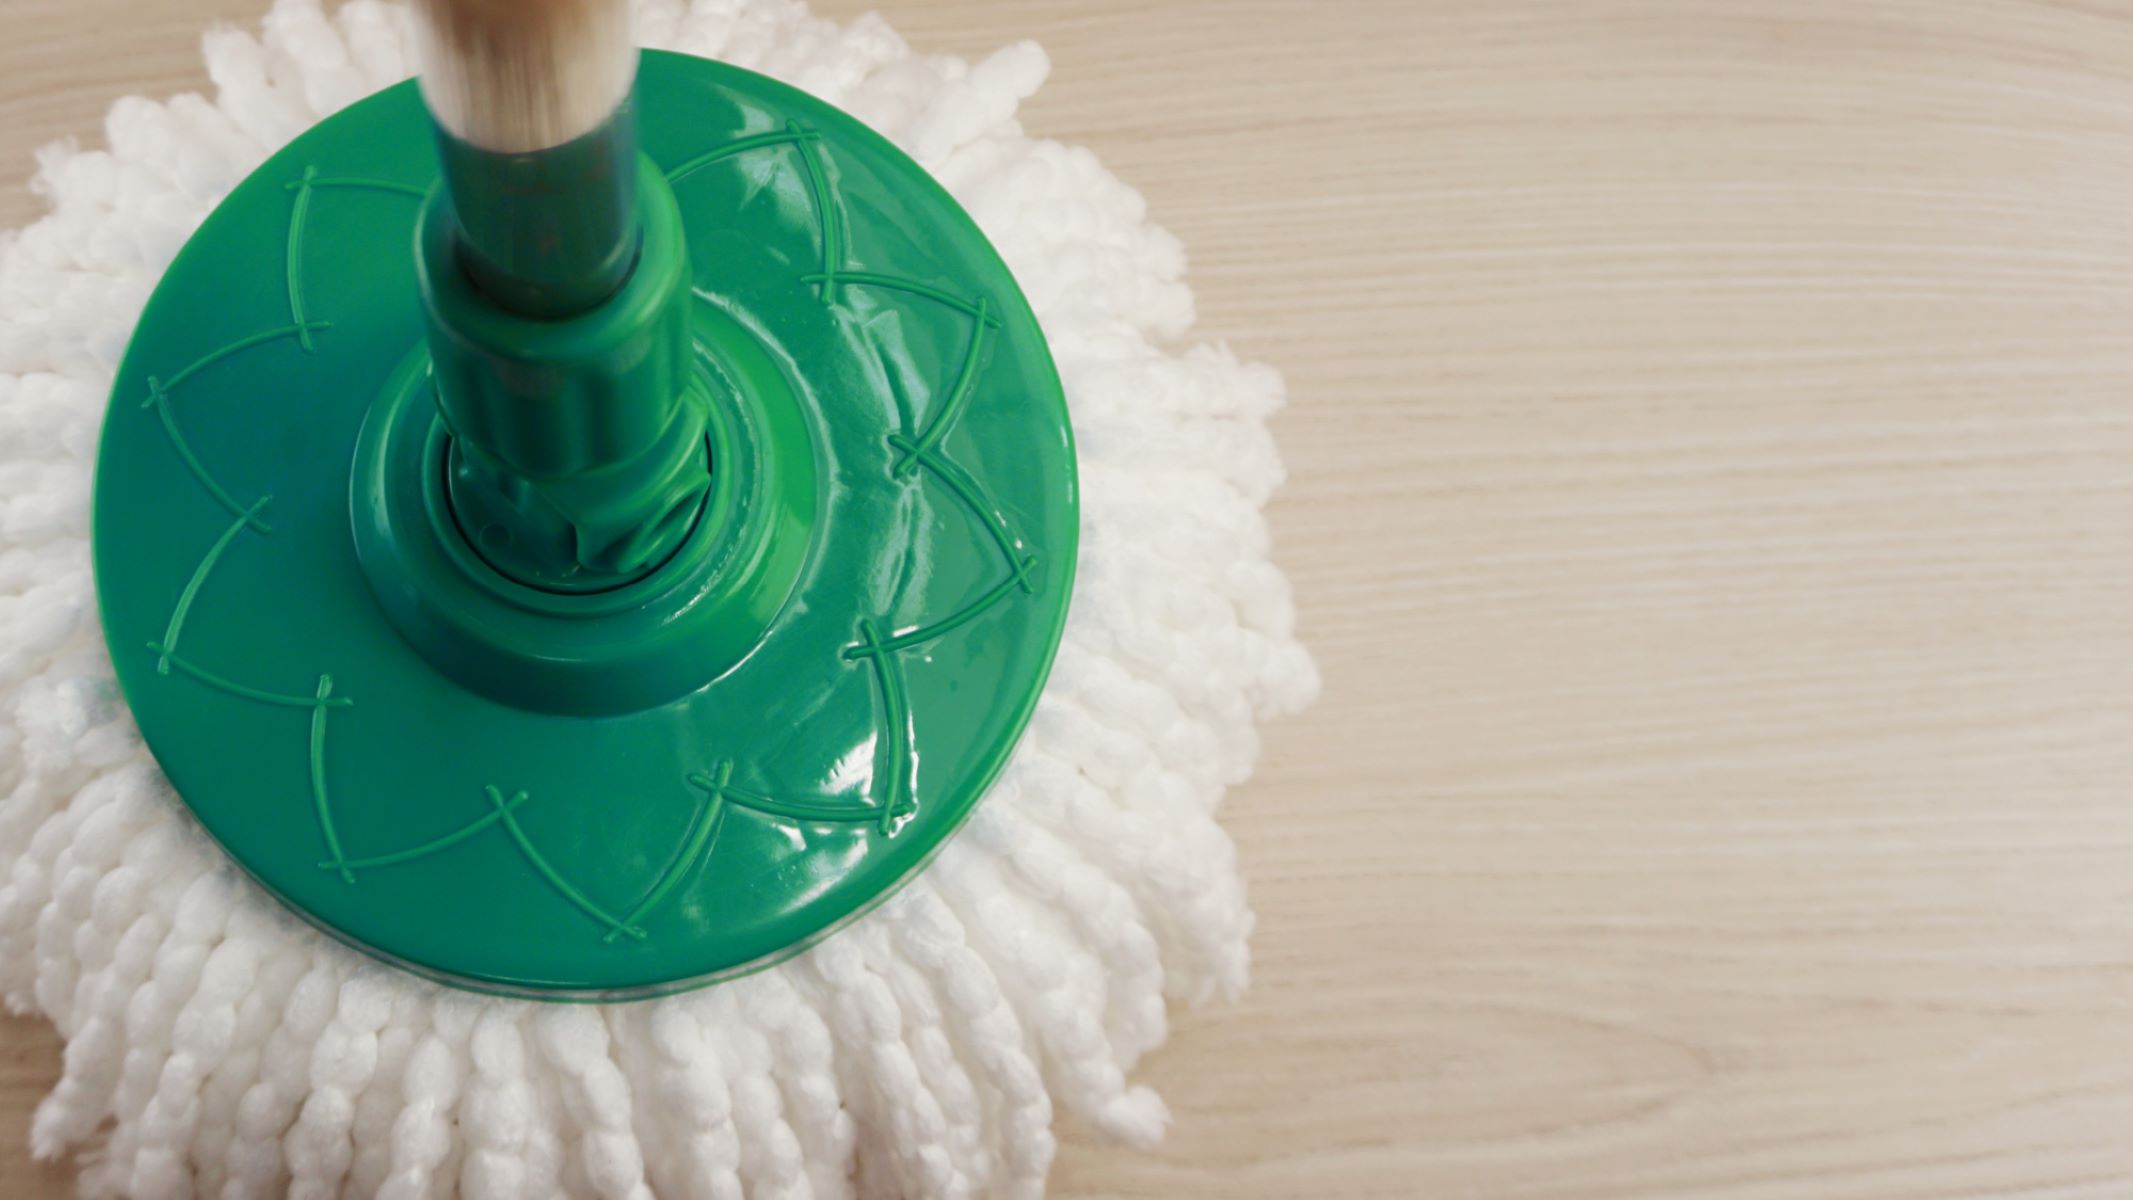
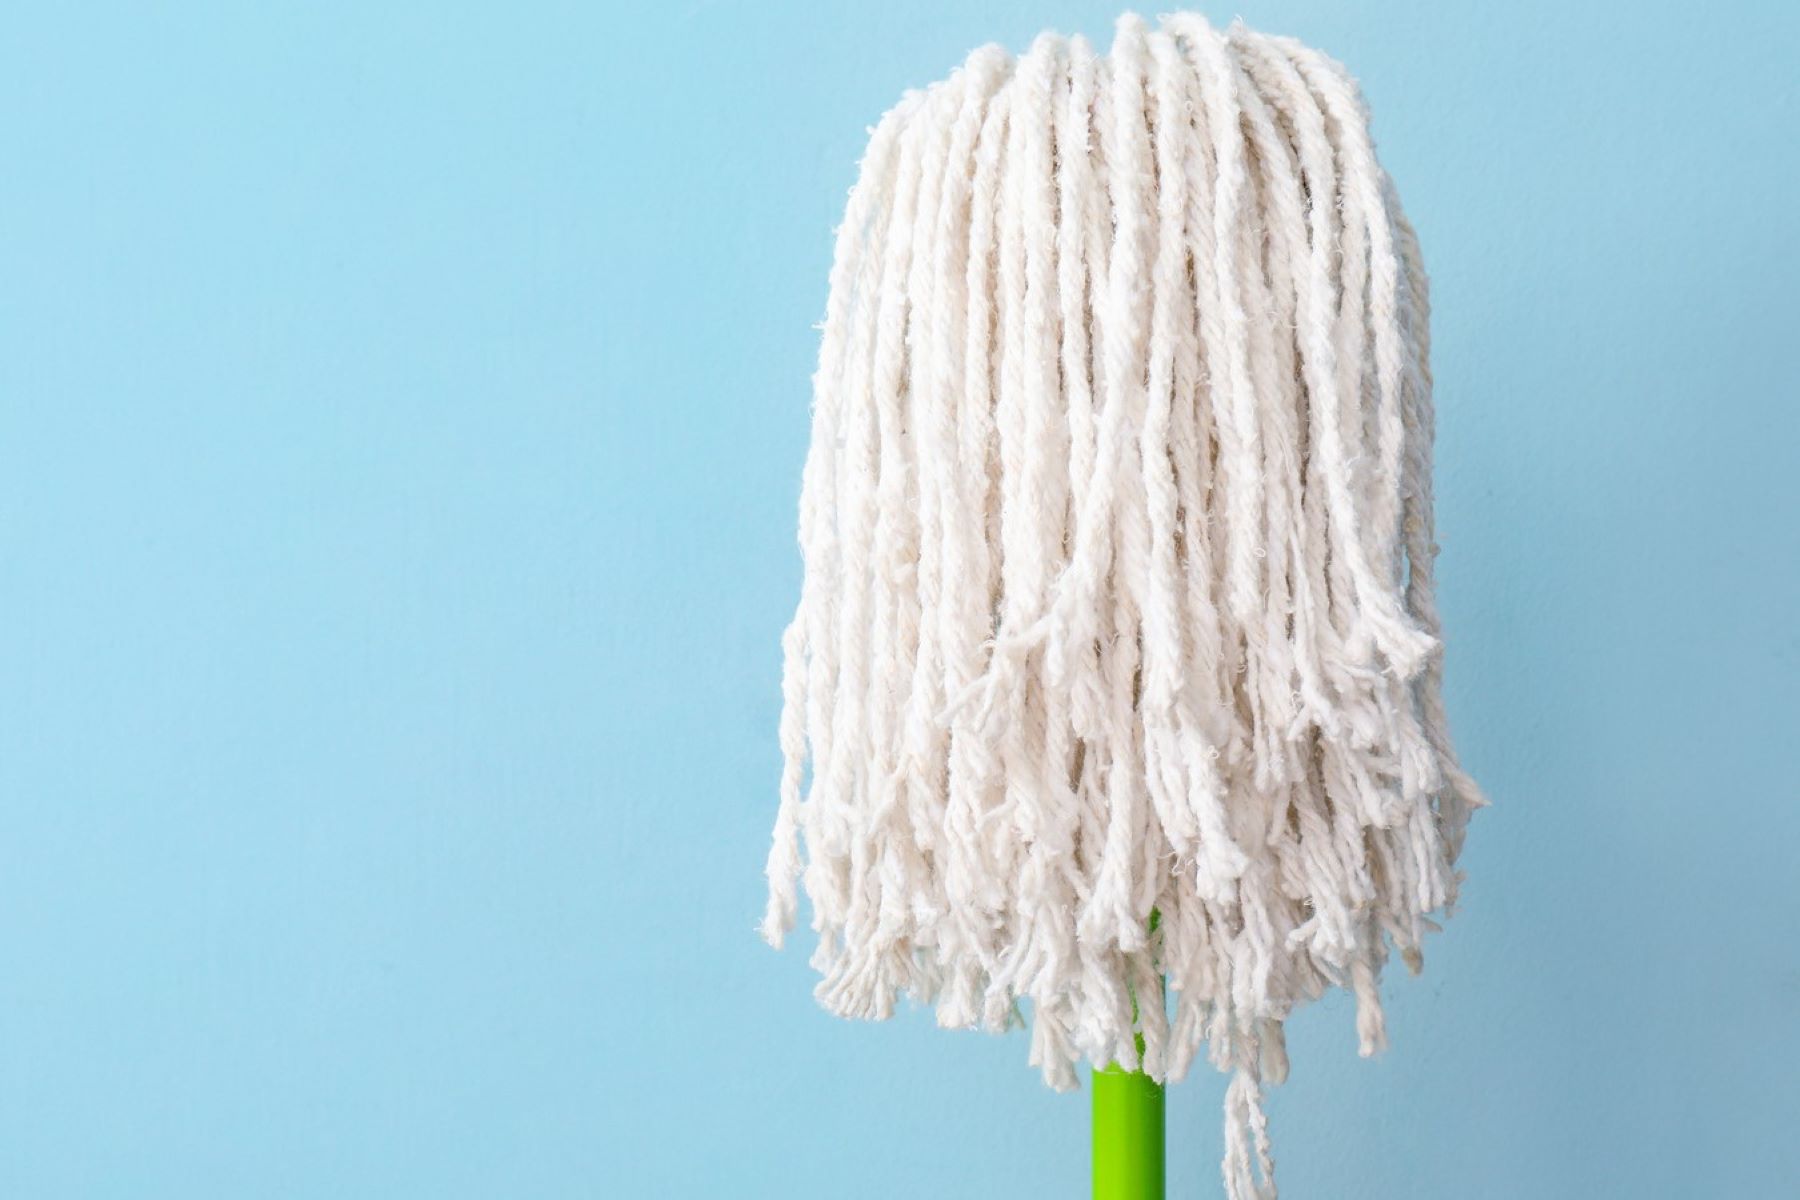
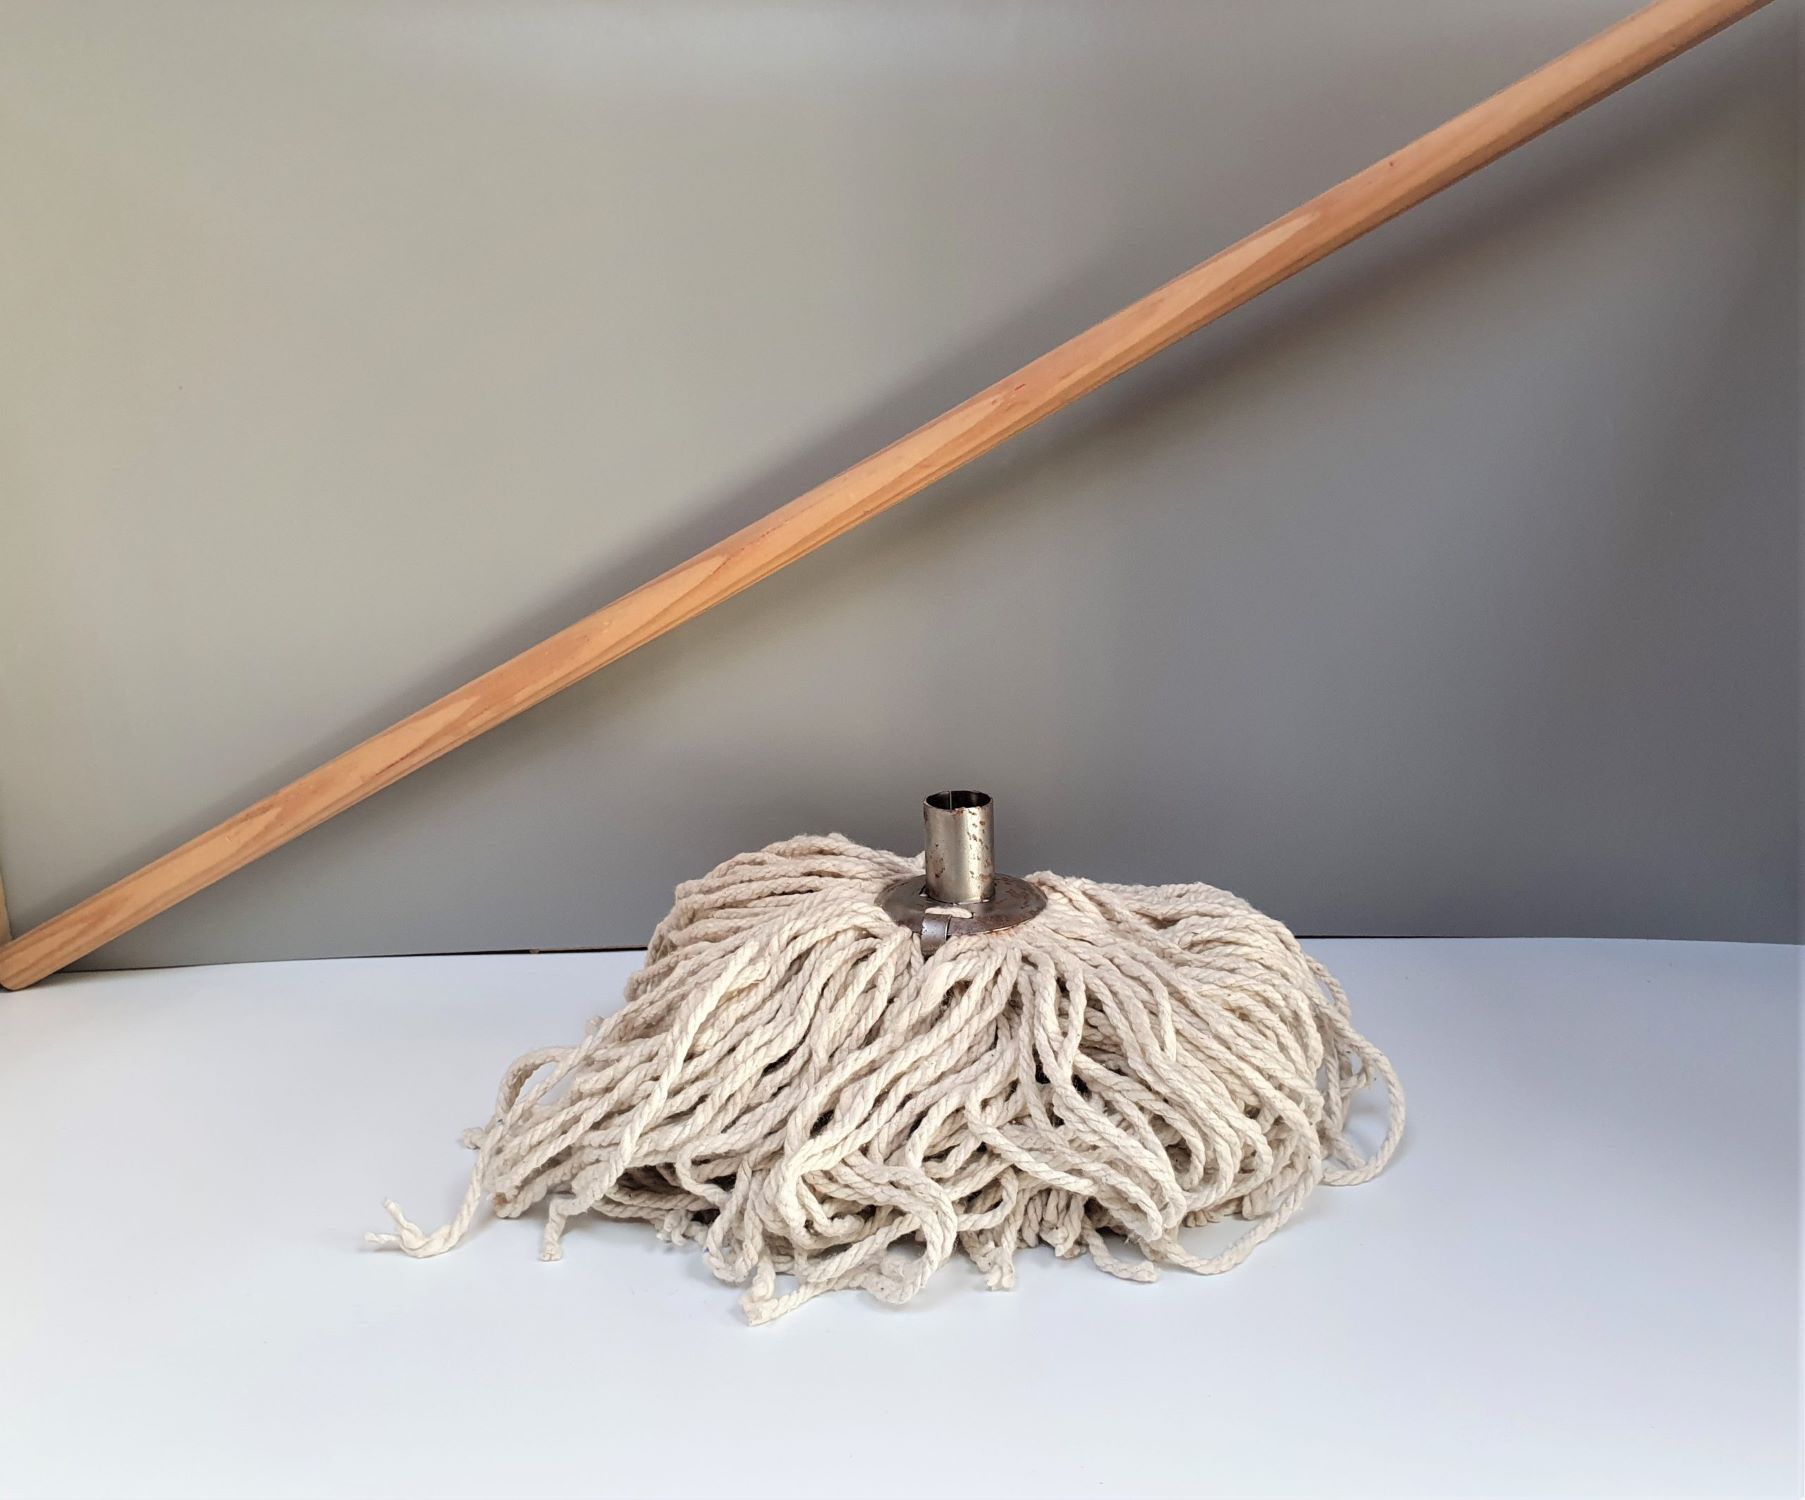
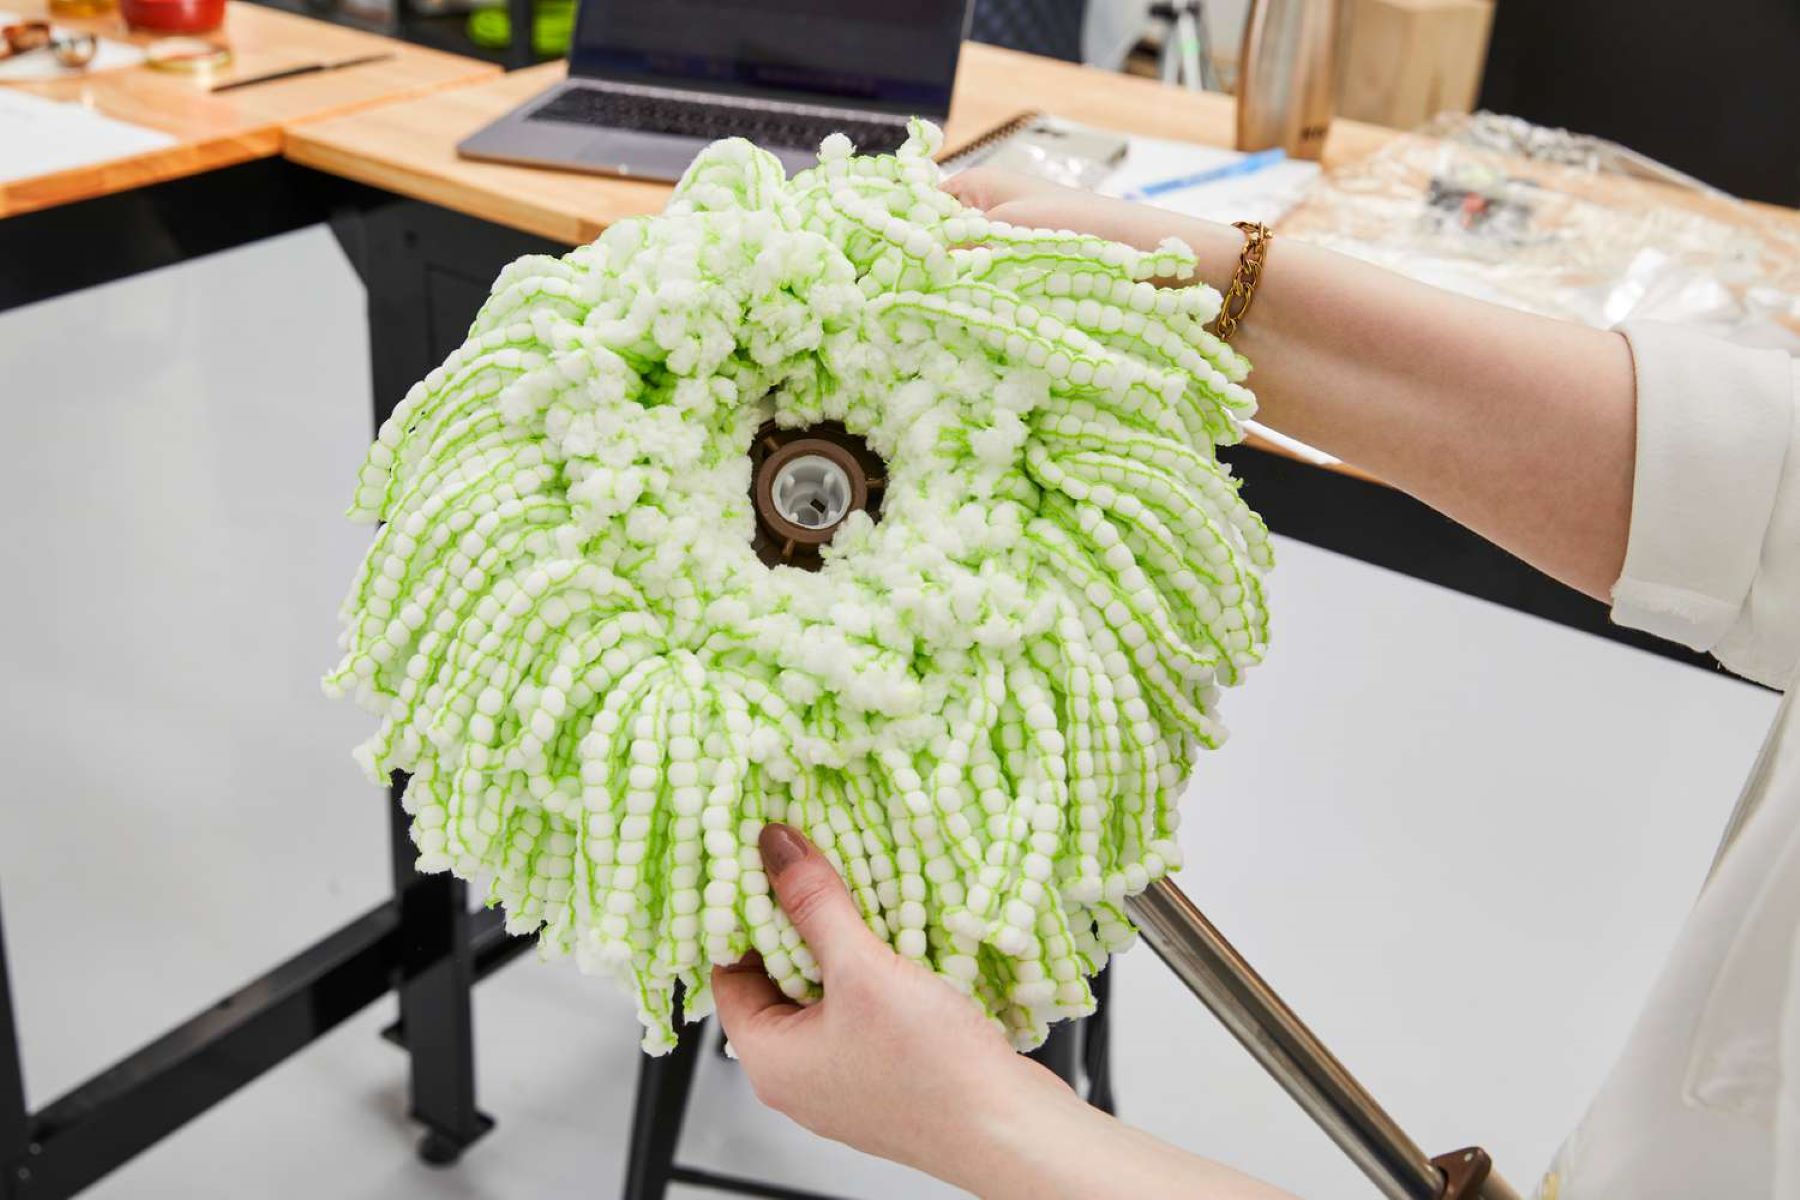
Remove the Mop Head
Before you begin the cleaning process, it’s crucial to remove the mop head from the mop handle to ensure thorough and effective cleaning. Follow these steps to safely detach the mop head:
- Unscrew the Handle: If your Libman mop features a screw-on handle, carefully unscrew it to detach the mop head. Place the handle aside in a secure location to prevent any accidental spills or damage.
- Release the Fastening Mechanism: For mop heads secured with a clip or fastening mechanism, gently release the attachment to separate the mop head from the handle. Exercise caution to avoid any mishaps during this process.
- Inspect the Attachment: Take a moment to inspect the attachment area for any accumulated debris or dirt. Wiping it clean with a damp cloth can help maintain the integrity of the connection between the mop head and handle.
By carefully removing the mop head from the handle, you’ll pave the way for a meticulous cleaning process, allowing you to address every inch of the mop head with precision. With the mop head detached, you’re ready to proceed to the next phase of the cleaning journey.
Pre-treat Stains
Addressing stubborn stains on your Libman mop head requires a strategic approach to ensure effective stain removal. Before proceeding with the washing phase, consider pre-treating any visible stains to maximize the cleaning results. Follow these steps to pre-treat stains on your mop head:
- Identify the Stains: Thoroughly examine the mop head to pinpoint any noticeable stains or discolorations. Common culprits include dirt, grime, and spilled liquids that may have adhered to the mop fibers.
- Apply Stain Remover: Utilize a specialized stain remover or a mixture of mild detergent and water to target individual stains. Gently dab the affected areas with the stain remover solution, ensuring thorough coverage of the stains.
- Allow Dwell Time: Let the stain remover penetrate the stains by allowing it to sit for a few minutes. This dwell time enhances the effectiveness of the stain removal process, particularly for persistent or set-in stains.
- Gently Agitate the Stains: Using a soft-bristled brush or cloth, gently agitate the pre-treated stains to help loosen the soiling and encourage the stain remover to penetrate deeper into the fibers.
- Rinse if Necessary: Depending on the type of stain remover used, consider rinsing the pre-treated areas with water to remove any residual cleaning solution before proceeding to the washing phase.
By pre-treating stains on your Libman mop head, you’ll effectively target and neutralize stubborn blemishes, setting the stage for a comprehensive cleaning process. This proactive approach ensures that the washing phase can focus on lifting overall dirt and grime, resulting in a thoroughly revitalized mop head.
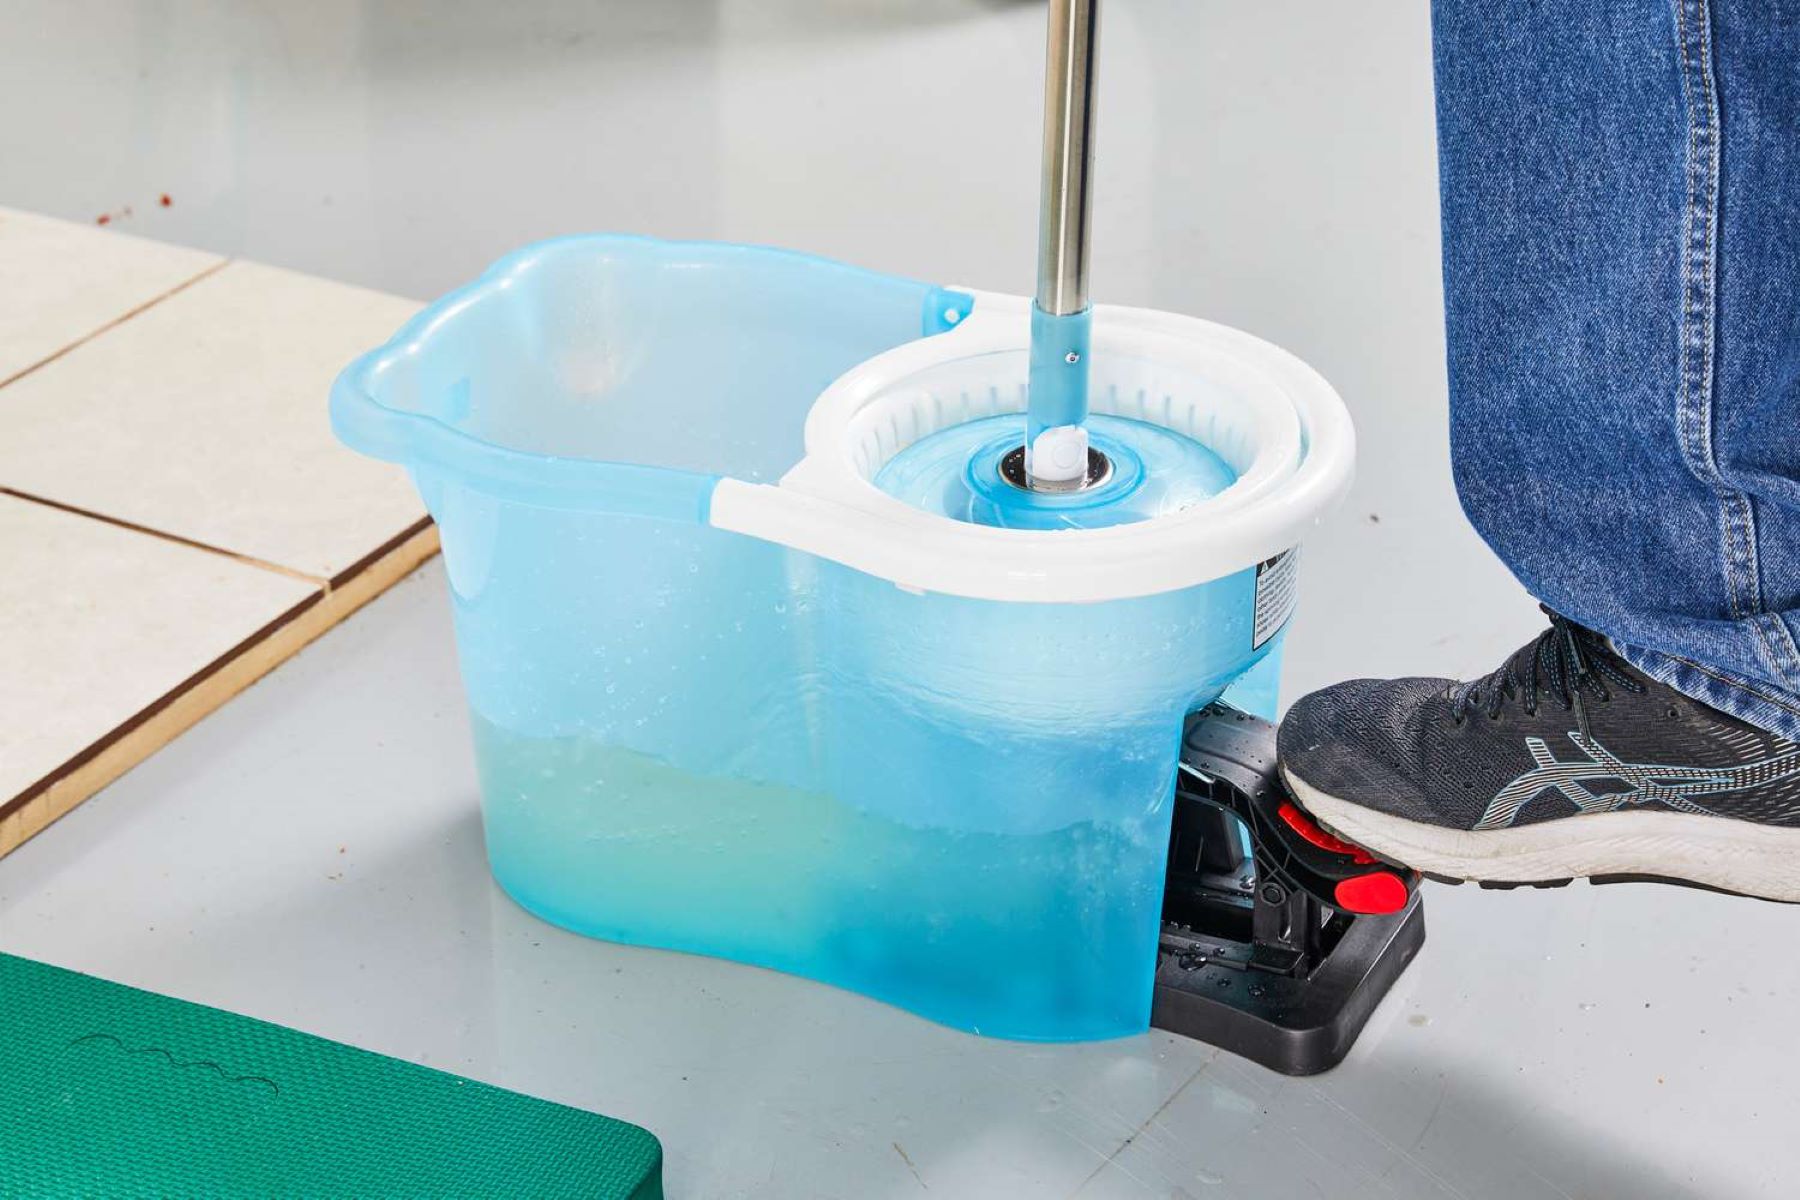
To clean a Libman mop head, remove it from the mop handle and soak it in a bucket of warm water mixed with mild detergent. Gently scrub the mop head with a soft brush, rinse thoroughly, and air dry before reattaching to the mop handle.
Wash the Mop Head
Now that you’ve pre-treated any stubborn stains, it’s time to embark on the crucial step of washing your Libman mop head. By following these meticulous yet straightforward steps, you can ensure that your mop head receives a thorough and revitalizing cleanse:
- Prepare the Cleaning Solution: Fill a bucket with warm water and add a small amount of mild detergent. Alternatively, you can incorporate white vinegar into the solution for its natural cleaning and deodorizing properties.
- Submerge the Mop Head: Immerse the mop head in the cleaning solution, ensuring that it is fully submerged. Allow the mop head to soak for several minutes, enabling the cleaning solution to penetrate and loosen the embedded dirt and grime.
- Gently Agitate the Mop Head: Using your hands or a soft-bristled brush, gently agitate the mop head within the cleaning solution. This action helps dislodge dirt and ensures that the cleaning solution reaches all areas of the mop head.
- Focused Attention to Stained Areas: Pay extra attention to any previously pre-treated stains, gently massaging those areas to further lift the blemishes and promote thorough cleaning.
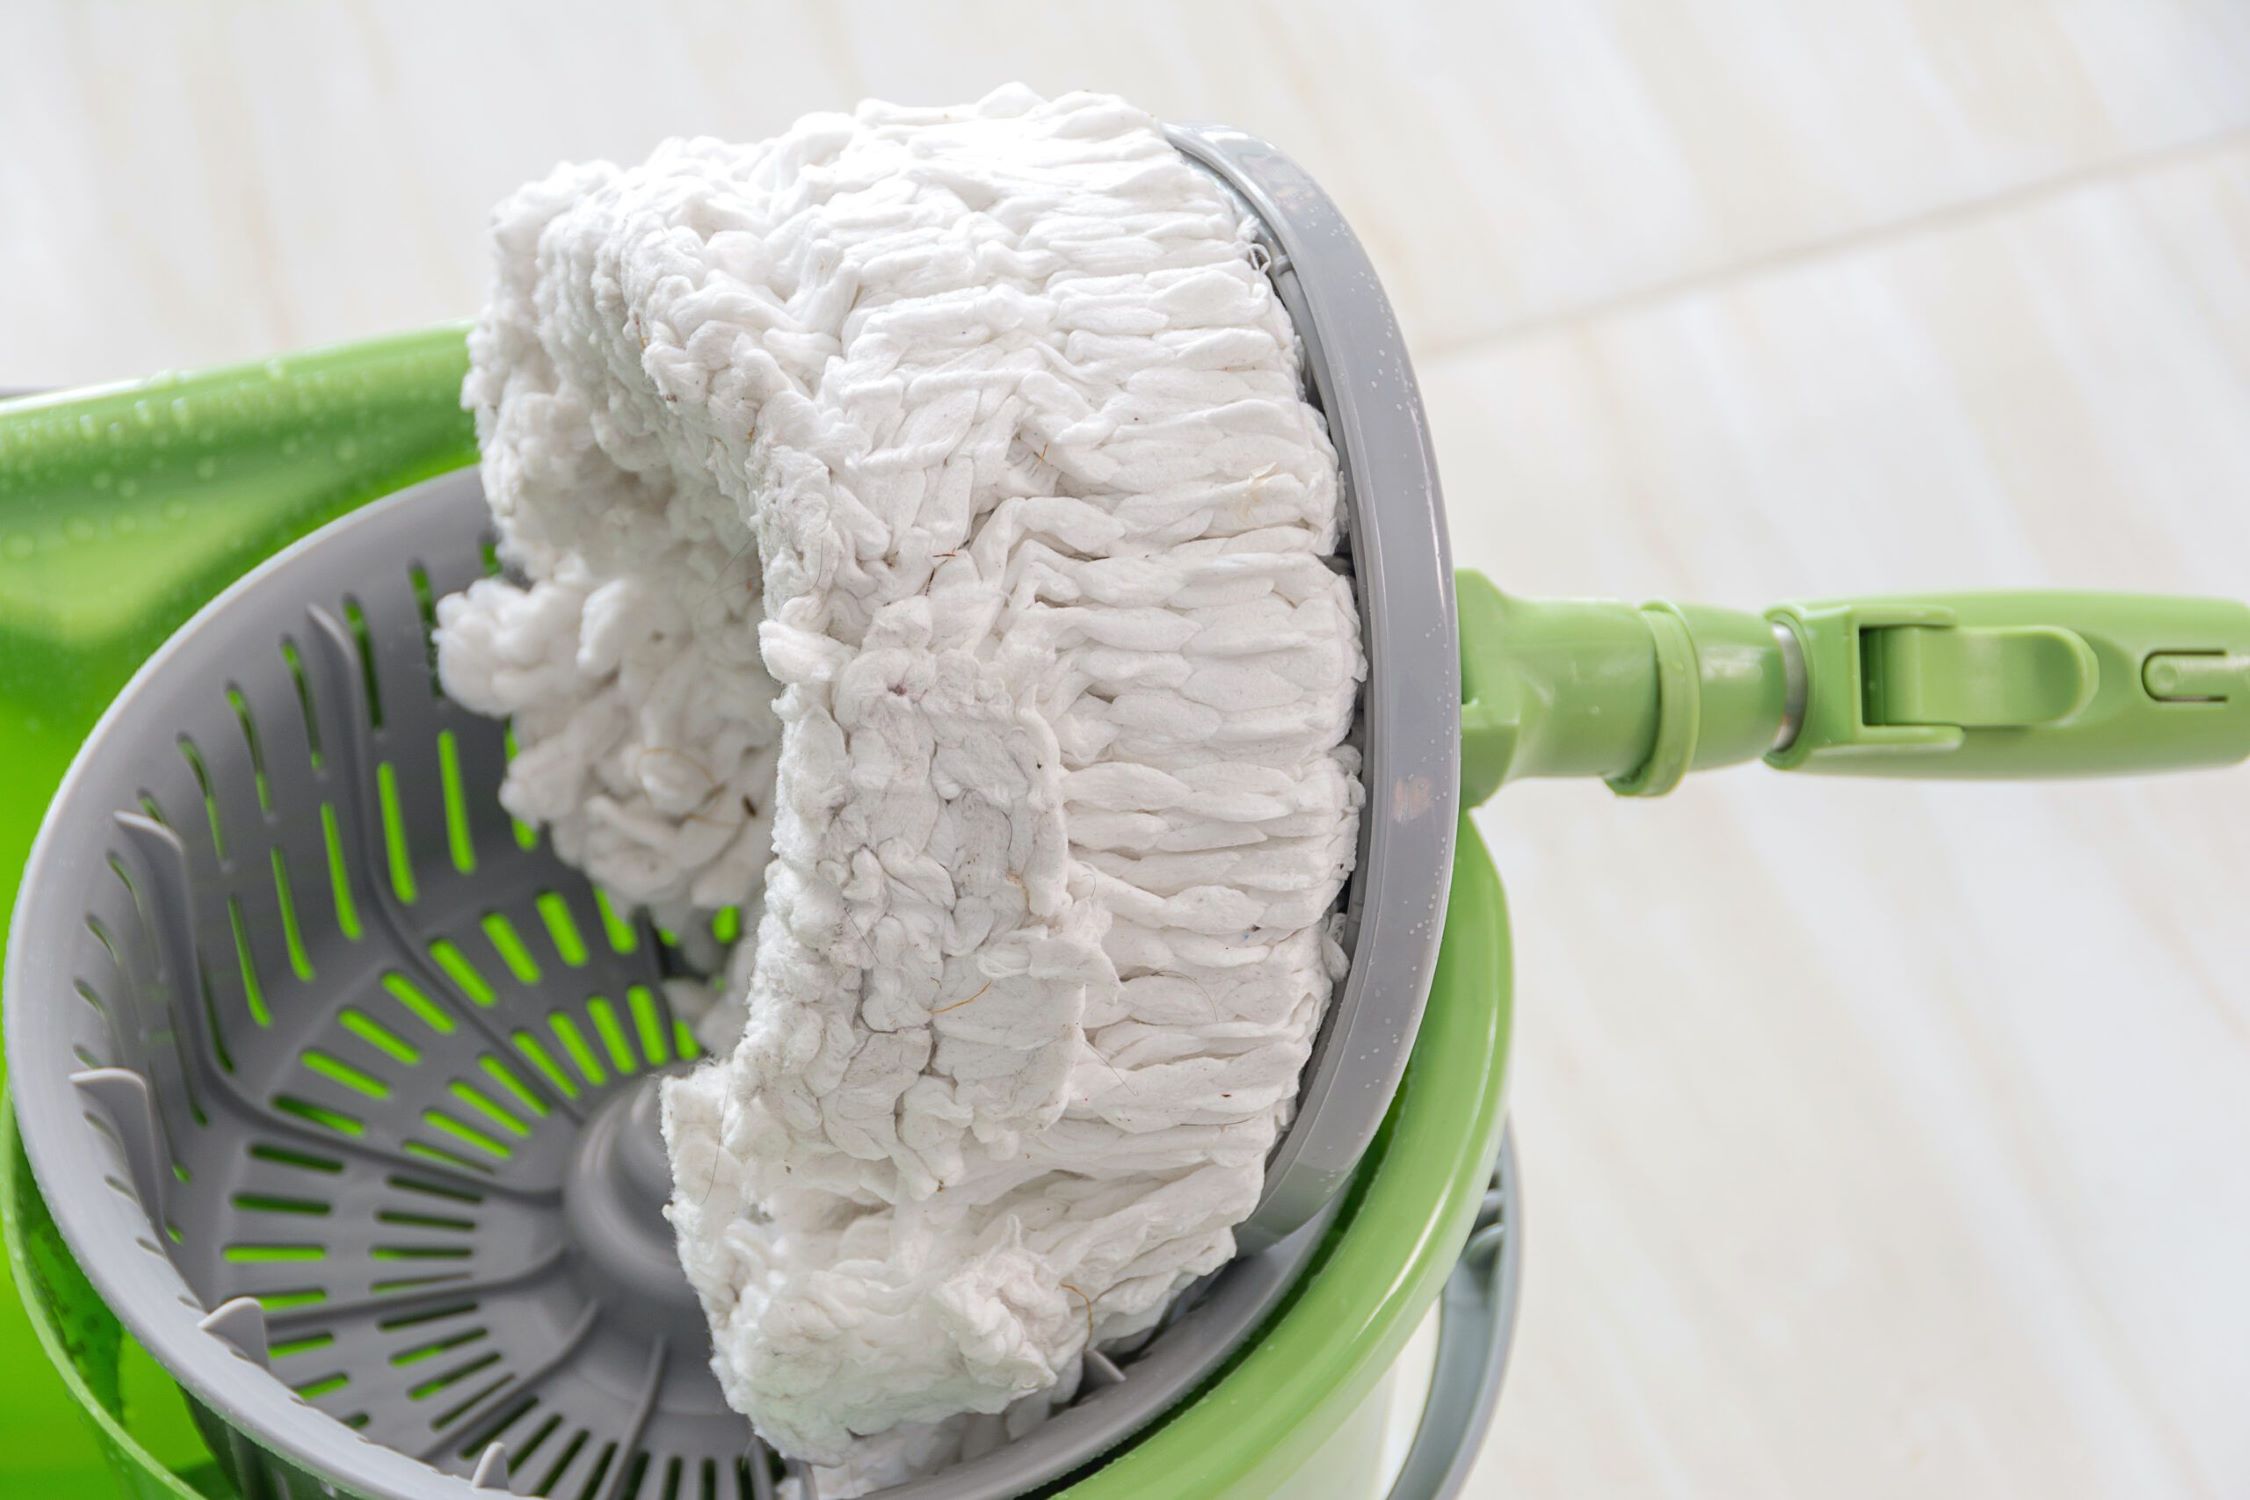
- Thorough Rinsing: After the mop head has been effectively cleansed, thoroughly rinse it under running water to remove any residual detergent or cleaning solution. Squeeze the mop head several times to expel excess water and aid in the rinsing process.
By diligently following these steps, you’ll ensure that your Libman mop head undergoes a comprehensive cleaning process, resulting in a refreshed and revitalized cleaning tool. The washing phase sets the stage for a deeply cleansed mop head, ready to deliver exceptional cleaning performance once reunited with its handle.
Read more: How To Remove Mop Head From Libman Spin Mop
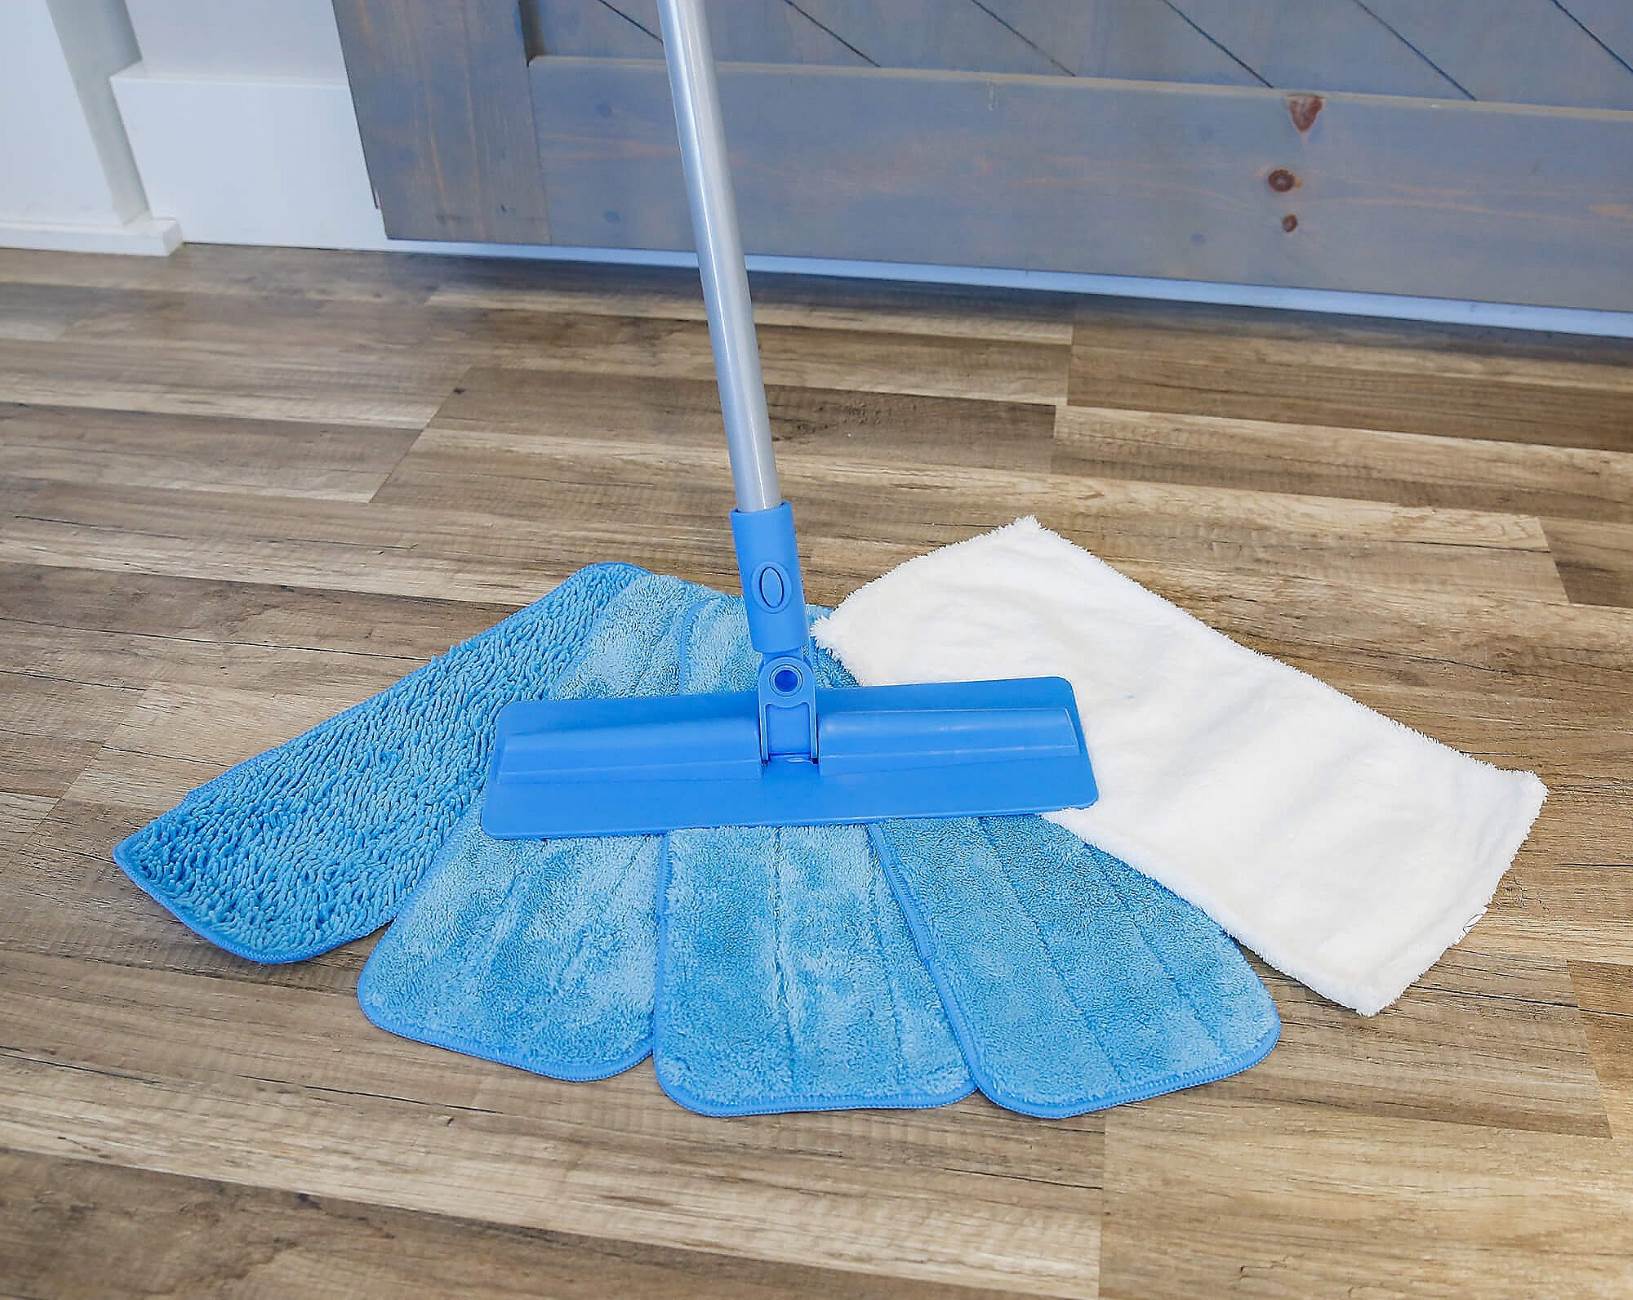
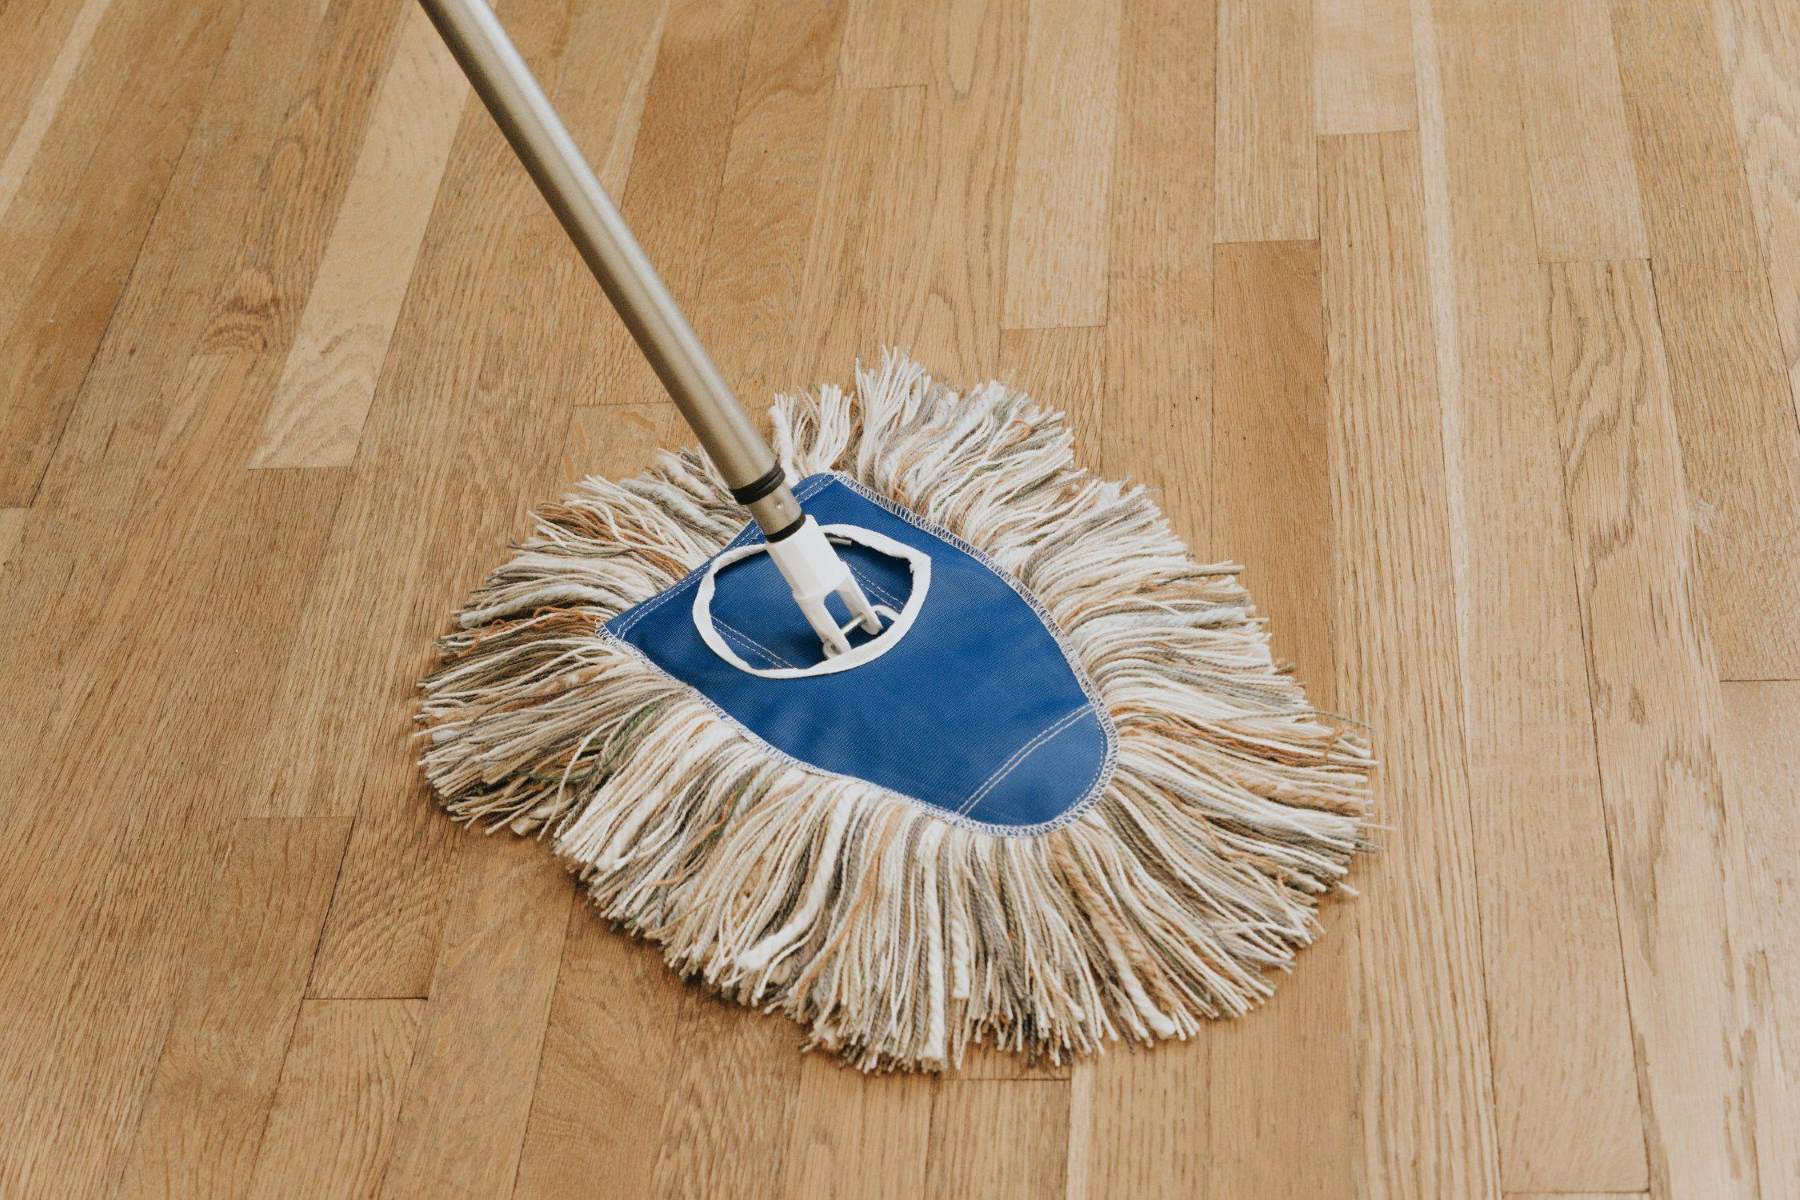
Dry the Mop Head
After the meticulous washing process, it’s essential to properly dry your Libman mop head to prevent mildew, musty odors, and ensure that it’s ready for future cleaning tasks. Follow these steps to effectively dry your mop head:
- Gentle Squeezing: Begin by gently squeezing the mop head to remove excess water. Avoid wringing it vigorously, as this can potentially damage the fibers and affect the mop’s performance.
- Utilize a Drying Rack: If available, place the mop head on a designated drying rack, ensuring that it is spread out evenly to facilitate air circulation. This method allows the mop head to air dry thoroughly and evenly.
- Outdoor Line Drying: Weather permitting, consider hanging the mop head on an outdoor line to harness the natural drying power of sunlight and fresh air. This approach can impart a pleasant, sun-kissed freshness to the mop head.
- Indoor Air Drying: If outdoor drying is not feasible, position the mop head in a well-ventilated area indoors. Ensure that it is placed away from direct heat sources to prevent potential damage to the fibers.
- Monitor the Drying Progress: Periodically check the mop head’s drying progress, gently fluffing and rearranging the fibers to promote even drying and prevent clumping.
By diligently adhering to these drying methods, you’ll safeguard the integrity of your Libman mop head while preparing it for future cleaning endeavors. A thoroughly dried mop head not only ensures optimal cleaning performance but also contributes to its longevity, allowing you to tackle household cleaning tasks with confidence and efficiency.
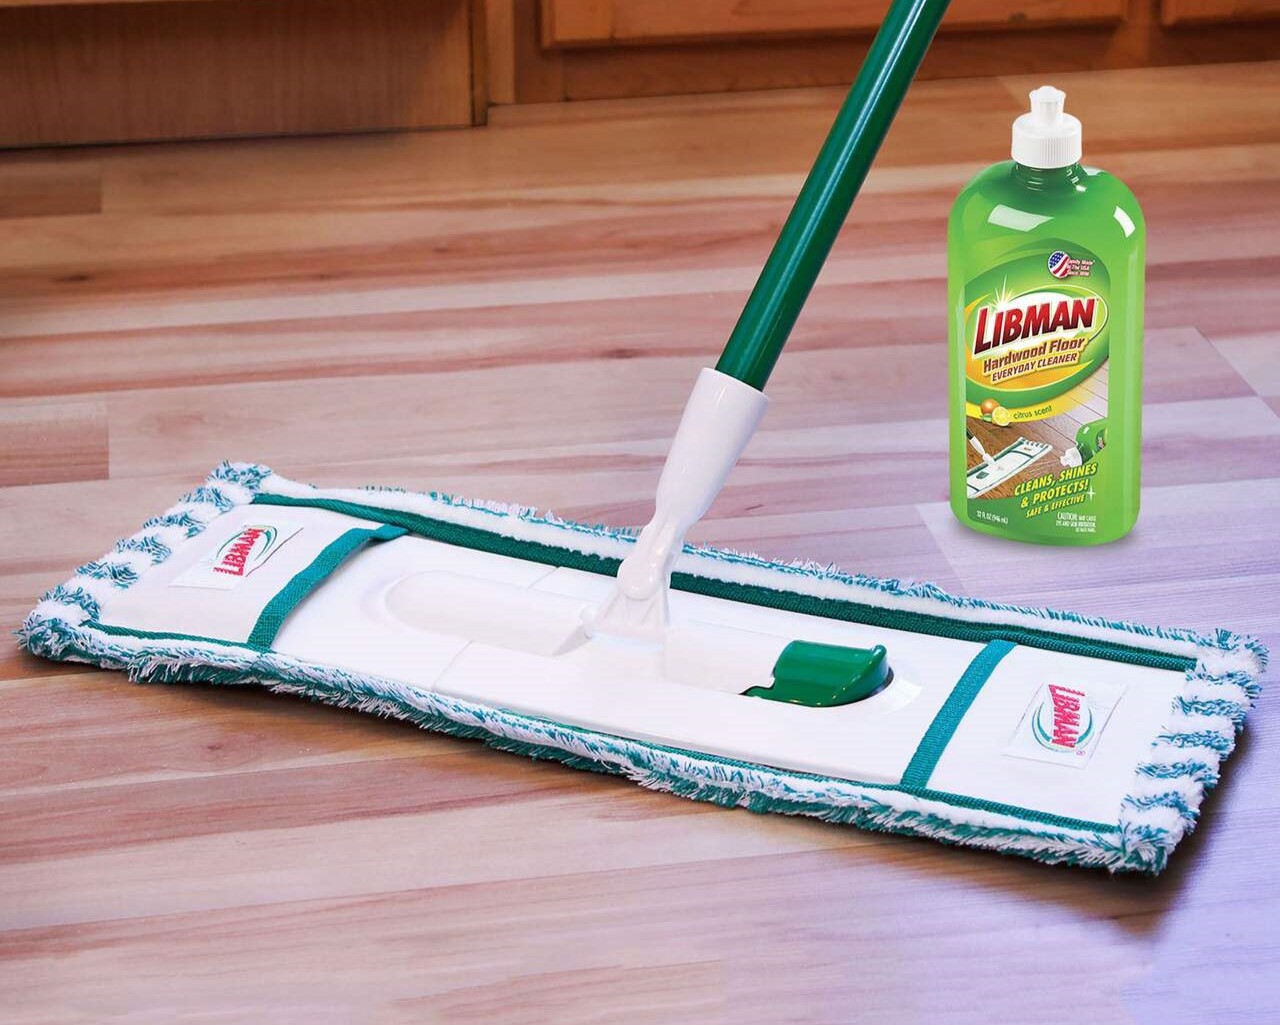
Reattach the Mop Head
With your Libman mop head now thoroughly cleaned and dried, it’s time to reunite it with the mop handle to prepare for future cleaning endeavors. Follow these straightforward steps to securely reattach the mop head:
- Align the Mop Head: Position the clean and dry mop head at the base of the mop handle, ensuring that it aligns with the attachment mechanism.
- Secure the Fastening Mechanism: If your Libman mop features a clip or fastening mechanism, carefully secure the attachment to firmly hold the mop head in place. Ensure that it is snug and stable to prevent any slippage during use.
- Screw On the Handle (If Applicable): For mop heads that require a screw-on handle, gently thread the handle back onto the mop head, tightening it securely to establish a stable connection.
- Test the Attachment: Give the mop head a gentle tug to verify that it is securely fastened to the handle. This simple test ensures that the mop head is ready for action without any risk of detachment during use.
By successfully reattaching the mop head, you’ve completed the comprehensive cleaning process, restoring your Libman mop to prime condition and ensuring that it’s poised for efficient and effective cleaning tasks. With the mop head securely affixed to the handle, you’re ready to conquer household cleaning challenges with confidence and precision.
Conclusion
Congratulations on mastering the art of cleaning a Libman mop head! By following the step-by-step process outlined in this guide, you’ve equipped yourself with the knowledge and expertise to maintain a spotless and high-performing cleaning tool. As you reflect on the journey of revitalizing your mop head, consider the following key takeaways:
- Regular Maintenance Yields Lasting Results: By incorporating regular cleaning sessions into your household maintenance routine, you’ll ensure that your Libman mop head remains in optimal condition, delivering consistent cleaning performance.
- Proactive Stain Treatment Enhances Cleaning Efficacy: Pre-treating stubborn stains before washing the mop head is a proactive approach that maximizes cleaning results, ensuring that your mop head emerges revitalized and ready for action.
- Thorough Drying Preserves Quality: Properly drying the mop head is essential for preventing odors, mildew, and maintaining the integrity of the fibers, ultimately extending the lifespan of your mop.
- Confidence in Cleaning Performance: With a freshly cleaned and reattached mop head, you can approach household cleaning tasks with confidence, knowing that your Libman mop is primed for exceptional performance.
As you embrace the satisfaction of a sparkling clean mop head, take pride in the care and attention you’ve invested in maintaining an essential cleaning tool. Your dedication to upholding cleanliness and hygiene in your living space is a testament to your commitment to a welcoming and healthy home environment.
Armed with the insights and techniques shared in this guide, you’re well-prepared to embark on future cleaning endeavors with renewed vigor and expertise. By mastering the art of cleaning a Libman mop head, you’ve unlocked the potential for pristine floors and a more enjoyable cleaning experience.
So, go forth with confidence, armed with a meticulously cleaned Libman mop head, and let your cleaning prowess shine as you tackle household cleaning tasks with efficiency, precision, and a touch of pride in your revitalized cleaning tool.
Frequently Asked Questions about How To Clean A Libman Mop Head
Was this page helpful?
At Storables.com, we guarantee accurate and reliable information. Our content, validated by Expert Board Contributors, is crafted following stringent Editorial Policies. We're committed to providing you with well-researched, expert-backed insights for all your informational needs.

0 thoughts on “How To Clean A Libman Mop Head”