Home>Home Appliances>Cleaning Appliances>How To Change Mop Head On Spin Mop
Cleaning Appliances
How To Change Mop Head On Spin Mop
Modified: October 21, 2024
Learn how to easily change the mop head on your spin mop for efficient cleaning. Find step-by-step instructions and tips for cleaning appliances.
(Many of the links in this article redirect to a specific reviewed product. Your purchase of these products through affiliate links helps to generate commission for Storables.com, at no extra cost. Learn more)
Introduction
Welcome to our guide on how to change the mop head on a spin mop! Spin mops are fantastic cleaning tools, offering efficiency and convenience when it comes to keeping your floors sparkling clean. Over time, the mop head of your spin mop will inevitably wear out, making it essential to know how to replace it properly. In this comprehensive tutorial, we will walk you through the step-by-step process of changing the mop head on your spin mop, ensuring that you can maintain its effectiveness and prolong its lifespan.
Whether you are a cleaning enthusiast or a homeowner looking to streamline your cleaning routine, understanding how to change the mop head on a spin mop is a valuable skill. By following our detailed instructions and tips, you will be equipped with the knowledge to effortlessly swap out the old mop head for a fresh one, allowing you to continue tackling your cleaning tasks with ease and efficiency.
So, let's dive in and learn how to give your spin mop a new lease on life by replacing its worn-out mop head!
Key Takeaways:
- Easily replace your spin mop’s worn-out mop head with these simple steps. Keep your floors sparkling clean and maintain your cleaning tool’s effectiveness and longevity.
- Ensure a seamless transition by gathering the necessary tools and securely attaching the new mop head. Test its performance and enjoy effortless and efficient cleaning sessions.
Read more: How To Change The Mop Head
Step 1: Gather the Necessary Tools
Before embarking on the process of changing the mop head on your spin mop, it’s essential to gather the required tools to ensure a smooth and efficient transition. Here’s a list of the essential tools you will need:
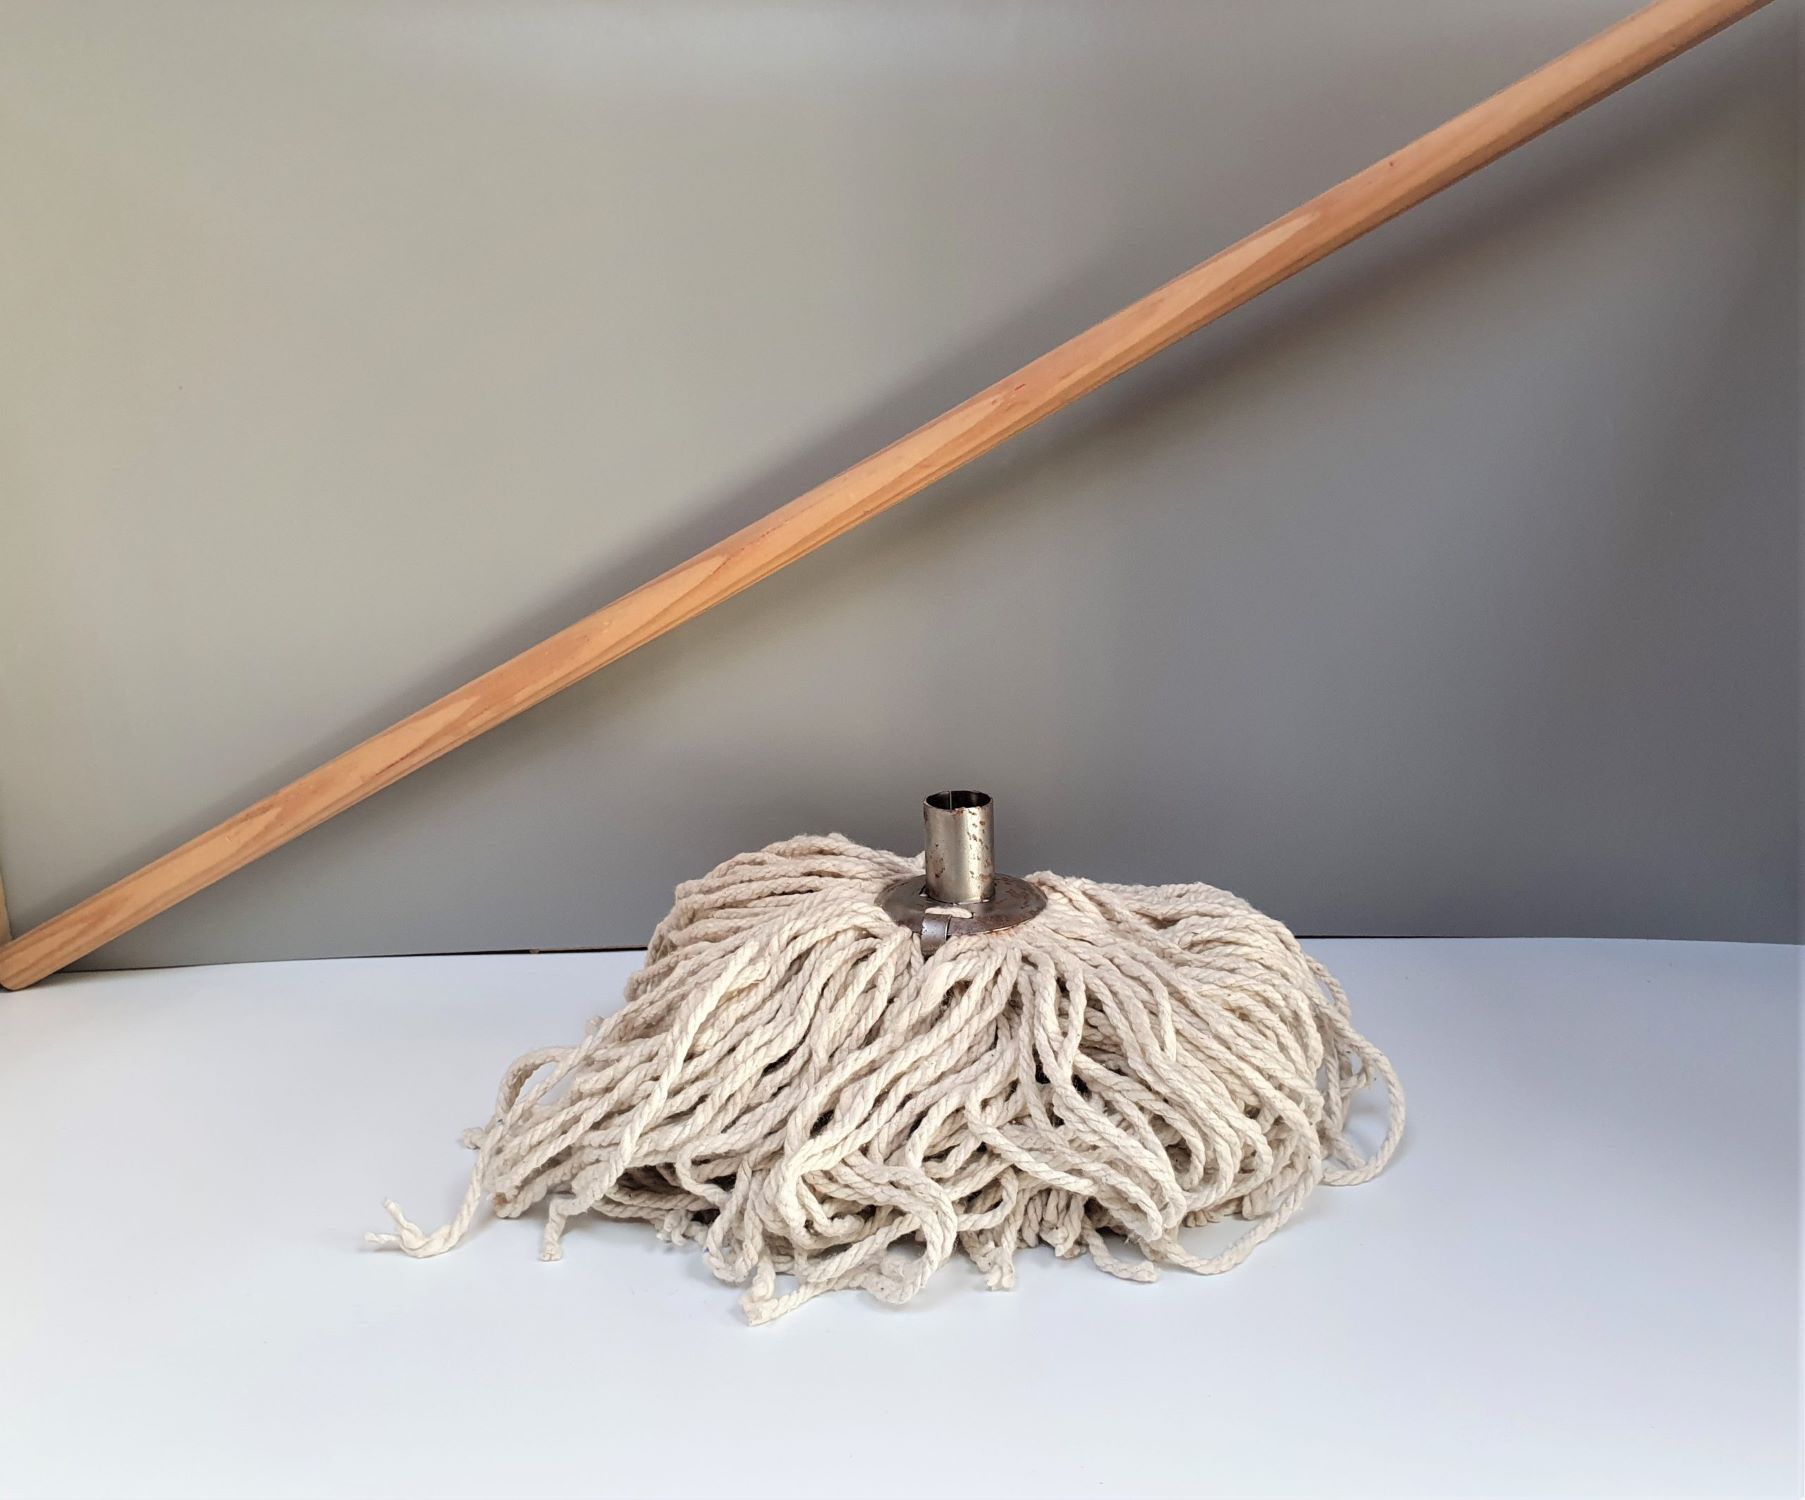
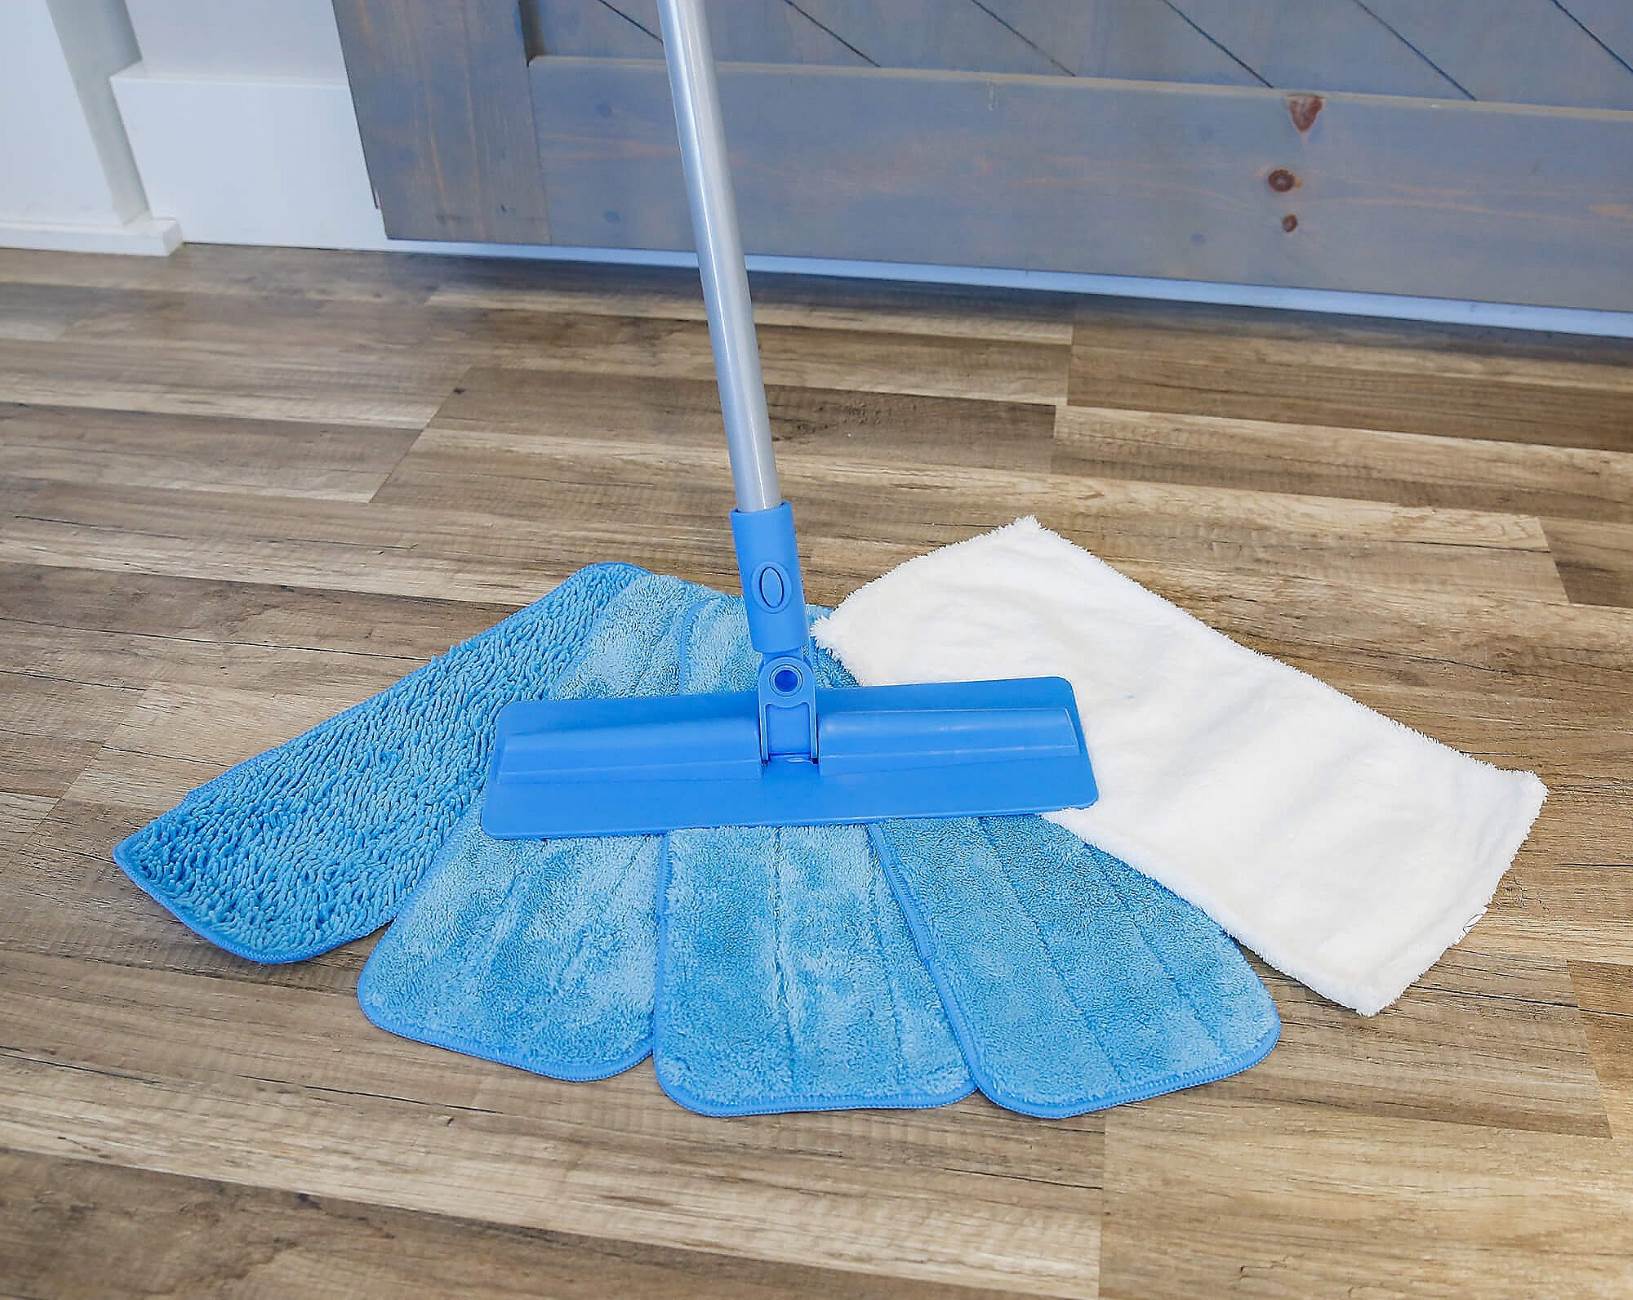
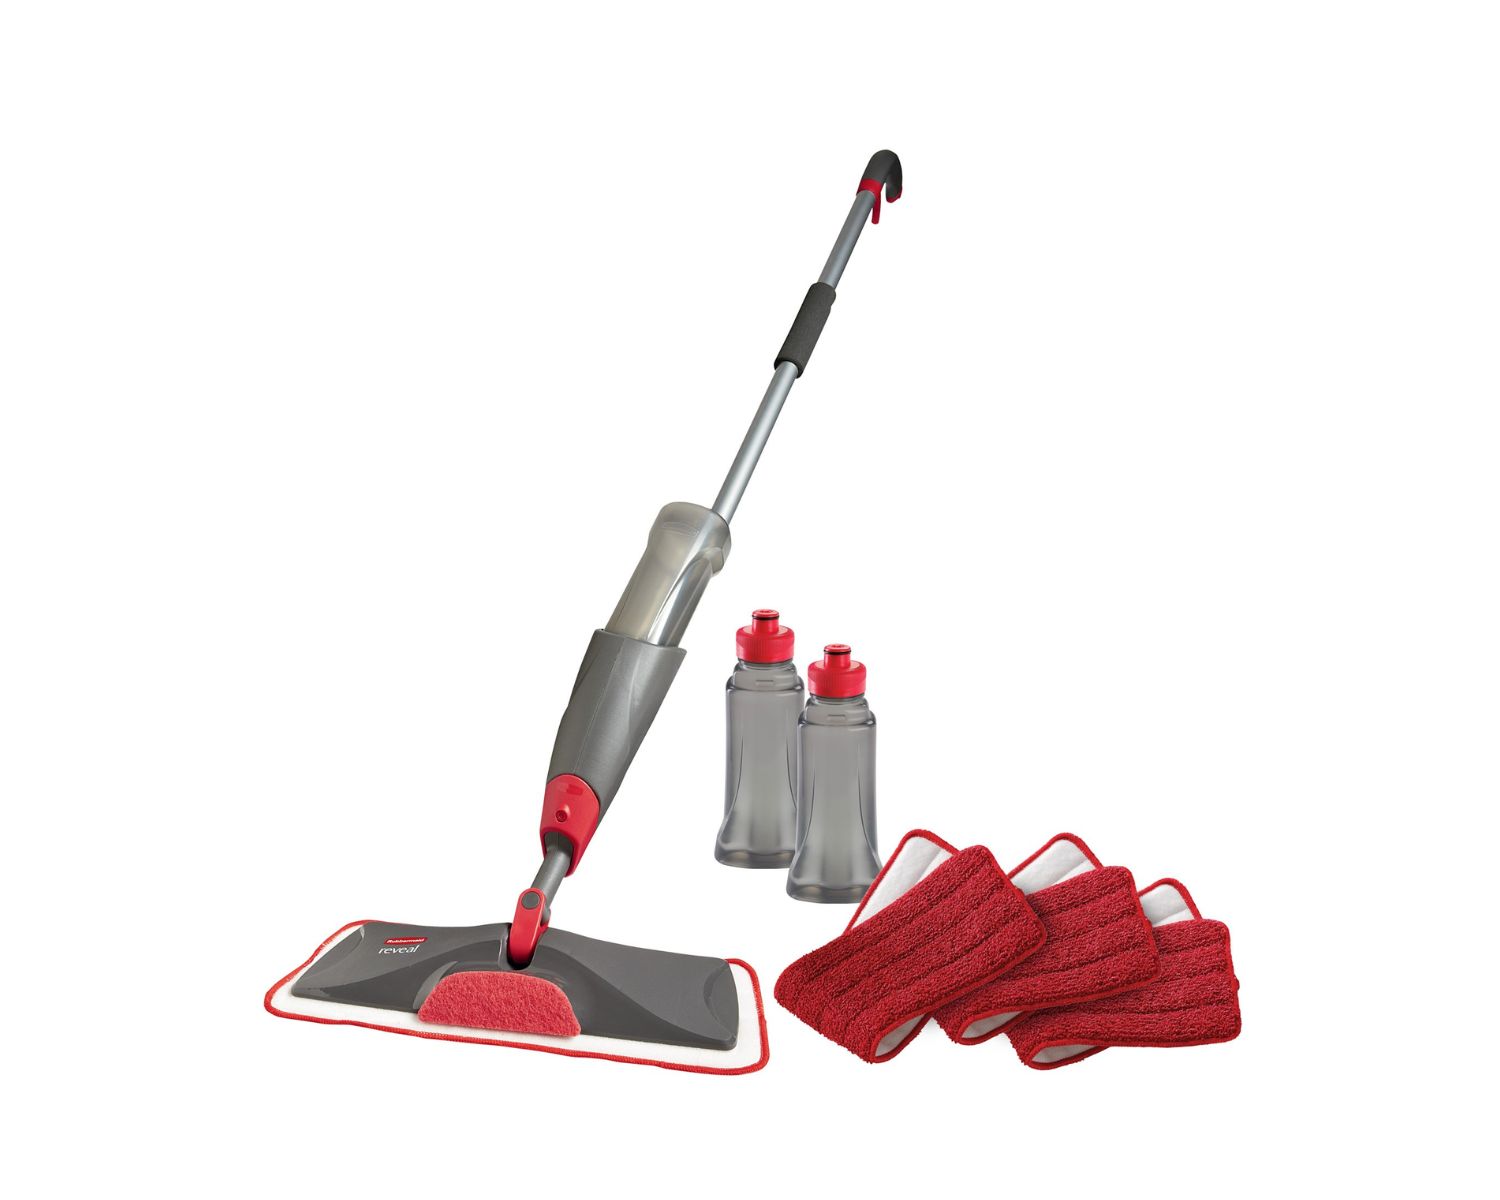
- New Mop Head: Ensure that you have a compatible replacement mop head for your specific spin mop model. It’s crucial to verify that the new mop head is designed to fit your spin mop to guarantee a secure and effective attachment.
- Flat Surface: Find a flat and stable surface where you can comfortably work on changing the mop head. This will provide a secure area to carry out the replacement without any unnecessary obstacles.
- Clean Cloth: Having a clean cloth on hand will allow you to wipe down any areas of the spin mop that may have accumulated dirt or grime, ensuring that the replacement process takes place in a hygienic environment.
- Sturdy Gloves: It’s advisable to wear gloves to protect your hands during the replacement process, especially if the old mop head is heavily soiled or if you are working with cleaning solutions.
- Owner’s Manual: If available, refer to the owner’s manual or instructions provided with your spin mop. The manual may contain specific guidelines or precautions for replacing the mop head, ensuring that you proceed in accordance with the manufacturer’s recommendations.
By ensuring that you have these essential tools at your disposal, you can proceed with confidence, knowing that you are fully prepared to carry out the mop head replacement with ease and precision.
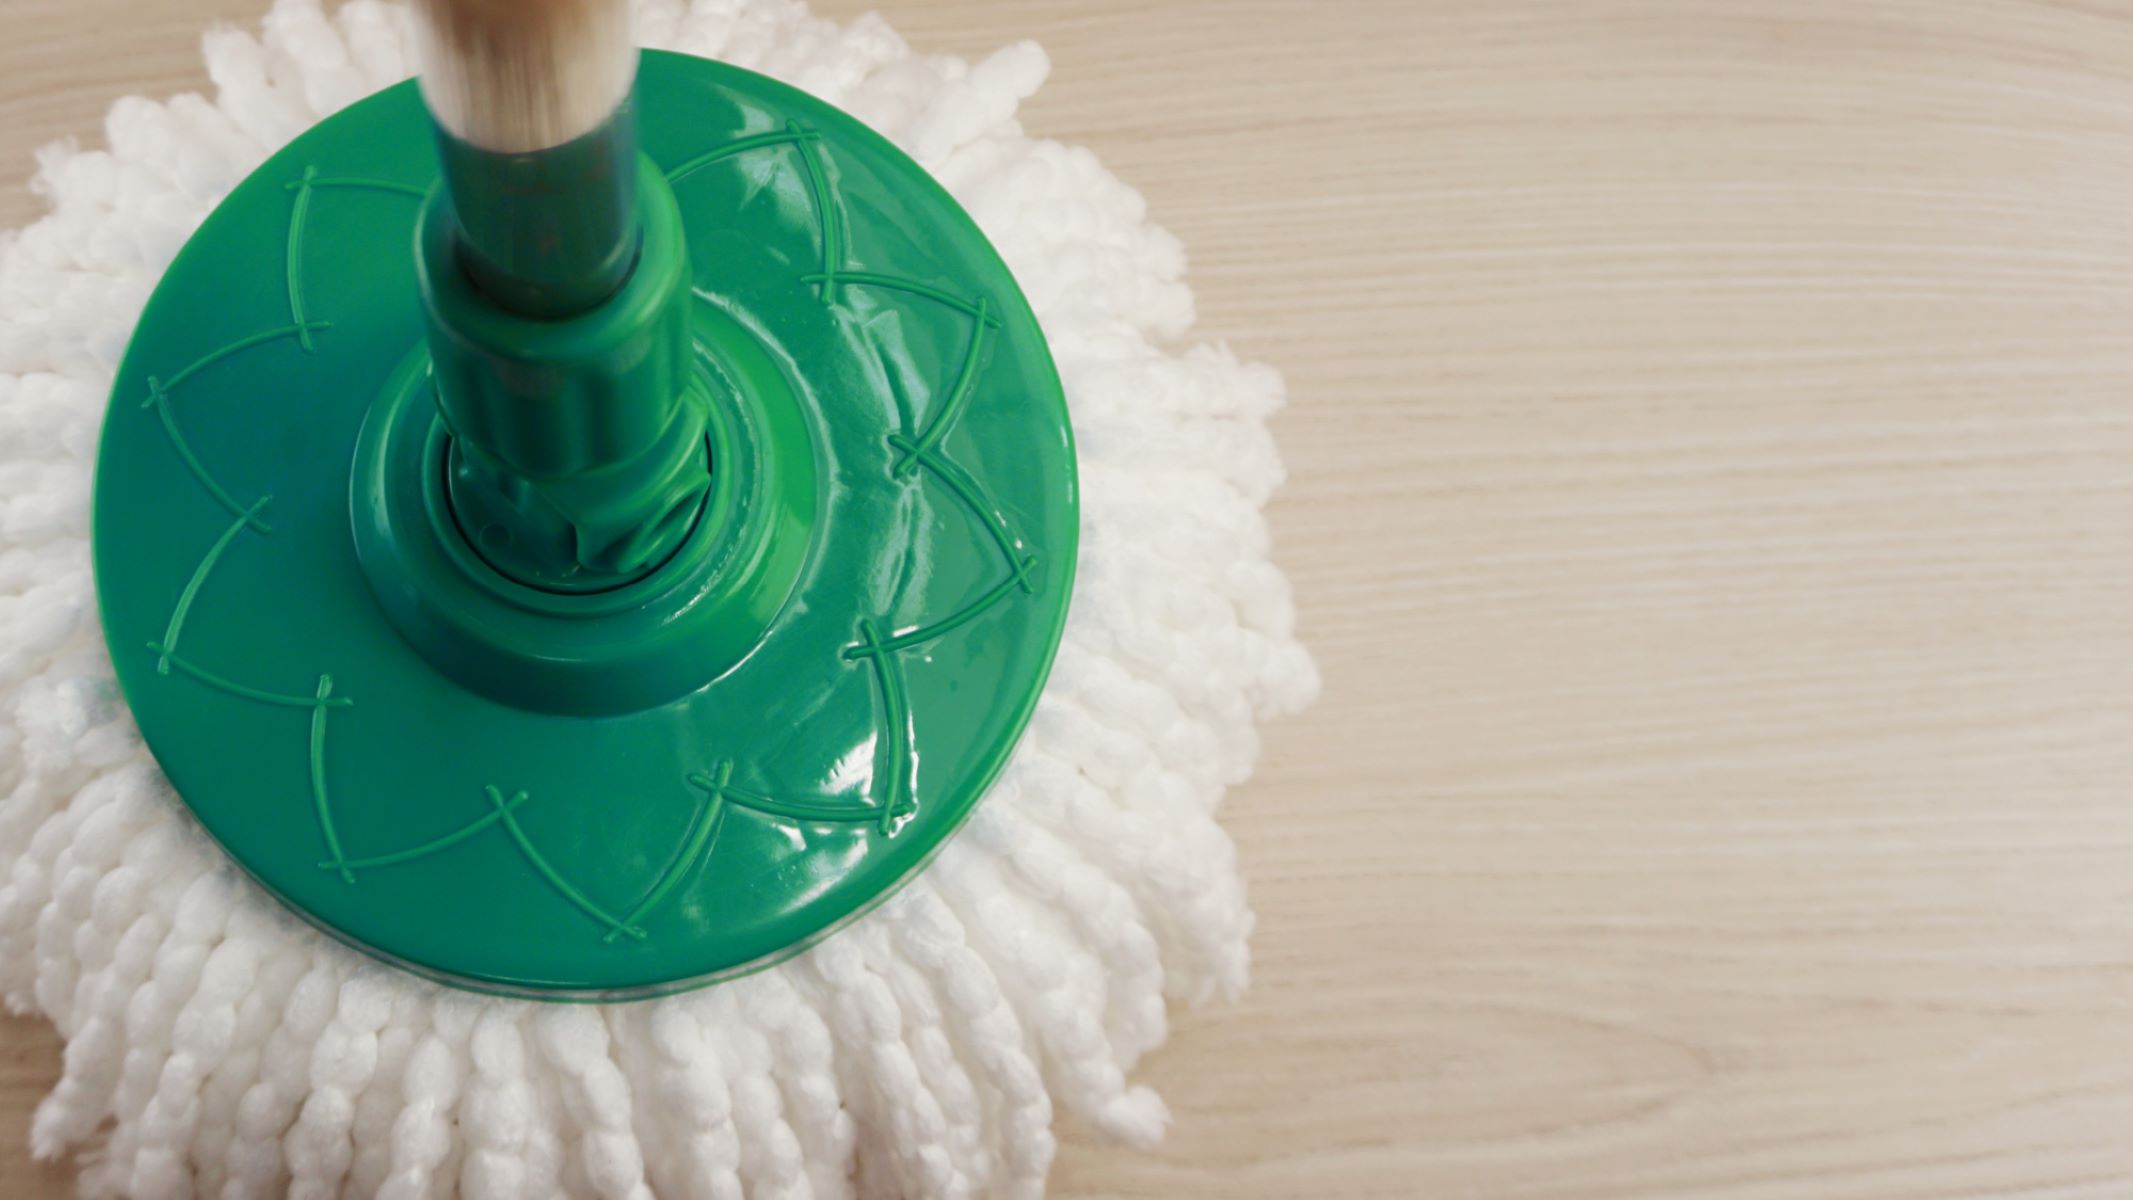
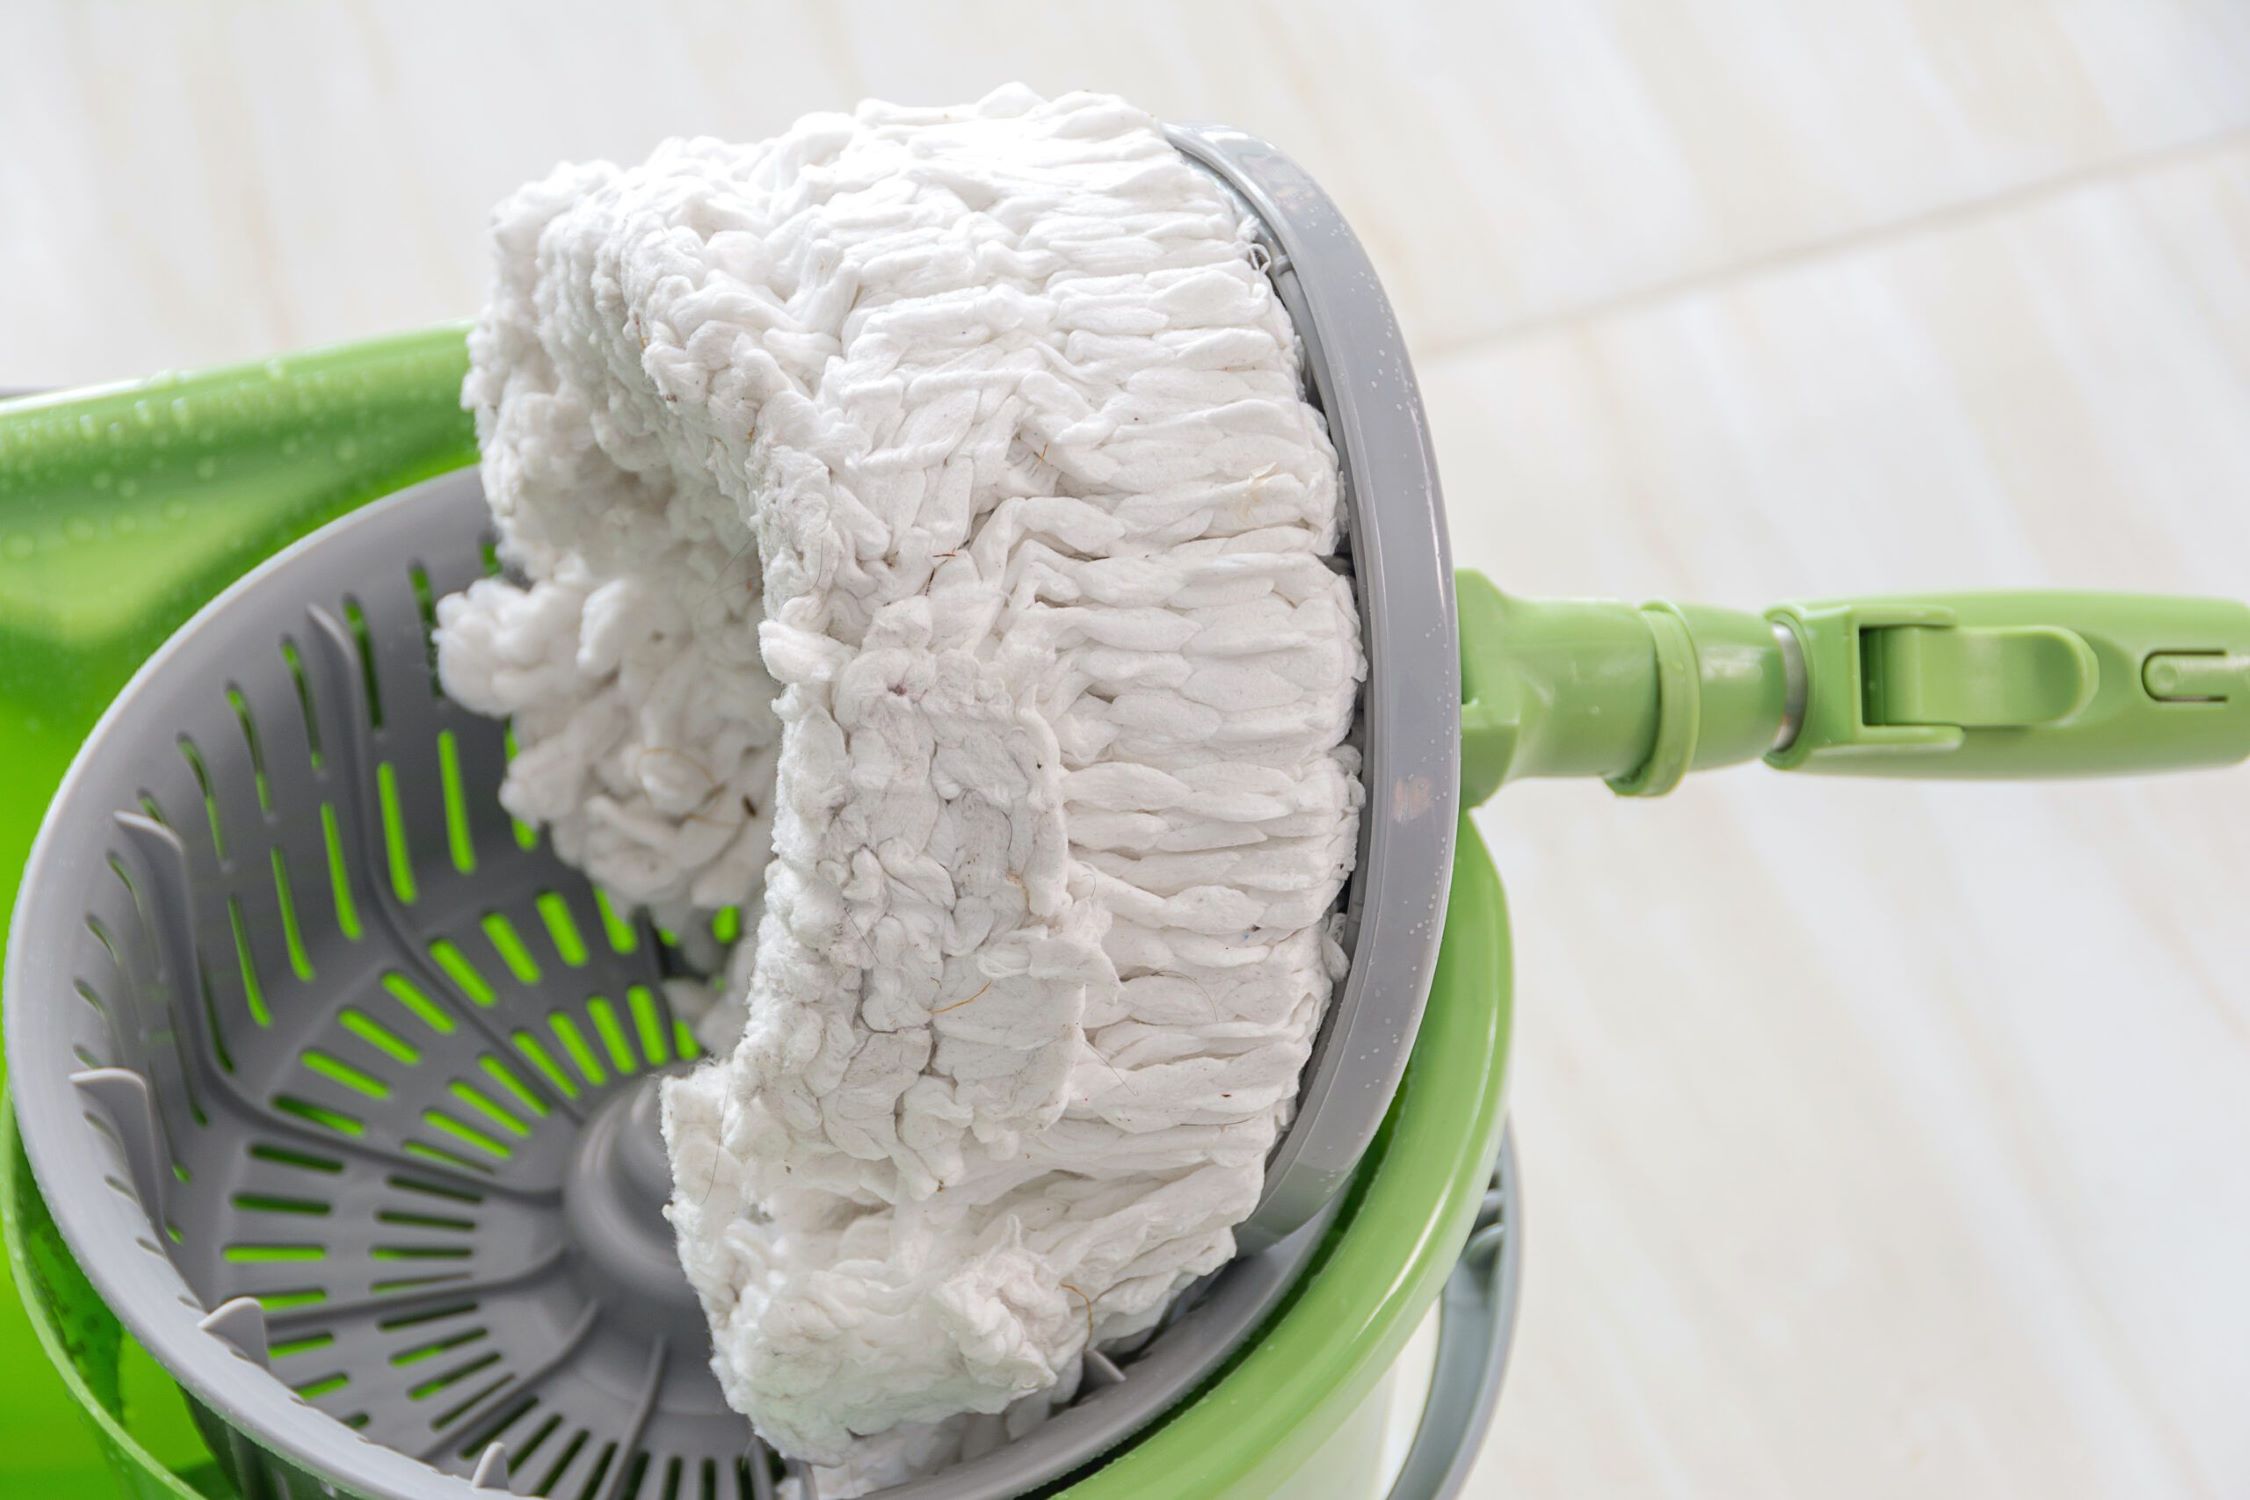
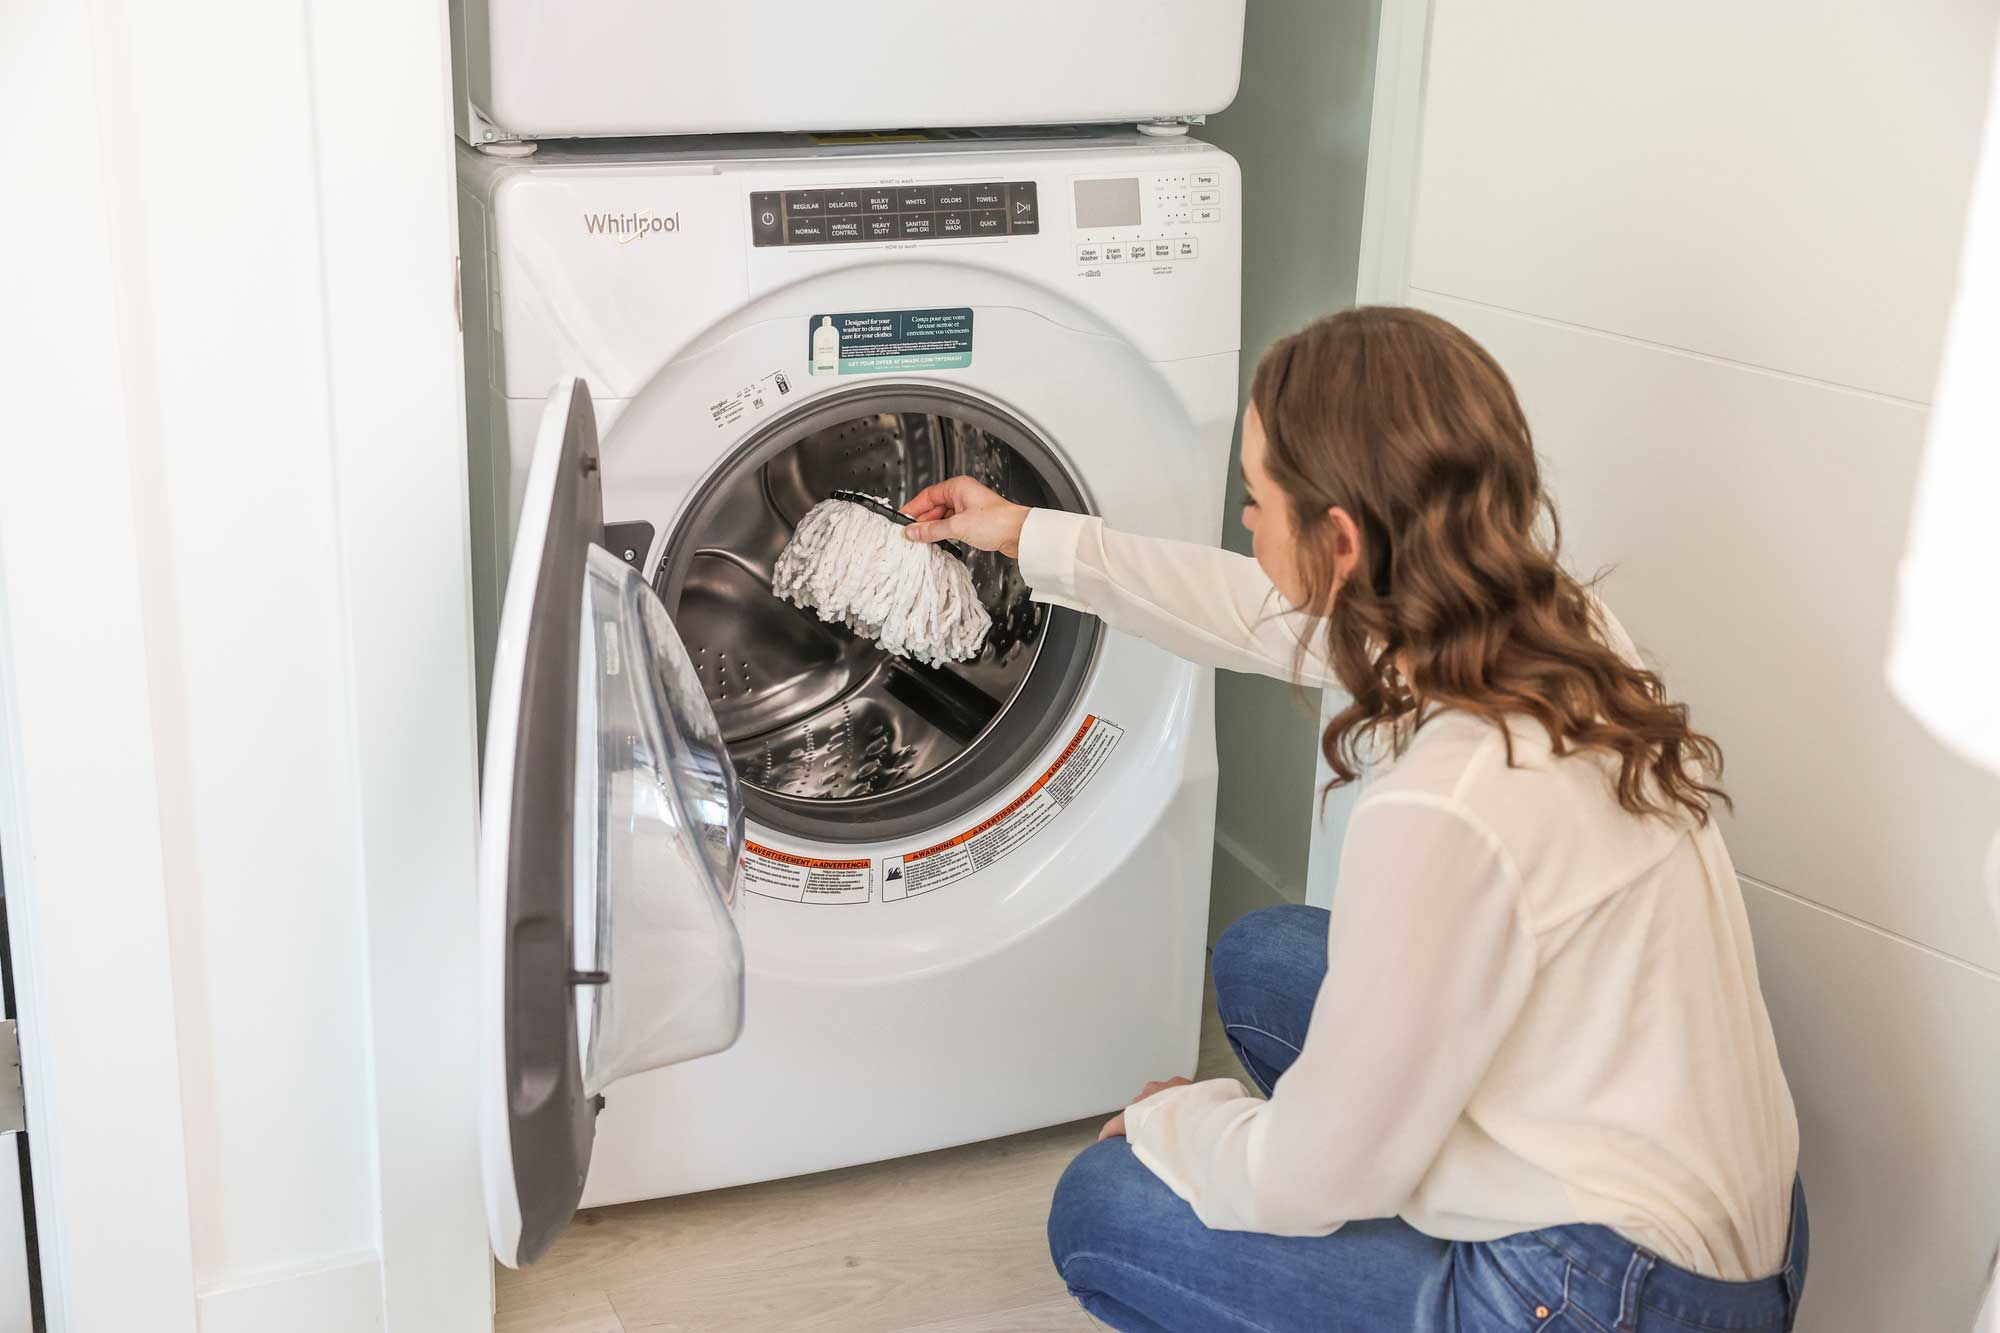
Step 2: Remove the Old Mop Head
Now that you have gathered the necessary tools, it’s time to begin the process of removing the old mop head from your spin mop. Follow these steps to ensure a seamless removal:
- Unscrew the Mop Head: Locate the screw or fastening mechanism that secures the mop head to the mop handle. Using your hands or a suitable tool, carefully unscrew or release the fastening mechanism to detach the old mop head from the handle. Take caution to avoid misplacing any small components during this step.
- Dispose of the Old Mop Head: Once the fastening mechanism is undone, gently remove the old mop head from the mop handle. Discard the old mop head responsibly, ensuring that it is properly disposed of according to local waste disposal guidelines.
- Clean the Attachment Area: With the old mop head removed, take a moment to inspect the attachment area on the mop handle. Use a clean cloth to wipe down the attachment point, removing any debris or residue that may have accumulated. This will prepare the handle for the attachment of the new mop head.
- Inspect the Handle: While the mop head is detached, take the opportunity to inspect the mop handle for any signs of wear or damage. Ensure that the handle is in good condition and free from any obstructions that could hinder the attachment of the new mop head.
By carefully following these steps, you can effectively remove the old mop head from your spin mop, setting the stage for the seamless attachment of the new mop head. With the old mop head out of the way, you are ready to proceed to the next step in the replacement process.
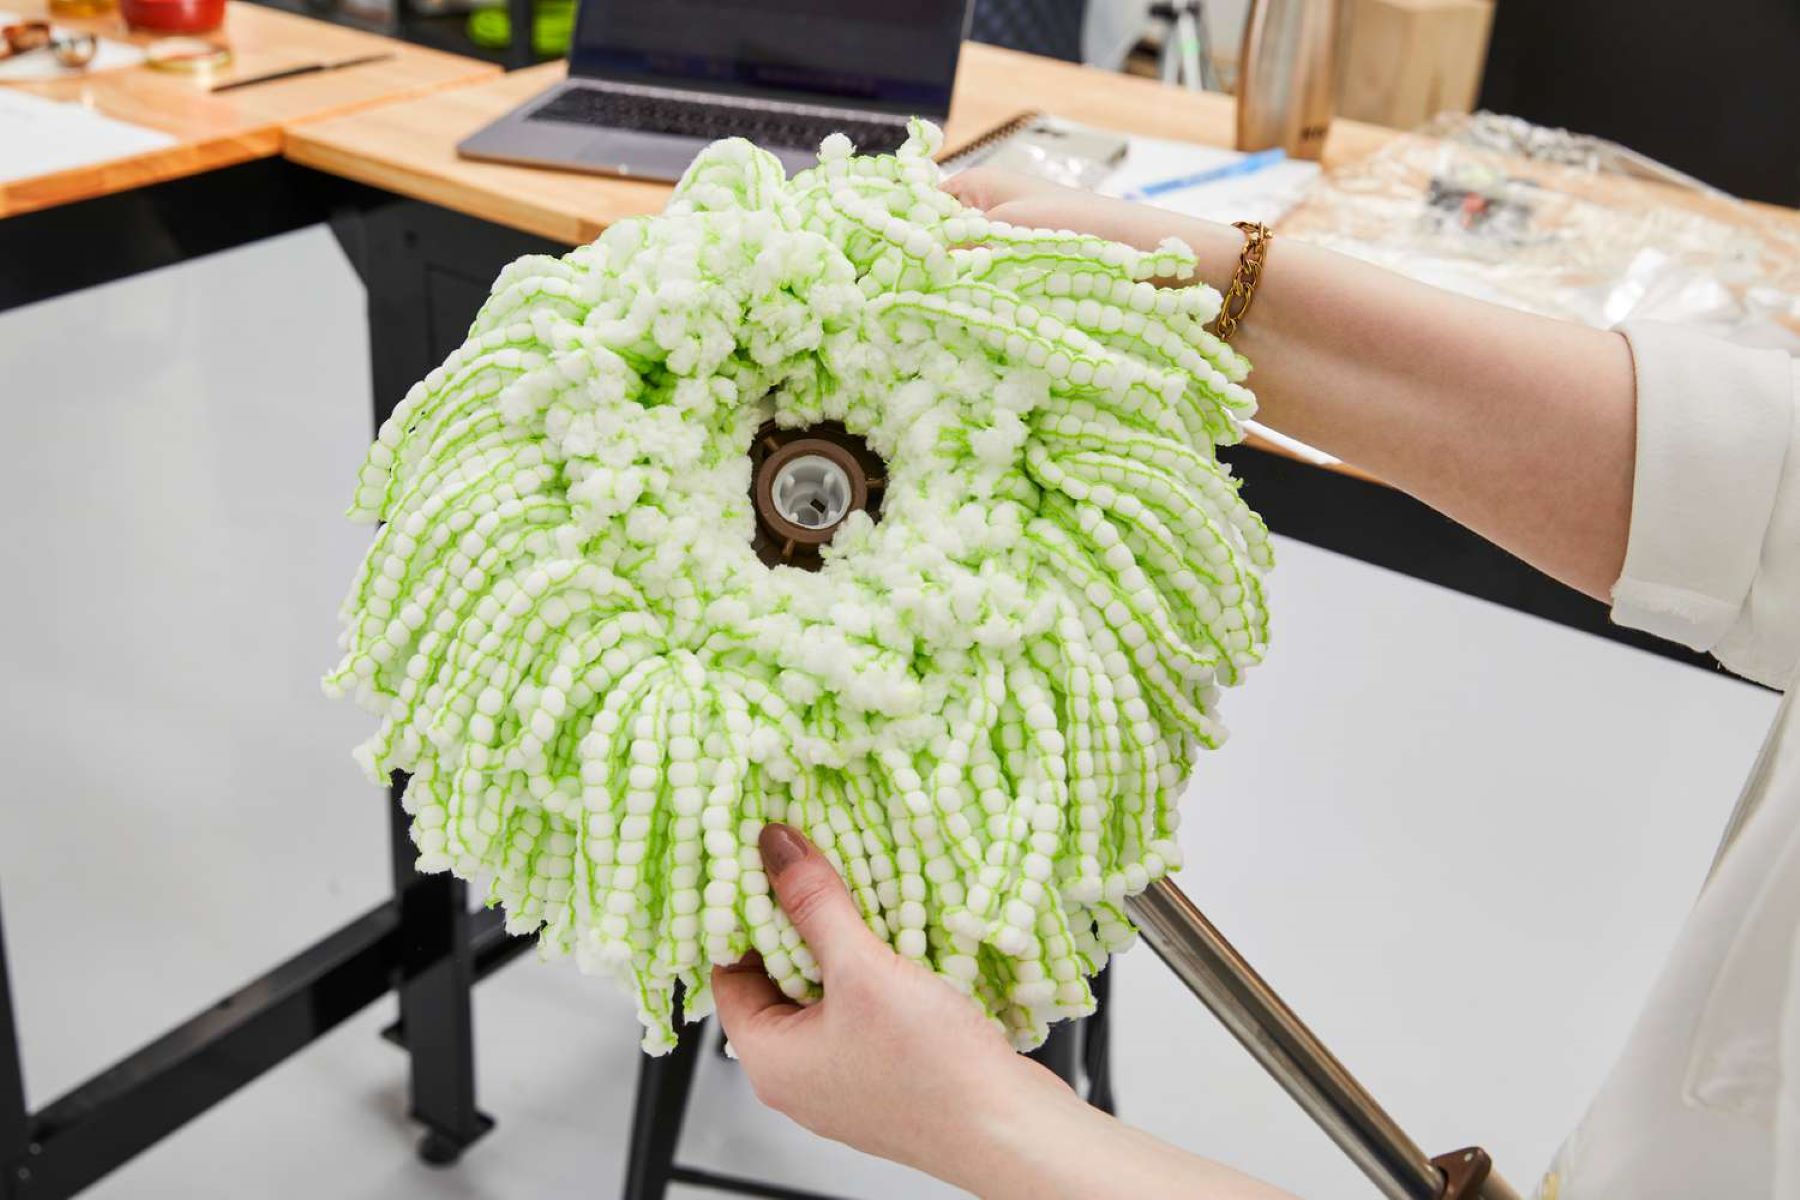
Step 3: Attach the New Mop Head
With the old mop head successfully removed, it’s time to proceed with attaching the new mop head to your spin mop. Follow these steps to ensure a secure and proper attachment:
- Align the New Mop Head: Take the new mop head and align it with the attachment point on the mop handle. Ensure that the mop head is positioned correctly and that any fastening mechanisms or screws align with their respective slots or openings on the handle.
- Secure the Mop Head: Once the new mop head is properly aligned, proceed to secure it to the mop handle. If your spin mop utilizes a screw or fastening mechanism, carefully tighten it to secure the new mop head in place. Ensure that the attachment is firm but not overly tight, allowing for the proper movement of the mop head during cleaning.
- Verify Stability: After securing the new mop head, gently test its stability by giving it a slight tug or rotation. Confirm that the mop head is firmly attached to the handle and that there is no excessive wobbling or movement. This step ensures that the new mop head is securely in place and ready for use.
By following these steps, you can effectively attach the new mop head to your spin mop, ensuring that it is securely fastened and ready to tackle your cleaning tasks with efficiency and precision. With the new mop head in place, you are now prepared to proceed to the next crucial step in the replacement process.
To change the mop head on a spin mop, simply unscrew the handle, remove the old mop head, and attach the new one by screwing it back on. Make sure it is securely in place before using.
Step 4: Secure the Mop Head in Place
Once the new mop head is attached to the mop handle, it’s essential to ensure that it is securely in place to guarantee optimal performance during cleaning. Follow these steps to secure the mop head and prepare it for use:
- Adjust the Fastening Mechanism: If your spin mop features an adjustable fastening mechanism, such as a twist-lock or similar mechanism, ensure that it is properly adjusted to securely hold the mop head in place. This step is crucial for preventing any potential loosening of the mop head during use.
- Inspect the Attachment: Take a moment to visually inspect the attachment of the new mop head. Verify that it is aligned correctly and that there are no visible gaps or misalignments between the mop head and the handle. This visual inspection ensures that the mop head is securely positioned for effective cleaning.
- Test the Movement: With the mop head securely attached, gently move the mop back and forth to test its movement. Ensure that the mop head moves smoothly and that there are no unusual sounds or obstructions. This test confirms that the mop head is properly secured and ready for action.
By carefully following these steps, you can confidently secure the new mop head in place, setting the stage for seamless and effective cleaning. With the mop head securely fastened, you are now prepared to move on to the final step in the replacement process, ensuring that your spin mop is ready to deliver exceptional cleaning performance.
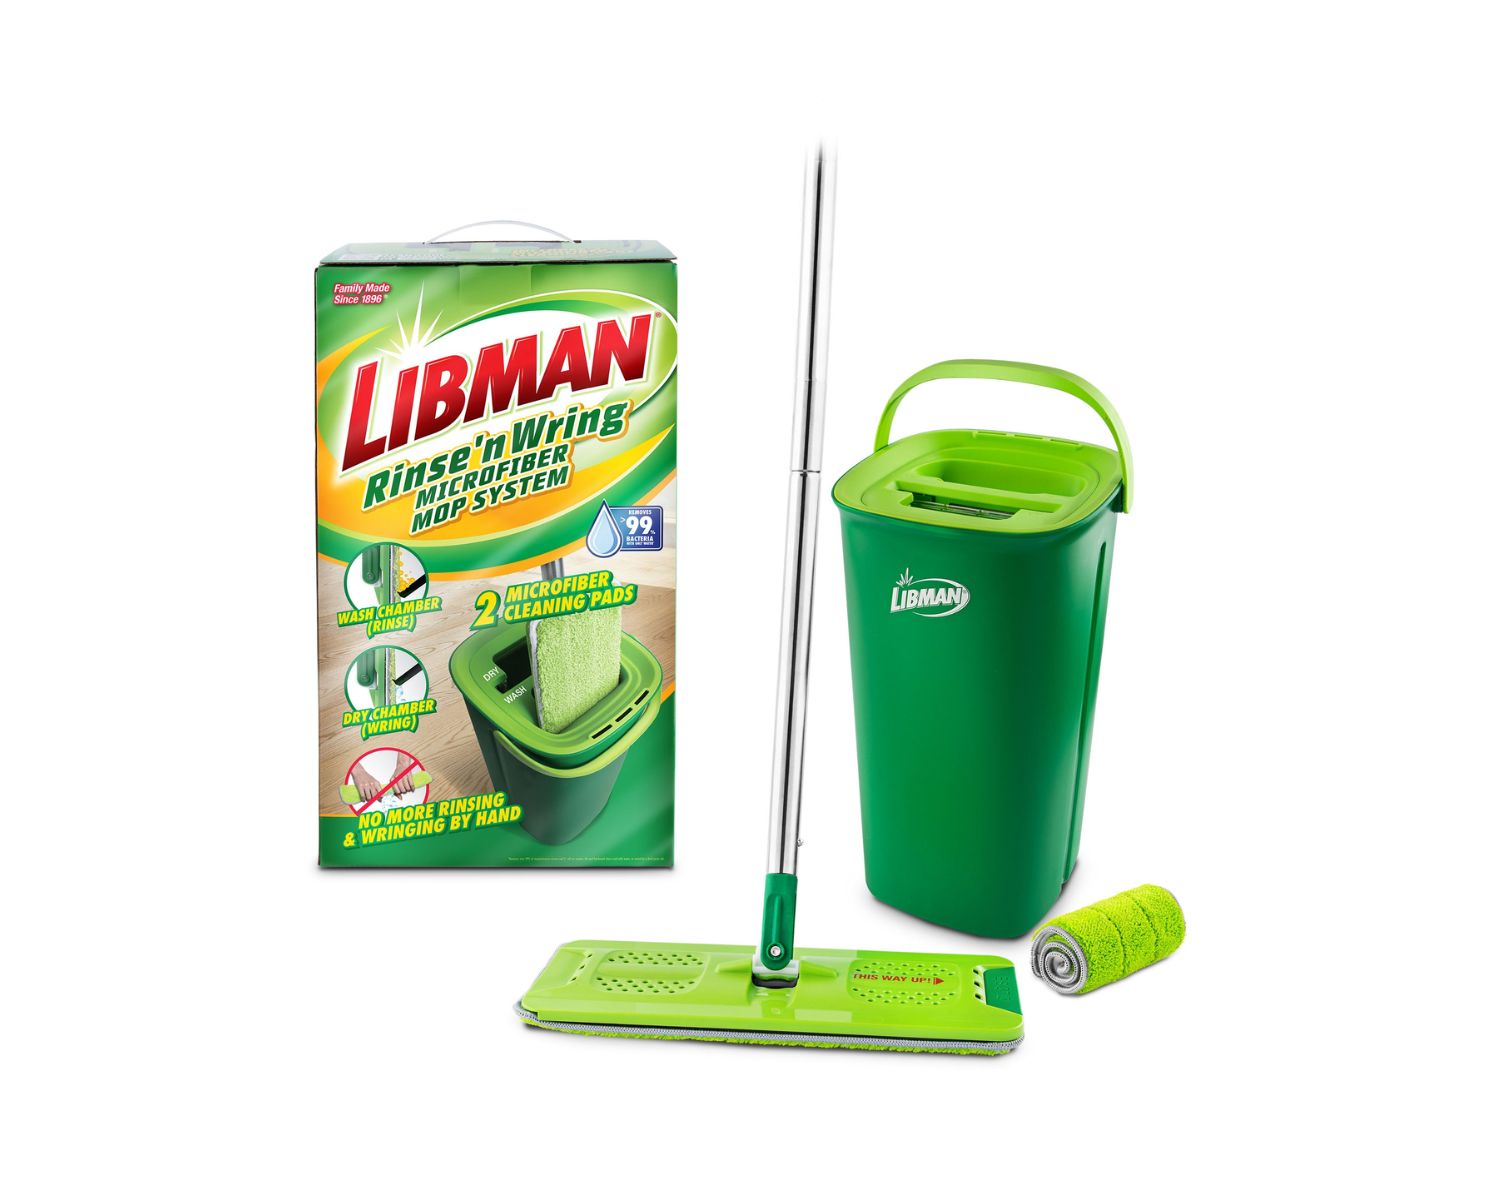
Read more: How To Change Mop Head On Libman Mop
Step 5: Test the New Mop Head
With the new mop head securely in place, it’s time to put it to the test and ensure that it performs as expected. Follow these steps to effectively test the new mop head on your spin mop:
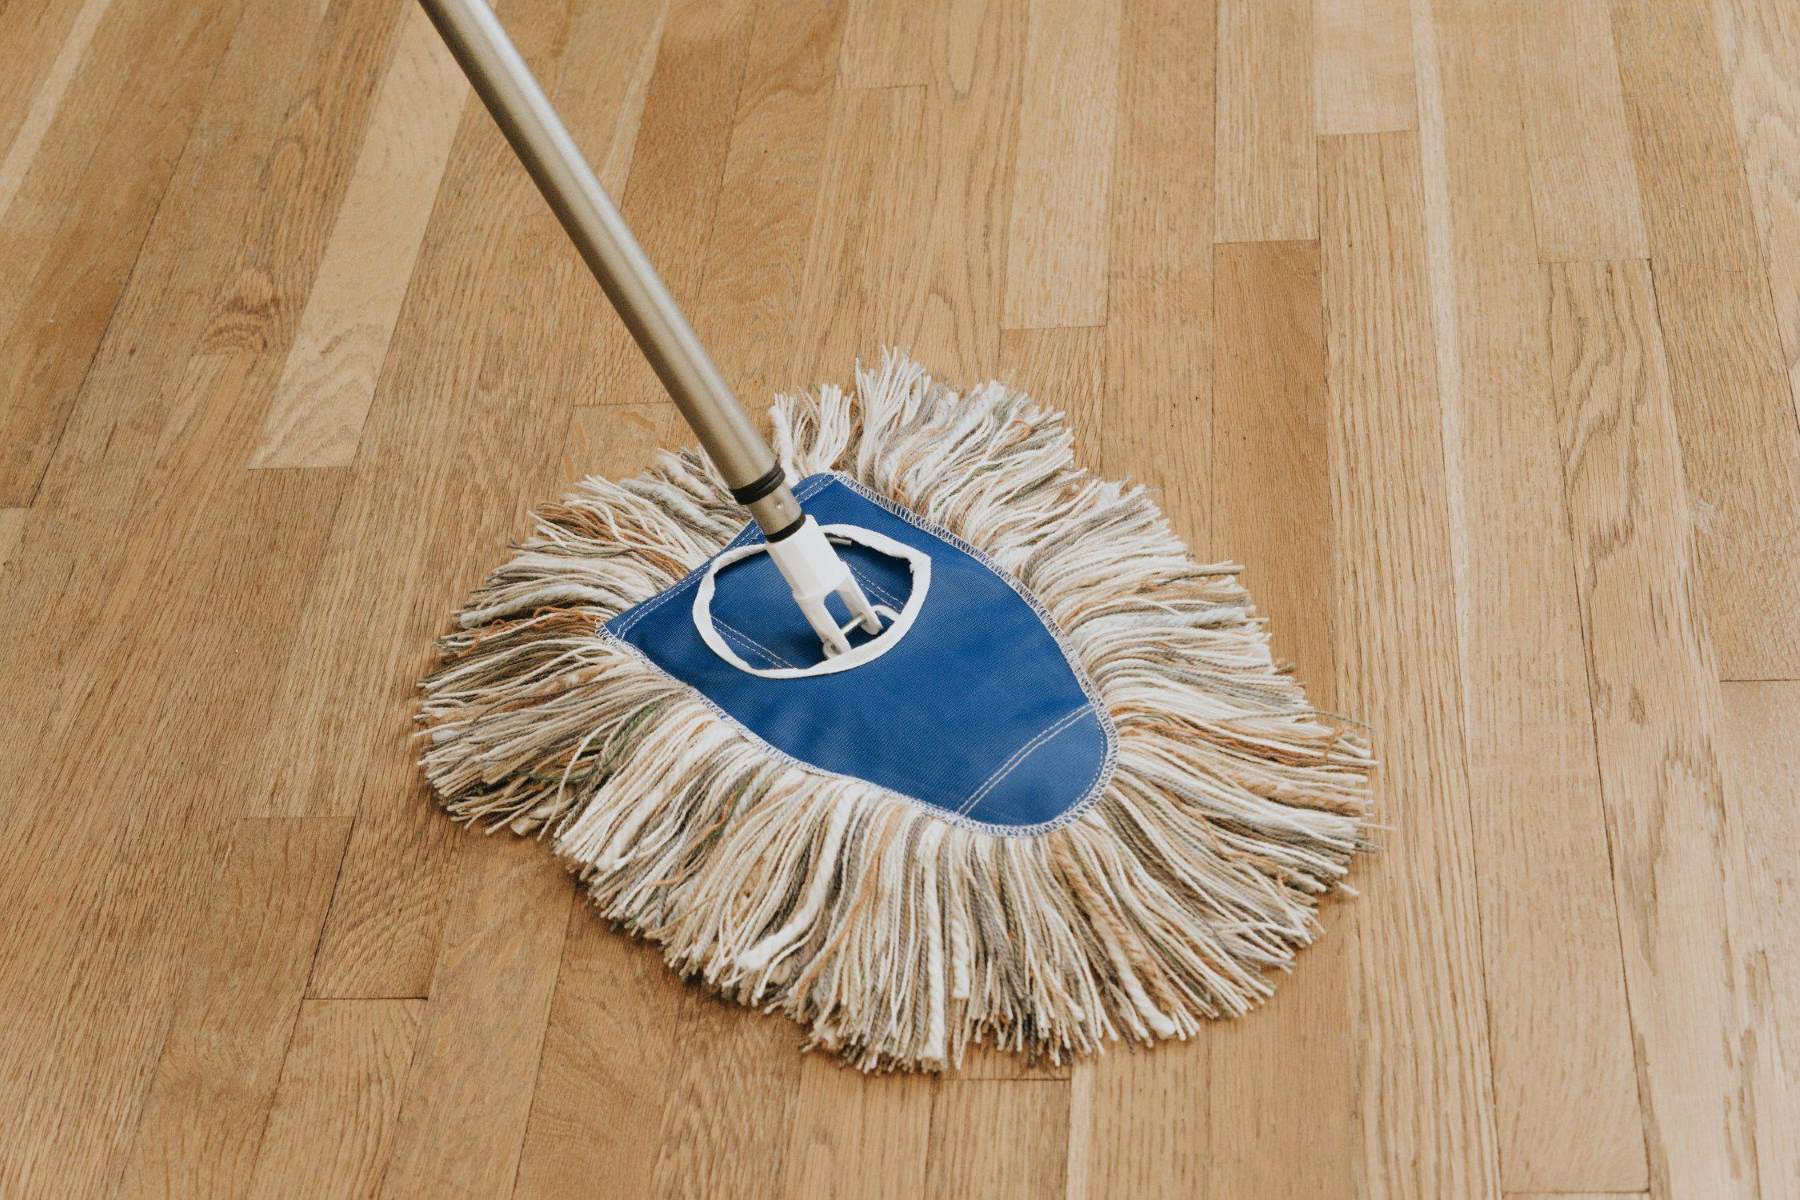
- Prepare the Cleaning Surface: Select a suitable area for testing the new mop head. Whether it’s a hardwood floor, tile, or any other compatible surface, ensure that it is clear of obstacles and debris to allow for uninterrupted testing.
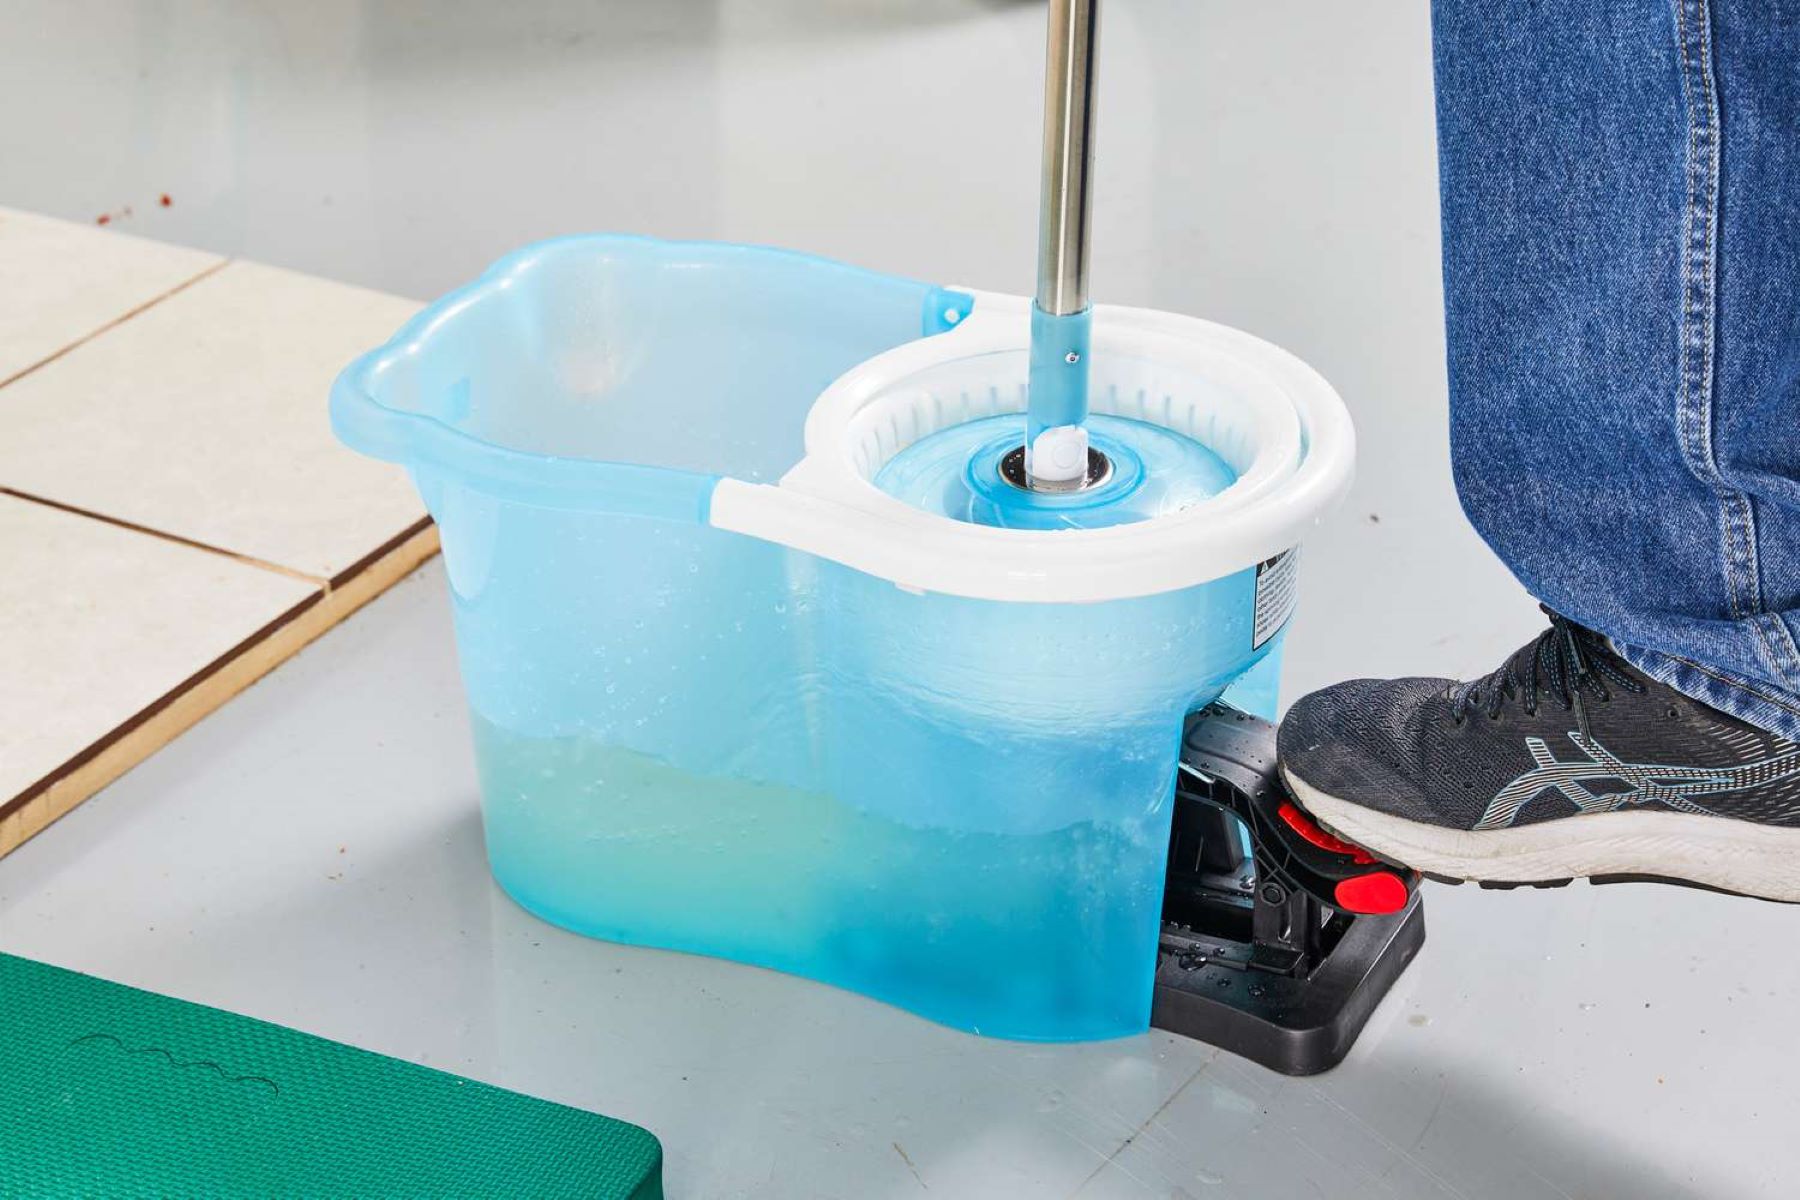
- Dampen the Mop Head: If your cleaning routine typically involves a damp mop head, lightly dampen the new mop head with water or a suitable cleaning solution. This step prepares the mop head for effective cleaning and ensures that it glides smoothly over the surface.
- Engage in Cleaning Motions: Begin using the spin mop in its typical cleaning motions, whether it involves back-and-forth swipes, circular movements, or any other preferred technique. Pay attention to how the new mop head interacts with the cleaning surface, ensuring that it effectively picks up dirt and grime without leaving streaks or marks.
- Observe Cleaning Performance: As you clean the surface, observe the performance of the new mop head. Take note of any issues such as excessive lint or fraying, inadequate absorption, or any other signs that may indicate a need for adjustments or further testing.
- Make Adjustments if Necessary: If you encounter any issues during the testing phase, such as subpar cleaning performance or unexpected behavior from the new mop head, consider making adjustments as needed. This may involve repositioning the mop head, fine-tuning the fastening mechanism, or addressing any other factors affecting its performance.
By following these steps, you can effectively test the new mop head on your spin mop, ensuring that it meets your cleaning expectations and operates seamlessly during your cleaning routine. With the new mop head validated and ready for action, you can confidently incorporate it into your cleaning regimen, knowing that it will deliver exceptional results.
Conclusion
Congratulations! You have successfully navigated the process of changing the mop head on your spin mop, equipping it with a fresh and efficient cleaning component. By following the comprehensive steps outlined in this guide, you have ensured that your spin mop is ready to continue delivering exceptional cleaning performance, maintaining the cleanliness of your floors with ease and precision.
Understanding how to change the mop head on a spin mop is an invaluable skill that empowers you to prolong the lifespan of your cleaning tool and maintain its effectiveness over time. With the proper tools and step-by-step guidance, you have seamlessly replaced the old mop head with a new one, setting the stage for effortless and efficient cleaning sessions.
As you embrace the enhanced functionality of your spin mop with its new mop head, remember to periodically inspect and maintain the mop head to ensure continued performance. Regularly cleaning and replacing the mop head when necessary will contribute to the longevity and reliability of your spin mop, allowing you to tackle cleaning tasks with confidence and ease.
We hope this guide has been instrumental in empowering you to effectively change the mop head on your spin mop, elevating your cleaning experience and contributing to the upkeep of your living spaces. With your spin mop revitalized and ready for action, you can look forward to maintaining pristine floors and surfaces effortlessly, thanks to your newfound expertise in managing and maintaining this essential cleaning tool.
Here’s to a sparkling clean home and the seamless functionality of your spin mop with its fresh, new mop head!
Frequently Asked Questions about How To Change Mop Head On Spin Mop
Was this page helpful?
At Storables.com, we guarantee accurate and reliable information. Our content, validated by Expert Board Contributors, is crafted following stringent Editorial Policies. We're committed to providing you with well-researched, expert-backed insights for all your informational needs.


0 thoughts on “How To Change Mop Head On Spin Mop”