Home>Home Appliances>Home Automation Appliances>How To Connect Shark Vacuum To Alexa
Home Automation Appliances
How To Connect Shark Vacuum To Alexa
Modified: May 6, 2024
Discover how to easily connect your Shark vacuum to Alexa for seamless home automation. Streamline your cleaning routine with this simple guide. Unlock the potential of home automation appliances today!
(Many of the links in this article redirect to a specific reviewed product. Your purchase of these products through affiliate links helps to generate commission for Storables.com, at no extra cost. Learn more)
Introduction
Welcome to the future of home automation, where the integration of smart devices has revolutionized the way we interact with our living spaces. In this era of technological advancements, the ability to control household appliances with voice commands has become a reality, thanks to virtual assistants like Amazon's Alexa. If you're a proud owner of a Shark vacuum cleaner and an Alexa-enabled device, you're in for a treat. The seamless integration of these two powerful technologies allows you to enjoy hands-free control over your vacuuming tasks, making the chore of cleaning your home more convenient and efficient.
In this comprehensive guide, we'll walk you through the process of connecting your Shark vacuum to Alexa, empowering you to harness the full potential of these cutting-edge devices. By the end of this tutorial, you'll be equipped with the knowledge and skills to effortlessly manage your vacuuming duties using voice commands, bringing a new level of convenience and modernity to your home. So, let's dive in and explore the exciting world of smart home connectivity, where simplicity meets innovation.
Key Takeaways:
- You can connect your Shark vacuum to Alexa for hands-free cleaning by following simple steps. Just set up your vacuum, connect it to the Alexa app, and start controlling it with voice commands.
- With Alexa, you can schedule cleaning sessions, check your vacuum’s status, and even create personalized commands for a smarter and more efficient cleaning experience.
Read more: How To Store Shark Vacuum Attachments
Step 1: Setting up the Shark Vacuum
Before you can connect your Shark vacuum to Alexa, it’s essential to ensure that your vacuum cleaner is set up and ready to integrate with smart home devices. Here’s a step-by-step guide to preparing your Shark vacuum for seamless connectivity:
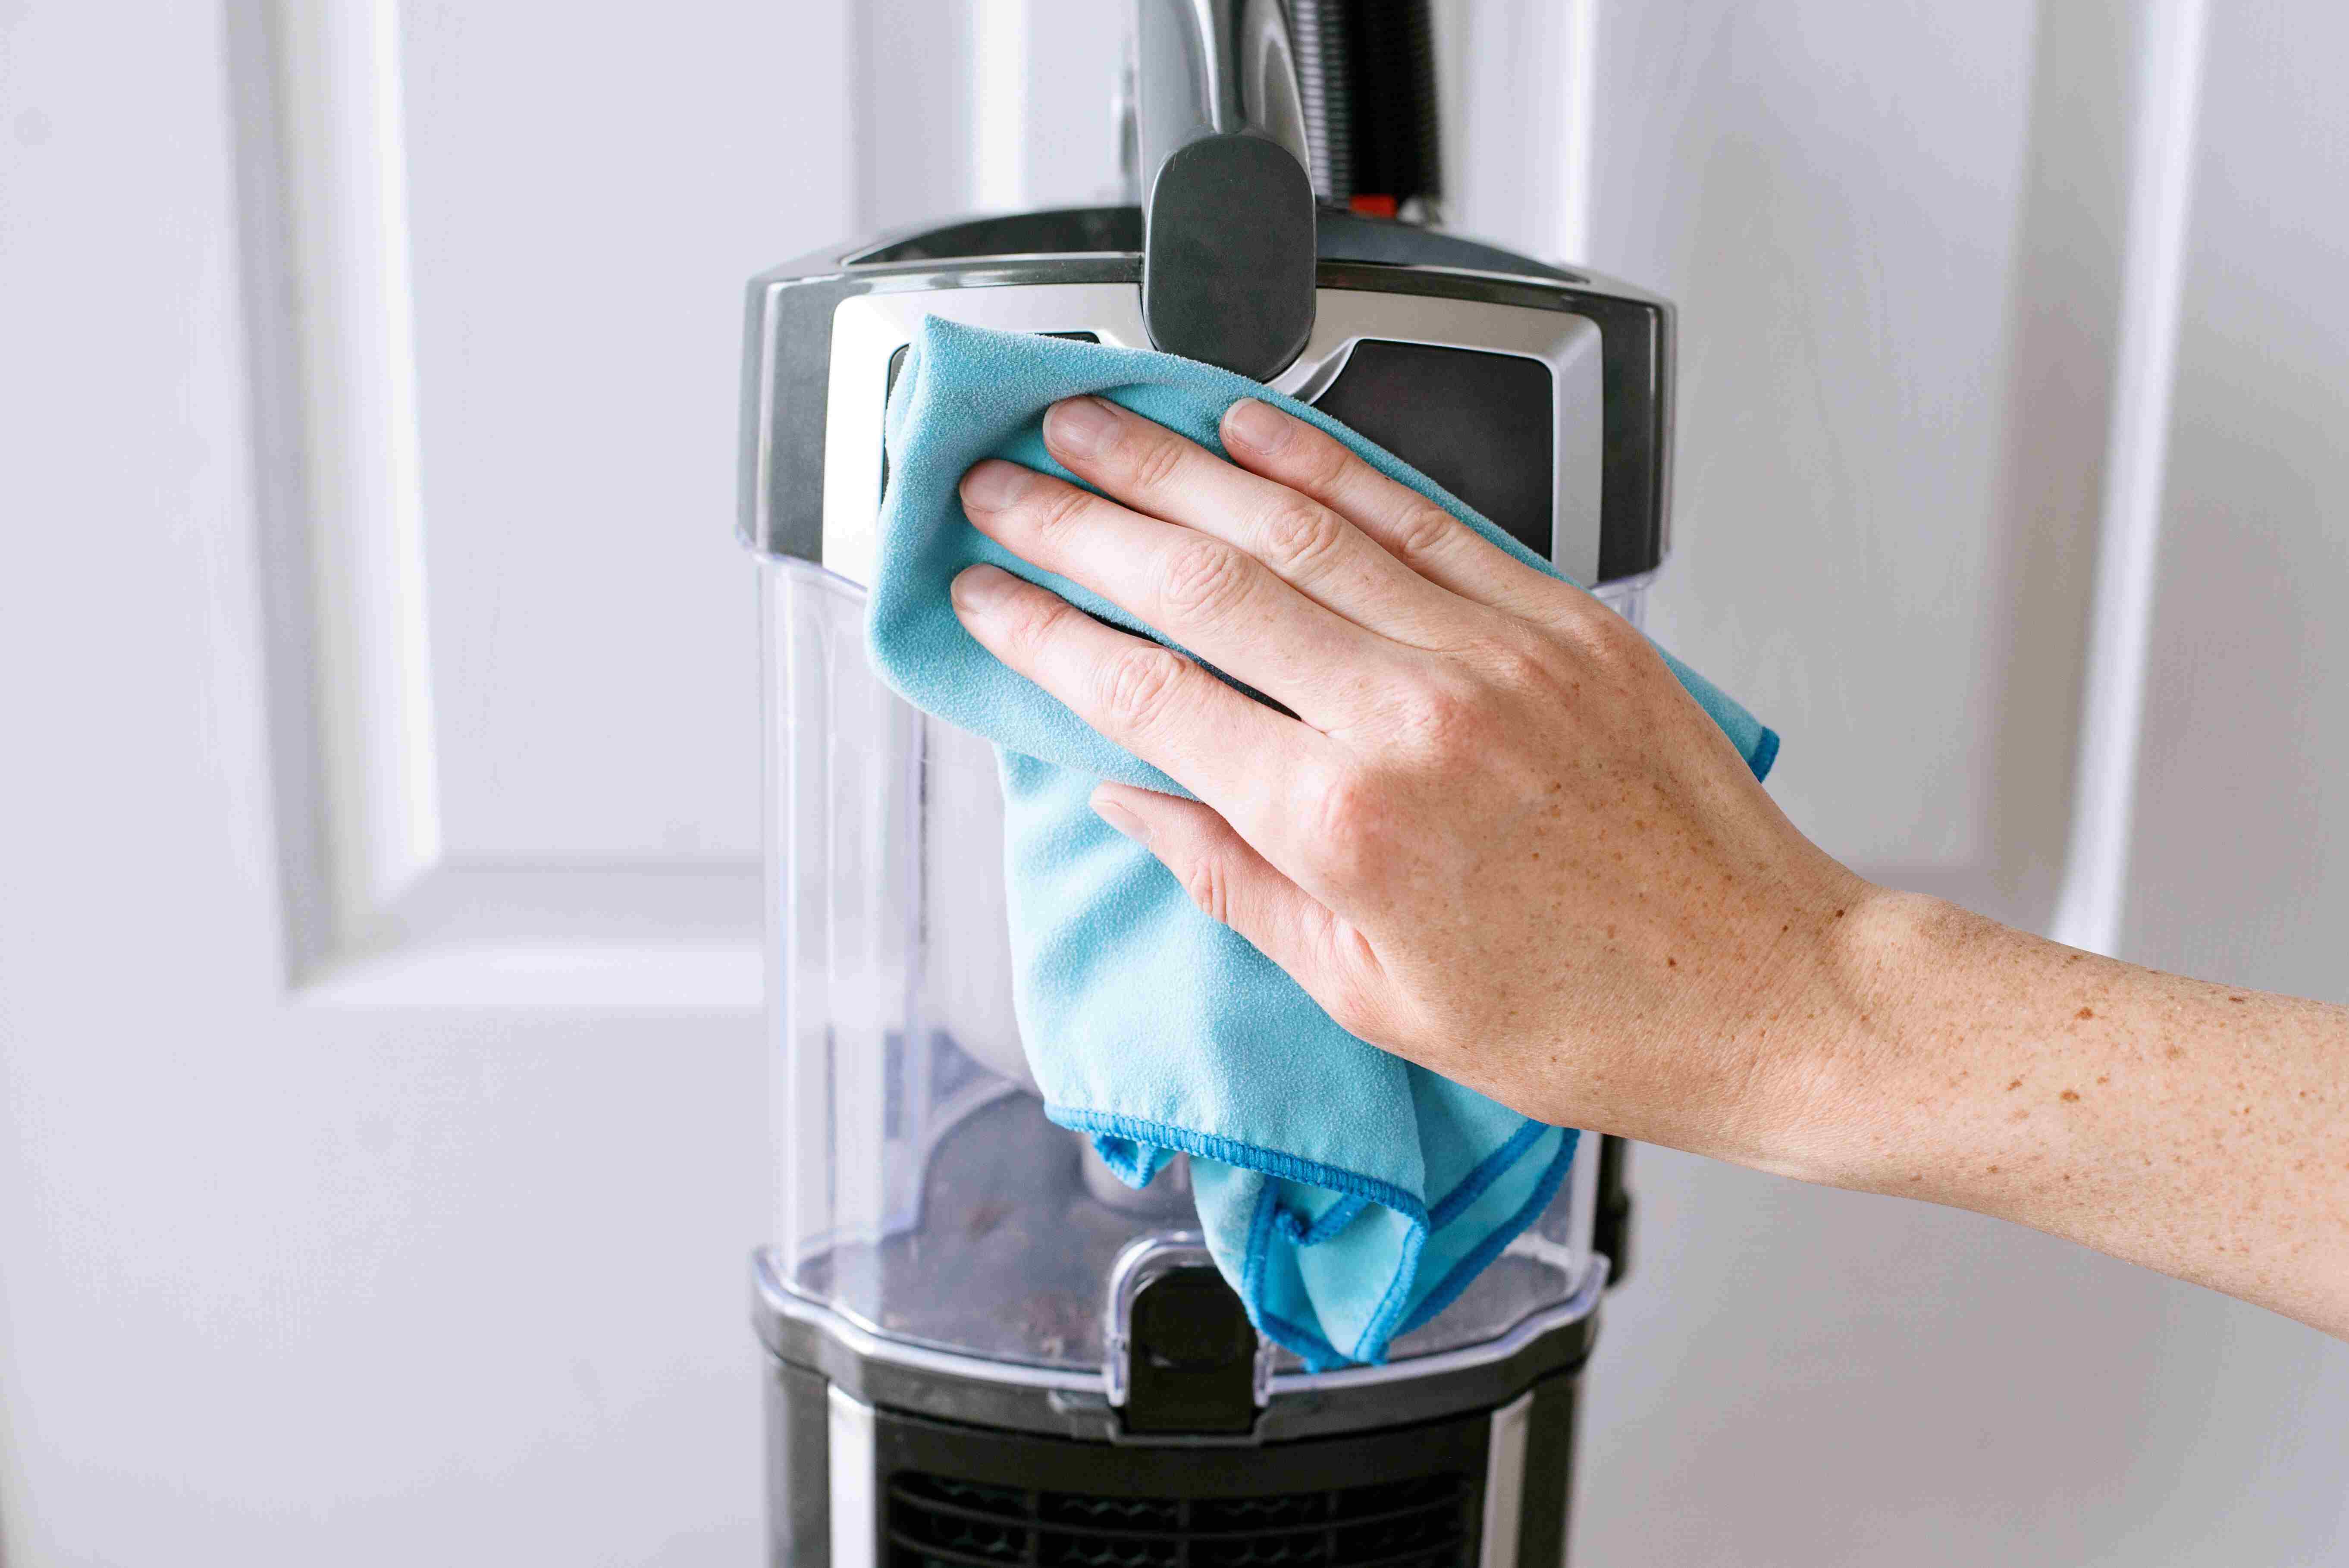
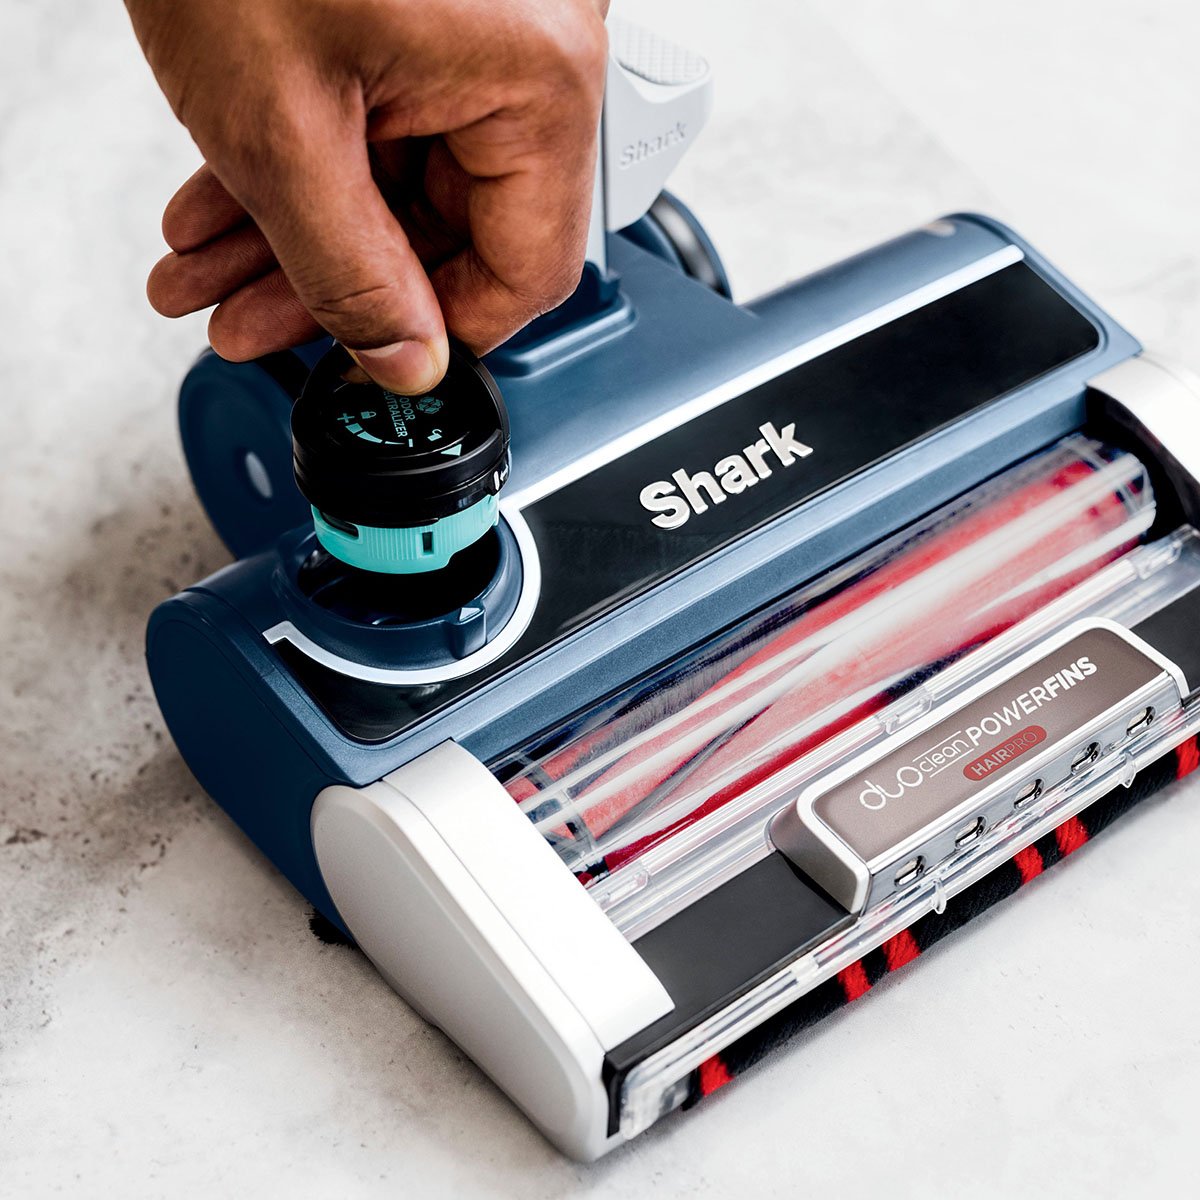
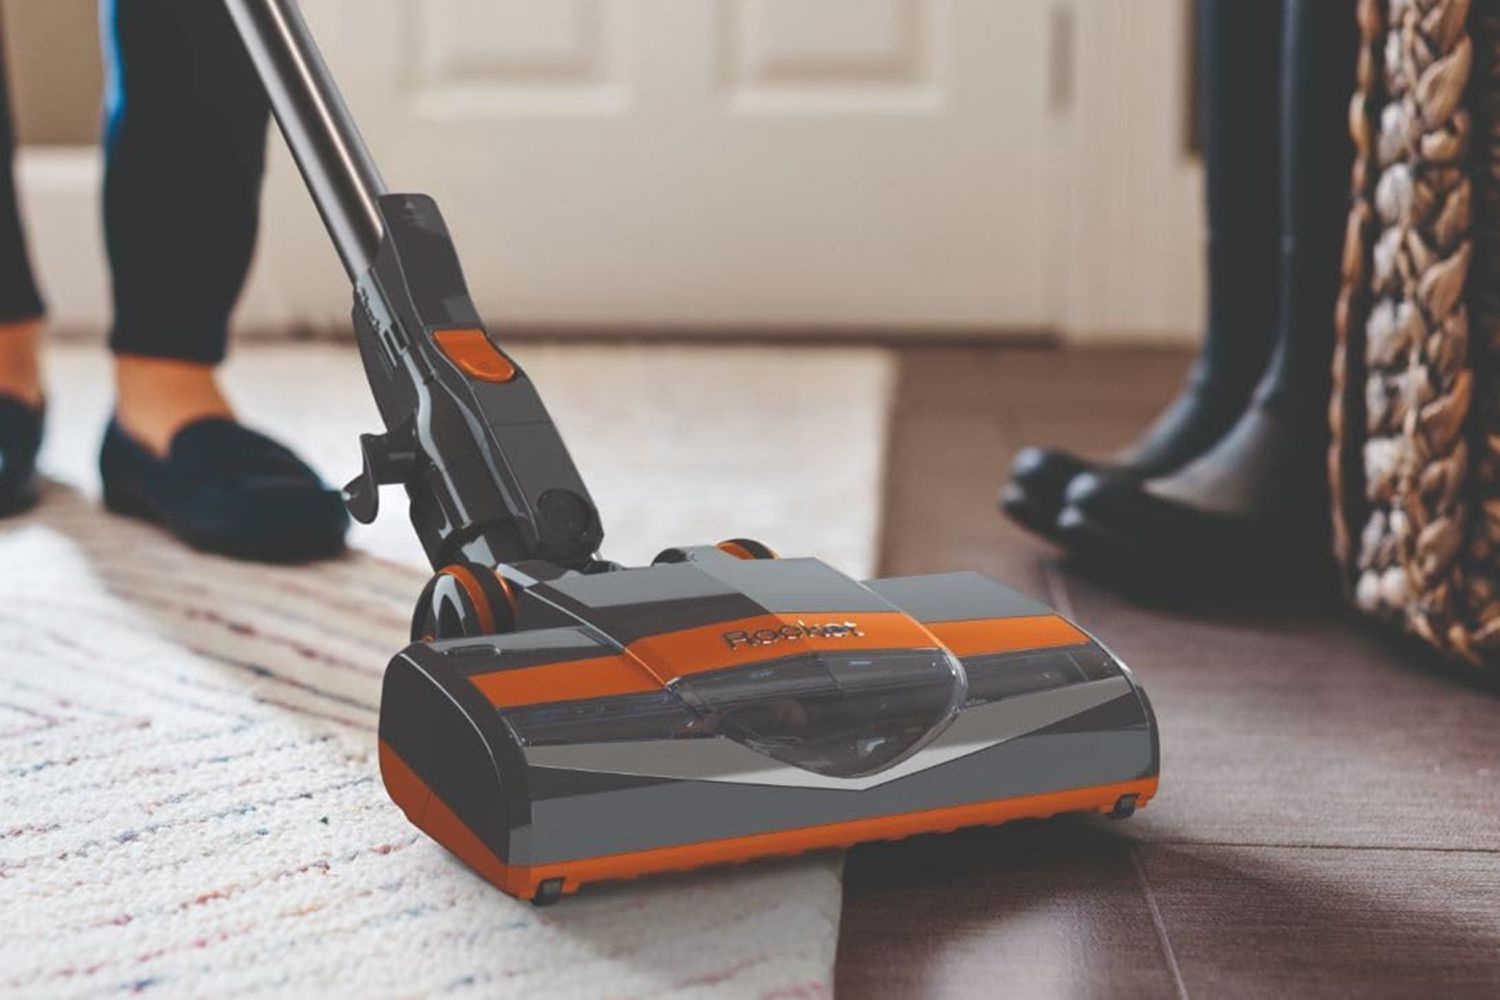
- Unboxing and Assembly: Start by unboxing your Shark vacuum cleaner and carefully assembling it according to the manufacturer’s instructions. This typically involves attaching the handle, connecting the cleaning head, and ensuring that all components are securely in place.
- Powering Up: Once assembled, locate the power cord and plug your Shark vacuum into a suitable power outlet. Ensure that the vacuum is fully charged or connected to a power source to enable uninterrupted operation during the setup process.
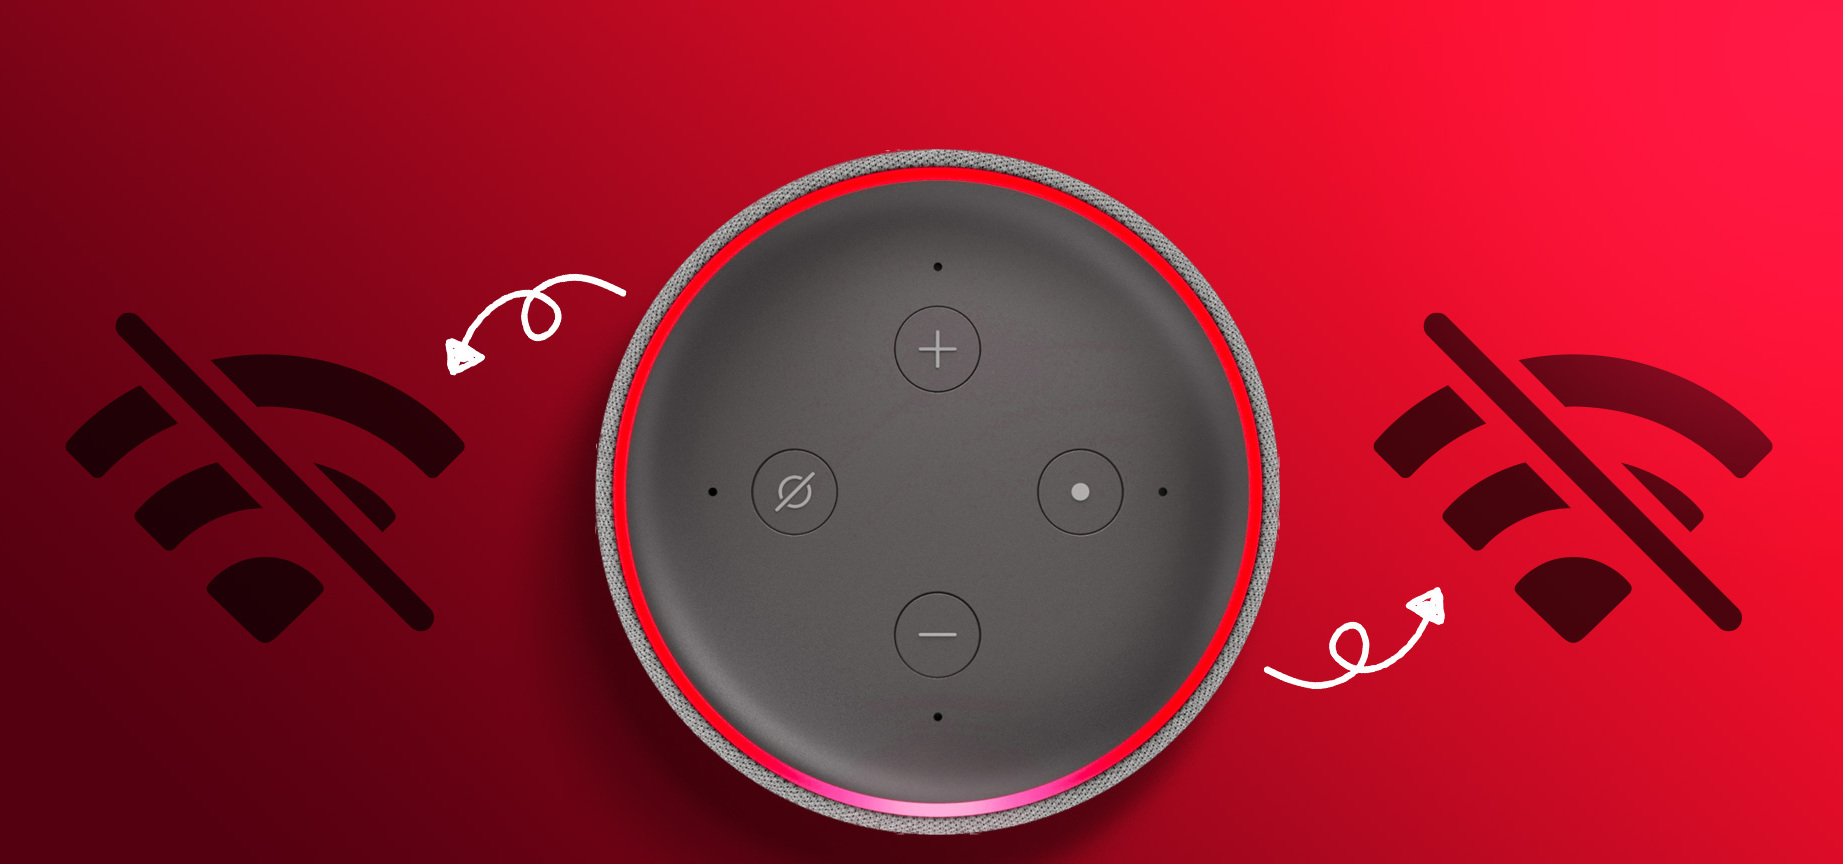
- Wi-Fi Connectivity: Many modern Shark vacuum models offer Wi-Fi connectivity, allowing them to be controlled and monitored remotely. Follow the manufacturer’s guidelines to connect your vacuum to your home Wi-Fi network, enabling it to communicate with Alexa and other smart devices.
- Mobile App Setup: Some Shark vacuum models may require you to download and install the official Shark mobile app on your smartphone or tablet. This app serves as a central hub for managing your vacuum’s settings, scheduling cleaning sessions, and potentially facilitating the integration with Alexa.
- Initial Configuration: Once your Shark vacuum is powered up and connected to your home network, take the time to configure any essential settings using the mobile app or the vacuum’s control panel. This may involve setting cleaning preferences, creating cleaning schedules, and ensuring that the vacuum’s firmware is up to date.
By carefully completing these initial setup steps, you’ll lay the groundwork for a smooth and successful integration of your Shark vacuum with Alexa. With your vacuum ready to embrace smart home connectivity, you’re now prepared to move on to the next crucial phase: connecting the Shark vacuum to Alexa.
Step 2: Connecting the Shark Vacuum to Alexa
Now that your Shark vacuum is primed and ready, it’s time to bridge the gap between your cleaning companion and the powerful voice-controlled capabilities of Amazon’s Alexa. This process involves integrating your Shark vacuum with the Alexa app, enabling you to issue voice commands and manage your vacuuming tasks effortlessly. Follow these steps to establish a seamless connection between your Shark vacuum and Alexa:
- Open the Alexa App: Begin by launching the Alexa app on your smartphone or tablet. If you don’t have the app installed, you can download it from the App Store (for iOS devices) or the Google Play Store (for Android devices).
- Navigate to Devices: Once inside the Alexa app, access the “Devices” tab, typically located in the lower-right corner of the screen. This section allows you to manage and configure the smart devices linked to your Alexa account.
- Add a New Device: Within the Devices tab, look for the option to add a new device. This may be represented by a “+” or “Add Device” button. Select this option to initiate the process of integrating your Shark vacuum with Alexa.
- Discover Devices: Alexa will begin searching for compatible devices that can be added to your smart home ecosystem. Ensure that your Shark vacuum is in pairing mode, as per the manufacturer’s instructions, to allow Alexa to detect and establish a connection with the vacuum cleaner.
- Select Your Shark Vacuum: Once Alexa identifies your Shark vacuum during the device discovery process, you’ll be prompted to select and confirm the vacuum cleaner for integration. Follow the on-screen instructions to complete this step, ensuring that the correct device is chosen from the list of detected appliances.
- Complete the Setup: After confirming the integration of your Shark vacuum with Alexa, finalize the setup process as directed by the Alexa app. This may involve assigning a specific name or location to the vacuum cleaner for easy identification and voice commands.
By diligently following these steps, you’ll establish a direct link between your Shark vacuum and the Alexa app, paving the way for effortless control and management of your vacuuming routines using voice commands and the power of Alexa’s intelligent voice assistant. With the connection established, you’re now poised to explore the exciting possibilities of using Alexa to streamline your cleaning endeavors.
To connect your Shark vacuum to Alexa, make sure your vacuum is compatible with the Shark skill in the Alexa app. Then, enable the skill and follow the instructions to link your Shark account. Once linked, you can use voice commands to control your vacuum with Alexa.
Step 3: Using Alexa to Control the Shark Vacuum
With your Shark vacuum successfully integrated with Alexa, you’re now empowered to harness the convenience and efficiency of voice-controlled cleaning. By leveraging the capabilities of Amazon’s virtual assistant, you can issue a range of commands to manage and monitor your Shark vacuum, transforming the way you maintain a clean and tidy home. Here’s a guide to using Alexa to control your Shark vacuum:
- Voice Commands: Utilize natural language voice commands to instruct Alexa to interact with your Shark vacuum. For example, you can say, “Alexa, ask Shark to start cleaning,” to initiate a cleaning session. Alexa will relay the command to your Shark vacuum, triggering the commencement of the cleaning process.
- Scheduling Cleaning Sessions: Leverage Alexa’s scheduling capabilities to set up recurring cleaning sessions for your Shark vacuum. You can instruct Alexa to create a cleaning schedule based on specific days, times, or intervals, ensuring that your home remains consistently clean without manual intervention.
- Status and Notifications: Interact with Alexa to inquire about the status of your Shark vacuum, such as battery levels, cleaning progress, or any maintenance alerts. Alexa can provide real-time updates on the operational status of your vacuum, keeping you informed and in control of your cleaning activities.
- Customized Commands: Explore the potential for creating personalized voice commands that align with your cleaning preferences. For instance, you can configure Alexa to respond to unique phrases or instructions that align with specific cleaning requirements or areas within your home.
- Integration with Smart Home Routines: Integrate your Shark vacuum into broader smart home routines orchestrated by Alexa. This allows you to incorporate vacuuming tasks seamlessly into your daily routines or activate cleaning sessions as part of larger automation sequences.
By tapping into the intuitive voice control capabilities of Alexa, you can streamline your cleaning routines and maintain a pristine living environment with minimal effort. The seamless synergy between your Shark vacuum and Alexa unlocks a new realm of convenience, enabling you to manage your home’s cleanliness with unparalleled ease and efficiency.
Conclusion
Congratulations on successfully integrating your Shark vacuum with Amazon’s Alexa, unlocking a world of effortless home cleaning and maintenance. By following the steps outlined in this guide, you’ve bridged the gap between cutting-edge smart home technology and the practicality of voice-controlled cleaning, revolutionizing the way you manage your household chores.
As you embrace the convenience of commanding your Shark vacuum with simple voice instructions, you’ll experience a newfound sense of control and efficiency in maintaining a clean and tidy living space. The seamless connectivity between your Shark vacuum and Alexa empowers you to delegate cleaning tasks, schedule automated cleaning sessions, and receive real-time updates on the status of your vacuuming activities.
Furthermore, the integration of your Shark vacuum with Alexa positions you at the forefront of the smart home revolution, where the synergy of intelligent devices enhances your everyday life. With the power of voice commands and smart home automation at your disposal, you’re poised to enjoy a more streamlined and enjoyable cleaning experience, freeing up time for the activities and pursuits that truly matter to you.
As you continue to explore the boundless potential of smart home connectivity, remember that your Shark vacuum and Alexa are just the beginning. The evolving landscape of home automation offers a myriad of opportunities to integrate and streamline various aspects of your living environment, empowering you to create a truly personalized and efficient home ecosystem.
So, revel in the convenience, embrace the innovation, and savor the freedom that comes with commanding your Shark vacuum with the power of your voice. With Alexa as your trusted assistant and your Shark vacuum as the stalwart guardian of cleanliness, you’re well-equipped to embark on a journey of seamless, voice-controlled home maintenance.
Now that you've mastered connecting your Shark vacuum to Alexa, why stop there? Dive into our latest article on the most innovative home automation systems set to redefine convenience in 2024. From smart lighting to advanced security setups, discover how these technologies can transform everyday living. Don't miss out on learning about cutting-edge devices that promise to make home management smoother than ever.
Frequently Asked Questions about How To Connect Shark Vacuum To Alexa
Was this page helpful?
At Storables.com, we guarantee accurate and reliable information. Our content, validated by Expert Board Contributors, is crafted following stringent Editorial Policies. We're committed to providing you with well-researched, expert-backed insights for all your informational needs.


0 thoughts on “How To Connect Shark Vacuum To Alexa”