Home>Home Appliances>Cleaning Appliances>How To Change Belt On Kirby Vacuum Cleaner
Cleaning Appliances
How To Change Belt On Kirby Vacuum Cleaner
Modified: August 23, 2024
Learn how to change the belt on your Kirby vacuum cleaner with our step-by-step guide. Keep your cleaning appliances in top condition.
(Many of the links in this article redirect to a specific reviewed product. Your purchase of these products through affiliate links helps to generate commission for Storables.com, at no extra cost. Learn more)
Introduction
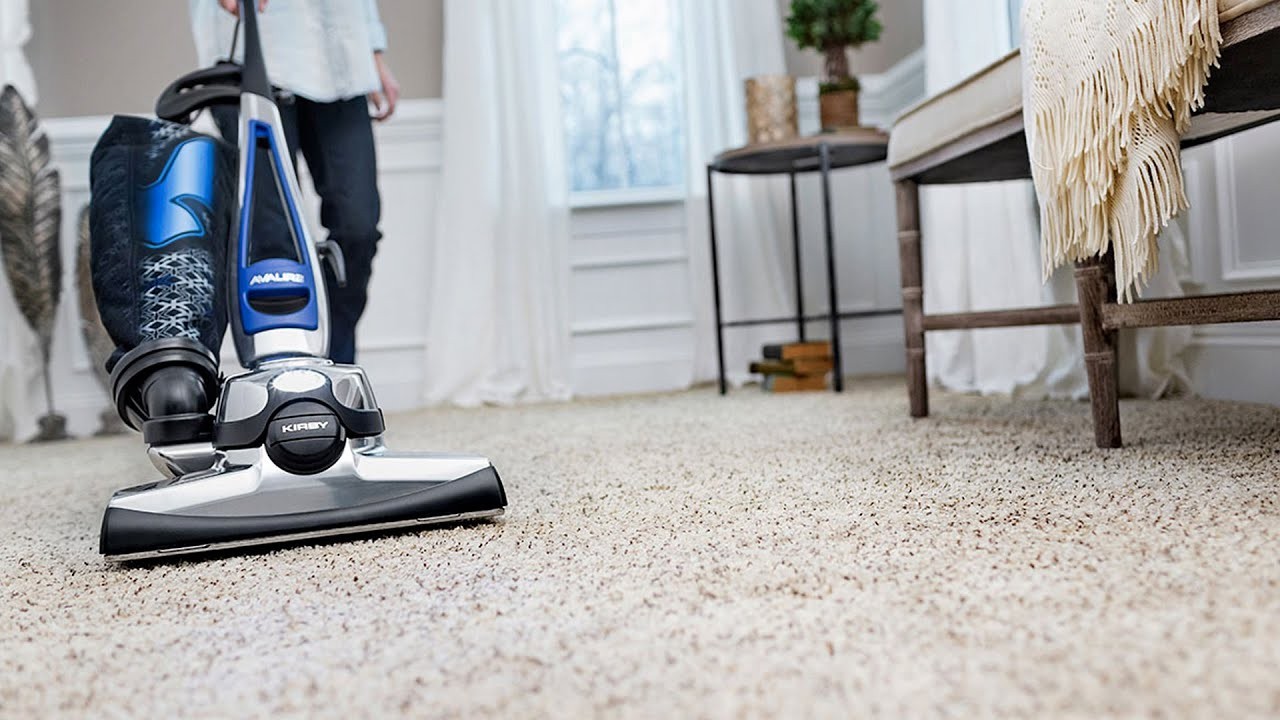
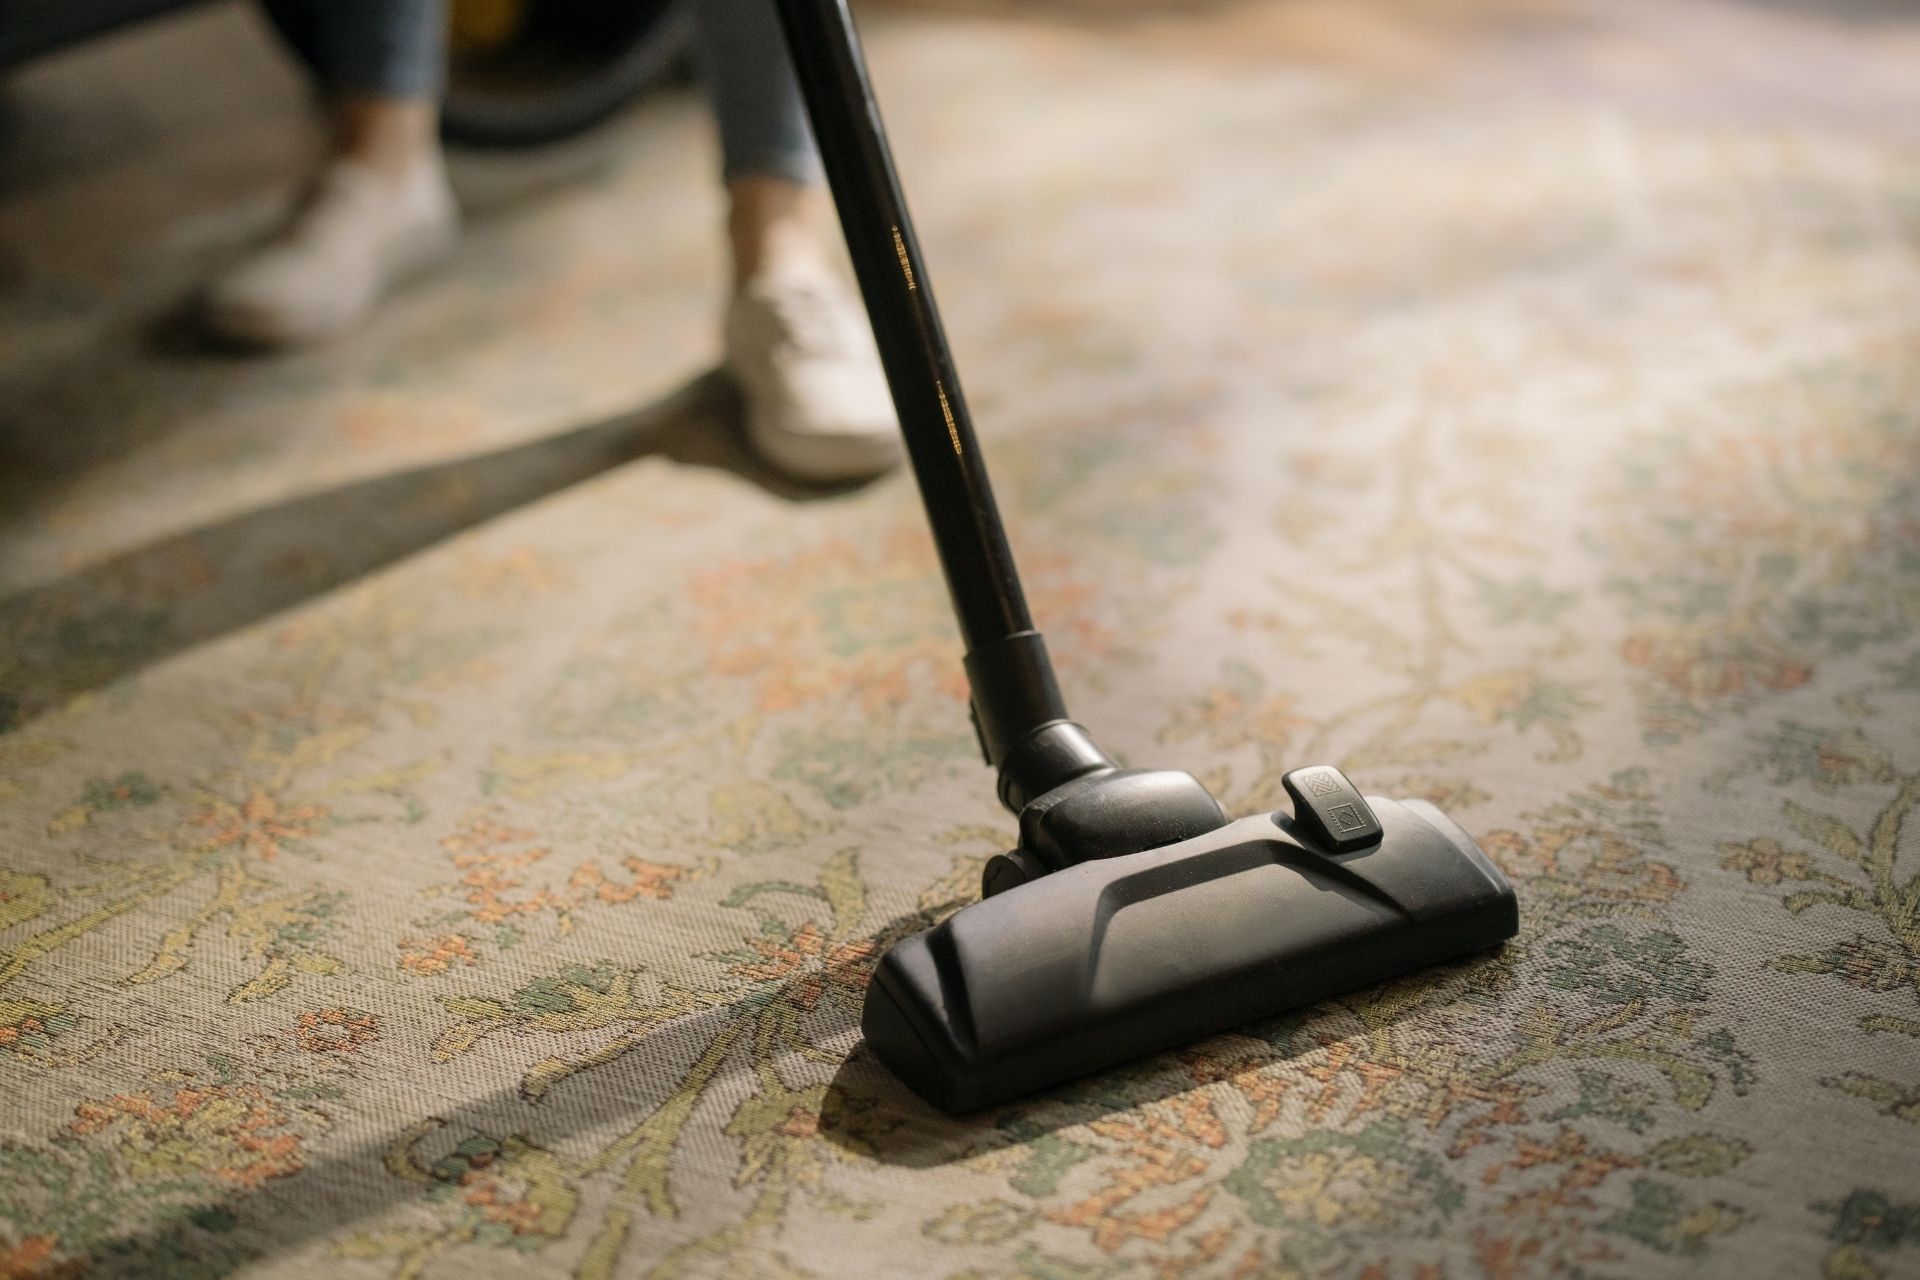
Welcome to the comprehensive guide on how to change the belt on a Kirby vacuum cleaner. Kirby vacuums are renowned for their exceptional cleaning power and durability, but like any appliance, they require maintenance to ensure optimal performance. One of the essential maintenance tasks for a Kirby vacuum is replacing the belt, which is responsible for driving the brush roll and agitating dirt and debris from carpets and floors.
Over time, the belt in a Kirby vacuum can wear out or become stretched, leading to a decrease in cleaning efficiency. Fortunately, replacing the belt is a relatively straightforward process that can be done at home with a few basic tools and a new replacement belt. By following the step-by-step instructions in this guide, you'll be able to keep your Kirby vacuum running at its best and maintain a clean and healthy living environment for you and your family.
In the following sections, we'll cover the tools and materials needed for the belt replacement, as well as the step-by-step process to remove the old belt, install the new one, and reassemble the vacuum cleaner. Whether you're a seasoned DIY enthusiast or a first-time Kirby owner, this guide will equip you with the knowledge and confidence to tackle this essential maintenance task. Let's dive in and ensure that your Kirby vacuum continues to deliver exceptional cleaning performance for years to come.
Key Takeaways:
- Keep your Kirby vacuum cleaner running smoothly by replacing the belt. With basic tools and a new belt, you can maintain optimal cleaning performance and a healthy home environment.
- Regular maintenance, including belt replacement, is crucial for preserving your Kirby vacuum’s longevity and effectiveness. Stay proactive to ensure consistent, exceptional cleaning performance.
Tools and Materials Needed
Before embarking on the belt replacement process, it’s essential to gather the necessary tools and materials. Here’s what you’ll need:
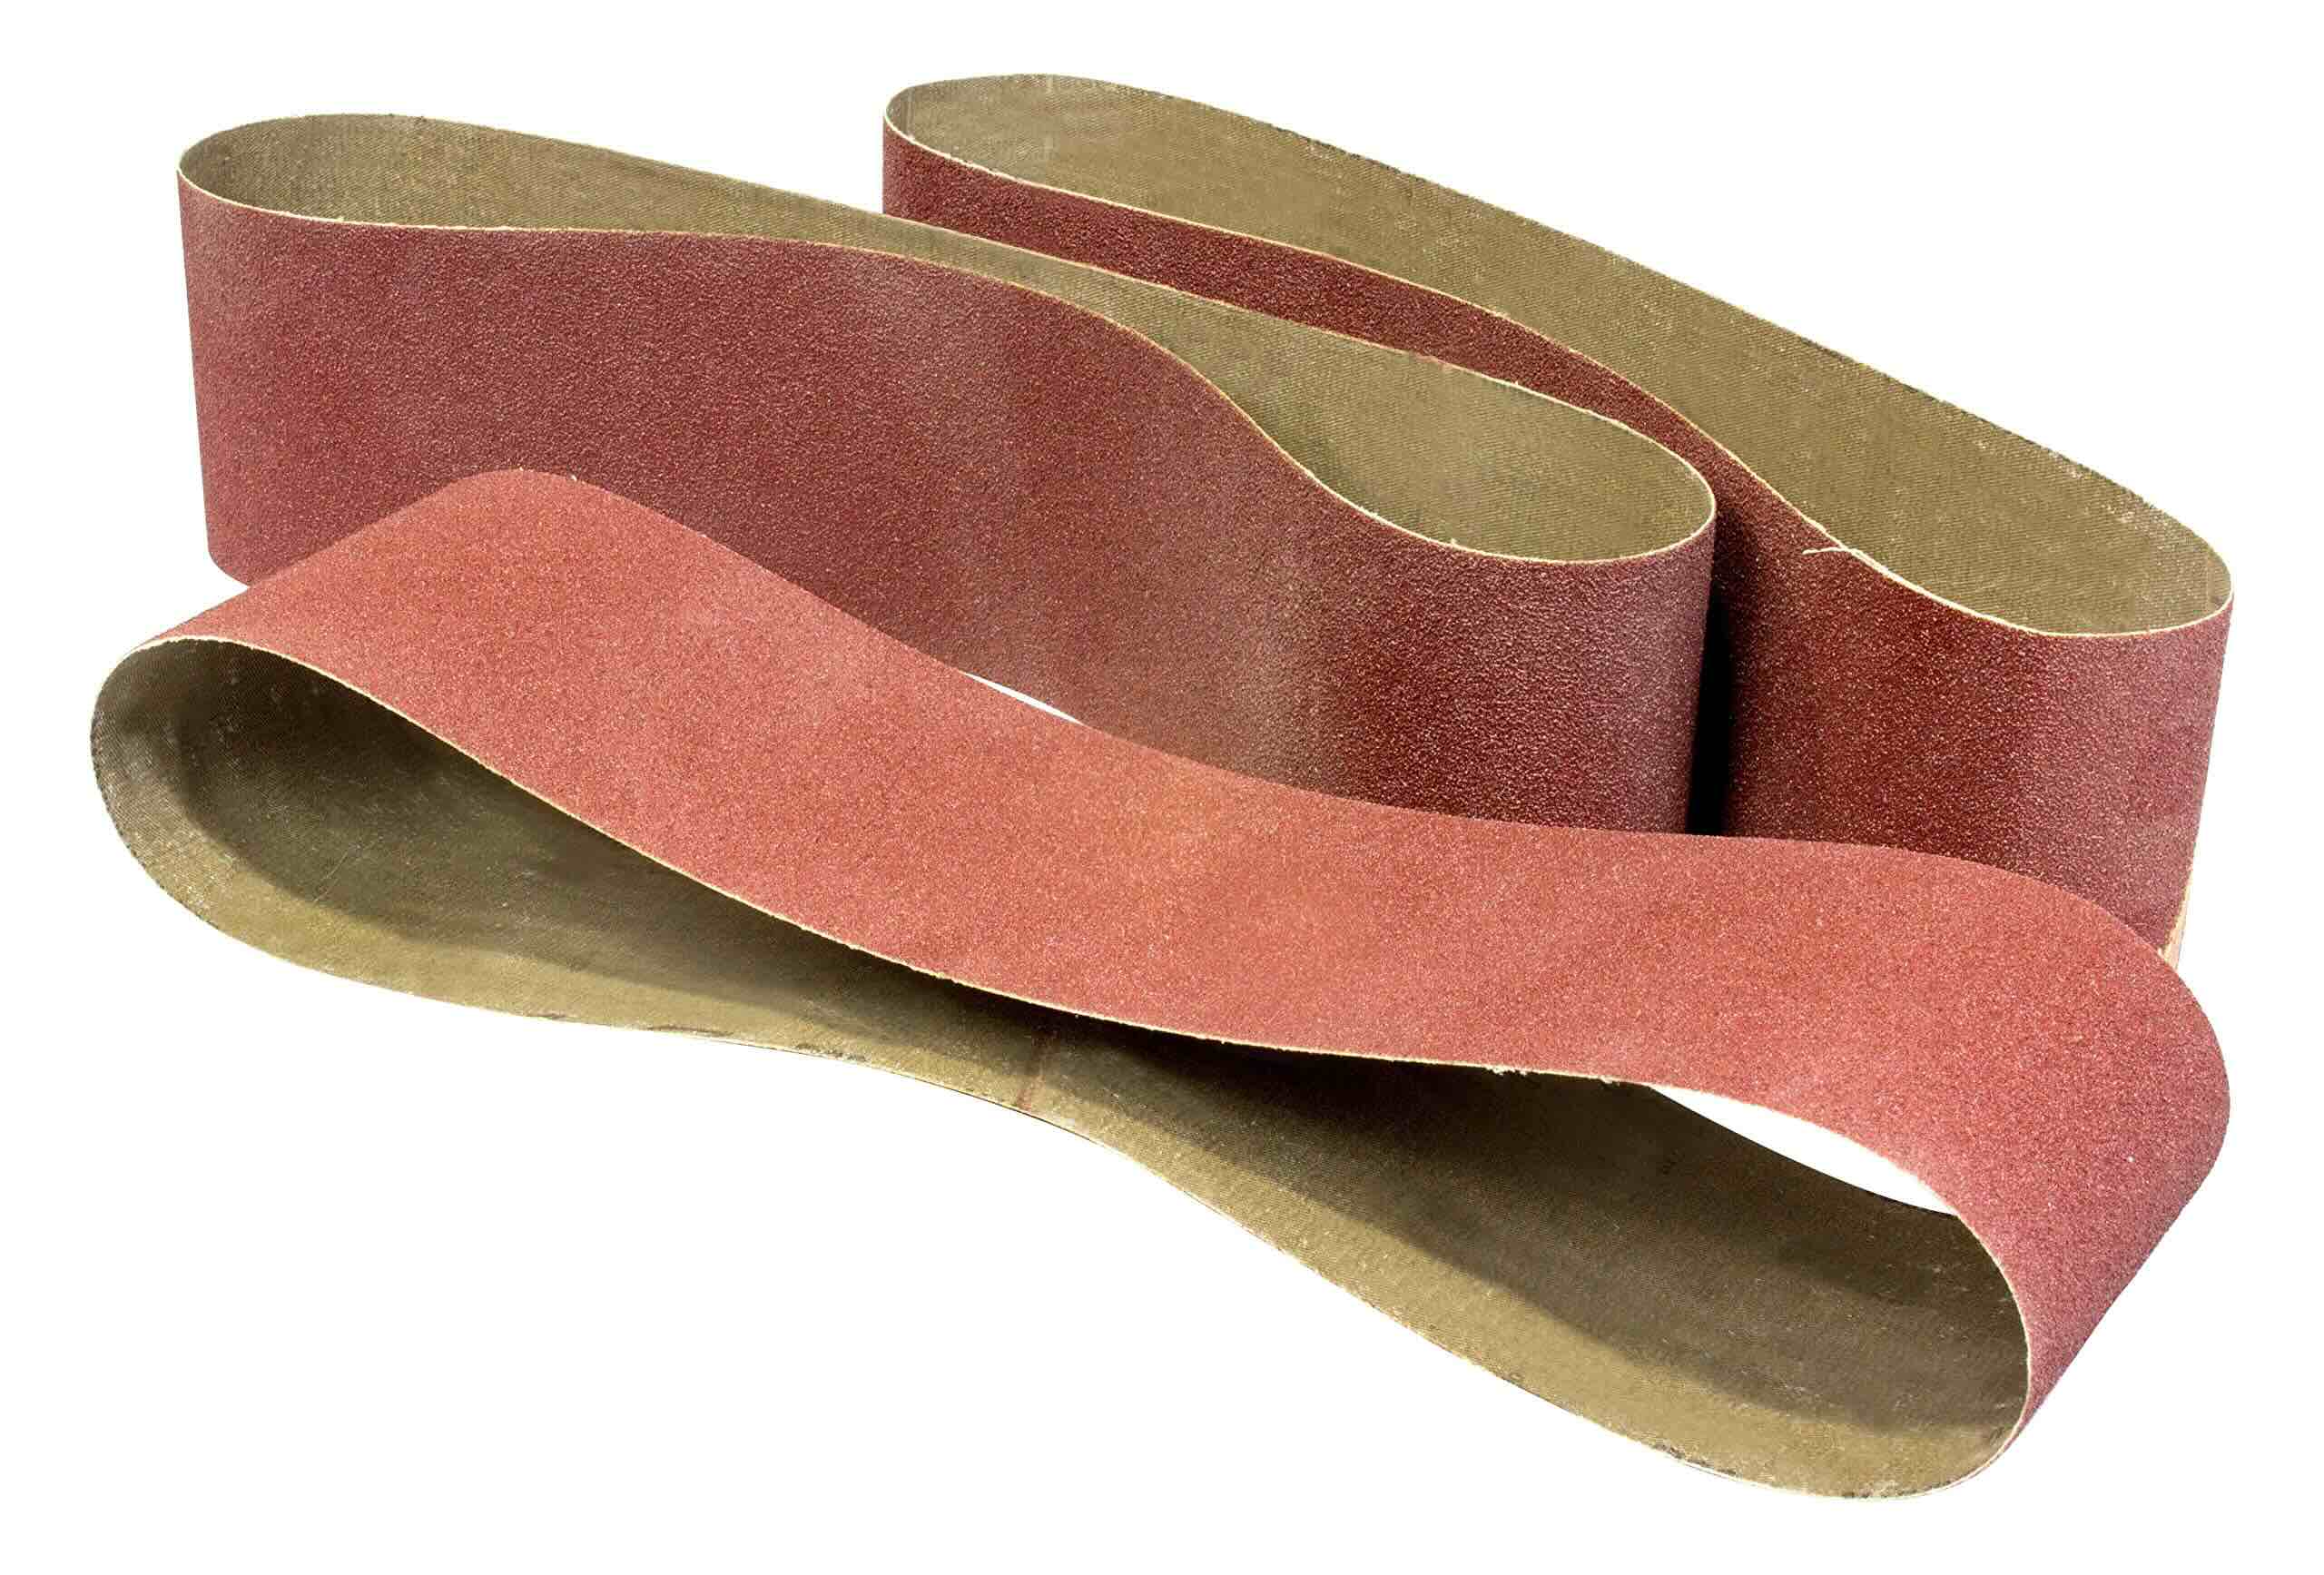
- New Replacement Belt: Ensure that you have the correct replacement belt for your specific Kirby vacuum model. Kirby belts are designed to fit each model precisely, so it’s crucial to obtain the appropriate replacement belt to ensure proper function.
- Flathead Screwdriver: A flathead screwdriver will be used to assist in removing certain components of the vacuum cleaner during the belt replacement process.
- Needle-Nose Pliers: Needle-nose pliers are helpful for manipulating small components and providing a firm grip when working within the vacuum cleaner.
- Clean Cloth: Having a clean cloth on hand will allow you to wipe down any components that may have accumulated dust or debris, ensuring a thorough and clean maintenance process.
- Work Surface: Prepare a clear, well-lit work surface where you can comfortably lay out the vacuum cleaner and perform the belt replacement. A stable work area will facilitate a smooth and efficient process.
By ensuring that you have these tools and materials readily available, you’ll be well-prepared to proceed with the belt replacement on your Kirby vacuum cleaner. With everything in place, you can confidently move on to the step-by-step process of refreshing your vacuum’s cleaning power.
Step 1: Prepare the Vacuum Cleaner
Before diving into the belt replacement process, it’s essential to prepare the vacuum cleaner to ensure a smooth and efficient maintenance procedure. Here’s how to get started:
- Unplug the Vacuum: Safety is paramount when working on any electrical appliance. Begin by unplugging the Kirby vacuum cleaner from the power source to eliminate the risk of electric shock during the maintenance process.
- Clear the Work Area: Find a spacious and well-lit area to work on the vacuum cleaner. Clear away any obstacles and ensure that you have ample space to maneuver around the appliance comfortably.
- Remove the Outer Bag: If your Kirby vacuum is equipped with an outer bag, carefully remove it from the vacuum cleaner. This will provide access to the internal components and allow for a more thorough belt replacement process.
- Lay the Vacuum on a Stable Surface: Gently lay the vacuum cleaner on its back on a stable and secure surface. This position will provide easy access to the underside of the vacuum, where the belt replacement will take place.
By following these preparatory steps, you’ll ensure that the vacuum cleaner is ready for the belt replacement process. Taking the time to prepare the work area and the vacuum itself will contribute to a hassle-free and safe maintenance experience. With the vacuum unplugged and the work area set up, you’re now ready to move on to the next steps in the belt replacement process.
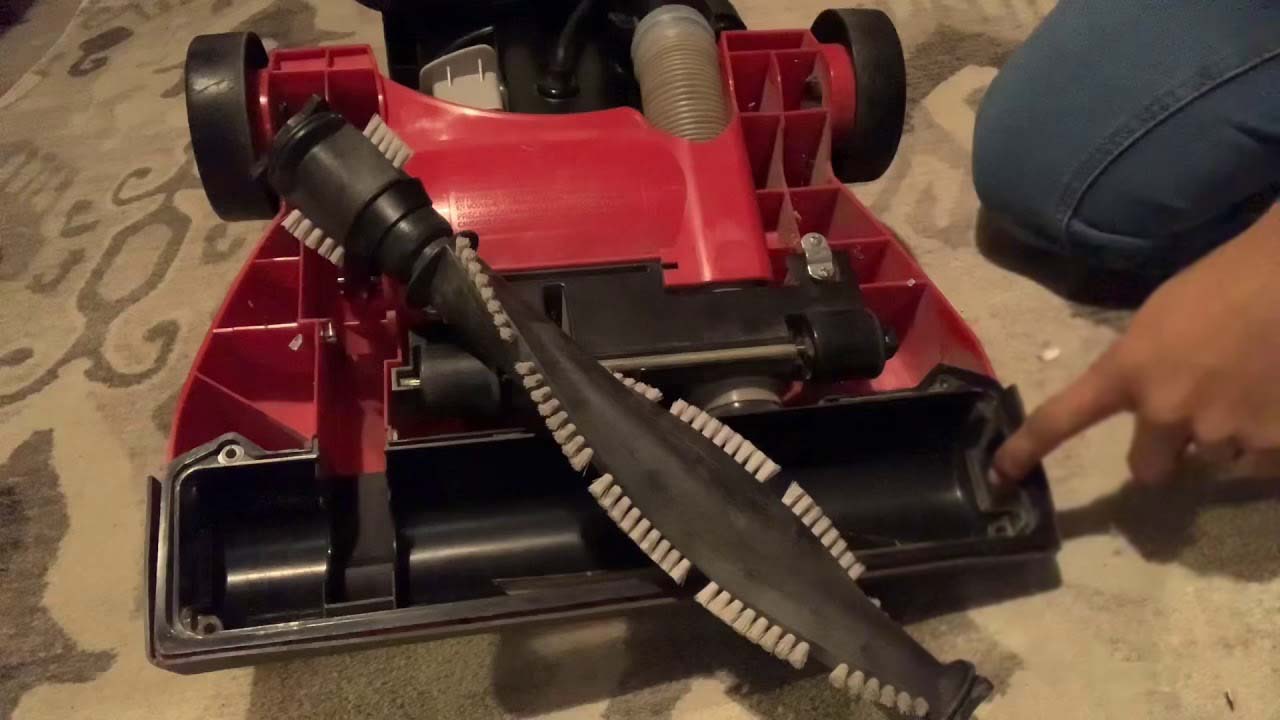
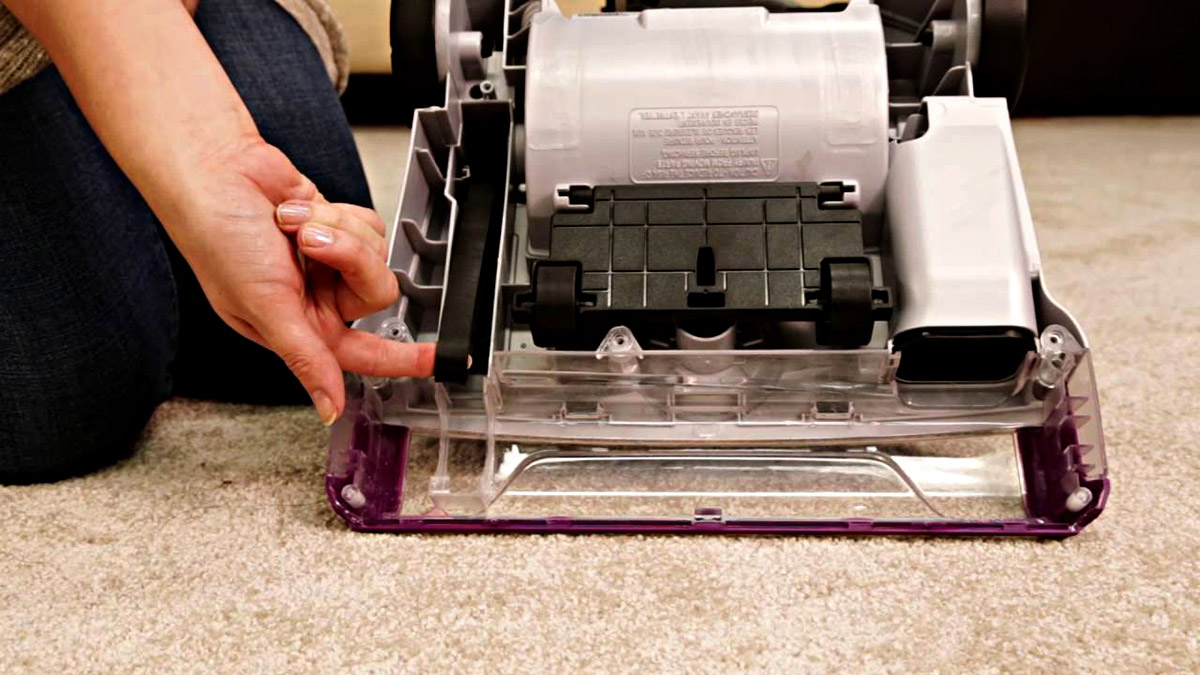
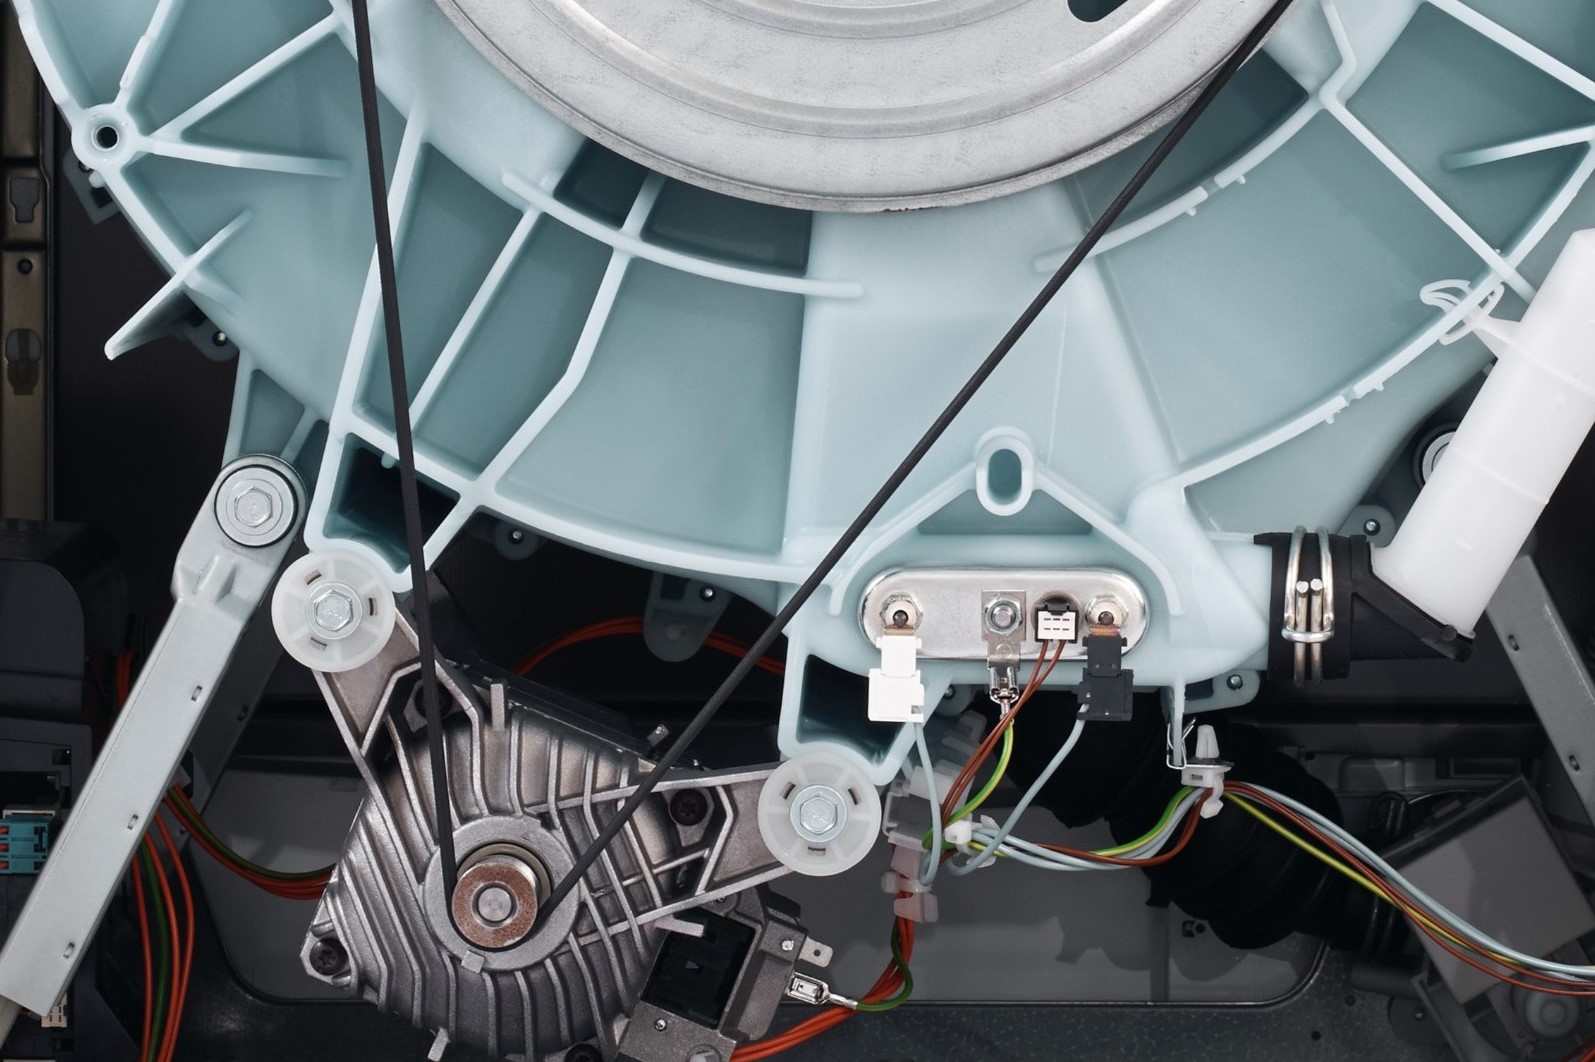
Step 2: Remove the Old Belt
With the vacuum cleaner prepared for maintenance, the next step is to remove the old belt. This process involves accessing the brush roll and detaching the old belt to make way for the new replacement belt. Follow these steps to remove the old belt from your Kirby vacuum cleaner:
- Access the Brush Roll Housing: Locate the brush roll housing, which is typically located on the underside of the vacuum cleaner. Depending on your Kirby model, you may need to remove a cover or access panel to reveal the brush roll and the old belt.
- Inspect the Brush Roll and Belt: Take a moment to inspect the condition of the brush roll and the old belt. Look for any signs of wear, damage, or debris accumulation. This is also an opportune time to clean the brush roll if necessary, ensuring optimal cleaning performance after the belt replacement.
- Remove the Old Belt: Carefully detach the old belt from the motor shaft and the brush roll. This may require using a flathead screwdriver to gently pry the old belt off the components. Exercise caution to avoid damaging the brush roll or other internal parts of the vacuum cleaner.
- Inspect the Motor Shaft: After removing the old belt, inspect the motor shaft for any debris or residue that may have accumulated. Use a clean cloth to wipe the motor shaft, ensuring that it is free from any obstructions that could affect the performance of the new belt.
By following these steps, you’ll successfully remove the old belt from your Kirby vacuum cleaner, paving the way for the installation of the new replacement belt. Take your time during this process to ensure that the brush roll and internal components are in good condition, setting the stage for a seamless transition to the next phase of the belt replacement procedure.
To change the belt on a Kirby vacuum cleaner, first unplug the vacuum. Then, remove the bottom plate and old belt. Install the new belt and reattach the bottom plate. Finally, plug in the vacuum and test the new belt.
Step 3: Install the New Belt
With the old belt removed, it’s time to install the new replacement belt in your Kirby vacuum cleaner. This crucial step ensures that the brush roll receives the necessary driving force to effectively agitate and lift dirt and debris from your floors. Follow these steps to install the new belt:
- Position the New Belt: Take the new replacement belt and position it around the motor shaft, ensuring that it is securely fitted in place. Proper alignment of the new belt is essential for optimal performance and longevity.
- Align the Belt with the Brush Roll: Maneuver the new belt into position around the brush roll, ensuring that it is aligned correctly and sits snugly in the designated groove or slot. This step is crucial for the effective transfer of power from the motor to the brush roll.
- Check the Tension: Once the new belt is in place, check the tension to ensure that it is neither too loose nor too tight. The belt should have a firm but not overly taut fit around the motor shaft and brush roll, allowing for proper movement without slipping or causing excessive strain on the components.
- Rotate the Brush Roll: With the new belt installed, manually rotate the brush roll to confirm that the belt is functioning correctly. Ensure that the brush roll moves freely and that the belt remains securely in place during rotation.
By following these steps, you’ll successfully install the new replacement belt in your Kirby vacuum cleaner, setting the stage for improved cleaning performance and efficiency. Taking the time to ensure proper alignment and tension of the new belt will contribute to the longevity of your vacuum cleaner and its ability to maintain a clean and healthy living environment.
Read more: How To Fix A Kirby Vacuum Cleaner
Step 4: Reassemble the Vacuum Cleaner
With the new belt securely installed, it’s time to reassemble your Kirby vacuum cleaner and prepare it for use. Follow these steps to complete the reassembly process:
- Reposition the Brush Roll Housing: If you removed any covers or access panels to access the brush roll and old belt, reposition and secure them back in place. Ensure that all components are properly aligned and fastened according to the manufacturer’s specifications.
- Replace the Outer Bag (if applicable): If your Kirby vacuum features an outer bag, reattach it to the vacuum cleaner, ensuring a secure and snug fit. This step is essential for maintaining the cleanliness and functionality of the vacuum’s filtration system.
- Stand the Vacuum Upright: Carefully lift the vacuum cleaner and return it to an upright position. Take a moment to confirm that all components are securely in place and that the vacuum is stable and balanced.
- Plug in the Vacuum: Once the vacuum cleaner is reassembled and in an upright position, plug it back into the power source. This prepares the vacuum for testing and ensures that it is ready for use.
- Test the Vacuum: Turn on the vacuum cleaner and test its functionality. Listen for any unusual sounds and observe the brush roll in action to confirm that the new belt is operating smoothly and effectively. Run the vacuum over a small area to ensure that it is picking up dirt and debris as expected.
By completing these steps, you’ll successfully reassemble your Kirby vacuum cleaner after replacing the belt. Taking the time to ensure that all components are properly secured and that the vacuum is functioning as intended will contribute to a seamless and effective maintenance experience. With the belt replacement process complete, your Kirby vacuum is ready to continue delivering exceptional cleaning performance throughout your home.
Conclusion
Congratulations on successfully completing the belt replacement process for your Kirby vacuum cleaner. By following the step-by-step instructions outlined in this guide, you’ve taken a proactive approach to maintaining the cleaning power and efficiency of your appliance. With the new replacement belt in place, your Kirby vacuum is poised to continue delivering exceptional cleaning performance throughout your home.
Regular maintenance, including belt replacement, is essential for preserving the longevity and effectiveness of your vacuum cleaner. By addressing the wear and tear that naturally occurs over time, you’re ensuring that your Kirby appliance remains a reliable and indispensable tool for maintaining a clean and healthy living environment.
Remember to keep the following key points in mind as you conclude the belt replacement process:
- Maintain a Clean Brush Roll: Periodically inspect and clean the brush roll to prevent debris buildup and maintain optimal cleaning performance.
- Monitor Belt Condition: Keep an eye on the condition of the belt and replace it as needed to prevent a decrease in cleaning efficiency.
- Regular Maintenance: Incorporate belt replacement and other maintenance tasks into your vacuum cleaner care routine to ensure consistent performance.
By staying proactive and attentive to the maintenance needs of your Kirby vacuum cleaner, you’re investing in the long-term functionality and effectiveness of this essential household appliance.
Thank you for entrusting this guide to assist you in the belt replacement process. Your dedication to maintaining your Kirby vacuum will undoubtedly contribute to a cleaner, healthier living environment for you and your family. Here’s to many more years of exceptional cleaning performance from your Kirby vacuum cleaner!
Frequently Asked Questions about How To Change Belt On Kirby Vacuum Cleaner
Was this page helpful?
At Storables.com, we guarantee accurate and reliable information. Our content, validated by Expert Board Contributors, is crafted following stringent Editorial Policies. We're committed to providing you with well-researched, expert-backed insights for all your informational needs.
0 thoughts on “How To Change Belt On Kirby Vacuum Cleaner”