Home>Home Appliances>Cleaning Appliances>How To Change A Belt On A Vacuum Cleaner

Cleaning Appliances
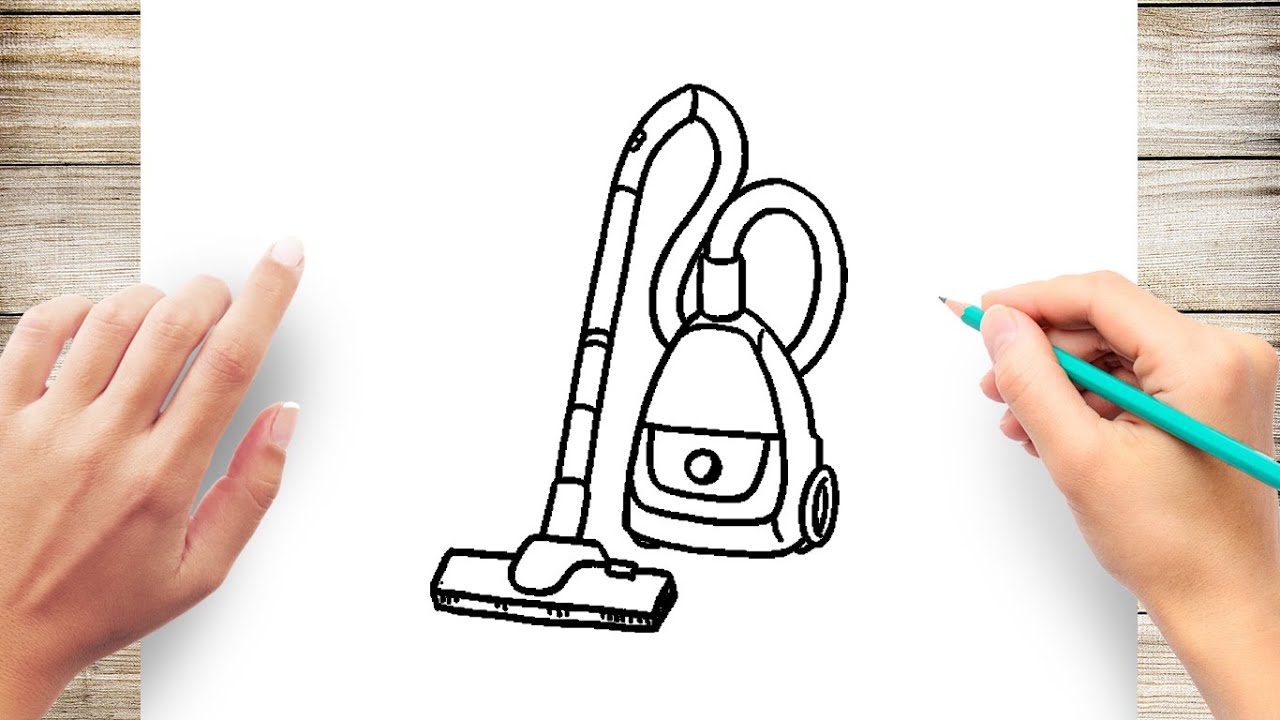
How To Change A Belt On A Vacuum Cleaner
Modified: February 27, 2024
Learn how to change a belt on a vacuum cleaner with our step-by-step guide. Keep your cleaning appliances running smoothly with this easy maintenance task.
(Many of the links in this article redirect to a specific reviewed product. Your purchase of these products through affiliate links helps to generate commission for Storables.com, at no extra cost. Learn more)
Introduction
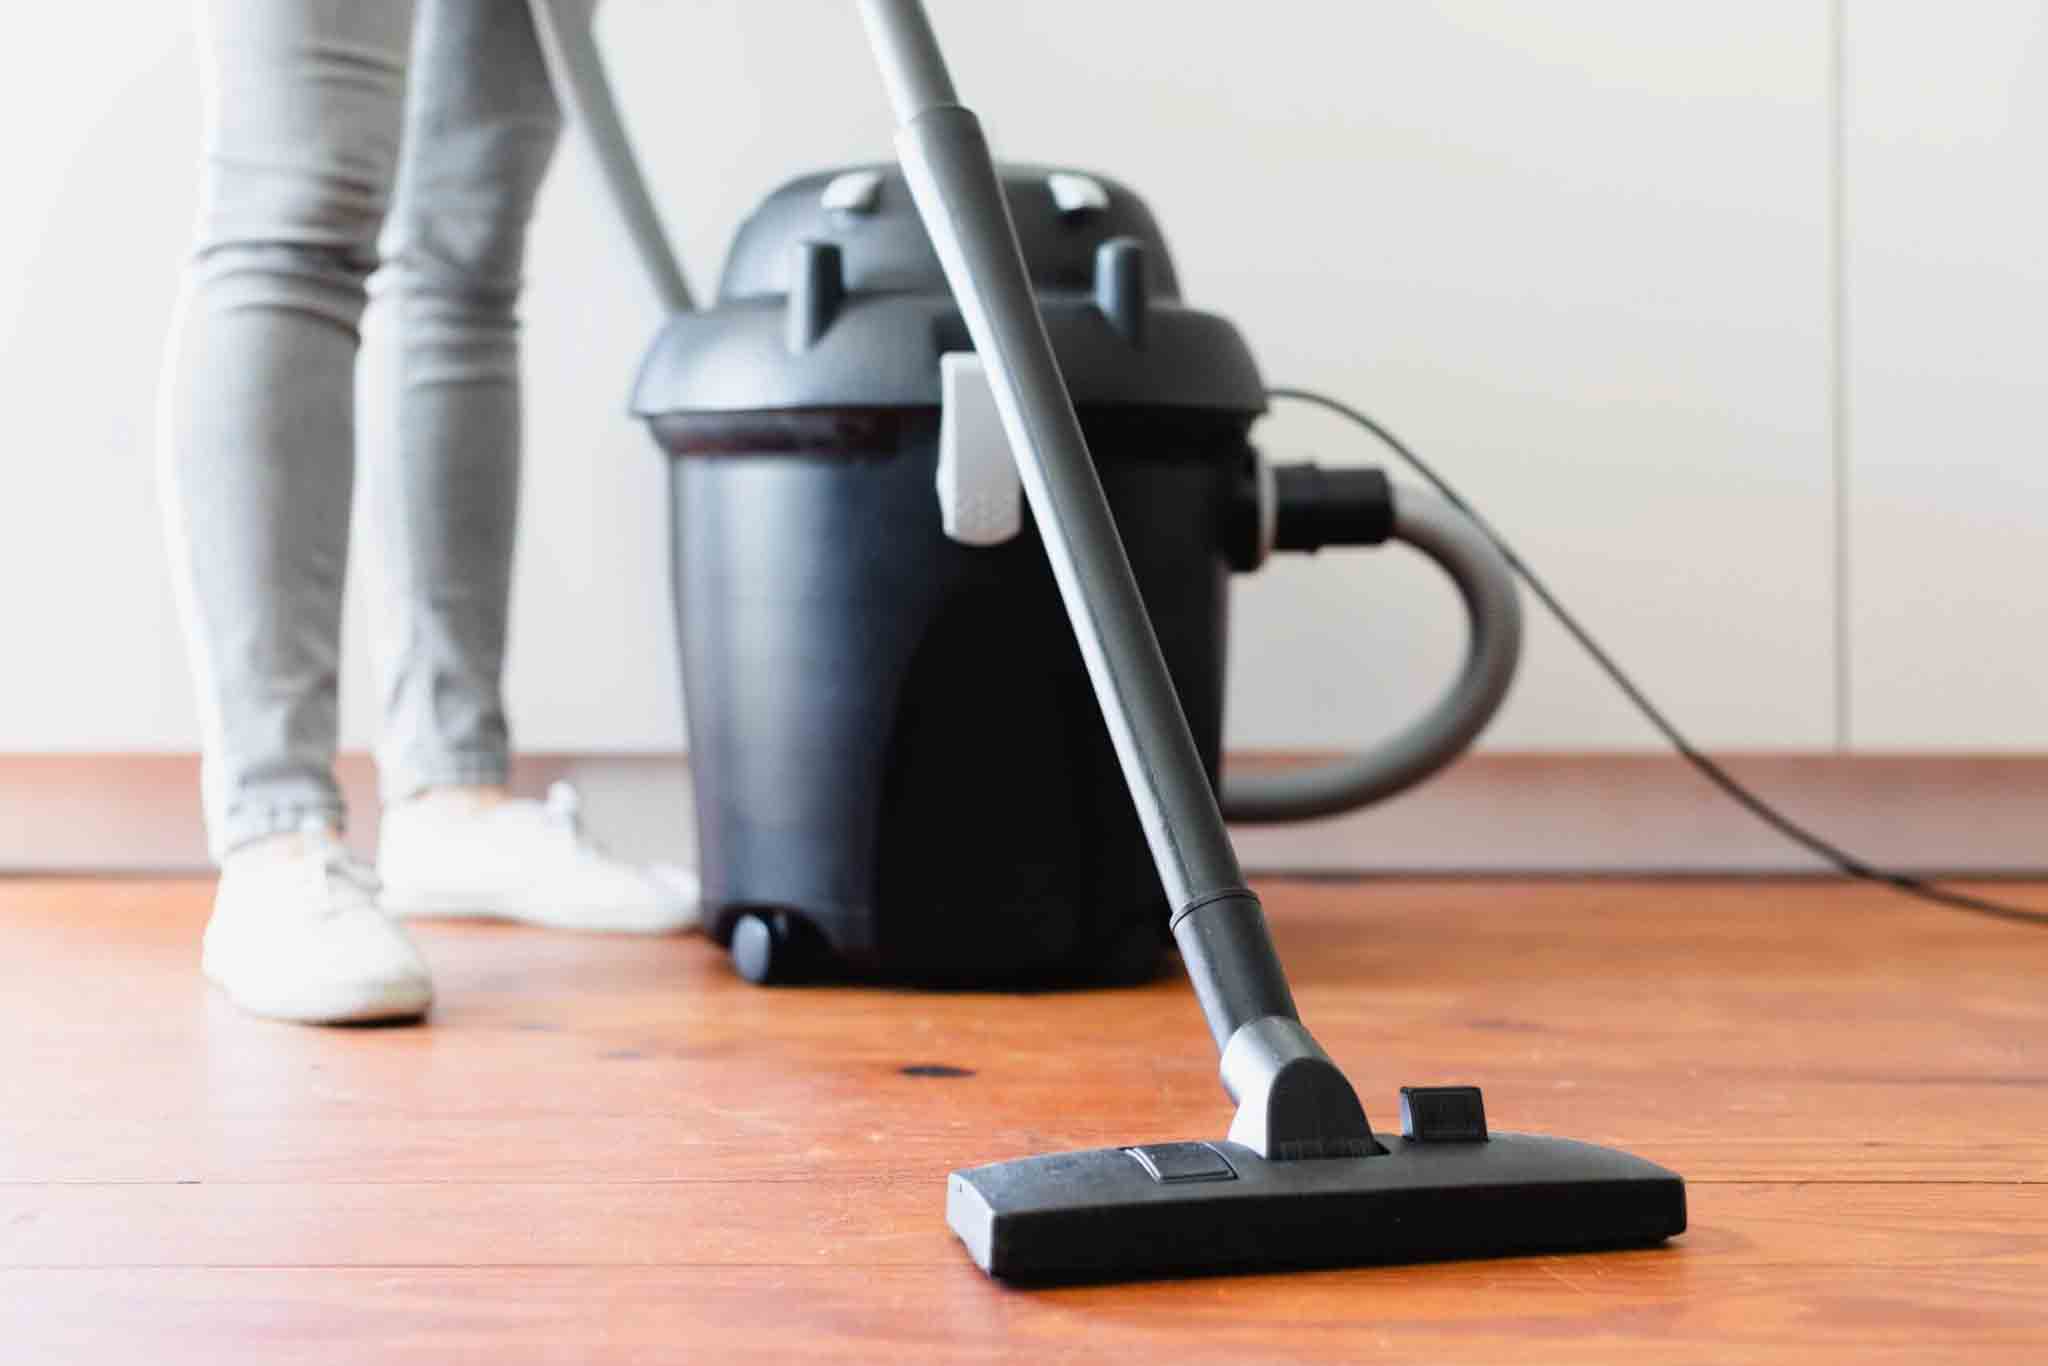
Changing the belt on your vacuum cleaner might seem like a daunting task, but with the right guidance and a little know-how, it can be a straightforward and rewarding endeavor. Over time, the belt in your vacuum cleaner may become worn or stretched, affecting the efficiency of the machine. By learning how to change the belt yourself, you can save time and money while ensuring that your vacuum cleaner continues to operate at its best.
In this comprehensive guide, we will walk you through the process of changing the belt on your vacuum cleaner, providing detailed steps and essential tips to make the task hassle-free. Whether you are a seasoned DIY enthusiast or a novice looking to expand your home maintenance skills, this article will equip you with the knowledge and confidence to tackle this essential appliance repair.
So, gather your tools and get ready to breathe new life into your vacuum cleaner as we embark on this step-by-step journey to belt replacement. Let's dive in and discover how to keep your vacuum cleaner running smoothly for years to come.
Key Takeaways:
- Replacing the belt on your vacuum cleaner is a manageable task that can save you time and money, ensuring your vacuum operates efficiently for years to come. With the right tools and steps, you can confidently tackle this essential appliance repair.
- By following the detailed process of belt replacement and conducting a thorough test, you can maintain and optimize the performance of your vacuum cleaner. This DIY maintenance approach demonstrates your commitment to a clean and healthy living environment.
Tools and Materials Needed
Before you begin the process of changing the belt on your vacuum cleaner, it’s important to gather the necessary tools and materials. Having these items on hand will streamline the repair process and ensure that you can complete the task efficiently. Here’s what you’ll need:
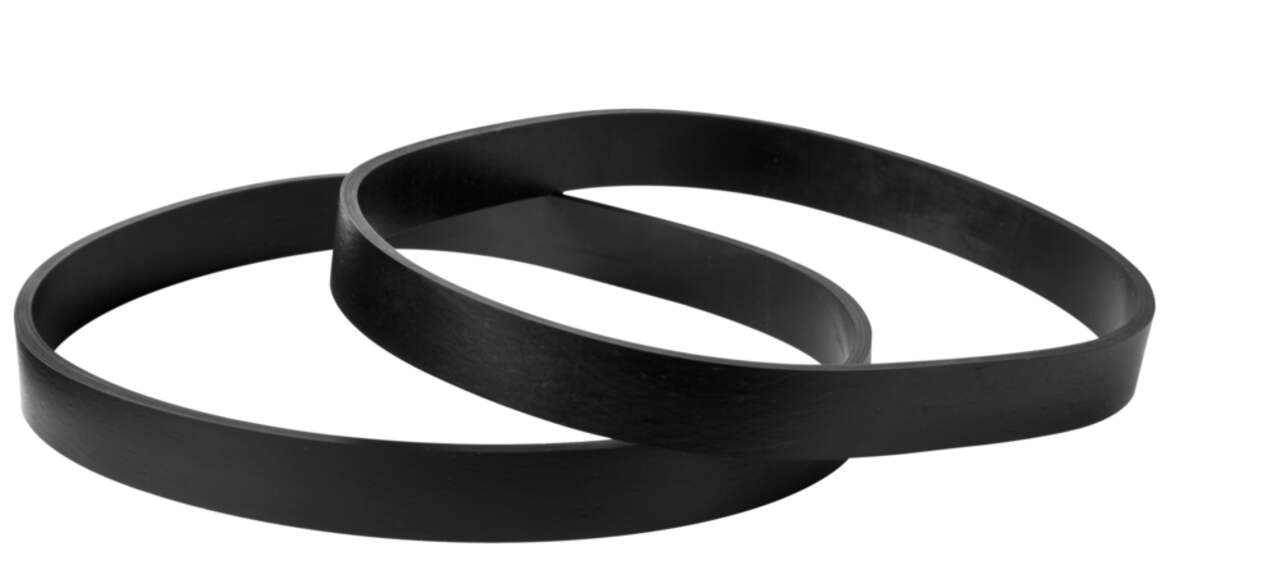
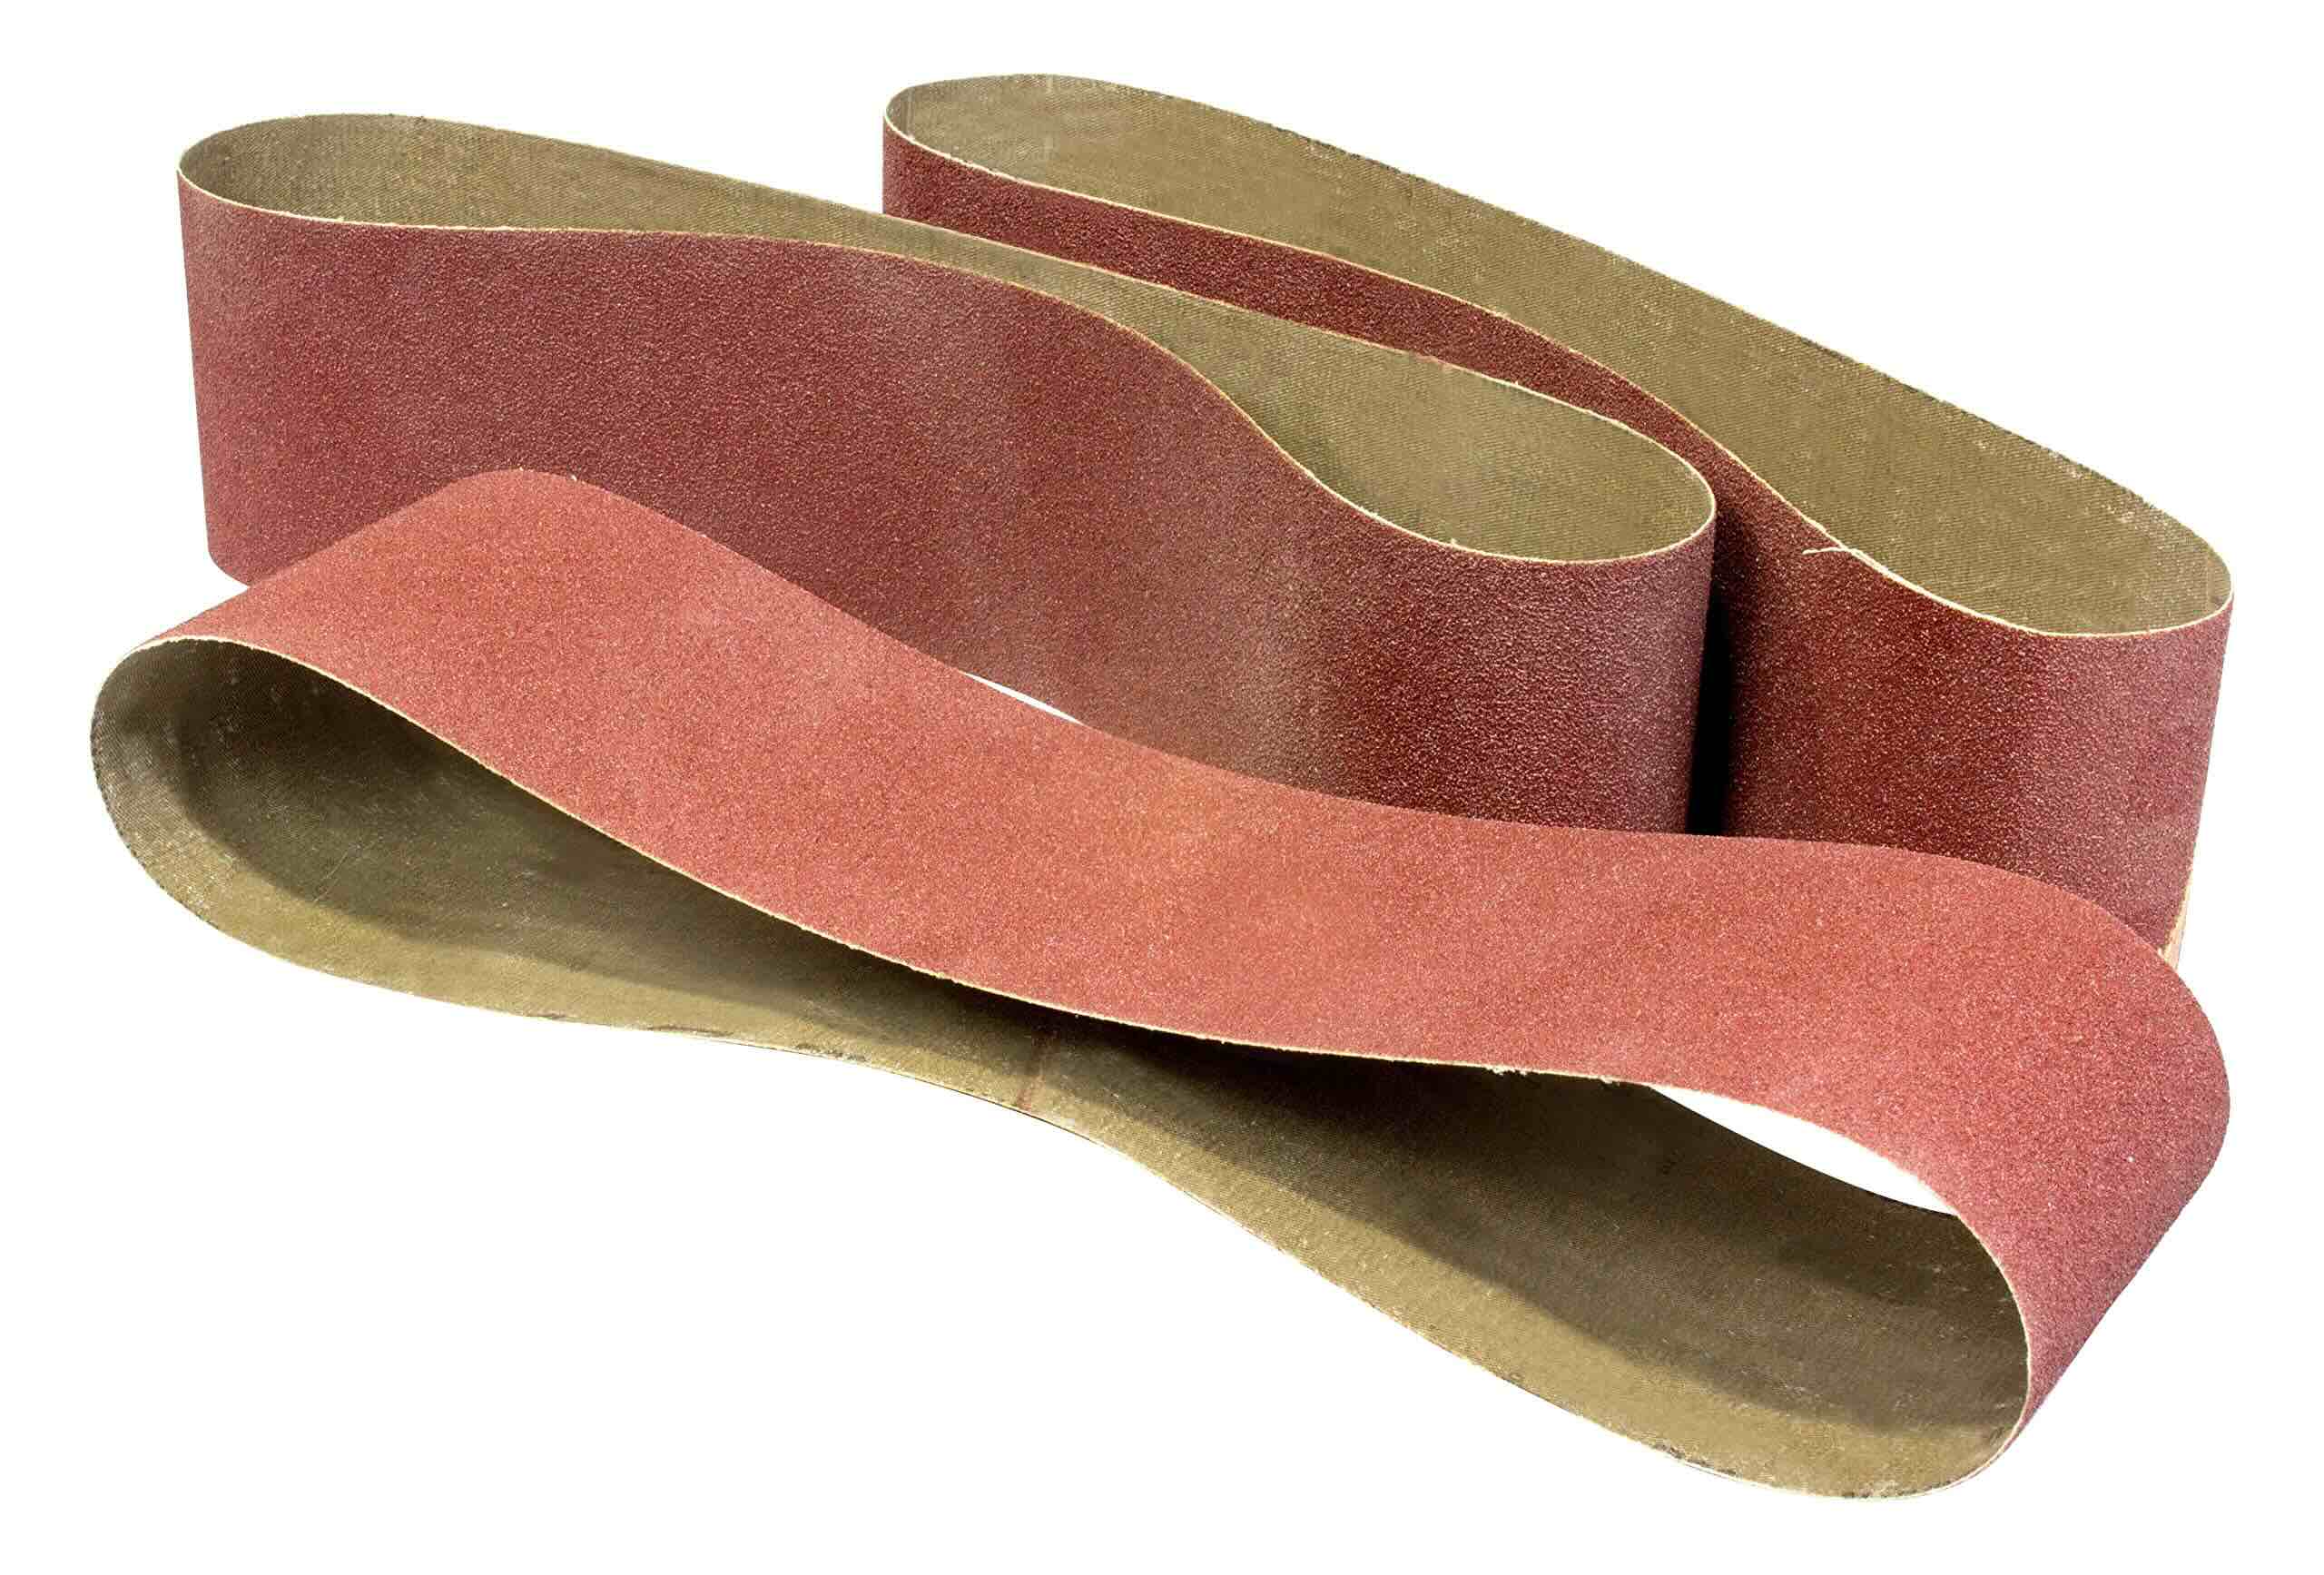
- New vacuum cleaner belt: Ensure that you have the correct replacement belt for your specific vacuum cleaner model. Refer to the manufacturer’s instructions or the vacuum cleaner’s manual to identify the appropriate belt type.
- Phillips-head screwdriver: This tool will be used to remove screws and access the internal components of the vacuum cleaner.
- Flat-head screwdriver: A flat-head screwdriver may be necessary for prying and maneuvering certain components during the belt replacement process.
- Work gloves: Protect your hands with a pair of work gloves to prevent injury and ensure a secure grip while handling the vacuum cleaner.
- Clean cloth: Have a clean cloth or rag on hand to wipe away any dust or debris that may be present inside the vacuum cleaner during the repair.
- Scissors: You may need scissors to trim the excess length of the new belt once it has been installed.
By gathering these tools and materials before you begin, you’ll be well-prepared to take on the task of changing the belt on your vacuum cleaner. With everything in place, you can proceed with confidence, knowing that you have the essentials for a successful repair.
Step 1: Unplug the Vacuum Cleaner
Before starting any maintenance or repair work on your vacuum cleaner, it is crucial to ensure that the appliance is disconnected from its power source. Unplugging the vacuum cleaner from the electrical outlet will prevent the risk of electric shock and ensure your safety throughout the belt replacement process.
To unplug the vacuum cleaner, simply locate the power cord where it connects to the electrical outlet and gently pull the plug out. It’s a good practice to verify that the vacuum cleaner is completely powered off by checking the switch or control panel. This step is essential for your safety and the protection of the vacuum cleaner’s electrical components.
Once the vacuum cleaner is unplugged, you can proceed with confidence, knowing that you have taken the necessary precaution to prevent any electrical hazards. With the appliance safely disconnected from the power source, you are ready to move on to the next steps in the belt replacement process.
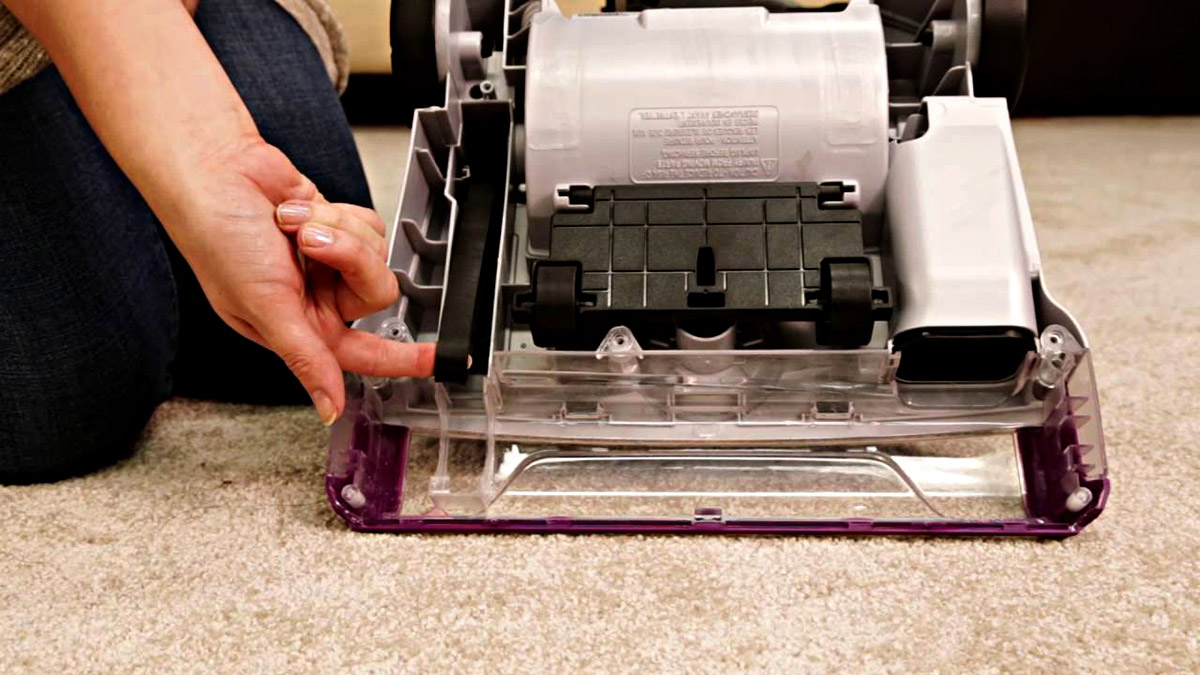
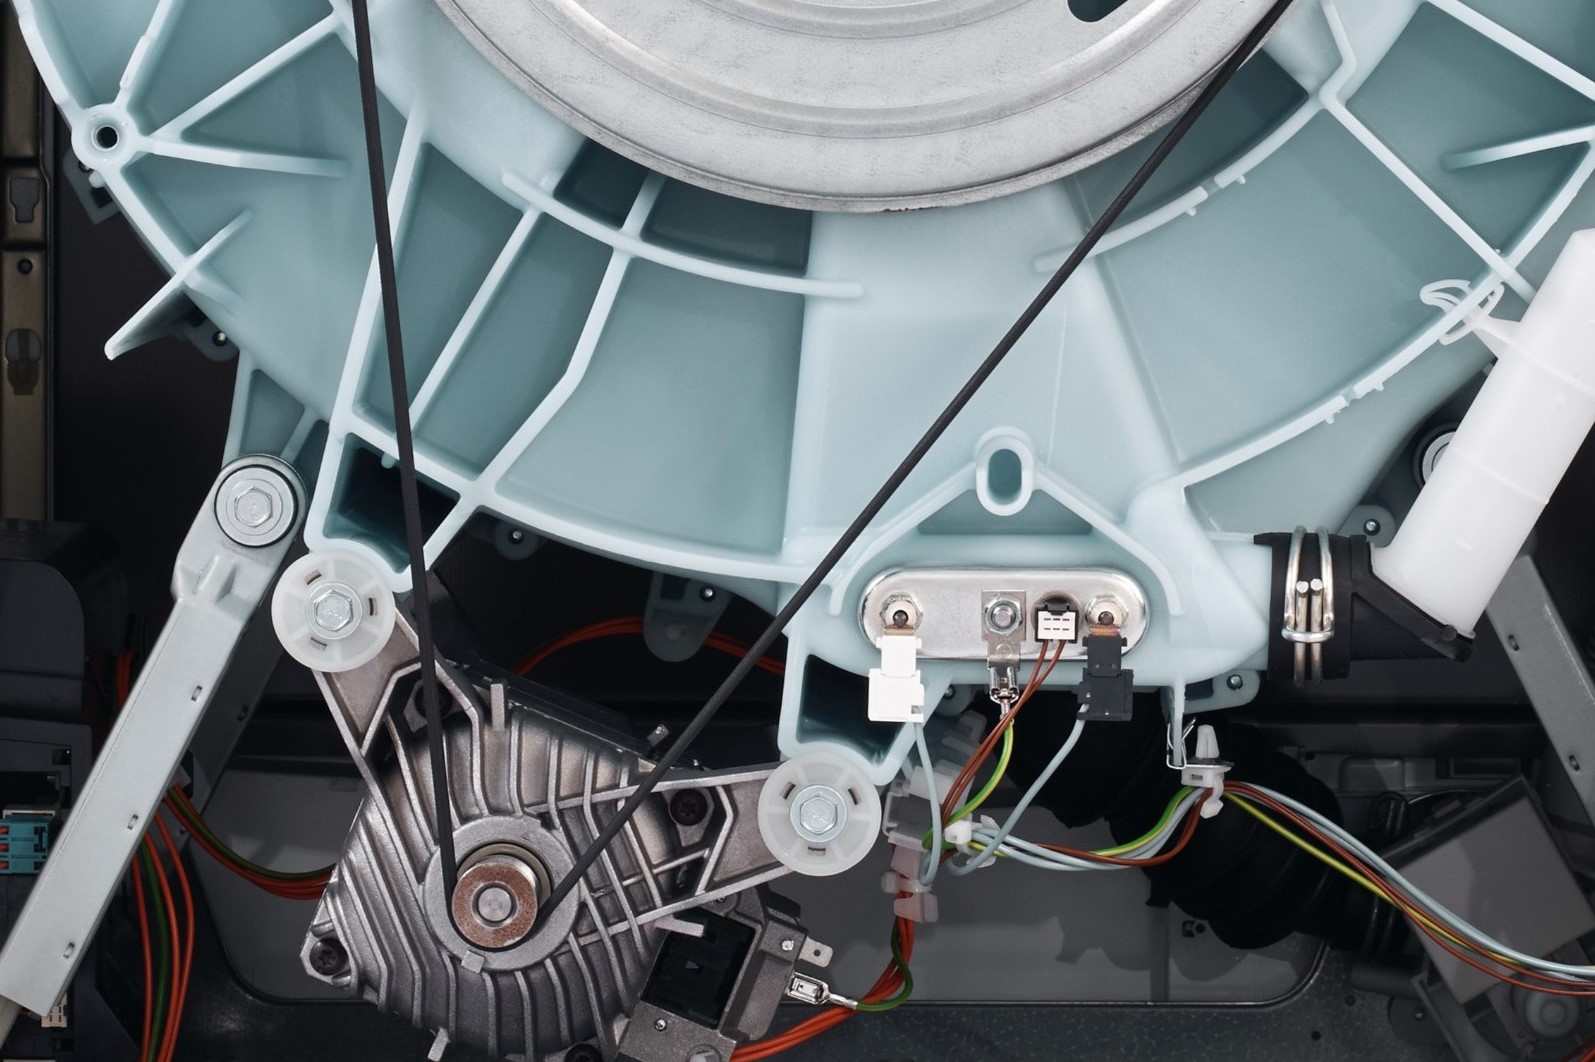
Step 2: Access the Belt Area
With the vacuum cleaner safely unplugged, the next step is to access the belt area. Depending on the make and model of your vacuum cleaner, accessing the belt area may involve removing a cover or accessing the underside of the appliance. Here’s how you can proceed:
- Refer to the user manual: If you have the user manual for your vacuum cleaner, it can provide valuable guidance on accessing the belt area. Review the manual for specific instructions and diagrams that illustrate the location of the belt and the steps for accessing it.
- Identify the belt cover or access points: Examine the exterior of the vacuum cleaner to locate any screws, latches, or clips that secure the belt cover or access panel. In some models, the belt area may be accessed by flipping the vacuum cleaner over to reveal the underside.
- Remove the belt cover or access panel: Using a Phillips-head screwdriver, flat-head screwdriver, or any other appropriate tool, carefully remove the screws or fasteners that secure the belt cover or access panel. Set the screws aside in a safe place to prevent misplacement.
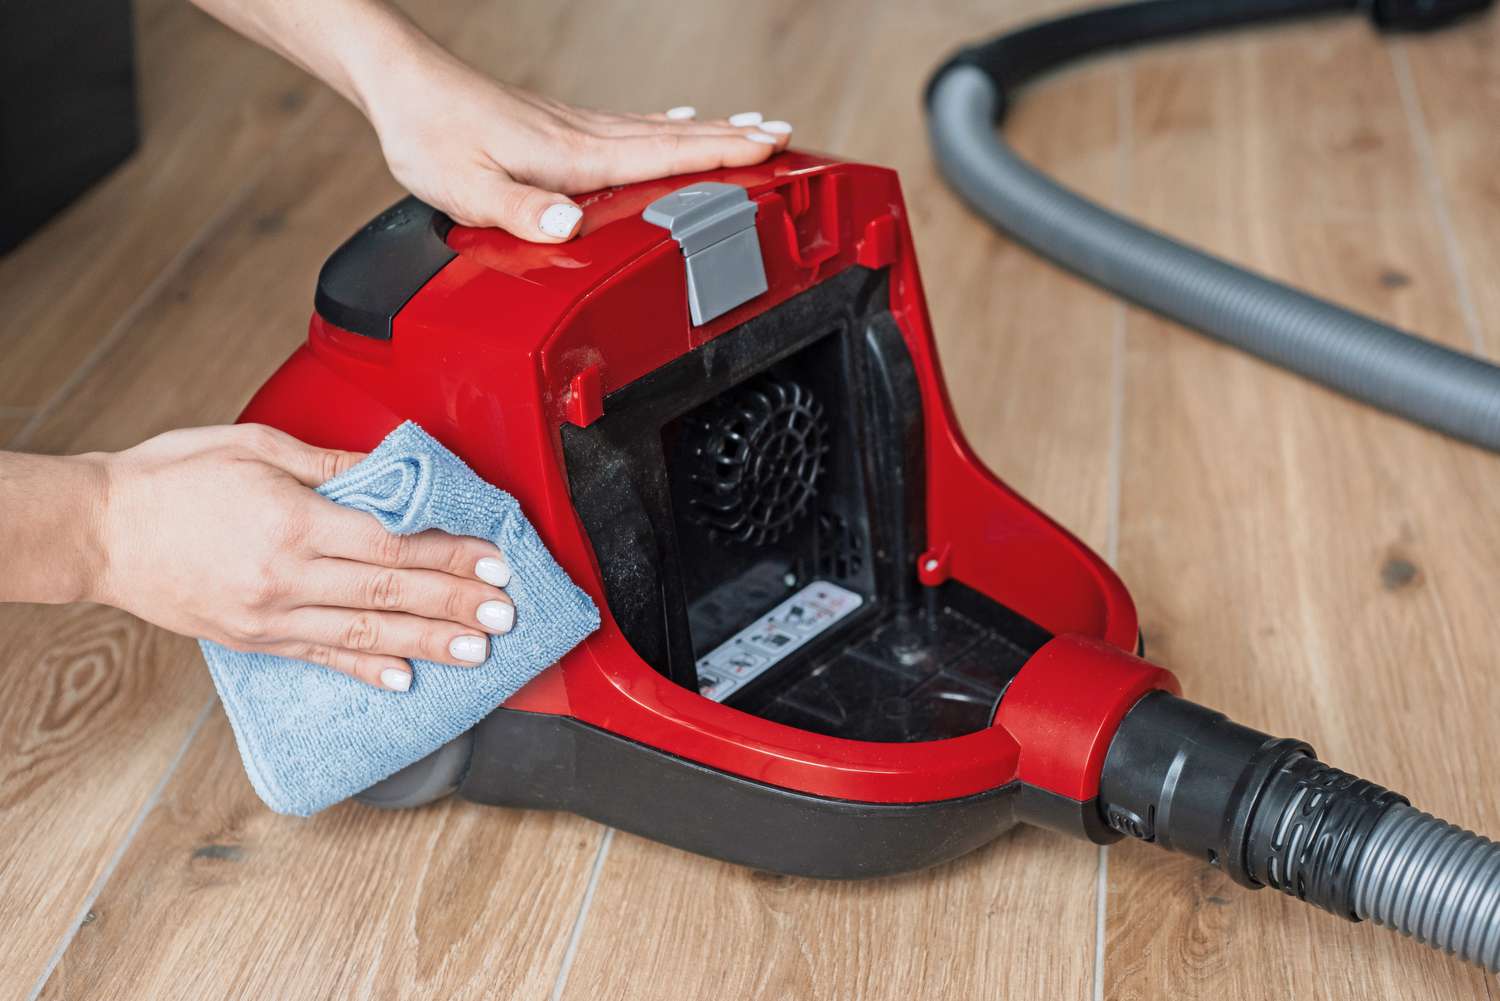
- Inspect the belt area: Once the belt area is accessible, take a moment to inspect the condition of the old belt and the overall cleanliness of the internal components. Use a clean cloth to wipe away any accumulated dust or debris, ensuring that the area is clean before proceeding with the belt replacement.
By following these steps, you can effectively access the belt area of your vacuum cleaner, setting the stage for the subsequent tasks involved in replacing the belt. With the belt area accessible and the internal components inspected, you are ready to move on to the next steps in the belt replacement process.
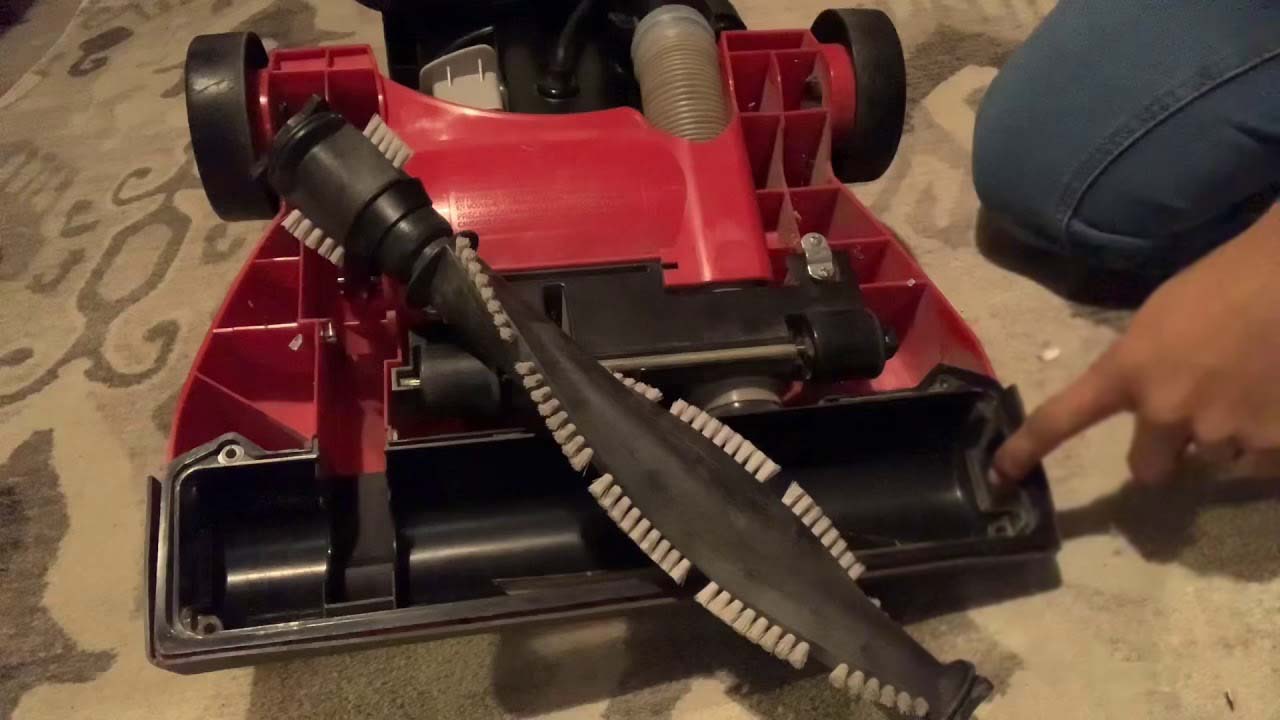
Step 3: Remove the Old Belt
Now that you have accessed the belt area of your vacuum cleaner, it’s time to remove the old, worn-out belt. Follow these steps to safely and effectively remove the old belt:
- Release tension from the belt: Depending on the design of your vacuum cleaner, there may be a belt tension release mechanism that allows you to easily remove the old belt. Refer to the user manual or examine the belt area to identify any tension release features.
- Detach the old belt from the motor spindle: The old belt is connected to the motor spindle, which drives the brush roll or agitator. Carefully detach the old belt from the motor spindle, ensuring that you take note of its orientation and positioning for the installation of the new belt.
- Remove the old belt from the brush roll or agitator: The other end of the old belt is connected to the brush roll or agitator. Unhook or slide the old belt off the brush roll, taking care not to damage the brush bristles or agitator components during this process.
- Inspect the old belt: Take a moment to inspect the old belt for signs of wear, stretching, or damage. By identifying the condition of the old belt, you can reaffirm the need for replacement and gain insights into potential issues affecting the vacuum cleaner’s performance.
- Dispose of the old belt: Safely dispose of the old belt by placing it in a waste receptacle. Properly discarding the old belt will prevent any accidental reuse and ensure that the vacuum cleaner is equipped with a new, reliable belt.
By following these steps, you can effectively remove the old belt from your vacuum cleaner, paving the way for the installation of a new belt. With the old belt safely removed and the condition of the belt area assessed, you are prepared to proceed with the next crucial step in the belt replacement process.
When changing the belt on a vacuum cleaner, make sure to unplug the vacuum first. Then, remove the bottom plate to access the belt. Slide the old belt off the motor and brush roller, and replace it with a new one. Finally, reattach the bottom plate and test the vacuum to ensure the new belt is working properly.
Read more: How To Change Belt On Kirby Vacuum Cleaner
Step 4: Install the New Belt
With the old belt removed, it’s time to install a new belt in your vacuum cleaner. Follow these steps to ensure a successful and secure installation of the new belt:
- Select the correct replacement belt: Ensure that the new belt you have is the correct replacement for your specific vacuum cleaner model. Verify that the dimensions and specifications of the new belt match the requirements outlined in the user manual or provided by the manufacturer.
- Position the new belt on the brush roll or agitator: Slide the new belt onto the brush roll or agitator, ensuring that it is positioned correctly and aligned with the grooves or hooks designed to secure the belt in place. Take care to avoid twisting or misaligning the new belt during this step.
- Connect the new belt to the motor spindle: With the new belt positioned on the brush roll, carefully connect the other end of the belt to the motor spindle. Ensure that the new belt is seated securely and aligned with the motor spindle to facilitate smooth operation during use.
- Adjust the belt tension: If your vacuum cleaner features a belt tension adjustment mechanism, follow the manufacturer’s guidelines to set the appropriate tension for the new belt. Proper tension is essential for optimal performance and longevity of the belt.
- Trim any excess length: Once the new belt is installed and properly tensioned, use a pair of scissors to trim any excess length of the belt, leaving a suitable amount to ensure a secure fit without unnecessary slack.
By following these steps, you can successfully install a new belt in your vacuum cleaner, ensuring that the appliance is equipped with a reliable and properly fitted component. With the new belt securely in place, you are ready to proceed to the next phase of the belt replacement process.
Step 5: Reassemble the Vacuum Cleaner
With the new belt installed, it’s time to reassemble the components of your vacuum cleaner. Follow these steps to ensure that the appliance is fully reassembled and ready for use:
- Replace the belt cover or access panel: If you removed a belt cover or access panel to access the belt area, carefully position it back in place. Secure the cover or panel by reattaching the screws or fasteners, ensuring a snug fit that prevents any loose components during operation.
- Verify proper alignment: Before proceeding, double-check that all components are properly aligned and secured. Ensure that the belt cover or access panel is flush with the vacuum cleaner’s body, with no gaps or misalignments.
- Reposition the vacuum cleaner: If you flipped the vacuum cleaner over to access the belt area, carefully reposition the appliance to its upright stance. Ensure that it is stable and balanced before proceeding to the next step.
- Inspect for leftover tools: Take a moment to verify that all tools and materials used during the belt replacement process have been safely removed from the vacuum cleaner’s vicinity. This step prevents accidental damage or interference with the appliance’s operation.
By following these steps, you can effectively reassemble the vacuum cleaner after replacing the belt, ensuring that all components are securely in place and ready for use. With the vacuum cleaner fully reassembled, you are prepared to move on to the final step in the belt replacement process.
Step 6: Test the Vacuum Cleaner
After completing the belt replacement and reassembly process, it’s essential to test the vacuum cleaner to ensure that the new belt is functioning properly. Follow these steps to conduct a thorough and effective test of the appliance:
- Plug in the vacuum cleaner: Carefully plug the vacuum cleaner back into the electrical outlet, ensuring that the power cord is securely connected. This step prepares the appliance for the subsequent operational test.
- Power on the vacuum cleaner: Turn on the vacuum cleaner using the designated power switch or control. Listen for any unusual noises or vibrations that may indicate improper installation or tensioning of the new belt.
- Engage the brush roll or agitator: If your vacuum cleaner features a brush roll or agitator, engage this component to observe its rotation. The brush roll should spin smoothly and consistently, indicating that the new belt is effectively transferring power from the motor.
- Test the suction and maneuverability: Conduct a brief test of the vacuum cleaner’s suction power and maneuverability. Ensure that the appliance effectively picks up debris and moves across various surfaces without any issues related to the new belt installation.
- Observe for any abnormalities: While the vacuum cleaner is in operation, pay close attention to any irregularities in its performance. Look for signs of belt slippage, unusual odors, or any other indicators that may suggest a need for further adjustment or inspection.
By following these steps, you can effectively test the vacuum cleaner after replacing the belt, ensuring that the appliance is fully operational and free from any issues related to the new belt installation. With the test successfully completed, you can proceed with confidence, knowing that your vacuum cleaner is ready to resume its essential cleaning duties.
Conclusion
Congratulations! By following the comprehensive steps outlined in this guide, you have successfully replaced the belt on your vacuum cleaner, ensuring that the appliance continues to operate at its best. Through careful attention to detail and the use of essential tools and materials, you have taken a proactive approach to maintaining and optimizing the performance of your vacuum cleaner.
By understanding the process of changing the belt and conducting a thorough test of the appliance, you have demonstrated a commitment to the upkeep of your home cleaning equipment. Regular maintenance, such as belt replacement, is essential for prolonging the lifespan of your vacuum cleaner and maintaining its efficiency in keeping your living spaces clean and tidy.
Remember, the steps outlined in this guide can be applied to a wide range of vacuum cleaner models, allowing you to confidently address belt replacement needs as they arise. Whether you have an upright vacuum, canister vacuum, or any other type of vacuum cleaner, the fundamental principles of belt replacement remain consistent, providing you with the knowledge and skills to tackle this essential task.
As you enjoy the benefits of a smoothly operating vacuum cleaner, take pride in your ability to maintain and care for your home appliances. The successful replacement of the belt on your vacuum cleaner is a testament to your DIY skills and your commitment to a clean and healthy living environment.
Thank you for embarking on this belt replacement journey with us. We hope that this guide has empowered you to confidently address the maintenance needs of your vacuum cleaner, ensuring that it remains a reliable and effective tool in your home cleaning arsenal.
Frequently Asked Questions about How To Change A Belt On A Vacuum Cleaner
Was this page helpful?
At Storables.com, we guarantee accurate and reliable information. Our content, validated by Expert Board Contributors, is crafted following stringent Editorial Policies. We're committed to providing you with well-researched, expert-backed insights for all your informational needs.


0 thoughts on “How To Change A Belt On A Vacuum Cleaner”