Home>Home Appliances>Cleaning Appliances>How To Mop Your Walls
Cleaning Appliances
How To Mop Your Walls
Modified: January 23, 2024
Learn the best techniques for cleaning your walls with our expert tips and advice. Keep your home spotless with our top-rated cleaning appliances.
(Many of the links in this article redirect to a specific reviewed product. Your purchase of these products through affiliate links helps to generate commission for Storables.com, at no extra cost. Learn more)
Introduction
Keeping your home clean involves more than just sweeping the floors and dusting the furniture. Often overlooked, the walls of your home can accumulate dust, grime, and stains over time. One effective way to maintain a pristine living environment is by mopping your walls. While this may seem like a daunting task, with the right materials and technique, you can easily achieve spotless walls that contribute to a fresh and inviting atmosphere in your home.
In this comprehensive guide, we will walk you through the step-by-step process of wall mopping, from gathering the necessary materials to implementing effective cleaning techniques. By the end of this article, you will be equipped with the knowledge and confidence to revitalize your walls and elevate the overall cleanliness of your living space.
Key Takeaways:
- Keep your walls clean and inviting by mopping them regularly with a gentle solution and soft mop. Prepare the walls, mix the solution, mop with care, and ensure thorough drying for optimal results.
- Incorporate wall mopping into your regular cleaning routine to prevent stubborn dirt buildup. Use gentle techniques, proper ventilation, and regular inspections to maintain clean and inviting living spaces.
Read more: How To Clean Walls With O-Cedar Mop
Materials Needed
Before embarking on the wall mopping process, it’s essential to gather the necessary materials to ensure a thorough and efficient cleaning experience. Here’s what you’ll need:
- Cleaner: Select a suitable wall cleaning solution. This can be a commercial wall cleaner or a DIY solution such as a mixture of water and mild dish soap.
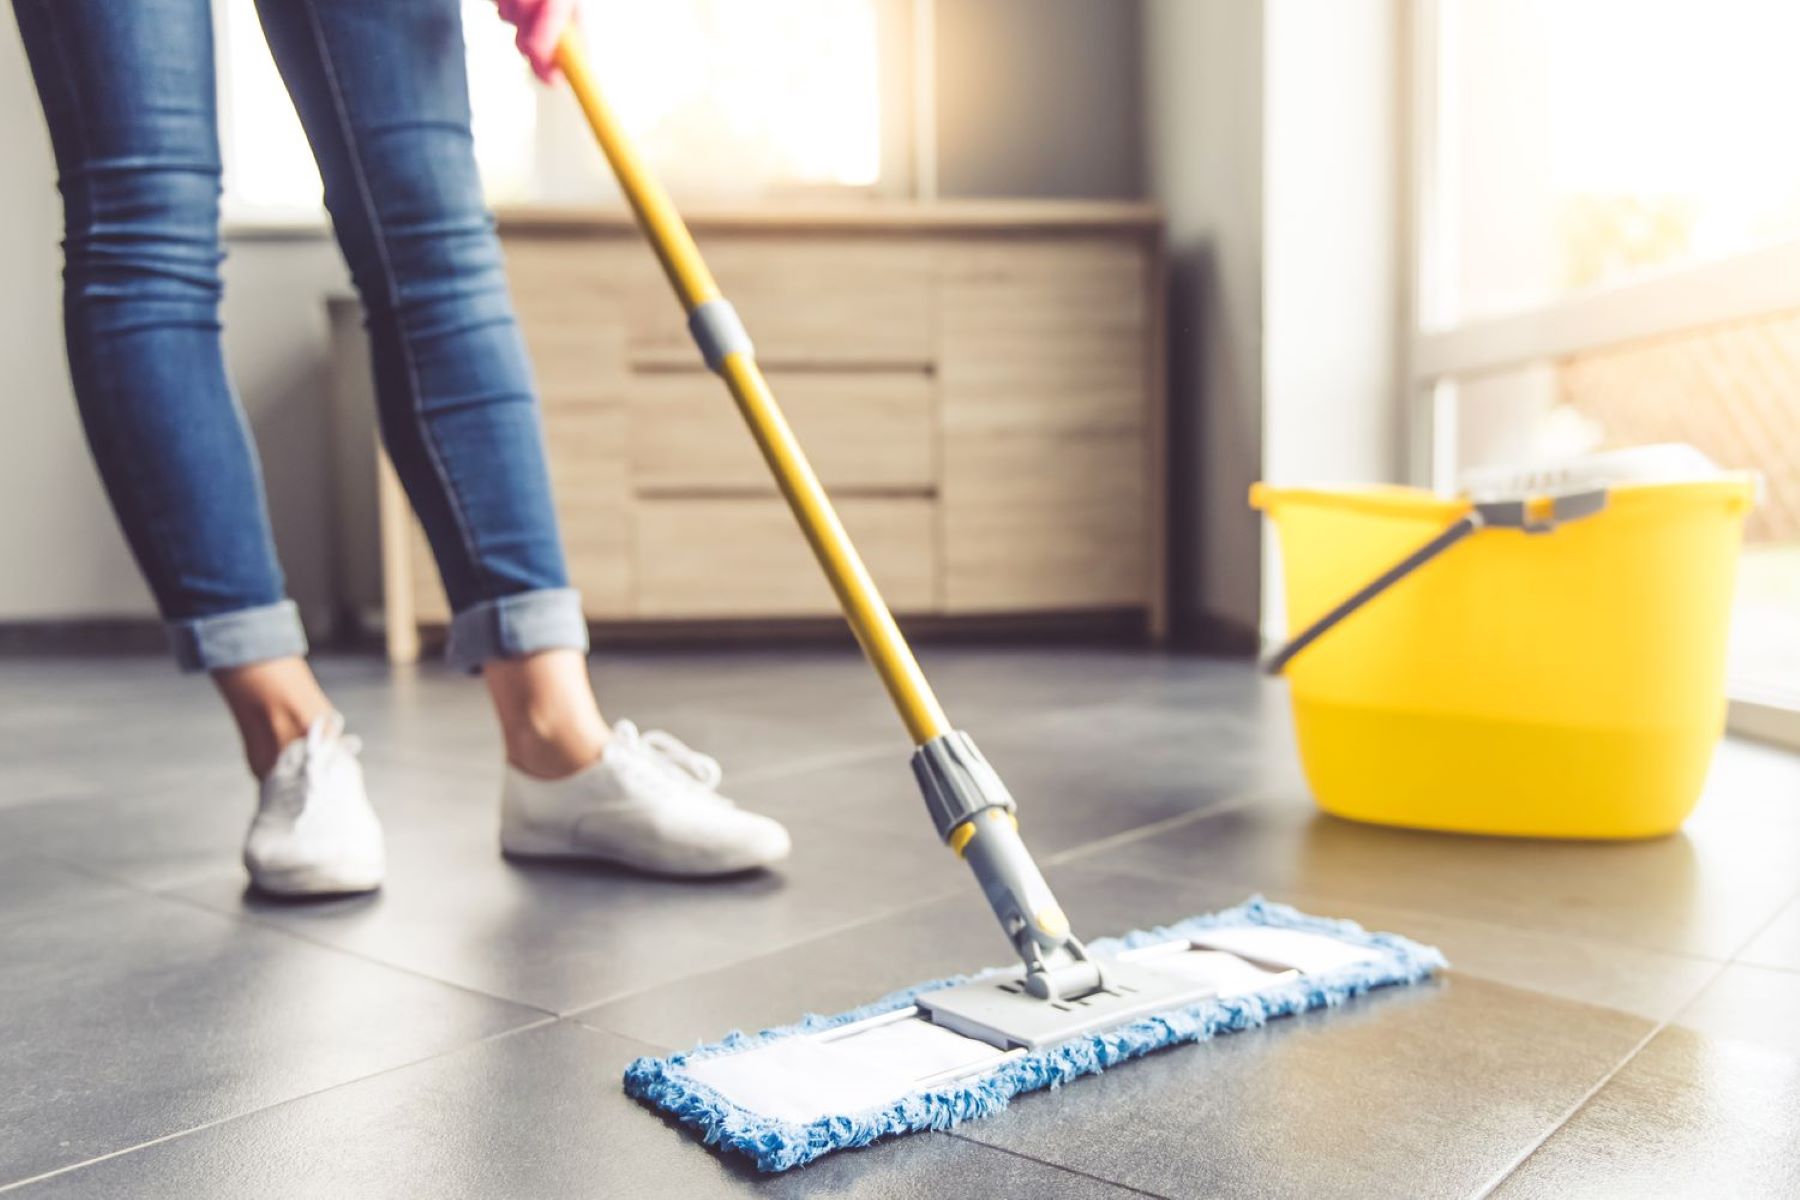
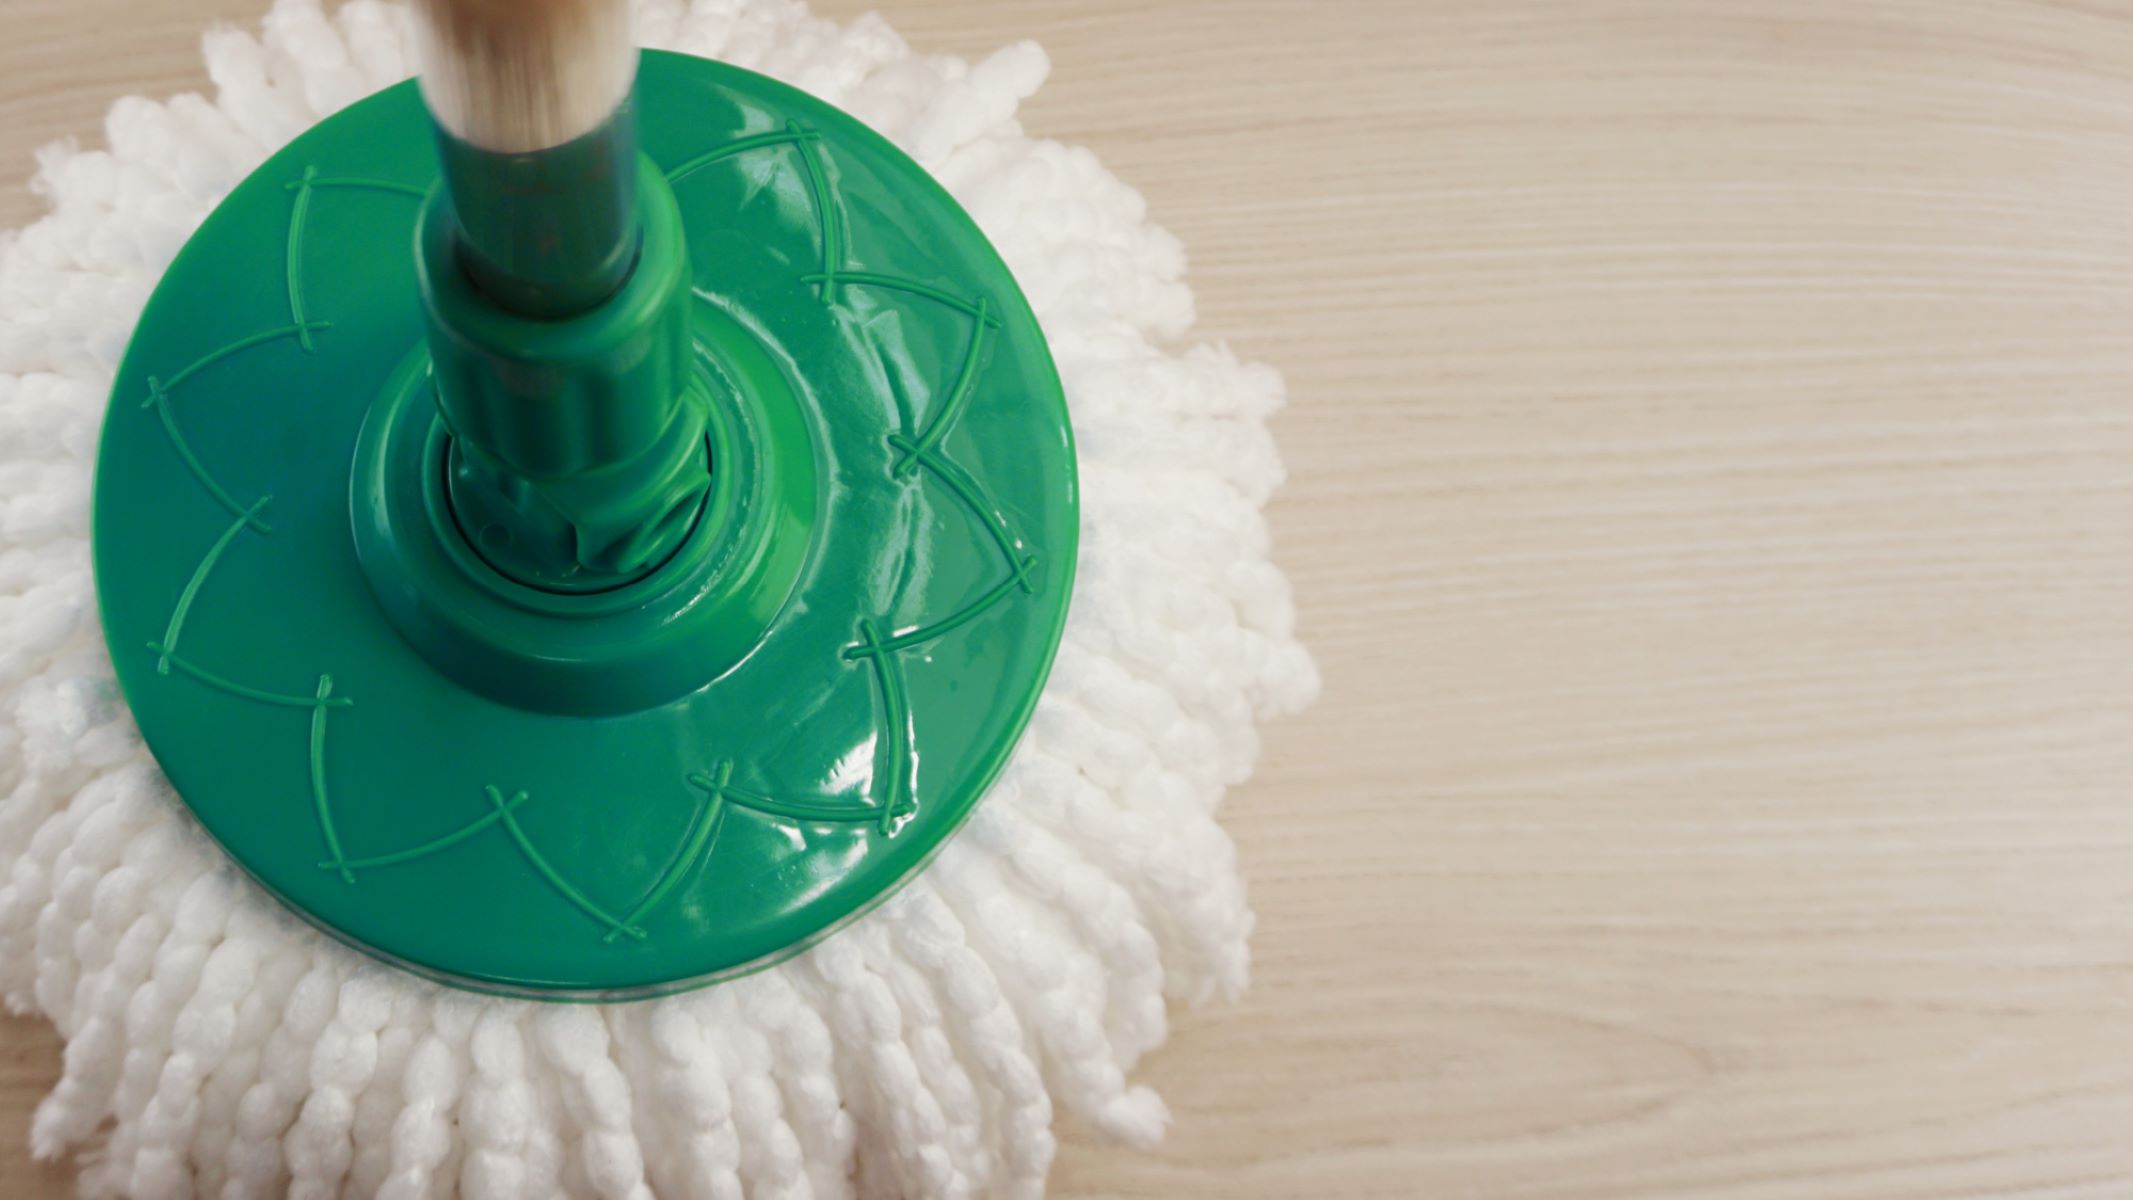
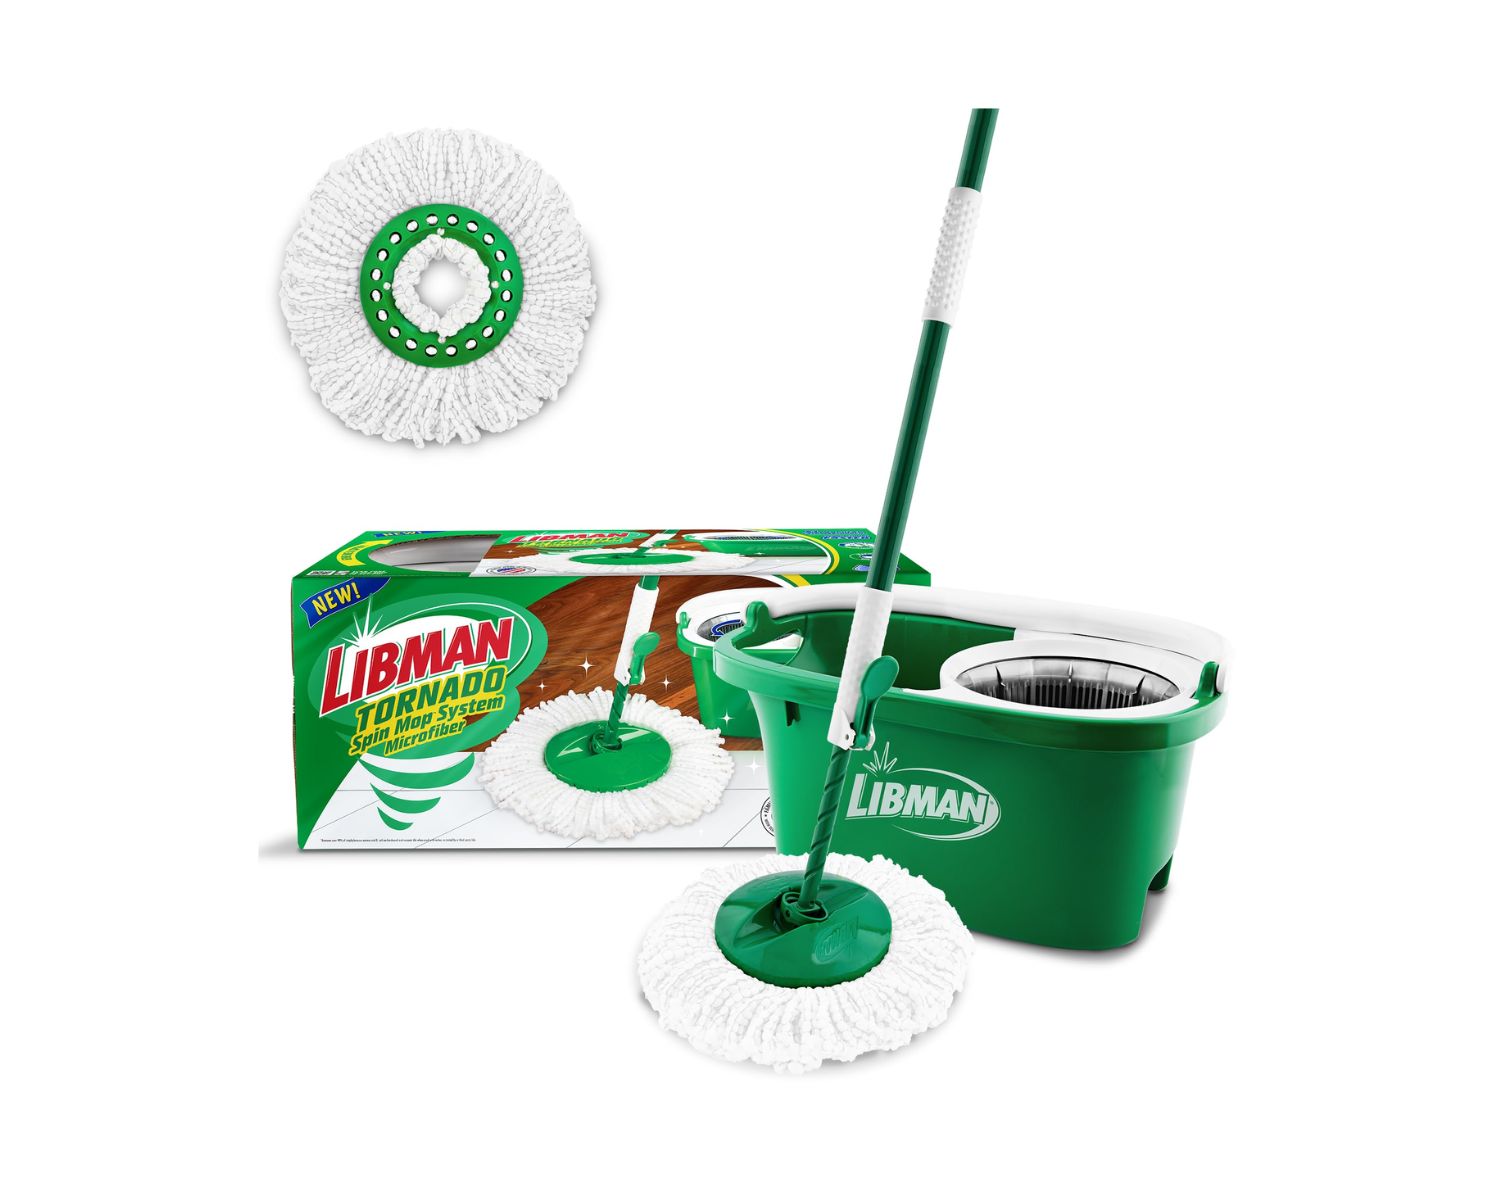
- Mop: Opt for a mop with a soft, microfiber head. This will help prevent scratches and effectively remove dirt and stains from the walls.
- Bucket: Use a clean bucket to hold the cleaning solution. Ensure that it is large enough to accommodate the mop head for soaking and wringing.
- Ladder: Depending on the height of your walls, a sturdy ladder may be necessary to reach higher areas safely.
- Protective Gear: Consider wearing gloves and old clothing to protect your skin and attire from the cleaning solution.
- Towels or Cloths: Have a few clean towels or cloths on hand to dry the walls after mopping.
- Ventilation: Ensure proper ventilation in the room by opening windows or using fans to help the walls dry more quickly.
By having these materials ready, you can streamline the wall mopping process and achieve optimal results while maintaining a safe and comfortable cleaning environment.
Preparing the Walls
Before diving into the wall mopping process, it’s important to prepare the walls to ensure an effective and thorough cleaning. Follow these steps to prepare the surfaces for mopping:
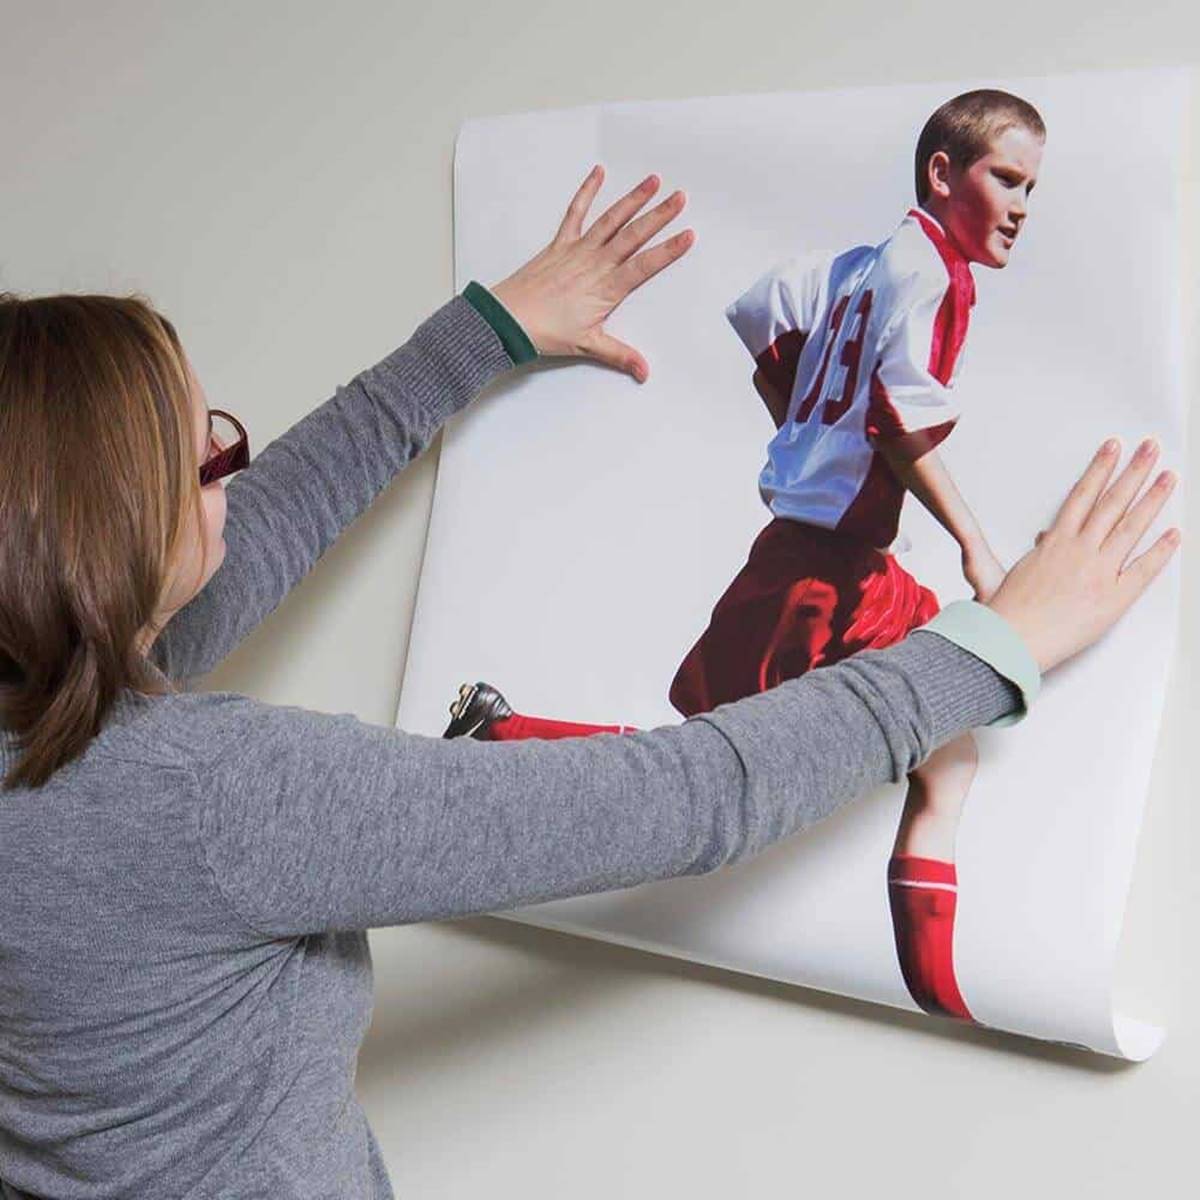
- Remove Obstacles: Clear the area around the walls to create a spacious and unobstructed working environment. Remove any furniture, wall decor, or other items that may impede the cleaning process.
- Dust the Walls: Use a duster or a microfiber cloth to gently remove any loose dust, cobwebs, or debris from the walls. This initial step helps prevent the spread of dirt and ensures that the mopping process can focus on deeper cleaning.
- Protect Electrical Outlets: If your walls feature electrical outlets or switches, consider covering them with plastic outlet covers or securely taped plastic wrap to prevent moisture from seeping into the electrical components.
- Test a Small Area: If you are using a new cleaning solution, it’s advisable to test a small, inconspicuous area of the wall to ensure that the solution does not cause any adverse effects such as discoloration or damage to the paint or wallpaper.
By taking the time to prepare the walls before mopping, you can optimize the cleaning process and minimize potential obstacles or complications. This thoughtful approach sets the stage for a successful wall mopping experience, allowing you to achieve a pristine and refreshed appearance for your walls.
Mixing the Cleaning Solution
Creating the ideal cleaning solution is a crucial step in the wall mopping process. Whether you opt for a commercial cleaner or a DIY solution, the cleaning solution should effectively remove dirt, grime, and stains while being gentle on your walls. Here’s how to mix a suitable cleaning solution for wall mopping:
- Commercial Cleaner: If you choose to use a commercial wall cleaning product, carefully follow the manufacturer’s instructions for dilution and application. Be mindful of any specific recommendations or warnings provided by the product.
- DIY Solution: For a simple and cost-effective cleaning solution, consider mixing warm water with a small amount of mild dish soap. Alternatively, a mixture of water and white vinegar can be an effective natural cleaning solution. Aim for a dilution that is strong enough to tackle dirt and stains but mild enough to protect your walls.
- Testing the Solution: Before proceeding with mopping, it’s advisable to test the cleaning solution on a small, inconspicuous area of the wall to ensure compatibility and effectiveness. This precautionary measure can help prevent potential damage or adverse reactions on a larger scale.
By carefully mixing the cleaning solution according to the specific requirements and considerations, you can set the stage for successful wall mopping. This crucial step ensures that the cleaning solution is tailored to effectively address the cleaning needs of your walls while maintaining their integrity and appearance.
When mopping your walls, start from the top and work your way down to avoid streaks. Use a mild detergent and warm water to gently clean the walls, and be sure to rinse with clean water afterwards to prevent any residue from drying on the surface.
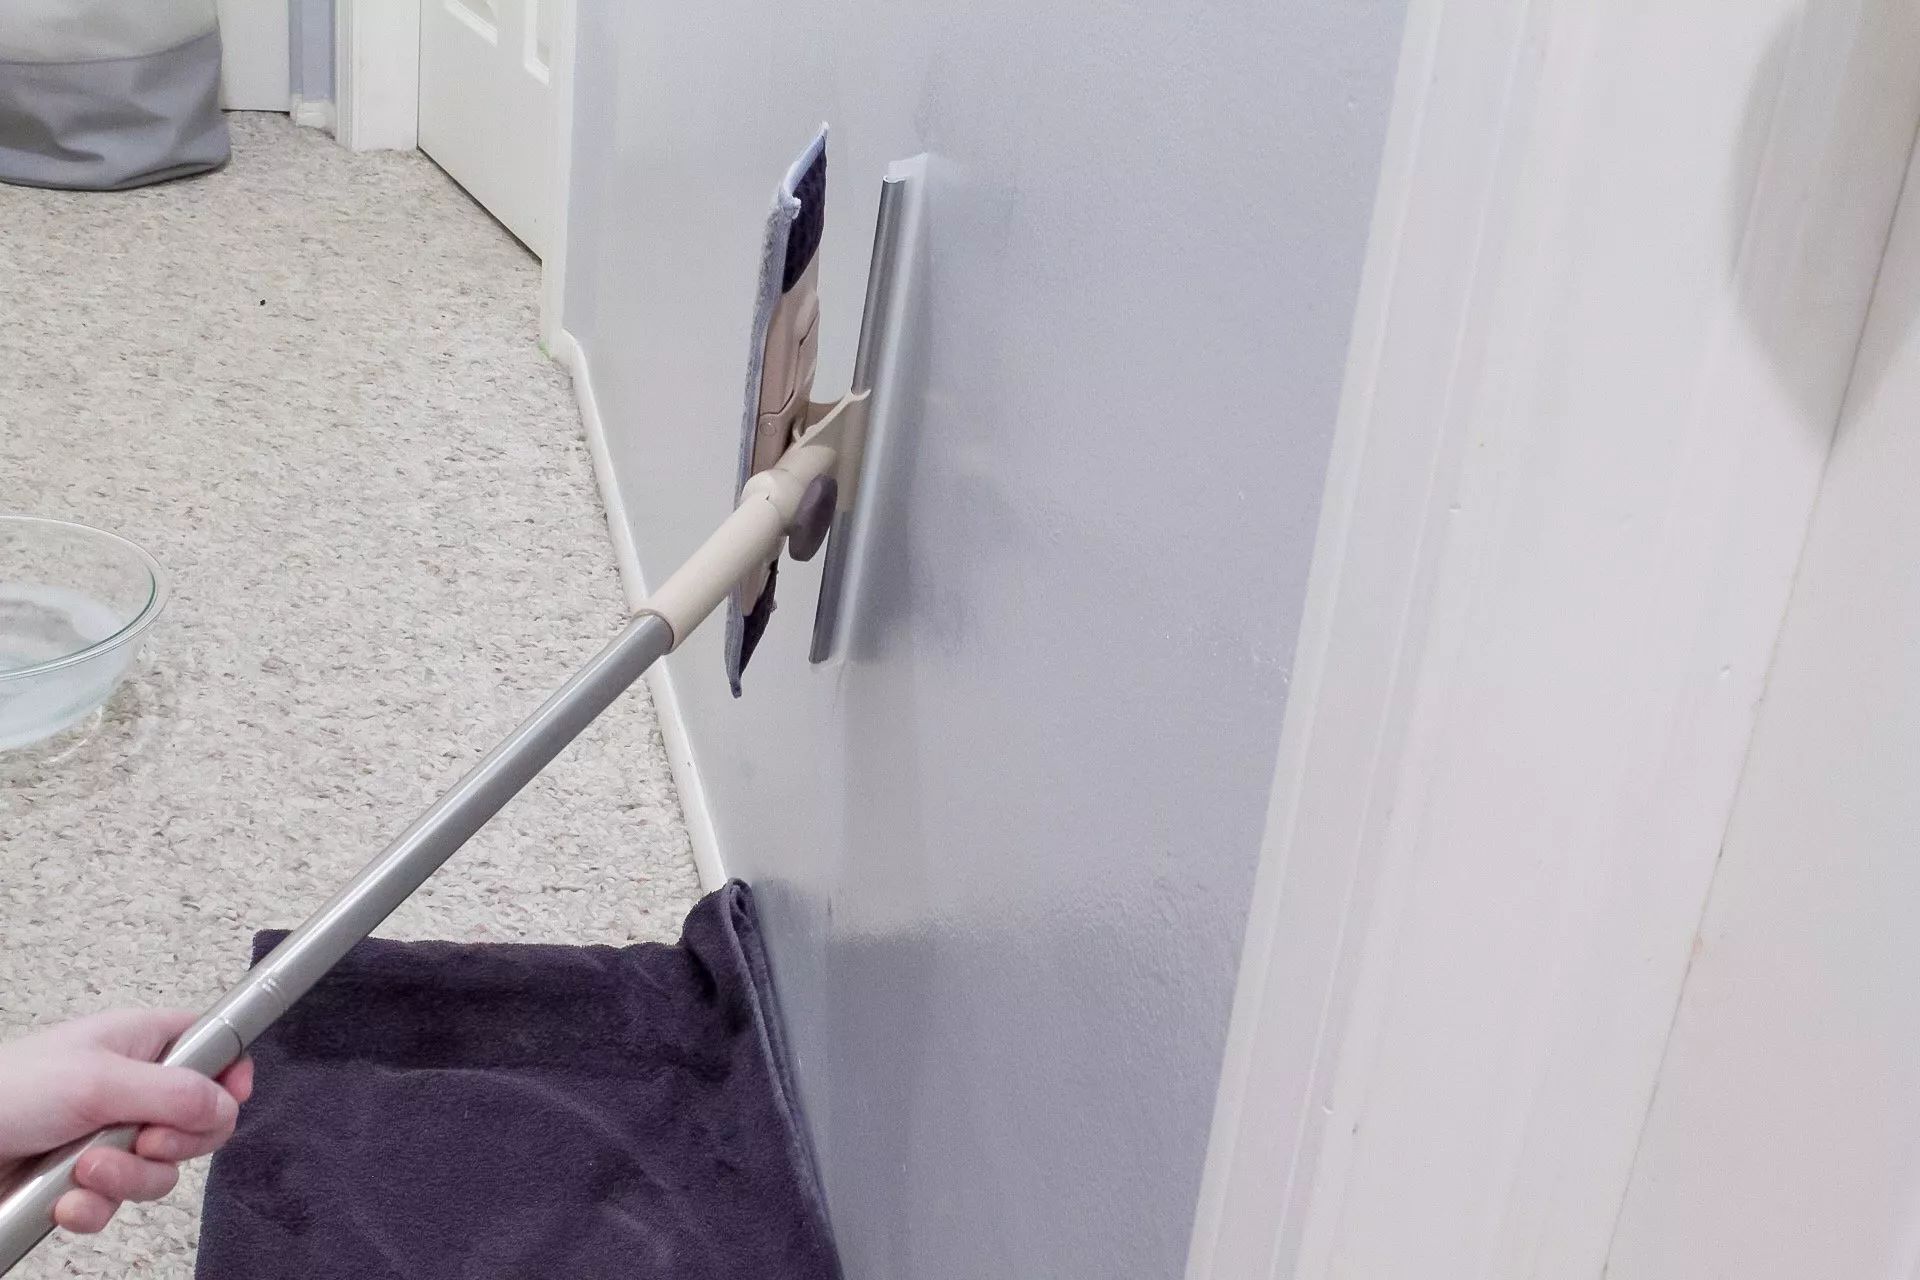
Mopping the Walls
Now that the walls are prepared and the cleaning solution is mixed, it’s time to embark on the mopping process. Follow these steps to effectively mop your walls and achieve a thorough cleaning:
- Soak the Mop: Submerge the mop head in the cleaning solution, ensuring that it is adequately saturated but not dripping excessively.
- Wring Out Excess: After soaking the mop, wring out the excess cleaning solution to prevent it from dripping excessively as you work. The mop should be damp but not dripping.
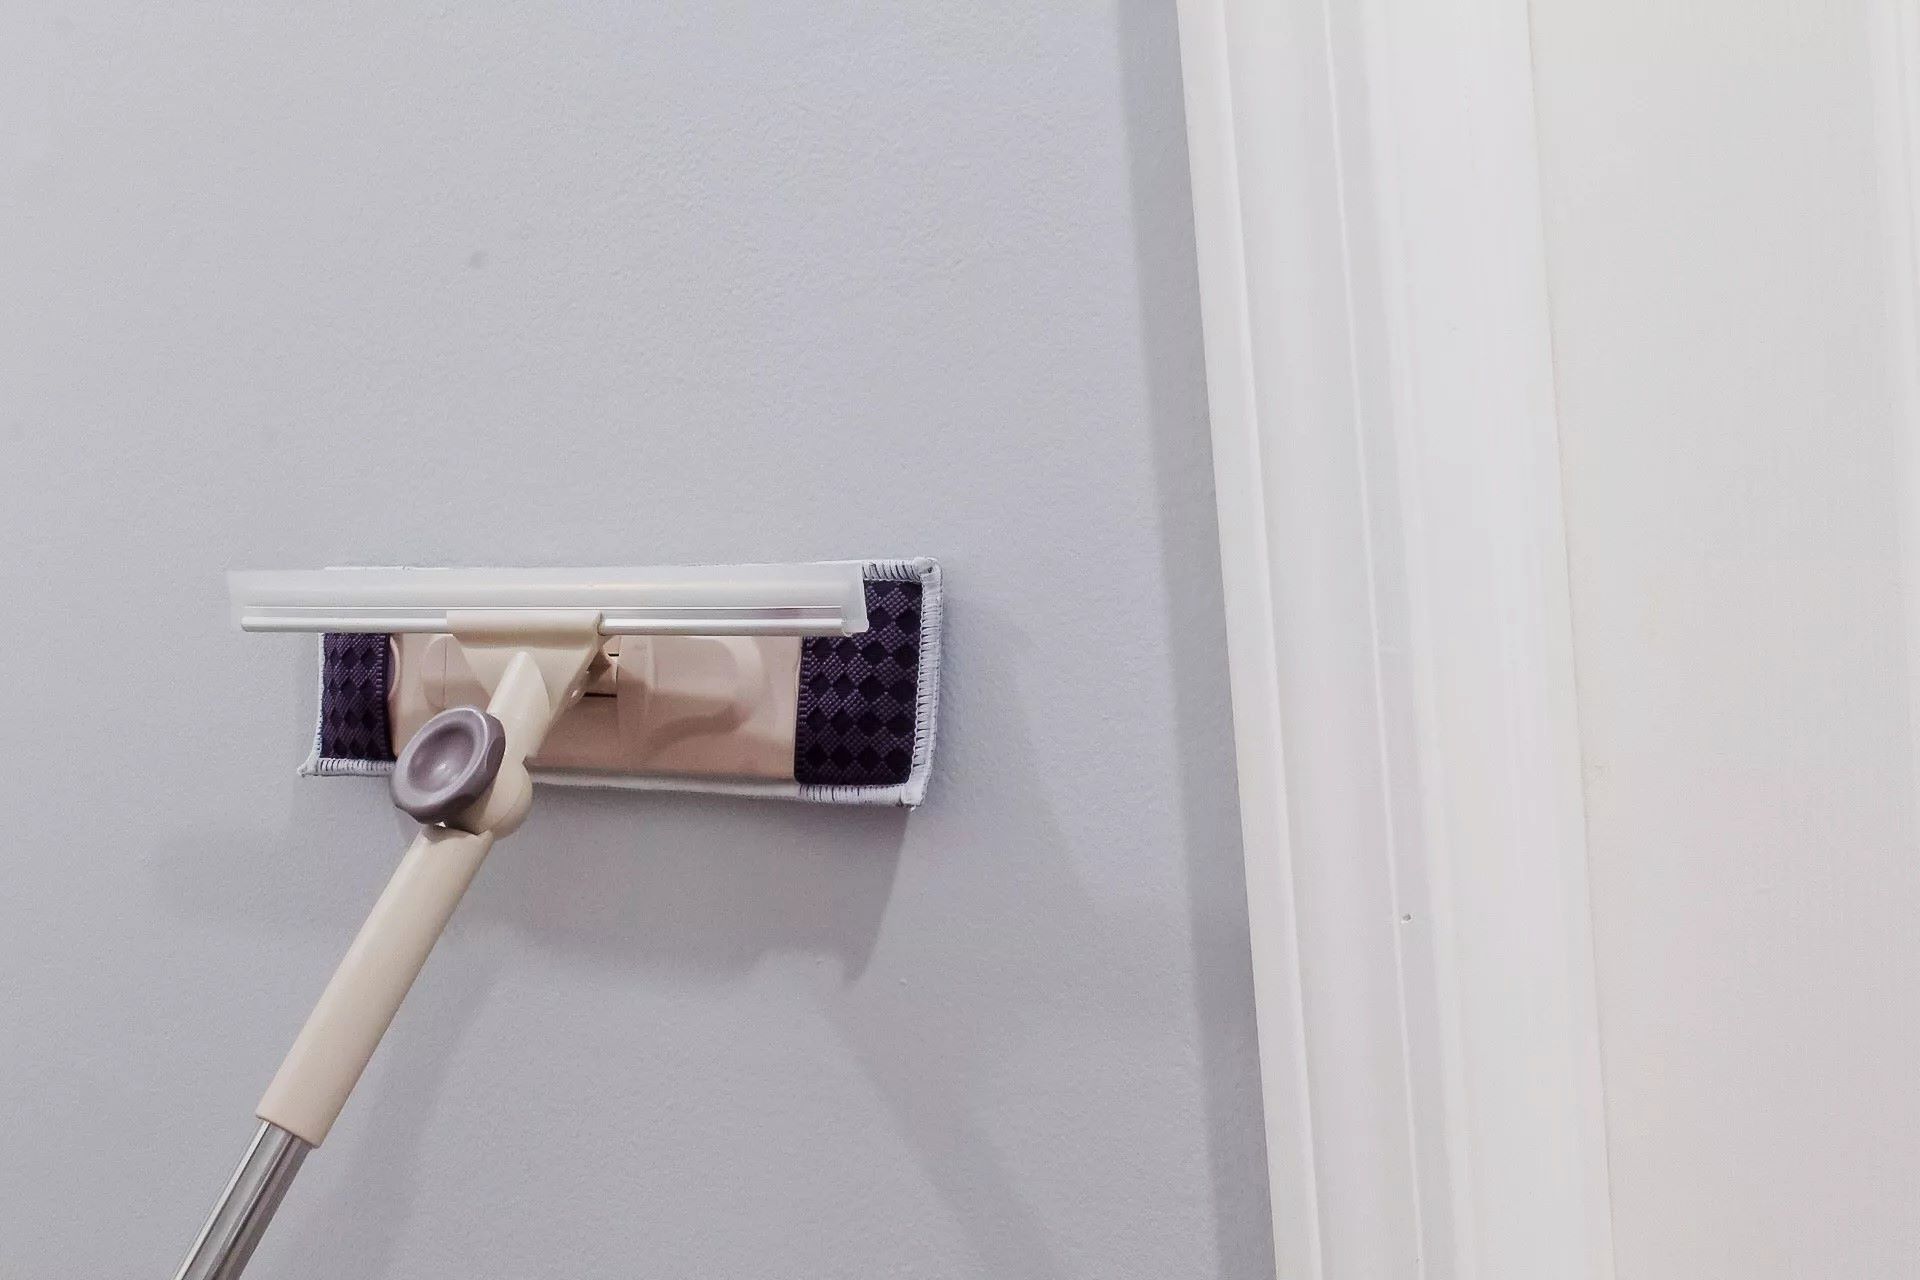
- Start from the Top: Begin mopping at the top of the wall and work your way down in a systematic manner. This approach prevents streaking and ensures that any drips or residue are addressed as you progress downward.
- Use Gentle Pressure: Apply gentle pressure as you mop, focusing on areas with visible dirt, stains, or grime. Avoid excessive force, as this can potentially damage the walls or paint.
- Work in Sections: Divide the walls into manageable sections to ensure thorough coverage and attention to detail. This approach helps you maintain a methodical and organized cleaning process.
- Address Stubborn Stains: For stubborn stains or heavily soiled areas, you may need to apply slightly more pressure or allow the cleaning solution to dwell on the affected area for a brief period before gently mopping the area again.
- Rinse the Mop: Periodically rinse the mop in clean water to remove accumulated dirt and residue, especially if you are working on a larger wall surface.
By following these steps and techniques, you can effectively mop your walls, removing dirt, grime, and stains to reveal a revitalized and refreshed appearance. This meticulous approach ensures that your walls receive a comprehensive and thorough cleaning, contributing to a cleaner and more inviting living space.
Read also: 8 Amazing Wall Mop For 2024
Drying the Walls
After completing the mopping process, it’s essential to ensure that the walls are thoroughly dried to prevent moisture-related issues and to reveal the full extent of the cleaning results. Follow these steps to effectively dry the walls after mopping:
- Air Circulation: Enhance air circulation in the room by opening windows and using fans to facilitate the drying process. Improved airflow expedites the evaporation of moisture from the walls.
- Pat Dry with Towels: Gently pat the walls with clean, dry towels to absorb excess moisture. Avoid rubbing the walls vigorously, as this can potentially damage the freshly cleaned surfaces.
- Inspect for Dampness: Thoroughly inspect the walls for any lingering dampness or moisture. Pay particular attention to corners, edges, and areas that may have absorbed more cleaning solution.
- Allow Sufficient Time: Depending on the humidity levels and airflow in the room, allow the walls ample time to air dry completely. This may take a few hours, especially for larger wall surfaces or areas with limited ventilation.
By diligently following these steps to dry the walls, you can ensure that the mopping process concludes with walls that are not only clean but also free from excess moisture. This final step sets the stage for fully appreciating the revitalized appearance of your walls and the overall cleanliness of your living space.
Tips for Effective Wall Mopping
While the wall mopping process may seem straightforward, incorporating the following tips and considerations can elevate the effectiveness and efficiency of your cleaning efforts:
- Regular Maintenance: Incorporate wall mopping into your regular cleaning routine to prevent the accumulation of stubborn dirt and grime. Consistent maintenance contributes to easier and more effective cleaning sessions.
- Spot Testing: Always conduct a spot test of the cleaning solution on a small area of the wall to ensure compatibility and to avoid potential damage to the paint or wall covering.
- Gentle Techniques: Use gentle and controlled movements when mopping the walls to avoid damaging the surfaces. Avoid excessive force or abrasive cleaning tools.
- Work from Top to Bottom: Start mopping at the top of the wall and work downward to prevent streaking and ensure thorough coverage of the cleaning solution.
- Address Grime Promptly: Tackle visible dirt, stains, and grime as soon as they are noticed to prevent them from becoming more challenging to remove over time.
- Protective Measures: Wear gloves and old clothing to protect your skin and attire from the cleaning solution, especially if you are using a commercial cleaner with potent ingredients.
- Proper Ventilation: Ensure adequate ventilation in the room to expedite the drying process and prevent the accumulation of moisture in the walls.
- Regular Inspections: Periodically inspect your walls for signs of dirt, stains, or discoloration, and address these issues promptly to maintain a clean and fresh appearance.
- Adjust Cleaning Solution Strength: Depending on the severity of dirt and stains, adjust the strength of the cleaning solution accordingly, ensuring that it effectively addresses the cleaning needs while being gentle on the walls.
By integrating these tips into your wall mopping routine, you can enhance the overall effectiveness of the cleaning process, maintain the integrity of your walls, and enjoy consistently clean and inviting living spaces.
Conclusion
Wall mopping is a valuable and often overlooked aspect of home cleaning that can significantly contribute to the overall cleanliness and appeal of your living environment. By following the step-by-step process outlined in this guide, you can achieve spotless and revitalized walls that enhance the freshness and comfort of your home.
From preparing the walls and mixing the ideal cleaning solution to meticulously mopping and ensuring thorough drying, each step plays a crucial role in achieving optimal cleaning results. Additionally, incorporating the recommended tips and best practices can further elevate the effectiveness and efficiency of your wall mopping routine.
By maintaining a proactive approach to wall maintenance and cleaning, you can prevent the accumulation of stubborn dirt, grime, and stains, ultimately simplifying the cleaning process and preserving the pristine appearance of your walls. Consistent maintenance and attention to detail contribute to a cleaner and more inviting living space for you and your family to enjoy.
Embrace the transformative power of wall mopping, and take pride in the refreshed and revitalized appearance of your living space. With the knowledge and insights gained from this guide, you are well-equipped to embark on a wall mopping journey that ensures clean, inviting, and visually appealing walls throughout your home.
Here’s to cleaner, fresher, and more vibrant walls that reflect the care and dedication you invest in maintaining a welcoming and hygienic living environment.
Frequently Asked Questions about How To Mop Your Walls
Was this page helpful?
At Storables.com, we guarantee accurate and reliable information. Our content, validated by Expert Board Contributors, is crafted following stringent Editorial Policies. We're committed to providing you with well-researched, expert-backed insights for all your informational needs.


0 thoughts on “How To Mop Your Walls”