Home>Home Appliances>Cleaning Appliances>How To Replace Electrical Cord On Vacuum Cleaner

Cleaning Appliances
How To Replace Electrical Cord On Vacuum Cleaner
Modified: February 22, 2024
Learn how to safely replace the electrical cord on your vacuum cleaner with our step-by-step guide. Keep your cleaning appliances in top condition.
(Many of the links in this article redirect to a specific reviewed product. Your purchase of these products through affiliate links helps to generate commission for Storables.com, at no extra cost. Learn more)
**
Introduction
**
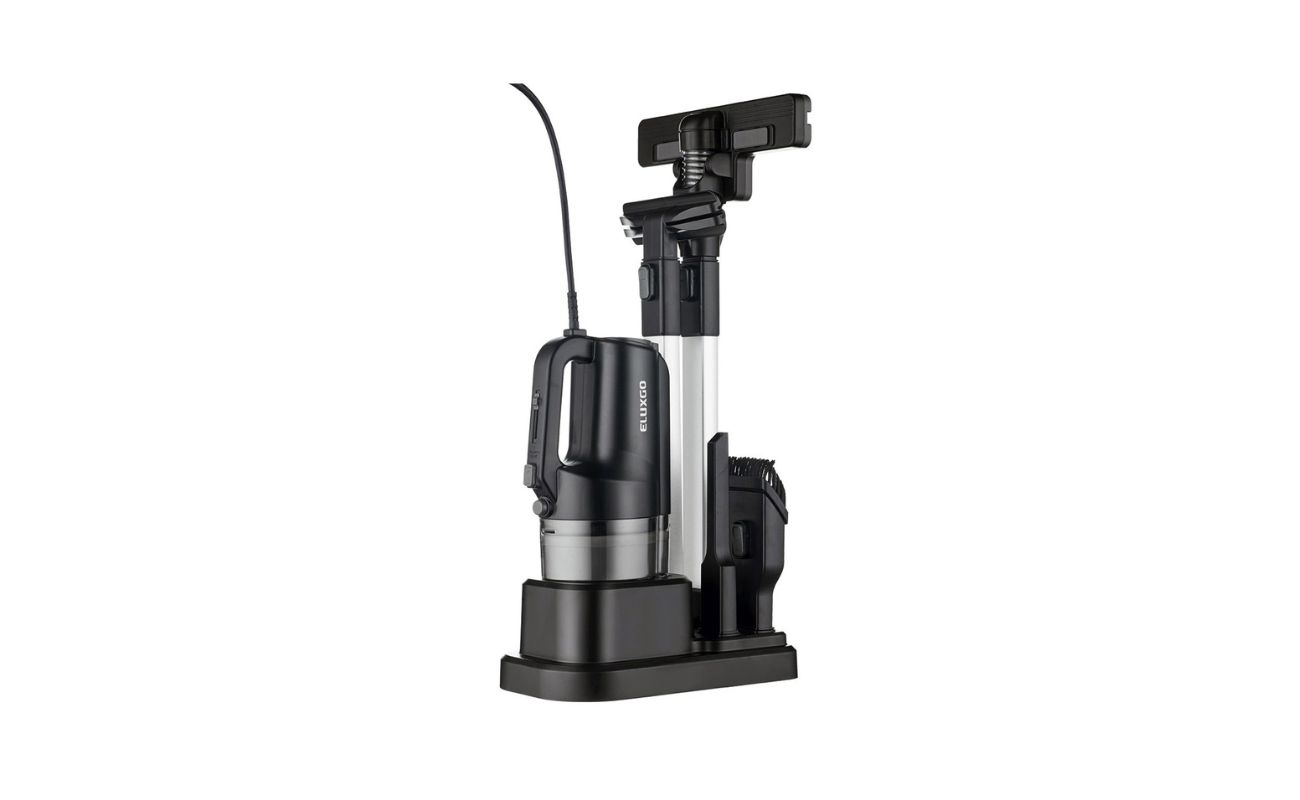
When it comes to keeping our homes clean and tidy, a vacuum cleaner is an indispensable tool. From carpets to hardwood floors, these trusty appliances make the chore of cleaning a breeze. However, after years of faithful service, the electrical cord of a vacuum cleaner may wear out, fray, or become damaged, posing a safety hazard. In such cases, it becomes necessary to replace the electrical cord to ensure the continued functionality and safety of the vacuum cleaner.
In this guide, we will walk you through the process of replacing the electrical cord on a vacuum cleaner. Whether you are a seasoned DIY enthusiast or a novice looking to learn a new skill, this step-by-step tutorial will equip you with the knowledge and confidence to tackle this maintenance task with ease.
By following these instructions, you can breathe new life into your vacuum cleaner and ensure that it continues to serve you well for years to come. With a few simple tools, a bit of patience, and a commitment to safety, you can successfully replace the electrical cord on your vacuum cleaner and restore it to optimal working condition. Let's dive in and get started!
**
Key Takeaways:
- Safety First!
Before replacing the electrical cord on your vacuum cleaner, always unplug it, wear protective gear, and work in a well-lit area. Following safety precautions ensures a successful and safe maintenance task. - Tools and Steps
Gather the necessary tools and materials, such as screwdrivers and wire cutters, before following the step-by-step process to replace the cord. With the right resources and careful execution, you can breathe new life into your vacuum cleaner.
Read more: How To Replace A Vacuum Electrical Cord
Safety Precautions
**
Before embarking on the task of replacing the electrical cord on your vacuum cleaner, it is crucial to prioritize safety. Working with electrical components requires careful attention to detail and adherence to safety protocols. Here are some essential safety precautions to keep in mind:
- Unplug the Vacuum Cleaner: Before beginning any work, ensure that the vacuum cleaner is unplugged from the power source. This will prevent the risk of electric shock during the cord replacement process.
- Work in a Well-Lit Area: Adequate lighting is essential for performing intricate tasks. Choose a well-lit workspace to ensure clear visibility while working on the vacuum cleaner.
- Use Personal Protective Equipment (PPE): Wear insulated gloves and safety goggles to protect yourself from potential electrical hazards. Additionally, avoid loose-fitting clothing that could accidentally come into contact with the vacuum cleaner’s internal components.
- Handle Electrical Components with Care: When handling the electrical cord and other components, do so with caution. Avoid tugging or pulling forcefully on the cord to prevent damage to the internal wiring.
- Keep Children and Pets Away: To maintain a safe work environment, keep children and pets at a safe distance from the work area. This will minimize the risk of accidents and ensure uninterrupted focus on the task at hand.
- Inspect the Replacement Cord: Before installation, carefully inspect the new electrical cord to ensure it is free from any defects or damage. Using a faulty cord can compromise the safety and performance of the vacuum cleaner.
- Follow Manufacturer Guidelines: Refer to the vacuum cleaner’s user manual for specific safety instructions and guidelines related to cord replacement. Manufacturers often provide valuable insights to ensure safe and proper maintenance of their products.
By adhering to these safety precautions, you can mitigate potential risks and approach the cord replacement process with confidence and peace of mind. Prioritizing safety not only safeguards your well-being but also contributes to a successful and satisfying maintenance endeavor.
**
Tools and Materials Needed
**
Before diving into the process of replacing the electrical cord on your vacuum cleaner, it’s essential to gather the necessary tools and materials. Having the right equipment at your disposal will streamline the task and ensure a smooth and efficient cord replacement. Here’s a comprehensive list of the tools and materials you will need:
Tools:
- Screwdriver Set: A set of screwdrivers, including both flathead and Phillips head varieties, will be essential for accessing the internal components of the vacuum cleaner.
- Wire Cutters: Quality wire cutters will facilitate the precise removal of the old electrical cord and the preparation of the new cord for installation.
- Wire Strippers: These tools are necessary for safely and accurately stripping the insulation from the wires, preparing them for connection.
- Needle-Nose Pliers: Needle-nose pliers are ideal for manipulating small components and securing electrical connections with precision.
- Electrical Tape: High-quality electrical tape will be used to secure and insulate wire connections, ensuring safety and reliability.
- Multimeter (Optional): While not mandatory, a multimeter can be helpful for testing electrical connections and ensuring proper functionality after the cord replacement.
Materials:
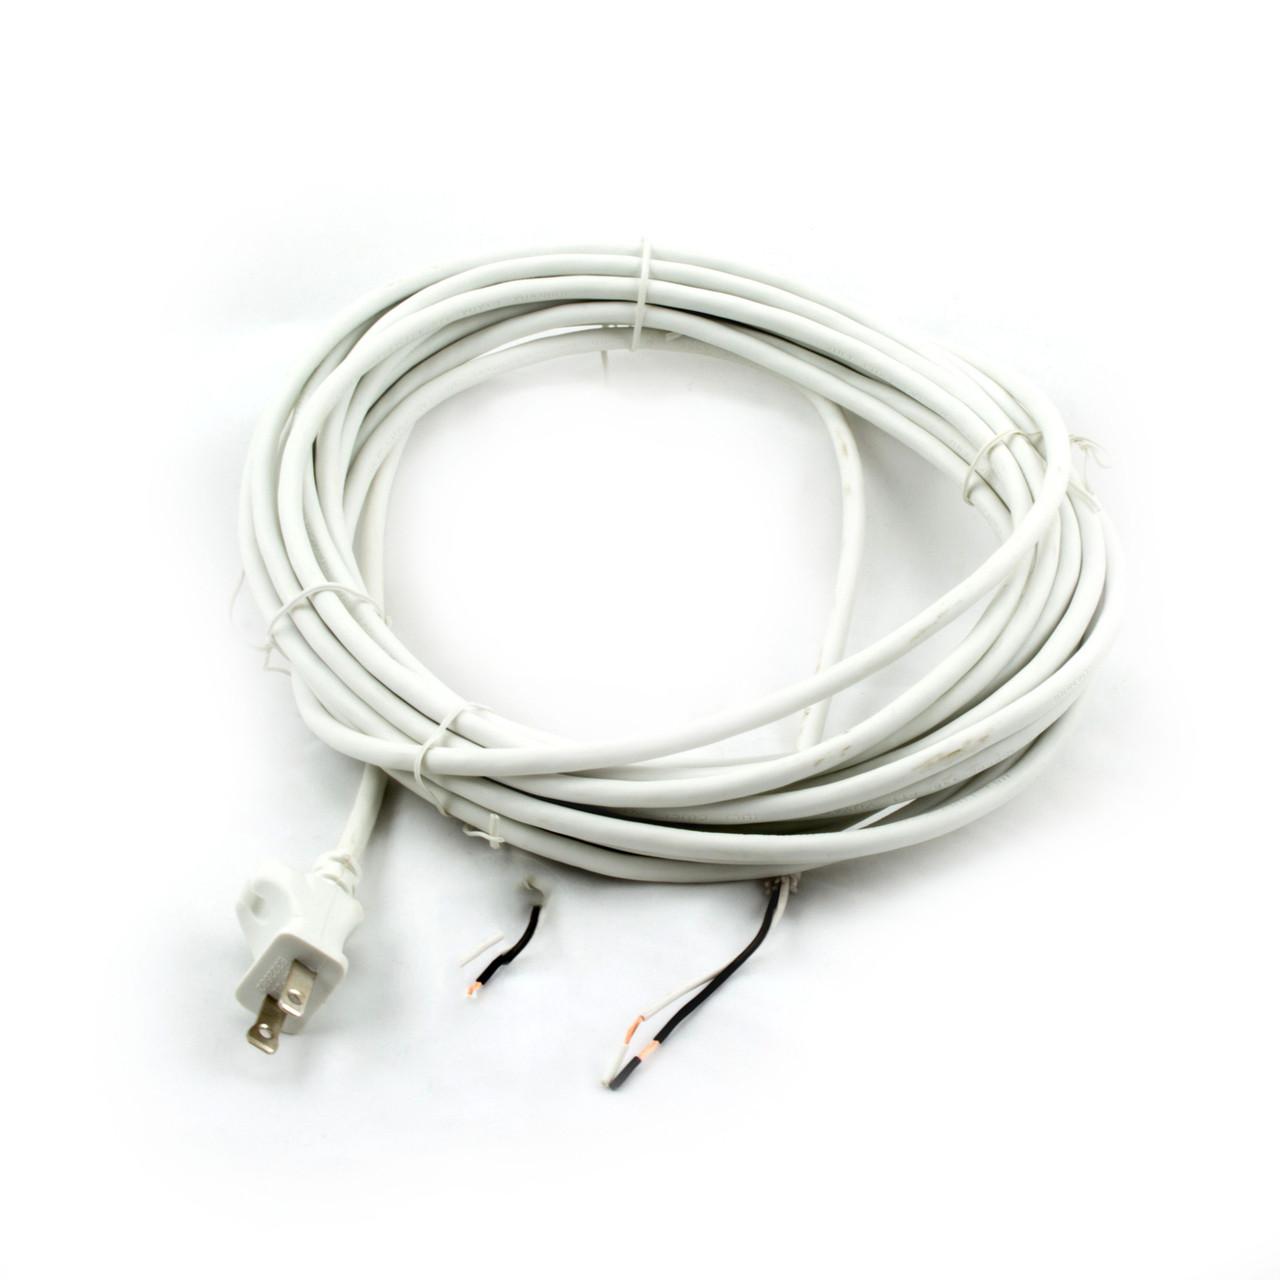
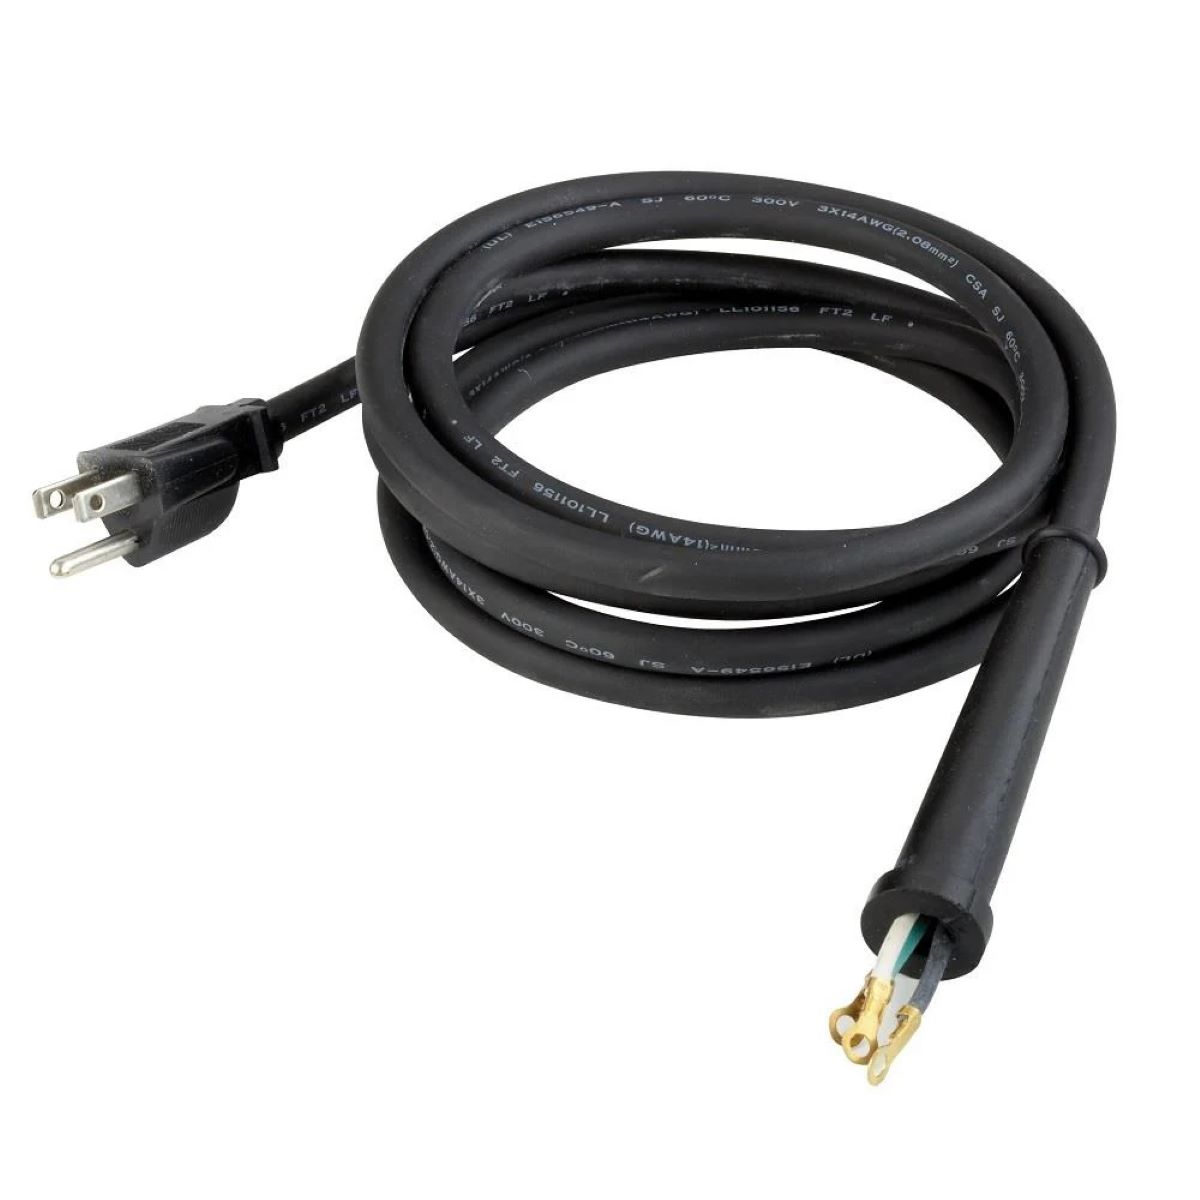
- Replacement Electrical Cord: Obtain a compatible replacement cord designed for your specific vacuum cleaner model. Ensure that the cord meets the necessary electrical specifications and is of suitable length.
- Wire Nuts: These connectors will be used to secure the electrical connections between the new cord and the internal wiring of the vacuum cleaner.
- Replacement Strain Relief (if applicable): If the strain relief on the vacuum cleaner’s housing is damaged or worn, a replacement strain relief may be necessary to ensure secure cord attachment.
- Rubber Grommet (if applicable): In some cases, a rubber grommet may be needed to provide additional protection and support where the cord enters the vacuum cleaner housing.
By having these tools and materials on hand, you’ll be well-prepared to tackle the cord replacement process with confidence and efficiency. With the right resources at your disposal, you can proceed to the next steps and breathe new life into your vacuum cleaner.
**
When replacing the electrical cord on a vacuum cleaner, make sure to unplug the vacuum first. Then, carefully remove the old cord and attach the new one following the manufacturer’s instructions to ensure proper installation.
Steps to Replace Electrical Cord
**
Now that you have gathered the necessary tools and materials, it’s time to embark on the process of replacing the electrical cord on your vacuum cleaner. Follow these step-by-step instructions to successfully complete the cord replacement:
- Preparation: Begin by ensuring that the vacuum cleaner is unplugged from the power source. This is a crucial safety measure to prevent electric shock during the replacement process.
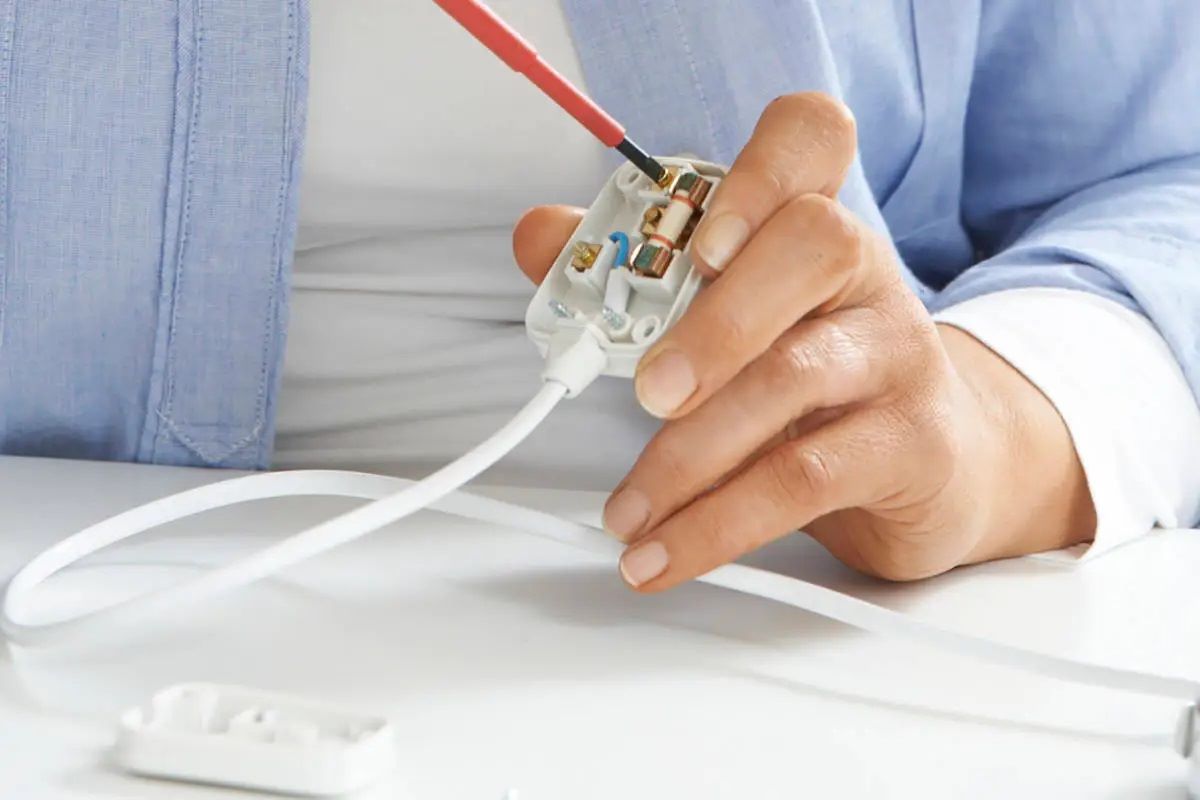
- Access the Internal Components: Using the appropriate screwdriver, carefully remove the screws securing the housing of the vacuum cleaner. This will allow access to the internal components, including the existing electrical cord.
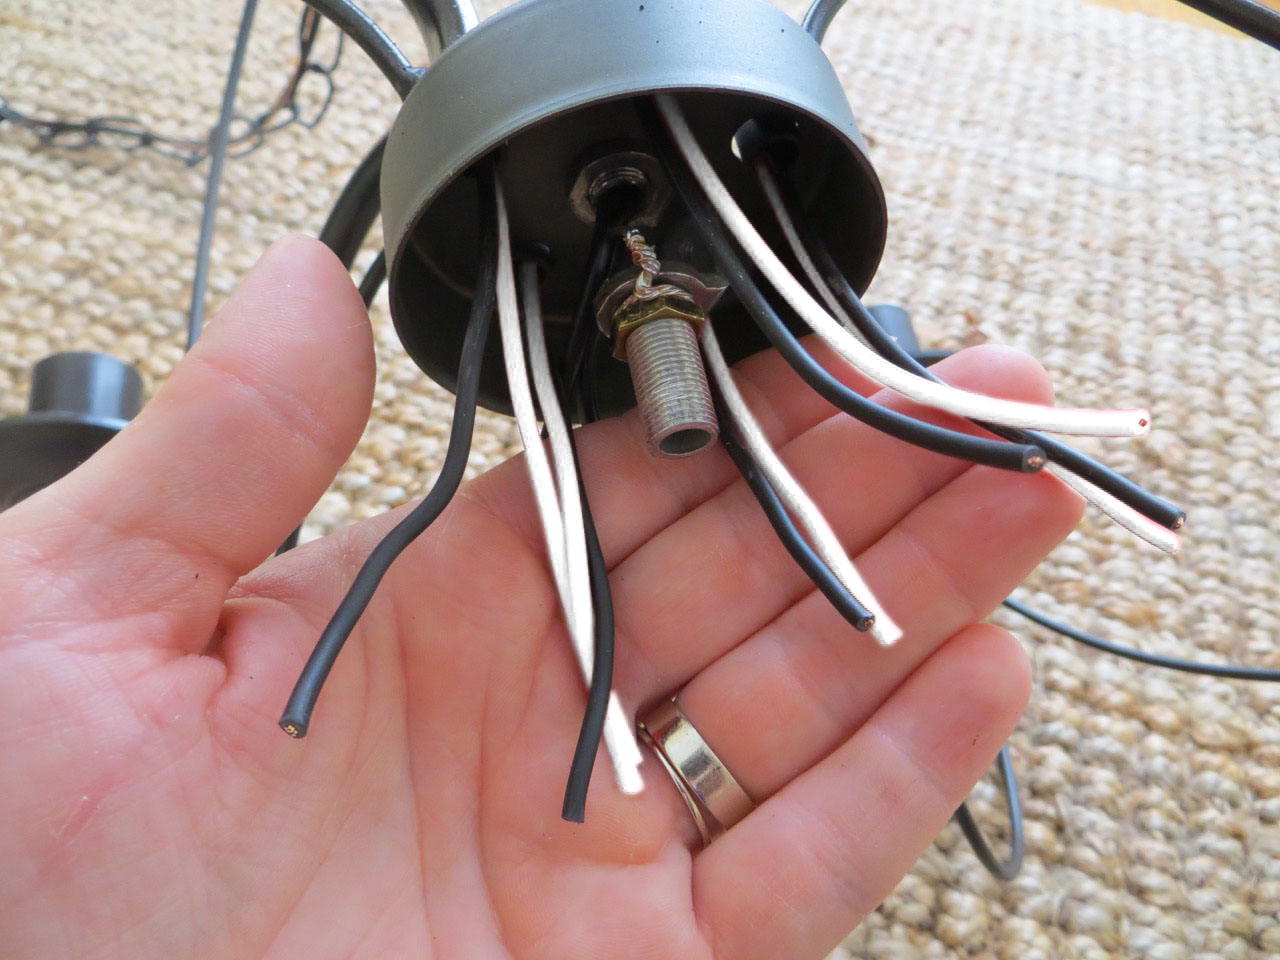
- Identify and Disconnect the Old Cord: Locate the point where the existing electrical cord is connected to the vacuum cleaner’s internal wiring. Using wire cutters, carefully disconnect the old cord, ensuring that there is ample length to work with for the replacement.
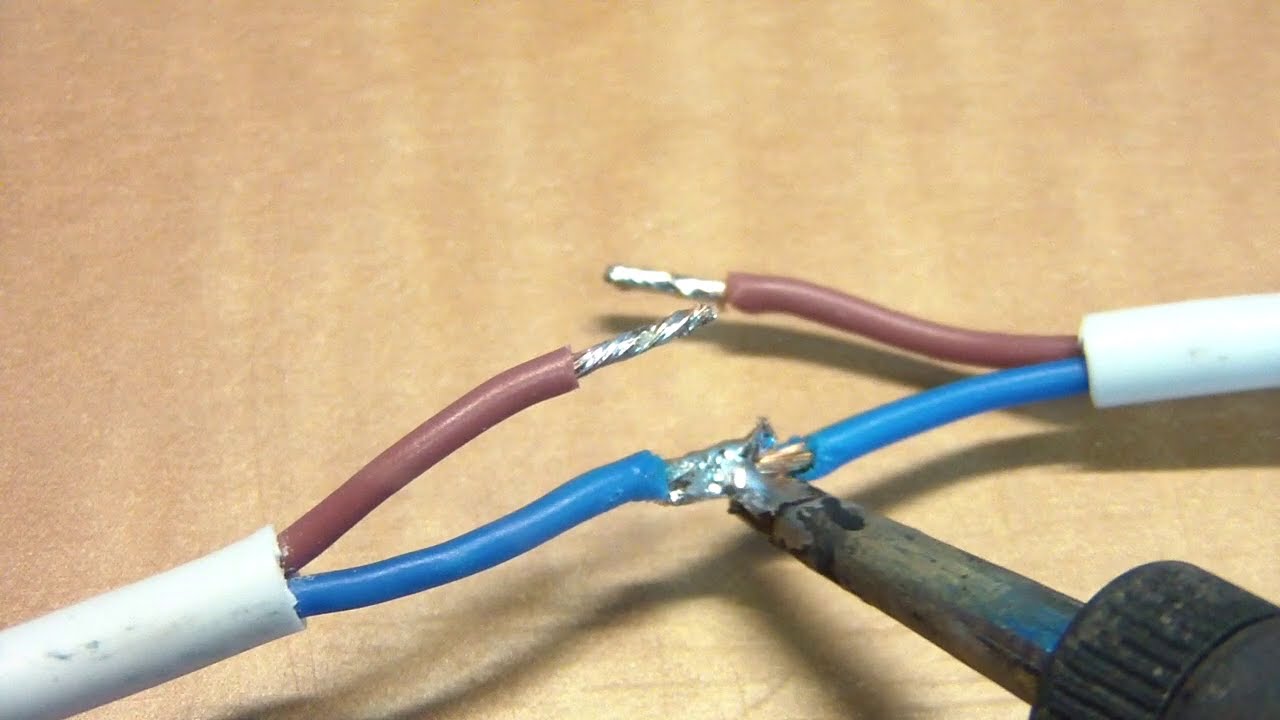
- Prepare the New Cord: If necessary, strip the insulation from the ends of the new electrical cord using wire strippers. This will expose the conductive wires, allowing for proper connection to the vacuum cleaner’s internal wiring.
- Connect the New Cord: Securely connect the new electrical cord to the corresponding wires within the vacuum cleaner, ensuring a snug and reliable fit. Use wire nuts to fasten the connections, and insulate them with electrical tape for added safety.
- Secure the Strain Relief: If the vacuum cleaner housing features a strain relief where the cord enters, ensure that the new cord is securely attached to the strain relief to prevent undue stress on the electrical connections.
- Reassemble the Housing: With the new cord properly installed and secured, reattach the housing of the vacuum cleaner using the previously removed screws. Ensure that the housing is firmly and evenly secured to maintain the integrity of the appliance.
- Test the Vacuum Cleaner: Once the cord replacement is complete and the housing is reassembled, plug in the vacuum cleaner and test its functionality. Ensure that the motor engages, and the suction power is consistent, indicating a successful cord replacement.
By following these sequential steps with care and attention to detail, you can effectively replace the electrical cord on your vacuum cleaner, restoring its operational capability and ensuring safe usage for the future.
**
Testing the Vacuum Cleaner
**
After replacing the electrical cord on your vacuum cleaner, it is essential to conduct thorough testing to verify that the appliance is functioning optimally and safely. Follow these steps to ensure that the cord replacement has been successful:
- Power On and Motor Engagement: Plug the vacuum cleaner into a power source and switch it on. Listen for the sound of the motor engaging, indicating that the appliance is receiving power and the electrical connections are operational.
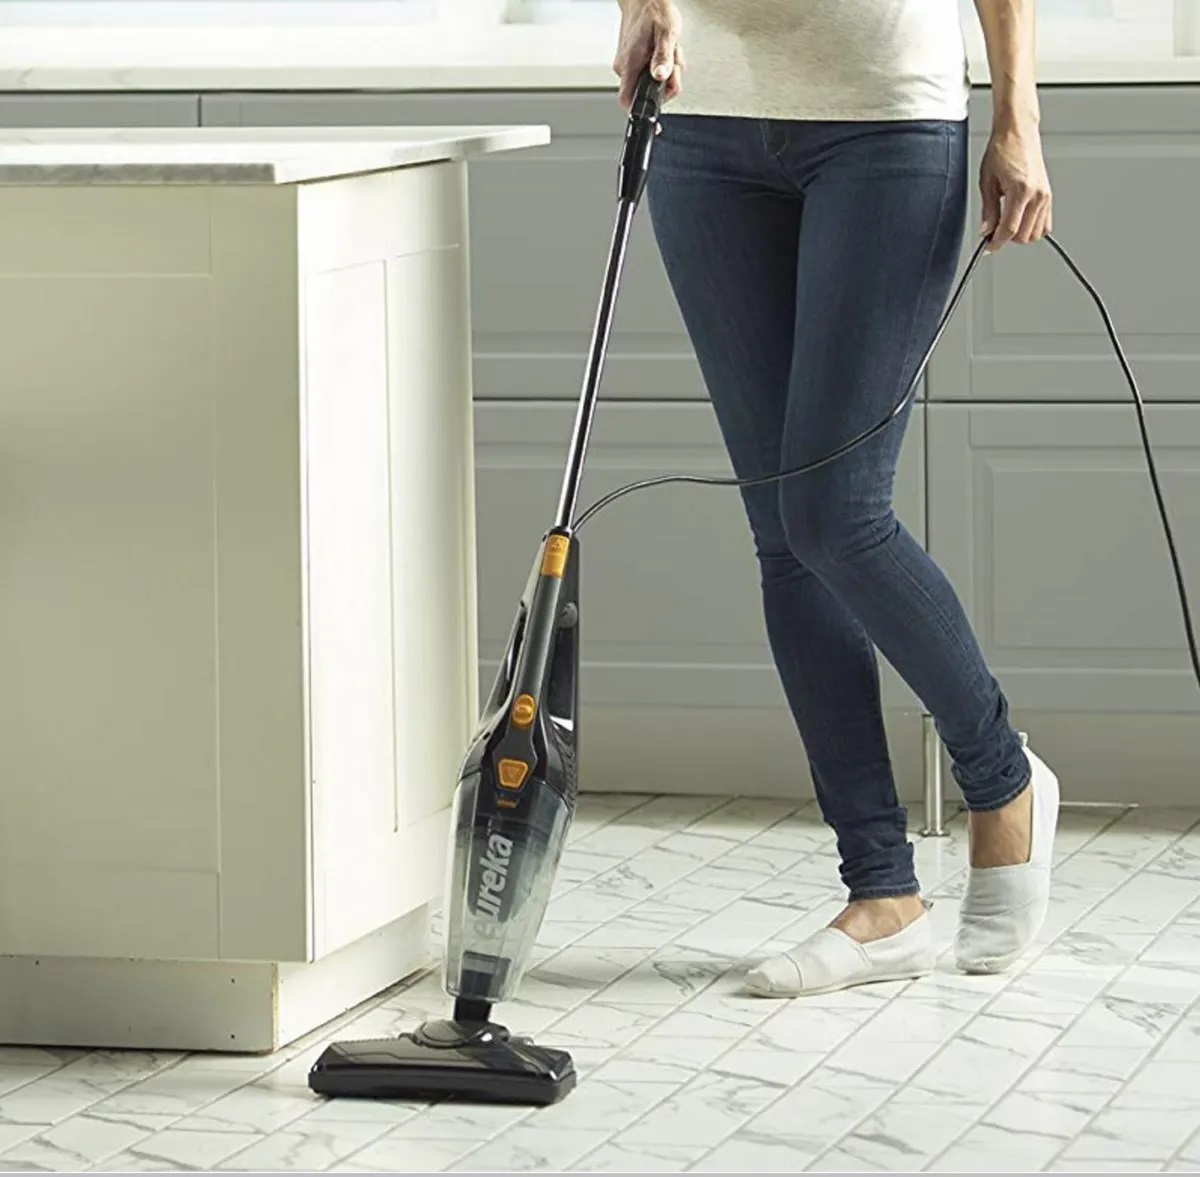
- Suction and Airflow: Test the suction power and airflow of the vacuum cleaner by running it over a variety of surfaces, including carpets, rugs, and hard floors. Ensure that the suction is consistent and strong, allowing the appliance to effectively remove dirt and debris.
- Maneuverability and Stability: Assess the maneuverability and stability of the vacuum cleaner as you move it around different areas. Verify that the appliance moves smoothly and that the power cord remains securely attached without any signs of strain or detachment.
- Electrical Safety Check: Use a multimeter to perform a basic electrical safety check, ensuring that the voltage and current flow through the new cord and internal wiring are within the specified parameters for the vacuum cleaner model.
- Visual Inspection: Conduct a visual inspection of the cord and its connections to confirm that there are no signs of damage, overheating, or loose components. Additionally, check for any unusual sounds or odors that may indicate potential issues.
By meticulously testing the vacuum cleaner after replacing the electrical cord, you can verify that the appliance is operating safely and efficiently. If any irregularities or concerns arise during the testing process, it is advisable to promptly revisit the cord replacement steps to address any potential issues.
Ultimately, a successful cord replacement will result in a fully functional and reliable vacuum cleaner, ready to tackle cleaning tasks with renewed vigor and effectiveness.
**
Conclusion
**
Congratulations on successfully replacing the electrical cord on your vacuum cleaner! By following the comprehensive steps outlined in this guide and adhering to essential safety precautions, you have revitalized your appliance and ensured its continued functionality for the long term.
Not only have you demonstrated the ability to undertake a practical maintenance task, but you have also prioritized safety and equipped yourself with valuable DIY skills. The process of cord replacement may have initially seemed daunting, but your commitment to the task has yielded rewarding results.
As you reflect on this accomplishment, remember that proper maintenance and care are crucial for extending the lifespan of your household appliances. By addressing issues such as worn or damaged electrical cords in a timely manner, you contribute to the longevity and reliability of your vacuum cleaner, ultimately saving time and resources in the future.
Furthermore, your newfound knowledge of electrical cord replacement empowers you to tackle similar tasks with confidence, fostering a sense of self-reliance and resourcefulness in maintaining your home environment.
As you enjoy the restored functionality of your vacuum cleaner, take pride in the fact that you have not only enhanced the appliance’s performance but also honed your skills as a savvy DIY enthusiast. Your commitment to safety, attention to detail, and willingness to learn have culminated in a successful maintenance endeavor.
With your vacuum cleaner now equipped with a brand-new electrical cord, you can confidently embrace the cleanliness and comfort of your home, knowing that your appliance is in optimal working condition. Your proactive approach to maintenance sets a positive example for responsible appliance ownership and care.
As you continue to maintain and care for your household appliances, may this experience serve as a reminder of the satisfaction and empowerment that come with taking a hands-on approach to home maintenance and improvement.
Well done, and may your newly revitalized vacuum cleaner continue to serve you well for years to come!
Frequently Asked Questions about How To Replace Electrical Cord On Vacuum Cleaner
Was this page helpful?
At Storables.com, we guarantee accurate and reliable information. Our content, validated by Expert Board Contributors, is crafted following stringent Editorial Policies. We're committed to providing you with well-researched, expert-backed insights for all your informational needs.


0 thoughts on “How To Replace Electrical Cord On Vacuum Cleaner”