Home>Home Appliances>Cleaning Appliances>How To Wash A Mop Head In Washing Machine

Cleaning Appliances
How To Wash A Mop Head In Washing Machine
Modified: August 16, 2024
Learn how to effectively clean a mop head in the washing machine for a hygienic home. Follow these simple steps for maintaining your cleaning appliances.
(Many of the links in this article redirect to a specific reviewed product. Your purchase of these products through affiliate links helps to generate commission for Storables.com, at no extra cost. Learn more)
Introduction
Welcome to the ultimate guide on how to wash a mop head in a washing machine! Mop heads are essential tools for keeping floors clean, but over time, they can accumulate dirt, grime, and bacteria. Regularly washing your mop head is crucial for maintaining a hygienic cleaning routine and ensuring that your floors stay spotless. While hand washing a mop head can be time-consuming and messy, using a washing machine can make the process quick and effortless.
In this comprehensive guide, we will walk you through the step-by-step process of effectively cleaning your mop head in a washing machine. Whether you have a traditional cotton mop head or a microfiber one, these cleaning methods will help you maintain a clean and sanitary home environment. By following these simple yet effective steps, you can ensure that your mop head remains fresh and ready to tackle any cleaning task with ease.
So, if you’re ready to learn how to revive your mop head and keep it in top condition, let’s dive into the details of washing a mop head in a washing machine!
Key Takeaways:
- Keep your mop head clean and hygienic by washing it in the washing machine. Remove excess dirt, prepare it for washing, and air dry for a fresh and effective cleaning tool.
- Regularly washing your mop head in the washing machine helps maintain a clean home environment and prolong the life of your cleaning tool. Follow the steps to ensure optimal cleaning results and a spotless home.
Step 1: Remove Excess Dirt and Debris
Before tossing your mop head into the washing machine, it’s crucial to remove as much dirt, debris, and hair as possible. This initial step will prevent your washing machine from becoming clogged and ensure that your mop head receives a thorough cleaning.
Start by taking your mop outside or to a garbage bin to shake it vigorously. This action will dislodge loose dirt, dust, and other particles that have accumulated in the mop fibers. You can also use a handheld brush or a pair of gloves to manually pick out any stubborn debris that may be caught in the strands.
For particularly dirty mop heads, consider giving them a quick rinse under a faucet or hose to loosen and remove embedded dirt. Use your hands to squeeze and agitate the mop head under running water, allowing the dirt to dislodge and wash away. Once you’ve completed this step, give the mop head a few gentle squeezes to remove excess water before proceeding to the next cleaning stage.
By thoroughly removing excess dirt and debris from your mop head, you’ll ensure that your washing machine can effectively clean the fabric without encountering any obstructions. This proactive approach sets the stage for a successful and hygienic cleaning process, ultimately prolonging the life of your mop head and maintaining its cleaning efficiency.
Step 2: Prepare the Mop Head for Washing
Once you’ve removed the excess dirt and debris from your mop head, it’s time to prepare it for a thorough cleaning in the washing machine. Proper preparation ensures that the mop head receives the best possible care and comes out of the washing machine looking and smelling fresh.
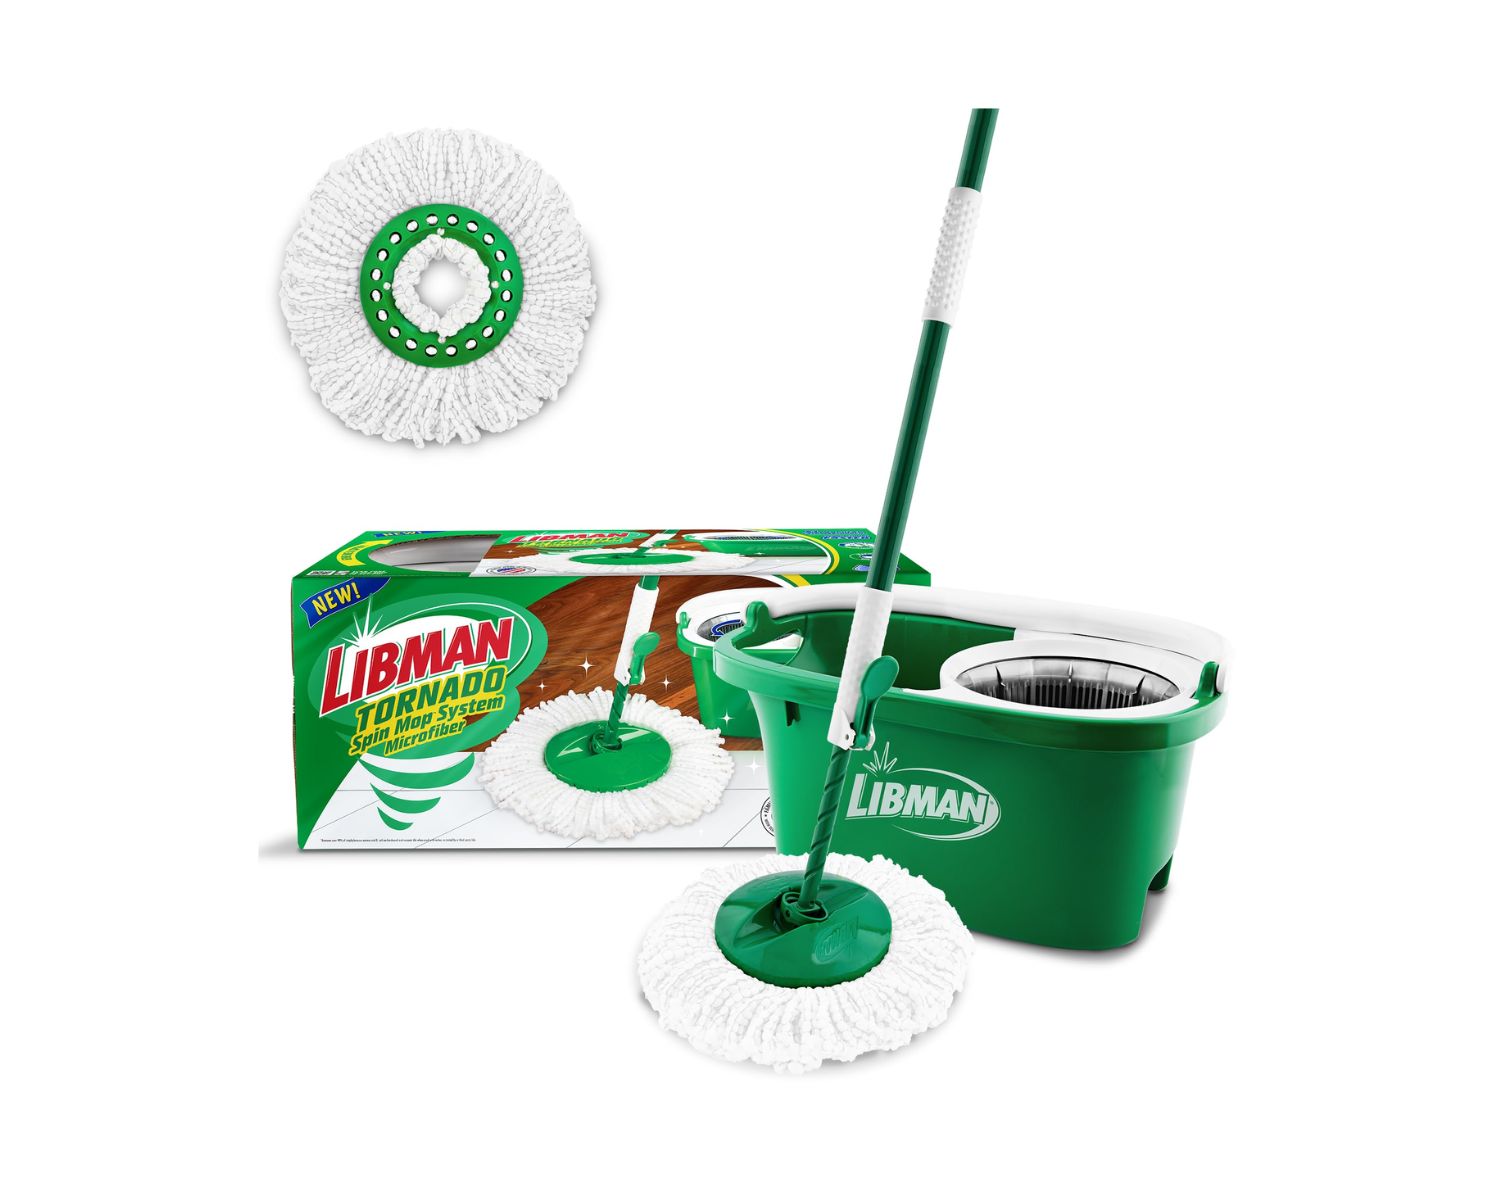
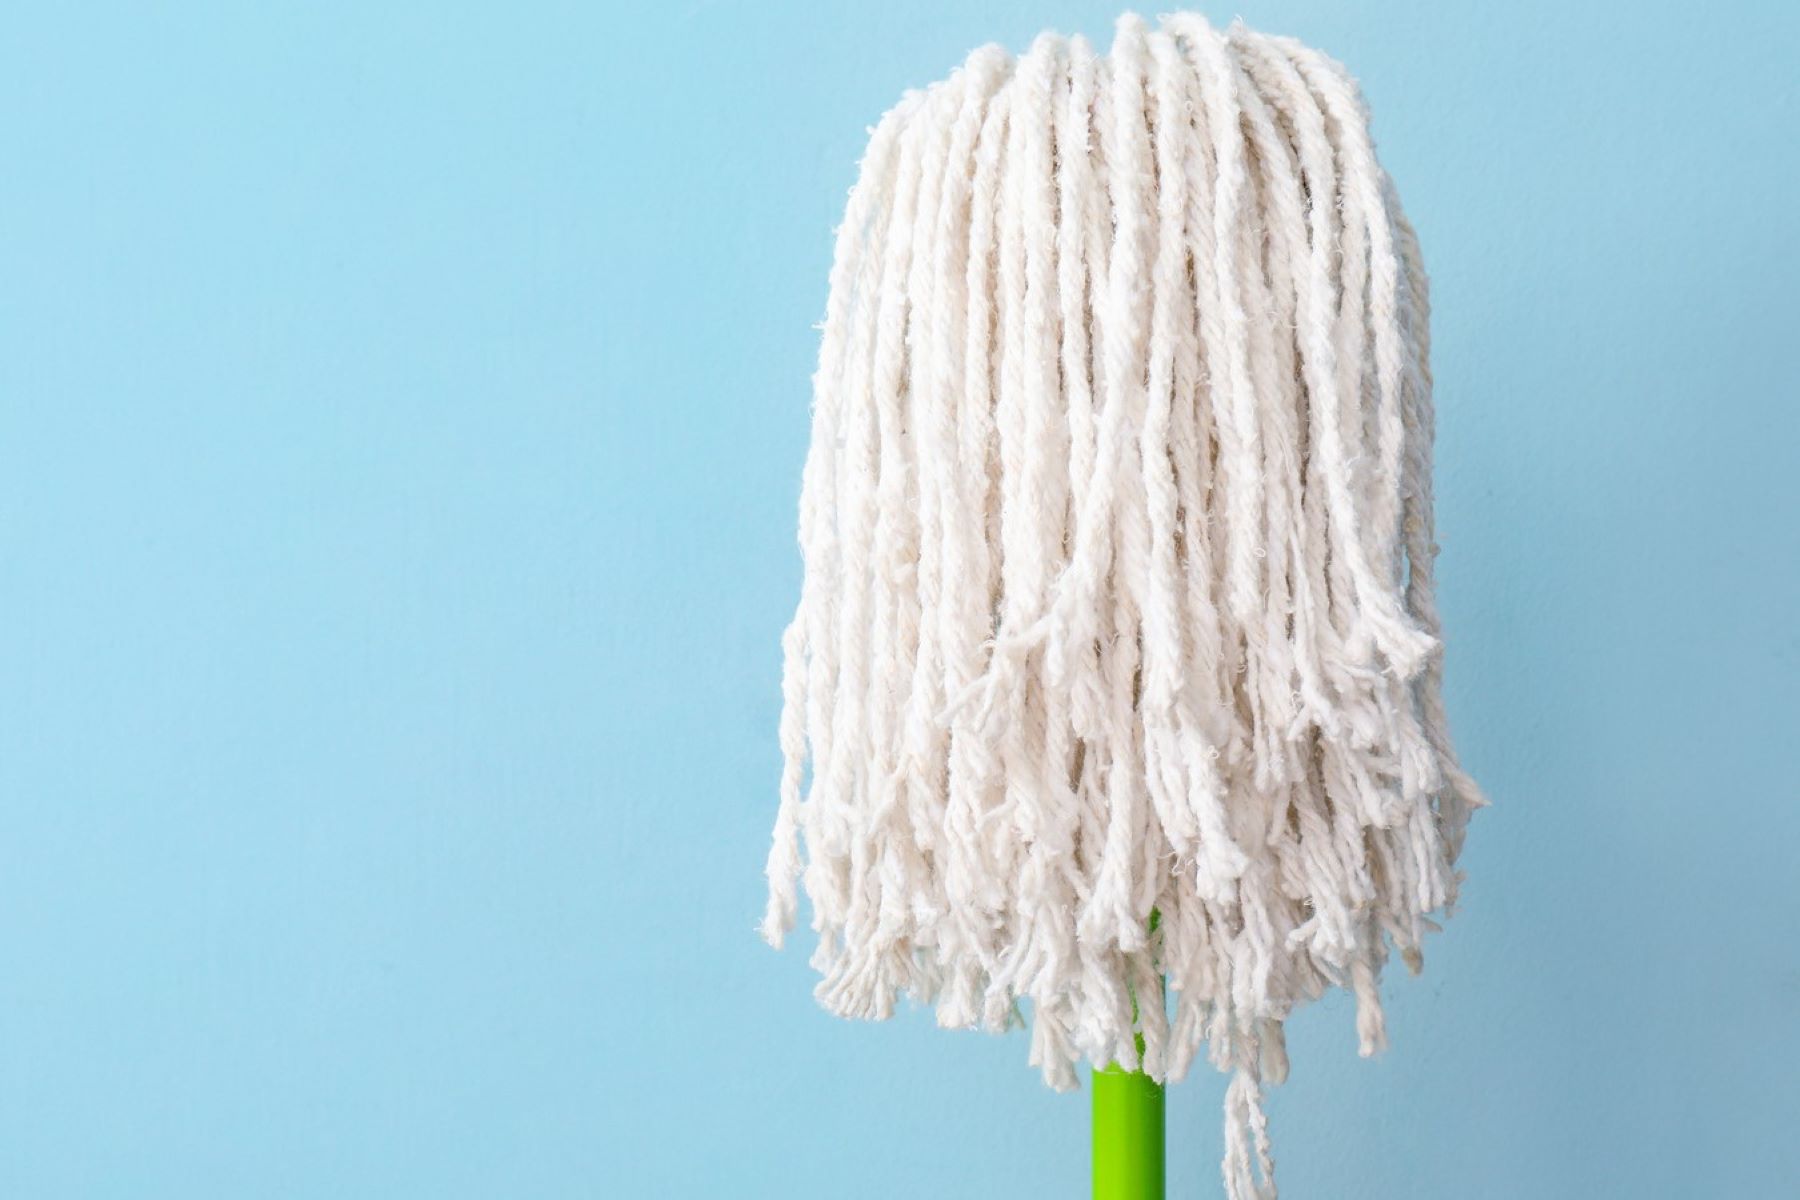
First, assess the material of your mop head to determine the appropriate cleaning method. Traditional cotton mop heads and microfiber mop heads may require slightly different approaches. If your mop head is machine washable, check the care label for any specific instructions regarding water temperature, detergent usage, and other relevant details.
If your mop head is heavily soiled or has stubborn stains, consider pre-treating it before placing it in the washing machine. Apply a small amount of laundry detergent or a specialized stain remover directly to the affected areas and gently rub the product into the fabric. Allow the pre-treatment to sit for a few minutes to help break down the stains before proceeding to the next step.
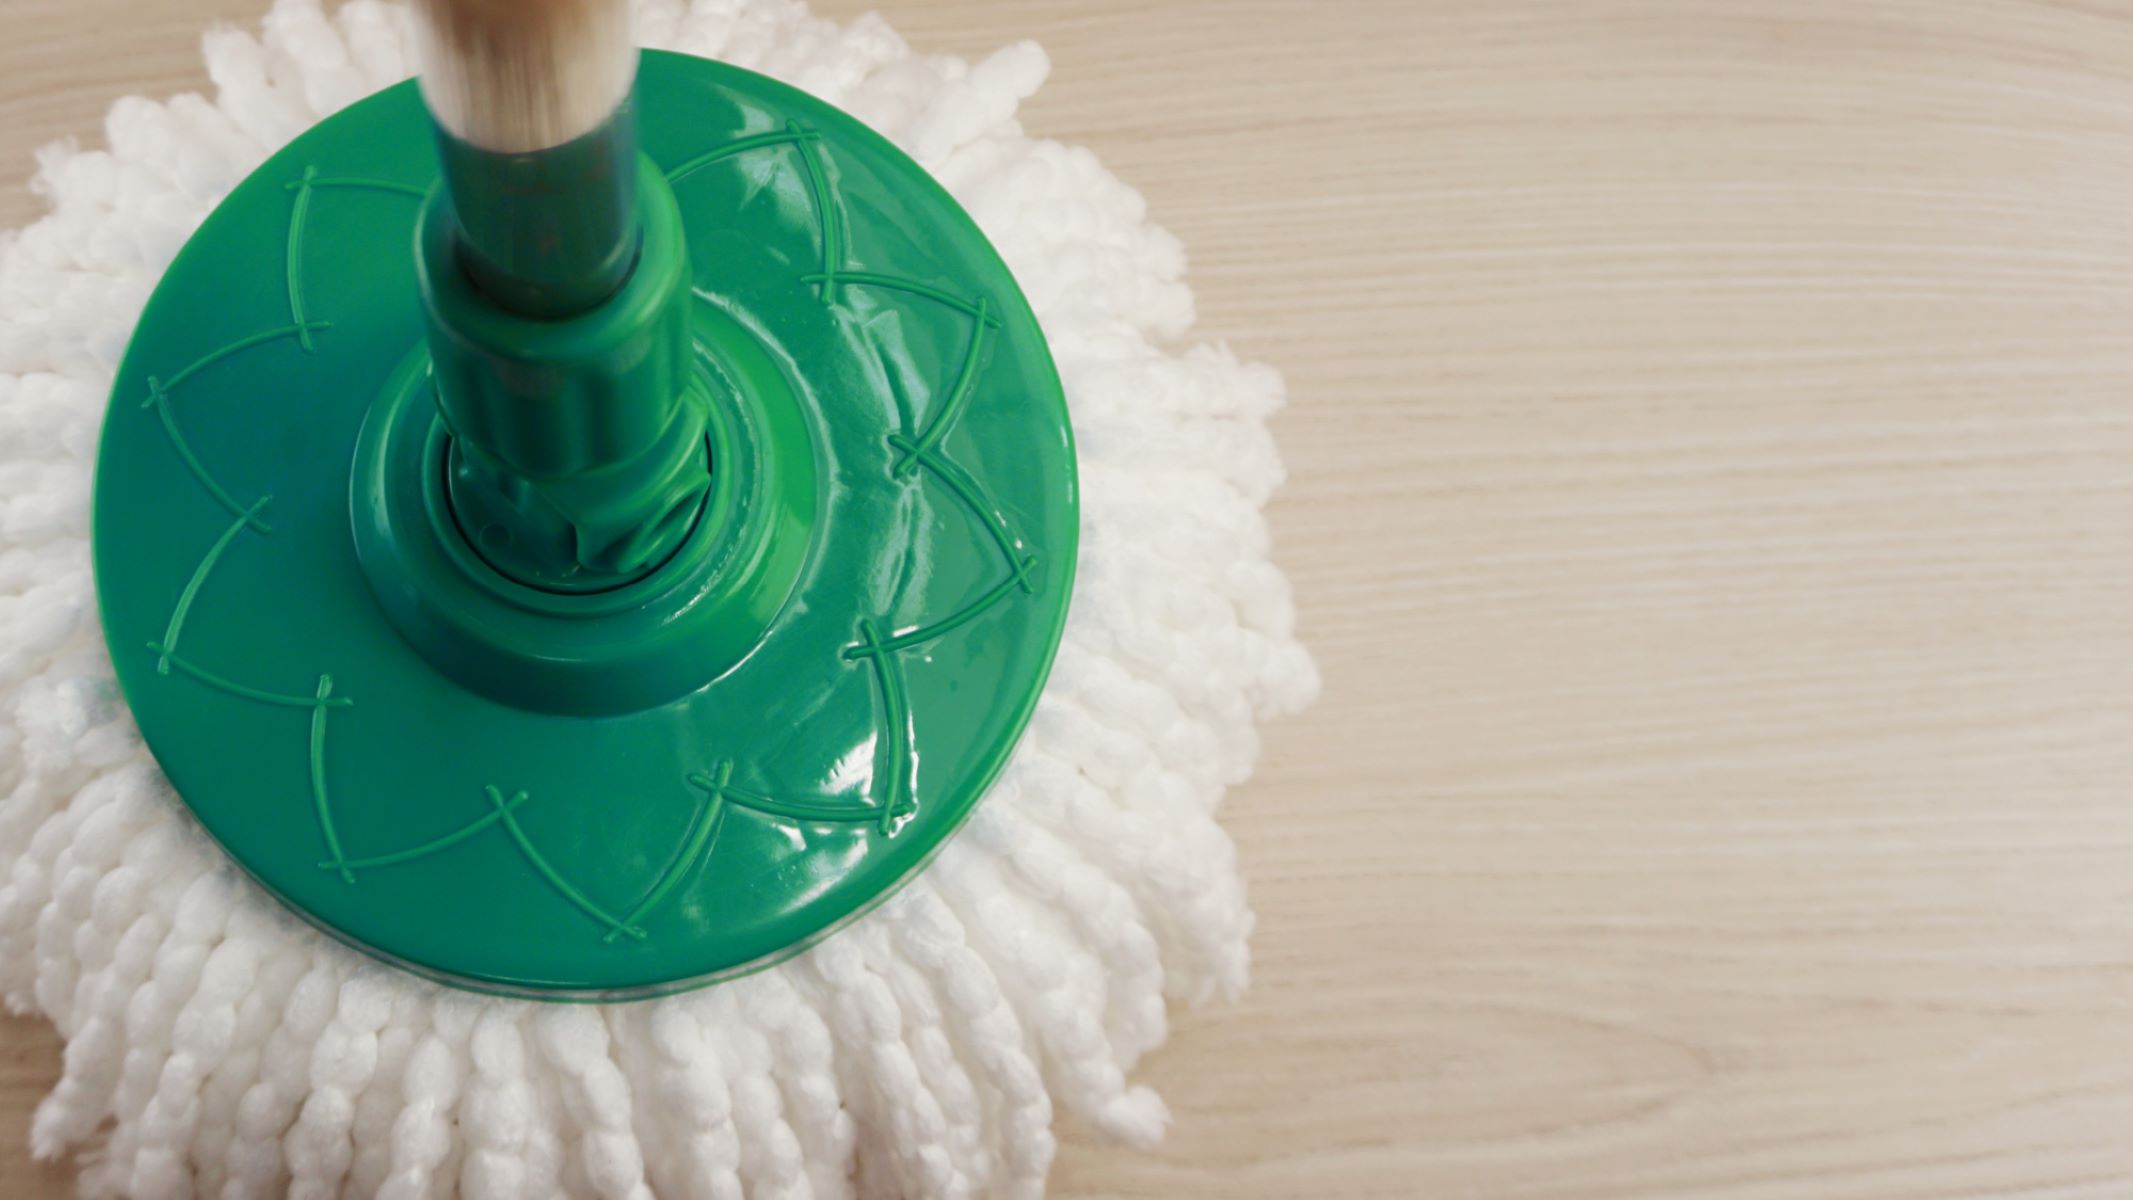
For microfiber mop heads, it’s essential to avoid using fabric softener or dryer sheets, as these products can compromise the material’s cleaning effectiveness. Instead, opt for a mild detergent specifically formulated for microfiber cleaning products to maintain their absorbency and electrostatic properties.
Once you’ve assessed the condition of your mop head and taken any necessary pre-treatment steps, it’s time to gather any additional cleaning supplies you may need, such as a gentle laundry detergent and any stain-fighting products. By thoroughly preparing your mop head for the washing machine, you’ll ensure that it receives the best possible care and emerges from the cleaning process looking as good as new.
Step 3: Set Up the Washing Machine
With your mop head prepared for washing, it’s time to set up the washing machine for the cleaning process. Properly configuring the washing machine ensures that your mop head receives a thorough and effective cleaning while safeguarding the appliance from potential damage.
Begin by checking the washing machine for any residual detergent or fabric softener from previous loads. If present, wipe down the interior of the machine with a damp cloth to remove any lingering product buildup. This step helps prevent cross-contamination and ensures that your mop head receives a fresh and untainted cleaning cycle.
Next, select a suitable water temperature for washing your mop head. Hot water is effective at killing germs and bacteria, making it an excellent choice for heavily soiled mop heads. However, be sure to refer to the care label on your mop head to determine the recommended water temperature. If your mop head is made of delicate materials, such as microfiber, opt for a cooler water temperature to prevent damage to the fabric.
When it comes to detergent selection, choose a gentle, yet effective laundry detergent that is suitable for the material of your mop head. Avoid using excessive amounts of detergent, as this can lead to soap residue buildup in the mop fibers. Additionally, refrain from adding fabric softener or bleach, as these products can compromise the absorbency and cleaning properties of the mop head.
Before starting the washing cycle, consider adding a few cleaning aids to enhance the cleaning process. For instance, white vinegar can be a valuable addition, as it helps eliminate odors and disinfect the mop head. Simply pour a small amount of white vinegar into the detergent dispenser or directly into the washing machine drum to boost the cleaning power of the cycle.
By carefully setting up the washing machine and selecting the appropriate cleaning parameters, you’ll ensure that your mop head receives a thorough and effective cleaning, leaving it fresh, sanitized, and ready for future cleaning tasks.
To wash a mop head in a washing machine, place it in a laundry bag to prevent tangling. Use hot water and a heavy-duty detergent to ensure a thorough clean. Avoid using fabric softener as it can reduce the mop’s absorbency.
Step 4: Add Detergent and Start the Cycle
With the washing machine set up for cleaning, it’s time to add the appropriate detergent and initiate the washing cycle. This step is crucial for ensuring that your mop head receives a thorough and effective cleaning, removing dirt, grime, and bacteria accumulated during its use.
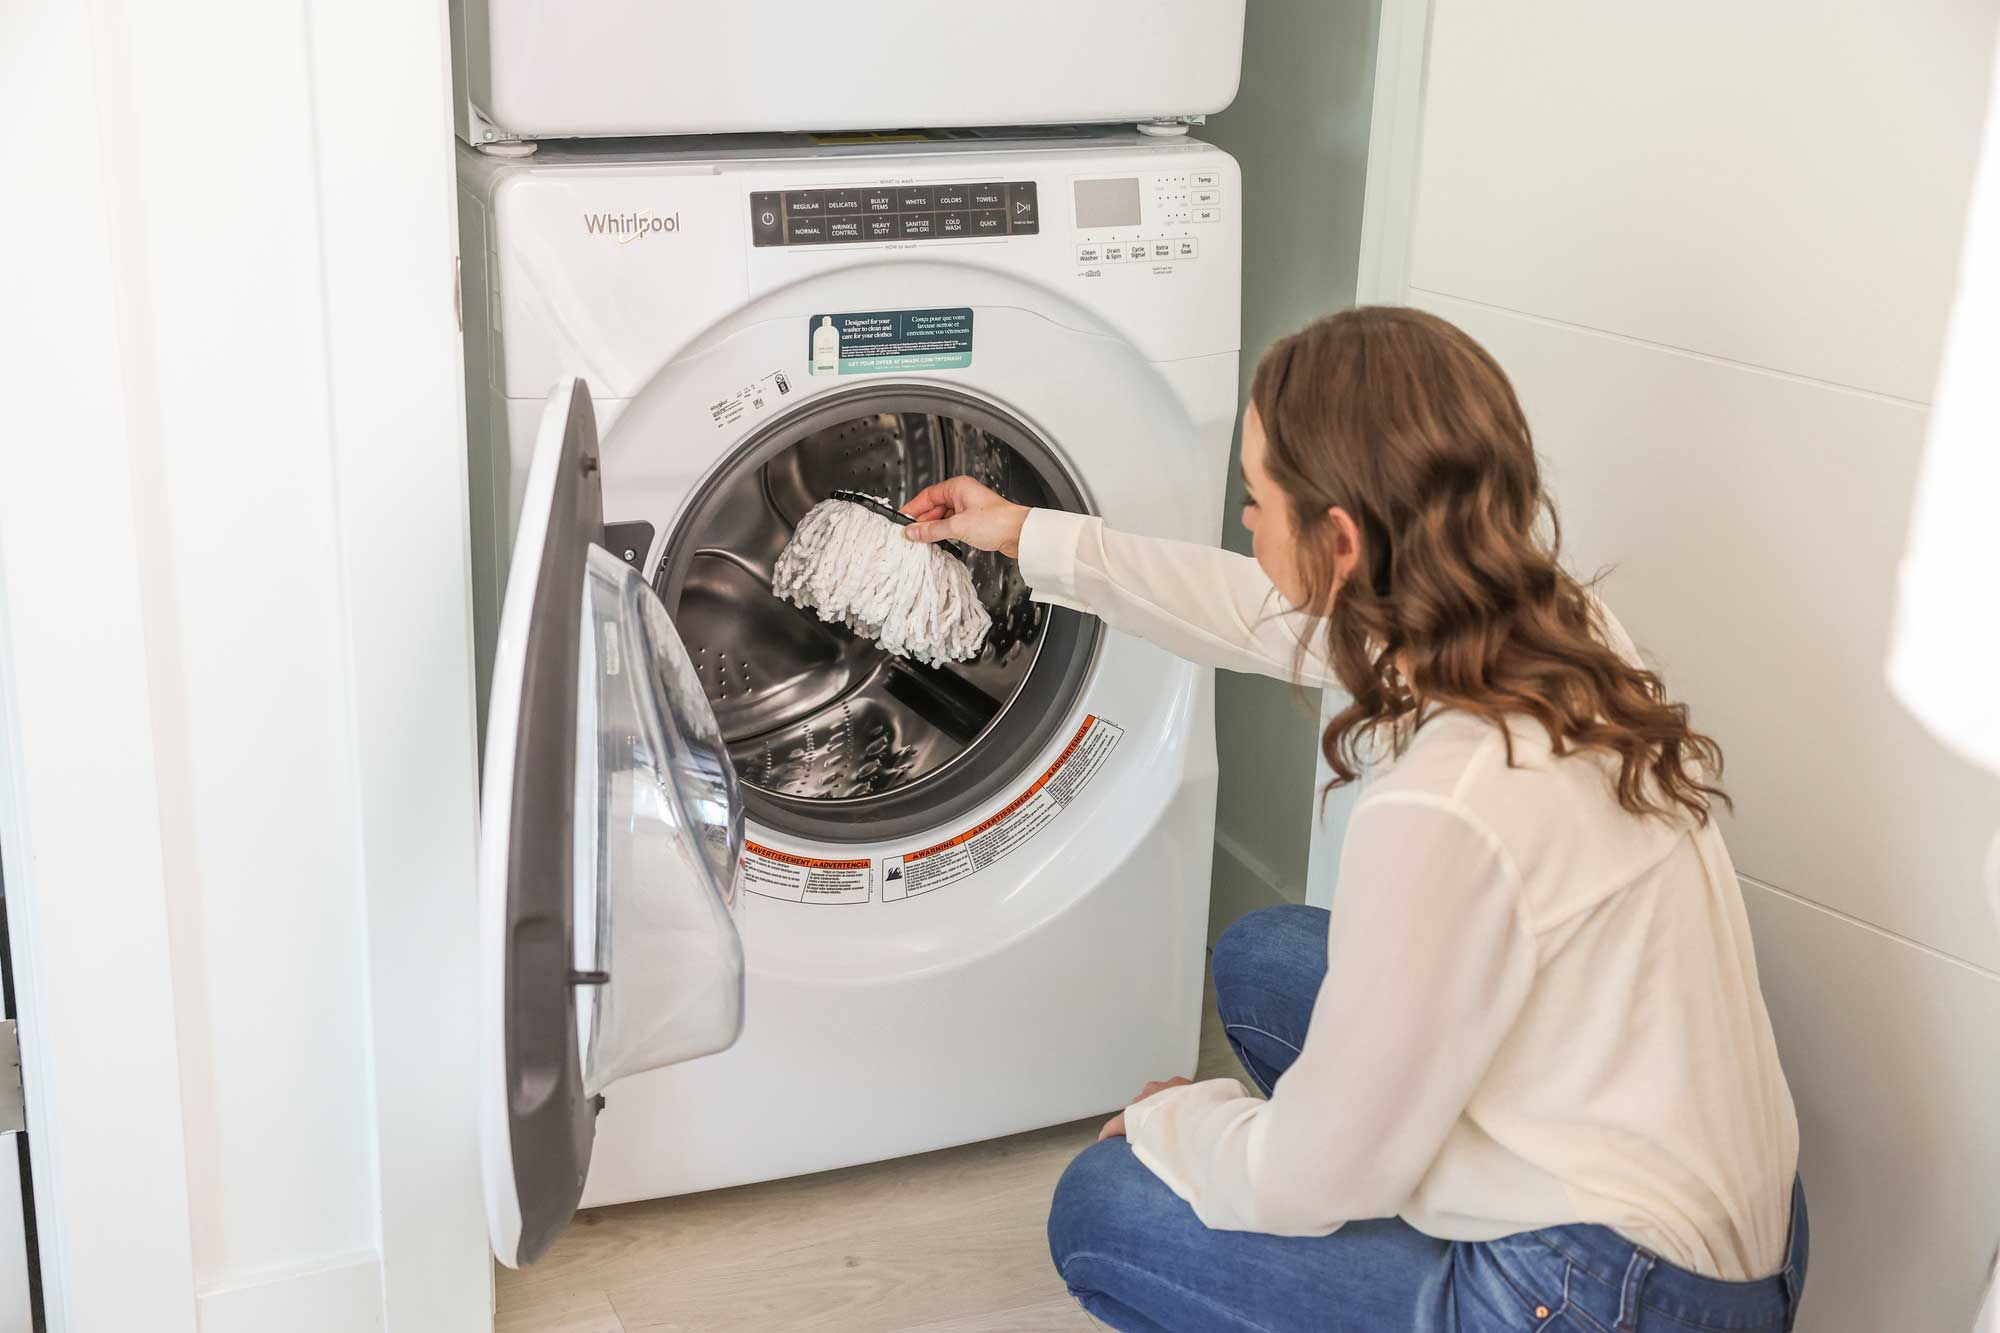
Begin by placing the prepared mop head into the washing machine, taking care not to overload the appliance. Overcrowding the washing machine can hinder the cleaning process and prevent the mop head from receiving the necessary agitation and water circulation to achieve a deep clean. If you’re washing multiple mop heads, consider dividing them into smaller loads to optimize the cleaning results.
Next, add the recommended amount of gentle laundry detergent to the detergent dispenser or directly into the washing machine drum. Be mindful of using an appropriate quantity of detergent, as excessive amounts can lead to soap residue buildup in the mop fibers, compromising their cleaning efficiency. If your mop head requires a specific type of detergent, such as one formulated for microfiber materials, be sure to use the appropriate product to maintain the fabric’s integrity.
Once the detergent is added, select the appropriate washing cycle for your mop head. Opt for a cycle with a longer duration and adequate agitation to ensure that the mop head receives a thorough cleaning. If your washing machine offers a “sanitize” or “extra rinse” option, consider activating these features to enhance the cleanliness and disinfection of the mop head.
After configuring the washing cycle, initiate the machine and allow it to complete the full cleaning process. During this time, the detergent will work to break down dirt and grime, while the mechanical action of the washing machine will agitate and cleanse the mop head, leaving it fresh and sanitized.
By adding the appropriate detergent and starting the washing cycle, you’ll ensure that your mop head undergoes a comprehensive cleaning process, removing accumulated dirt, bacteria, and odors, and emerging from the washing machine ready for the final step of the cleaning process.
Read more: How To Fix A Mop Head
Step 5: Dry the Mop Head
After the washing cycle is complete, it’s time to properly dry the mop head to ensure that it’s ready for future cleaning tasks. Proper drying not only prevents musty odors and mold growth but also helps maintain the integrity and effectiveness of the mop head’s fibers. Whether you have a traditional cotton mop head or a microfiber one, the drying process is essential for keeping your mop head in top condition.
Start by removing the freshly cleaned mop head from the washing machine and giving it a gentle squeeze to remove excess water. Avoid wringing the mop head vigorously, as this can damage the fibers and affect its cleaning performance. Instead, gently press the mop head between your hands or against the side of the sink to expel the water absorbed during the washing cycle.
Once excess water has been removed, the next step is to allow the mop head to air dry thoroughly. Hang the mop head in a well-ventilated area, such as an outdoor clothesline or a sturdy hook indoors. Ensure that the mop head is spread out evenly to promote even drying and prevent the formation of mildew or musty odors.
If you’re using a microfiber mop head, it’s crucial to avoid using a dryer, as high heat can damage the delicate fibers. Instead, opt for air drying to maintain the absorbency and electrostatic properties of the microfiber material. For cotton mop heads, you may choose to air dry them or use a clothes dryer on a low heat setting, ensuring that the mop head is completely dry before storing or using it for cleaning.
To expedite the drying process, consider using a fan or opening windows to promote air circulation. This approach can help reduce drying time and ensure that the mop head is thoroughly dried, free from any residual moisture that could lead to unpleasant odors or bacterial growth.
By properly drying the mop head, you’ll maintain its cleanliness and effectiveness, ensuring that it’s ready for future use in keeping your floors spotless and sanitized. This final step completes the comprehensive process of washing a mop head in a washing machine, leaving you with a fresh and hygienic cleaning tool for your household cleaning needs.
Conclusion
Congratulations! You’ve successfully learned how to wash a mop head in a washing machine, ensuring that your cleaning tool remains fresh, sanitized, and ready for future use. By following the step-by-step process outlined in this guide, you’ve taken proactive measures to maintain a hygienic home environment and prolong the life of your mop head.
Regularly cleaning your mop head in a washing machine not only removes dirt, grime, and bacteria but also helps preserve the effectiveness of the cleaning tool, ensuring that it continues to keep your floors spotless and free from germs. With the right approach, you can extend the lifespan of your mop head and maintain a high standard of cleanliness in your home.
Remember to remove excess dirt and debris from the mop head before washing, prepare it for the cleaning process, set up the washing machine with the appropriate settings and detergent, and allow the mop head to air dry thoroughly. These steps will help you achieve optimal cleaning results and ensure that your mop head remains in top condition for years to come.
By incorporating these cleaning practices into your routine, you’ll enjoy the benefits of a clean and hygienic home environment while maximizing the performance and longevity of your cleaning tools. With a freshly washed mop head at your disposal, you can tackle cleaning tasks with confidence, knowing that your floors will receive the thorough and effective cleaning they deserve.
So, go ahead and put your newfound knowledge into practice, and enjoy the satisfaction of knowing that your mop head is clean, fresh, and ready to maintain the cleanliness of your home!
Frequently Asked Questions about How To Wash A Mop Head In Washing Machine
Was this page helpful?
At Storables.com, we guarantee accurate and reliable information. Our content, validated by Expert Board Contributors, is crafted following stringent Editorial Policies. We're committed to providing you with well-researched, expert-backed insights for all your informational needs.

0 thoughts on “How To Wash A Mop Head In Washing Machine”