Home>Home Appliances>Home Automation Appliances>How To Wire Honeywell VisionPro 8000 Thermostat
Home Automation Appliances
How To Wire Honeywell VisionPro 8000 Thermostat
Modified: October 19, 2024
Learn how to wire your Honeywell VisionPro 8000 thermostat for efficient home automation. Get step-by-step instructions and expert tips. Ideal for home automation appliances.
(Many of the links in this article redirect to a specific reviewed product. Your purchase of these products through affiliate links helps to generate commission for Storables.com, at no extra cost. Learn more)
Introduction
Installing a Honeywell VisionPro 8000 thermostat is a smart choice for homeowners looking to enhance their home's energy efficiency and comfort. This advanced thermostat offers a range of features, including programmable settings, precise temperature control, and energy-saving capabilities. By learning how to wire the Honeywell VisionPro 8000 thermostat, you can take control of your home's heating and cooling system, ensuring optimal performance and cost savings.
In this comprehensive guide, we will walk you through the step-by-step process of wiring a Honeywell VisionPro 8000 thermostat. Whether you are upgrading from an older thermostat or installing a new one for the first time, this guide will provide you with the knowledge and confidence to complete the installation successfully.
By following the instructions and tips provided in this guide, you can seamlessly integrate the Honeywell VisionPro 8000 thermostat into your home, enabling you to enjoy its advanced functionality and energy-saving benefits. So, gather your tools and let's get started on this rewarding home improvement project.
Key Takeaways:
- Takeaway 1: Installing the Honeywell VisionPro 8000 thermostat empowers homeowners to save energy and enhance comfort through precise temperature control and customizable scheduling.
- Takeaway 2: Properly wiring and mounting the thermostat ensures reliable performance, convenience, and a more sustainable home environment for you and your family.
Tools and Materials Needed
Before beginning the installation process, it’s essential to gather the necessary tools and materials to ensure a smooth and efficient installation of the Honeywell VisionPro 8000 thermostat. Here’s a list of items you will need:
- Screwdriver: A small flathead or Phillips screwdriver will be required to remove the old thermostat and install the new one.
- Labeling Materials: It’s helpful to have labels or small stickers to mark the wires during the removal process, ensuring correct connections later.
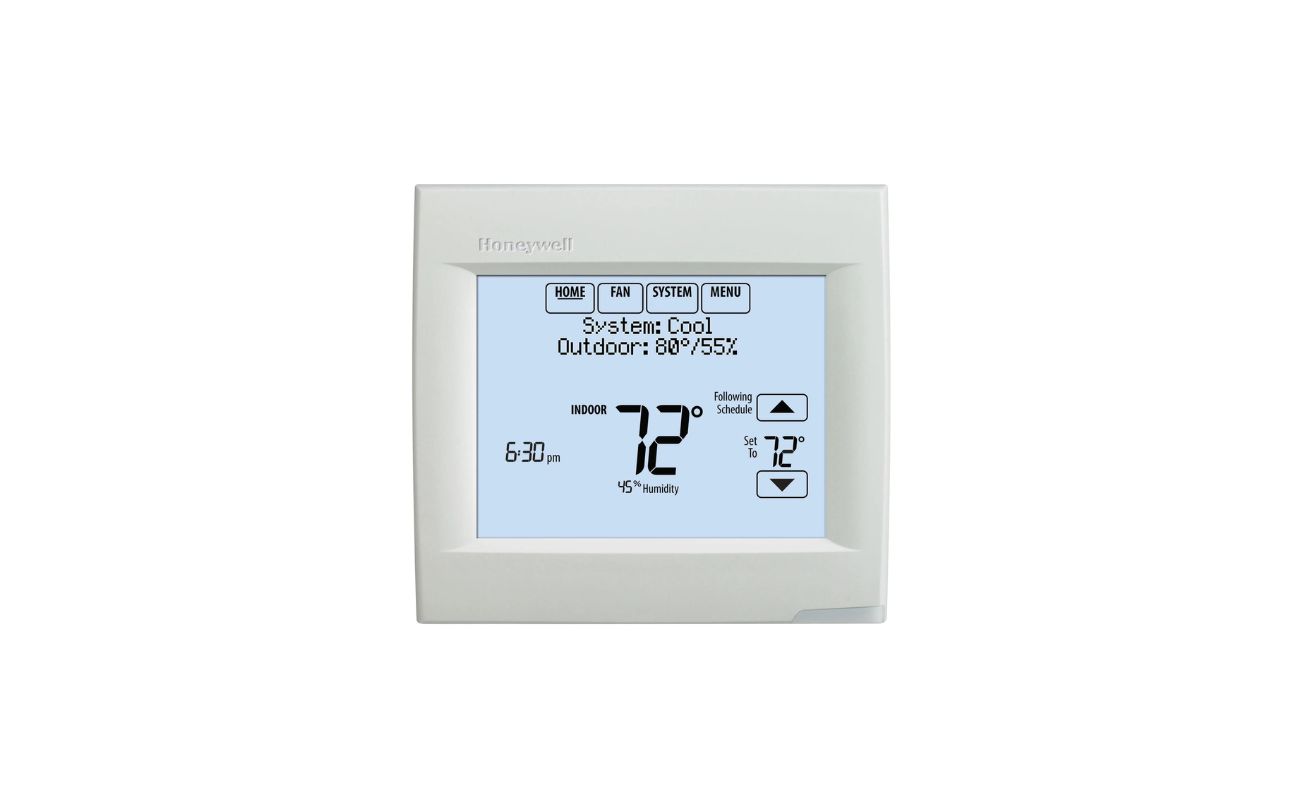
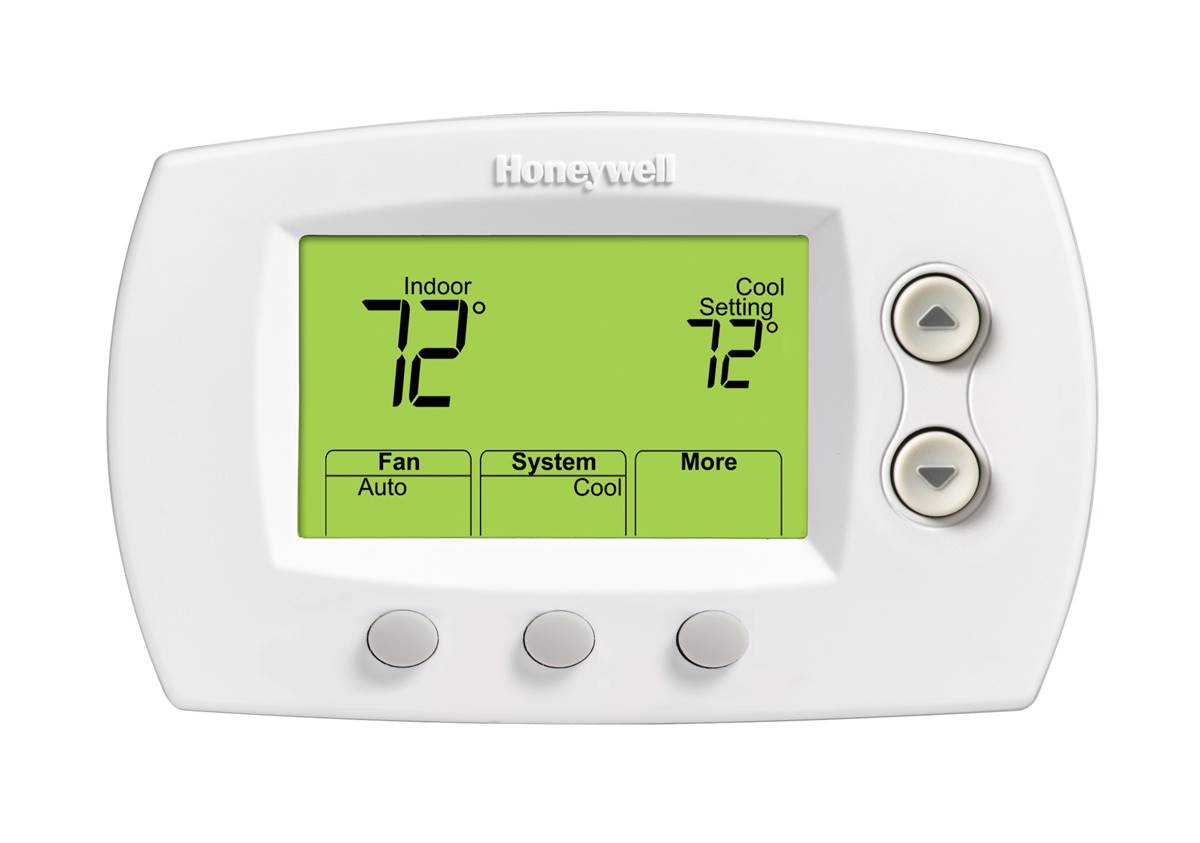
- Honeywell VisionPro 8000 Thermostat: Ensure you have the new thermostat on hand, along with its accompanying installation manual.
- Wire Strippers: These will be necessary for preparing the wires for connection to the new thermostat.
- Drill and Anchors (if necessary): Depending on the mounting location, you may need a drill and anchors to secure the new thermostat.
- Level: To ensure the new thermostat is mounted evenly and straight, a small level will be helpful.
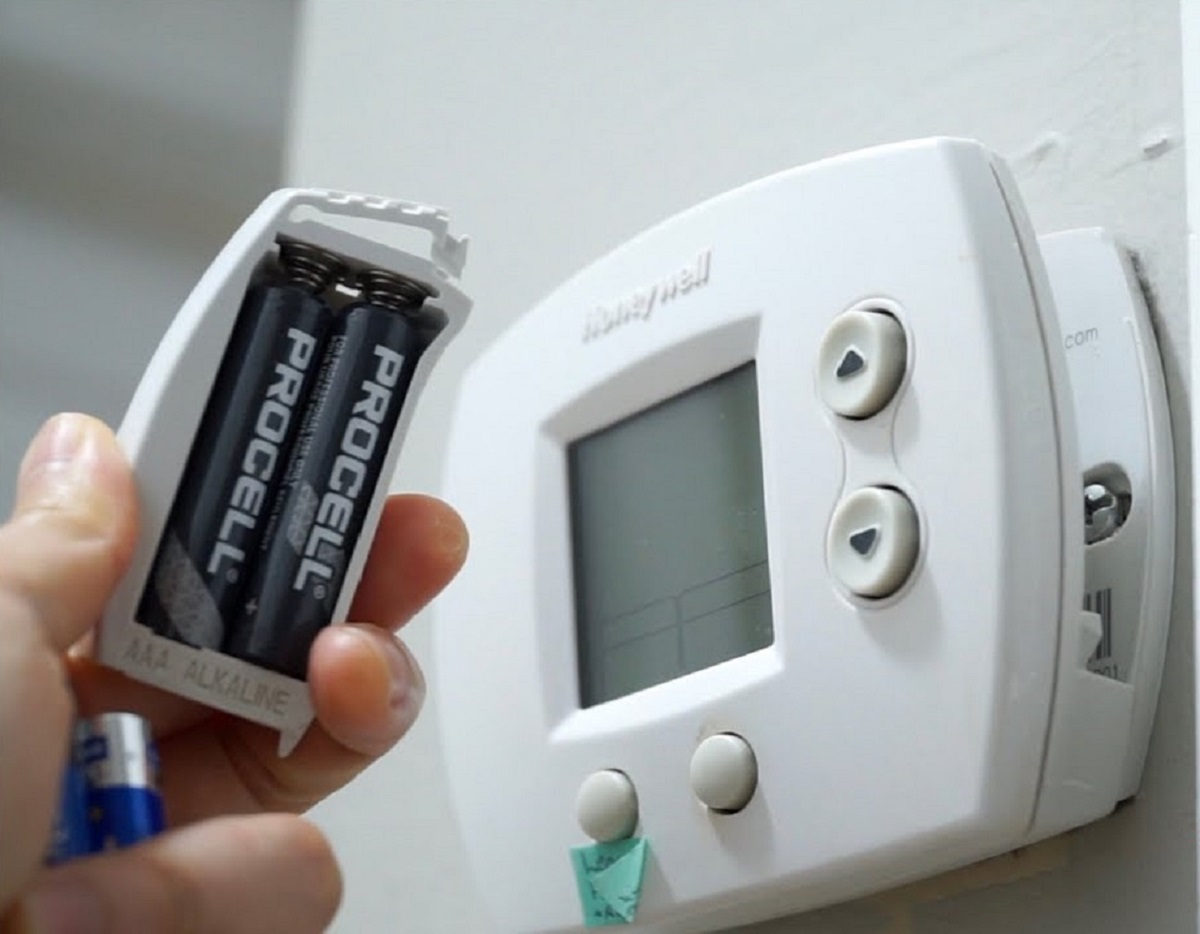
- Batteries (if required): Check if your Honeywell VisionPro 8000 thermostat requires batteries for operation and have them on hand.
Additionally, it’s important to turn off the power to your heating and cooling system before beginning the installation. This may involve shutting off the circuit breaker or removing the system’s fuse. Always prioritize safety when working with electrical components.
By having these tools and materials prepared and understanding the importance of safety measures, you can proceed with confidence as you embark on the installation of the Honeywell VisionPro 8000 thermostat.
Step 1: Turn Off Power
Prior to beginning the installation of the Honeywell VisionPro 8000 thermostat, it is crucial to ensure the power to your heating and cooling system is completely turned off. This step is essential for your safety and the proper functioning of the thermostat. Here’s how to safely turn off the power:
- Locate the Circuit Breaker: Identify the circuit breaker that controls the power supply to your heating and cooling system. This is typically located in the main electrical panel of your home.
- Switch Off the Circuit Breaker: Once you have located the correct circuit breaker, switch it off to cut off power to the system. It’s a good practice to place a piece of tape over the switch to indicate that work is being done on the system.
- Verify Power Is Off: After switching off the circuit breaker, verify that the power to the system is indeed off. You can do this by attempting to turn on the heating or cooling from your current thermostat. If the system does not respond, the power has been successfully turned off.
It’s important to proceed with caution and ensure that the power is completely off before continuing with the installation. This precautionary measure will minimize the risk of electrical accidents and ensure a safe working environment as you move on to the next steps of wiring the Honeywell VisionPro 8000 thermostat.
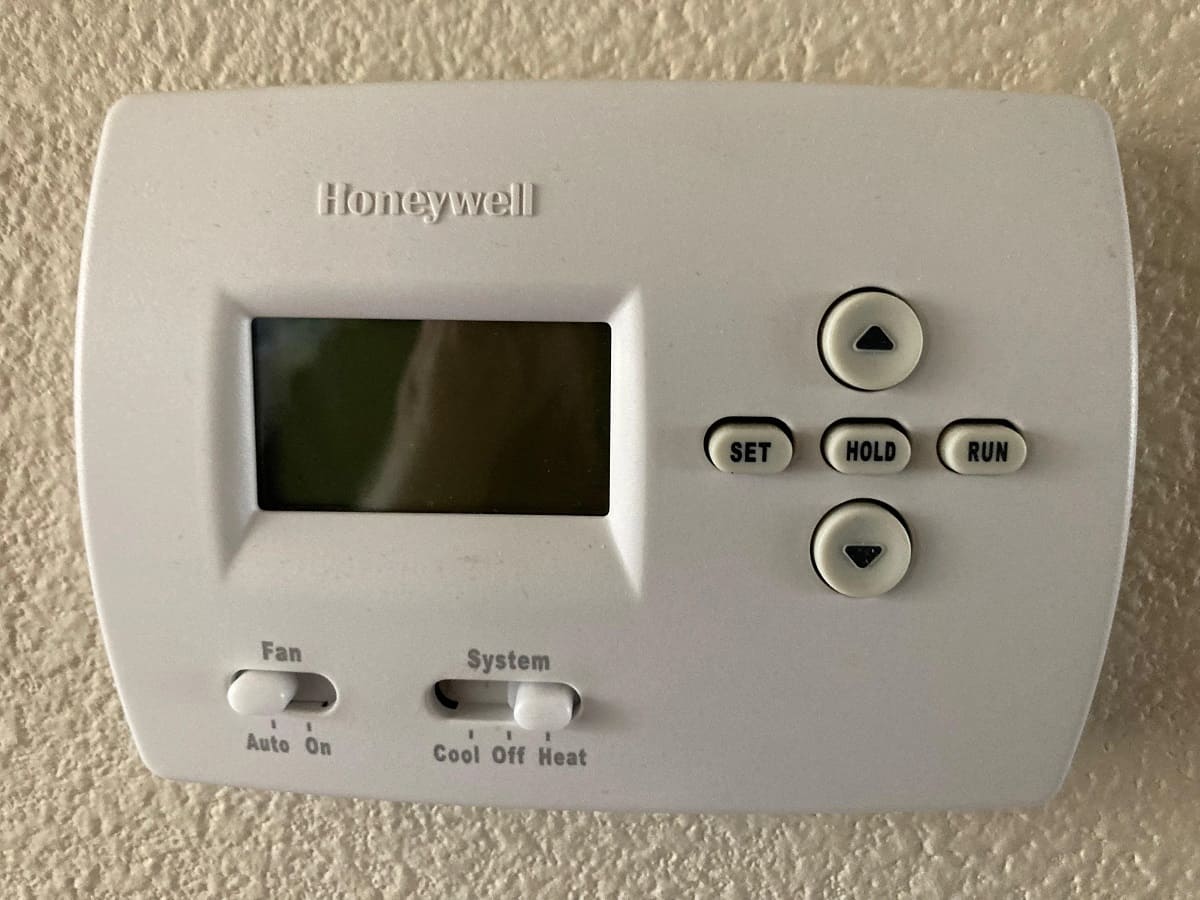
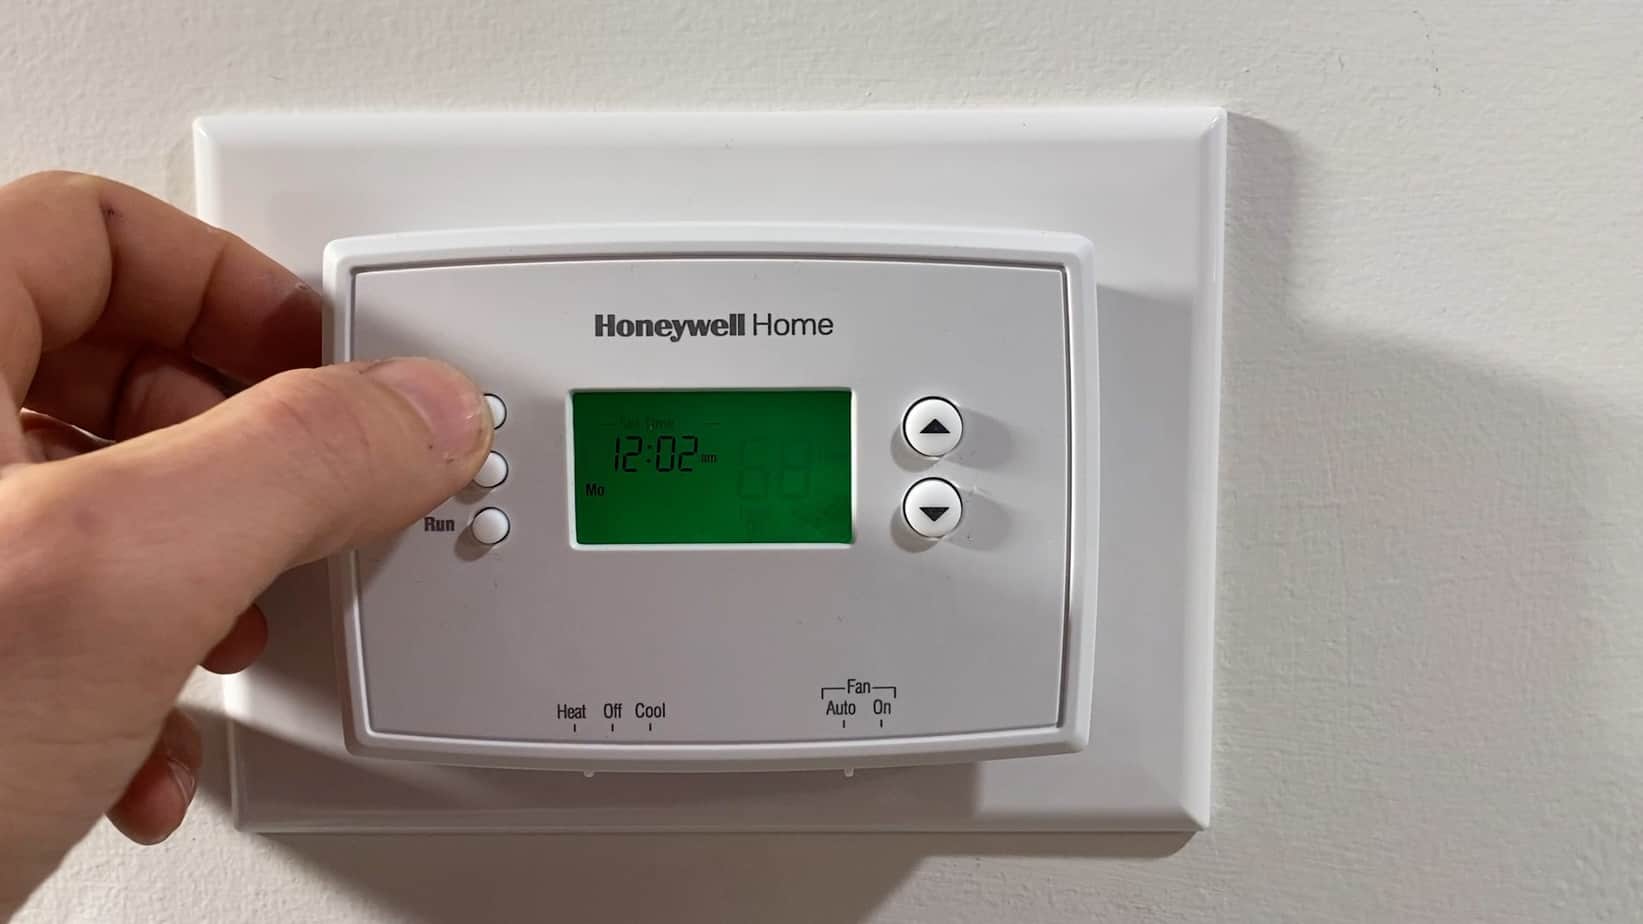
Step 2: Remove Old Thermostat
Now that the power to your heating and cooling system is safely turned off, you can proceed to remove the old thermostat. This step involves carefully detaching the existing thermostat from the wall and exposing the wiring for the installation of the new Honeywell VisionPro 8000 thermostat. Follow these steps to remove the old thermostat:
- Detach the Thermostat Cover: Depending on the model of your current thermostat, gently remove the cover to access the inner components. This may involve unsnapping or unscrewing the cover.
- Locate and Label the Wires: Inside the thermostat, you will find a series of wires connected to terminal screws. Before disconnecting these wires, it’s important to label them according to their corresponding terminals. This labeling will ensure accurate reconnection to the new thermostat.
- Disconnect the Wires: Carefully loosen the screws holding the wires in place and disconnect them from the terminals. Take note of the labels you have applied to each wire, as this will be crucial for the next steps of the installation process.
- Remove the Mounting Plate: Once the wires are detached, remove the mounting plate of the old thermostat from the wall. This may involve unscrewing the plate from the wall or releasing it from its mounting mechanism.
- Inspect and Prepare the Wall: With the old thermostat removed, inspect the wall to ensure it is clean and free of any debris. If necessary, use a small level to check for an even surface for mounting the new thermostat.
By carefully following these steps, you can successfully remove the old thermostat and prepare the wall for the installation of the Honeywell VisionPro 8000 thermostat. Remember to handle the old thermostat and its components with care, and keep the labeled wires organized for the upcoming wiring process.
Step 3: Label Wires
With the old thermostat removed and the wall prepared for the new installation, the next crucial step is to label the wires that were disconnected from the previous thermostat. Properly labeling the wires will ensure that you can accurately connect them to the corresponding terminals on the Honeywell VisionPro 8000 thermostat. Follow these steps to label the wires:
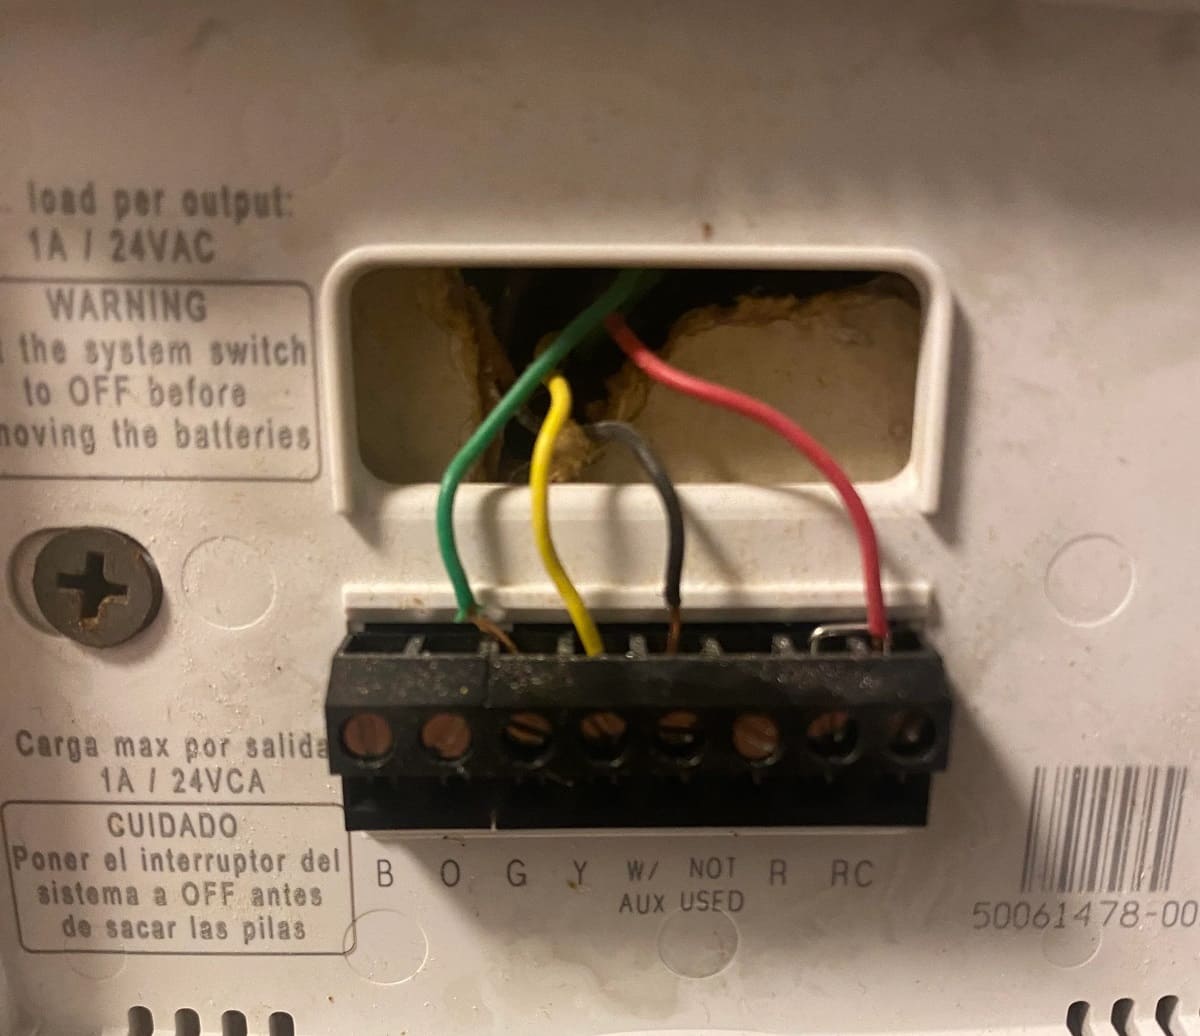
- Identify Each Wire: Examine the wires that were disconnected from the old thermostat and take note of their colors. Common wire colors include red, white, green, yellow, and blue, though variations may exist based on your specific heating and cooling system.
- Apply Labels or Tags: Using small adhesive labels or sticky notes, carefully mark each wire with the letter corresponding to its terminal designation. For example, label the wire connected to the “R” terminal as “R,” the wire connected to the “C” terminal as “C,” and so on.
- Record Wire Labels: To avoid confusion during the wiring process, consider creating a simple diagram or note that records the corresponding labels for each wire color. This reference will be valuable when connecting the wires to the new thermostat.
- Securely Attach Labels: Ensure that the labels are securely attached to each wire, as they will be used to guide the wiring process for the Honeywell VisionPro 8000 thermostat. This simple yet essential step will prevent errors and streamline the installation.
By carefully labeling the wires and creating a clear reference for their terminal designations, you will be well-prepared for the next phase of the installation process. This attention to detail will facilitate a smooth and accurate connection of the wires to the new thermostat, ensuring proper functionality and performance.
When wiring a Honeywell VisionPro 8000 thermostat, make sure to turn off the power to your HVAC system before starting. Follow the wiring diagram provided in the thermostat manual to ensure proper connections. Double-check your connections before turning the power back on.
Step 4: Mount New Thermostat
With the wires labeled and the wall prepared, it’s time to mount the new Honeywell VisionPro 8000 thermostat. Proper mounting is essential for ensuring the thermostat’s stability and optimal functionality. Follow these steps to securely mount the new thermostat:
- Select the Mounting Location: Choose a suitable location on the wall for mounting the thermostat. Ensure that the location is easily accessible and provides a clear view of the thermostat’s display for convenient operation.
- Position the Mounting Plate: Hold the mounting plate against the wall in the chosen location, ensuring it is level and aligned with any existing wall markings or measurements.
- Mark Mounting Hole Locations: With the mounting plate in position, use a pencil to mark the locations of the screw holes on the wall. These marks will serve as guides for drilling or screwing in the mounting plate.
- Drill Pilot Holes (if necessary): If the mounting plate requires screws for installation, use a drill to create pilot holes at the marked locations. This will facilitate easier insertion of the screws and minimize the risk of damaging the wall surface.
- Secure the Mounting Plate: Using screws or other appropriate fasteners, securely attach the mounting plate to the wall, ensuring it is level and firmly in place.
- Install Batteries (if required): If the Honeywell VisionPro 8000 thermostat operates on batteries, insert the specified batteries into the thermostat to power its display and functions.
- Attach the Thermostat to the Mounting Plate: Align the thermostat with the mounting plate and carefully snap or screw it into place, ensuring a secure and flush fit against the wall.
By following these steps, you can effectively mount the new Honeywell VisionPro 8000 thermostat, setting the stage for the next critical phase of connecting the labeled wires to the thermostat terminals. Proper mounting will ensure the thermostat is securely positioned and ready for the final steps of the installation process.
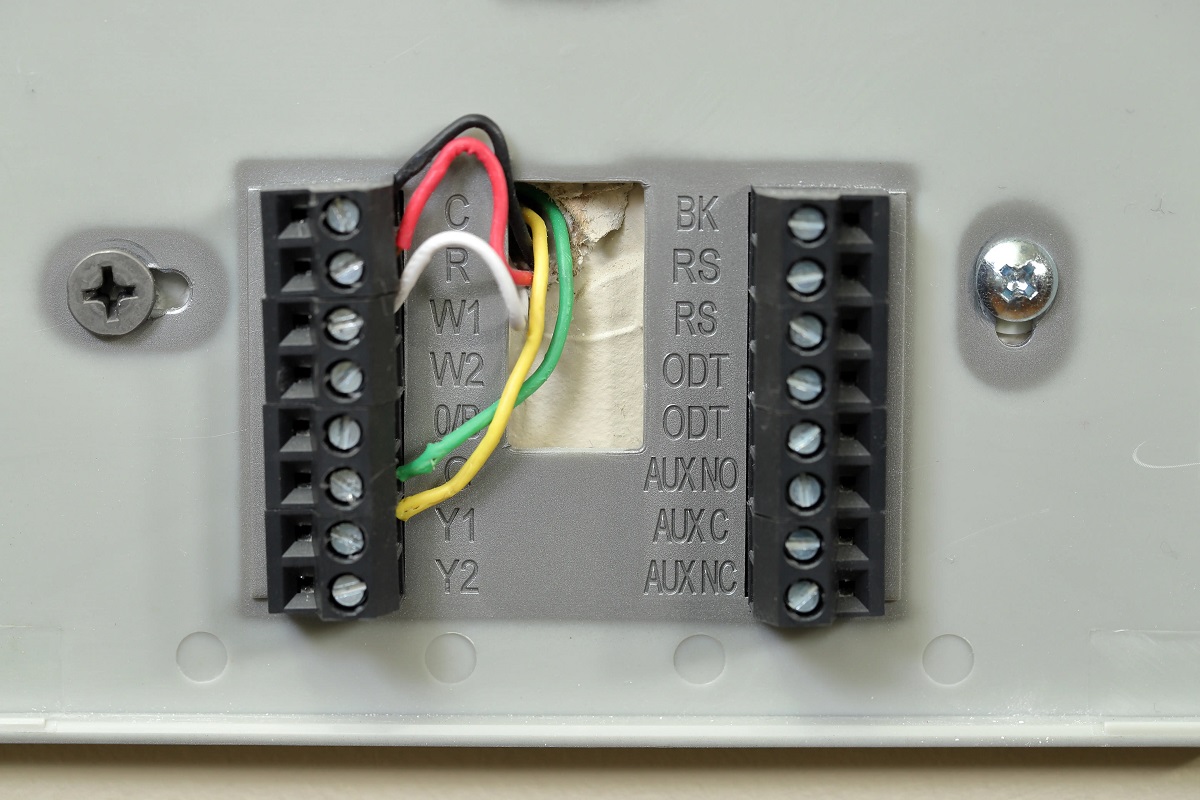
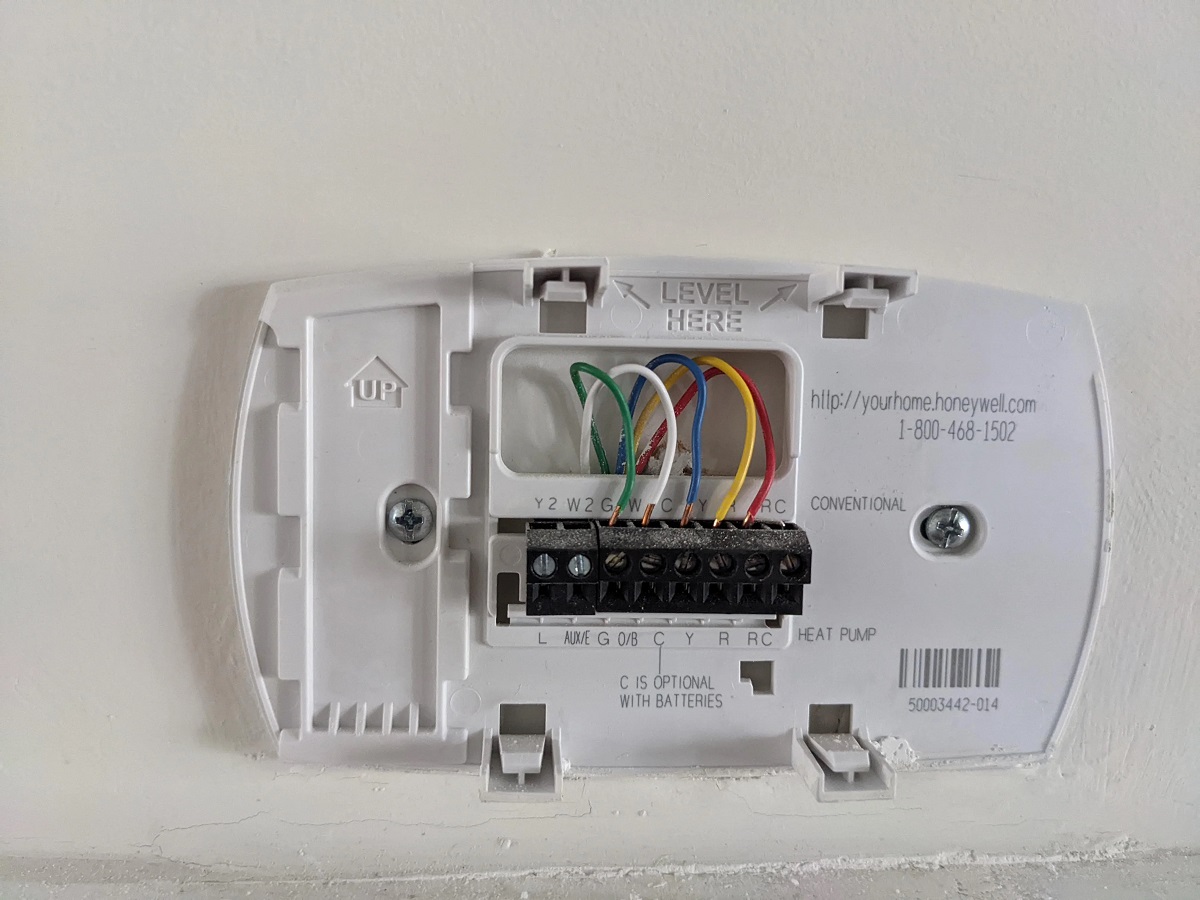
Step 5: Connect Wires to New Thermostat
With the Honeywell VisionPro 8000 thermostat securely mounted, it’s time to connect the labeled wires from the heating and cooling system to the corresponding terminals on the thermostat. Properly connecting the wires is essential for the thermostat to effectively control the heating and cooling functions of your home. Follow these steps to connect the wires to the new thermostat:
- Refer to Wire Labels: Retrieve the diagram or notes you created during the labeling process to ensure you accurately match each wire to its designated terminal on the thermostat.
- Identify Terminal Designations: Familiarize yourself with the terminal labels on the thermostat, which typically include “R,” “C,” “W,” “Y,” “G,” and others, depending on the specific model and system requirements.
- Match and Connect Wires: Carefully connect each labeled wire to its corresponding terminal on the thermostat, ensuring a secure and snug fit. Follow the thermostat’s installation manual for guidance on proper wire insertion and tightening.
- Double-Check Connections: After connecting all the wires, double-check each connection to ensure they are correctly seated and secured. Any loose or improperly connected wires can lead to operational issues with the thermostat.
- Complete Additional Wiring (if necessary): Depending on the specific requirements of your heating and cooling system, there may be additional wires or accessories to connect, such as a jumper wire or a common wire (C-wire) for power supply.
- Secure Excess Wire: If there is excess wire length extending from the thermostat, neatly tuck and secure it within the wall opening to prevent interference with the thermostat’s operation or aesthetics.
By carefully following these steps, you can effectively connect the labeled wires from your heating and cooling system to the Honeywell VisionPro 8000 thermostat, setting the stage for the final phase of powering on and testing the thermostat’s functionality.
Step 6: Power On and Test Thermostat
With the Honeywell VisionPro 8000 thermostat wired and securely mounted, the final step involves powering on the thermostat and conducting a thorough test to ensure its proper functionality. This critical phase allows you to verify the connections, program the thermostat, and confirm its ability to control your home’s heating and cooling system. Follow these steps to power on and test the thermostat:
- Restore Power to the System: Return to the circuit breaker or fuse box and restore power to the heating and cooling system by switching on the appropriate circuit breaker or replacing the fuse.
- Thermostat Initialization: Upon restoring power, the Honeywell VisionPro 8000 thermostat will initialize and display its startup sequence. Take note of any prompts or messages displayed on the thermostat’s screen.
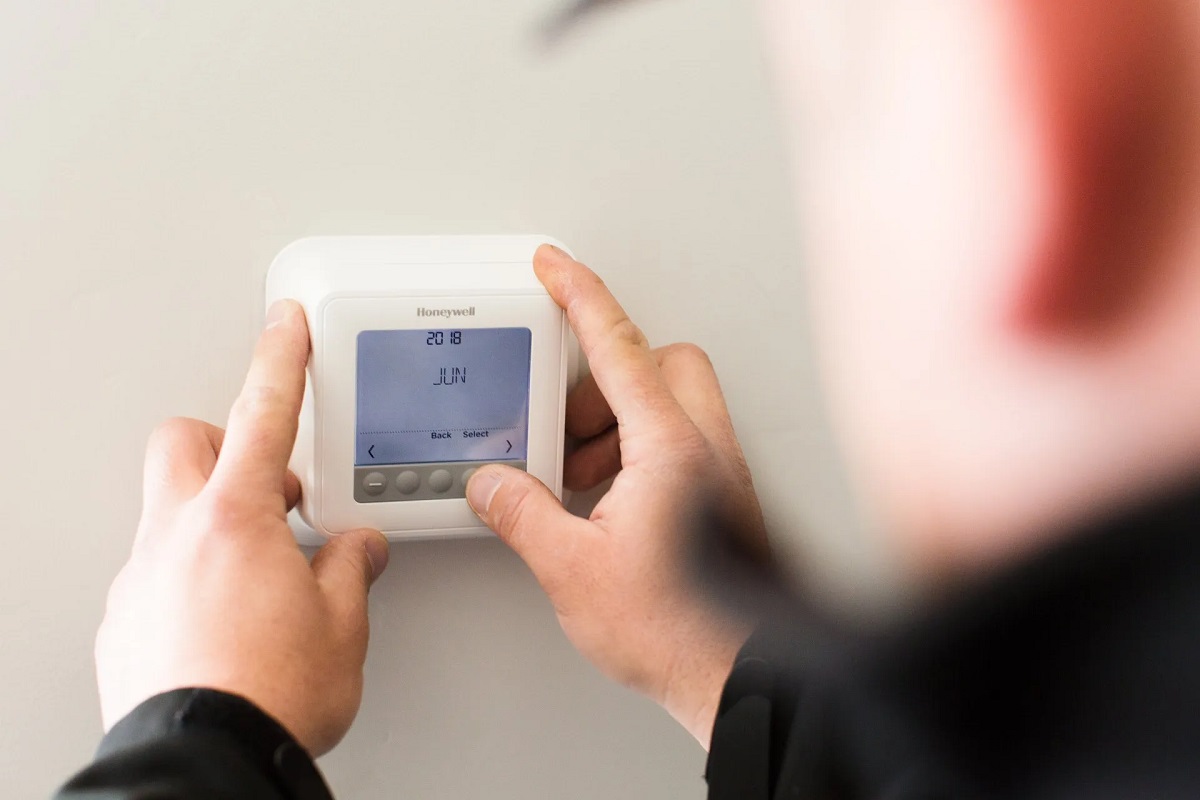
- Program Thermostat Settings: Use the thermostat’s programming interface to set the date, time, and desired heating and cooling schedules based on your preferences and household needs. Follow the thermostat’s user manual for detailed instructions on programming specific settings.
- Test Heating and Cooling Functions: Activate both the heating and cooling modes on the thermostat to verify that the system responds accordingly. Listen for the sound of the system’s components activating and feel for changes in temperature to confirm proper functionality.
- Adjust Temperature Settings: Adjust the thermostat’s temperature settings to trigger the heating and cooling systems, ensuring that the desired temperature changes are accurately reflected and maintained within your home.
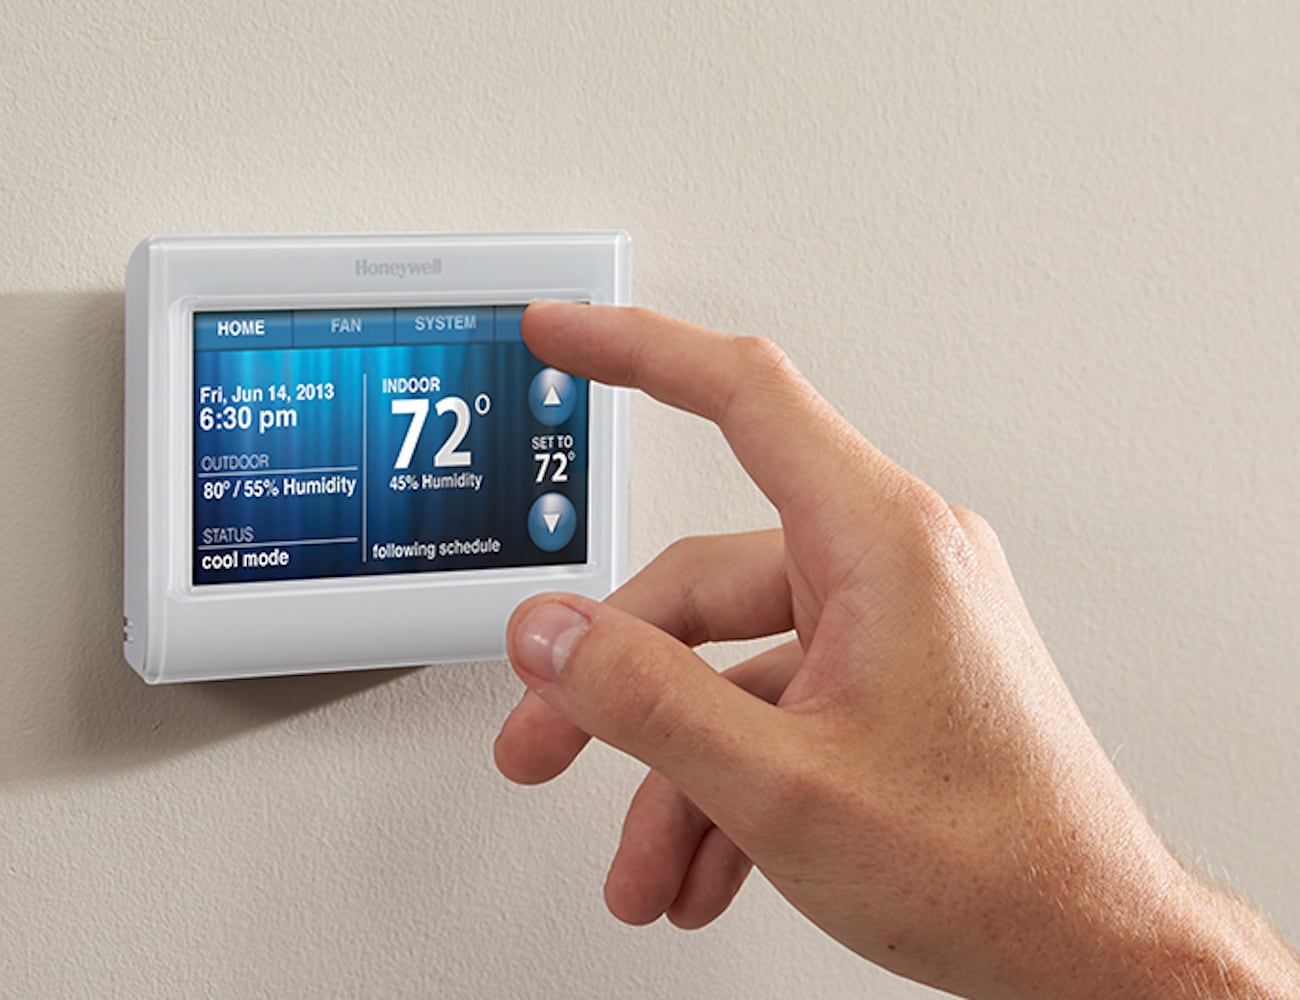
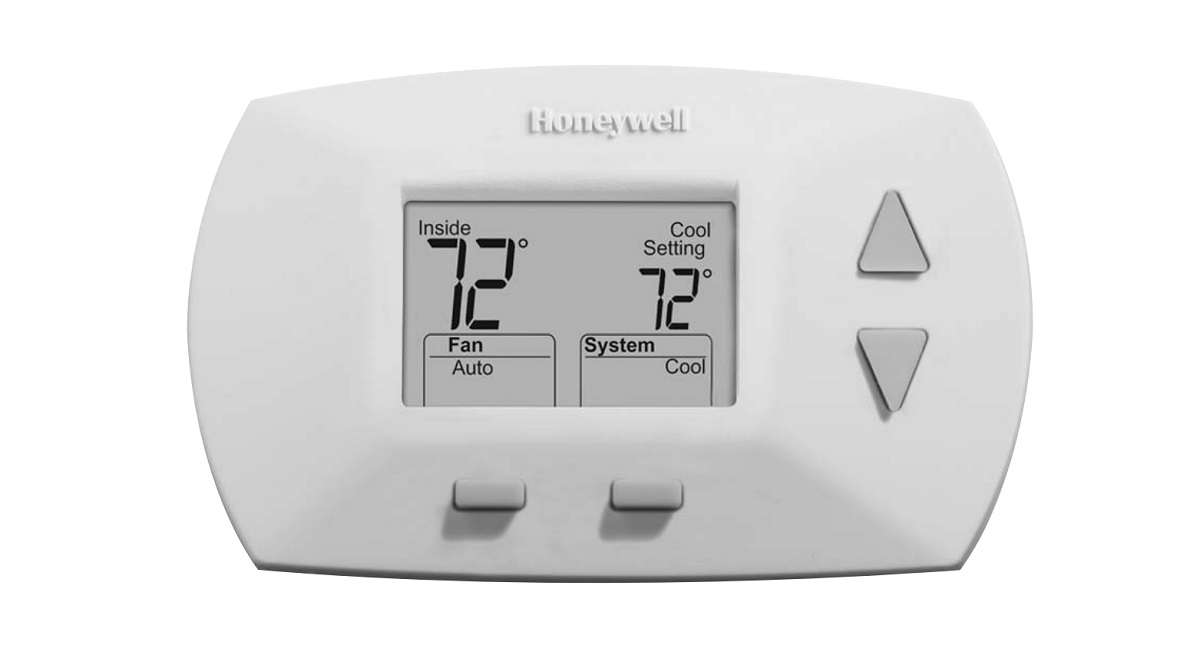
- Verify Display and Controls: Confirm that the thermostat’s display is clear and legible, and that all control buttons and settings are responsive and functional. Test any additional features or modes offered by the thermostat to ensure their proper operation.
- Observe System Performance: Monitor the heating and cooling system’s performance over a period of time to ensure consistent and reliable operation. Note any irregularities or issues that may arise and address them promptly.
By diligently following these steps, you can power on and thoroughly test the Honeywell VisionPro 8000 thermostat, confirming its seamless integration with your heating and cooling system. This final phase ensures that the thermostat is fully operational and ready to deliver enhanced comfort and energy efficiency to your home.
Conclusion
Congratulations on successfully completing the installation of the Honeywell VisionPro 8000 thermostat! By following the step-by-step process outlined in this guide, you have empowered yourself to take control of your home’s heating and cooling system, enhancing comfort and energy efficiency. As you reflect on the installation journey, consider the following key points:
- Energy Efficiency: The Honeywell VisionPro 8000 thermostat offers advanced features and programmable settings that can contribute to significant energy savings and reduced utility costs for your home.
- Comfort and Control: With precise temperature control and customizable scheduling, the thermostat provides you with the ability to create an ideal indoor environment tailored to your lifestyle and preferences.
- Enhanced Functionality: The thermostat’s intuitive interface, clear display, and user-friendly controls make it a valuable addition to your home, offering convenience and ease of operation.
- Reliable Performance: Through thorough testing and observation, you can trust that the Honeywell VisionPro 8000 thermostat will deliver consistent and reliable performance, ensuring a comfortable living space for you and your family.
As you enjoy the benefits of your newly installed thermostat, remember to refer to the manufacturer’s documentation for additional tips on maximizing its features and optimizing energy savings. Regularly maintaining and updating the thermostat’s settings will help you make the most of its capabilities and contribute to a more sustainable and comfortable home environment.
Thank you for embarking on this home improvement journey with us. We hope this guide has provided you with the knowledge and confidence to successfully wire and install the Honeywell VisionPro 8000 thermostat, bringing enhanced comfort and energy efficiency to your home.
Frequently Asked Questions about How To Wire Honeywell VisionPro 8000 Thermostat
Was this page helpful?
At Storables.com, we guarantee accurate and reliable information. Our content, validated by Expert Board Contributors, is crafted following stringent Editorial Policies. We're committed to providing you with well-researched, expert-backed insights for all your informational needs.


0 thoughts on “How To Wire Honeywell VisionPro 8000 Thermostat”