Home>Home Appliances>Home Automation Appliances>How To Remove An Emerson Thermostat
Home Automation Appliances
How To Remove An Emerson Thermostat
Modified: January 9, 2024
Learn how to remove an Emerson thermostat to upgrade your home automation appliances. Follow our step-by-step guide for easy removal.
(Many of the links in this article redirect to a specific reviewed product. Your purchase of these products through affiliate links helps to generate commission for Storables.com, at no extra cost. Learn more)
**
Introduction
**
When it comes to home automation, a thermostat plays a pivotal role in regulating the temperature of your living space, ensuring comfort and energy efficiency. Emerson thermostats are known for their reliability and advanced features, but there may come a time when you need to remove one, either for maintenance, replacement, or upgrading to a newer model. While this task might seem daunting at first, with the right guidance and precautions, it can be a straightforward process.
In this comprehensive guide, we will walk you through the step-by-step process of removing an Emerson thermostat safely and efficiently. Whether you are a seasoned DIY enthusiast or a homeowner looking to tackle this task for the first time, this article will equip you with the necessary knowledge and confidence to successfully remove an Emerson thermostat. Before we delve into the practical steps, it is crucial to emphasize the importance of safety precautions and highlight the tools and materials you will need for this undertaking. So, let's embark on this journey to demystify the process of removing an Emerson thermostat, ensuring that you are well-prepared and informed every step of the way.
**
Key Takeaways:
- Safety first! Always turn off the power, label wires, and use insulated tools when removing an Emerson thermostat to avoid electrical mishaps and ensure a secure environment.
- Gather the right tools and materials, follow the step-by-step process, and consider installing a new thermostat for continued comfort and climate control in your home.
Read more: How To Wire An Emerson Thermostat
Safety Precautions
**
Prior to initiating any work involving electrical components, it is imperative to prioritize safety to prevent accidents and ensure a smooth removal process. Here are some crucial safety precautions to adhere to when removing an Emerson thermostat:
- Turn Off Power: Before commencing the removal process, turn off the power supply to the thermostat at the circuit breaker. This precautionary measure is essential to avoid the risk of electric shock or damage to the thermostat and the HVAC system.
- Handle Wires with Care: When disconnecting the wires from the thermostat, exercise caution and avoid touching the exposed ends. It is advisable to use insulated tools and handle the wires gently to prevent any mishaps.
- Label Wires: Before disconnecting the wires, label each wire according to its terminal designation. This will facilitate a seamless reconnection process or installation of a new thermostat in the future.
- Work in a Well-lit Area: Ensure that the work area is well-lit to have a clear view of the thermostat and wiring. Adequate lighting minimizes the chances of errors and ensures a safe and precise removal process.
- Use Personal Protective Equipment (PPE): It is recommended to wear safety glasses and, if possible, insulated gloves when handling electrical components. These precautions can safeguard against potential hazards and enhance personal safety.
- Follow Manufacturer’s Instructions: Refer to the user manual or manufacturer’s guidelines for specific safety instructions and precautions related to the Emerson thermostat model you are working with. Adhering to the prescribed guidelines is essential for a safe removal process.
By prioritizing these safety precautions and approaching the removal process with attentiveness and care, you can mitigate potential risks and ensure a secure environment for carrying out the task. Now that we have underscored the significance of safety, let’s explore the essential tools and materials required for removing an Emerson thermostat.
**
Tools and Materials Needed
**
Before embarking on the removal of an Emerson thermostat, it is essential to gather the necessary tools and materials to facilitate a smooth and efficient process. Here’s a comprehensive list of the items you will need:
- Screwdriver Set: A set of screwdrivers, including flat-head and Phillips-head varieties, will be indispensable for removing the thermostat cover and the mounting plate.
- Insulated Wire Cutters/Strippers: These tools are essential for safely disconnecting the wires from the thermostat terminals. Insulated wire cutters/strippers help prevent accidental contact with live wires.
- Labeling Tags or Stickers: Utilize labeling tags or stickers to mark and identify the wires before disconnecting them from the thermostat. This will simplify the reconnection process or the installation of a new thermostat in the future.
- Electrical Tape: Electrical tape can be used to secure and insulate the disconnected wires, minimizing the risk of accidental contact and electrical hazards.
- Flashlight: A reliable flashlight will ensure adequate illumination of the work area, especially if the thermostat is located in a dimly lit or confined space.
- Safety Glasses: Wearing safety glasses is advisable to protect your eyes from any debris or particles that may dislodge during the removal process.
- Insulated Gloves (Optional): If you prefer an additional layer of protection, insulated gloves can offer safeguarding against potential electrical hazards while handling the thermostat and wires.
Additionally, it is recommended to refer to the user manual or documentation provided with the Emerson thermostat to ascertain any specific tools or materials recommended by the manufacturer for safe removal. By ensuring that you have the necessary tools and materials at your disposal, you can proceed with confidence, knowing that you are well-equipped for the task at hand.
**
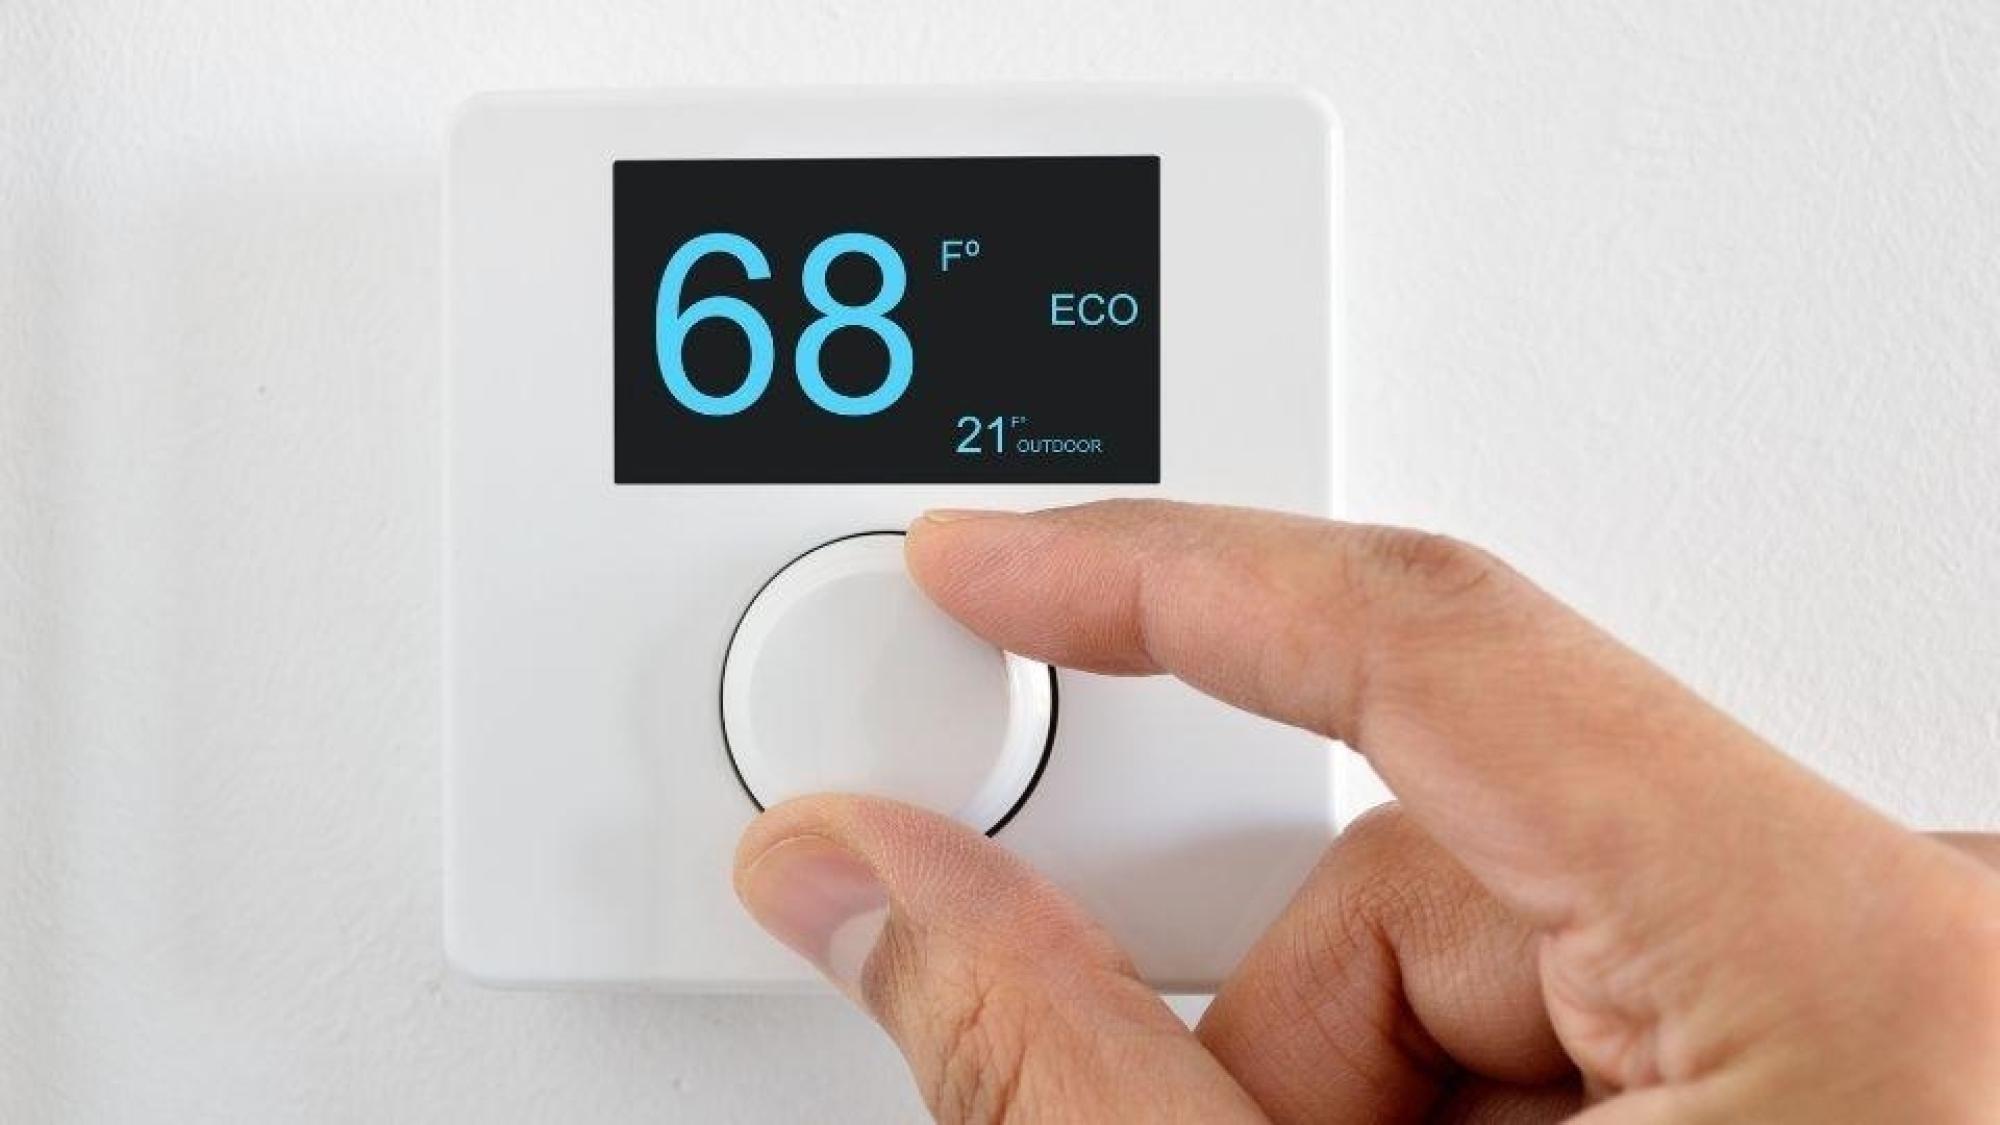
Step 1: Turn Off Power
**
Prior to initiating the removal process, it is crucial to disconnect the power supply to the Emerson thermostat to ensure safety and prevent electrical mishaps. Follow these steps to turn off the power:
- Locate the Circuit Breaker: Identify the circuit breaker in your home’s electrical panel that corresponds to the power supply for the thermostat. The circuit breaker should be clearly labeled for easy identification.
- Switch Off the Circuit Breaker: Carefully switch off the circuit breaker connected to the thermostat. Verify that the power has been successfully cut off by checking the thermostat’s display to ensure it is no longer illuminated.
By turning off the power supply at the circuit breaker, you mitigate the risk of electrical shock and create a safe environment for the subsequent steps of removing the Emerson thermostat. Once the power has been successfully disconnected, you can proceed to the next phase of the removal process, which involves removing the thermostat cover.
**
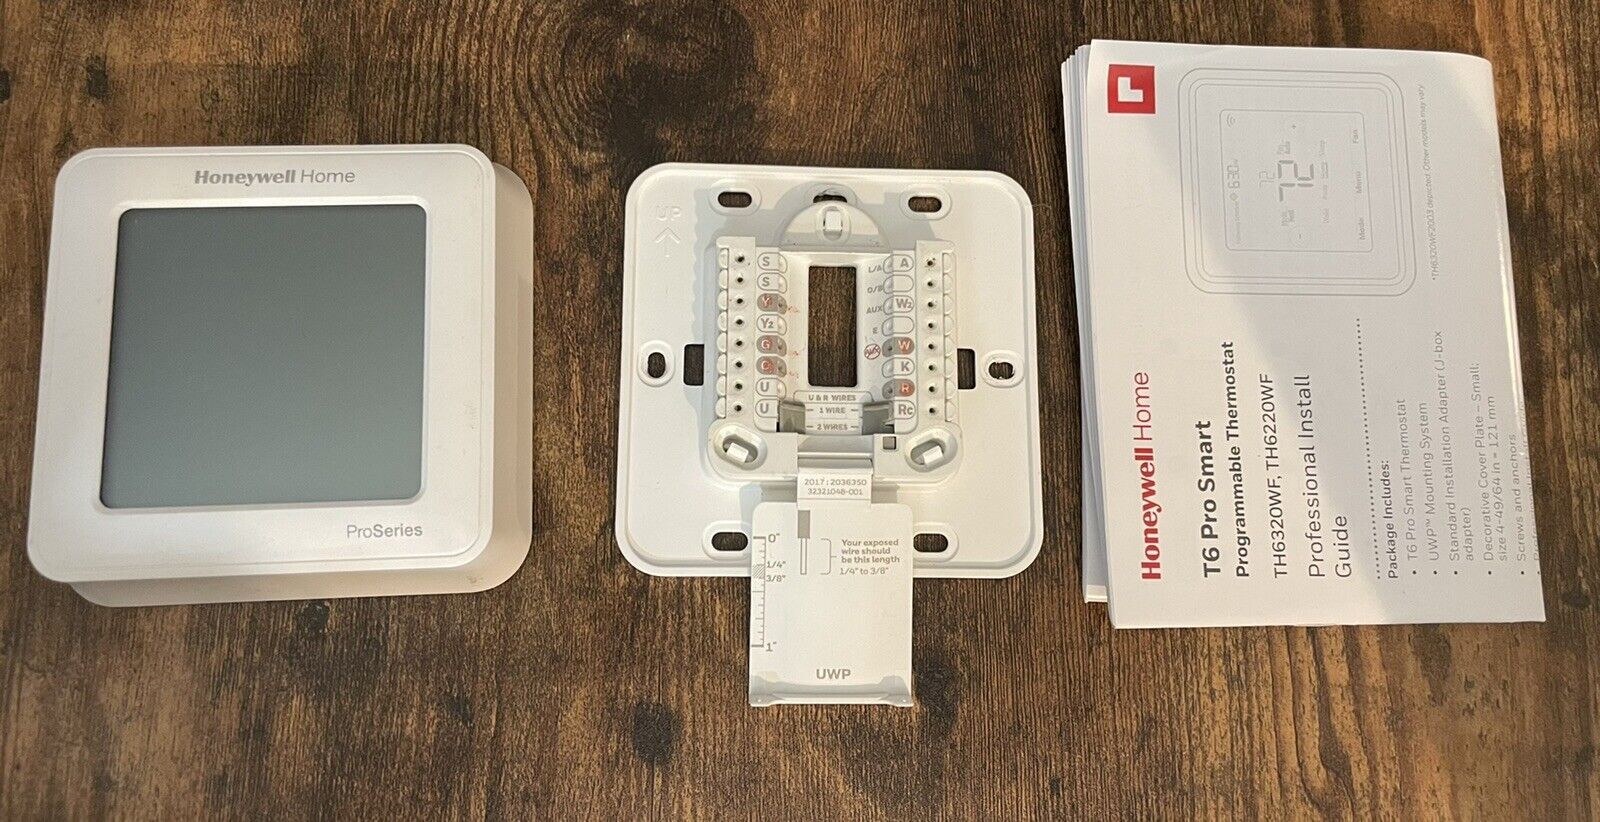
Step 2: Remove Thermostat Cover
**
With the power supply to the thermostat safely turned off, you can proceed to remove the thermostat cover. Follow these steps to accomplish this:
- Identify the Cover: Locate the thermostat cover, which is typically secured in place by clips or screws. The method of attachment may vary based on the specific model of the Emerson thermostat.
- Use the Appropriate Tool: Depending on the type of fasteners used, select the appropriate screwdriver from your set to remove any screws securing the cover. If the cover is held in place by clips, gently pry the cover away from the base using a flat-head screwdriver or a similar tool.
- Detach the Cover: Carefully lift the thermostat cover away from the base, ensuring that you do not apply excessive force that may damage the underlying components or wiring.
Upon successfully removing the thermostat cover, you will gain access to the internal components and wiring. This sets the stage for the subsequent steps, which involve disconnecting the wires and removing the mounting plate. Exercise caution and attentiveness throughout this process to prevent any inadvertent damage to the thermostat or its components.
**
Before removing an Emerson thermostat, make sure to turn off the power to the heating and cooling system. Then, carefully remove the faceplate and disconnect the wires. Finally, unscrew the mounting plate from the wall.
Read also: 15 Amazing Emerson Thermostat For 2025
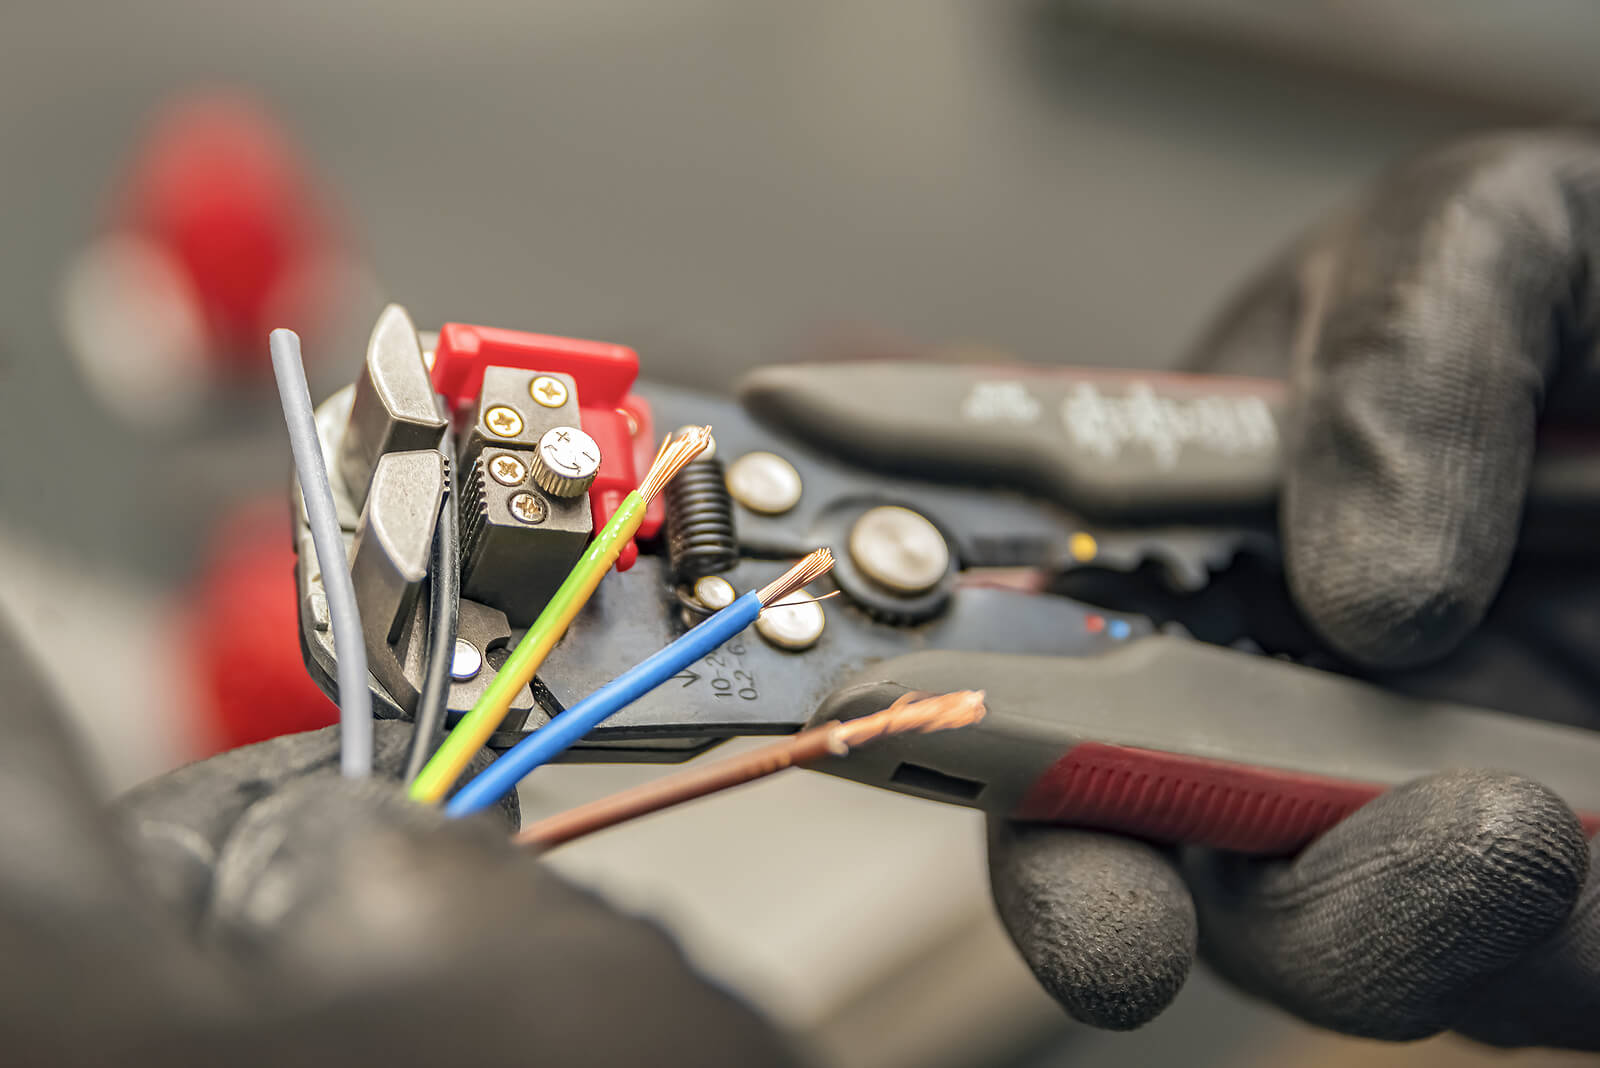
Step 3: Disconnect Wires
**
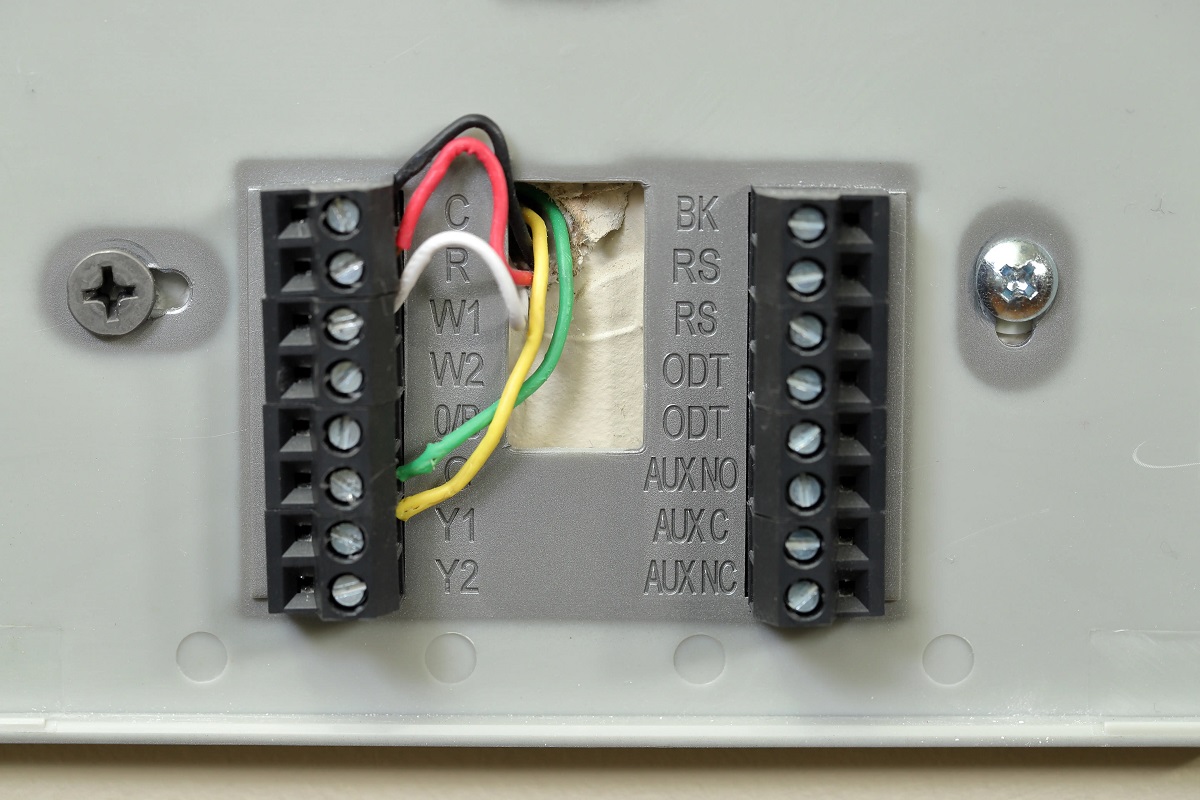
With the thermostat cover removed, the next crucial step is to disconnect the wires from the thermostat terminals. Follow these steps to safely disconnect the wires:
- Label the Wires: Before disconnecting any wires, use labeling tags or stickers to mark and identify each wire based on its terminal designation. This labeling will facilitate a seamless reconnection process or the installation of a new thermostat in the future.
- Loosen Terminal Screws: Using an appropriate screwdriver, carefully loosen the terminal screws securing the wires to the thermostat. Take note of the wire colors and their corresponding terminals to ensure accurate reconnection later.
- Remove the Wires: Gently remove the labeled wires from their respective terminals, taking care to handle them delicately and avoid any unnecessary tugging or strain on the wires.
- Secure the Wires: After disconnecting the wires, it is advisable to secure them with electrical tape to prevent accidental contact with live terminals and ensure a safe work environment.
By following these steps, you can safely disconnect the wires from the Emerson thermostat, preparing the unit for the subsequent phase of the removal process. Exercise patience and precision to avoid any damage to the wires or the thermostat’s terminals during this step.
**
Step 4: Remove Mounting Plate
**
Having successfully disconnected the wires, the next pivotal step in removing an Emerson thermostat is to remove the mounting plate from the wall. Follow these steps to accomplish this:
- Identify Mounting Screws: Locate the screws securing the mounting plate to the wall. These screws are typically visible once the thermostat cover and wires have been removed.
- Use the Appropriate Tool: Select the appropriate screwdriver from your set to remove the mounting screws. Ensure that you use caution to avoid damaging the wall surface during this process.
- Detach the Mounting Plate: Once the screws are removed, gently detach the mounting plate from the wall, taking care to avoid any undue strain on the wires still connected to the wall junction box.
By completing this step, you will have successfully removed the mounting plate, freeing the wall space previously occupied by the Emerson thermostat. With the mounting plate removed, you have completed the primary steps involved in the safe removal of an Emerson thermostat. If you intend to install a new thermostat, you may proceed with the optional step of installing the new unit. Otherwise, you have effectively completed the removal process.
**
Step 5: Install New Thermostat (Optional)
**
If you are removing the Emerson thermostat with the intention of replacing it with a new unit, the following optional step outlines the process of installing the new thermostat:
- Select the New Thermostat: Choose a compatible replacement thermostat based on your specific heating, ventilation, and air conditioning (HVAC) system requirements. Ensure that the new thermostat is compatible with the wiring and HVAC setup in your home.
- Prepare the Wiring: If necessary, prepare the wiring for connection to the new thermostat. This may involve trimming and stripping the wire ends to ensure proper connectivity.
- Mount the New Thermostat: Securely mount the new thermostat’s base to the wall, aligning it with the existing wiring and ensuring that it is level and firmly attached.
- Connect the Wires: Following the manufacturer’s instructions and the labeling you previously applied, connect the labeled wires to the corresponding terminals on the new thermostat. Ensure a secure and proper connection for each wire.
- Attach the Thermostat Cover: Once the wiring is connected, carefully attach the cover of the new thermostat, ensuring that it is properly aligned and secured in place.
- Power On and Test: Restore the power supply to the thermostat at the circuit breaker and follow the manufacturer’s instructions to power on the new unit. Test the functionality of the new thermostat to ensure that it is operating as intended.
By following these optional steps, you can seamlessly transition from the removal of the Emerson thermostat to the installation of a new unit, ensuring continued climate control and comfort in your home. If you have opted not to install a new thermostat at this time, you have successfully completed the removal process, concluding this comprehensive guide to removing an Emerson thermostat.
**
Conclusion
**
Removing an Emerson thermostat is a task that demands attention to detail, adherence to safety precautions, and a methodical approach. By following the step-by-step guide outlined in this article, you have gained the knowledge and confidence to safely remove an Emerson thermostat, whether for maintenance, replacement, or upgrades. Throughout this process, prioritizing safety, labeling wires, and using the appropriate tools are essential elements for a successful outcome.
It is important to reiterate the significance of safety precautions, such as turning off the power supply and handling wires with care, to mitigate potential risks associated with electrical work. Additionally, having the necessary tools and materials at your disposal ensures that you are well-equipped for the task at hand.
Whether you are transitioning to a new thermostat or simply removing the existing unit, each step plays a crucial role in the overall process. From disconnecting wires to removing the mounting plate, each action contributes to the successful removal of the Emerson thermostat.
Should you choose to install a new thermostat, the optional step provided in this guide offers a seamless transition to the installation process, allowing you to continue enjoying the benefits of a well-regulated home climate.
By embracing the knowledge and insights shared in this guide, you have empowered yourself to navigate the process of removing an Emerson thermostat with confidence and proficiency. As you apply these steps, remember to consult the user manual or manufacturer’s guidelines specific to your thermostat model for detailed instructions tailored to your unit.
With a focus on safety, precision, and informed decision-making, you can effectively remove an Emerson thermostat, paving the way for potential upgrades or replacements while ensuring the comfort and efficiency of your home’s heating and cooling system.
Frequently Asked Questions about How To Remove An Emerson Thermostat
Was this page helpful?
At Storables.com, we guarantee accurate and reliable information. Our content, validated by Expert Board Contributors, is crafted following stringent Editorial Policies. We're committed to providing you with well-researched, expert-backed insights for all your informational needs.

0 thoughts on “How To Remove An Emerson Thermostat”