Home>Home Maintenance>How To Set Nest Thermostat To Air Conditioning
Home Maintenance
How To Set Nest Thermostat To Air Conditioning
Modified: August 23, 2024
Learn how to set your Nest thermostat to air conditioning for optimal home comfort. Discover easy home maintenance tips to keep your AC running smoothly.
(Many of the links in this article redirect to a specific reviewed product. Your purchase of these products through affiliate links helps to generate commission for Storables.com, at no extra cost. Learn more)
Introduction
Welcome to our guide on how to set your Nest thermostat to air conditioning mode! With the scorching summer heat just around the corner, it’s essential to ensure your home stays cool and comfortable. The Nest thermostat is a smart device that allows you to control your air conditioning system with ease and efficiency. Whether you’re planning a staycation or welcoming friends and family for a BBQ, keeping your home cool is vital for everyone’s comfort.
In this article, we will walk you through a step-by-step process on how to set your Nest thermostat to air conditioning mode. From powering on the device to adjusting the temperature and scheduling cooling cycles, we’ve got you covered. By following these instructions, you will be able to create a cooling schedule that matches your needs and preferences, ensuring that your home is always the perfect temperature, no matter the weather outside.
The Nest thermostat offers a range of advanced features designed to optimize energy consumption while keeping your home cool. You can program your thermostat to adjust the temperature automatically when you’re away, saving on energy costs. Additionally, the Nest thermostat learns your preferences over time and can make adjustments to maximize comfort and efficiency.
Before we begin, make sure you have installed your Nest thermostat according to the manufacturer’s instructions. Ensure that it is connected to your Wi-Fi network and that you have downloaded the Nest app to your smartphone or tablet. This will enable you to control your thermostat remotely and access additional features.
Now, let’s dive into the step-by-step process of setting your Nest thermostat to air conditioning mode and take control of your home’s cooling system!
Key Takeaways:
- Keep your home cool and comfortable by setting your Nest thermostat to air conditioning mode. Follow the step-by-step process to customize your cooling preferences and save on energy costs.
- Take advantage of advanced features like scheduling, remote control, and energy-saving settings to optimize your Nest thermostat for a comfortable and energy-efficient cooling experience.
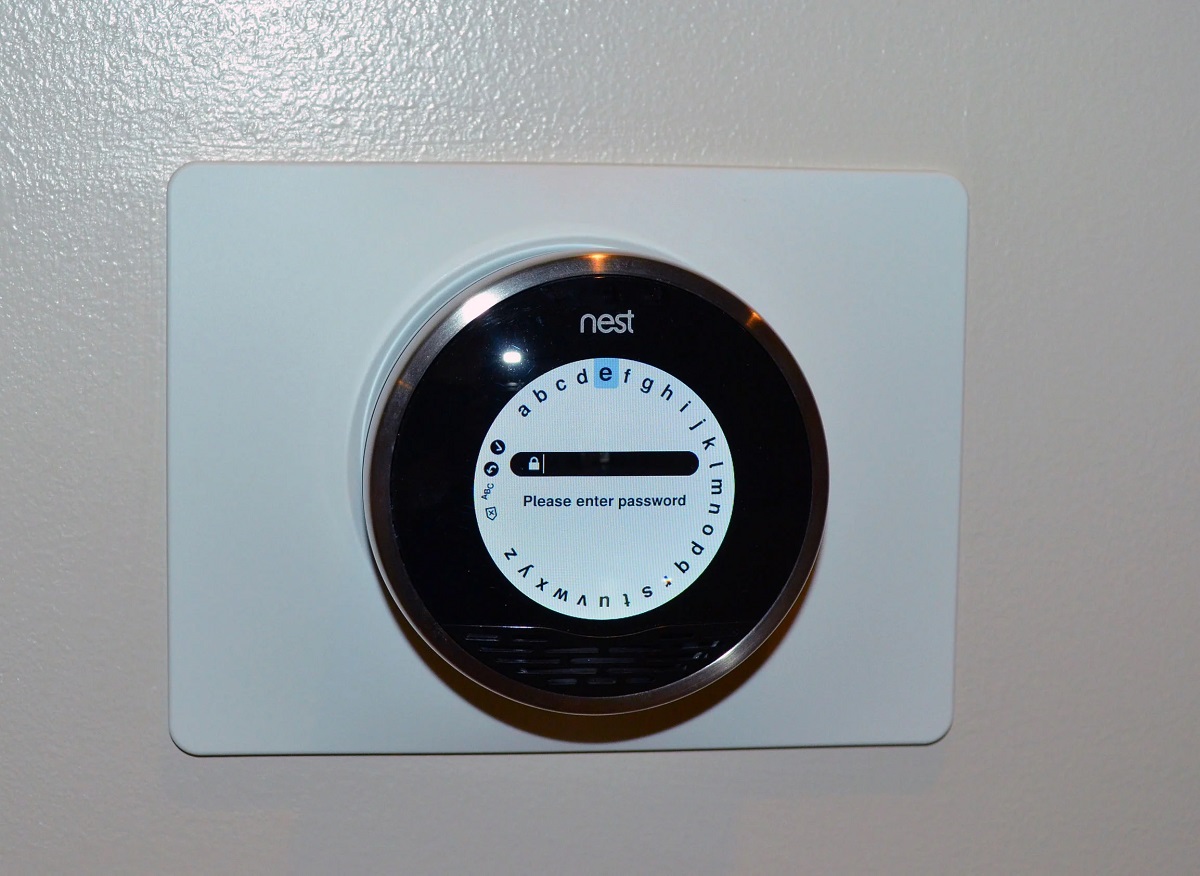
Step 1: Power on the Nest Thermostat
The first step in setting your Nest thermostat to air conditioning mode is to ensure that it is properly powered on. Follow these simple steps to power on your device:
- Locate the power switch on your thermostat, usually located on the side or bottom of the device.
- Flip the switch to the “On” position. You may hear a chime or see the display light up, indicating that the thermostat is now powered on.
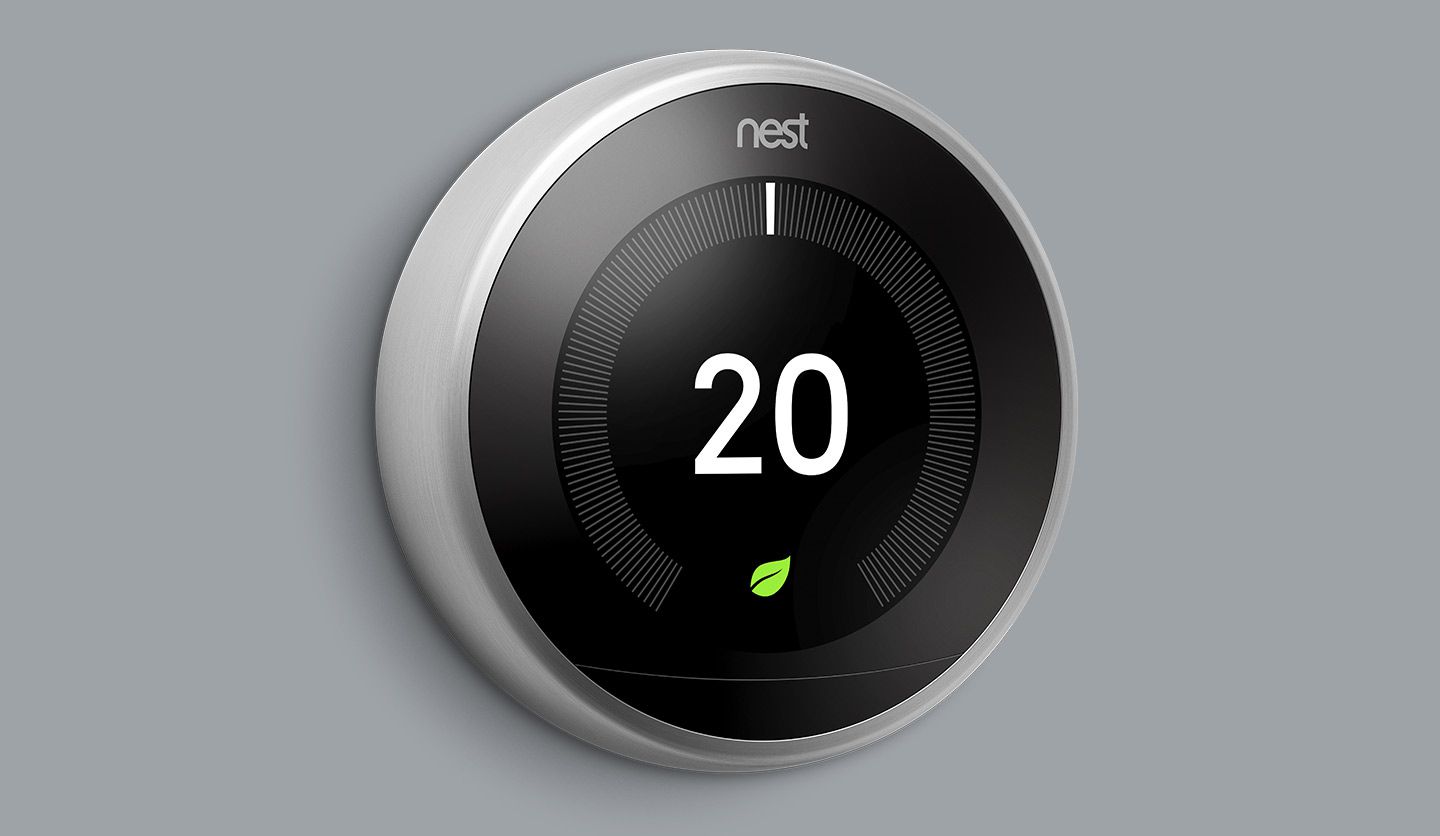
- If your Nest thermostat has a touch screen, gently tap the screen to activate it. You should see the Nest logo or the main menu displayed.
Once the Nest thermostat is powered on, it is ready to be configured for air conditioning mode. Proceed to the next step to access the main menu and begin setting up your cooling preferences.
Step 2: Accessing the Main Menu
Now that your Nest thermostat is powered on, you can access the main menu to make adjustments and customize your air conditioning settings. Follow these simple steps to access the main menu:
- If your Nest thermostat has a touch screen, lightly tap the screen to wake it up.
- Once the screen is awake, you will be presented with the main menu. This menu typically includes options such as “Home,” “Settings,” “Schedule,” and “System.”
- Using your finger, swipe left or right to navigate through the menu options.
- Locate and tap on the “Settings” option. This will take you to a sub-menu where you can customize various settings for your thermostat.
By accessing the main menu and the settings sub-menu, you now have the ability to make adjustments specific to your preferences. The Nest thermostat offers a range of customization options, including temperature settings, fan controls, and much more.
Proceed to the next step to learn how to select the “Cool” mode and set the desired temperature for your air conditioning system.
Step 3: Selecting the “Cool” Mode
After accessing the main menu, it’s time to select the “Cool” mode on your Nest thermostat. This will allow you to activate your air conditioning system and start enjoying the cool air. Follow these steps to select the “Cool” mode:
- In the settings sub-menu, scroll through the options until you find the “Mode” or “System Mode” option.
- Tap on the “Mode” option to open the selection menu.
- In the selection menu, you will see different modes available, such as “Heat,” “Cool,” “Heat-Cool,” or “Off.”
- Select the “Cool” mode to set your Nest thermostat to air conditioning.
Once you have selected the “Cool” mode, your Nest thermostat is now ready to control your air conditioning system. You can now move on to the next step to adjust the temperature settings for optimal cooling.
It’s important to note that the availability of modes may vary depending on your specific Nest thermostat model. Some models may have additional modes or options to consider.
Let’s continue to the next step to learn how to adjust the temperature settings and ensure your home is kept at the desired cool temperature.
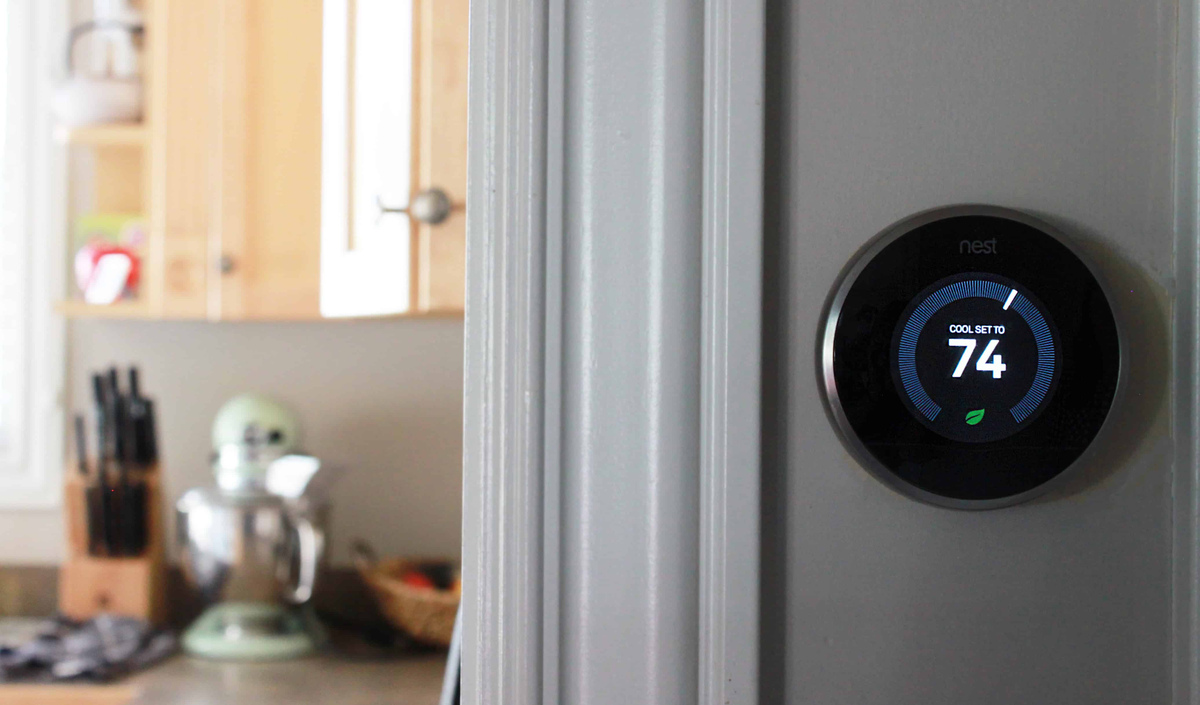
Step 4: Adjusting the Temperature
Now that you have selected the “Cool” mode on your Nest thermostat, it’s time to adjust the temperature settings for your air conditioning system. Follow these steps to set the desired temperature:
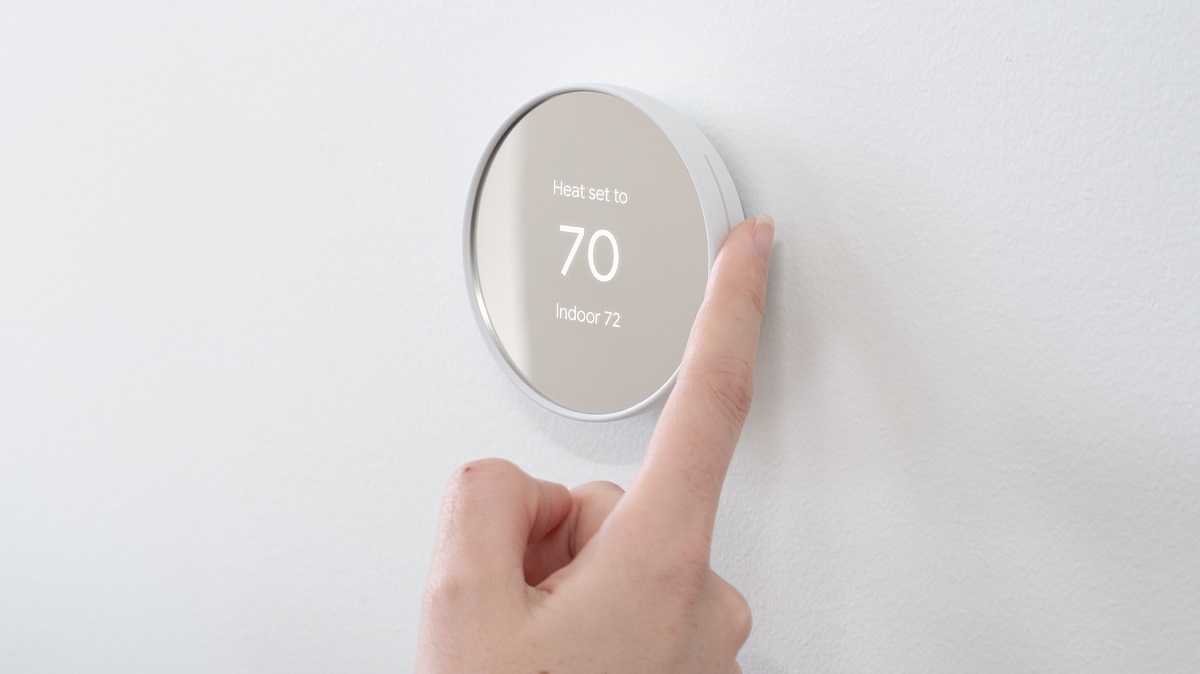
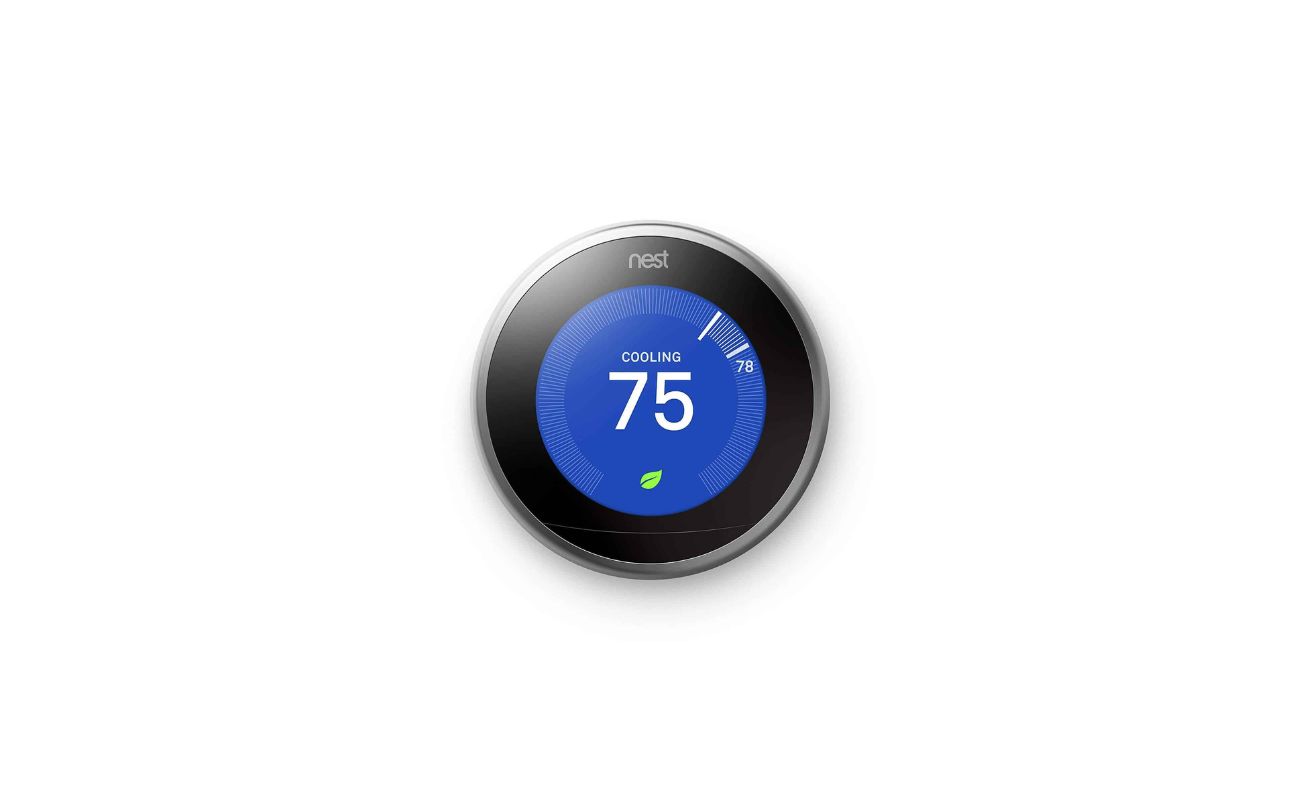
- On the main screen of your Nest thermostat, you will see the current temperature displayed.
- If you wish to decrease the temperature, tap the “-” or down arrow button. This will lower the temperature by one degree with each tap.
- If you want to increase the temperature, tap the “+” or up arrow button. This will raise the temperature by one degree with each tap.
- You can continually adjust the temperature until you reach your desired cooling temperature.
Once you have set the desired temperature, your Nest thermostat will work to maintain that temperature. It will turn on your air conditioning system when the temperature rises above the set point and turn it off when it reaches the desired temperature.
Remember, it’s important to set a temperature that is comfortable for you while keeping energy efficiency in mind. A general guideline is to set the temperature to around 78°F (25°C) for optimal comfort and energy savings.
Now that you have adjusted the temperature, let’s move on to the next step to learn how to set a schedule for your air conditioning system.
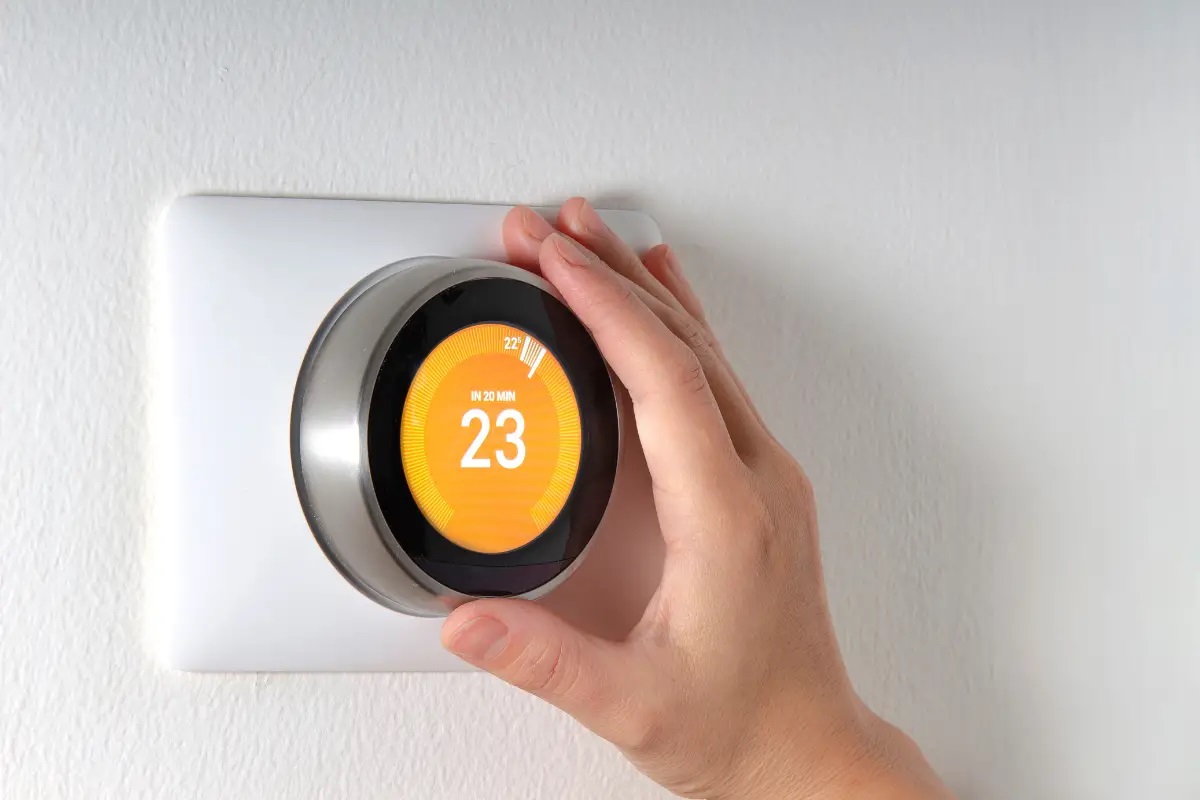
To set your Nest thermostat to air conditioning, simply press the thermostat to wake it up, then turn the ring to select “Cool” mode. Adjust the temperature to your desired setting and the AC will kick in.
Read more: How To Disconnect A Nest Thermostat
Step 5: Setting a Schedule
Setting a schedule for your air conditioning system on your Nest thermostat ensures that your home is cool when you need it and saves energy when you don’t. Follow these steps to set a schedule:
- On the main menu of your Nest thermostat, locate and tap on the “Schedule” option.
- You will be presented with a screen that allows you to set different temperature levels for different times of the day.
- Tap on a specific time slot to customize the temperature setting for that time period.
- Use the “+” and “-” buttons or the up and down arrows to set the desired temperature for that time slot.
- Continue setting temperature levels for different time periods, taking into consideration your daily routine and preferences.
- Once you have set the schedule for each time slot, review and confirm the settings.
By setting a schedule, your Nest thermostat will automatically adjust the temperature based on the time of day. For example, you can program it to cool your home to a lower temperature in the evenings when you are at home, and raise the temperature during the day when you are away.
Setting a schedule not only ensures that your home is comfortable and cool at the right times, but it also helps to reduce energy consumption, leading to potential energy savings and a lower electricity bill.
Proceed to the next step to learn how to activate the air conditioning system and start enjoying the cool air in your home.
Step 6: Activating the Air Conditioning
Now that you have set the temperature and schedule on your Nest thermostat, it’s time to activate the air conditioning system. Follow these steps to activate your air conditioning:
- On the main screen of your Nest thermostat, you will see the current temperature displayed.
- If the temperature in your home is higher than the set temperature, your Nest thermostat will automatically activate the air conditioning system to cool down the house.
- You may hear the sound of your air conditioning system turning on, and cool air will start flowing through your home.
- If you prefer to manually activate the air conditioning, you can go to the main menu and select the “Cool” mode again. This will force the system to turn on and start cooling.
Once the air conditioning is activated, your Nest thermostat will continuously monitor the temperature and adjust the cooling settings accordingly to maintain the desired temperature. It will turn off the air conditioning once the set temperature is reached.
Remember, it’s important to maintain a balance between comfort and energy efficiency. Setting your thermostat to a cool but reasonable temperature can provide a comfortable environment while minimizing energy consumption.
Congratulations! Your air conditioning system is now activated, and you can enjoy the cool and refreshing air in your home. Let’s proceed to the final step to explore additional settings and features on your Nest thermostat.
Step 7: Additional Settings and Features
In addition to the basic temperature control and scheduling, your Nest thermostat offers a range of additional settings and features to enhance your cooling experience. Here are a few key features to explore:
- Energy-Saving Features: Your Nest thermostat can learn your schedule and temperature preferences over time, optimizing energy usage and reducing your utility bills. It can also provide energy usage reports and tips for further energy savings.
- Remote Control: By downloading the Nest app on your smartphone or tablet, you can control your thermostat remotely. This allows you to adjust the temperature and settings even when you’re away from home.
- Airwave: This feature allows your air conditioning system to continue cooling your home even after the compressor has turned off. It utilizes the remaining cool air in the ducts to keep your home comfortable while reducing energy consumption.
- Away Mode: When you’re away from home, your Nest thermostat can automatically switch to an energy-saving mode to conserve energy. It uses sensors and your smartphone’s location to determine when to activate this mode.
- Compatibility with Smart Home Systems: The Nest thermostat can integrate with various smart home systems and devices, such as Google Assistant and Amazon Alexa. This allows you to control your thermostat with voice commands and incorporate it into your smart home ecosystem.
These additional settings and features offer convenience, energy savings, and customization options to enhance your air conditioning experience. Take the time to explore these features within your Nest thermostat and adjust them according to your preferences and needs.
Congratulations! You have successfully set your Nest thermostat to air conditioning mode and learned about its advanced features. Your home will now stay comfortably cool, and you can enjoy the benefits of energy-efficient cooling.
Conclusion
Congratulations on successfully setting up your Nest thermostat to air conditioning mode! With the ability to control your cooling system with ease and efficiency, you can now enjoy a comfortable and cool home, even during the hottest summer days.
We covered the step-by-step process of powering on your Nest thermostat, accessing the main menu, selecting the “Cool” mode, adjusting the temperature, setting a schedule, activating the air conditioning, and exploring additional settings and features. By following these steps, you have gained full control over your air conditioning system, allowing you to create a customized and energy-efficient cooling experience.
Remember to set your thermostat to a reasonable temperature for optimal comfort and energy savings. Additionally, take advantage of the advanced features of your Nest thermostat, such as energy-saving settings, remote control capability, and compatibility with smart home systems, to further enhance your cooling experience.
By utilizing the features and capabilities of your Nest thermostat, you can create a comfortable living environment while being mindful of energy consumption. Not only will this improve your overall comfort, but it will also help reduce energy costs and contribute to a more sustainable lifestyle.
Thank you for reading our guide on how to set your Nest thermostat to air conditioning mode. We hope this article has provided you with the knowledge and confidence to optimize your cooling system and enjoy a cool and refreshing home all summer long!
Frequently Asked Questions about How To Set Nest Thermostat To Air Conditioning
Was this page helpful?
At Storables.com, we guarantee accurate and reliable information. Our content, validated by Expert Board Contributors, is crafted following stringent Editorial Policies. We're committed to providing you with well-researched, expert-backed insights for all your informational needs.