Home>Home Appliances>Home Automation Appliances>How To Put Nest Thermostat Back Online
Home Automation Appliances
How To Put Nest Thermostat Back Online
Modified: January 4, 2024
Learn how to troubleshoot and reconnect your Nest thermostat to your home automation appliances with our step-by-step guide. Get your Nest thermostat back online quickly and easily.
(Many of the links in this article redirect to a specific reviewed product. Your purchase of these products through affiliate links helps to generate commission for Storables.com, at no extra cost. Learn more)
Introduction
Welcome to the world of smart home automation, where cutting-edge technology seamlessly integrates with everyday life to provide convenience, energy efficiency, and personalized comfort. Among the myriad of smart devices available, the Nest thermostat stands out as a pioneer in revolutionizing home climate control. However, even the most advanced technology encounters occasional hiccups, and if you find your Nest thermostat offline, fear not! This guide will walk you through the steps to put your Nest thermostat back online, ensuring your home remains comfortably climate-controlled with the touch of a button.
Whether you’re a seasoned smart home enthusiast or a newcomer to the realm of home automation, troubleshooting your Nest thermostat’s offline status can be a straightforward process with the right guidance. From checking your internet connection to updating the Nest app and reaching out to Nest support, we’ll explore the various strategies to restore your Nest thermostat’s online connectivity. Let’s dive in and unravel the steps to seamlessly reconnect your Nest thermostat, allowing you to regain control of your home’s climate from anywhere, at any time.
Key Takeaways:
- Keep your Nest thermostat online by checking your home’s internet connection, restarting the thermostat, and updating the Nest app for seamless climate control.
- If your Nest thermostat remains offline, reach out to Nest support for personalized assistance in resolving connectivity issues and ensuring optimal smart home operation.
Read more: How To Get My Nest Doorbell Back Online
Check Internet Connection
Before delving into troubleshooting the Nest thermostat itself, it’s crucial to ensure that your home’s internet connection is stable and operational. The Nest thermostat relies on a consistent internet connection to communicate with the Nest servers and the accompanying app, enabling remote control and real-time updates. Here’s a step-by-step guide to checking your internet connection:
- Verify Wi-Fi Connectivity: Access the Wi-Fi settings on your smartphone, tablet, or computer and confirm that your home’s Wi-Fi network is available and functioning properly. If you encounter any connectivity issues, consider restarting your router or contacting your internet service provider for assistance.
- Test Internet Speed: Use a reliable internet speed testing tool to assess the speed and stability of your home network. Ideally, the speed should be sufficient to support the Nest thermostat’s data transmission requirements. If you notice unusually slow speeds or intermittent connectivity, troubleshooting your network infrastructure may be necessary.
- Check Router Settings: Access your router’s settings interface to ensure that the Wi-Fi network is broadcasting on the appropriate frequency band (2.4GHz or 5GHz) and that any security settings, such as WPA2 encryption, are configured correctly. Additionally, verify that the router’s firmware is up to date to mitigate potential compatibility issues.
- Signal Strength Assessment: Evaluate the signal strength of your Wi-Fi network in the vicinity of the Nest thermostat’s location. Weak signal strength can impede the thermostat’s ability to maintain a stable connection. Consider repositioning the router or utilizing Wi-Fi range extenders to enhance coverage in the relevant areas of your home.
By meticulously examining and optimizing your home’s internet connectivity, you can lay a solid foundation for resolving any offline issues with your Nest thermostat. Once you’ve confirmed that the internet connection is robust and reliable, you can proceed to the next troubleshooting steps with confidence, knowing that the underlying network infrastructure is primed to support your Nest thermostat’s seamless online operation.
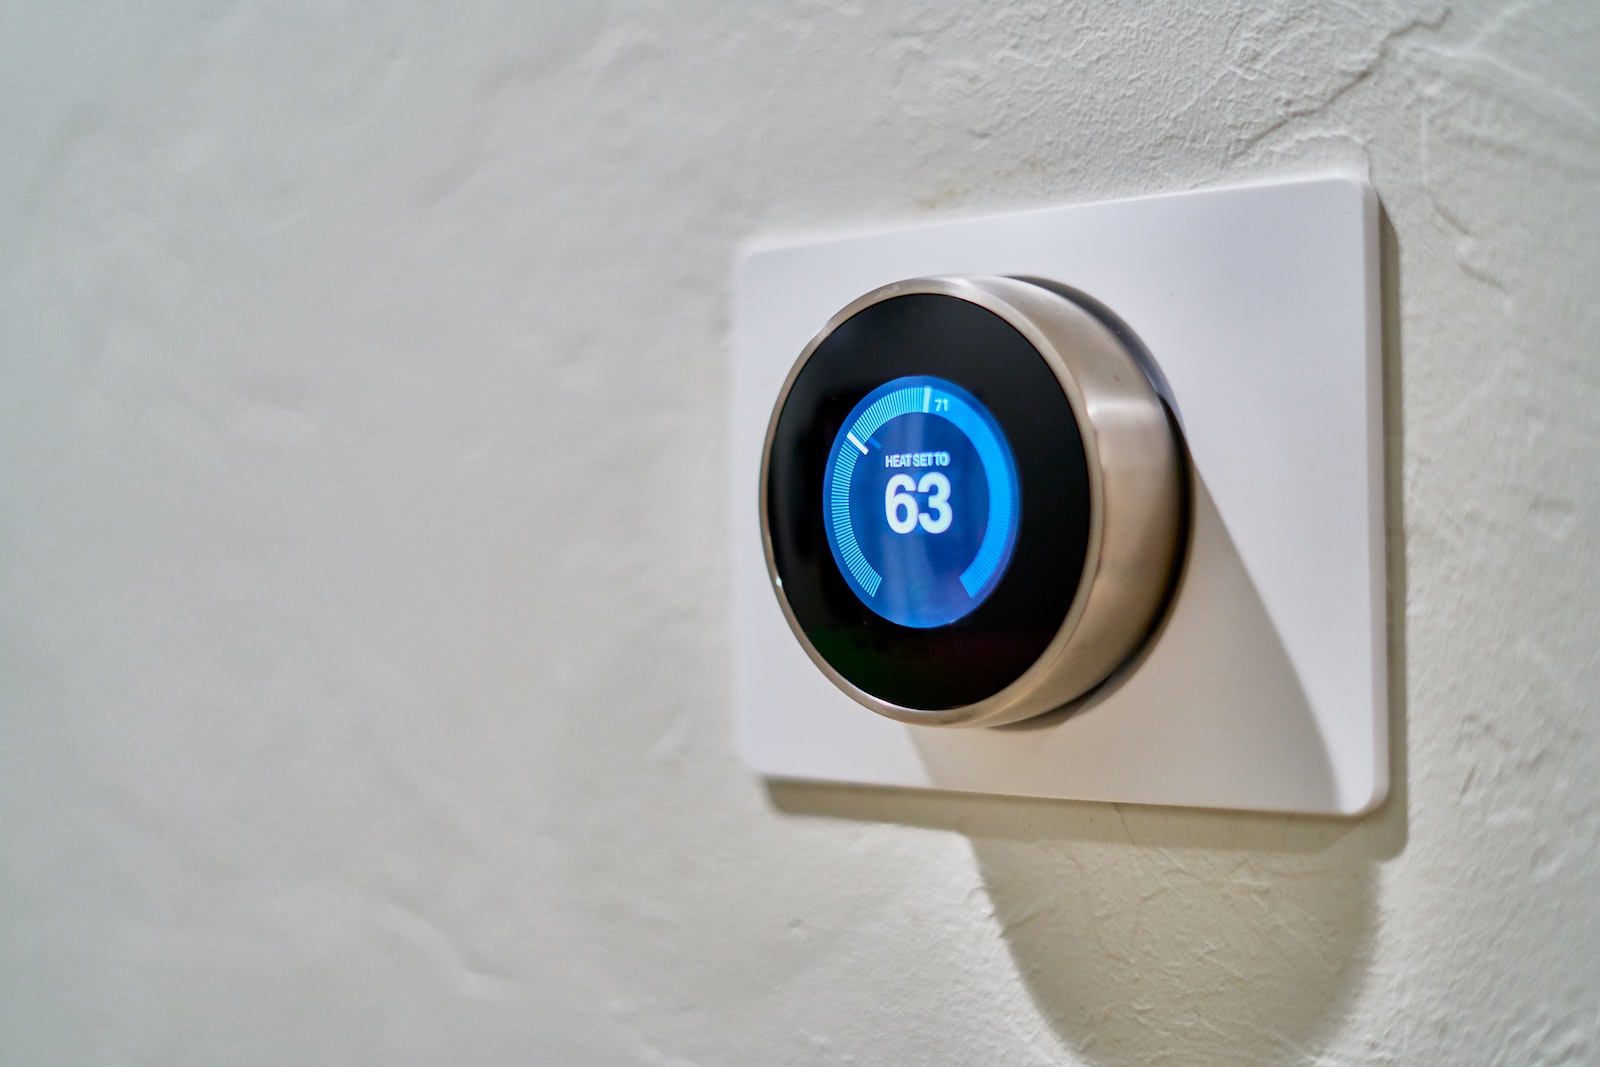
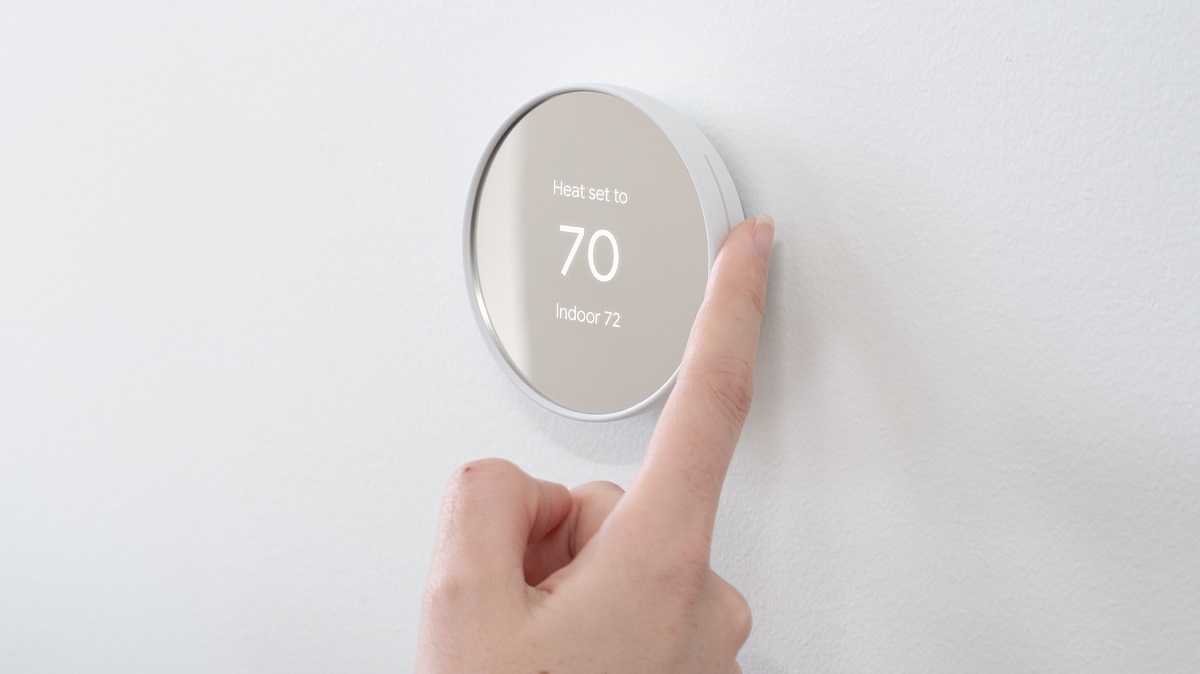
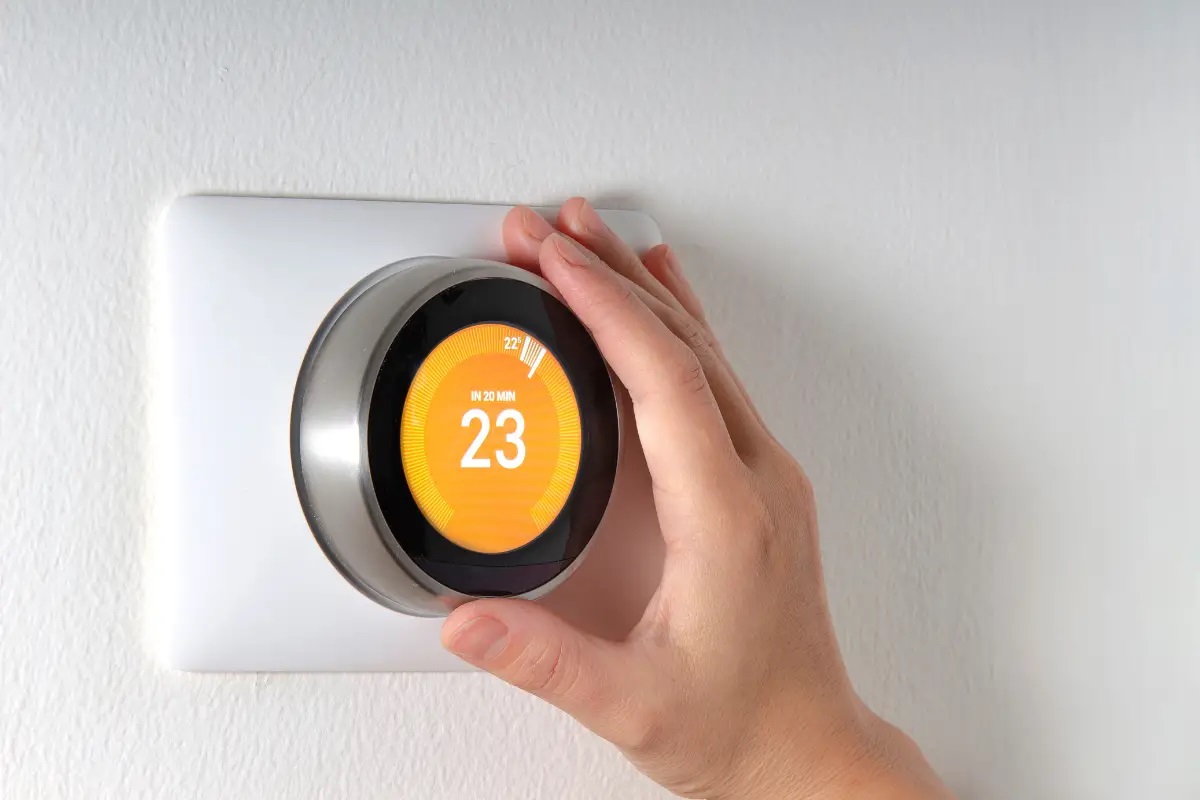
Restart the Nest Thermostat
When your Nest thermostat experiences connectivity issues, performing a restart can often rectify the situation by clearing temporary glitches and reestablishing communication with the Nest servers. Here’s a comprehensive guide on how to restart your Nest thermostat:
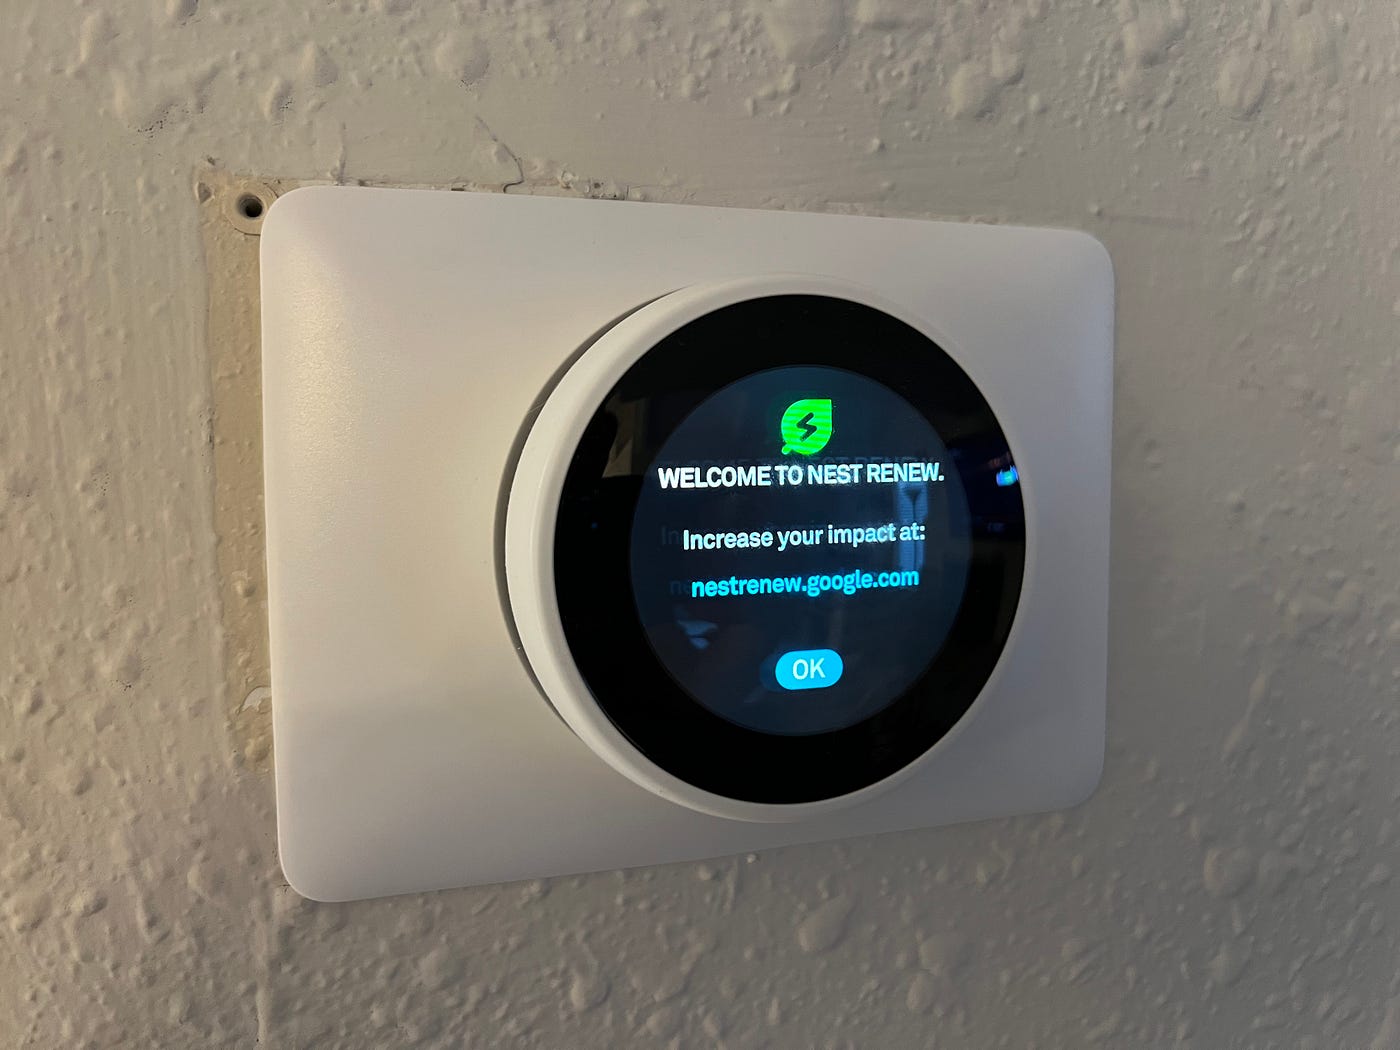
- Access the Thermostat: Locate your Nest thermostat on the wall and gently remove it from its base. Alternatively, if you have a Nest Thermostat E, gently press the ring to access the Quick View menu.
- Select Restart: Navigate to the settings menu on your Nest thermostat and select “Restart” from the options provided. Confirm the restart command to initiate the process.
- Wait for Reboot: Allow the Nest thermostat to complete the restart process, which typically involves a brief period of powering off and then rebooting. During this time, the thermostat’s display may indicate that it is restarting or undergoing a system reboot.
- Reattach the Thermostat: Once the restart is complete, reattach the Nest thermostat to its base or exit the Quick View menu if you have a Nest Thermostat E. Ensure that the thermostat securely snaps into place on the base.
- Monitor Connectivity: After restarting the Nest thermostat, monitor its connectivity status to determine if it successfully reconnects to your home network and the Nest servers. You can check the thermostat’s status using the Nest app or by observing any indicators on the thermostat itself.
By performing a restart, you give your Nest thermostat a fresh start, potentially resolving any transient issues that led to its offline status. This straightforward troubleshooting step serves as an initial intervention to restore the thermostat’s online connectivity, allowing you to regain control of your home’s climate with ease.
To put your Nest thermostat back online, try restarting it by removing it from the wall, waiting a few minutes, then reattaching it. You can also check your Wi-Fi connection and reset your router if needed.
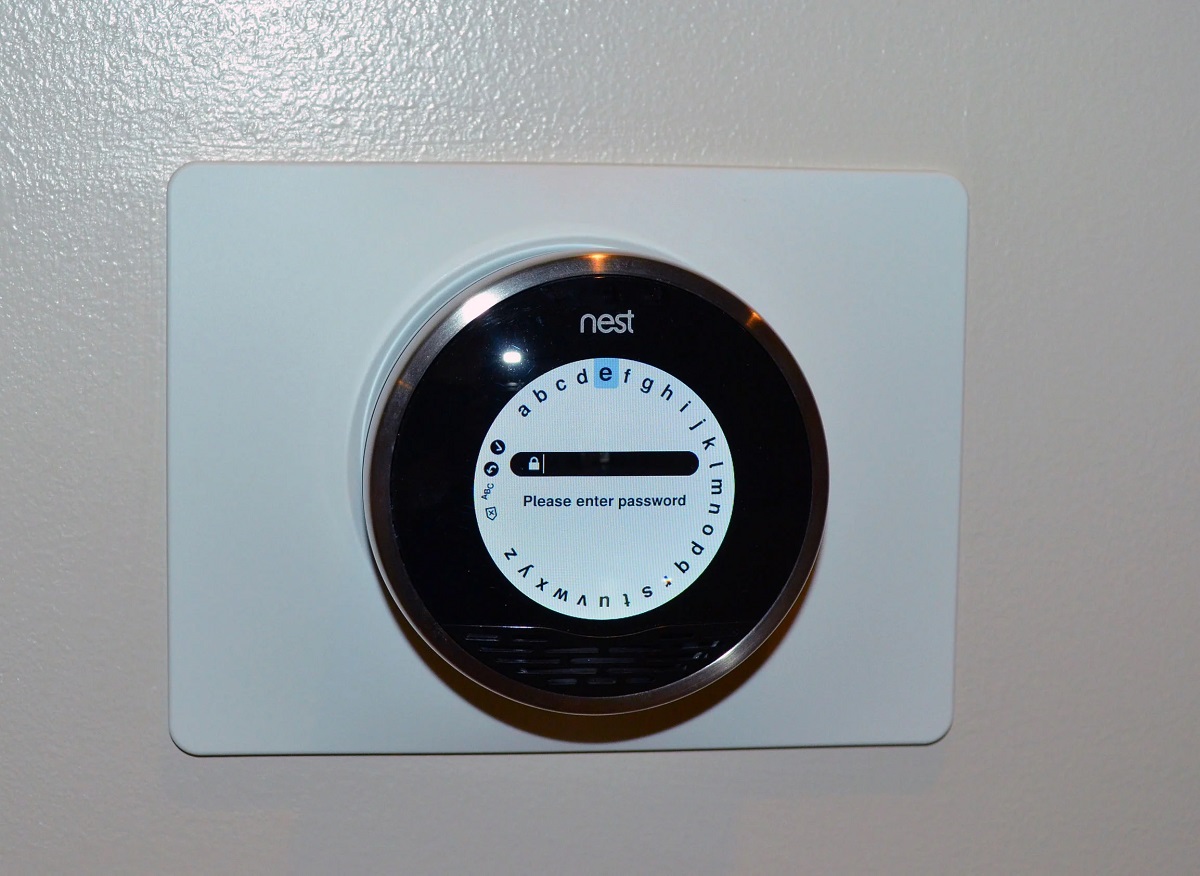
Reset the Nest Thermostat
If restarting the Nest thermostat doesn’t resolve the offline status, performing a reset may be necessary to address underlying issues and restore its online connectivity. It’s important to note that resetting the thermostat will erase all custom settings and data, reverting it to its default configuration. Here’s a detailed guide on how to reset your Nest thermostat:
- Access the Settings: Navigate to the settings menu on your Nest thermostat. If the thermostat is unresponsive, you can perform a reset using the Nest app as an alternative method.
- Select Reset: Locate the reset option within the settings menu and initiate the reset process. Confirm the reset command to proceed.
- Factory Reset: Follow the on-screen prompts to perform a factory reset, which will erase all custom settings, schedules, and data stored on the thermostat. This action restores the thermostat to its default state.
- Reconfigure the Thermostat: Once the reset is complete, you will need to reconfigure the Nest thermostat by setting up your preferred preferences, schedules, and Wi-Fi connectivity. Use the Nest app or the thermostat’s interface to input the necessary information.
- Monitor Reconnection: After reconfiguring the thermostat, monitor its reconnection to your home network and the Nest servers. Verify that the thermostat is online and accessible through the Nest app, indicating a successful restoration of connectivity.
While resetting the Nest thermostat entails the inconvenience of reconfiguring it from scratch, it can serve as a definitive solution to persistent offline issues. By restoring the thermostat to its default state, you eliminate any lingering issues that may have impeded its online connectivity, allowing you to enjoy uninterrupted control over your home’s climate.
Update the Nest App
Ensuring that you have the latest version of the Nest app installed on your smartphone or tablet is crucial for maintaining seamless communication with your Nest thermostat. App updates often include bug fixes, performance enhancements, and compatibility improvements that can address connectivity issues. Here’s a comprehensive guide on updating the Nest app:
- Access the App Store or Google Play Store: Open the respective app store on your device – the App Store for iOS devices or the Google Play Store for Android devices.
- Search for the Nest App: Enter “Nest” in the search bar to locate the Nest app. If the app is already installed on your device, you will be able to update it to the latest version.
- Check for Updates: If an update is available for the Nest app, you will see an “Update” button next to the app’s listing. Tap this button to initiate the update process.
- Install the Update: Follow the on-screen prompts to download and install the latest version of the Nest app. Ensure that your device is connected to a stable internet connection to facilitate the update process.
- Launch the Updated App: Once the update is complete, launch the Nest app to benefit from the latest enhancements and optimizations. The updated app should offer improved compatibility with your Nest thermostat and enhanced connectivity features.
By keeping the Nest app up to date, you equip yourself with the most effective tools for managing your Nest thermostat and troubleshooting any connectivity issues. The latest app version is designed to deliver a seamless user experience, ensuring that you can effortlessly monitor and control your home’s climate with your Nest thermostat at any time, from anywhere.
Read more: How To Get Smart Plug Back Online
Contact Nest Support
If you’ve diligently attempted the troubleshooting steps outlined above and your Nest thermostat remains offline, reaching out to Nest support can provide invaluable assistance in resolving the issue. The Nest support team comprises knowledgeable professionals who can offer personalized guidance and technical expertise to address your specific concerns. Here’s a comprehensive guide on contacting Nest support:
- Access the Nest Support Website: Visit the official Nest support website using a web browser on your computer or mobile device. The website provides a wealth of resources, including troubleshooting guides, FAQs, and contact options.
- Explore Troubleshooting Resources: Before initiating direct contact with Nest support, consider browsing the available troubleshooting resources on the support website. You may find detailed guides and solutions tailored to your Nest thermostat’s offline status.
- Initiate a Live Chat: If you prefer real-time assistance, look for the option to engage in a live chat with a Nest support representative. This enables you to communicate your concerns directly and receive immediate guidance in resolving the offline status of your Nest thermostat.
- Submit a Support Ticket: If your concerns are not time-sensitive, consider submitting a support ticket detailing the issues you’re experiencing with your Nest thermostat. Provide as much relevant information as possible to expedite the troubleshooting process.
- Phone Support: If you prefer direct communication, explore the available phone support options provided on the Nest support website. Contacting Nest support via phone allows you to engage in a detailed conversation with a support representative, facilitating a thorough assessment of the offline status of your Nest thermostat.
By leveraging the expertise of Nest support, you can benefit from tailored guidance and troubleshooting strategies to address the offline status of your Nest thermostat. The support team is committed to ensuring that your smart home devices, including the Nest thermostat, operate seamlessly, empowering you to enjoy the full spectrum of benefits offered by smart home automation.
Frequently Asked Questions about How To Put Nest Thermostat Back Online
Was this page helpful?
At Storables.com, we guarantee accurate and reliable information. Our content, validated by Expert Board Contributors, is crafted following stringent Editorial Policies. We're committed to providing you with well-researched, expert-backed insights for all your informational needs.


0 thoughts on “How To Put Nest Thermostat Back Online”