Home>Home Appliances>Home Automation Appliances>How To Disconnect A Nest Thermostat
Home Automation Appliances
How To Disconnect A Nest Thermostat
Modified: January 6, 2024
Learn how to disconnect a Nest thermostat and troubleshoot home automation appliances with our step-by-step guide. Master the art of home automation!
(Many of the links in this article redirect to a specific reviewed product. Your purchase of these products through affiliate links helps to generate commission for Storables.com, at no extra cost. Learn more)
Introduction
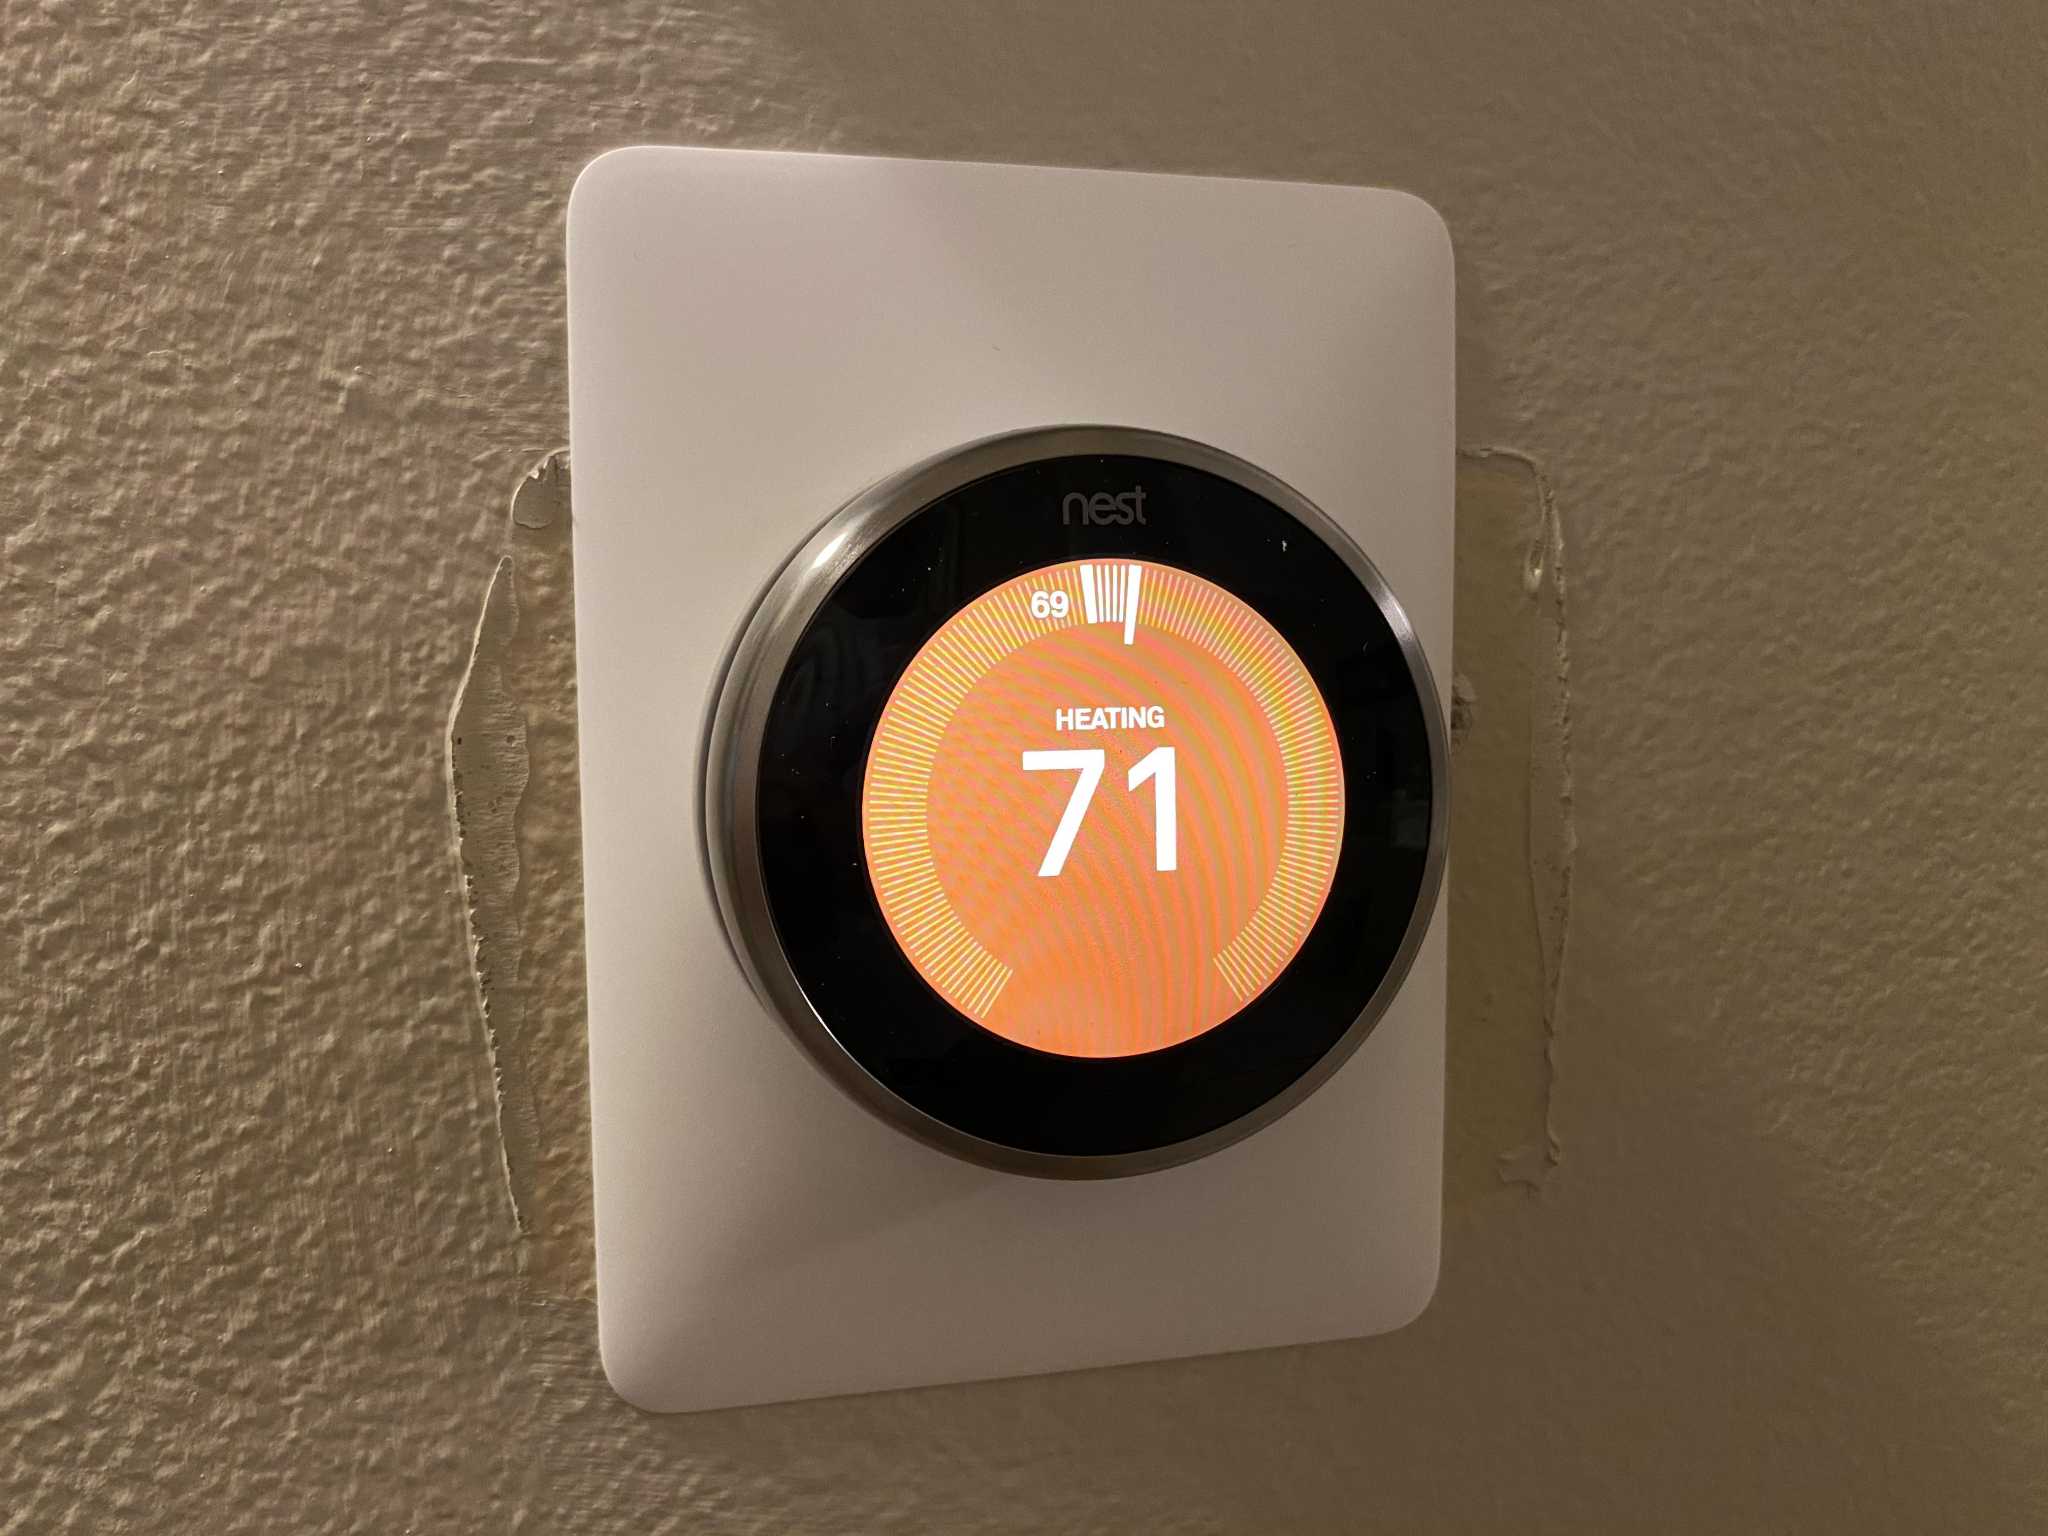
Welcome to the world of home automation! Nest thermostats have revolutionized the way we control the climate in our homes, offering convenience, energy efficiency, and sleek design. However, there are times when you may need to disconnect your Nest thermostat, whether it's for maintenance, relocation, or replacement.
In this guide, we'll walk you through the step-by-step process of disconnecting a Nest thermostat. Whether you're a seasoned DIY enthusiast or a first-time homeowner, you'll find this guide comprehensive and easy to follow. By the end of this tutorial, you'll have the confidence and know-how to disconnect your Nest thermostat safely and effectively.
So, let's dive in and learn how to disconnect a Nest thermostat!
Key Takeaways:
- Safely disconnecting a Nest thermostat involves turning off the power, removing it from the wall, and disconnecting the wires with precision and caution. This ensures a smooth disconnection process and prepares for potential reinstallation.
- Installing a wall plate after disconnecting a Nest thermostat covers the wiring and provides a clean, finished look to the wall. This step protects the wiring and prepares the wall for future thermostat installation.
Read more: How To Reset A Nest Thermostat Password
Step 1: Turn off the Power
Before you begin disconnecting your Nest thermostat, it’s crucial to ensure that the power to your HVAC system is completely turned off. This step is essential for your safety and to prevent any potential damage to the thermostat or HVAC system.
Here’s how to turn off the power:
- Locate the Circuit Breaker: Head to your electrical panel and locate the circuit breaker that controls the power supply to your HVAC system. The circuit breaker should be clearly labeled for easy identification. If it’s not labeled, look for the breaker that corresponds to the HVAC system.
- Switch Off the Breaker: Once you’ve identified the correct breaker, switch it to the "Off" position. This action will cut off the power supply to the HVAC system, ensuring that no electricity is flowing to the thermostat or the connected wires.
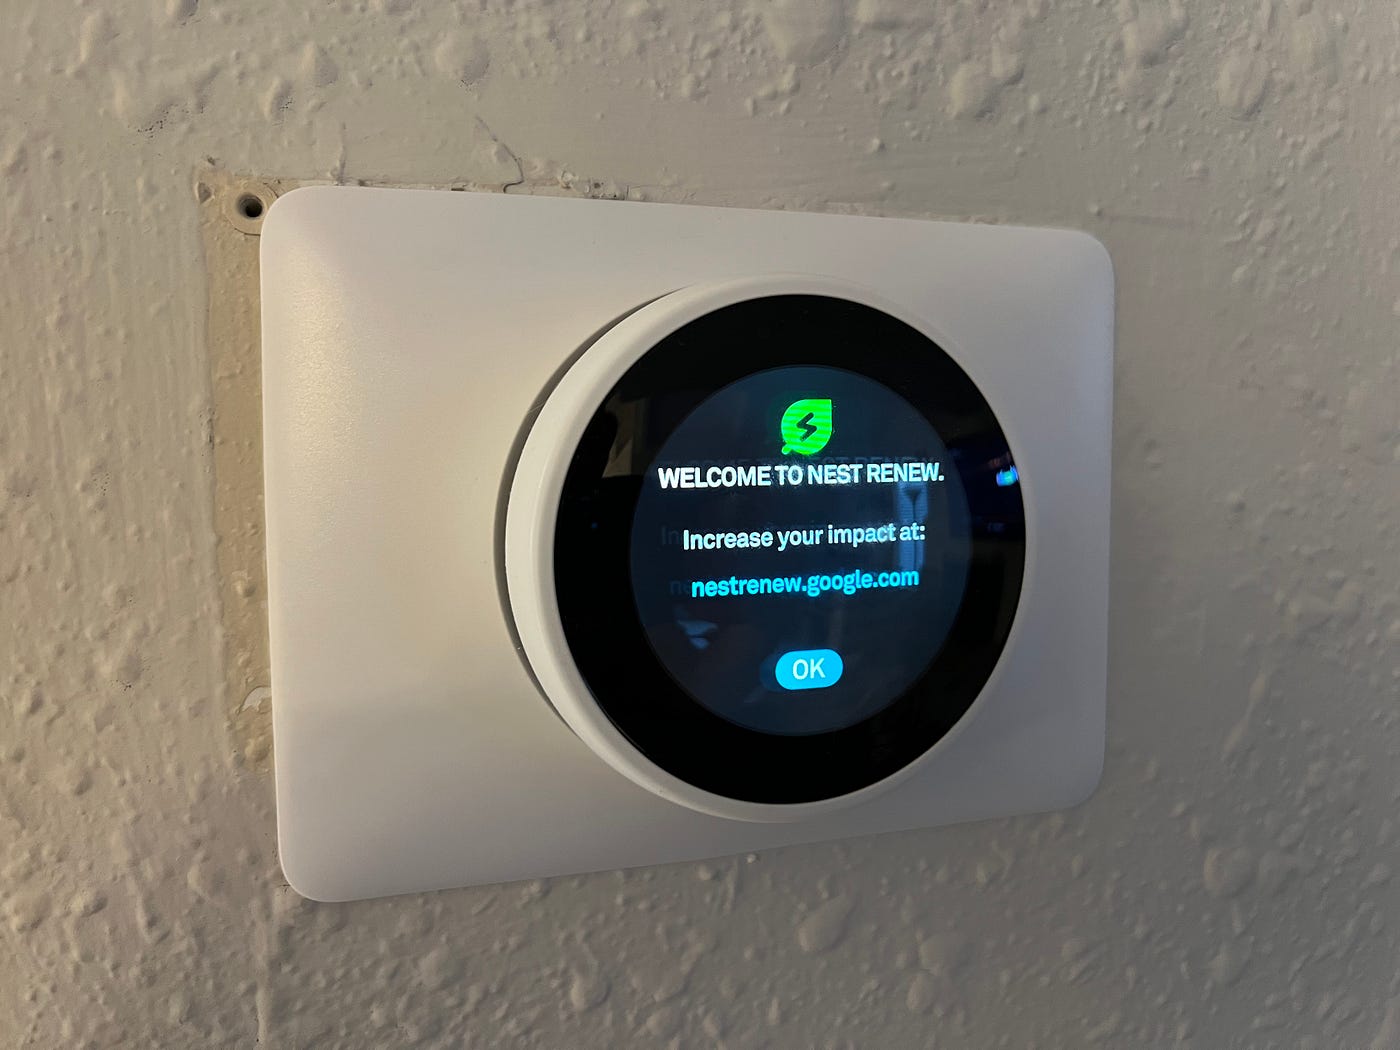
- Verify the Power: To double-check that the power is off, try adjusting the temperature on your Nest thermostat. If the screen remains blank and there are no signs of power, you can proceed with confidence.
By turning off the power at the circuit breaker, you’ll create a safe working environment for disconnecting your Nest thermostat. This precautionary measure is essential for avoiding electrical hazards and ensuring a smooth disconnection process.
Step 2: Remove the Thermostat from the Wall
With the power to your HVAC system turned off, you can now proceed to remove the Nest thermostat from the wall. This step involves carefully detaching the thermostat from its mounting base, allowing you to access the wiring behind it.
Follow these steps to remove the thermostat:
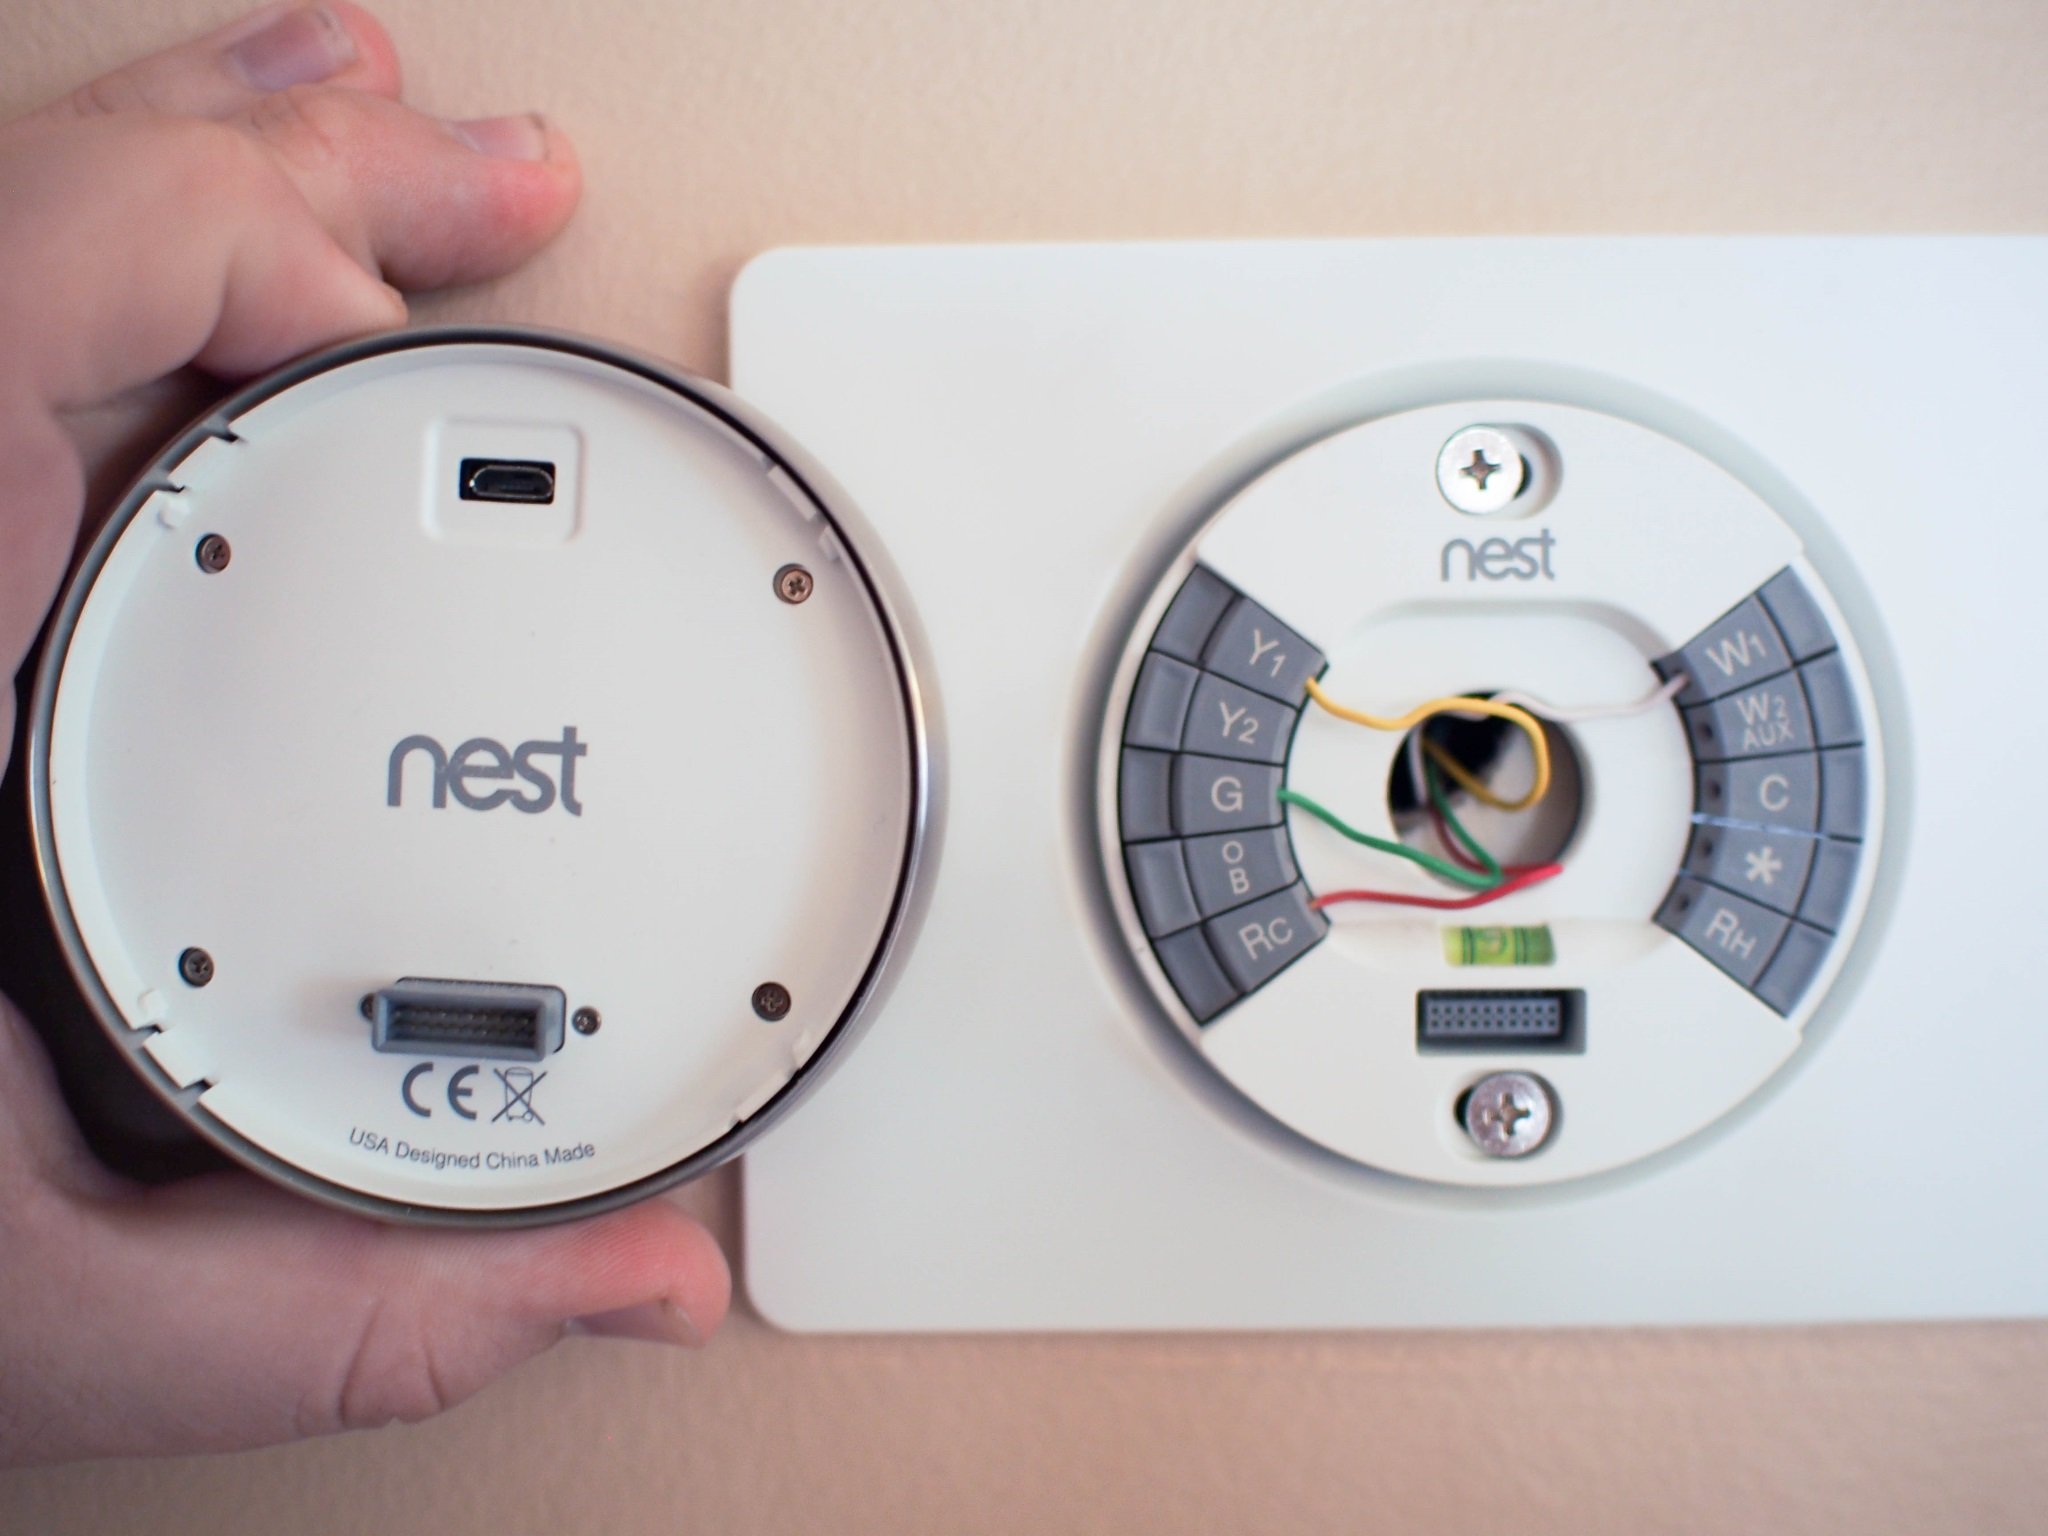
- Locate the Mounting Base: The Nest thermostat is attached to a mounting base, which is typically secured to the wall with screws. Identify the location of the mounting base and take note of any screws or fasteners holding it in place.
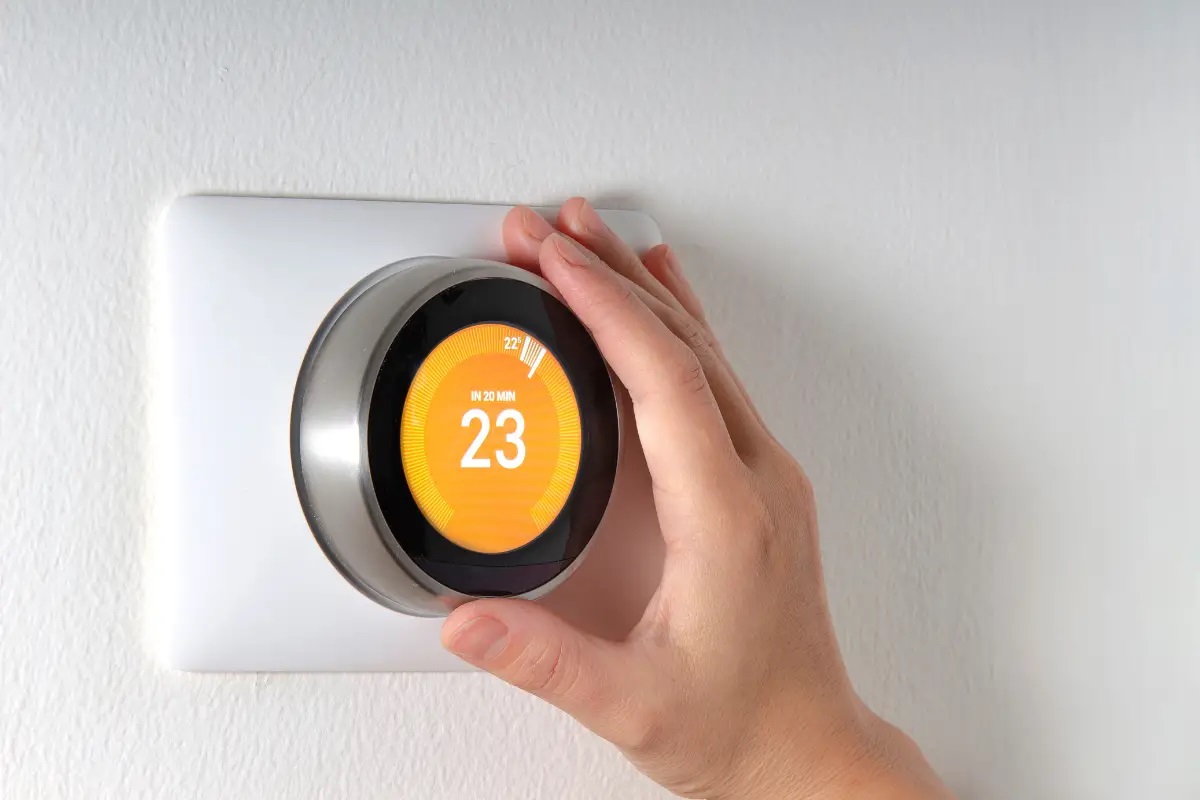
- Detach the Thermostat: Gently grasp the sides of the thermostat and pull it away from the mounting base. The Nest thermostat is designed to easily detach from the base, allowing you to access the wiring connections on the back.
- Set Aside the Thermostat: Once the thermostat is removed, place it in a safe location away from your work area. This precaution will prevent any accidental damage to the thermostat while you proceed with disconnecting the wires.
By carefully removing the Nest thermostat from the wall, you’ll create the necessary space to access the wiring connections. This step sets the stage for safely disconnecting the wires from the thermostat and preparing for the next phase of the disconnection process.
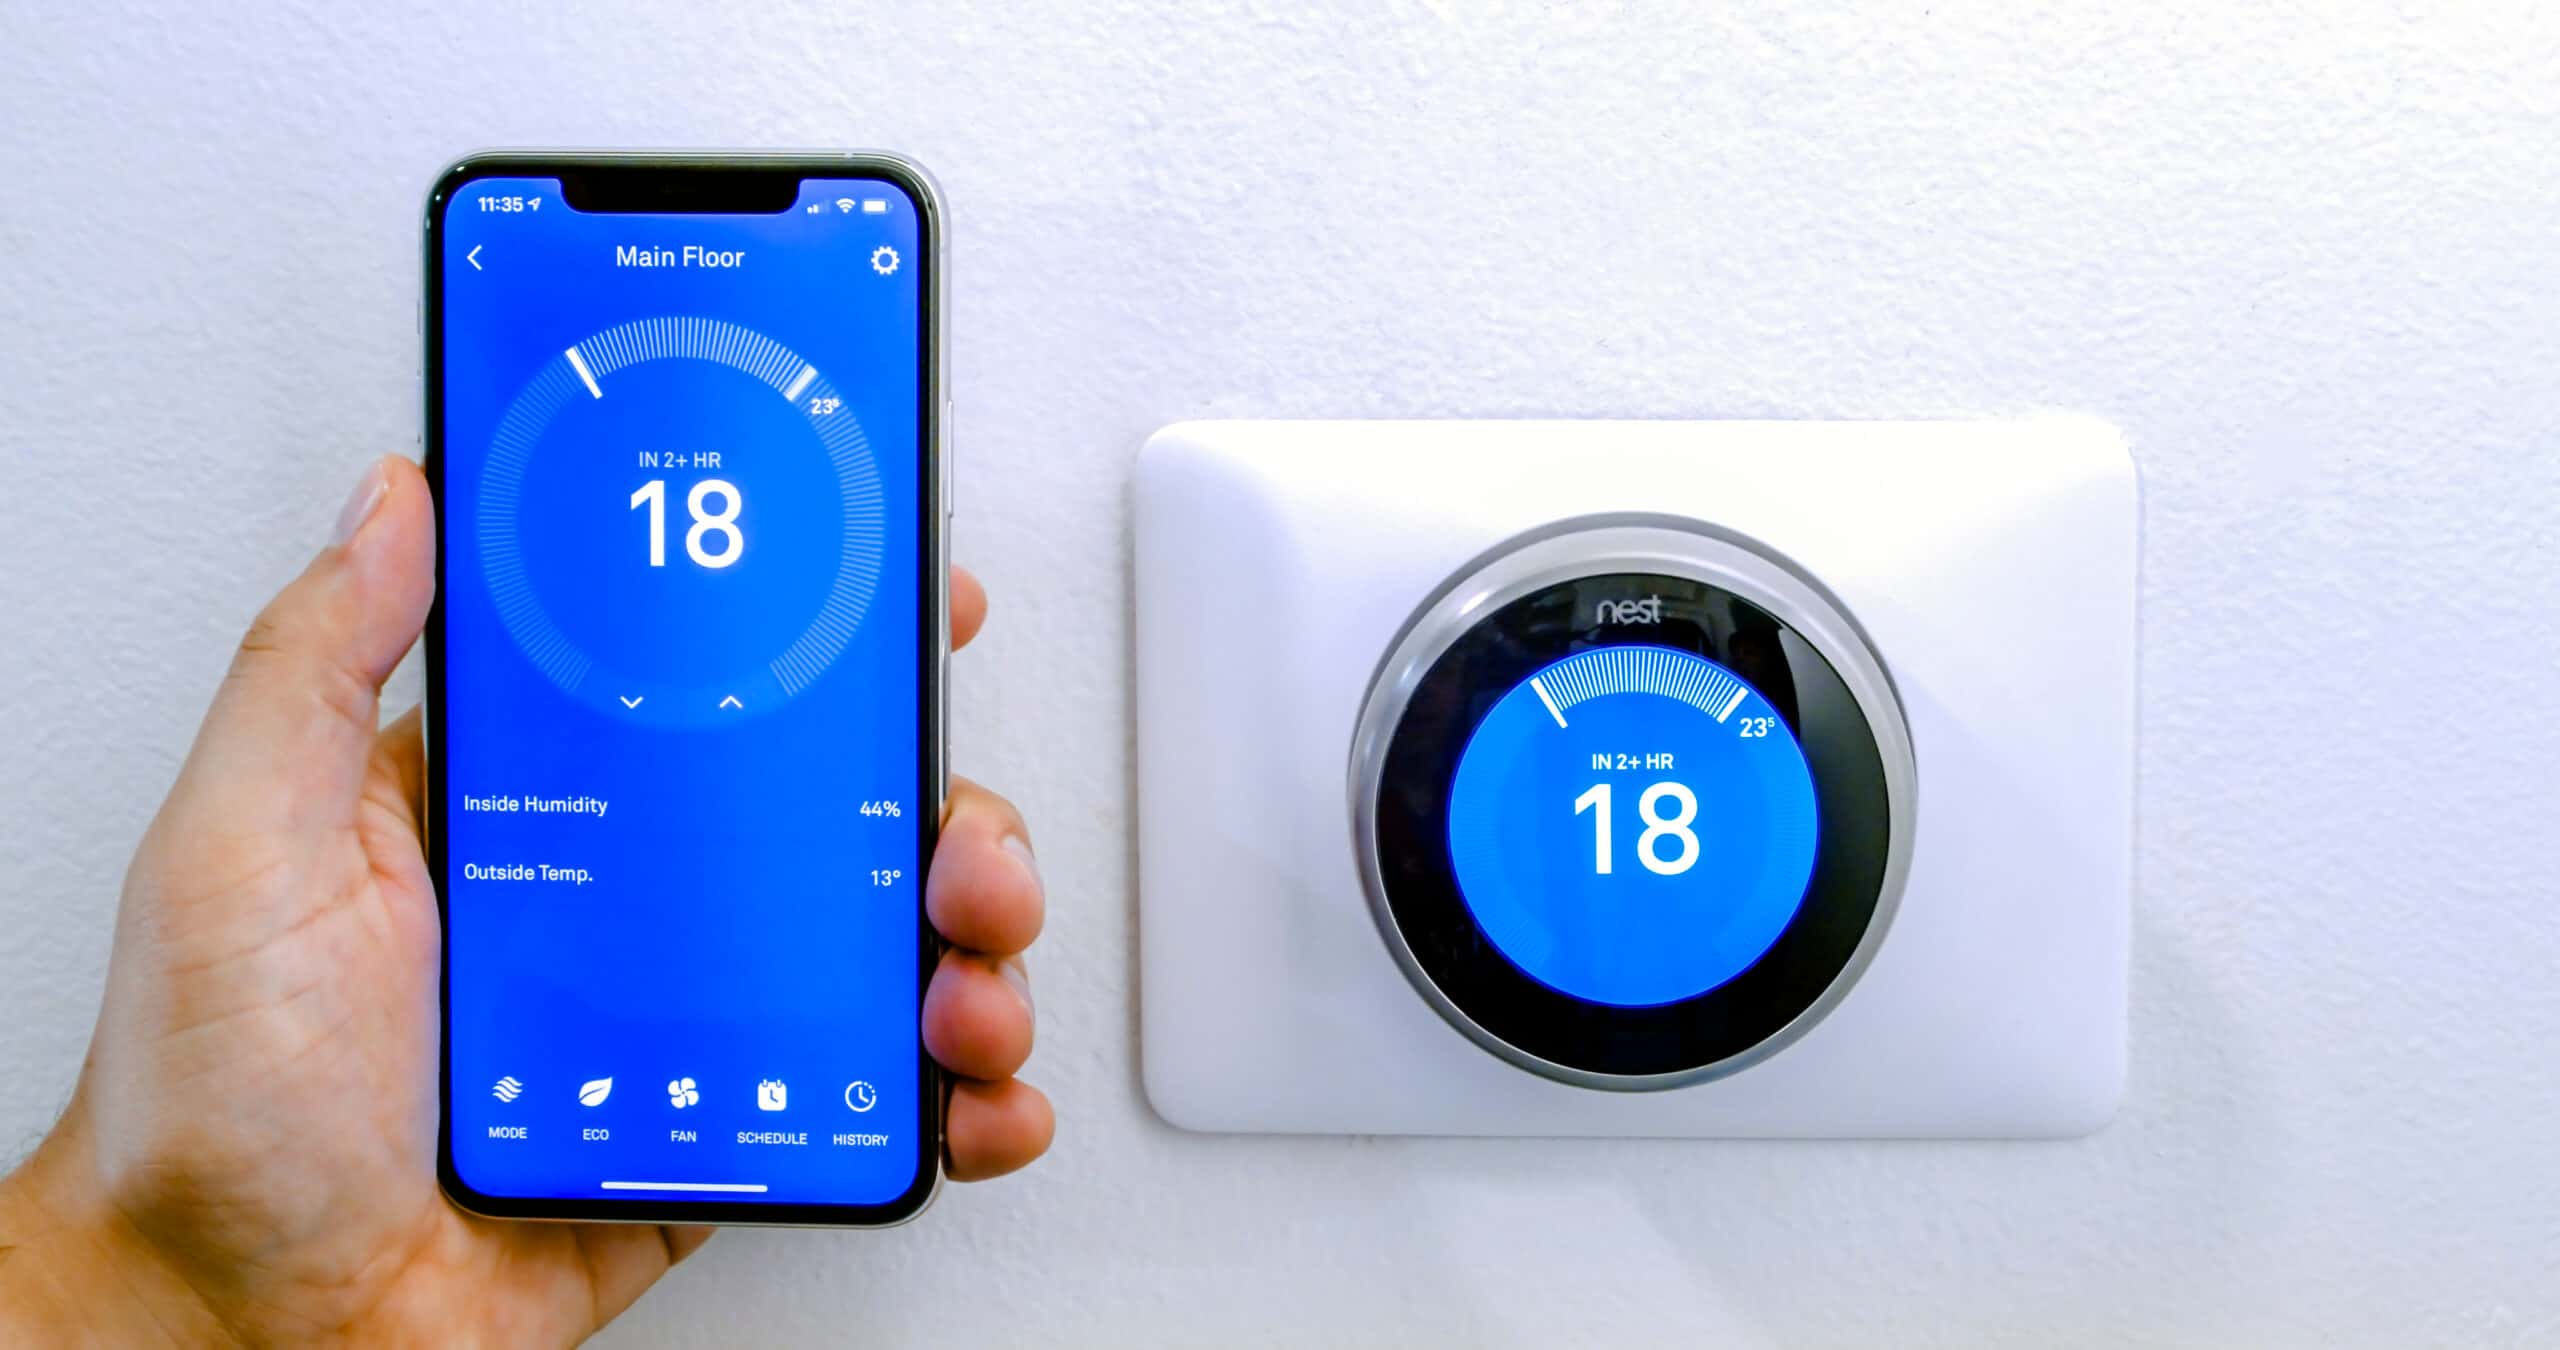
To disconnect a Nest Thermostat, go to the main menu, select “Settings,” then “Equipment,” and finally “Remove Nest Thermostat.” Follow the on-screen instructions to complete the disconnection process.
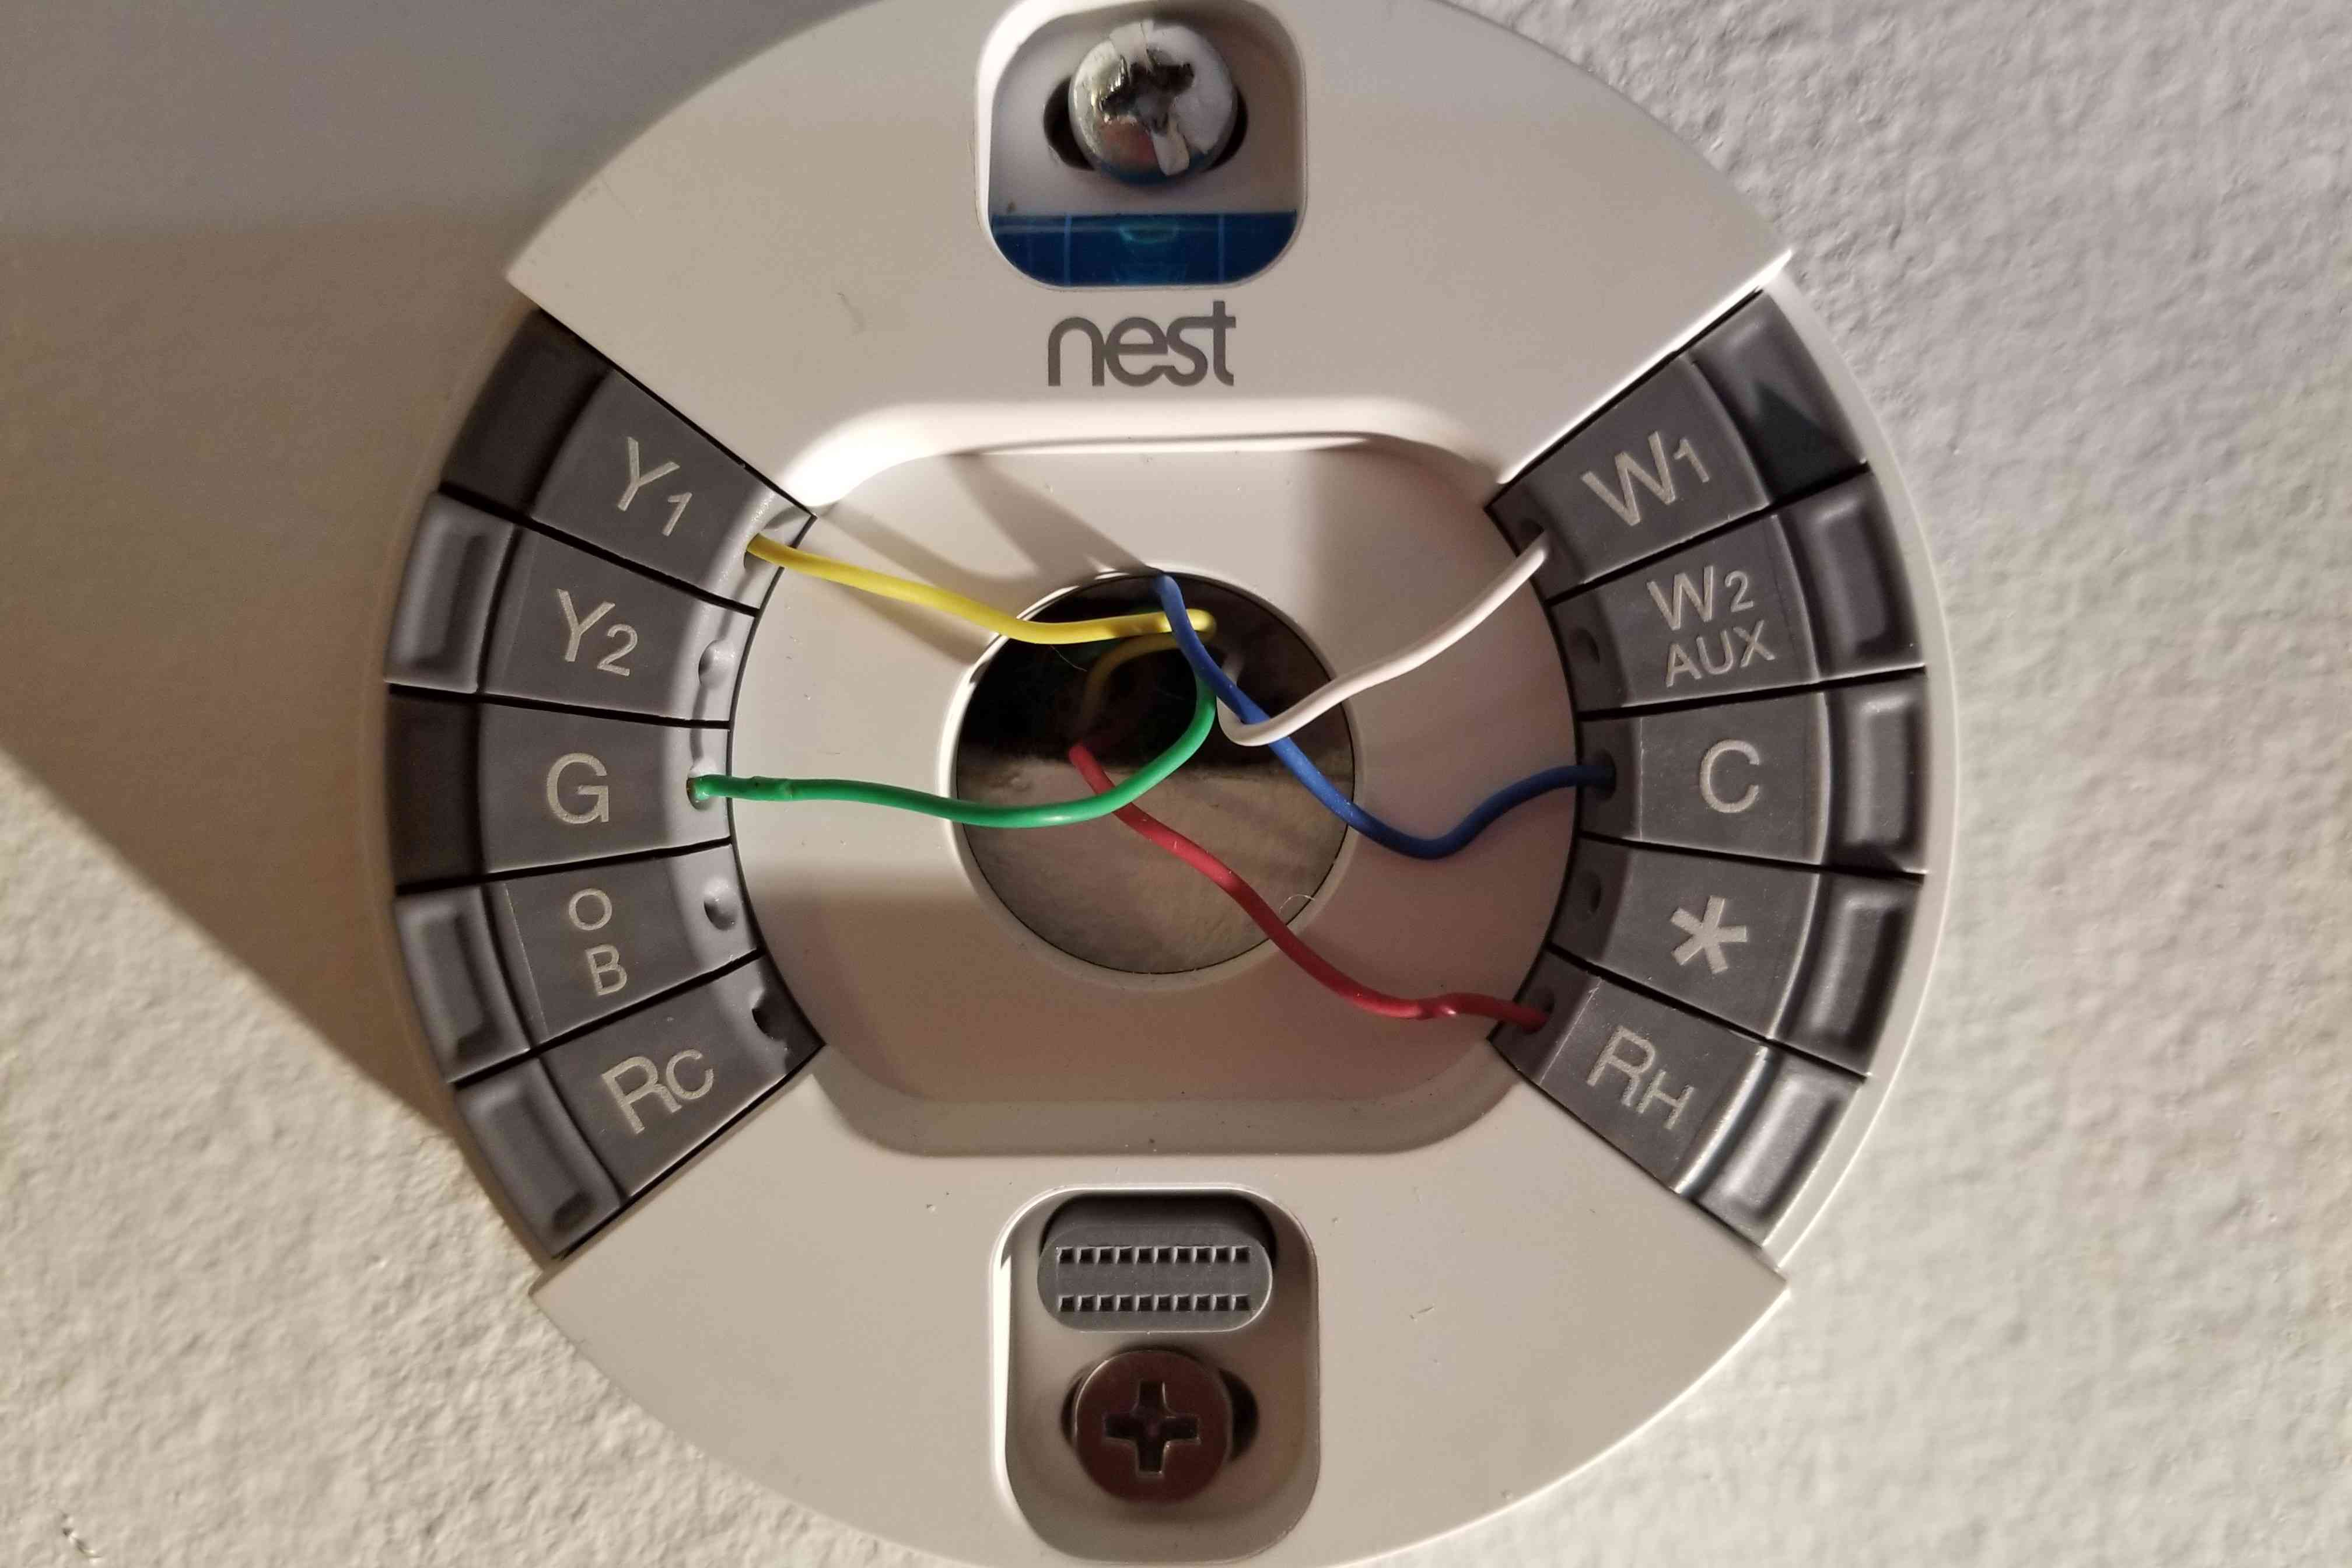
Step 3: Disconnect the Wires
Now that the Nest thermostat has been removed from the wall, you can focus on disconnecting the wires from the thermostat’s base. This step requires precision and caution to ensure that the wiring is safely released without causing any damage to the components.
Follow these guidelines to disconnect the wires:
- Identify the Wiring: Take note of the wires connected to the thermostat’s base. Each wire is typically labeled with a letter corresponding to its function, such as R (power), Y (cooling), W (heating), G (fan), and C (common). Make a mental or written note of the wire labels to facilitate the reconnection process later.
- Release the Wires: Using a small screwdriver or the appropriate tool, carefully loosen the terminal screws securing the wires to the thermostat’s base. As you release each wire, handle it gently and avoid tugging on the wire itself, as this can damage the insulation or connections.
- Organize the Wires: After releasing the wires, organize them in a manner that helps you remember their original placement. You can use tape or labels to mark each wire with its corresponding letter label. This organization will simplify the reinstallation process when connecting the wires to a new thermostat or reattaching the Nest thermostat in the future.
By methodically disconnecting the wires from the thermostat’s base, you’ll ensure that each wire is released smoothly and without damage. This careful approach sets the stage for a seamless reconnection process and minimizes the risk of errors when reinstalling the thermostat or integrating a new one.
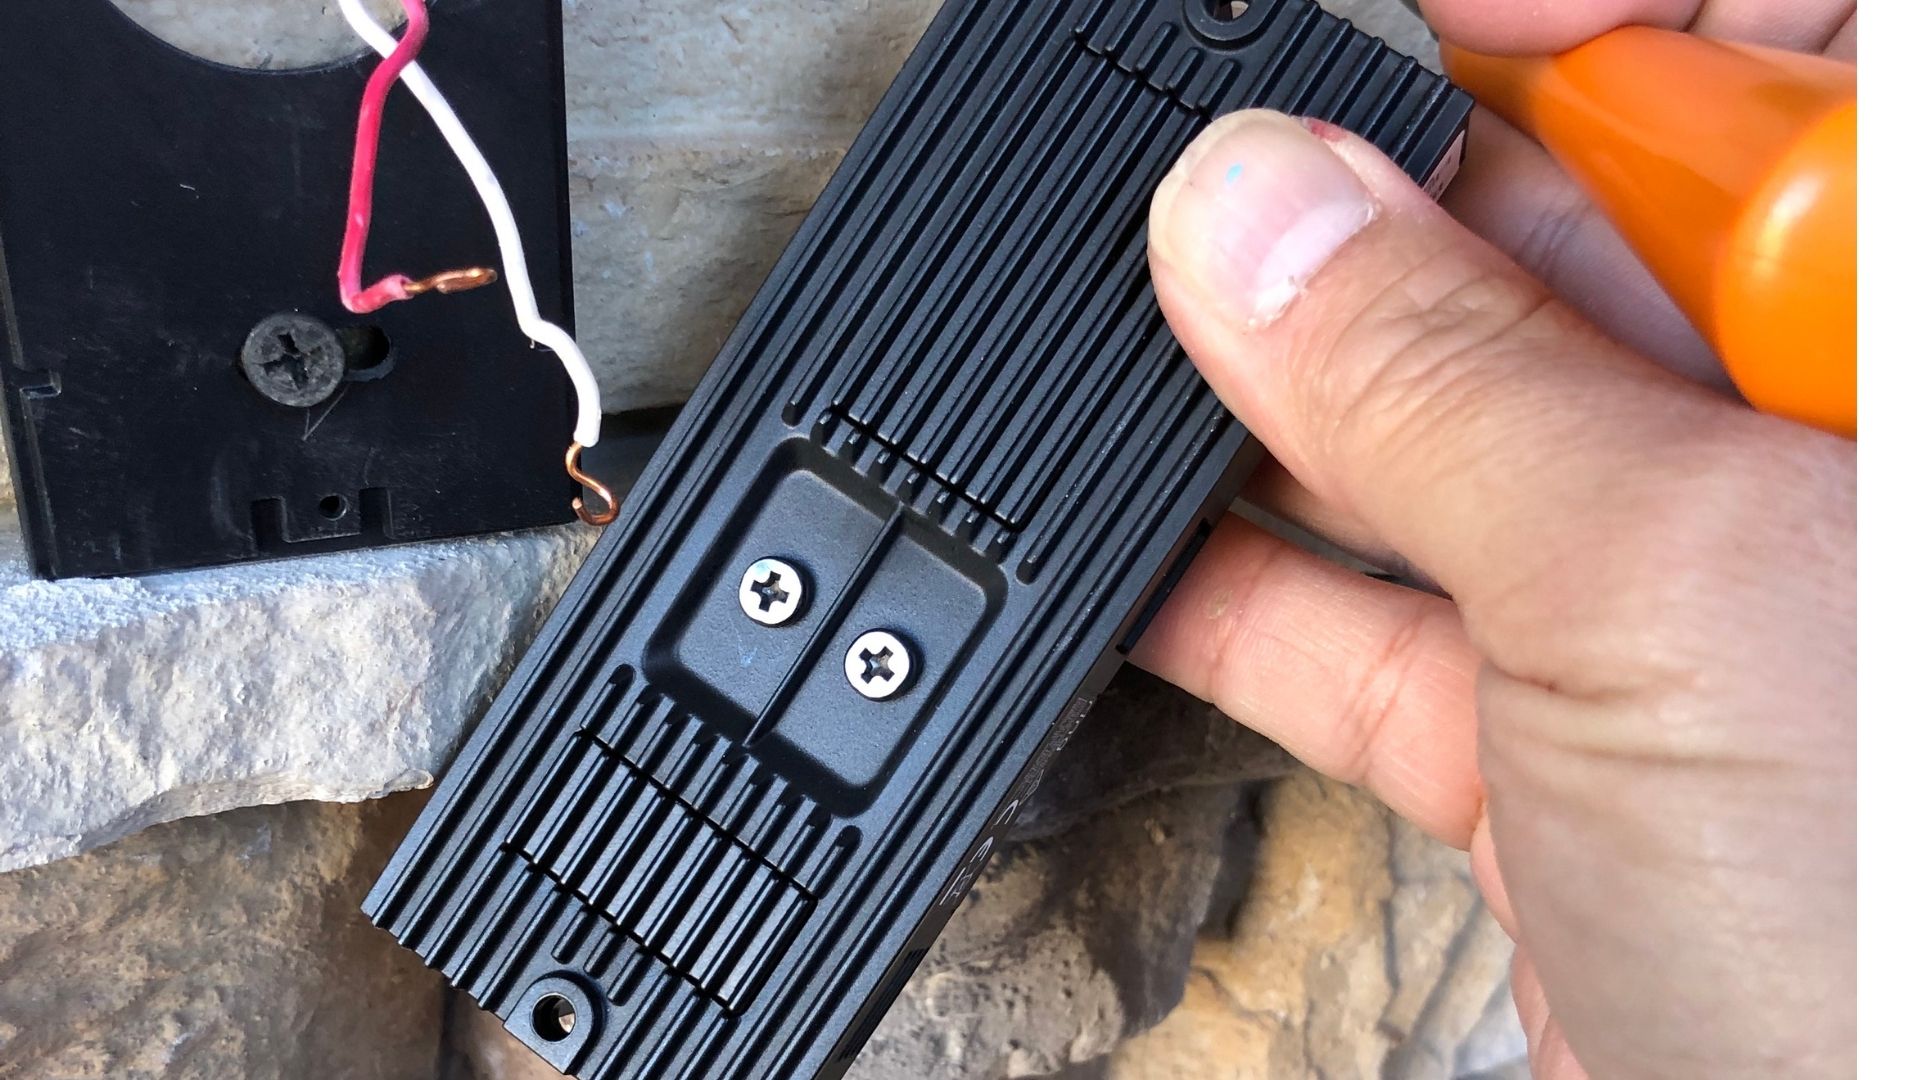
Step 4: Install the Wall Plate
After disconnecting the wires and removing the Nest thermostat, it’s essential to install a wall plate to cover the wiring and provide a clean, finished look to the wall. The wall plate serves as a protective barrier and a mounting surface for the thermostat, should you choose to reattach it or install a new one in the future.
Follow these steps to install the wall plate:
- Clean the Wall Surface: Before installing the wall plate, ensure that the wall surface behind the thermostat is clean and free of any debris or residue. Use a mild cleaning solution and a soft cloth to gently wipe the area, allowing it to dry completely before proceeding.
- Position the Wall Plate: Place the wall plate over the exposed wiring, aligning it with the pre-drilled holes or mounting anchors on the wall. Ensure that the wall plate covers the wiring and aligns with the previous mounting holes from the thermostat’s base.
- Secure the Wall Plate: Using the appropriate screws or fasteners, secure the wall plate to the wall, ensuring a snug and stable fit. Take care not to overtighten the screws, as this can damage the wall plate or the wall surface.
- Verify the Installation: Once the wall plate is securely installed, double-check that it sits flush against the wall and provides a level surface for future thermostat installation. Confirm that the wiring is neatly contained within the wall plate’s opening, maintaining a tidy and organized appearance.
By installing the wall plate, you’ll not only cover the exposed wiring but also prepare the wall for any future thermostat installation. This final step ensures that the wiring is protected and neatly concealed, maintaining the aesthetics of your home while allowing for seamless reinstallation of a thermostat when needed.
Read more: How To Turn On My Nest Thermostat
Conclusion
Congratulations! You’ve successfully learned how to disconnect a Nest thermostat, empowering you to handle maintenance, relocation, or replacement with confidence and ease. By following the step-by-step process outlined in this guide, you’ve gained valuable insights into safely disconnecting the thermostat and preparing the wiring for future reinstallation.
Remember, the key to a smooth disconnection process lies in prioritizing safety, organization, and attention to detail. By turning off the power, removing the thermostat from the wall, disconnecting the wires, and installing a wall plate, you’ve taken proactive steps to ensure a seamless transition during the disconnection and potential reinstallation of the thermostat.
Whether you’re upgrading to a new thermostat, relocating to a new home, or simply performing maintenance, the knowledge and skills you’ve acquired will serve you well in managing your home’s climate control system. Should you decide to reattach the Nest thermostat or install a new one in the future, you can approach the process with confidence and expertise.
As you continue to explore the possibilities of home automation and smart technologies, remember that each step, including disconnecting and reconnecting devices, contributes to a deeper understanding of your home’s systems. Your proactive approach to learning and implementing these processes enhances your overall experience with home automation, making your living space more efficient, comfortable, and personalized.
Thank you for joining us on this journey to learn how to disconnect a Nest thermostat. We hope this guide has provided valuable insights and practical knowledge that will benefit you in your home automation endeavors. Stay curious, stay empowered, and continue to explore the exciting world of smart home technologies!
Frequently Asked Questions about How To Disconnect A Nest Thermostat
Was this page helpful?
At Storables.com, we guarantee accurate and reliable information. Our content, validated by Expert Board Contributors, is crafted following stringent Editorial Policies. We're committed to providing you with well-researched, expert-backed insights for all your informational needs.
0 thoughts on “How To Disconnect A Nest Thermostat”