Articles
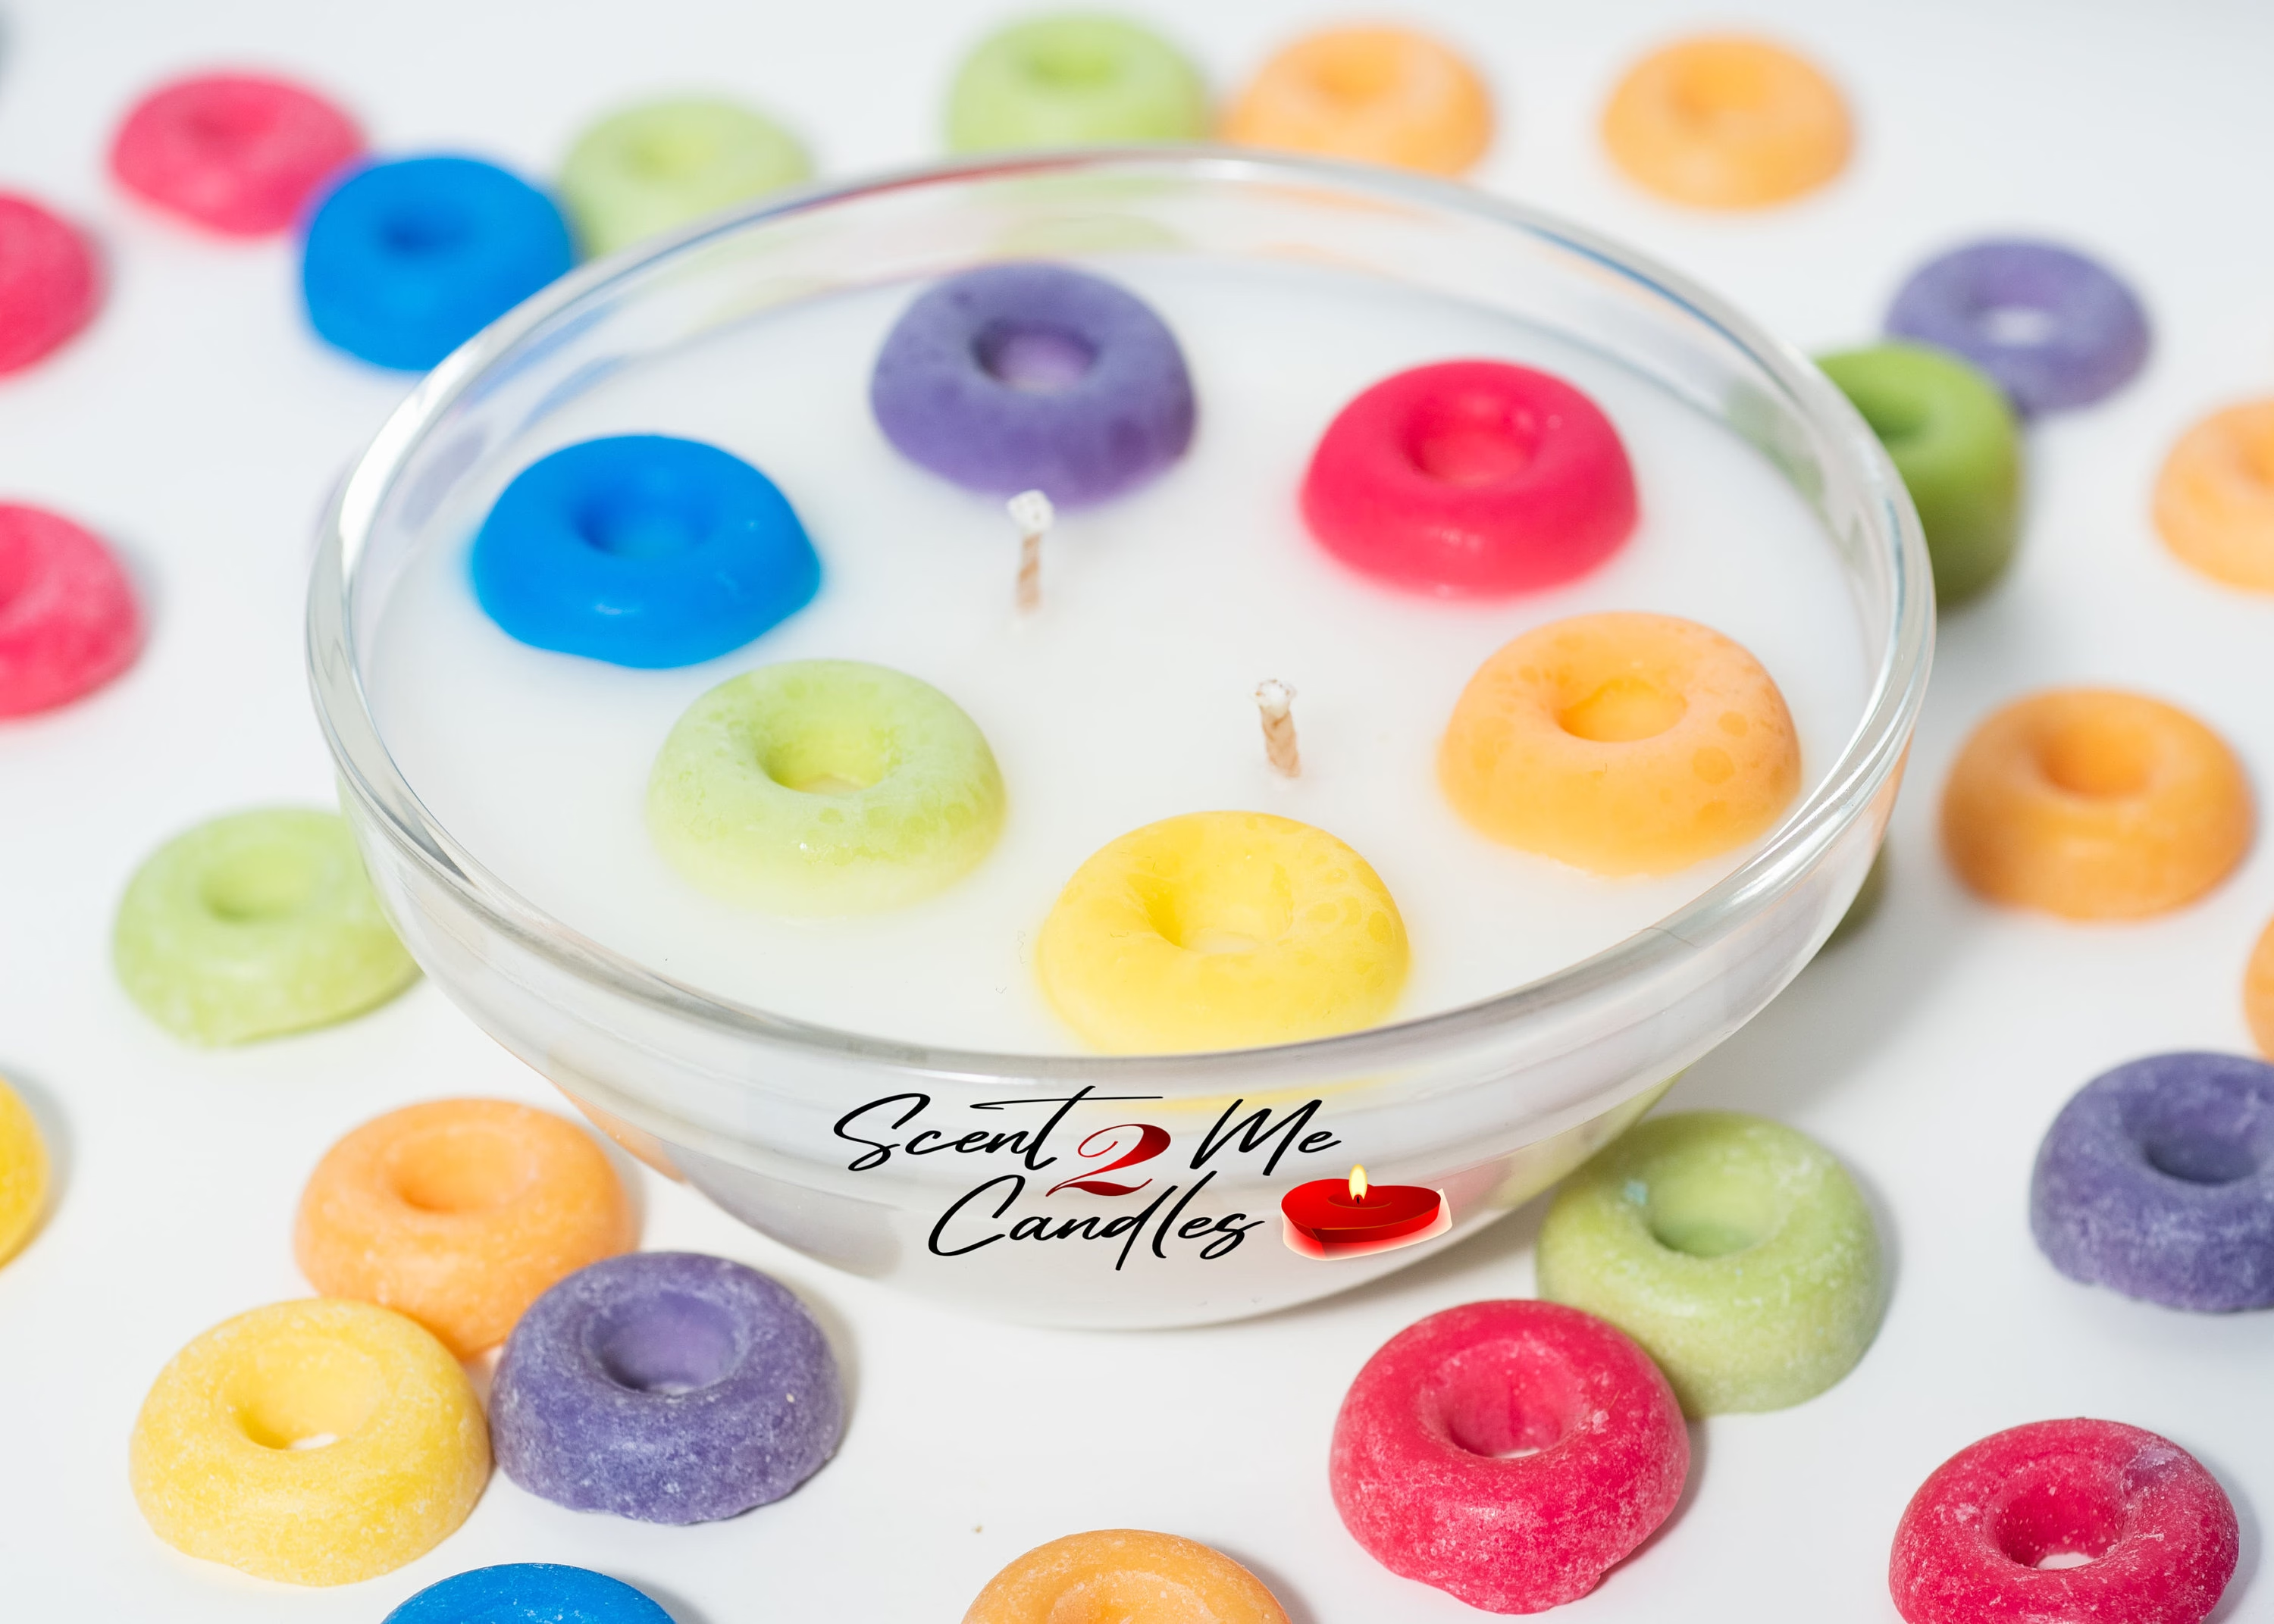
How To Make Fruit Loop Candles
Modified: February 20, 2024
Learn how to create beautiful and fragrant Fruit Loop candles with step-by-step instructions in this informative and engaging articles.
(Many of the links in this article redirect to a specific reviewed product. Your purchase of these products through affiliate links helps to generate commission for Storables.com, at no extra cost. Learn more)
Introduction
In today’s fast-paced world, finding ways to relax and unwind has become more important than ever. What better way to create a soothing atmosphere than by lighting a scented candle? But why settle for a regular candle when you can make your own unique creation? Enter the Fruit Loop candle – a quirky and colorful twist on traditional candles that will not only fill your space with a delightful scent but also add a touch of fun and whimsy.
The Fruit Loop candle is a simple DIY project that combines the sweet aroma of fruit with the nostalgic charm of everyone’s favorite breakfast cereal. This project is perfect for craft enthusiasts who are looking for a creative and budget-friendly way to infuse their living space with a burst of color and fragrance.
In this article, we will guide you through each step of the process, from preparing the candle wick to assembling the final product. So, gather your supplies and let’s dive into the wonderful world of Fruit Loop candles.
Key Takeaways:
- Unleash Your Creativity: Making Fruit Loop candles is a fun and customizable DIY project that allows you to infuse your space with color, fragrance, and whimsy. Get creative and enjoy the process!
- Personalized Ambiance: Create a unique sensory experience by crafting your own Fruit Loop candle, adding a burst of color and delightful aroma to any room. Enjoy the warm glow and captivating fragrance!
Read more: How To Make A Loop Yarn Blanket
Materials Required
Before we begin, let’s gather all the materials you will need to make your Fruit Loop candles:
- A bag of Fruit Loops cereal (or any other colorful, ring-shaped cereal of your choice)
- Candle wax flakes or blocks (available at craft stores or online)
- Candle wicks
- Wick stickers or hot glue gun
- Candle fragrance oil (optional, but recommended for added aroma)
- Candle dye (optional, for coloring the wax)
- A heat-resistant container or mold (such as a glass jar or a silicone mold)
- Candle thermometer
- Double boiler or microwave-safe container for melting wax
- Metal spoon or stirring stick
- Scissors
Make sure you have all these items before starting the project. It’s always a good idea to read through the instructions and gather everything together ahead of time to ensure a smooth and enjoyable candle-making experience.
Step 1: Preparing the Candle Wick
The first step in making your Fruit Loop candle is to prepare the candle wick.
- Measure the height of your container or mold. The wick should be slightly longer than the height of the container to account for trimming later on.
- Cut the wick to the appropriate length, adding a few extra inches for attaching it to the container.
- If you’re using wick stickers, apply one to the bottom center of your container. Alternatively, you can use a hot glue gun to secure the wick in place.
- Thread the wick through a metal wick sustainer or a small metal washer. This will help keep the wick centered in the candle as it burns.
- Place the sustainer or washer at the bottom of the container and press it firmly onto the wick sticker or hot glue to secure it in place.
Once the wick is prepared, ensure that it is centered and straight in the container. You can use a pen or pencil to hold the wick in place if needed.
Now that the wick is ready, we can move on to the next step: melting the wax.
Step 2: Melting the Wax
Now that your candle wick is prepared, it’s time to melt the wax. Follow these steps to ensure a smooth melting process:
- First, decide whether you will be using a double boiler or a microwave to melt the wax. If using a double boiler, fill the bottom pot with water and place it on the stove over low to medium heat. If using a microwave, place the wax flakes or blocks in a microwave-safe container.
- If you’re using a double boiler, place the wax in the top pot and allow it to melt gently over the simmering water. Stir occasionally with a metal spoon or stirring stick until all the wax has melted. If you’re using a microwave, heat the wax in short intervals, stirring in between, until it is completely melted. Be cautious not to overheat the wax.
- If desired, add a few drops of candle dye to the melted wax and stir well to evenly distribute the color. This step is optional and entirely up to you.
- Now is also the perfect time to add fragrance to your candles. You can choose from a wide range of candle fragrance oils available in craft stores or online. Add a few drops of your chosen fragrance oil to the melted wax and stir gently to incorporate the scent. Be mindful of the recommended dosage guidelines for the specific fragrance oil you are using.
Once the wax is fully melted and colored and scented to your liking, it’s time to move on to the next step: preparing the Fruit Loops.
Step 3: Adding Fragrance (Optional)
Adding fragrance to your Fruit Loop candles can elevate the sensory experience and create an inviting atmosphere. Follow these steps to add fragrance to your melted wax:
- Choose a candle fragrance oil that complements the fruity scent of the Fruit Loops cereal. Consider options like strawberry, citrus, or vanilla, but feel free to get creative with your scent selection.
- Refer to the recommended usage guidelines for the fragrance oil you have chosen. Typically, 1 ounce of fragrance oil is recommended for every pound of melted wax, but this may vary depending on the specific oil.
- Using a dropper or pipette, carefully add the desired amount of fragrance oil to the melted wax. Start with a small amount and gradually increase if needed, as some fragrances can be quite potent.
- Stir the wax gently but thoroughly to ensure that the fragrance is evenly distributed. This will help ensure that the scent is consistent throughout the entire candle.
Remember, adding fragrance is optional. If you prefer, you can skip this step and have unscented Fruit Loop candles. The colorful and whimsical appearance of the candles alone can still create a delightful ambiance.
Once the fragrance is added and thoroughly mixed, you’re ready to move on to the next step: preparing the Fruit Loops.
Read more: How To Make Fruit Leather In A Dehydrator
Step 4: Preparing the Fruit Loops
Now it’s time to prepare the Fruit Loops for your candle. Follow these steps to ensure they are ready to be incorporated into your design:
- Start by separating the different colors of Fruit Loops cereal into individual bowls or containers. This will make it easier for you to select and arrange the colors for your candle.
- Take a few Fruit Loops from each color and set them aside for garnishing the top of the candle. These will add an extra pop of color and texture to the finished product.
- Crush the remaining Fruit Loops into smaller pieces. You can do this by placing them in a plastic bag and gently rolling a rolling pin over them or using a food processor to achieve a finer texture.
- Keep in mind that the size of the Fruit Loop pieces you choose will determine the overall appearance of your candle. Feel free to experiment with different sizes and textures to achieve the desired effect.
- Make sure you have enough crushed Fruit Loops to fill the container or mold you are using for your candle. It’s better to have a little extra than to run out in the middle of the process.
With the crushed Fruit Loops prepared, you’re halfway through the candle-making process. Next, we will move on to assembling the candle and bringing it all together.
When making Fruit Loop candles, ensure that the cereal is evenly distributed throughout the wax to create a consistent and visually appealing finished product.
Step 5: Assembling the Candle
Now that you have your melted wax and prepared Fruit Loops, it’s time to assemble your Fruit Loop candle. Follow these steps to create a visually appealing and delightful candle:
- Start by pouring a small amount of melted wax into the bottom of your container or mold. This will act as a base for the Fruit Loops to stick to.
- While the wax is still melted and warm, carefully arrange the crushed Fruit Loops into the container. You can create different patterns or designs by placing the colored pieces in a specific order or scattering them randomly.
- Make sure to press down on the Fruit Loops gently to ensure they adhere to the wax. This will help them stay in place when the candle is finished and prevent them from floating to the top.
- Continue layering the crushed Fruit Loops and pouring melted wax in between until you reach your desired height. You can alternate colors or create gradient effects by using different amounts of colored cereal in each layer.
- Once you have reached the top of the container, carefully pour the remaining melted wax over the Fruit Loops, making sure to cover them completely. This will seal the design and create a smooth surface for the finished candle.
Take your time with this step and enjoy the process of arranging the Fruit Loops. Get creative and experiment with different patterns and color combinations to make your candle truly unique.
With the candle assembled, it’s time to let it set and solidify before moving on to the next step.
Step 6: Allowing the Candle to Set
After assembling your Fruit Loop candle, it’s important to allow it sufficient time to set and solidify before moving or lighting it. Follow these steps to ensure your candle sets properly:
- Find a safe and undisturbed area where you can place your candle. Make sure it’s away from any flammable items or drafts.
- Leave the candle undisturbed for at least 4-6 hours or overnight, depending on the size of the candle and the type of wax used. This will allow the wax to completely cool and harden.
- Resist the temptation to move or touch the candle during this time, as it may cause the Fruit Loops and wax to shift or dislodge.
- Once the candle has solidified, you can gently tap the sides of the container or mold to ensure it is fully detached from the edges.
- Remove any excess wax that may have spilled over the edges of the container using a sharp knife or a spoon.
Allowing the candle to set properly will ensure that the Fruit Loops remain in place and the candle burns evenly when lit. Patience is key in this step, so take your time and resist the urge to rush the process.
Now that your Fruit Loop candle is fully set and ready, it’s time to move on to the final steps of trimming the wick and enjoying your creation.
Step 7: Trimming the Wick
Before you can light your Fruit Loop candle, it’s important to trim the wick to the appropriate length. Trimming the wick will help ensure a clean and efficient burn. Follow these steps to trim the wick:
- Using a pair of scissors, carefully trim the wick to a length of about 1/4 inch.
- Make sure to remove any charred or burnt parts of the wick, as these can affect the candle’s performance.
- Ensure that the wick is centered in the middle of the candle and not leaning towards any side.
Trimming the wick is an important step that should not be overlooked. It promotes a steady flame and helps prevent excessive smoke or soot buildup.
Once the wick is trimmed, your Fruit Loop candle is ready to be lit and enjoyed!
Read more: How To Make A Heater With Candles
Step 8: Lighting and Enjoying the Fruit Loop Candle
Now that you have put in the effort to create your unique Fruit Loop candle, it’s time to light it up and bask in its colorful and fragrant glow. Follow these steps to light and enjoy your creation:
- Find a safe and fire-resistant surface to place your candle on. It could be a heat-resistant coaster, a candle holder, or a sturdy table.
- Ensure that the area around the candle is clear of any flammable objects, such as curtains or paper.
- Hold a match or lighter near the trimmed wick and gently ignite it. Alternatively, you can use a long-reach butane lighter for better reach.
- Once the wick is lit, let the flame burn for a few seconds until a pool of melted wax forms around the wick.
- Enjoy the delightful aroma that fills the air as the candle releases its enticing fragrance. The combination of the Fruit Loop cereal and the added fragrance oil will create a unique and inviting scent.
- As the candle burns, make sure to monitor it and never leave it unattended. Ensure that the flame remains a safe distance from any nearby objects or surfaces.
- Allow the candle to burn until the desired wax pool has formed on the surface. This will help prevent tunneling and ensure an even burn in the future.
- When you are done enjoying your Fruit Loop candle, extinguish it by gently blowing out the flame. Alternatively, you can use a candle snuffer to smother the flame.
Remember to always exercise caution when handling and lighting candles. Enjoy the ambiance and fragrance of your Fruit Loop candle responsibly.
With these steps, you have successfully created and enjoyed your very own handmade Fruit Loop candle. Congratulations on your creativity and craftsmanship!
Conclusion
Making a Fruit Loop candle is not only a fun and creative activity but also a wonderful way to infuse your space with a burst of color and fragrance. By following the steps outlined in this article, you can create a personalized candle that adds a touch of whimsy to any room or occasion.
From preparing the candle wick and melting the wax to adding fragrance and assembling the Fruit Loops, each step of the process allows for customization and creativity. You have the freedom to experiment with colors, scents, and designs, making each Fruit Loop candle a unique expression of your personal style.
As you enjoy the delightful aroma and warm glow of your Fruit Loop candle, remember to prioritize safety by placing it on a heat-resistant surface and keeping it away from flammable materials. Always monitor the candle while lit and ensure it is extinguished properly when not in use.
Whether you create a Fruit Loop candle for yourself or as a thoughtful gift for a loved one, the joy and satisfaction that come from crafting your own scented masterpiece are undeniable. So, gather your materials, unleash your creativity, and embark on a vibrant journey into the world of Fruit Loop candles.
Now, it’s time to enjoy the mesmerizing flicker of the flame, the enticing aroma, and the whimsical charm of your one-of-a-kind Fruit Loop candle. Sit back, relax, and let it transport you to a world of colorful bliss.
Frequently Asked Questions about How To Make Fruit Loop Candles
Was this page helpful?
At Storables.com, we guarantee accurate and reliable information. Our content, validated by Expert Board Contributors, is crafted following stringent Editorial Policies. We're committed to providing you with well-researched, expert-backed insights for all your informational needs.


0 thoughts on “How To Make Fruit Loop Candles”