Home>Home Appliances>Laundry Appliances>How To Shrink A Shirt In The Washing Machine

Laundry Appliances
How To Shrink A Shirt In The Washing Machine
Published: February 21, 2024
Learn how to shrink a shirt in the washing machine with our expert tips. Discover the best laundry appliances and techniques for perfect results every time.
(Many of the links in this article redirect to a specific reviewed product. Your purchase of these products through affiliate links helps to generate commission for Storables.com, at no extra cost. Learn more)
Introduction
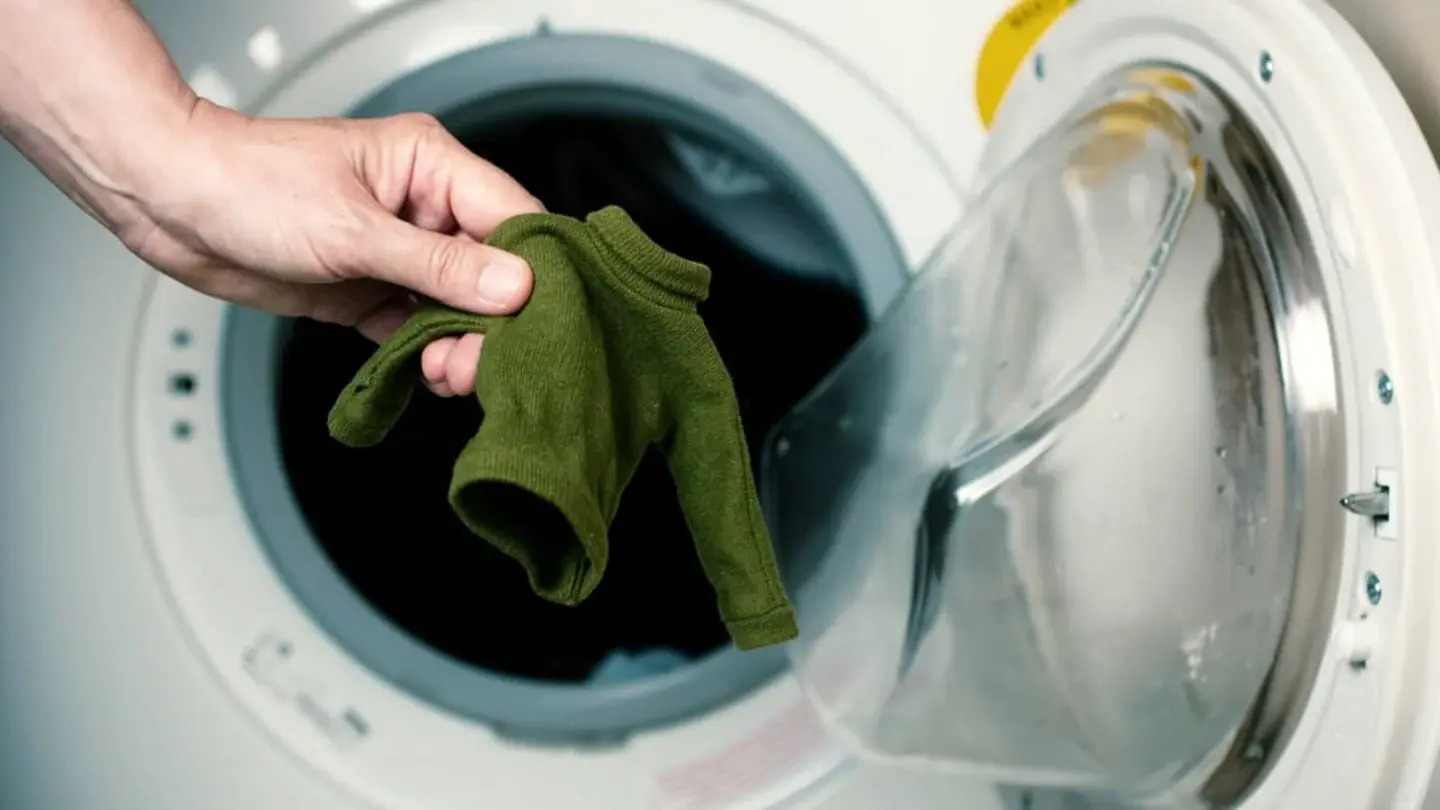
Shrinking a shirt in the washing machine can be a useful technique for achieving a better fit or reviving a garment that has become too loose over time. Whether you've recently lost weight, or your favorite shirt has stretched out, understanding how to shrink a shirt properly can help you maintain a well-fitted wardrobe without the need for costly alterations.
In this comprehensive guide, we will delve into the art of shirt shrinkage, providing you with step-by-step instructions and valuable insights to ensure successful results. From understanding fabric shrinkage to preparing the shirt for the process and effectively utilizing the washing machine, we've got you covered. Additionally, we'll discuss post-shrinkage care and maintenance to help you preserve the newly achieved fit for the long term.
By the end of this guide, you will have the knowledge and confidence to shrink your shirts with precision, allowing you to enjoy a wardrobe that fits just right. So, let's embark on this journey to master the art of shirt shrinkage and unlock the potential of your clothing collection.
Key Takeaways:
- Master the art of shrinking shirts in the washing machine by understanding fabric properties and meticulously preparing the shirt. Create an optimal environment in the machine for effective shrinkage and preserve the newfound fit with gentle post-shrinkage care.
- Achieve a well-fitted wardrobe without costly alterations by shrinking shirts with precision. From fabric understanding to washing machine setup, follow meticulous steps for successful shirt shrinkage and long-term maintenance.
Read more: How To Shrink A Hat In The Washing Machine
Understanding Fabric Shrinkage
Fabric shrinkage is a natural phenomenon that occurs when textiles undergo changes in moisture, temperature, or mechanical stress. Understanding the factors that contribute to fabric shrinkage is crucial for effectively shrinking a shirt in the washing machine.
The primary cause of fabric shrinkage is the relaxation of tension within the fibers. During the manufacturing process, textiles are subjected to tension and stretching, which aligns the fibers and creates a stable structure. However, when exposed to moisture and heat, such as during washing and drying, these fibers can revert to their natural state, resulting in a reduction in size.
Different fabrics exhibit varying degrees of shrinkage. Natural fibers, such as cotton and wool, are more prone to shrinkage due to their inherent properties. Cotton, for example, has a high moisture absorption capacity, causing its fibers to swell and contract when exposed to water and heat. On the other hand, synthetic fibers like polyester and nylon are less susceptible to shrinkage, as they are engineered to resist moisture-related changes.
It's important to note that fabric construction also influences shrinkage. Fabrics with a looser weave or knit structure are more likely to shrink significantly, as there is greater room for the fibers to contract. Conversely, tightly woven fabrics may experience minimal shrinkage due to the limited mobility of the fibers.
Understanding the specific characteristics of the fabric is essential for determining the appropriate shrinkage method. By recognizing the fiber composition, weave, and potential for shrinkage, you can make informed decisions when preparing and treating your shirt for the shrinking process.
In the next section, we will explore the crucial steps involved in preparing the shirt for shrinkage, setting up the washing machine, and executing the shrinking process with precision. Let's dive into the practical aspects of shrinking a shirt to achieve the desired fit.
Preparing the Shirt for Shrinkage
Before embarking on the shirt shrinking process, it's essential to prepare the garment to optimize the results. Proper preparation ensures that the fabric is primed for shrinkage, allowing for a more uniform and controlled outcome.
-
Select the Appropriate Shirt: Begin by choosing a shirt made of a fabric that is conducive to shrinkage. Natural fibers such as cotton or wool are ideal candidates, as they are known for their ability to contract when exposed to heat and moisture. Synthetic fabrics, on the other hand, may not shrink significantly and are less suitable for this process.
-
Inspect the Shirt: Thoroughly examine the shirt for any stains, dirt, or lingering odors. It's crucial to start with a clean garment to prevent the setting of stains or odors during the shrinking process. If necessary, spot treat any stains or wash the shirt according to the care instructions.
-
Check the Care Label: Review the care label on the shirt to understand the manufacturer's recommendations for washing and drying. Pay attention to the recommended water temperature, as hotter water can facilitate greater shrinkage. Additionally, take note of any specific instructions regarding machine washing and drying.
-
Pre-Wash the Shirt: To further prepare the shirt for shrinkage, consider giving it a pre-wash. This step helps to eliminate any residual chemicals or finishes from the manufacturing process, allowing the fabric to respond more effectively to the shrinking process. Use the appropriate detergent and follow the care label instructions for washing.
-
Turn the Shirt Inside Out: Before placing the shirt in the washing machine, turn it inside out. This simple step helps to protect the outer surface of the fabric, particularly if the shirt has any prints, embellishments, or delicate details. By exposing the inner side to the shrinking process, you can minimize the risk of damage to the shirt's aesthetic elements.
-
Secure Fastenings and Zippers: If the shirt features buttons, zippers, or other fastenings, ensure that they are securely fastened. This prevents excessive agitation during the washing cycle, reducing the likelihood of damage to the fastenings or the surrounding fabric. Additionally, fastening the closures helps the shirt maintain its shape during the shrinking process.
By meticulously preparing the shirt for shrinkage, you set the stage for a successful and controlled shrinking process. These preparatory steps not only optimize the fabric's responsiveness to shrinkage but also help safeguard the shirt's overall condition. With the shirt primed and ready, you can proceed to the next phase of setting up the washing machine for the shrinking process.
Setting up the Washing Machine
Once the shirt is meticulously prepared for shrinkage, the next crucial step is to set up the washing machine for the shrinking process. Properly configuring the washing machine ensures that the shirt is exposed to the optimal conditions for effective shrinkage. Here's a detailed guide on setting up the washing machine to achieve the desired results:
-
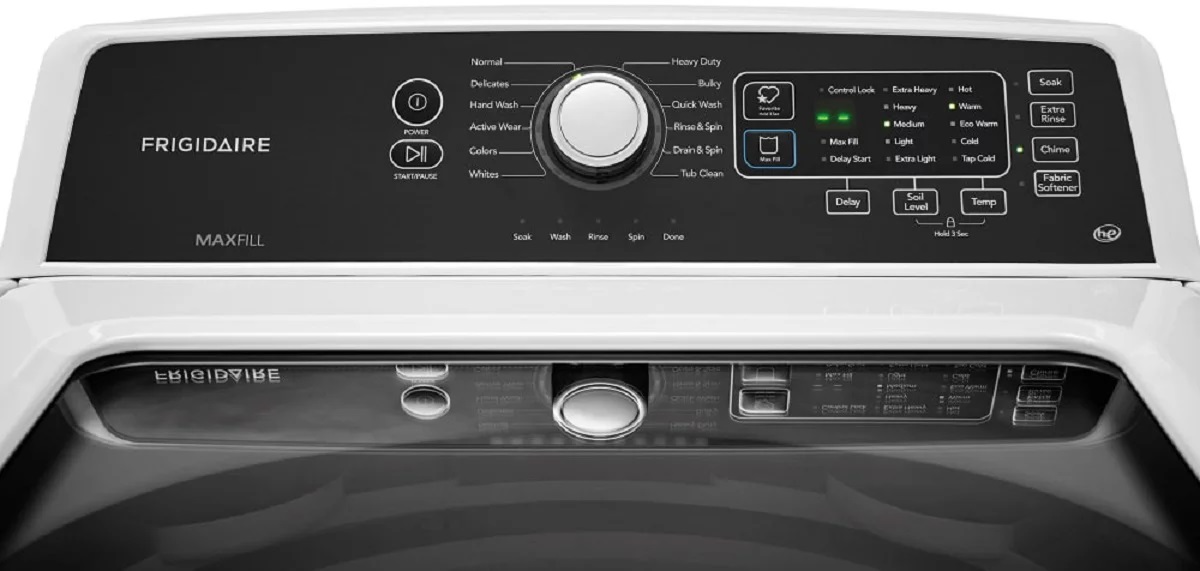
Select the Appropriate Water Temperature: Check the care label on the shirt to determine the recommended water temperature for washing. In general, hotter water temperatures facilitate greater shrinkage, as they encourage the fibers to contract more significantly. If the care label permits, select the hottest water temperature suitable for the fabric type.
-
Choose the Right Wash Cycle: For most shirts, a standard or regular wash cycle is sufficient for triggering shrinkage. However, if the shirt is particularly delicate or if you're concerned about excessive agitation, opt for a gentle or delicate wash cycle. This gentler setting can help minimize potential damage to the fabric while still promoting shrinkage.
-
Use a Mild Detergent: Select a mild detergent that is suitable for the fabric type of the shirt. Avoid using harsh or abrasive detergents, as they can compromise the integrity of the fabric and affect the overall quality of the shirt. Follow the detergent manufacturer's guidelines for the appropriate amount to use based on the load size and water hardness.
-
Avoid Overcrowding: Ensure that the washing machine is not overloaded with other garments. Overcrowding can impede the shirt's movement during the wash cycle, potentially leading to uneven shrinkage or inadequate exposure to the water and heat. Allow sufficient space for the shirt to agitate freely within the machine.
-
Minimize Spin Speed: When selecting the spin speed for the wash cycle, opt for a lower setting to reduce the mechanical stress on the shirt. High spin speeds can subject the fabric to excessive wringing, potentially distorting its shape and texture. By minimizing the spin speed, you can help preserve the shirt's structural integrity during the shrinking process.
-
Add the Shirt to the Machine: Carefully place the prepared shirt into the washing machine, ensuring that it is positioned evenly within the drum. Avoid bunching or folding the shirt, as this can lead to uneven shrinkage or creasing. Close the machine's door or lid securely before initiating the wash cycle.
By following these meticulous steps to set up the washing machine, you can create an optimal environment for the shirt to undergo the shrinking process. With the machine configured to accommodate the fabric's needs, you are now ready to execute the shrinking process with precision and confidence.
To shrink a shirt in the washing machine, wash it in hot water and then dry it on high heat. This will help the fabric to shrink and the shirt to become smaller.
Shrinking the Shirt
With the shirt meticulously prepared and the washing machine set up to facilitate shrinkage, it's time to initiate the crucial phase of shrinking the shirt. This step requires attentiveness to ensure that the fabric undergoes controlled and uniform shrinkage, resulting in a well-fitted garment. Here's a detailed guide on executing the shrinking process with precision:
-
Initiate the Wash Cycle: Start the washing machine, allowing it to progress through the selected wash cycle. As the machine fills with water and the detergent disperses, the shirt becomes immersed in the shrinking environment. The combination of heat, moisture, and agitation triggers the fabric's natural tendency to contract, initiating the shrinkage process.
-
Monitor the Progress: Throughout the wash cycle, periodically check the machine to monitor the progress of the shrinking process. Observing the shirt's behavior within the machine can provide valuable insights into the extent of shrinkage occurring. Keep a close eye on the water temperature and the duration of the wash cycle to ensure that the fabric is exposed to the optimal conditions for effective shrinkage.
-
Exercise Patience: Allow the washing machine to complete the full wash cycle, including any additional rinses if necessary. It's important to exercise patience and refrain from interrupting the cycle prematurely, as the fabric requires sufficient time to respond to the shrinking stimuli. By allowing the process to unfold naturally, you can maximize the potential for uniform and consistent shrinkage across the entire shirt.
-
Retrieve the Shirt: Once the wash cycle is complete, carefully remove the shirt from the washing machine. Take note of any visible changes in the fabric's texture, appearance, and dimensions. The shirt may feel slightly different to the touch, indicating the initial stages of shrinkage. It's important to handle the shirt gently to avoid unnecessary stretching or distortion of the newly shrunken fabric.
-
Assess the Fit: After retrieving the shirt, assess the fit to determine the extent of shrinkage achieved. Try the shirt on to gauge the changes in its overall dimensions, particularly in areas such as the chest, shoulders, and sleeves. Pay attention to how the fabric drapes and conforms to your body, noting any improvements in the fit compared to its pre-shrunk state.
-
Repeat if Necessary: Depending on the desired level of shrinkage, it may be necessary to repeat the shrinking process to achieve the optimal fit. If the initial results are not entirely satisfactory, consider running the shirt through another wash cycle using the same settings to further encourage shrinkage. However, exercise caution to avoid excessive shrinkage that may compromise the shirt's comfort and appearance.
By following these detailed steps, you can effectively shrink a shirt in the washing machine, achieving a tailored fit that enhances your comfort and style. With the shirt successfully shrunk, it's essential to proceed with post-shrinkage care and maintenance to preserve the newfound fit for the long term. Let's delve into the crucial aspects of post-shrinkage care to ensure that the shirt remains in optimal condition.
Read more: What Shrinks Clothes The Washer Or Dryer
Post-Shrinkage Care and Maintenance
After successfully shrinking a shirt in the washing machine, it's essential to focus on post-shrinkage care and maintenance to preserve the newly achieved fit and overall quality of the garment. Implementing the right practices following the shrinking process can prolong the lifespan of the shirt and ensure that it continues to provide a well-fitted and stylish addition to your wardrobe.
Here are the key steps to consider for post-shrinkage care and maintenance:
-
Gentle Drying: Once the shirt has undergone the shrinking process, it's crucial to adopt gentle drying methods to maintain the fabric's integrity. Avoid high heat settings in the dryer, as excessive heat can lead to further shrinkage and potential damage to the fabric. Instead, opt for air-drying the shirt by laying it flat on a clean, dry surface. Smooth out any wrinkles and reshape the shirt as it dries to retain its desired dimensions.
-
Ironing Considerations: If ironing is necessary to achieve a polished look, use a low to medium heat setting on the iron. Test the iron on a small, inconspicuous area of the shirt to ensure that the heat level is appropriate and does not cause additional shrinkage. Iron the shirt inside out to protect the outer surface and minimize the risk of heat-related damage.
-
Storage Practices: When storing the shrunken shirt, opt for hangers or neatly folded storage to prevent creasing and maintain the garment's shape. Avoid overcrowding the storage space, as this can lead to compression of the fabric and potential distortion of the fit. Store the shirt in a clean, dry environment to prevent moisture-related issues.
-
Subsequent Washes: For future washes, continue to follow the care label instructions to maintain the shirt's quality and fit. Use mild detergents and appropriate water temperatures as recommended by the care label. Avoid exposing the shirt to excessive heat during subsequent wash and dry cycles to prevent further shrinkage.
-
Regular Inspections: Periodically inspect the shrunken shirt for any signs of wear, tear, or changes in fit. Address any stains or soiling promptly to prevent them from setting and becoming difficult to remove. By staying vigilant and addressing potential issues early on, you can prolong the shirt's lifespan and maintain its well-fitted appearance.
By incorporating these post-shrinkage care and maintenance practices into your garment care routine, you can ensure that the shrunken shirt remains a versatile and well-fitted piece in your wardrobe. With the right attention and maintenance, the shirt can continue to enhance your style and comfort for an extended period, reflecting the successful outcome of the shrinking process.
Conclusion
In conclusion, mastering the art of shrinking a shirt in the washing machine empowers you to maintain a well-fitted wardrobe without the need for extensive alterations. By understanding the principles of fabric shrinkage and meticulously preparing the shirt for the process, you can optimize the results and achieve a tailored fit that enhances your comfort and style.
The journey of shirt shrinkage begins with a thorough understanding of fabric properties and shrinkage factors. Recognizing the characteristics of different fabrics and weaves provides valuable insights into the potential for shrinkage, enabling you to make informed decisions when selecting shirts for the process.
The meticulous preparation of the shirt, including inspecting for stains, reviewing care labels, and pre-washing, sets the stage for successful shrinkage. By adhering to these preparatory steps, you ensure that the fabric is primed to respond effectively to the shrinking stimuli, maximizing the potential for uniform and controlled shrinkage.
Setting up the washing machine with the appropriate water temperature, wash cycle, and detergent further facilitates the shrinking process. By creating an optimal environment within the machine, you enhance the fabric's responsiveness to shrinkage, setting the stage for achieving the desired fit.
Executing the shrinking process with attentiveness and patience is crucial for achieving uniform and consistent results. Monitoring the progress of the wash cycle and assessing the fit post-shrinkage allows you to gauge the effectiveness of the process and make informed decisions regarding any additional shrinking cycles.
Following the successful shrinking of the shirt, post-shrinkage care and maintenance practices play a pivotal role in preserving the newfound fit and quality of the garment. By adopting gentle drying methods, mindful ironing practices, and diligent storage and inspection routines, you can prolong the lifespan of the shrunken shirt and maintain its well-fitted appearance for the long term.
In essence, the journey of shrinking a shirt in the washing machine encompasses meticulous preparation, precise execution, and attentive post-shrinkage care. By embracing these principles, you can confidently shrink your shirts, ensuring that they continue to complement your style and provide a comfortable and well-fitted experience.
Frequently Asked Questions about How To Shrink A Shirt In The Washing Machine
Was this page helpful?
At Storables.com, we guarantee accurate and reliable information. Our content, validated by Expert Board Contributors, is crafted following stringent Editorial Policies. We're committed to providing you with well-researched, expert-backed insights for all your informational needs.


0 thoughts on “How To Shrink A Shirt In The Washing Machine”