
Articles
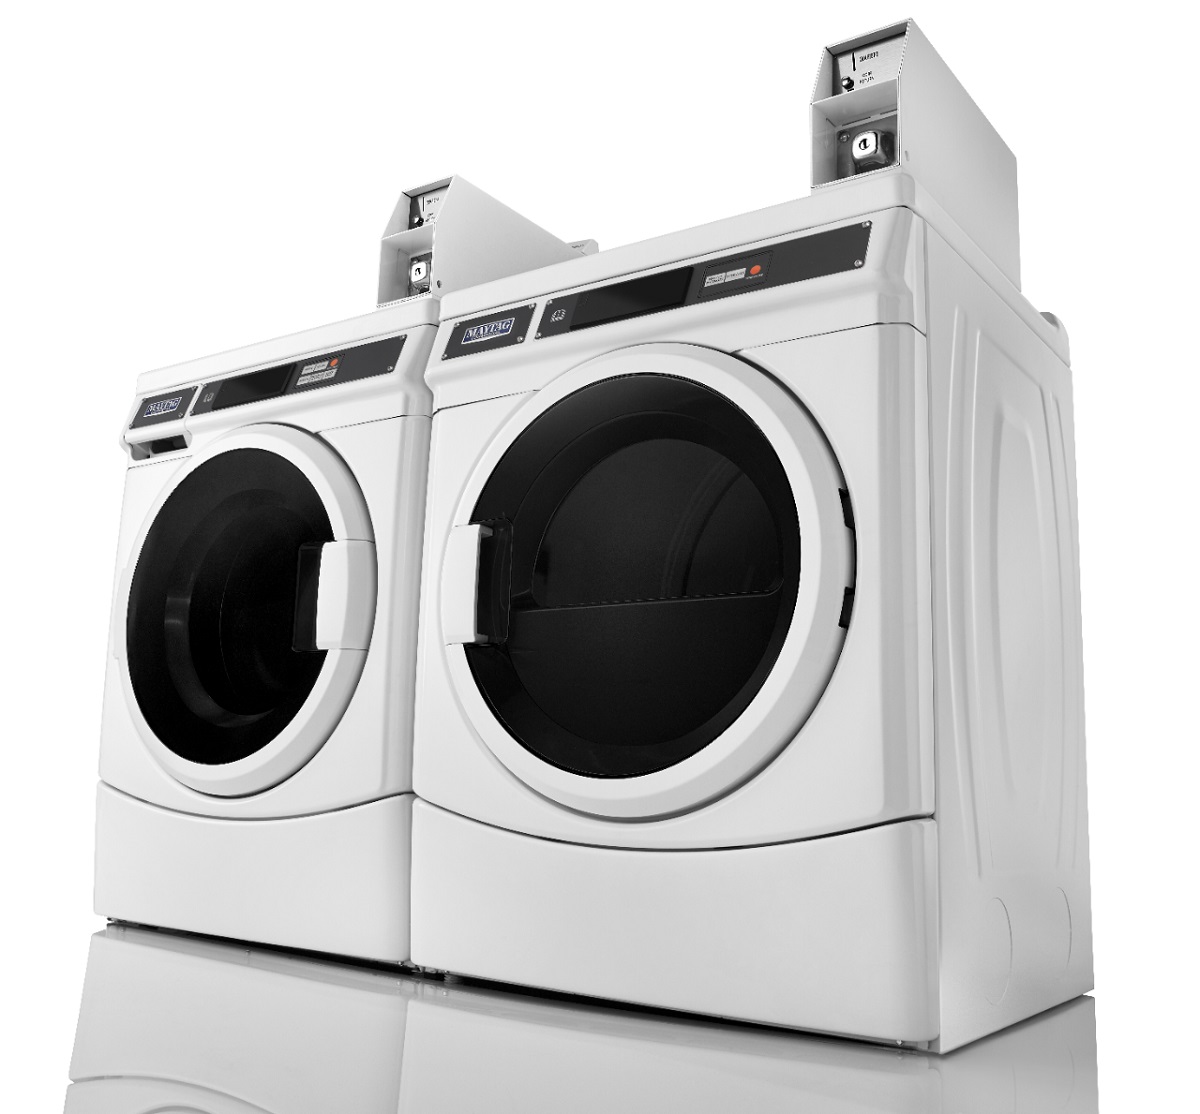
How To Drain A Maytag Washer
Modified: October 27, 2024
Learn how to properly drain a Maytag washer with these helpful articles.
(Many of the links in this article redirect to a specific reviewed product. Your purchase of these products through affiliate links helps to generate commission for Storables.com, at no extra cost. Learn more)
Introduction
Dealing with a malfunctioning washing machine can be a frustrating experience. One common issue that homeowners encounter is a washer that refuses to drain properly. When your Maytag washer is not draining, this can lead to standing water in the drum, clothes that are excessively wet, and even potential damage to the machine itself.
Fortunately, you can take matters into your own hands and resolve this problem by following a few simple steps. In this article, we will guide you through the process of draining a Maytag washer effectively and safely.
Before we dive into the steps, it’s important to note that this guide is specific to Maytag washers. While some steps may be similar for other brands, it’s always a good idea to consult your user manual or contact the manufacturer for brand-specific instructions.
Remember to exercise caution and follow safety guidelines when working with your washing machine. If you are unsure or uncomfortable performing any of the steps, it’s best to seek professional assistance.
With that said, let’s get started on draining your Maytag washer!
Key Takeaways:
- Takeaway 1: Safely and effectively drain your Maytag washer by following simple steps, ensuring proper drainage, and preventing potential damage to your appliance. Always prioritize safety and consult the user manual for brand-specific instructions.
- Takeaway 2: Regular maintenance, such as cleaning the drain pump and checking for blockages, can help prevent future drainage issues. By staying proactive and following the outlined steps, you can enjoy a properly functioning Maytag washer and clean, fresh laundry every time.
Read more: How To Drain Washer
Step 1: Preparation
Before you begin the process of draining your Maytag washer, it’s important to gather the necessary tools and materials. Here’s what you’ll need:
- A pair of rubber gloves
- A bucket or large container
- Pliers or adjustable wrench (if required)
Once you have these items ready, you’re prepared to tackle the task at hand. Make sure to read through all the steps before starting to familiarize yourself with the process.
It’s crucial that you unplug your washing machine from the power source before performing any maintenance or repair tasks. This will reduce the risk of electrical shock and ensure your safety.
If your Maytag washer is currently running a cycle, allow it to complete before proceeding. If necessary, you can pause the cycle or cancel it altogether to prevent any further water from entering the drum.
Now that you’re fully prepared, let’s move on to the next step: turning off the power.
Step 2: Turning off the power
Before you begin working on your Maytag washer, it is essential to turn off the power to the appliance. This step will help ensure your safety while performing the drain process. Here’s how you can do it:
- Locate the power cord connected to your washing machine. In most cases, it will be located at the back of the unit.
- Gently unplug the power cord from the electrical outlet. If you have difficulty reaching the outlet, use an extension cord or seek assistance.
- Confirm that the power is completely shut off by checking if the control panel is no longer illuminated. This will indicate that the washing machine is disconnected from the power source.
By turning off the power, you eliminate the risk of accidental injury from electric shock. It also ensures that the washer is not running during the drain process, allowing you to work safely and efficiently.
Once you have turned off the power, you can proceed to the next step: locating the drain hose.
Step 3: Locating the drain hose
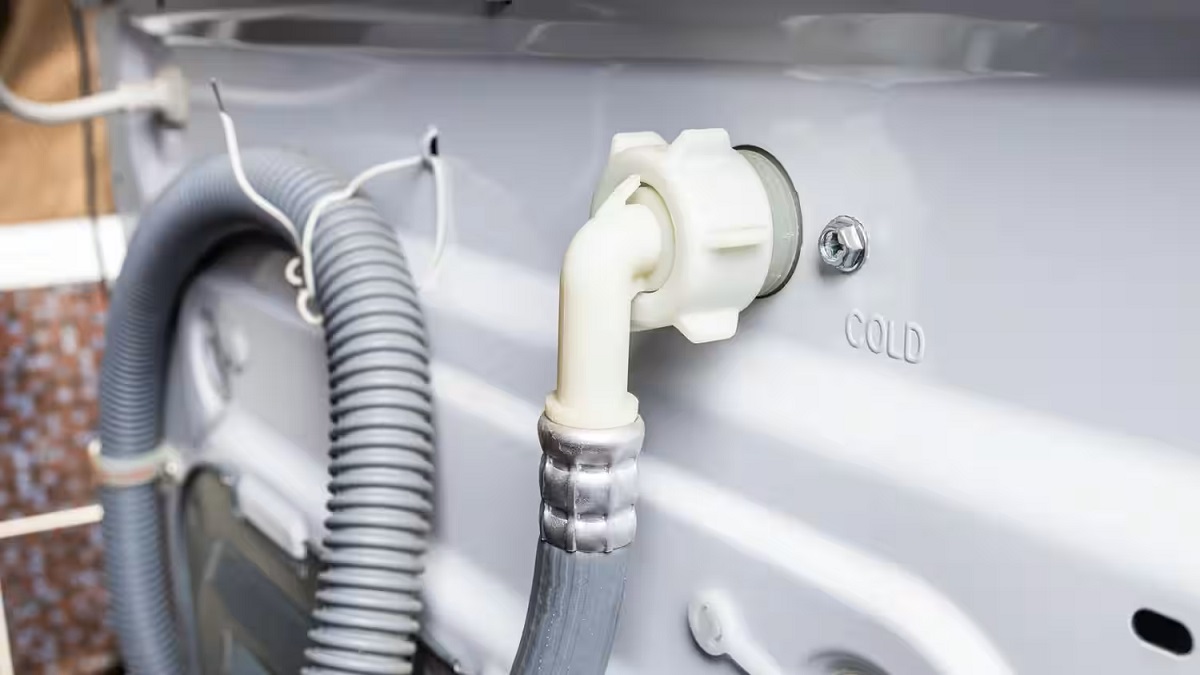
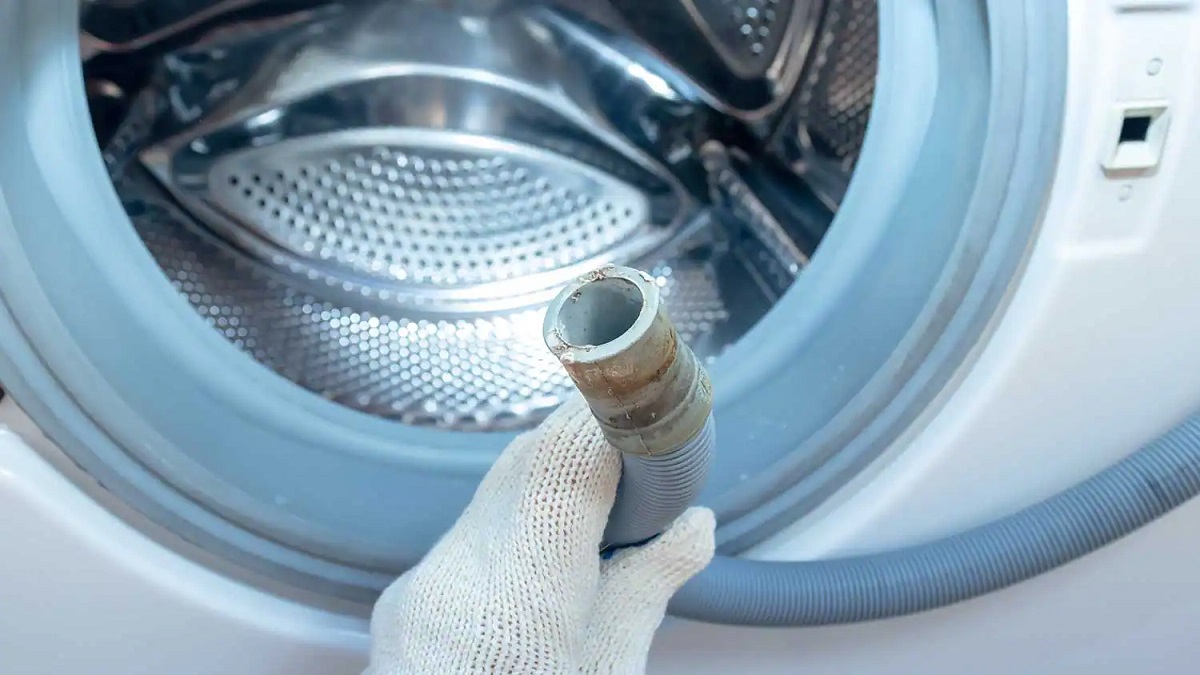
Locating the drain hose in your Maytag washer is an important step in the process of draining the machine. The drain hose is responsible for removing the water from the drum and directing it out of the appliance. Here’s how you can find it:
- Inspect the back of your washer. Look for a flexible plastic or rubber hose that is connected to the back panel.
- In some models, the drain hose may be located inside a small compartment or attached to a drain pump. Take a close look to see if this is the case with your Maytag washer.
- If you’re having trouble locating the drain hose, refer to the user manual or consult the manufacturer’s website for specific instructions and diagrams.
Once you have successfully located the drain hose, you’re ready to move on to the next step: disconnecting the drain hose.
Remember to exercise caution when handling the drain hose, as it may contain residual water. To avoid creating a mess, keep a bucket or container nearby to catch any water that may spill during the disconnection process.
Now that you know where to find the drain hose, let’s proceed to the next step and disconnect it from the washer.
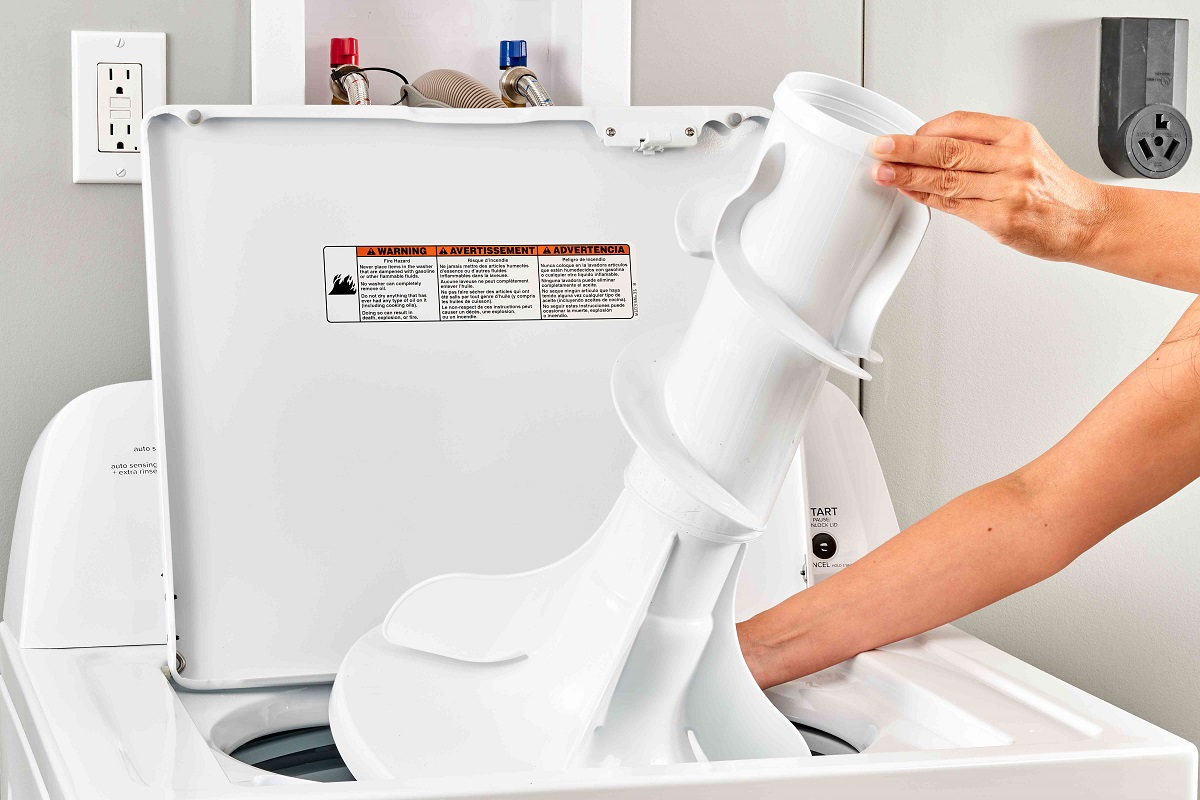
Step 4: Disconnecting the drain hose
Disconnecting the drain hose from your Maytag washer is a crucial step in the process of draining the machine. This will allow you to effectively remove any trapped water in the drum. Follow these steps to disconnect the drain hose:
- Put on a pair of rubber gloves to protect your hands from any debris or residual water.
- If the drain hose is attached to a drain pump or compartment, use pliers or an adjustable wrench to loosen any clamps or connections securing it in place.
- Gently pull the drain hose away from the washer. Be careful not to tug too hard, as this can damage the hose or the connection points.
- Once the drain hose is fully disconnected, carefully position it over a bucket or large container to catch any remaining water in the hose.
After disconnecting the drain hose, it’s important to check for any blockages or obstructions. Inspect the hose for any signs of clogs or debris that may be preventing proper drainage. If you notice any blockages, clear them out using a long brush or pipe cleaner to ensure optimal flow during the drainage process.
With the drain hose successfully disconnected, you can now move on to the next step: draining the washer.
Remember to handle the drain hose with care to prevent damage, and always exercise caution to avoid injury during the disconnection process.
Now that you have disconnected the drain hose, let’s proceed to the next step and drain the washer effectively.
To drain a Maytag washer, locate the drain hose at the back of the machine and place it in a bucket or floor drain. Open the drain pump filter and let the water drain out.
Read more: How To Unclog Washer Drain
Step 5: Draining the washer
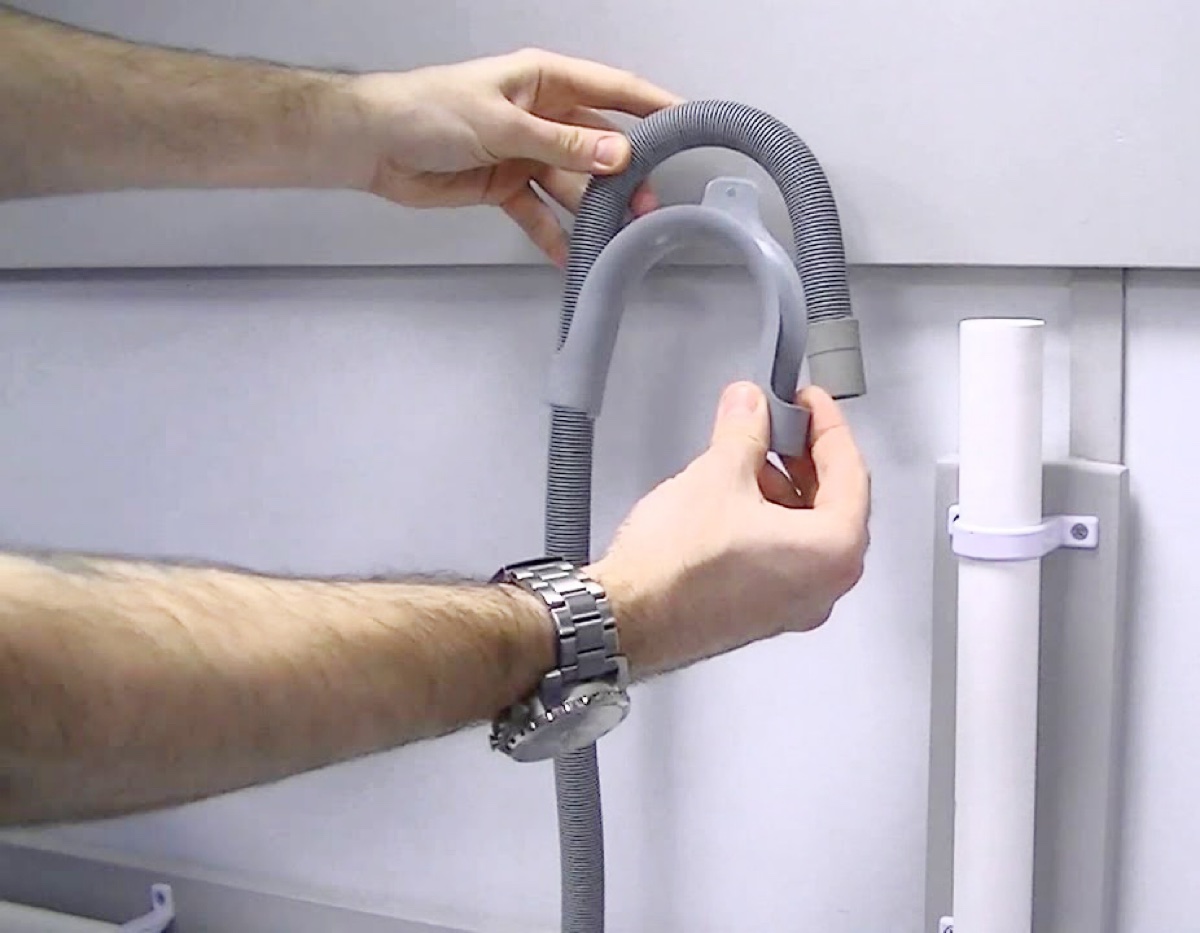
Now that the drain hose is disconnected, it’s time to drain the water from your Maytag washer. Follow these steps to effectively remove the standing water from the drum:
- Position the end of the drain hose over a large bucket or container. Ensure that it is securely placed to avoid any spills or mess.
- Check if there is a plug or cap on the end of the drain hose. If there is, remove it to facilitate the water flow.
- Carefully tilt the washer forward or to the side to allow the water to start draining from the drum. You may need assistance with this step, as washers can be heavy and bulky.
- As the water begins to flow, monitor the process and make sure it is draining steadily into the bucket or container. If the water flow is slow or stops, check for any kinks or blockages in the drain hose.
- Continue tilting the washer until all the water has been drained from the drum. Be patient and allow enough time for the water to fully empty out.
Once the water has been drained, carefully tilt the washer back into its upright position. Check the drum and the surrounding areas for any remaining water or moisture, and dry them thoroughly before proceeding to the next step.
Draining the washer effectively ensures that there is no remaining water that can cause further issues or damage to the machine. With the water successfully drained, you can now move on to the next step: reconnecting the drain hose.
Remember to be cautious when tilting the washer to avoid injury, and handle the drain hose with care to prevent damage.
Now that the washer is drained, let’s proceed to the next step and reconnect the drain hose.
Step 6: Reconnecting the drain hose
After draining the water from your Maytag washer, it’s time to reconnect the drain hose. This step will ensure that the washer is ready to function properly again. Follow these steps to reconnect the drain hose securely:
- Inspect the end of the drain hose and the corresponding connection point on the washer. Ensure that both are clean and free from any debris or obstructions.
- Align the end of the drain hose with the connection point on the washer. Carefully slide the hose onto the connection point until it is secure and snug.
- If your drain hose has a clamp or fastener, use pliers or an adjustable wrench to tighten it in place. Make sure the clamp is secure but not overly tightened, as this can cause damage to the hose.
- Double-check the connection to ensure there are no leaks or loose fittings. If you notice any issues, make the necessary adjustments to achieve a tight and secure connection.
Once the drain hose is securely reconnected, you can proceed to the next step: turning on the power.
Remember to handle the drain hose with care to avoid any damage and ensure a proper seal during the connection process. Take your time to ensure all connections are secure before moving forward.
With the drain hose reconnected, your Maytag washer is almost ready to go. Let’s move on to the final step: turning on the power.
Step 7: Turning on the power
Now that you have successfully drained your Maytag washer and reconnected the drain hose, it’s time to turn the power back on. Follow these steps to safely restore power to your appliance:
- Locate the power cord that you previously unplugged.
- Gently insert the power plug into the electrical outlet.
- Verify that the control panel on the washer is receiving power by checking for illuminated indicators or displays.
- If the control panel remains unresponsive after plugging the washer back in, double-check the power source by testing the outlet with another device.
- If the outlet is functioning correctly, and the washing machine still does not power on, refer to your user manual or contact Maytag customer support for further assistance.
Once you have confirmed that the power is restored and the control panel is illuminated, you can proceed to test the washer by running a short cycle.
During the cycle, closely monitor the draining process to ensure that it is functioning optimally. Check for any leaks or unusual sounds that may indicate an issue with the reconnected drain hose. If you notice any problems, refer to the troubleshooting section in your user manual or seek professional help.
Congratulations! You have successfully drained your Maytag washer and resolved any water drainage issues. By following these steps, you have ensured the proper functioning of your appliance and reduced the risk of further complications.
Remember to keep your user manual on hand for future reference and maintenance tasks. Performing regular maintenance, such as cleaning the drain pump or checking for clogs, can help prevent future drainage problems.
Now that you have completed all the steps, you can enjoy a properly functioning Maytag washer and clean, dry laundry once again!
Note: The steps provided in this article are general guidelines for draining a Maytag washer. It’s important to consult your specific model’s user manual or contact Maytag customer support for brand-specific instructions and troubleshooting.
Conclusion
Dealing with a Maytag washer that is not draining can be a frustrating experience. However, with the proper guidance and a few simple steps, you can resolve this issue and get your washing machine back up and running efficiently.
In this article, we have outlined a comprehensive process for draining a Maytag washer effectively and safely. By following the steps provided, you can remove standing water from the drum, ensure proper drainage, and prevent potential damage to your appliance.
Remember to always prioritize your safety when working with any electrical appliance. Start by preparing the necessary tools and materials and then proceed to turn off the power to the washer. Locating the drain hose and disconnecting it are crucial steps in the process. Take care to tilt the washer and allow the water to drain into a bucket or container.
After successfully draining the washer, it’s important to reconnect the drain hose securely. Check for any leaks or loose fittings before turning the power back on. Once the power is restored, run a short cycle to test the drainage and ensure everything is functioning correctly.
Regular maintenance, such as cleaning the drain pump and checking for blockages, can help prevent future drainage issues. Keep your user manual handy for reference, and don’t hesitate to contact Maytag customer support if you encounter any difficulties or need further assistance.
By following the steps outlined in this article and staying proactive in maintaining your Maytag washer, you can enjoy a properly functioning machine and clean, fresh laundry every time.
Remember, if you are unsure or uncomfortable performing any of the steps, it’s always best to seek professional assistance to ensure the safety of yourself and the longevity of your Maytag washer.
Now, armed with this knowledge, go ahead and tackle the task of draining your Maytag washer with confidence!
Frequently Asked Questions about How To Drain A Maytag Washer
Was this page helpful?
At Storables.com, we guarantee accurate and reliable information. Our content, validated by Expert Board Contributors, is crafted following stringent Editorial Policies. We're committed to providing you with well-researched, expert-backed insights for all your informational needs.


0 thoughts on “How To Drain A Maytag Washer”