Home>Home Appliances>Laundry Appliances>How Often Should Washing Machine Hoses Be Replaced
Laundry Appliances
How Often Should Washing Machine Hoses Be Replaced
Modified: August 30, 2024
Ensure the safety of your laundry appliances by learning how often washing machine hoses should be replaced. Protect your home from potential water damage.
(Many of the links in this article redirect to a specific reviewed product. Your purchase of these products through affiliate links helps to generate commission for Storables.com, at no extra cost. Learn more)
Signs of Wear and Tear
Identifying the signs of wear and tear on washing machine hoses is crucial for maintaining the safety and efficiency of your laundry appliances. Over time, these hoses can deteriorate due to various factors, potentially leading to leaks and water damage. By recognizing the following indicators of wear and tear, you can take proactive measures to prevent potential issues and extend the lifespan of your washing machine hoses.
-
Cracks and Fraying: Inspect the hoses for any visible cracks, splits, or fraying along the length of the tubing. These physical damages can weaken the structural integrity of the hoses, making them susceptible to leaks and bursts.
-
Bulging or Swelling: Bulges or swelling in the hoses are clear indications of internal damage, often caused by pressure fluctuations and prolonged exposure to hot water. These deformities can compromise the hoses' ability to withstand water flow, leading to potential ruptures.
-
Hardening and Brittleness: As hoses age, the rubber or plastic material may harden and become brittle. When gently pressed, the hoses should retain their flexibility. If they feel stiff or show signs of cracking upon bending, it's a strong indication of deterioration.
-
Corrosion and Discoloration: Check for any signs of corrosion, rust, or discoloration on the hose fittings and connections. These visual cues may suggest water leakage or seepage, indicating potential weaknesses in the hoses.
-
Water Leaks: Any visible water leaks around the hose connections or along the hose itself are clear signs of wear and tear. Even minor drips should not be overlooked, as they can escalate into major issues over time.
Regularly inspecting your washing machine hoses for these signs of wear and tear is essential for preempting potential malfunctions and water damage. By promptly addressing any indications of deterioration, you can ensure the continued reliability and safety of your laundry appliances.
Key Takeaways:
- Regularly inspect washing machine hoses for cracks, bulges, and leaks to prevent water damage. Replace hoses every 3-5 years, adjusting for water quality and frequency of use.
- DIY hose replacement can be cost-effective. Turn off water supply, drain excess water, and install new hoses with thread seal tape for a secure fit.
Read more: How Often Should You Clean A Washing Machine
Common Causes of Hose Failure
Washing machine hoses are subjected to a range of stressors and environmental factors that can contribute to their deterioration over time. Understanding the common causes of hose failure is essential for implementing preventive measures and safeguarding your laundry appliances from potential water damage.
-
Age and Material Degradation: The natural aging process of hoses, compounded by the effects of water exposure and temperature fluctuations, can lead to material degradation. Over time, the rubber or plastic composition of the hoses may deteriorate, resulting in weakened structural integrity and increased vulnerability to leaks and ruptures.
-
High Water Pressure: Excessive water pressure within the plumbing system can exert undue stress on washing machine hoses, causing them to expand, bulge, or develop weak points. Prolonged exposure to high water pressure can accelerate the wear and tear of hoses, making them more susceptible to failure.
-
Abrasion and Friction: Hose movement during the washing machine's operation, as well as contact with sharp edges or abrasive surfaces, can lead to abrasion and frictional damage. This can manifest as visible wear, fraying, or weakening of the hose material, ultimately compromising its structural integrity.
-
Improper Installation: Incorrect installation of washing machine hoses, such as kinks, twists, or overtightened connections, can create undue strain on the hoses. These installation errors can lead to restricted water flow, increased pressure points, and premature wear, contributing to potential failure.
-
Chemical Exposure: Exposure to harsh chemicals, detergents, or cleaning agents can have detrimental effects on the hoses' material composition. Chemical degradation can weaken the hoses, making them more prone to cracks, brittleness, and reduced flexibility, ultimately increasing the risk of failure.
-
Environmental Factors: Environmental elements, such as temperature fluctuations, UV exposure, and moisture levels, can impact the longevity of washing machine hoses. Extreme temperatures and prolonged exposure to sunlight can accelerate material degradation, while moisture and humidity can contribute to mold growth and deterioration.
Understanding these common causes of hose failure empowers homeowners to take proactive measures in maintaining their washing machine hoses. By addressing these factors and implementing preventive maintenance strategies, such as regular inspections, proper installation, and timely replacement, individuals can mitigate the risks associated with hose failure and ensure the continued reliability of their laundry appliances.
Recommended Replacement Schedule
Establishing a recommended replacement schedule for washing machine hoses is essential for mitigating the risks associated with hose failure and water damage. While these hoses may appear sturdy and reliable, the effects of aging, environmental factors, and usage can gradually compromise their integrity. As a proactive measure, homeowners are advised to adhere to a structured replacement timeline to ensure the continued safety and functionality of their laundry appliances.
The general consensus among industry experts and manufacturers is to replace washing machine hoses every 3 to 5 years. This timeframe serves as a guideline for preemptive replacement, taking into account the typical lifespan of hoses and the potential impact of wear and tear. However, it's important to note that individual circumstances, such as water quality, usage frequency, and environmental conditions, can influence the replacement interval.
For households located in regions with hard water, characterized by high mineral content, more frequent hose replacements may be necessary. The mineral deposits in hard water can accelerate the deterioration of hoses, leading to reduced flexibility, increased brittleness, and heightened susceptibility to leaks. In such cases, a replacement schedule closer to the 3-year mark is advisable to counteract the adverse effects of hard water on the hoses' longevity.
Conversely, households with softer water may experience a slower rate of hose degradation, potentially extending the replacement interval toward the 5-year mark. Soft water, with lower mineral content, poses less strain on the hoses, allowing them to maintain their structural integrity for a longer duration. However, regular inspections should still be conducted to monitor the hoses' condition and promptly address any signs of wear and tear.
In addition to water quality considerations, the frequency of washing machine usage plays a significant role in determining the replacement schedule. Homes with high laundry demands, such as large families or frequent washing cycles, may subject the hoses to increased wear and pressure, warranting more frequent replacements. Conversely, households with lower usage rates may adhere to the standard 3 to 5-year replacement guideline.
Ultimately, while the 3 to 5-year replacement timeframe serves as a foundational recommendation, homeowners are encouraged to assess their specific circumstances and adjust the replacement schedule accordingly. Regular visual inspections of the hoses, coupled with an awareness of environmental and usage factors, enable individuals to make informed decisions regarding the optimal timing for hose replacement, thereby safeguarding their washing machines from potential water-related mishaps.
Importance of Regular Inspection
Regular inspection of washing machine hoses is paramount in ensuring the ongoing safety, functionality, and longevity of your laundry appliances. By incorporating routine visual assessments into your home maintenance practices, you can proactively identify potential issues, mitigate the risks of hose failure, and prevent water-related disasters. The significance of regular inspection extends beyond mere visual scrutiny; it encompasses a proactive approach to safeguarding your home from the detrimental effects of hose deterioration.
Through consistent visual inspections, homeowners can promptly detect early signs of wear and tear, such as cracks, bulges, fraying, or discoloration, before these issues escalate into significant concerns. By identifying these indicators early on, individuals can take timely corrective measures, such as hose replacement or repair, to avert potential leaks, bursts, and water damage. This proactive stance not only preserves the integrity of the washing machine hoses but also safeguards the surrounding area from the destructive impact of water leaks.
Furthermore, regular inspections serve as a preventive measure against unexpected disruptions and costly repairs. By integrating hose assessments into your regular home maintenance routine, you can preemptively address any emerging concerns, thereby avoiding the inconvenience and financial implications of sudden hose failures. This proactive approach not only fosters a sense of security and preparedness but also contributes to the efficient and uninterrupted operation of your laundry appliances.
In addition to mitigating the risks of hose failure, regular inspections foster a sense of accountability and awareness regarding the condition of your washing machine hoses. By actively engaging in visual assessments, homeowners develop a deeper understanding of the factors that influence hose longevity, such as water quality, usage patterns, and environmental elements. This heightened awareness empowers individuals to make informed decisions regarding maintenance, replacement schedules, and preventive measures, ultimately enhancing the overall safety and reliability of their laundry appliances.
Ultimately, the importance of regular inspection lies in its proactive and preventive nature, offering homeowners the opportunity to identify, address, and mitigate potential hose-related issues before they escalate. By integrating visual assessments into your home maintenance routine, you can uphold the safety and functionality of your washing machine hoses, minimize the risks of water damage, and foster a proactive approach to appliance maintenance and care.
DIY Replacement Tips
When it comes to replacing washing machine hoses, opting for a do-it-yourself (DIY) approach can be a cost-effective and empowering endeavor. By following these DIY replacement tips, homeowners can confidently undertake the task of replacing their washing machine hoses, ensuring the continued safety and functionality of their laundry appliances.
1. Gather the Necessary Tools and Materials
Before initiating the replacement process, gather the essential tools and materials required for the task. This typically includes adjustable wrenches, pliers, new washing machine hoses (preferably stainless steel braided for enhanced durability), and thread seal tape. Ensuring that you have all the necessary items at hand will streamline the replacement process and minimize potential interruptions.
2. Turn Off the Water Supply
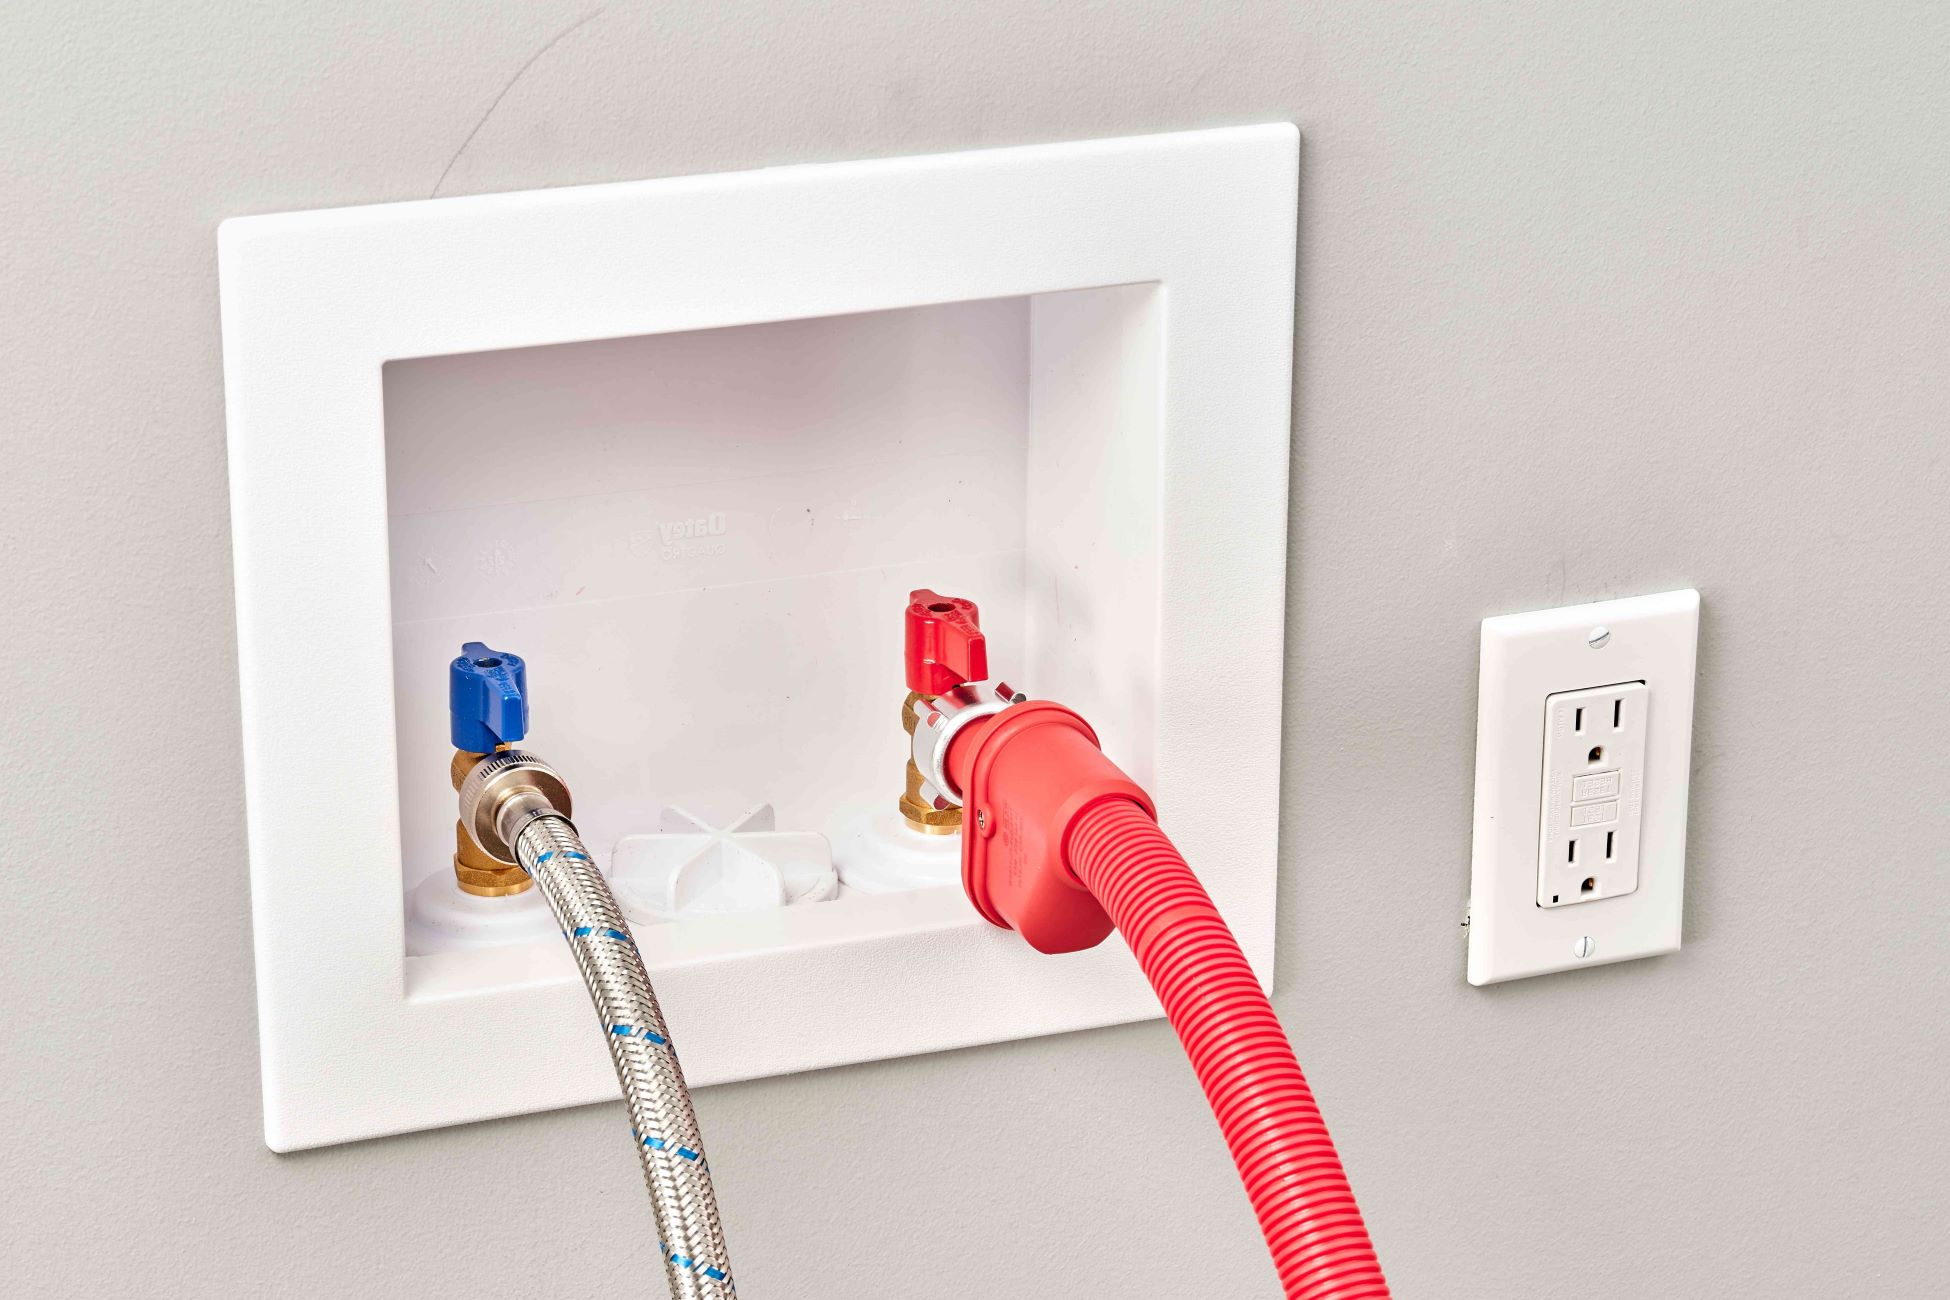
Prior to commencing the hose replacement, it is imperative to turn off the water supply to the washing machine. Locate the shut-off valves connected to the hot and cold water lines and firmly close them to prevent water flow. Once the valves are securely closed, disconnect the existing hoses from the water supply and the washing machine inlet valves.
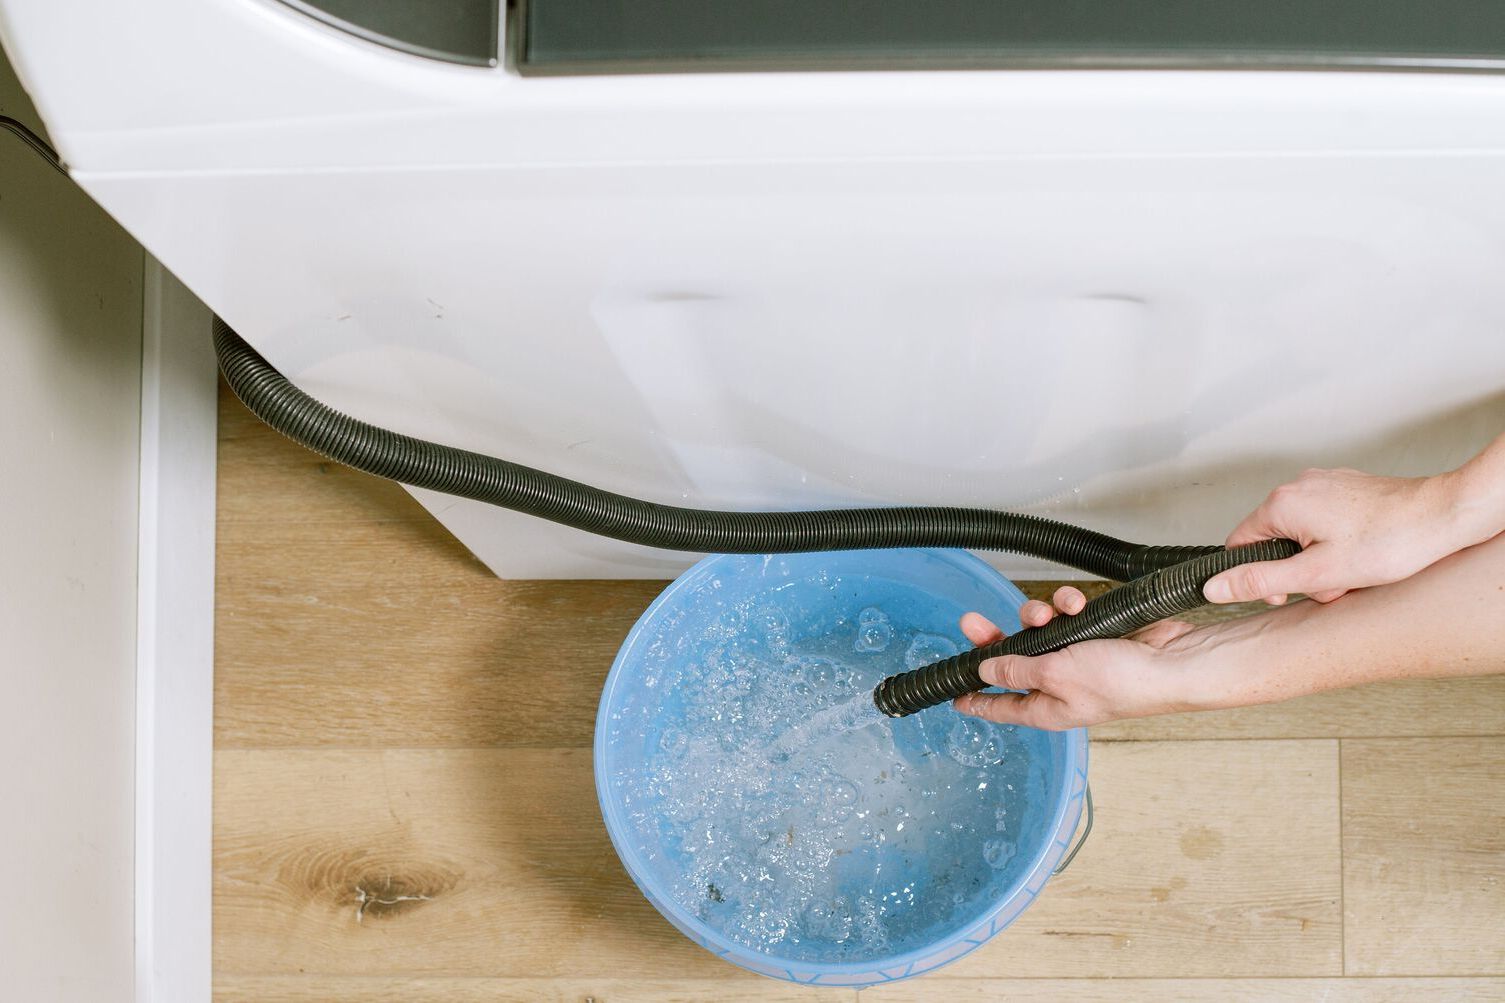
3. Drain Excess Water
After disconnecting the old hoses, residual water may be present within the lines. To prevent potential spills and water damage, place a towel or container beneath the hose connections and allow any remaining water to drain out. This step helps maintain a clean and dry work area during the replacement process.
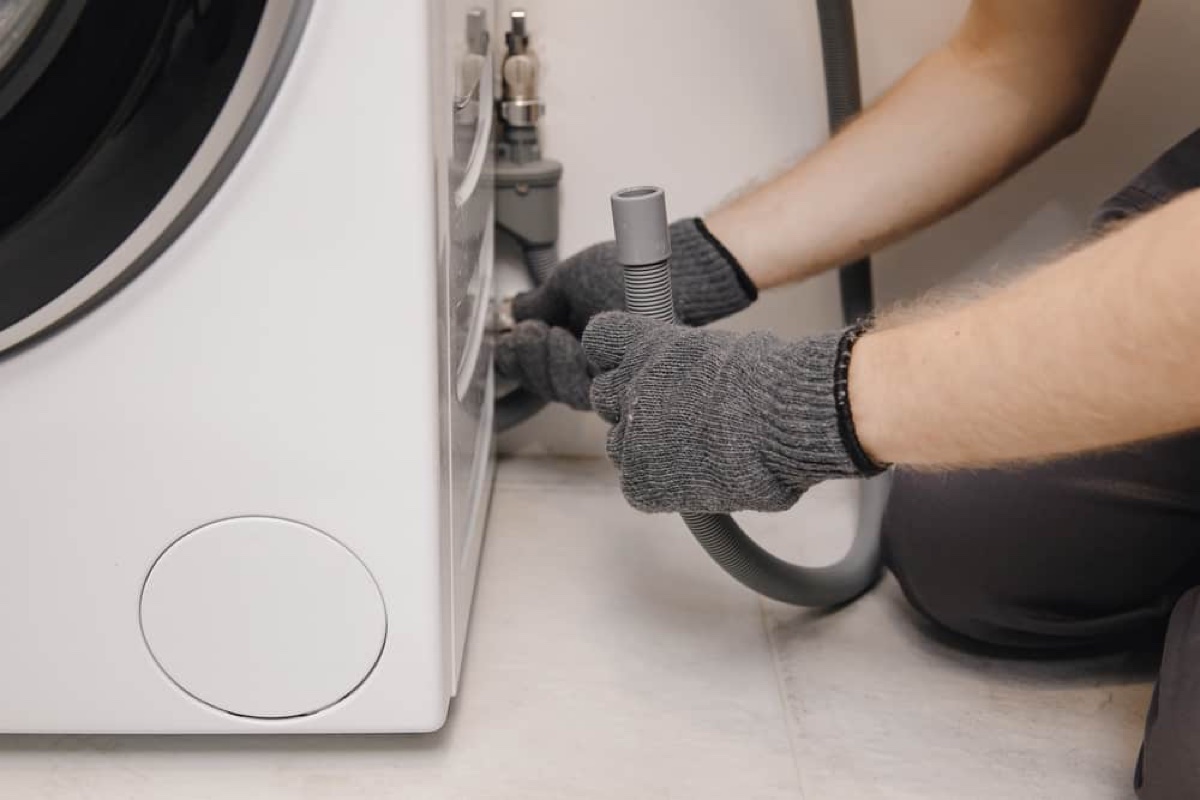
4. Remove Old Hoses and Clean Connections
Using adjustable wrenches or pliers, carefully loosen and remove the old hoses from the water supply and the washing machine inlet valves. Once the old hoses are detached, thoroughly clean the hose connections to remove any debris, sediment, or old thread seal tape. This ensures optimal contact and sealing for the new hoses.
Read more: How Often Should Plumbing Be Replaced
5. Install New Hoses with Thread Seal Tape
Before installing the new hoses, apply thread seal tape to the threaded ends of the water supply and washing machine inlet valves. This tape helps create a secure and watertight seal, minimizing the risk of leaks. Subsequently, securely attach the new hoses to the respective connections, ensuring a snug fit without over-tightening.
6. Turn On the Water Supply and Check for Leaks
Once the new hoses are securely in place, gradually turn on the water supply by reopening the shut-off valves. Carefully inspect the hose connections for any signs of leaks or drips. If no leaks are detected, proceed to test the washing machine by running a short cycle to verify the proper functioning of the new hoses.
By following these DIY replacement tips, homeowners can effectively replace their washing machine hoses, safeguarding their laundry appliances from potential water damage and ensuring continued reliability. However, if individuals encounter challenges or are uncertain about the replacement process, seeking professional assistance is always a viable option to guarantee the proper installation and functionality of the new hoses.
Frequently Asked Questions about How Often Should Washing Machine Hoses Be Replaced
Was this page helpful?
At Storables.com, we guarantee accurate and reliable information. Our content, validated by Expert Board Contributors, is crafted following stringent Editorial Policies. We're committed to providing you with well-researched, expert-backed insights for all your informational needs.


0 thoughts on “How Often Should Washing Machine Hoses Be Replaced”