Home>Home Maintenance>How To Fix A Refrigerant Leak In An Air Conditioner
Home Maintenance
How To Fix A Refrigerant Leak In An Air Conditioner
Modified: March 7, 2024
Learn how to fix a refrigerant leak in your air conditioner with these easy home maintenance tips. Keep your AC running smoothly and efficiently.
(Many of the links in this article redirect to a specific reviewed product. Your purchase of these products through affiliate links helps to generate commission for Storables.com, at no extra cost. Learn more)
Introduction
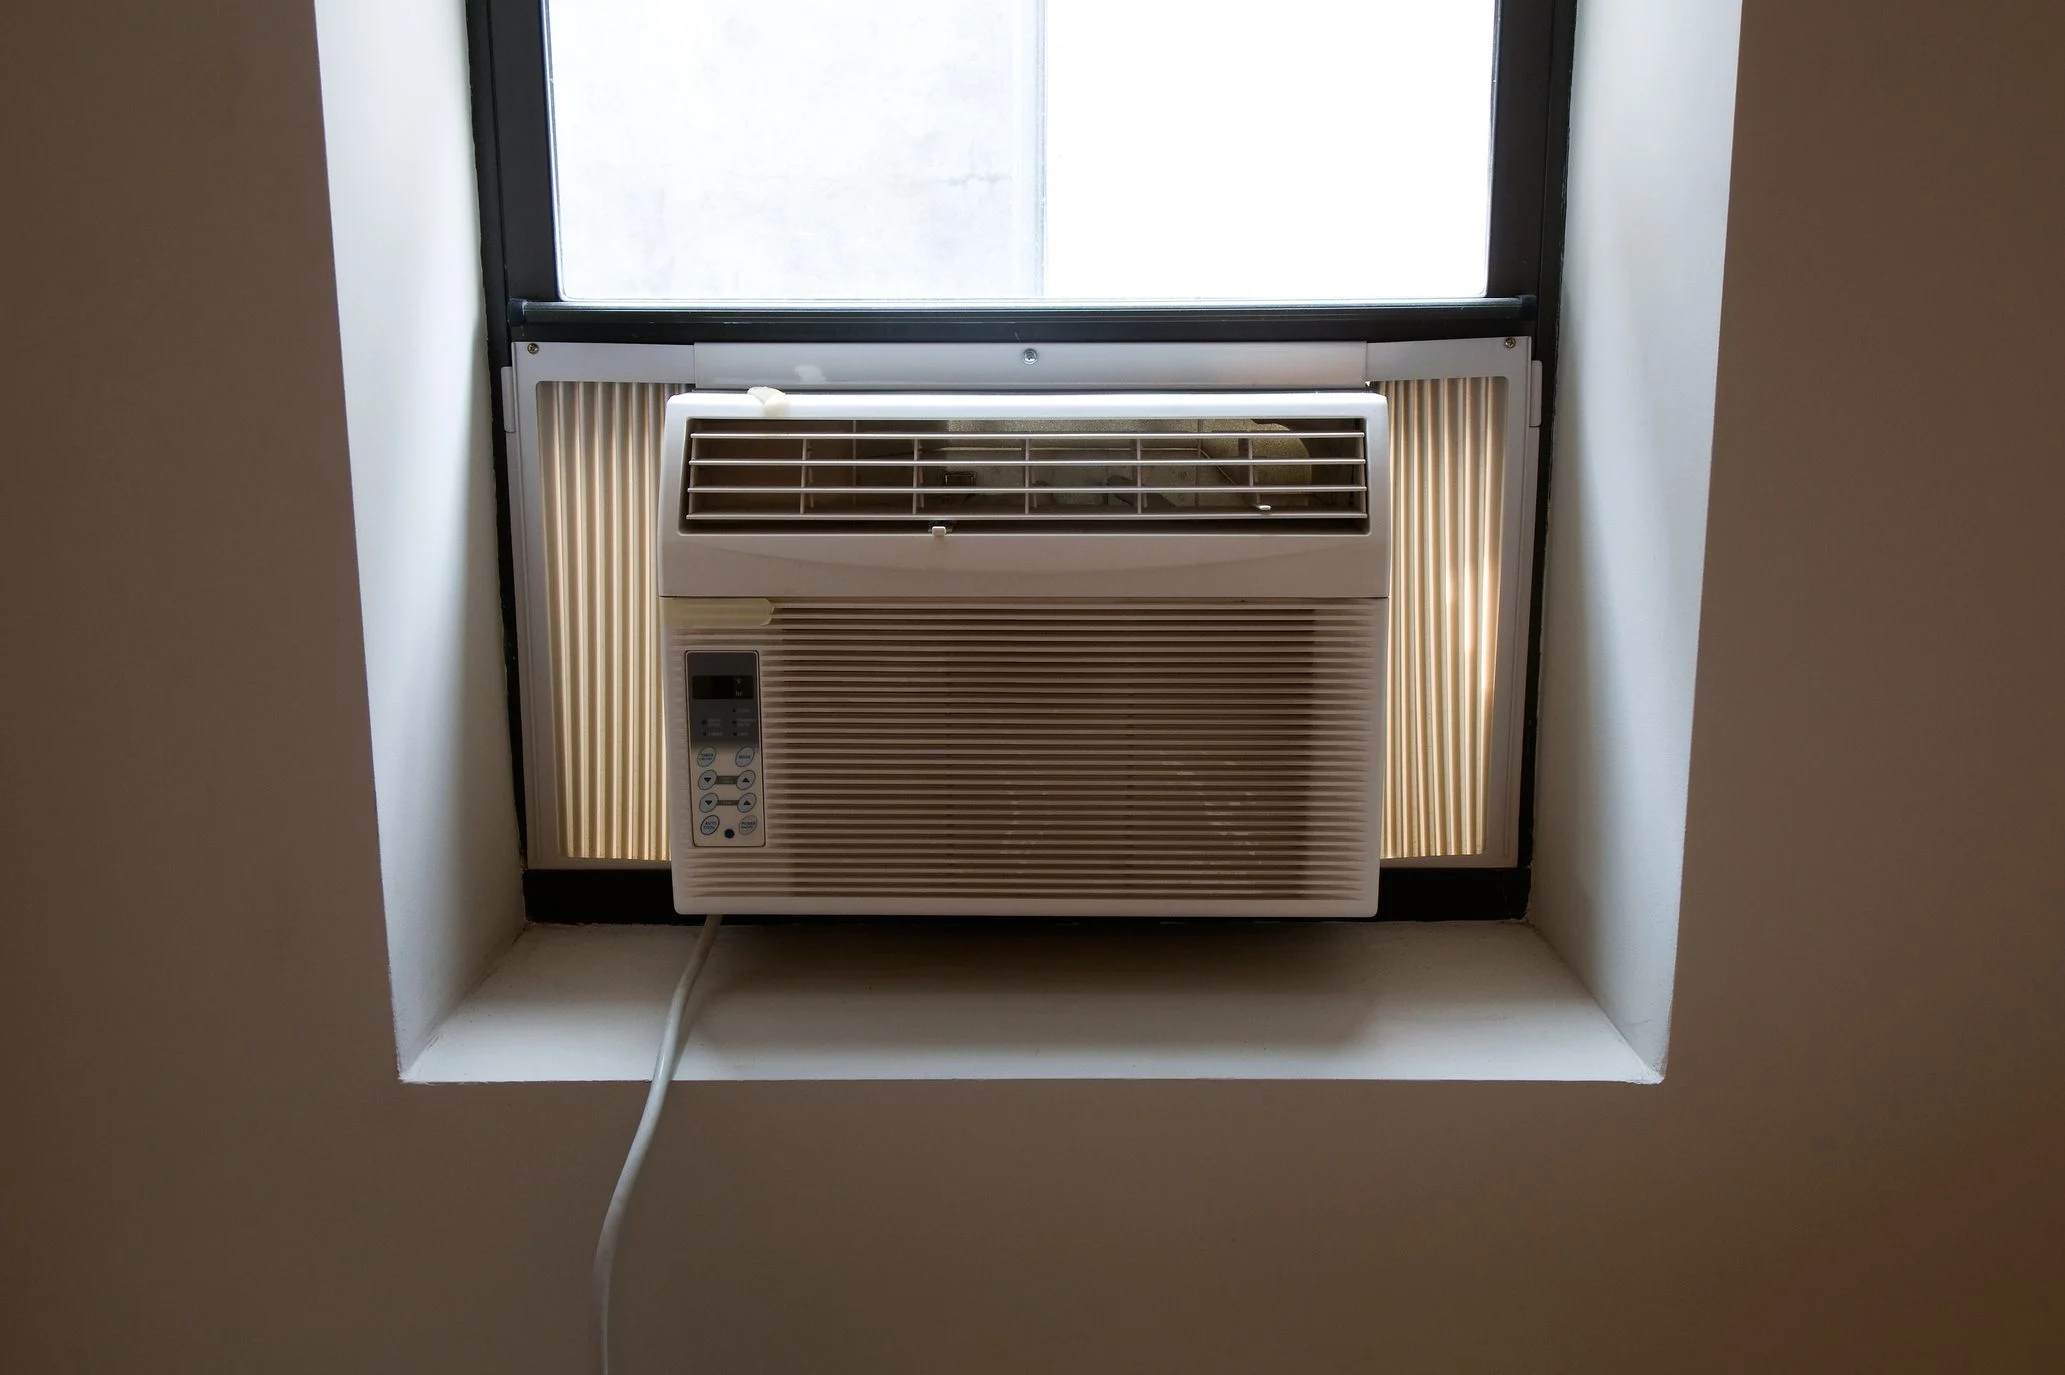
Welcome to our comprehensive guide on how to fix a refrigerant leak in an air conditioner. As homeowners, it is essential to be aware of common maintenance tasks to keep your air conditioning system in optimal working condition. One of the most common issues that can arise is a refrigerant leak.
Refrigerant is the lifeblood of an air conditioner. It is responsible for cooling and dehumidifying the air, ensuring that your home remains comfortable even during the hottest months. However, over time, your air conditioner may develop leaks, which can cause a myriad of problems if left unaddressed.
In this guide, we will explore the symptoms of a refrigerant leak, the tools and equipment needed for the job, and the step-by-step process of fixing the leak. By following these instructions and taking the necessary precautions, you can save money on costly repairs and ensure your air conditioner operates efficiently.
Before we dive into the specifics, it’s important to note that if you are unsure about handling any aspect of the repair process, it is always recommended to consult with a professional HVAC technician. They have the expertise and specialized tools to handle refrigerant leaks safely and effectively.
Now, let’s get started by discussing the symptoms that indicate your air conditioner may have a refrigerant leak.
Key Takeaways:
- Don’t ignore signs of a refrigerant leak in your air conditioner, such as decreased cooling, higher energy bills, or ice buildup. Addressing leaks promptly can save you money and keep your home comfortable.
- Gathering the right tools and following safety precautions are crucial for fixing a refrigerant leak. If unsure, consult a professional HVAC technician to ensure a proper and lasting repair.
Read more: How Do You Fix A Leaking Air Conditioner
Symptoms of a Refrigerant Leak
A refrigerant leak in an air conditioner can cause a variety of symptoms that indicate something is wrong with your system. If you notice any of the following signs, it is likely that you have a refrigerant leak that needs to be addressed:
- Decreased cooling performance: One of the most common signs of a refrigerant leak is a decrease in cooling performance. If you find that your air conditioner is not cooling your home as effectively as it used to, or if it takes longer to reach the desired temperature, it could be a result of low refrigerant levels caused by a leak.
- Increased energy consumption: Another symptom of a refrigerant leak is an increase in your energy bills. When your air conditioner is low on refrigerant, it has to work harder to achieve the desired temperature, resulting in higher energy consumption. If you notice a sudden spike in your energy bills without any other explanation, it is worth investigating for a refrigerant leak.
- Ice buildup: If you see ice buildup on the evaporator coils or refrigerant lines of your air conditioner, it is a clear indication of a refrigerant leak. When refrigerant levels are low, the remaining refrigerant can cause the evaporator coils to freeze over, hindering the cooling process and potentially damaging the system if left unaddressed.
- Hissing or bubbling sounds: If you hear hissing or bubbling sounds coming from your air conditioner, it could mean that there is a refrigerant leak. The sound is caused by the refrigerant escaping from the system through the leak. Pay close attention to any unusual sounds coming from your air conditioner, as they can provide valuable clues about the source of the problem.
- Uneven cooling: Have you noticed that certain areas of your home are cooler than others? If so, it could be due to a refrigerant leak. When the refrigerant levels are low, your air conditioner may struggle to distribute cool air evenly throughout your home, resulting in hot spots and an uncomfortable living environment.
If you experience any of these symptoms, it is crucial to take immediate action to identify and fix the refrigerant leak. Not only will this help restore the efficiency of your air conditioner, but it will also prevent further damage to the system and ensure the longevity of your equipment.
Now that you are aware of the symptoms, let’s move on to the next section, where we will discuss the tools and equipment you will need to fix a refrigerant leak in your air conditioner.
Tools and Equipment Needed
Before you begin fixing a refrigerant leak in your air conditioner, it is important to gather the necessary tools and equipment. Having the right tools on hand will make the process smoother and more efficient. Here is a list of essential items you will need:
- Leak detection kit: A leak detection kit is an essential tool used to identify the location of the refrigerant leak. It typically includes a UV dye that is injected into the system, along with a UV light or electronic leak detector to help you locate the leak.
- Safety goggles and gloves: Working with refrigerant can be hazardous, so it is important to wear protective gear such as safety goggles and gloves. These will help protect your eyes and skin from any potential contact with the refrigerant.
- Adjustable wrench: An adjustable wrench will be useful for loosening and tightening the fasteners on the air conditioner components.
- Flaring tool: If the leak is occurring at a flare fitting, you may need a flaring tool to properly repair or replace the damaged fitting.
- Repair materials: Depending on the type of leak and the damaged component, you may need specific repair materials such as solder, brazing rods, or epoxy to fix the leak.
- Refrigerant: If the leak has caused a significant loss of refrigerant, you will need to recharge the system with the appropriate type and amount of refrigerant. It is important to consult the manufacturer’s specifications or an HVAC professional to ensure you use the correct refrigerant for your air conditioner.
- Refrigerant scale: To accurately measure the amount of refrigerant being added to the system during the recharge process, a refrigerant scale is essential. This will help ensure that you do not over or undercharge the system.
- Flux and soldering/brazing tools: If the leak is in a copper pipe or tubing, you may need flux and soldering/brazing tools to repair the damaged section. It is important to have the necessary soldering or brazing skills to make a proper and reliable repair.
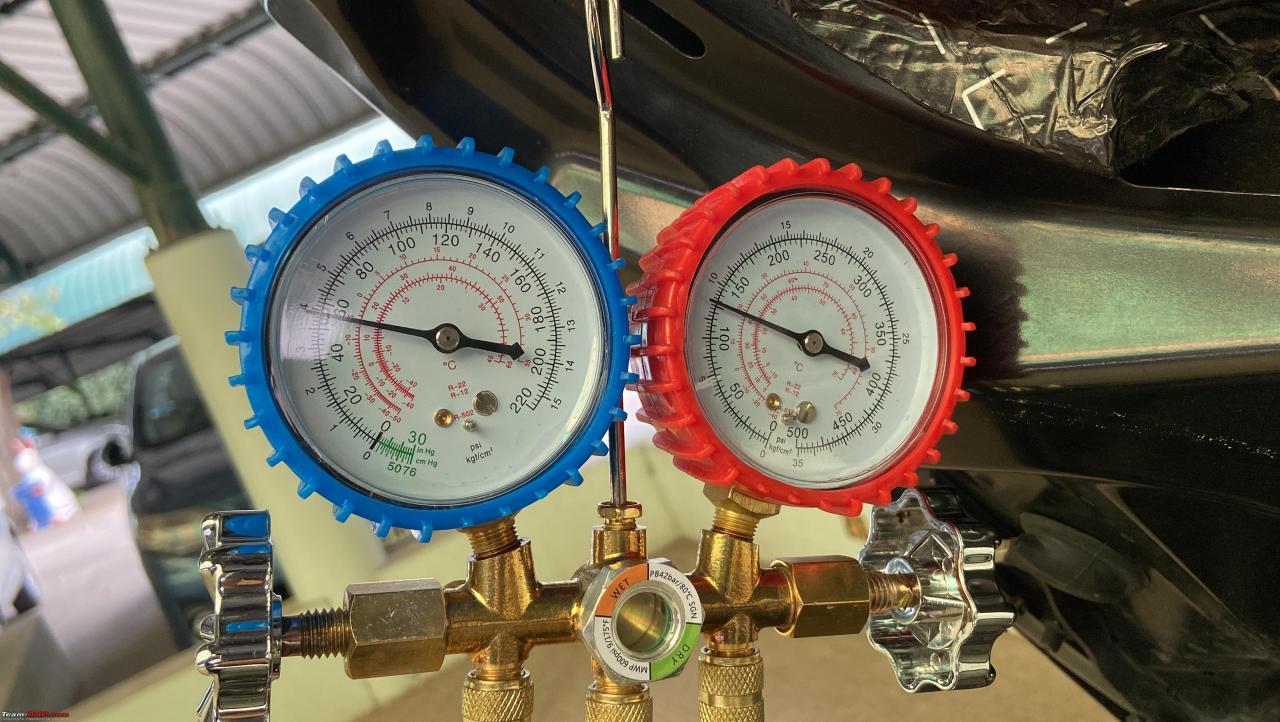
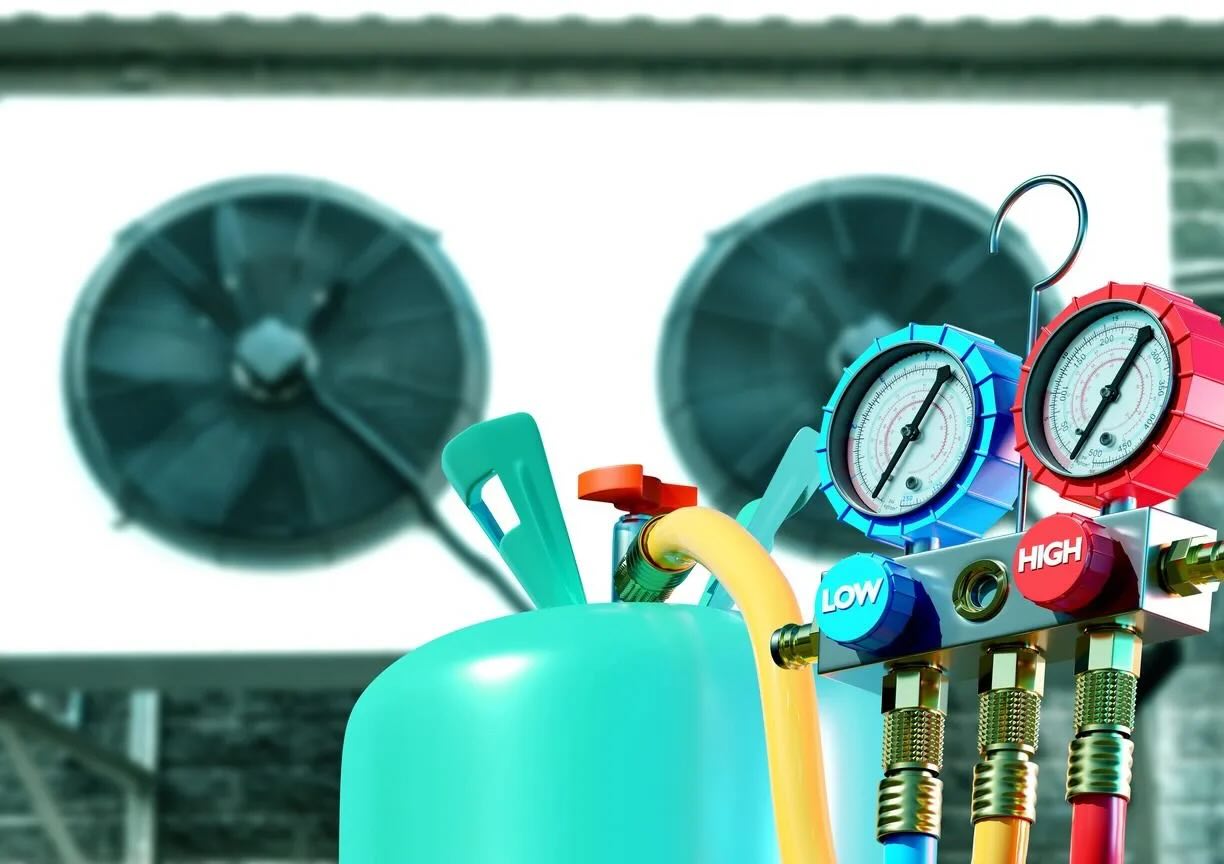
- Pressure gauge: A pressure gauge is important for monitoring the pressure levels in the system during the repair process. It will help ensure that the system is properly pressurized and functioning correctly after the leak is fixed.
Having these tools and equipment readily available will make the process of fixing a refrigerant leak in your air conditioner more efficient and effective. Additionally, it is important to follow all safety guidelines and instructions provided by the manufacturer or a professional HVAC technician when handling refrigerant and performing repairs.
Now that you have gathered all the necessary tools and equipment, we can move on to the step-by-step process of fixing the refrigerant leak in your air conditioner.
Step 1: Turn off the air conditioner
The first step in fixing a refrigerant leak in your air conditioner is to ensure that the system is completely turned off. This is crucial for your safety and also to prevent any further damage to the unit.
Here’s how to properly turn off your air conditioner:
- Switch off the power: Locate the circuit breaker or fuse box that controls the power supply to your air conditioner. Turn off the circuit breaker or remove the fuse to cut off the power to the unit. This step is important to prevent any electrical accidents during the repair process.
- Set the thermostat to “Off”: Next, go to your thermostat and set it to the “Off” position. This will ensure that the air conditioner does not turn on accidentally while you are working on it.
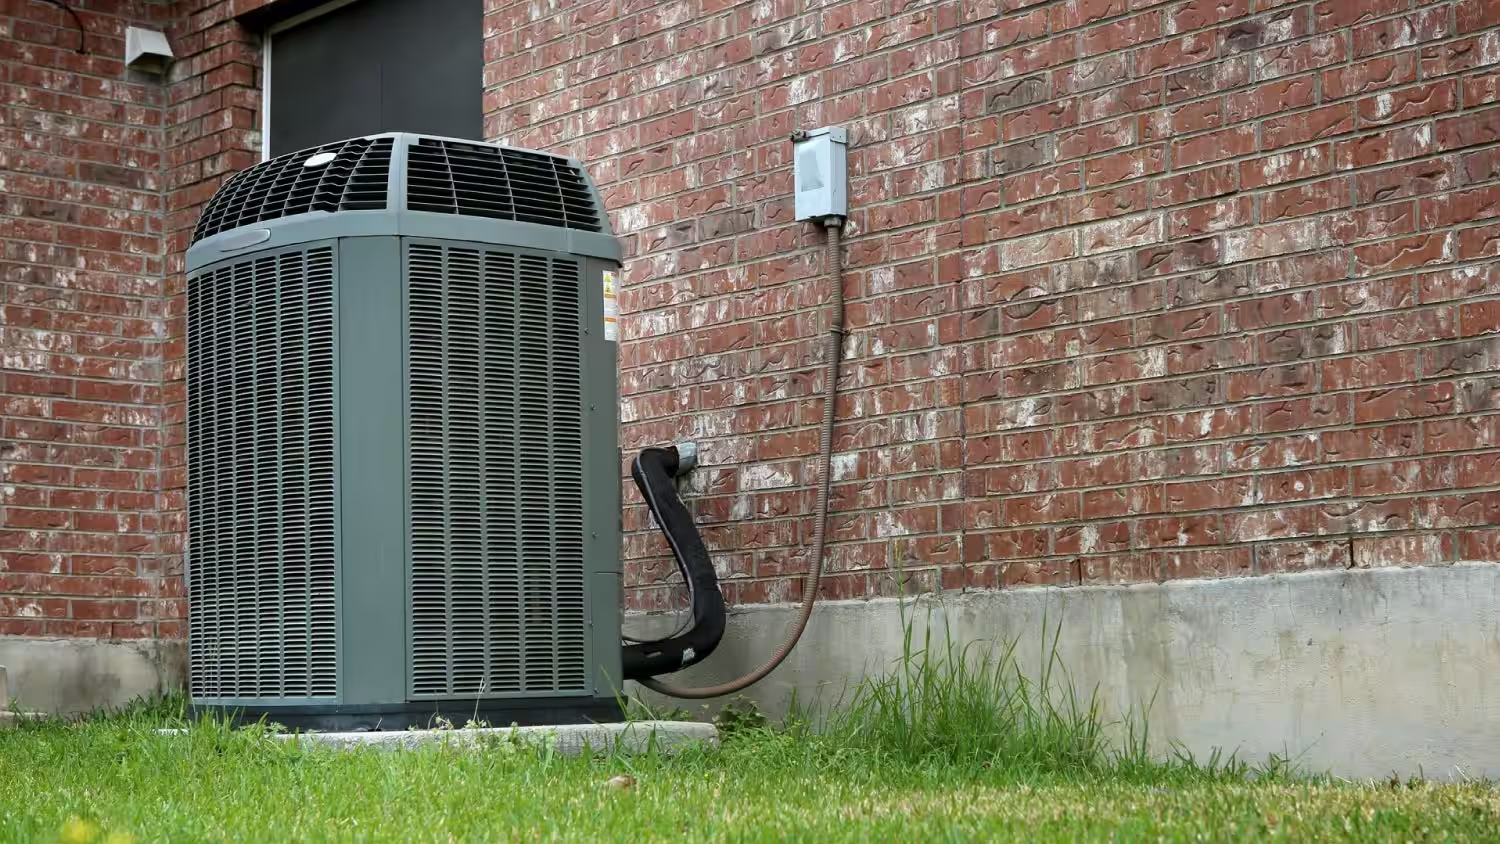
- Disconnect the unit: If your air conditioner has a dedicated disconnect box or switch, make sure to turn it off as well. This step will completely disconnect the power supply to the outdoor unit of your air conditioner.
Once you have followed these steps and confirmed that the power supply to your air conditioner is completely turned off, you can proceed with locating and fixing the refrigerant leak. It is important to exercise caution and avoid touching any electrical components or refrigerant lines while working on your air conditioner.
Now that the air conditioner is safely turned off, we can move on to the next step: locating the refrigerant leak.
Step 2: Locate the refrigerant leak
Once you have ensured that the air conditioner is turned off, the next step is to locate the refrigerant leak. Identifying the source of the leak is crucial to determine the appropriate repair method.
Here’s how to locate a refrigerant leak in your air conditioner:
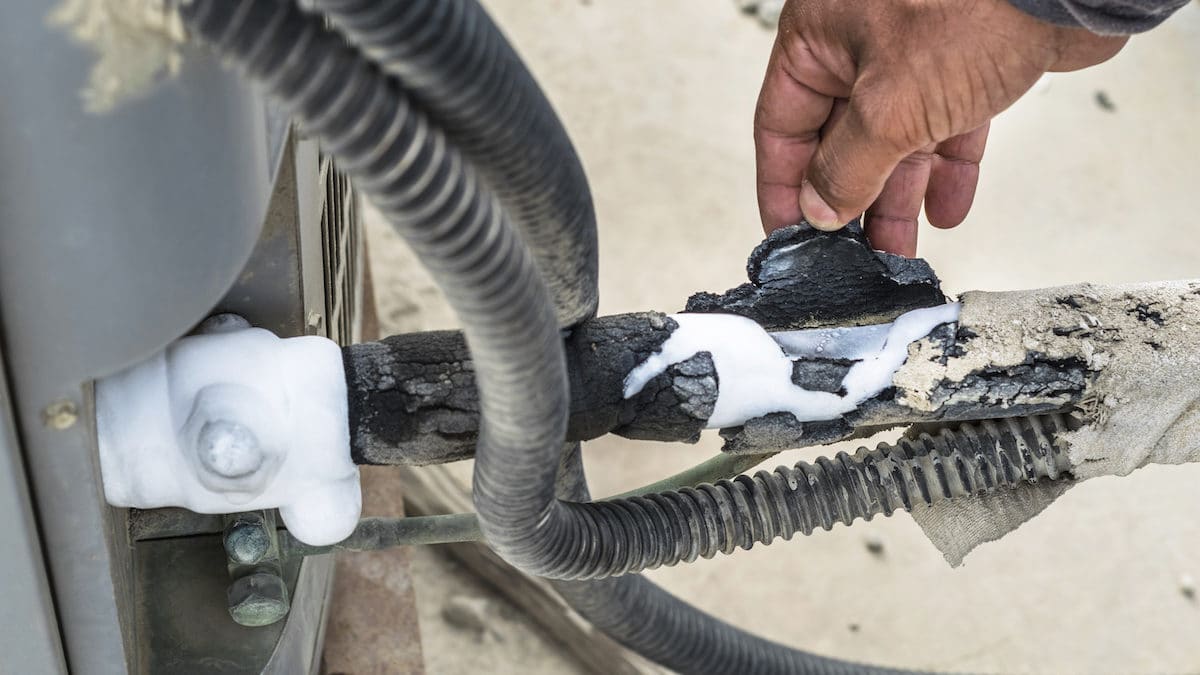
- Inspect the refrigerant lines: Start by visually inspecting the refrigerant lines. Look for any signs of oil residue or frost accumulation, as these are indicators of a refrigerant leak. Pay close attention to connections, joints, and sections of the lines that are exposed and accessible.
- Use a leak detection kit: If you are unable to visually identify the leak, you can use a leak detection kit to assist you. Follow the instructions provided with the kit to inject a UV dye into the system. Then, use a UV light or electronic leak detector to scan the refrigerant lines, fittings, and components. The UV dye will react when it comes into contact with the refrigerant, making the leak visible under the UV light or detectable by the electronic leak detector.
- Check the evaporator coil: The evaporator coil is another common location for refrigerant leaks. Inspect the coil for any signs of corrosion, damage, or oil residue. A UV light can be used to detect leaks in the evaporator coil as well. If you suspect a leak in the evaporator coil, it is recommended to consult with a professional HVAC technician for further assessment and repair.
- Inspect other components: In some cases, refrigerant leaks can occur in other components of the air conditioning system, such as the condenser or compressor. Carefully inspect these components for any signs of leaks, including oil stains or residue. It is important to exercise caution when inspecting these components, as they can contain high-pressure refrigerant.
- Take note of the location: Once you have identified the location of the refrigerant leak, take note of it for future reference. This will help guide you during the repair process.
Locating the refrigerant leak is a crucial step in the repair process. By identifying the source of the leak, you can determine the appropriate repair method and prevent further refrigerant loss. If you are unsure about locating the leak or if the leak is not easily visible, it is recommended to seek the assistance of a professional HVAC technician.
Now that you have located the refrigerant leak, we can move on to the next step: repairing the leak.
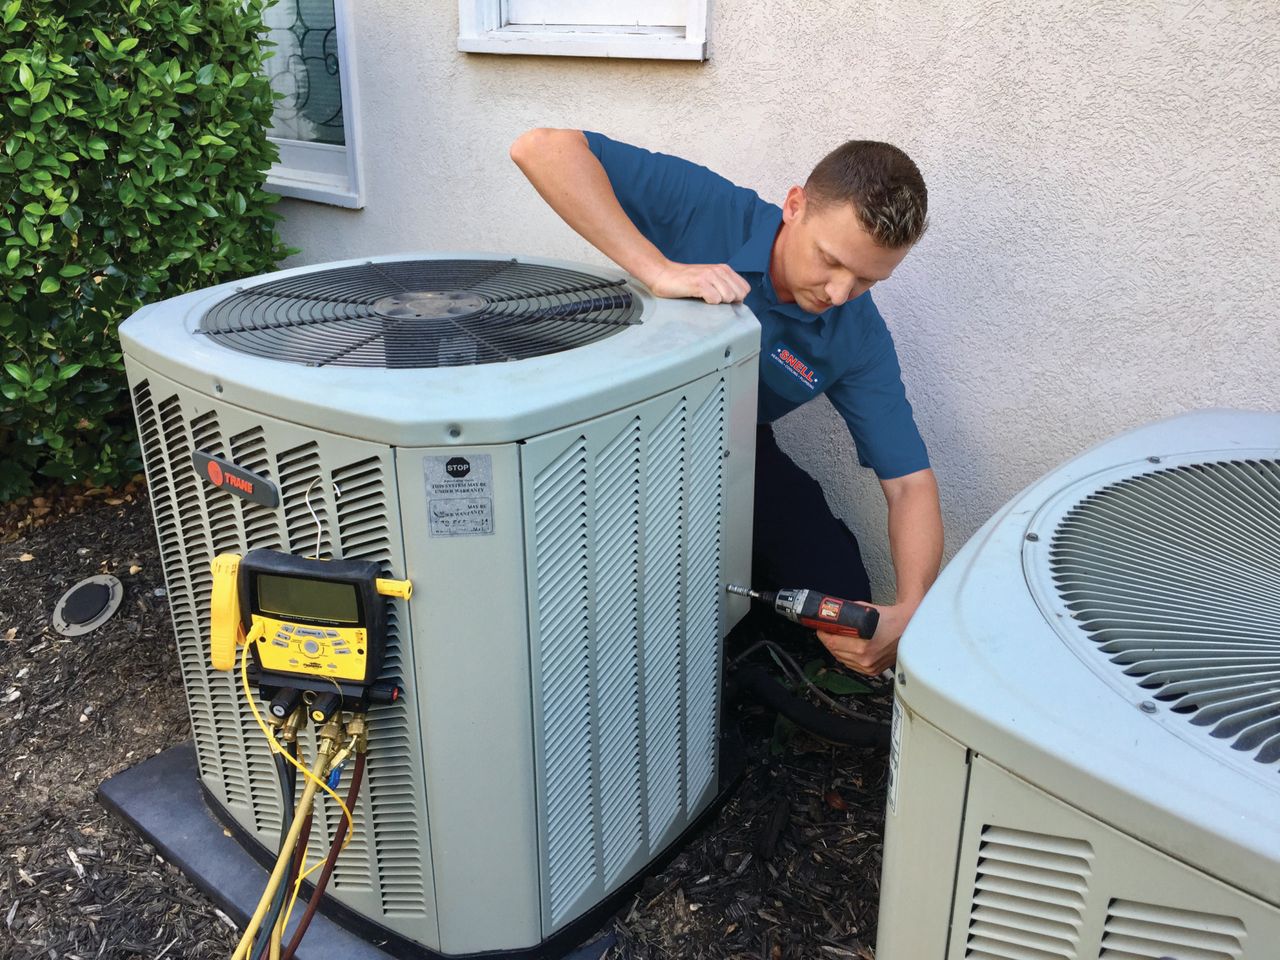
If you suspect a refrigerant leak in your air conditioner, it’s best to call a professional HVAC technician to locate and repair the leak. Trying to fix it yourself can be dangerous and may cause further damage to your unit.
Read more: How To Find A Leak In An Air Conditioner
Step 3: Repairing the leak
Now that you have located the refrigerant leak in your air conditioner, it’s time to proceed with the repair process. The method of repair will depend on the type and severity of the leak, as well as the specific components involved. Here are some common methods for repairing refrigerant leaks:
1. Sealing small leaks: For small leaks in the refrigerant lines or fittings, you may be able to seal the leak using an epoxy or specialized sealant designed for HVAC systems. Follow the manufacturer’s instructions carefully when applying the sealant, ensuring proper coverage of the affected area. Allow the sealant to dry and cure as recommended before moving on to the next step.
2. Replacing damaged components: In some cases, the best solution may be to replace the damaged component causing the refrigerant leak. This could involve replacing sections of the refrigerant lines, valves, or connectors. Use the appropriate tools to disconnect the damaged component and install the new one. Make sure to follow the manufacturer’s instructions and tighten all connections properly.
3. Soldering or brazing: If the leak is occurring at a copper pipe or tubing joint, you may need to use a soldering or brazing technique to make a proper repair. Ensure that the area around the leak is clean and free of debris. Apply flux to the joint and use a torch to heat the joint while applying solder or brazing material. It is important to have the necessary skills and experience for soldering or brazing, so if you are not confident in your abilities, it is best to consult a professional HVAC technician.
4. Using repair refrigerant: In some cases, you may come across a temporary fix called a “repair refrigerant” that claims to seal leaks and replenish refrigerant levels. While this may provide a temporary solution, it is important to note that it is not a permanent fix. It is best to use repair refrigerant as a temporary measure and consult a professional to properly fix the leak.
Remember, the repair process may vary depending on the specific situation, so it’s essential to follow the appropriate instructions and guidelines for your air conditioning system. If you are unsure about any step of the repair process or if the leak is beyond your capabilities to fix, it is recommended to consult with a professional HVAC technician to ensure a proper and lasting repair.
Now that you have successfully repaired the refrigerant leak in your air conditioner, we can move on to the next step: recharging the refrigerant.
Step 4: Recharging the refrigerant
After successfully repairing the refrigerant leak in your air conditioner, the next step is to recharge the system with the appropriate amount of refrigerant. Recharging the refrigerant is necessary to restore the system’s cooling efficiency and ensure optimal performance.
Here’s how to recharge the refrigerant in your air conditioner:
1. Consult the manufacturer’s specifications: Before recharging the refrigerant, it is important to consult the manufacturer’s specifications or refer to the user manual for the recommended type and amount of refrigerant. Using the wrong refrigerant can cause damage to the system and result in poor performance.
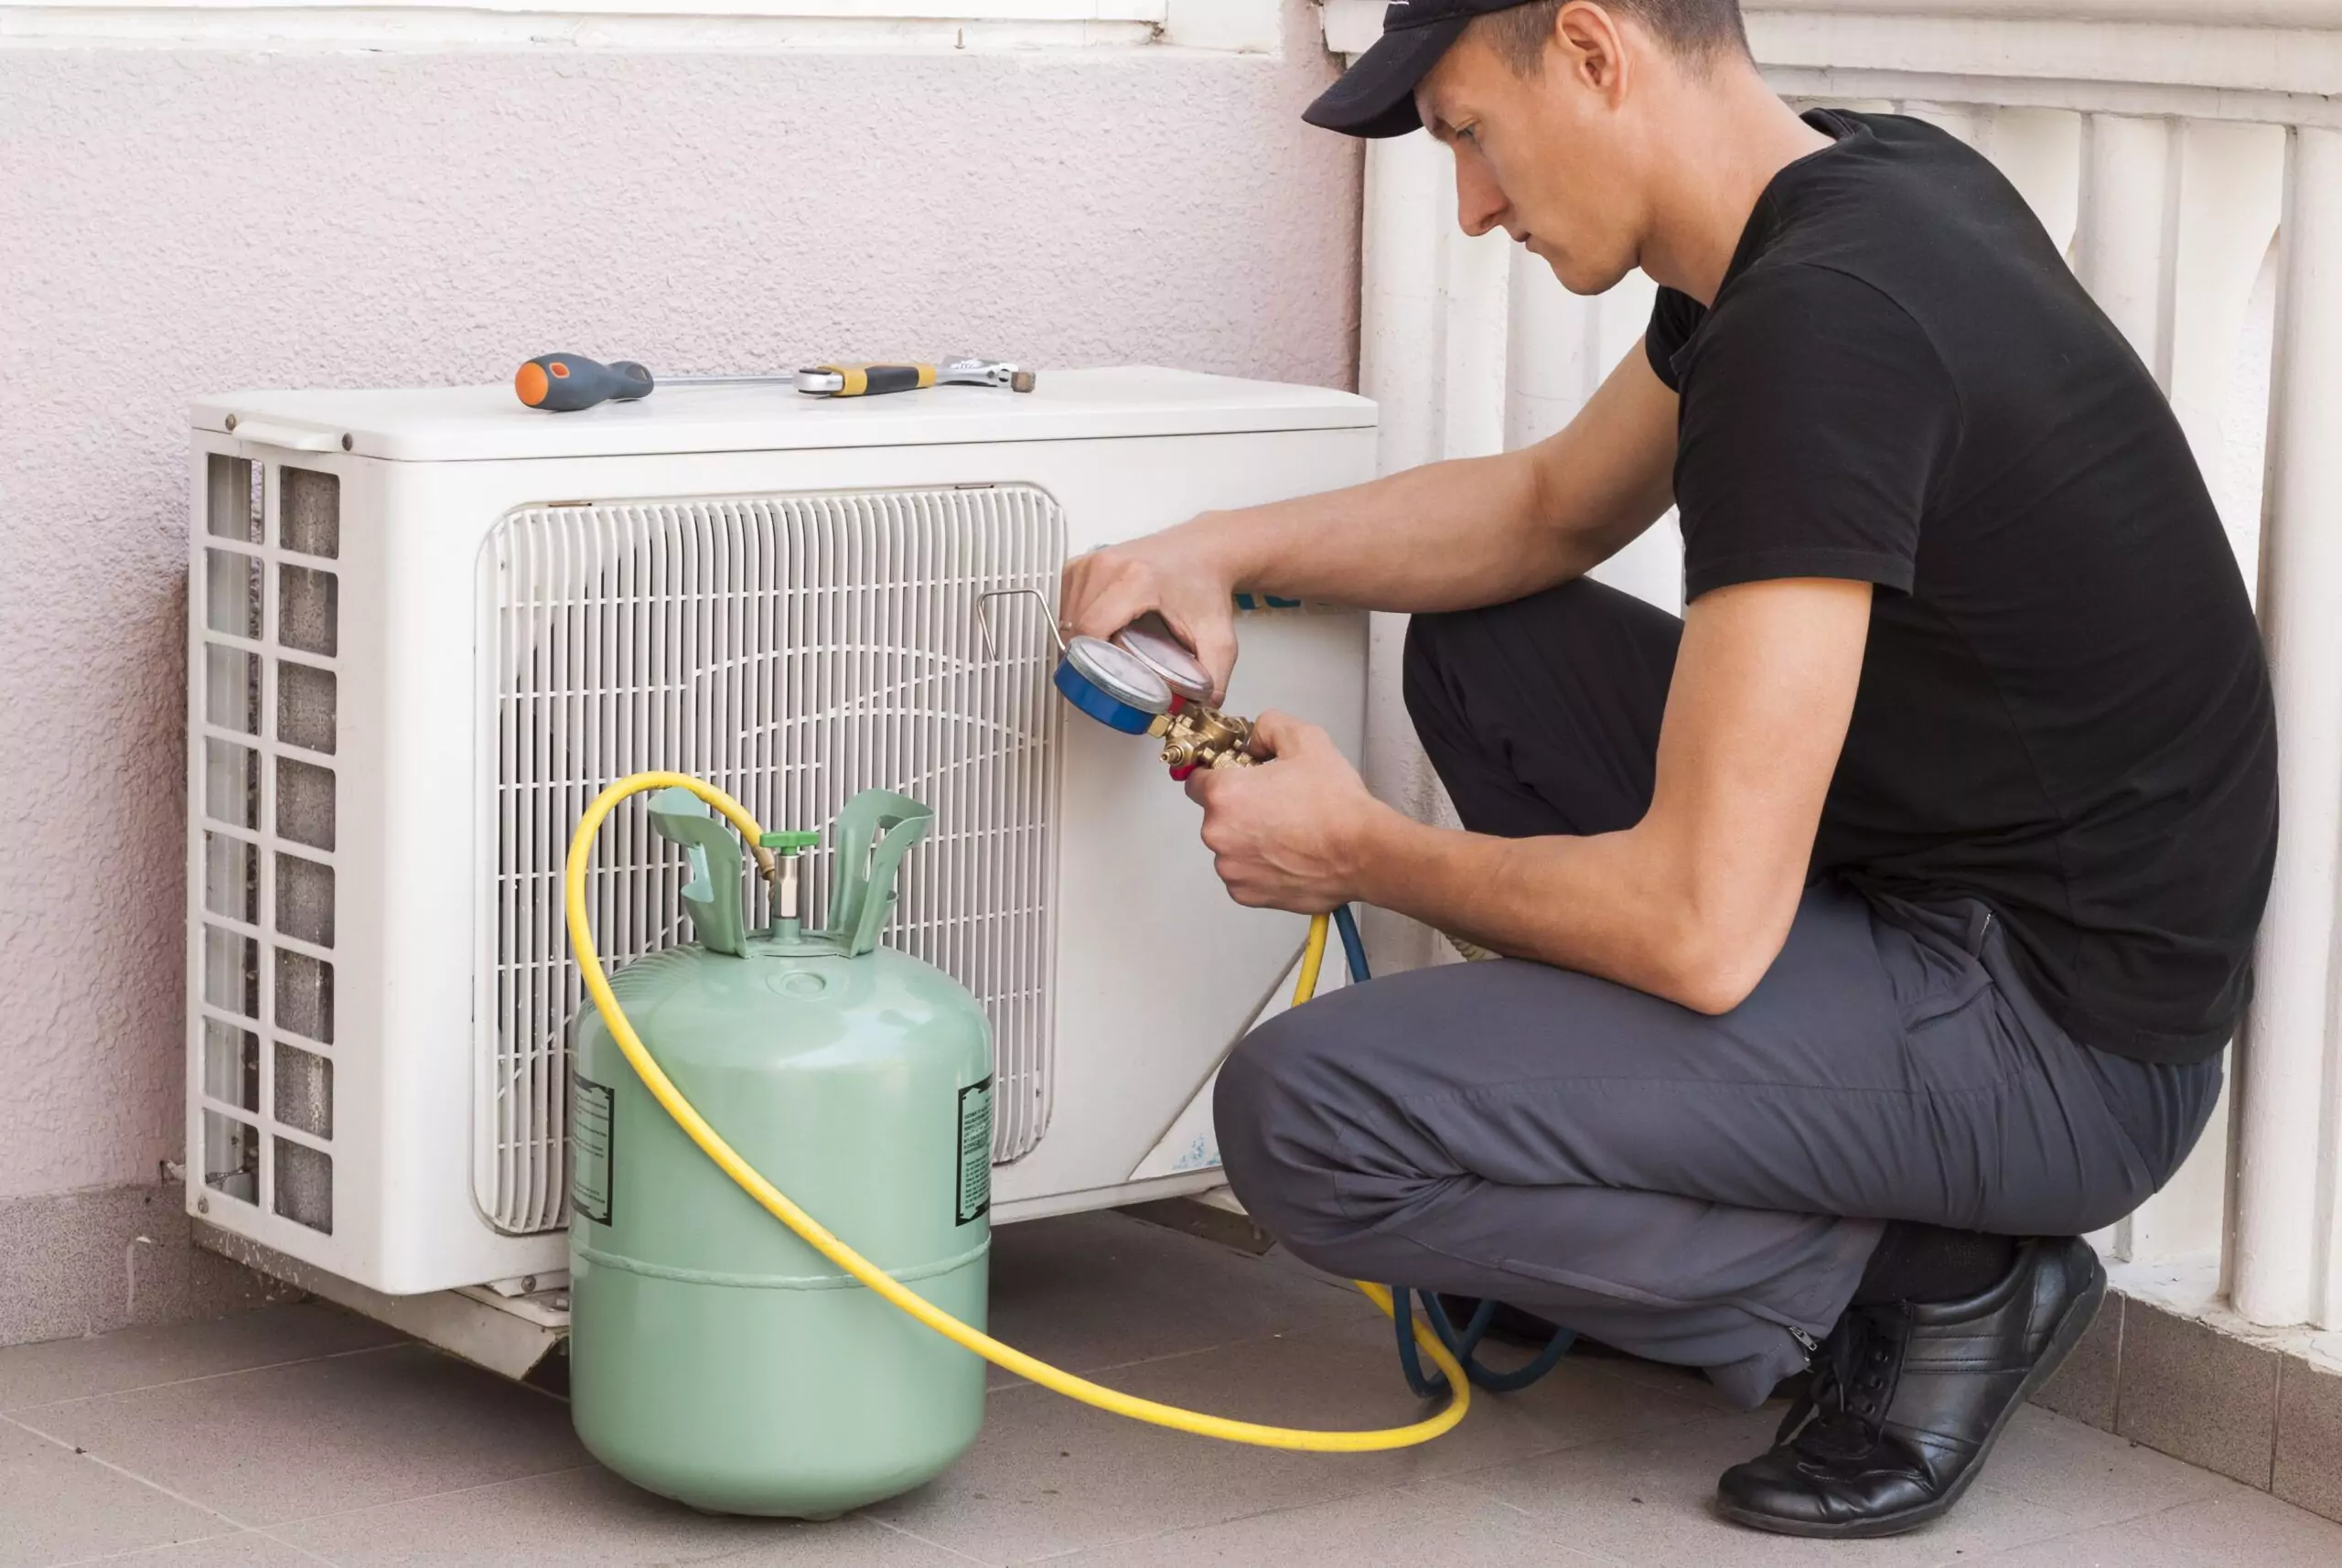
2. Prepare the refrigerant: If you are using a canister of refrigerant, follow the instructions provided with the canister to prepare it for charging. This may involve attaching a charging hose or connecting it to a charging manifold.
3. Attach the charging hose: Attach the charging hose to the service port on the air conditioner’s refrigerant lines. The service port is typically located near the condenser unit or on the suction line. Ensure that the connection is secure to prevent any leaks during the charging process.
4. Monitor the refrigerant levels: As you charge the refrigerant into the system, it is important to monitor the refrigerant levels using a refrigerant scale or pressure gauge. This will help ensure that you do not overcharge or undercharge the system. Follow the manufacturer’s recommendations for the appropriate refrigerant levels.
5. Charge the refrigerant: Slowly open the valve on the refrigerant canister or charging manifold to release the refrigerant into the system. Monitor the pressure or weight of the refrigerant as you charge it. It is crucial to charge the refrigerant gradually to prevent overloading the system.
6. Check for leaks: After recharging the refrigerant, it is important to check for any additional leaks. Use a leak detection kit or visually inspect the refrigerant lines and components to ensure that all repairs were successful and no new leaks have appeared.
7. Secure and seal the system: Once the refrigerant has been charged and there are no leaks, securely close the service port valve on the refrigerant lines. Ensure that all connections are tightened properly to prevent any refrigerant leaks in the future.
It is important to note that recharging the refrigerant should only be done by individuals with the necessary knowledge and experience. If you are unsure about any step of the recharging process or if you are not comfortable working with refrigerant, it is always recommended to consult with a professional HVAC technician.
Now that you have successfully recharged the refrigerant, we can move on to the final step: testing the air conditioner to ensure it is functioning correctly.
Step 5: Testing the air conditioner
After completing the repair and recharge process, it is essential to test your air conditioner to ensure that it is functioning correctly and cooling your home effectively. Testing will help you verify that the refrigerant leak has been fully addressed and that the system is operating at its optimal performance level.
Here are the steps to test your air conditioner:
1. Turn on the air conditioner: With the power restored to the air conditioner, turn it on from the thermostat or control panel. Set the temperature to a comfortable level and observe the system as it starts up.
2. Check for proper airflow: Feel the airflow coming from the air vents in different rooms of your home. Make sure that the air is flowing consistently and that each room is receiving an adequate amount of cool air. If you notice any weak airflow or uneven cooling, there may be an issue with the air distribution system that requires further investigation.
3. Monitor the temperature: Use a thermometer to monitor the temperature of the air coming from the vents. The air should be cool and within the desired temperature range that you set on your thermostat. If the air is not cooling properly or if it’s blowing warm air, it could indicate a problem with the refrigerant charge or other components of the system.
4. Observe for any unusual noises or smells: During the testing process, pay attention to any strange or unusual noises coming from the air conditioner. Clanking, grinding, or buzzing sounds could indicate a mechanical issue that needs to be addressed. Additionally, be aware of any unusual smells, such as a musty odor, which may signal an issue with mold or mildew buildup in the system.
5. Run the air conditioner for an extended period: Let the air conditioner run for at least 15-20 minutes to allow it to reach a stable operating state. Monitor the temperature, airflow, and any other potential issues during this time. This will help you assess the overall performance and efficiency of the system after the repair and recharge.
6. Check for any signs of leakage: After running the air conditioner, inspect the area around the unit, as well as the refrigerant lines and components, for any signs of refrigerant leakage. Look for oil stains or residue that could indicate a new leak or a continuation of the previous leak. If you notice any signs of leakage, it is crucial to address the issue promptly.
7. Ensure proper function of all settings: Test the different settings and modes of your air conditioner, such as fan speed, temperature adjustments, and humidity control. Ensure that all settings are functioning properly and that the air conditioner responds accordingly.
By thoroughly testing your air conditioner, you can confirm that the repairs and recharge have been successful. If you encounter any issues or notice any abnormalities during testing, it is advisable to seek the assistance of a professional HVAC technician to diagnose and resolve the problem.
Congratulations! You have successfully completed the process of fixing a refrigerant leak in your air conditioner. Regular maintenance and vigilance can help prevent future leaks and ensure the longevity and efficiency of your cooling system.
Now that you have a fully functioning air conditioner, enjoy the cool and comfortable environment in your home!
If you have any more questions or need further assistance, do not hesitate to reach out to an HVAC professional who can provide expert guidance tailored to your specific needs.
Thank you for following our comprehensive guide, and happy cooling!
Conclusion
Fixing a refrigerant leak in your air conditioner is a crucial maintenance task that can ensure the efficient and effective cooling of your home. By being aware of the symptoms of a refrigerant leak, gathering the necessary tools and equipment, and following the step-by-step process, you can successfully address the issue and restore your air conditioner’s performance.
During this guide, we discussed the common symptoms of a refrigerant leak, such as decreased cooling performance, increased energy consumption, ice buildup, hissing sounds, and uneven cooling. Recognizing these signs can help you identify when a refrigerant leak has occurred and prompt you to take action.
We then provided a list of essential tools and equipment needed for the repair process, including leak detection kits, safety goggles and gloves, an adjustable wrench, a flaring tool, repair materials, refrigerant, a refrigerant scale, flux and soldering/brazing tools, and a pressure gauge. It is important to have these tools on hand to ensure a smooth and efficient repair process.
Through a step-by-step guide, we covered the process of fixing a refrigerant leak. This involved turning off the air conditioner, locating the leak through visual inspection or the use of a leak detection kit, repairing the leak through sealing, replacing damaged components, or soldering/brazing, and recharging the refrigerant to the appropriate level according to the manufacturer’s specifications.
To conclude, we emphasized the significance of testing the air conditioner after the repair and recharge process. This ensures that the system is functioning correctly, with proper airflow, temperature control, and minimal noise or odor. Monitoring the system for any signs of leakage and ensuring the proper operation of all settings is crucial to guarantee the effectiveness and longevity of the repair.
Remember, while this guide provides a comprehensive overview, it is important to seek the assistance of professional HVAC technicians if you are unsure or uncomfortable with any step of the process. Their expertise and experience can ensure the safety and efficiency of the repair.
By following the steps outlined in this guide and staying proactive with regular maintenance, you can effectively address refrigerant leaks, prolong the life of your air conditioner, and enjoy a cool and comfortable living environment.
Thank you for accompanying us on this journey of fixing a refrigerant leak in an air conditioner. Your dedication to home maintenance will greatly benefit the performance of your cooling system. Here’s to a well-functioning and refreshing air conditioner!
Frequently Asked Questions about How To Fix A Refrigerant Leak In An Air Conditioner
Was this page helpful?
At Storables.com, we guarantee accurate and reliable information. Our content, validated by Expert Board Contributors, is crafted following stringent Editorial Policies. We're committed to providing you with well-researched, expert-backed insights for all your informational needs.