Articles
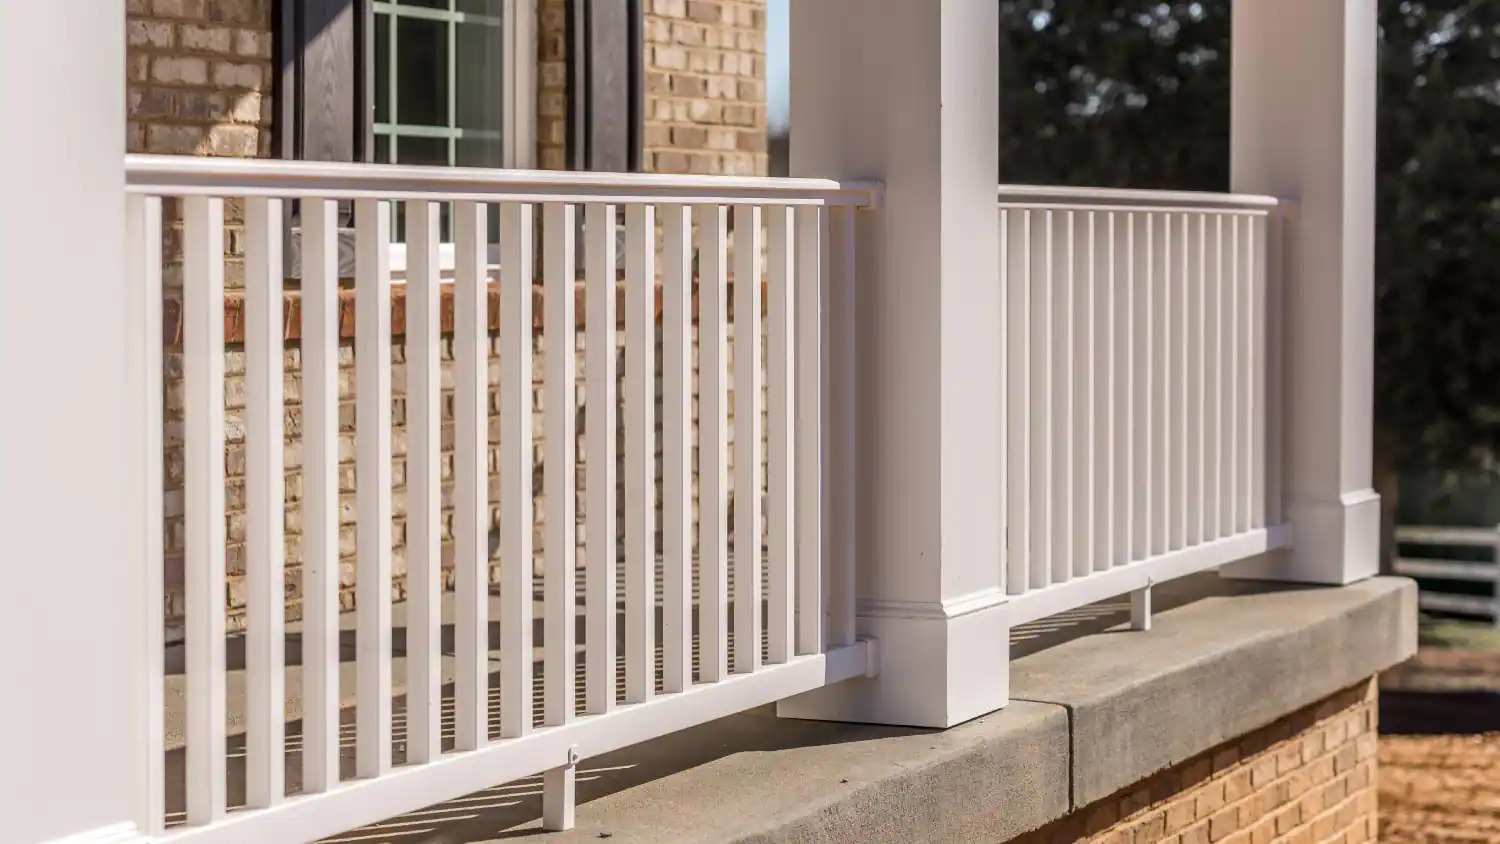
How To Put Railing On Concrete Porch
Modified: August 28, 2024
Learn how to put railing on a concrete porch with our informative articles. Enhance the safety and aesthetic appeal of your porch with our step-by-step guides and tips.
(Many of the links in this article redirect to a specific reviewed product. Your purchase of these products through affiliate links helps to generate commission for Storables.com, at no extra cost. Learn more)
Introduction
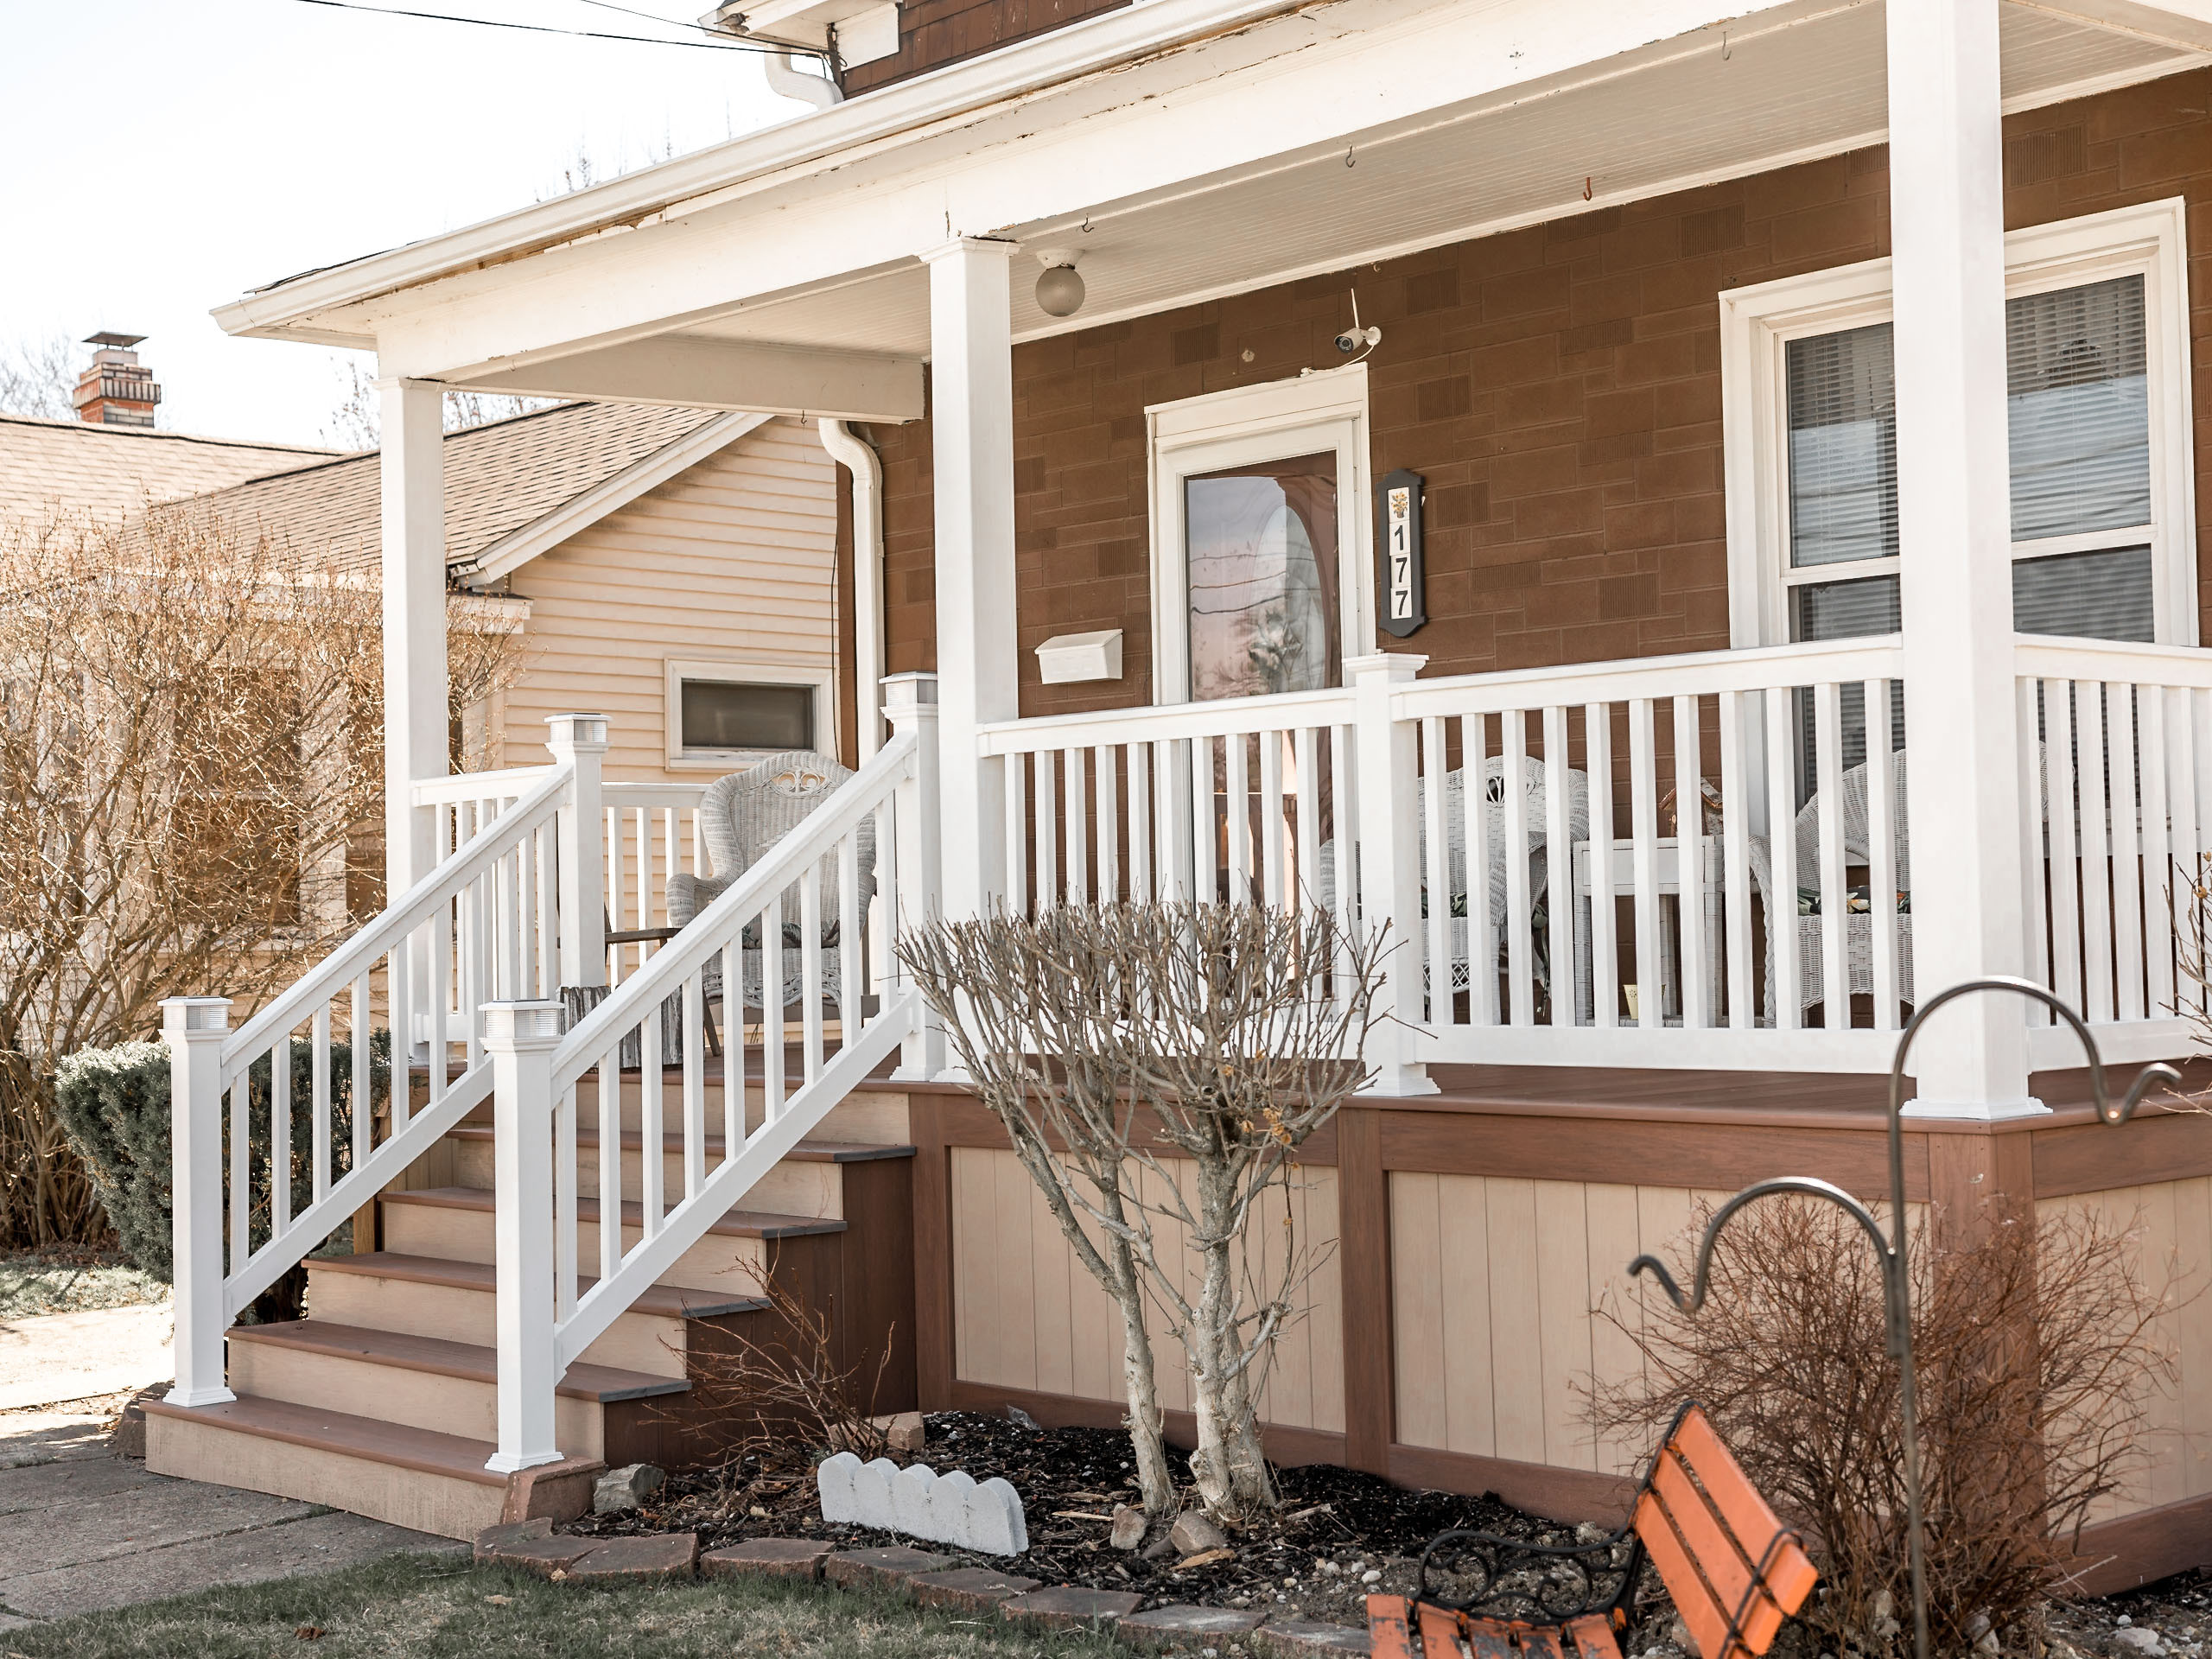
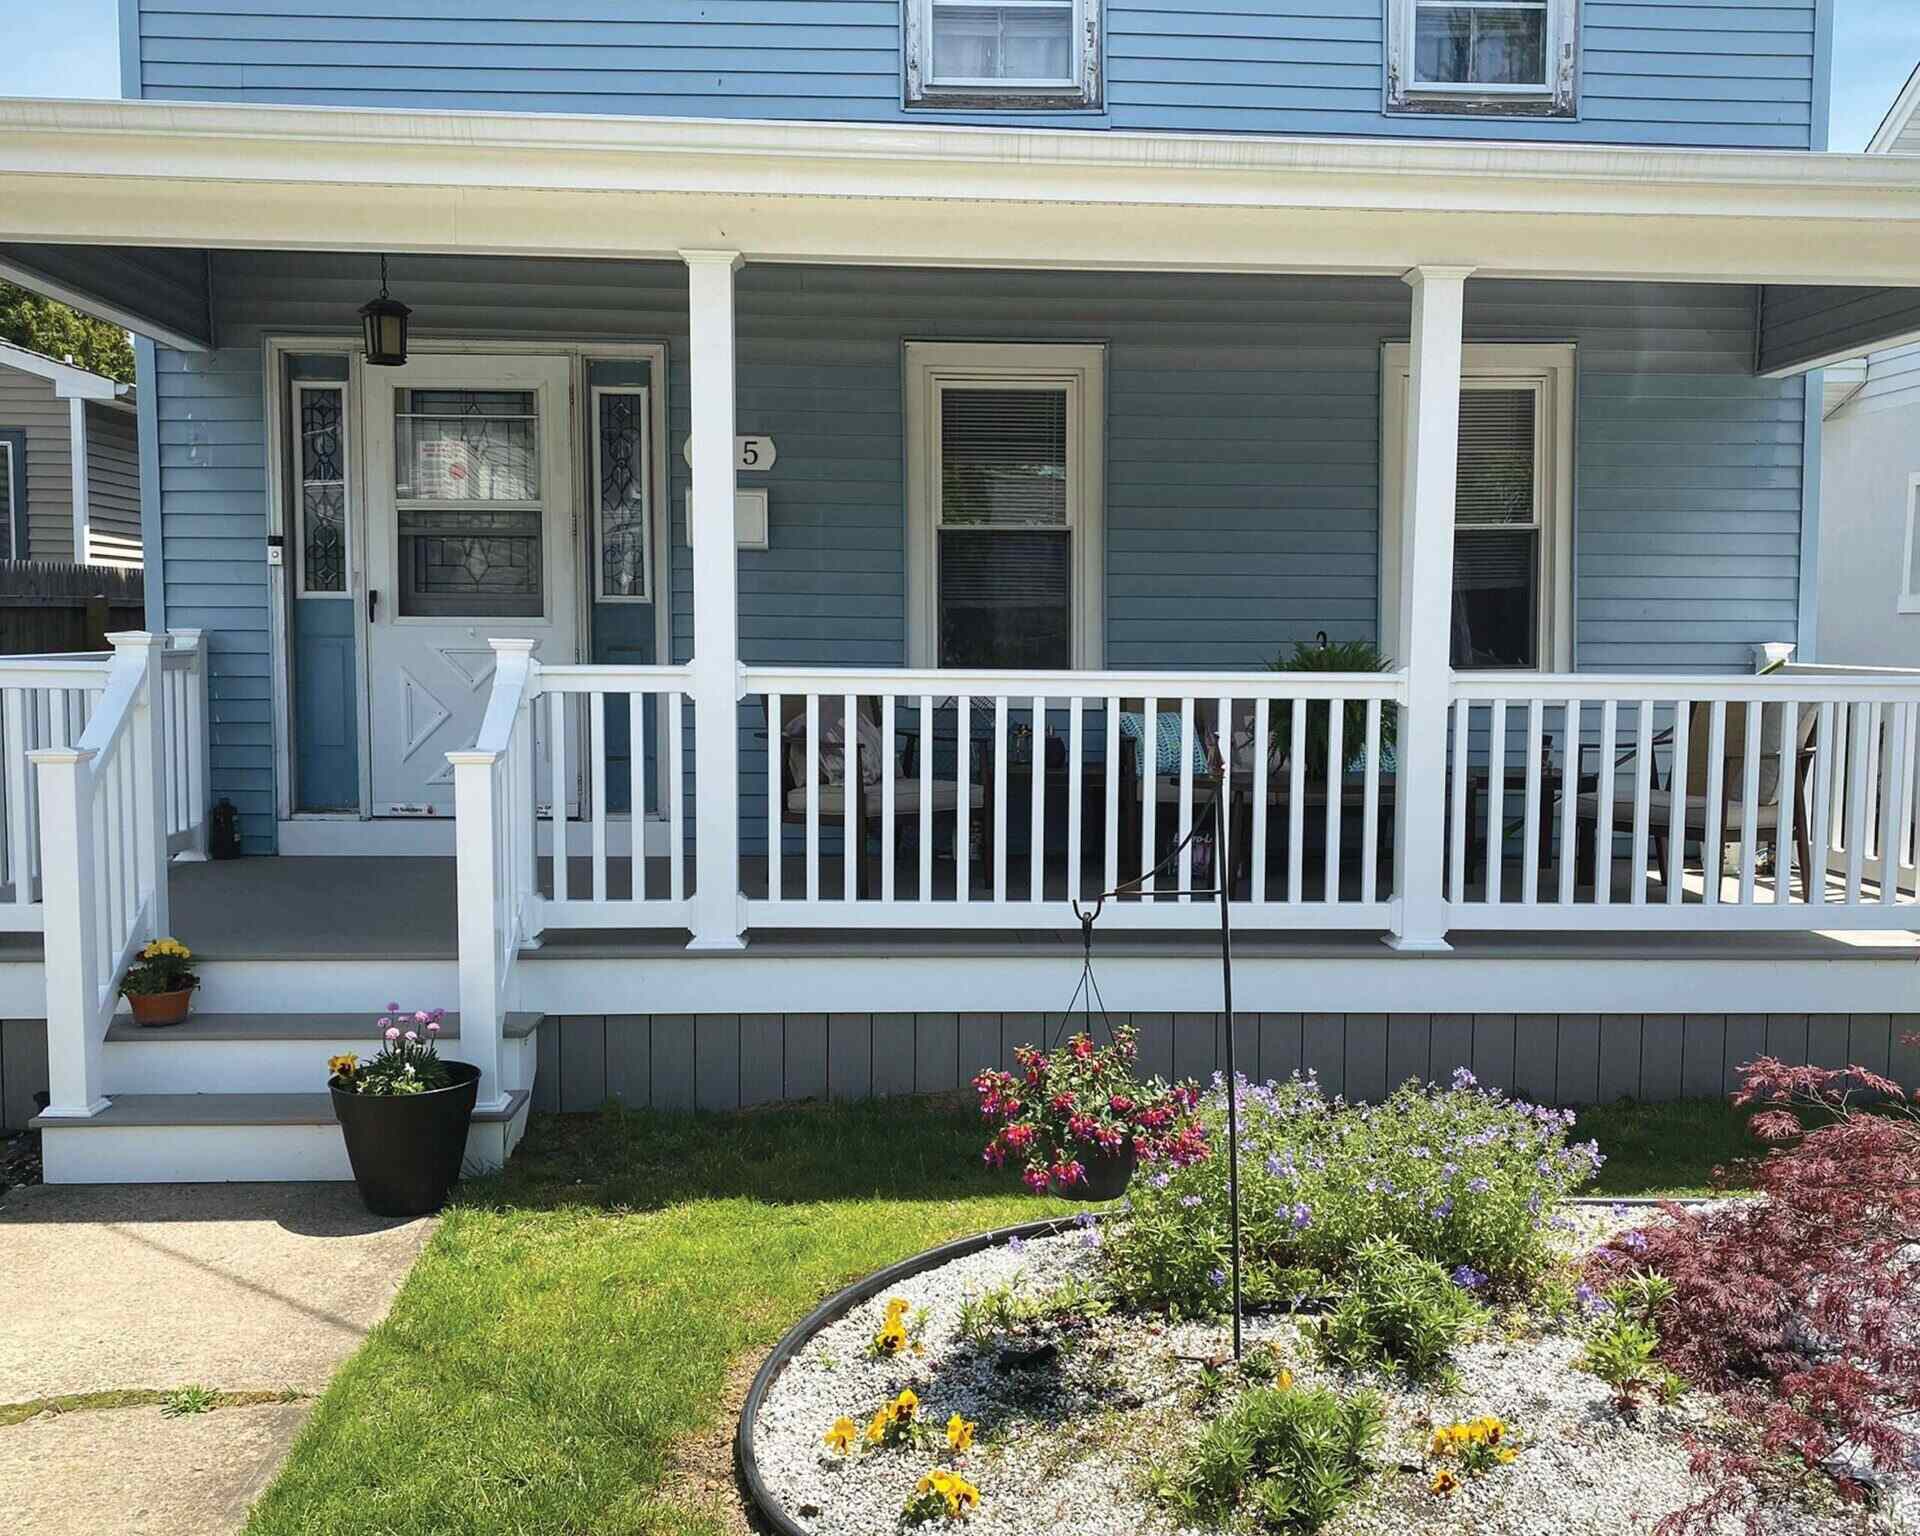
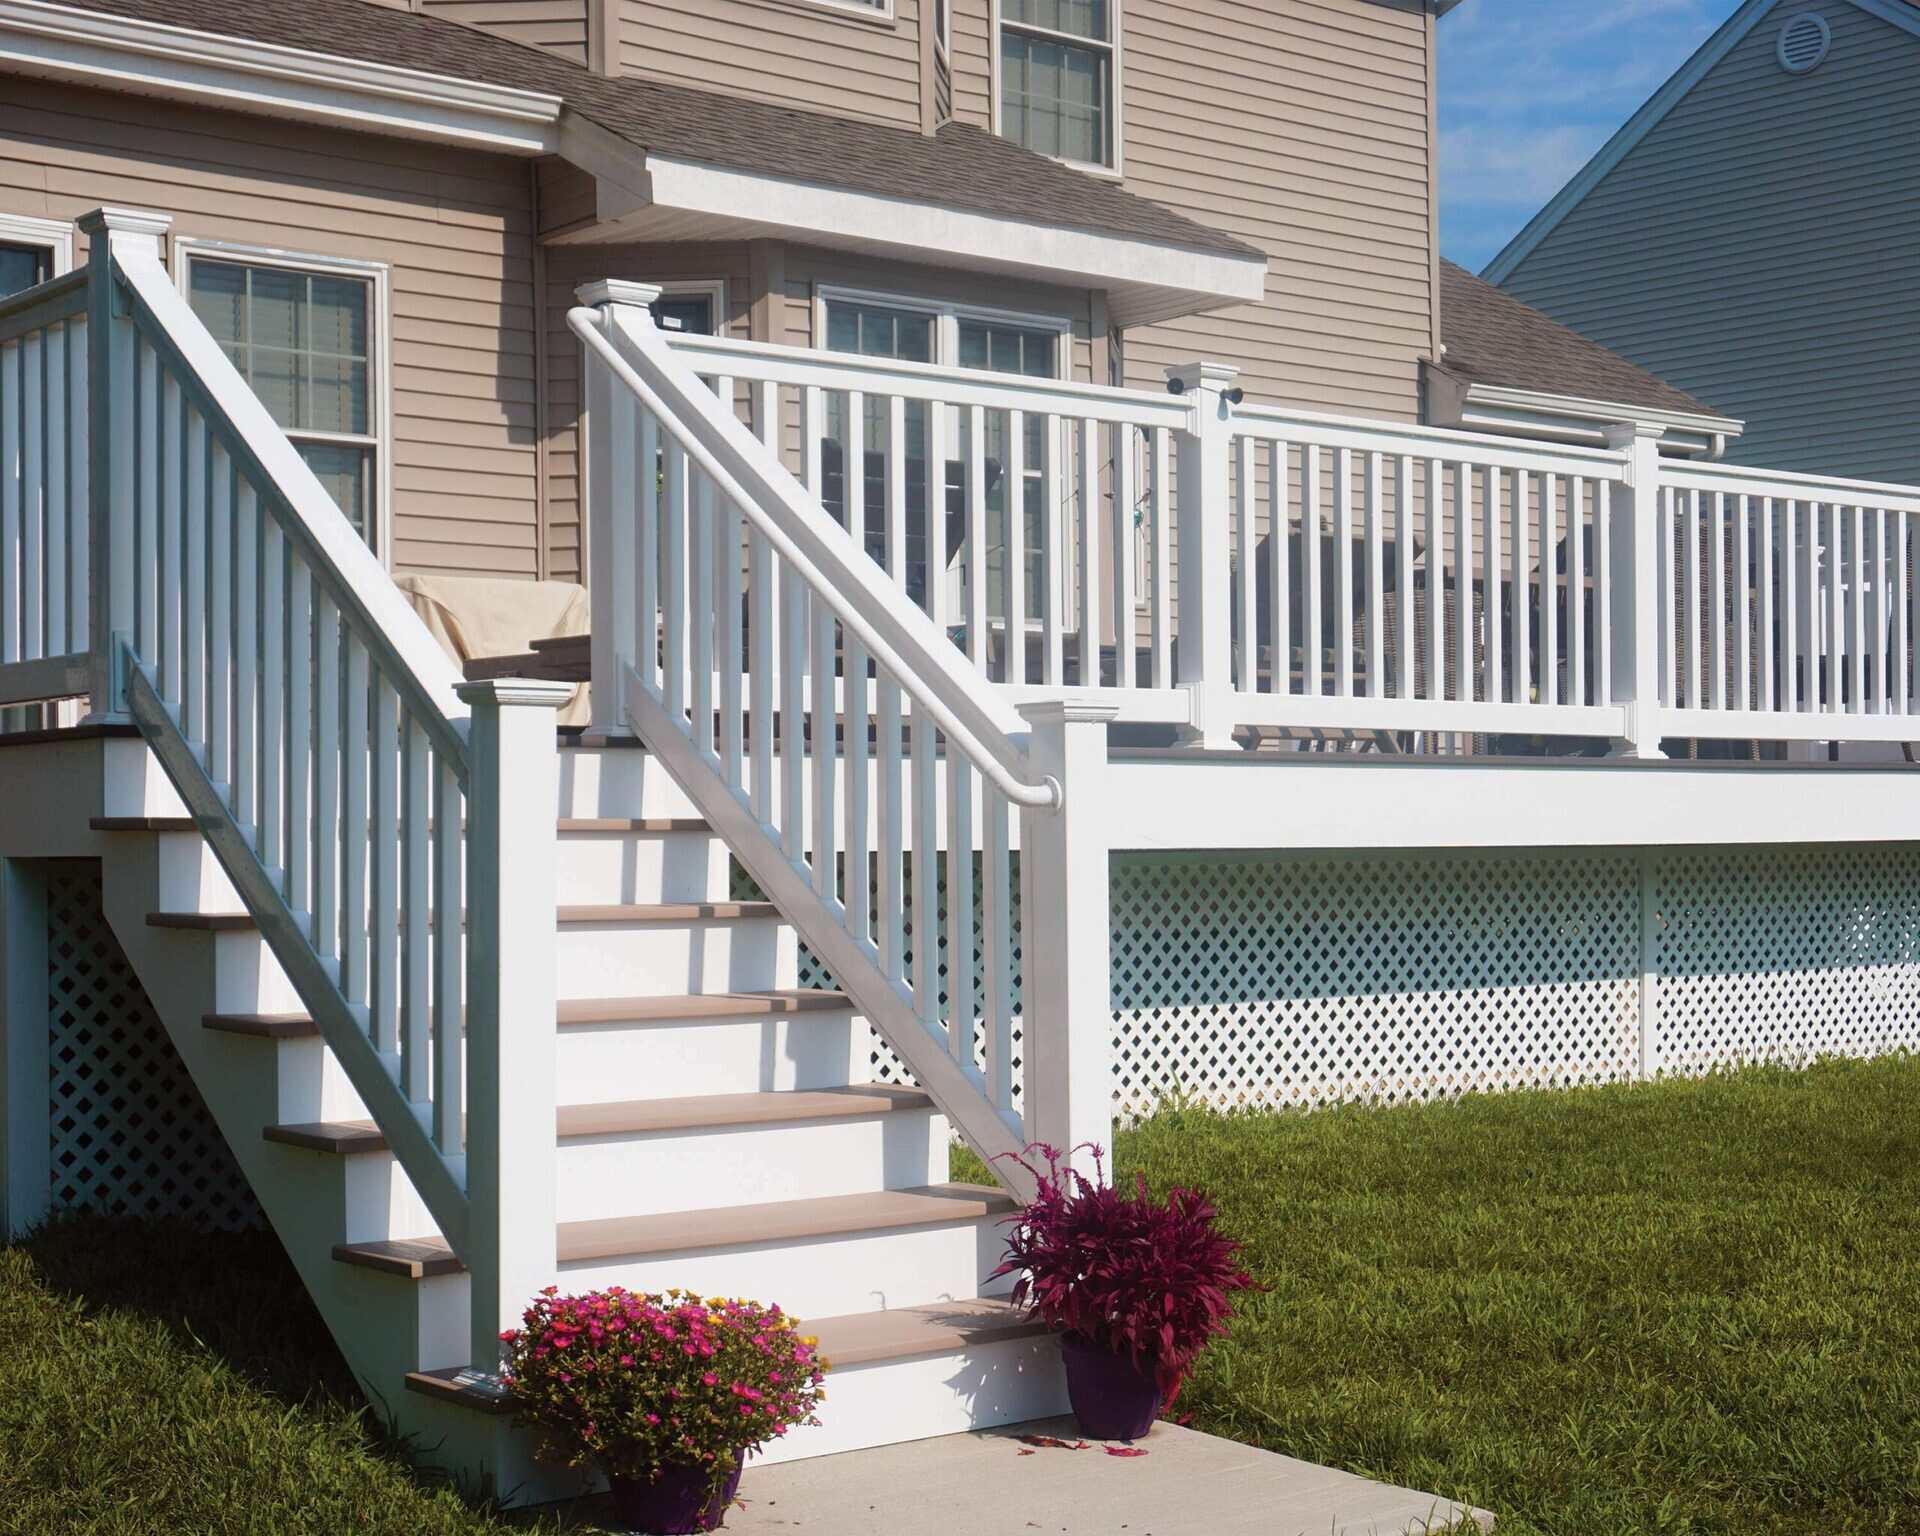
Welcome to this step-by-step guide on how to put a railing on a concrete porch. If you have a concrete porch and are looking to enhance its safety and aesthetics, adding a railing is a great idea. A railing not only provides support and stability but also adds a stylish touch to your porch.
Installing a railing on a concrete porch may seem like a daunting task, but with the right tools, materials, and guidance, it can be a relatively straightforward DIY project. In this article, we will walk you through the process of measuring, planning, and installing a railing on your concrete porch.
Before we dive into the steps, it’s essential to emphasize the importance of safety during this project. Always wear protective gear, such as safety glasses and gloves, and exercise caution when working with power tools and heavy materials.
Now that we’ve covered the preliminary details, let’s get started with the first step.
Key Takeaways:
- Enhance your concrete porch’s safety and aesthetics by following a step-by-step guide to measure, plan, gather materials, prepare the surface, install anchors, attach brackets, secure the railing, and add finishing touches.
- By carefully installing a railing on your concrete porch, you not only create a stylish and secure outdoor space but also add value to your home. Prioritize safety, enjoy the process, and savor the transformation.
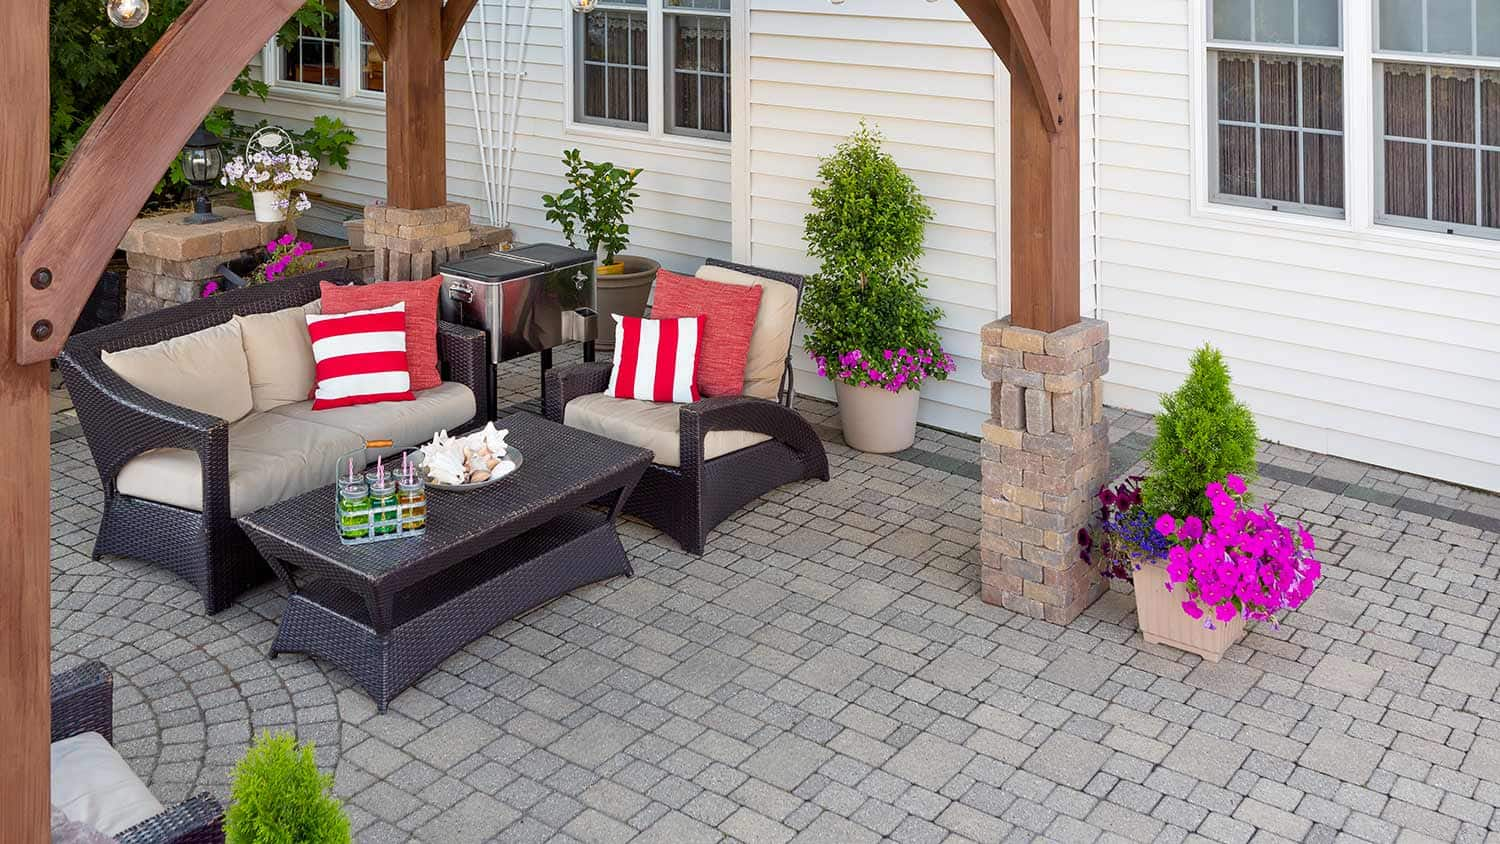
Read more: How To Put Christmas Lights On Porch Railing
Step 1: Measure and Plan
The first step in installing a railing on a concrete porch is to measure and plan the layout. Start by measuring the length and width of your porch to determine the amount of railing material you will need. Take into account any inclines, declines, or curves in the porch, as these will affect the length and angle of the railing.
Next, consider the height of the railing. Building codes may dictate specific height requirements, so be sure to check your local regulations. A typical railing height for a porch is around 36 inches, but this can vary. Once you have determined the desired height, mark it on the porch as a reference.
It is also important to consider the spacing between the railing posts. The standard spacing is typically between four to six feet apart, but it is crucial to consult your local building codes for the specific requirements. Mark the locations for the posts on the porch, ensuring they are evenly spaced and aligned.
Once you have measured and planned the layout for your railing, it is recommended to create a diagram or sketch to visualize the final result. This will help you in the subsequent steps when gathering the materials and installing the railing.
With the measurement and planning complete, you are ready to move on to the next step: gathering the materials necessary for the installation.
Step 2: Gather Materials
Now that you have a clear plan in place, it’s time to gather the materials required to install the railing on your concrete porch. Here’s a list of the essential materials you will need:
- Railing Kit: Purchase a pre-assembled railing kit that suits your aesthetic preferences and meets the necessary code requirements. These kits typically include the railing posts, brackets, rails, and balusters.
- Concrete Anchors: Select concrete anchors that are specifically designed for outdoor use and can securely attach the railing to the concrete surface.
- Masonry Drill Bit: Ensure you have a masonry drill bit that matches the size of the concrete anchors. This will allow you to drill the necessary holes for anchoring the railing posts.
- Screwdriver or Drill: Have either a screwdriver or a drill with the required bits to attach the brackets and secure the railing.
- Tape Measure: A tape measure will come in handy for accurately measuring the porch dimensions and spacing between the railing posts.
- Pencil or Marker: Use a pencil or marker to mark the measurements and the desired locations of the railing posts on the concrete porch.
- Level: A level is essential for ensuring your railing is straight and aligned properly. Make sure you have a reliable level to help with the installation.
- Safety Gear: Don’t forget to gather safety gear such as safety glasses, gloves, and a dust mask to protect yourself during the installation process.
Double-check your list to ensure you have all the necessary materials before proceeding to the next step. Having everything ready will make the installation process more efficient.
Now that you have gathered all the materials, it’s time to prepare the concrete porch for the railing installation. This will be covered in the next step.
Step 3: Prepare the Concrete Porch
Before you can start installing the railing, it’s crucial to prepare the concrete porch to ensure a secure and stable foundation. Follow these steps to prepare the concrete surface:
- Clear the Area: Remove any debris, furniture, or plants from the porch to create a clear and accessible workspace.
- Clean the Surface: Sweep or use a pressure washer to clean the concrete surface thoroughly. Remove any dirt, grime, or loose particles that could interfere with the adhesion of the anchors.
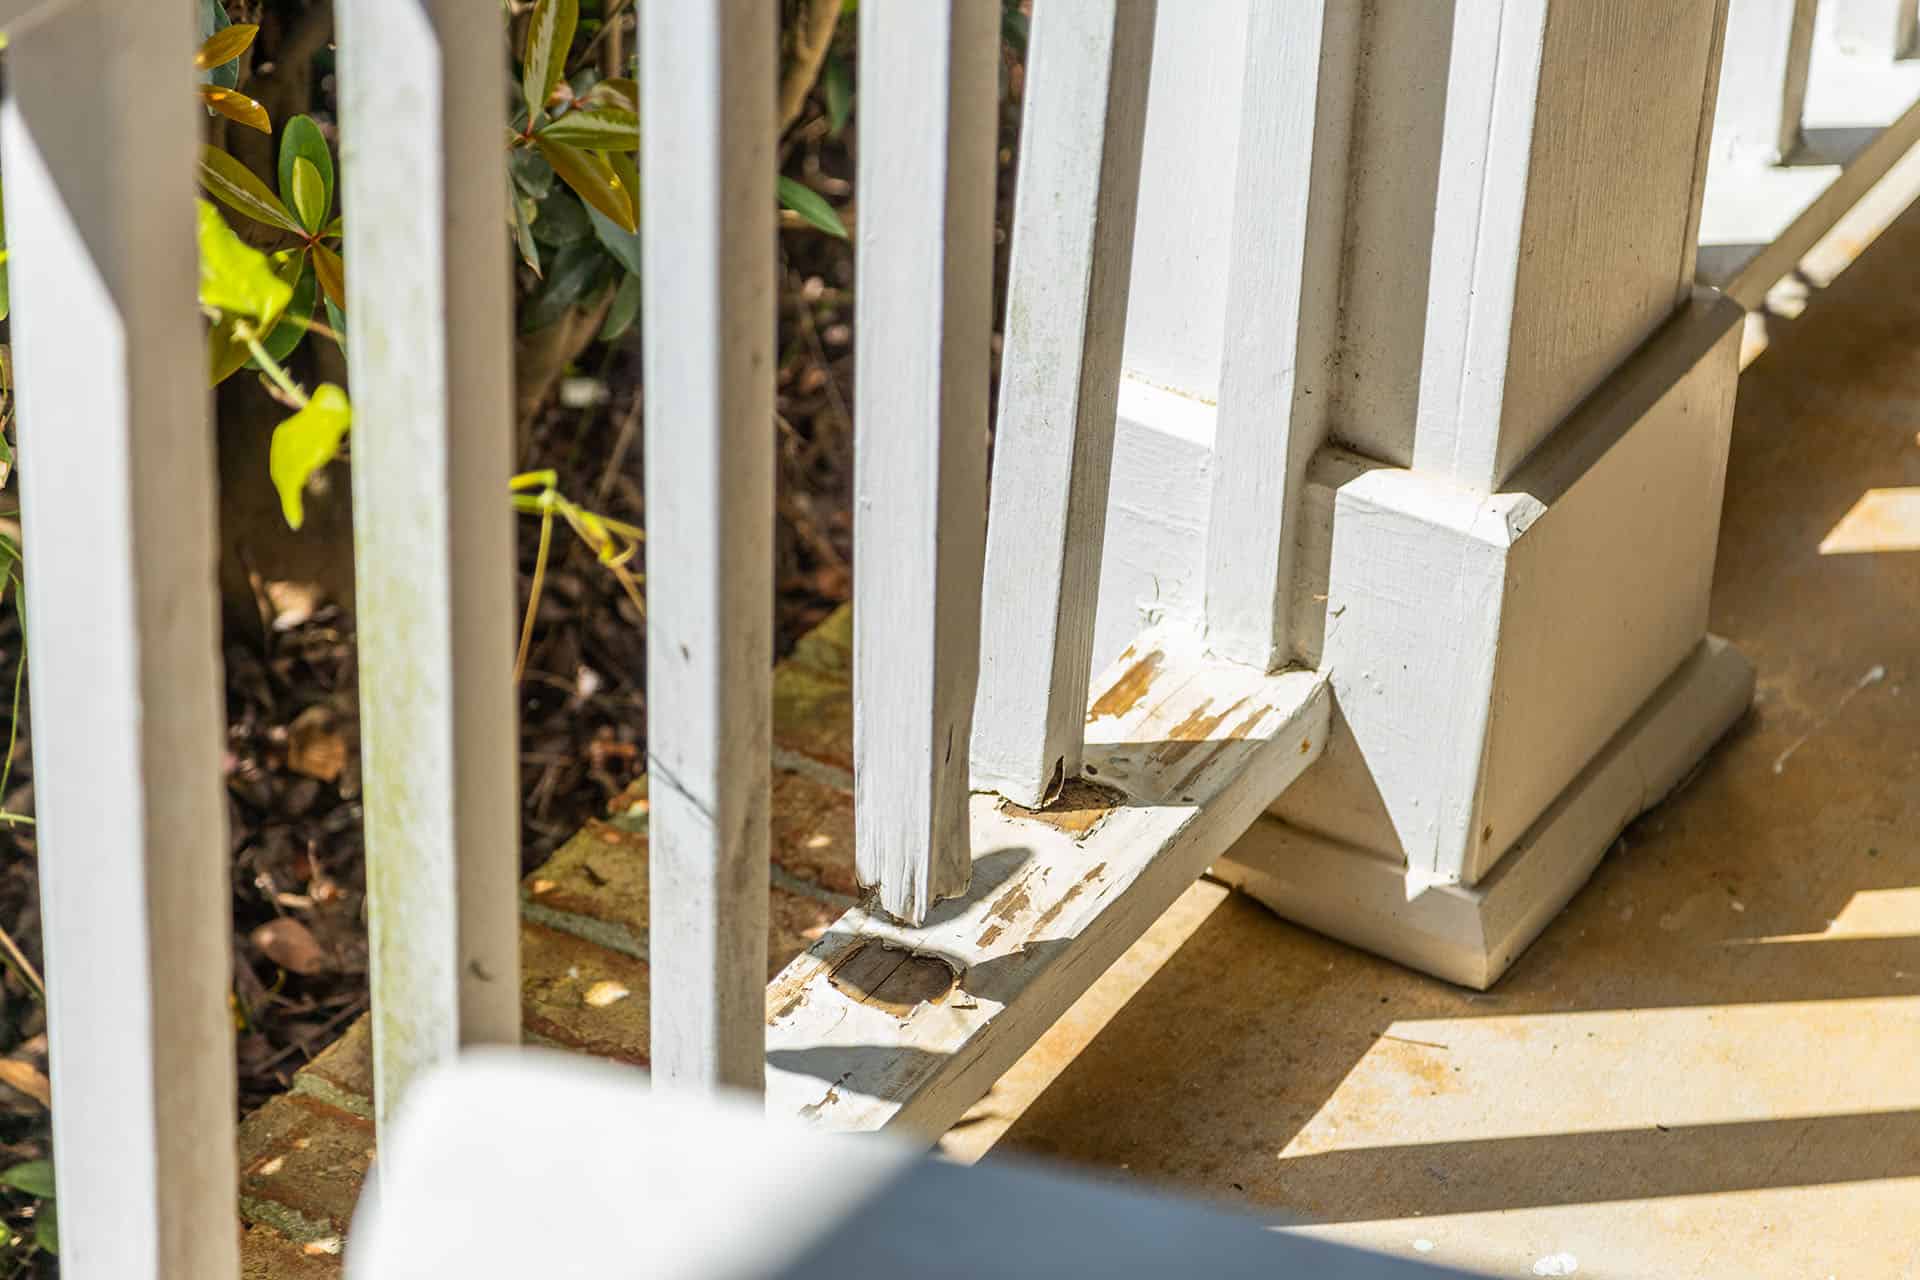
- Repair Cracks or Damage: Inspect the concrete for any cracks, holes, or damage. Use a concrete repair compound to fill in any significant cracks or holes and allow it to dry completely according to the manufacturer’s instructions.
- Smooth the Surface: If the concrete has rough or uneven areas, consider using a concrete grinder or sander to smoothen them out. A smooth surface will allow for better anchor adhesion.
- Apply Bonding Agent (Optional): To enhance the bond between the concrete and the anchor, you can apply a concrete bonding agent. Follow the instructions on the bonding agent packaging for proper application.
- Mark the Locations: Use a pencil or marker to mark the locations for the railing posts based on your initial measurements and plan. Double-check the spacing and ensure they are aligned properly.
By properly preparing the concrete porch, you are ensuring that it is clean, stable, and ready to receive the railing installation. Once you have completed these steps, you can move on to the next step: installing the anchors.
Step 4: Install Anchors
Installing anchors is a critical step in securing the railing to the concrete porch. Anchors provide stability and support for the railing, ensuring that it remains securely in place. Follow these steps to install the anchors:
- Drill Pilot Holes: Using a masonry drill bit, carefully drill pilot holes at the marked locations on the concrete porch. Make sure the diameter and depth of the holes match the specifications provided by the anchor manufacturer.
- Clear Dust: After drilling the pilot holes, use a brush or a blowout bulb to remove any dust or debris from the holes. This will ensure a proper bond between the anchors and the concrete.
- Insert Anchors: Insert the concrete anchors into the pilot holes. Use a hammer or a rubber mallet to gently tap them into place until they are flush with the surface of the porch.
- Tighten Anchors: Once all the anchors are inserted, use a wrench or a socket set to tighten them. Be careful not to overtighten, as this can damage the anchors or crack the concrete. Follow the manufacturer’s recommendations for the appropriate torque.
- Check Alignment: Double-check the alignment of the anchors to ensure they are straight and aligned with the marked locations. Use a level to verify that they are plumb.
Properly installed anchors provide a solid foundation for the railing and ensure its stability and durability. Once you have installed the anchors, you are ready to move on to the next step: attaching the brackets to the porch.
When installing a railing on a concrete porch, use a hammer drill to create pilot holes for the anchor bolts. This will make it easier to secure the railing firmly in place.
Read more: How To Build Porch Rails
Step 5: Attach Brackets to the Porch
With the anchors securely in place, it’s time to attach the brackets to the concrete porch. The brackets will serve as the attachment points for the railing posts. Follow these steps to attach the brackets:
- Position the Brackets: Place the brackets over the installed anchors, aligning them with the marked locations on the porch. Ensure that the brackets are level and properly aligned.
- Mark Screw Hole Locations: Once the brackets are positioned correctly, use a pencil or a marker to mark the locations of the screw holes on the porch. This will serve as a guide for drilling the holes.
- Drill Screw Holes: Using a masonry drill bit, drill the screw holes at the marked locations on the porch. The diameter of the holes should match the size of the screws provided with the brackets.
- Clean Dust: After drilling the screw holes, clean out any dust or debris from the holes using a brush or a blowout bulb. This will ensure a proper fit and secure attachment.
- Attach Brackets: Align the brackets with the drilled holes and attach them to the porch using the screws provided. Use a screwdriver or a drill with the appropriate bit to tighten the screws securely.
- Check Alignment: Once the brackets are attached, check their alignment to ensure they are level and straight. Use a level to verify their positioning. Adjust as needed.
Attaching the brackets to the concrete porch provides a solid base for the railing installation. It’s important to ensure that the brackets are securely attached and properly aligned. Once the brackets are in place, you’re ready to move on to the next step: installing the railing posts.
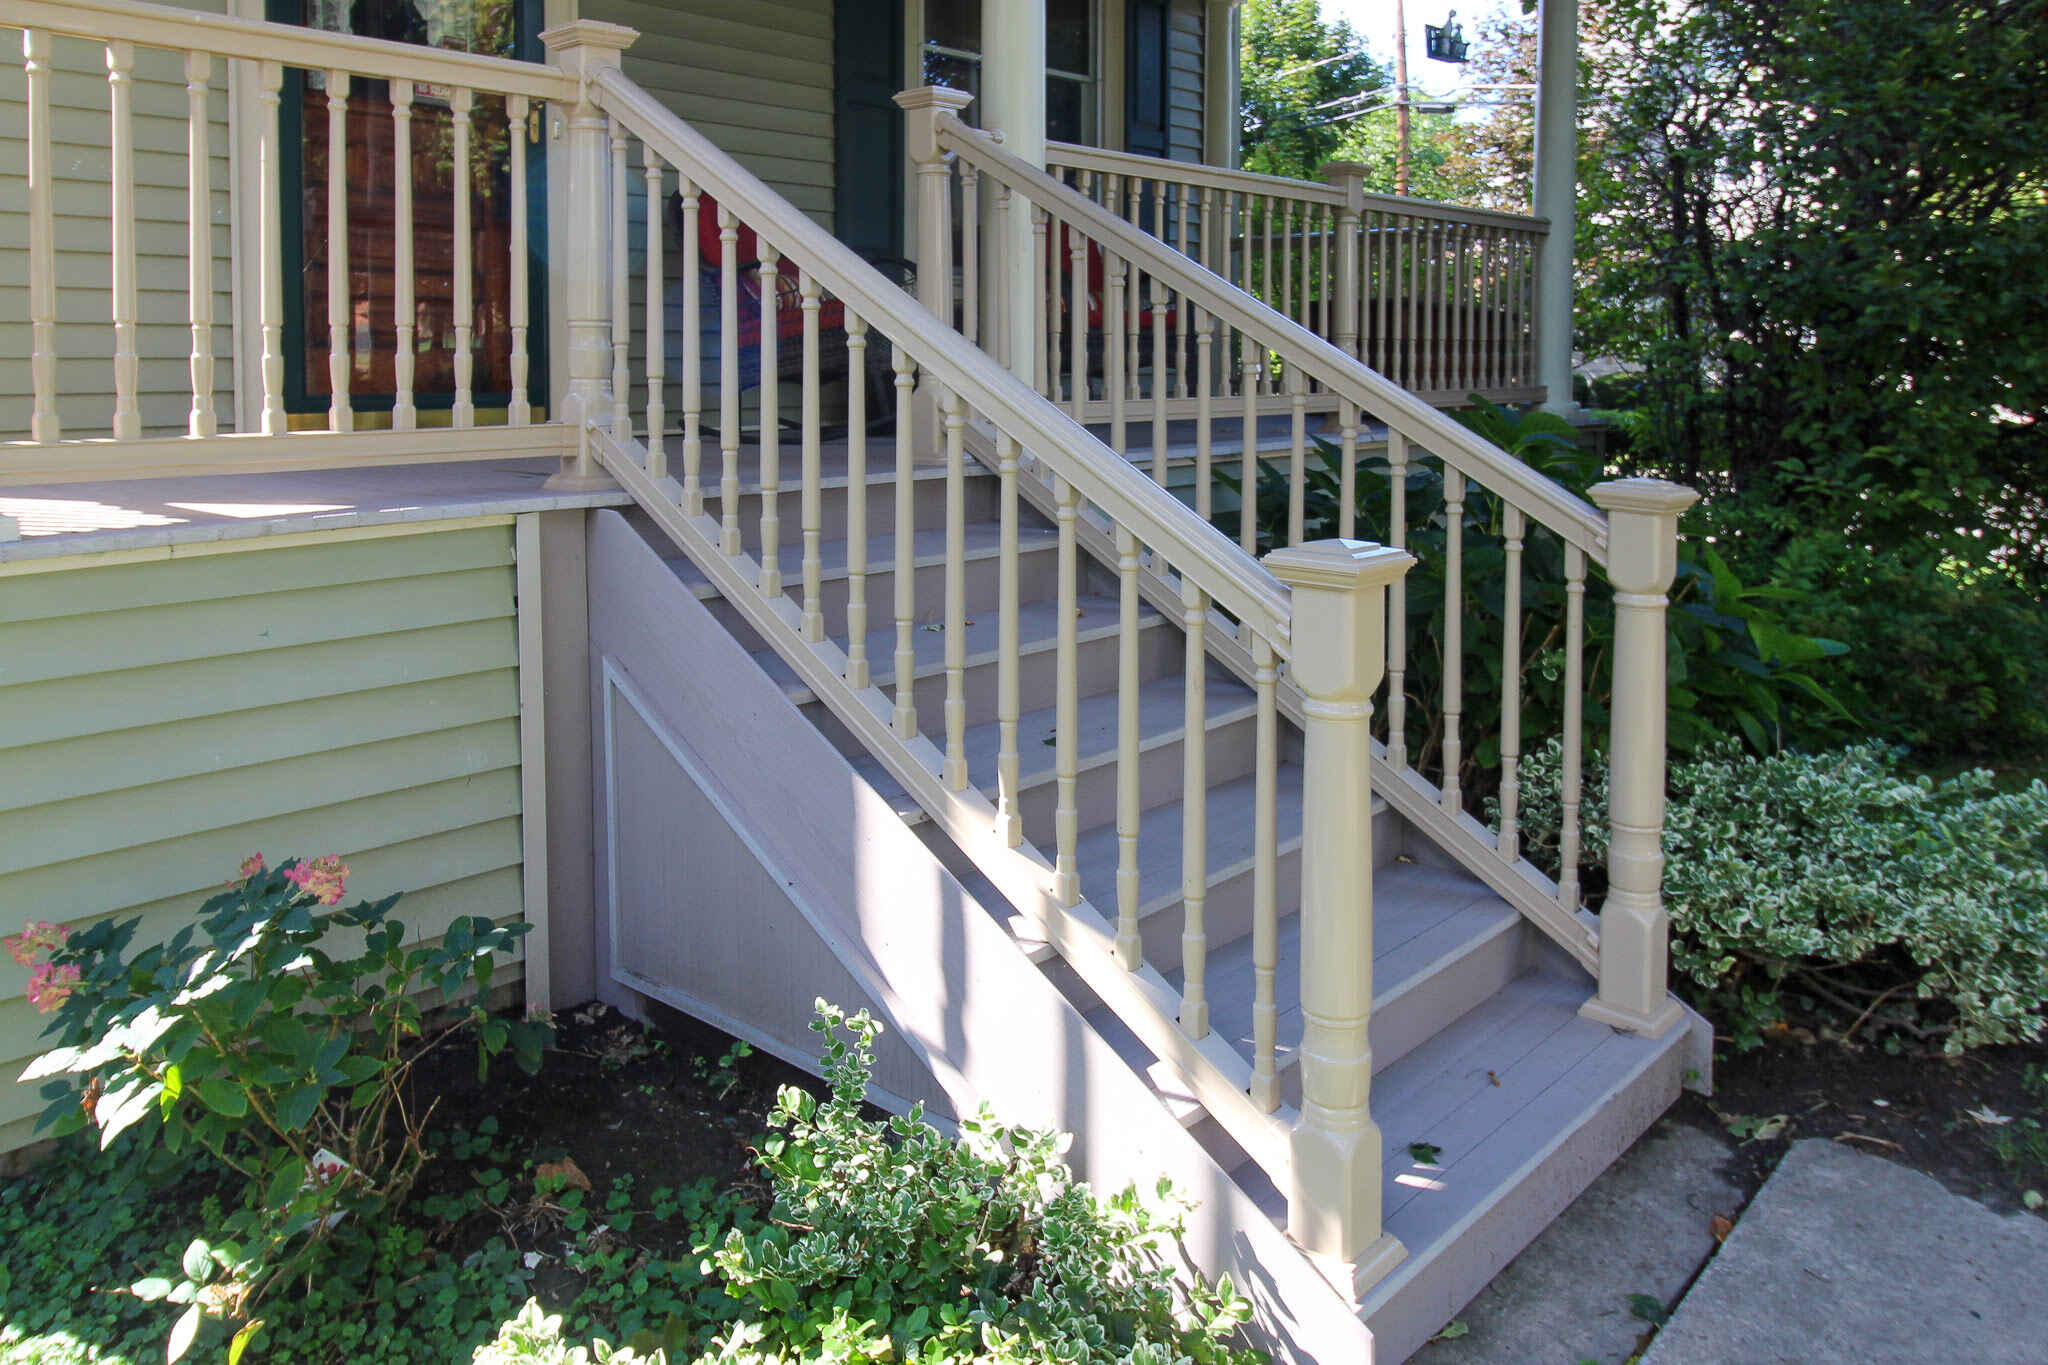
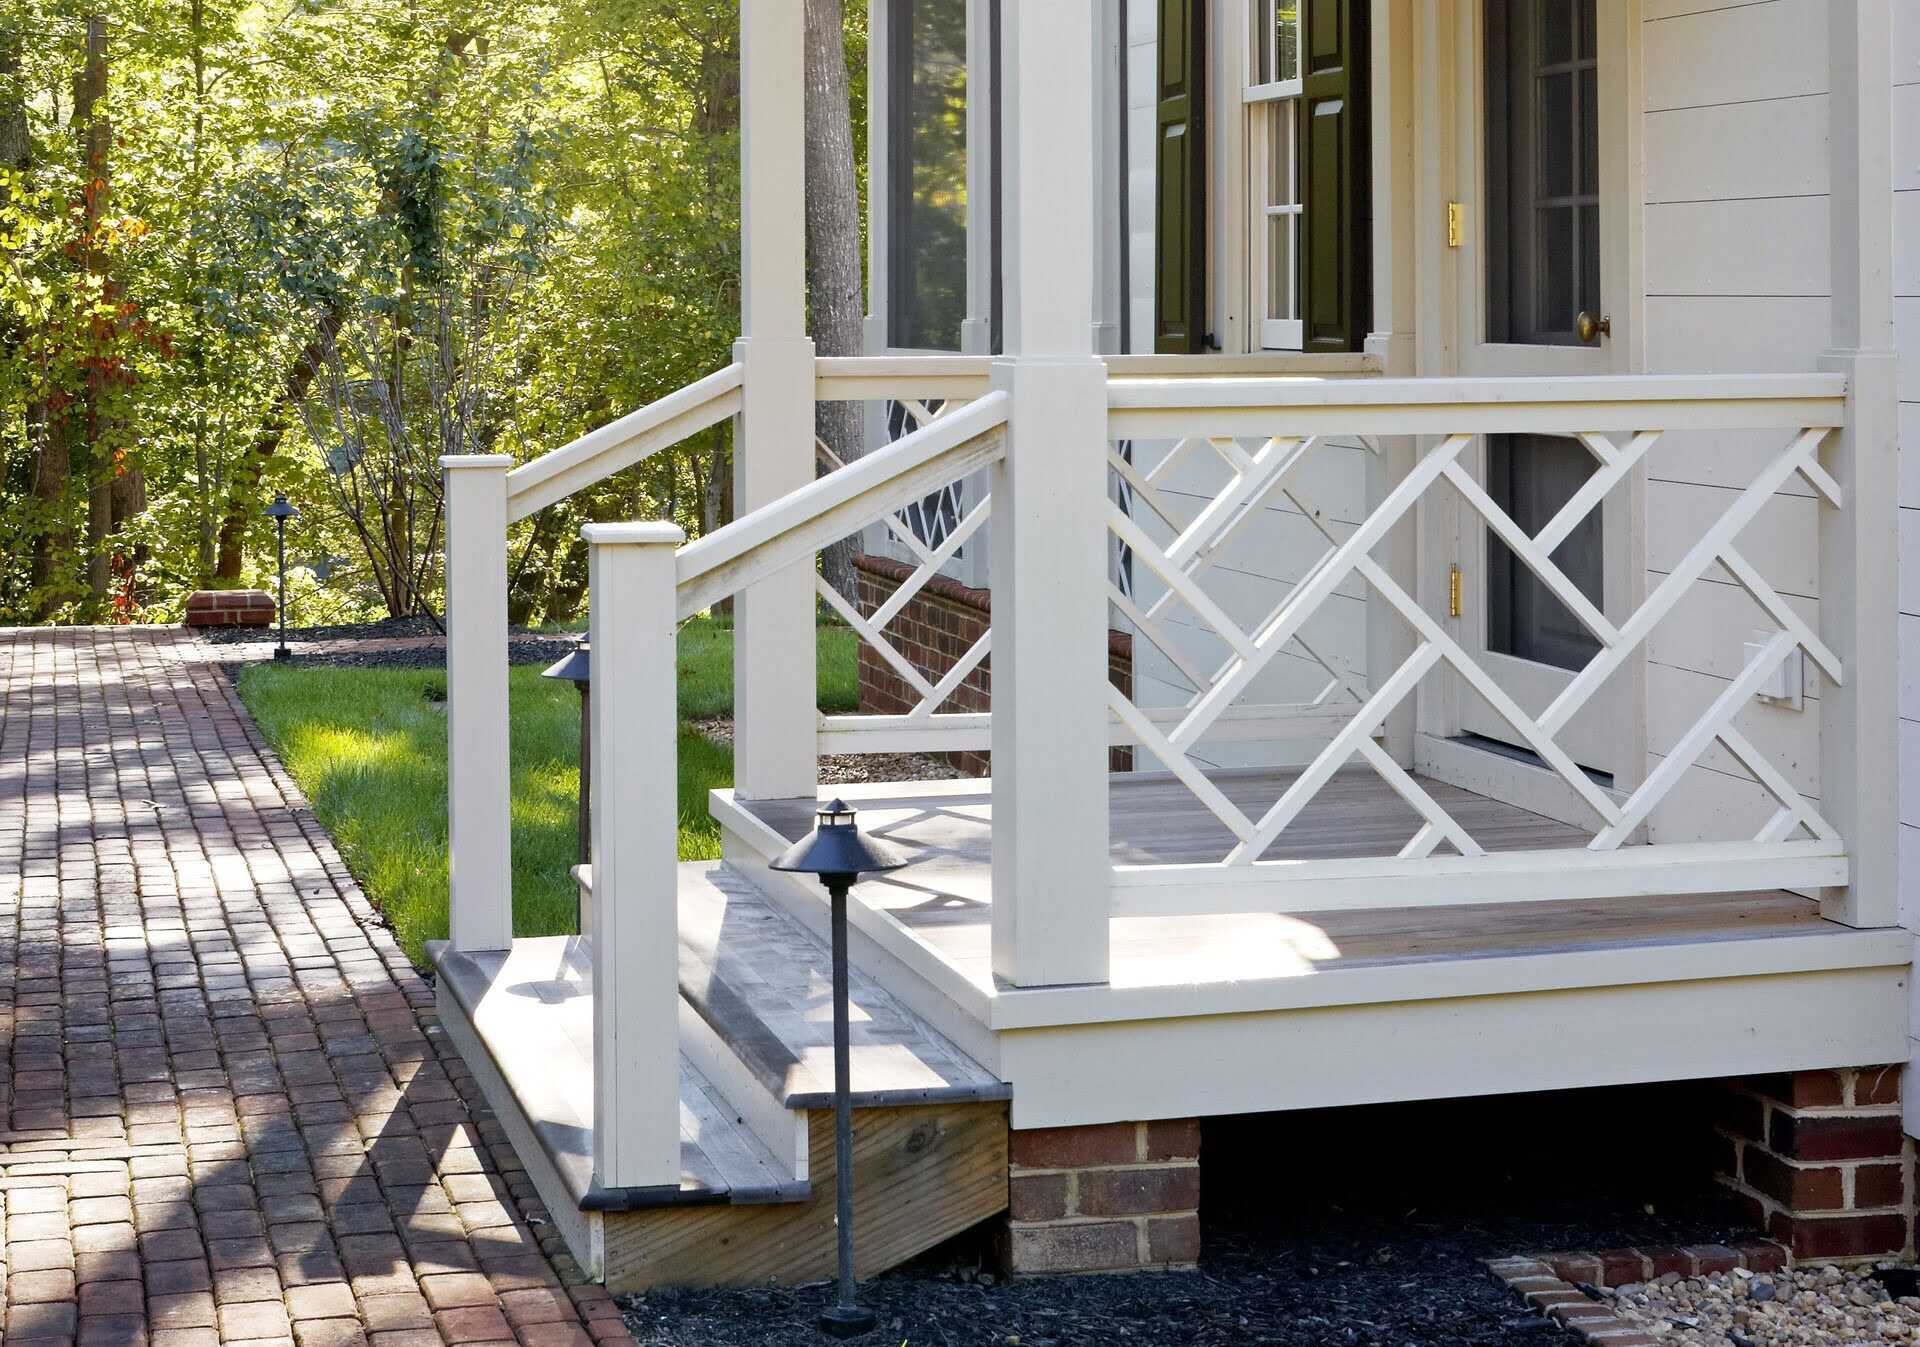
Step 6: Install the Railing Posts
Now that the brackets are securely attached to the concrete porch, it’s time to install the railing posts. The posts will be mounted onto the brackets and provide the main support for the railing. Follow these steps to install the railing posts:
- Prepare the Posts: Depending on the type of railing kit you have, you may need to assemble the railing posts. Follow the manufacturer’s instructions to assemble the posts, ensuring all the necessary components are in place.
- Place the Posts: Position the railing posts onto the brackets, aligning them with the prepared holes. Make sure the posts are level and plumb using a level. Adjust the height if necessary.
- Secure the Posts: Once the posts are properly positioned, use screws or bolts provided with the railing kit to secure them to the brackets. Tighten the fasteners securely, ensuring the posts are stable and securely attached.
- Check Alignment: Double-check the alignment of the railing posts to ensure they are straight and level. Use a level to verify their positioning. Make any necessary adjustments to achieve the desired alignment.
- Test Stability: Once the railing posts are installed, gently test their stability by applying light pressure. Ensure they are firmly anchored and do not wobble or move.
Installing the railing posts is a crucial step in the process, as they provide the main support for the railing. Take your time to ensure the posts are securely attached and properly aligned. Once the posts are in place, you’re ready to move on to the next step: securing the railing.
Step 7: Secure the Railing
After installing the railing posts, the next step is to secure the railing itself. This involves attaching the railing rails and balusters to the posts, creating a sturdy and visually appealing structure. Follow these steps to secure the railing:
- Attach the Rails: Depending on the railing kit you have, the rails may need to be secured to the railing posts using screws or brackets. Follow the manufacturer’s instructions to attach the rails securely.
- Space the Balusters: Determine the spacing between the balusters on the railing. Refer to your local building codes or the manufacturer’s instructions for the appropriate spacing requirements.
- Attach the Balusters: Once you have determined the spacing, attach the balusters to the railing rails using screws or brackets. Make sure they are evenly spaced and aligned properly.
- Tighten and Secure: After attaching the balusters, double-check all the connections and tighten any loose screws or bolts. Ensure that the railing is securely attached and does not wobble or move.
- Check Alignment and Level: Use a level to verify that the railing is straight and level. Make any necessary adjustments to achieve the desired alignment.
Securing the railing is an essential step in ensuring its stability and safety. Take the time to follow the instructions carefully and check all the connections for secure attachment. Once the railing is securely in place, you’re ready to move on to the final step: adding the finishing touches.
Step 8: Finishing Touches
With the railing securely installed, it’s time to add the finishing touches to complete the project. These final steps will enhance the durability, safety, and aesthetic appeal of your newly installed railing. Follow these steps for the finishing touches:
- Trim and Sand: If there are any rough or sharp edges on the railing posts, balusters, or rails, use a trim saw or sandpaper to smooth them down. This will prevent any potential injuries from sharp edges.
- Paint or Stain: Consider painting or staining the railing to protect it from the elements and enhance its appearance. Choose a high-quality exterior-grade paint or stain that complements the design of your porch.
- Apply Sealant: Apply a weather-resistant sealant to the railing to protect it from moisture, UV rays, and other outdoor elements. Follow the manufacturer’s instructions for proper application and drying time.
- Install Railing Caps (Optional): If desired, you can install railing caps on the top of the railing for added protection and a finished look. Railing caps come in various materials and styles to suit your preferences.
- Perform Safety Checks: Make sure to test the stability and durability of the railing by applying moderate pressure to ensure it can withstand regular use. Check all connections and tighten any loose screws or bolts.
- Clean Up: Remove any debris, dust, or tools from the porch area. Sweep or use a blower to clean the porch and ensure it looks tidy and presentable.
By completing these finishing touches, you’re not only enhancing the overall appearance but also ensuring the longevity and safety of your new railing. Take the time to properly maintain and care for your railing to enjoy it for years to come.
Congratulations! You have successfully followed all the steps to install a railing on your concrete porch. Sit back, relax, and enjoy your improved porch space, knowing that you’ve added a stylish and secure feature to your home.
Now that you have completed the installation process, you can take pride in your accomplishment and enjoy the benefits of having a beautiful and functional railing on your concrete porch.
Read more: How To Paint Porch Railing
Conclusion
Installing a railing on a concrete porch is a rewarding and worthwhile project that enhances both the safety and aesthetics of your outdoor space. By following the step-by-step guide provided in this article, you have learned how to measure and plan, gather materials, prepare the concrete porch, install anchors, attach brackets, install railing posts, secure the railing, and add the finishing touches. Through careful attention to detail and adherence to safety guidelines, you have successfully transformed your concrete porch into a stylish and secure area.
Remember, safety should always be a top priority during any DIY project. Ensure that you use the proper tools, wear protective gear, and exercise caution throughout the installation process.
With your newly installed railing, you can now enjoy a more secure and visually appealing outdoor space. Whether you’re using your porch for relaxing, entertaining, or simply enjoying the view, the added safety and beauty of the railing will enhance your experience.
Additionally, maintaining and caring for your railing is essential to ensure its longevity. Regularly inspect the railing for any loose connections or signs of wear and address them promptly. Clean the railing as needed and reapply sealant or paint to protect it from the elements.
By taking the time to install a railing on your concrete porch, you have not only added value to your home but also created a safer and more enjoyable outdoor space. So go ahead, take pride in your accomplishment, and savor the transformation you’ve made to your concrete porch.
Enjoy your secure and stylish new railing!
Frequently Asked Questions about How To Put Railing On Concrete Porch
Was this page helpful?
At Storables.com, we guarantee accurate and reliable information. Our content, validated by Expert Board Contributors, is crafted following stringent Editorial Policies. We're committed to providing you with well-researched, expert-backed insights for all your informational needs.


0 thoughts on “How To Put Railing On Concrete Porch”