Home>Home Maintenance>How To Plant A Lemon Tree With Proper Drainage
Home Maintenance
How To Plant A Lemon Tree With Proper Drainage
Modified: March 19, 2024
Learn how to properly plant a lemon tree at home with the right drainage techniques for optimal growth and maintenance.
(Many of the links in this article redirect to a specific reviewed product. Your purchase of these products through affiliate links helps to generate commission for Storables.com, at no extra cost. Learn more)
Introduction
Planting a lemon tree in your backyard can be a rewarding experience. Not only will you have a source of fresh, tangy lemons right at your fingertips, but a lemon tree can also add beauty and fragrance to your outdoor space. However, to ensure the success and longevity of your lemon tree, proper drainage is crucial.
Proper drainage is important because it prevents water from accumulating around the roots of the tree, which can lead to rot, disease, and ultimately, the death of the tree. In this article, we will discuss the importance of proper drainage for lemon trees and provide step-by-step instructions on how to plant a lemon tree with proper drainage.
By following these guidelines, you can ensure the healthy growth and productivity of your lemon tree, allowing you to enjoy an abundance of juicy, homegrown lemons for years to come.
Key Takeaways:
- Proper drainage is crucial for a healthy lemon tree. It prevents root rot, fungal diseases, and nutrient deficiencies, ensuring the tree’s access to oxygen, nutrients, and moisture.
- When planting a lemon tree, choose a sunny, well-draining location, prepare the soil, and create proper drainage. Regular monitoring and maintenance of soil moisture and drainage are essential for the tree’s long-term health.
Read more: How To Plant A Tree In Poor Drainage
Importance of Proper Drainage for Lemon Trees
Proper drainage is essential for the health and well-being of lemon trees. Excess water in the root zone can lead to a number of problems, including root rot, fungal diseases, and nutrient deficiencies. By ensuring proper drainage, you can create an optimal environment for your lemon tree to thrive.
When the soil around the roots of a lemon tree becomes waterlogged, it deprives the roots of oxygen. This lack of oxygen prevents the roots from functioning properly, leading to stunted growth and poor nutrient uptake. Additionally, standing water creates a hospitable environment for fungi and bacteria that can attack the roots, causing root rot.
Furthermore, waterlogged soil inhibits the movement of essential nutrients to the root system. This can result in nutrient deficiencies, which can manifest as yellowing leaves, poor fruit quality, and overall weak growth.
Proper drainage also plays a critical role in preventing overwatering, which is a common mistake made by many inexperienced gardeners. Overwatering can cause the roots to drown, promoting the growth of harmful organisms and inhibiting healthy root development.
By ensuring proper drainage, you can effectively remove excess water from the root zone, allowing the soil to dry out between waterings. This encourages deep root growth and ensures the roots have access to adequate oxygen, nutrients, and moisture.
Overall, proper drainage is essential for the overall health and longevity of your lemon tree. It promotes optimal root growth, helps prevent root rot and nutrient deficiencies, and supports vigorous and productive tree growth.
Selecting the Right Location for Planting
Choosing the right location for planting your lemon tree is crucial for its long-term success. Lemon trees thrive in warm, sunny climates, so finding a spot that receives full sunlight for at least 6-8 hours a day is ideal. Here are some factors to consider when selecting the right location:
- Sunlight: Lemon trees require ample sunlight to produce healthy growth and abundant fruit. Choose a location that receives direct sunlight for the majority of the day.
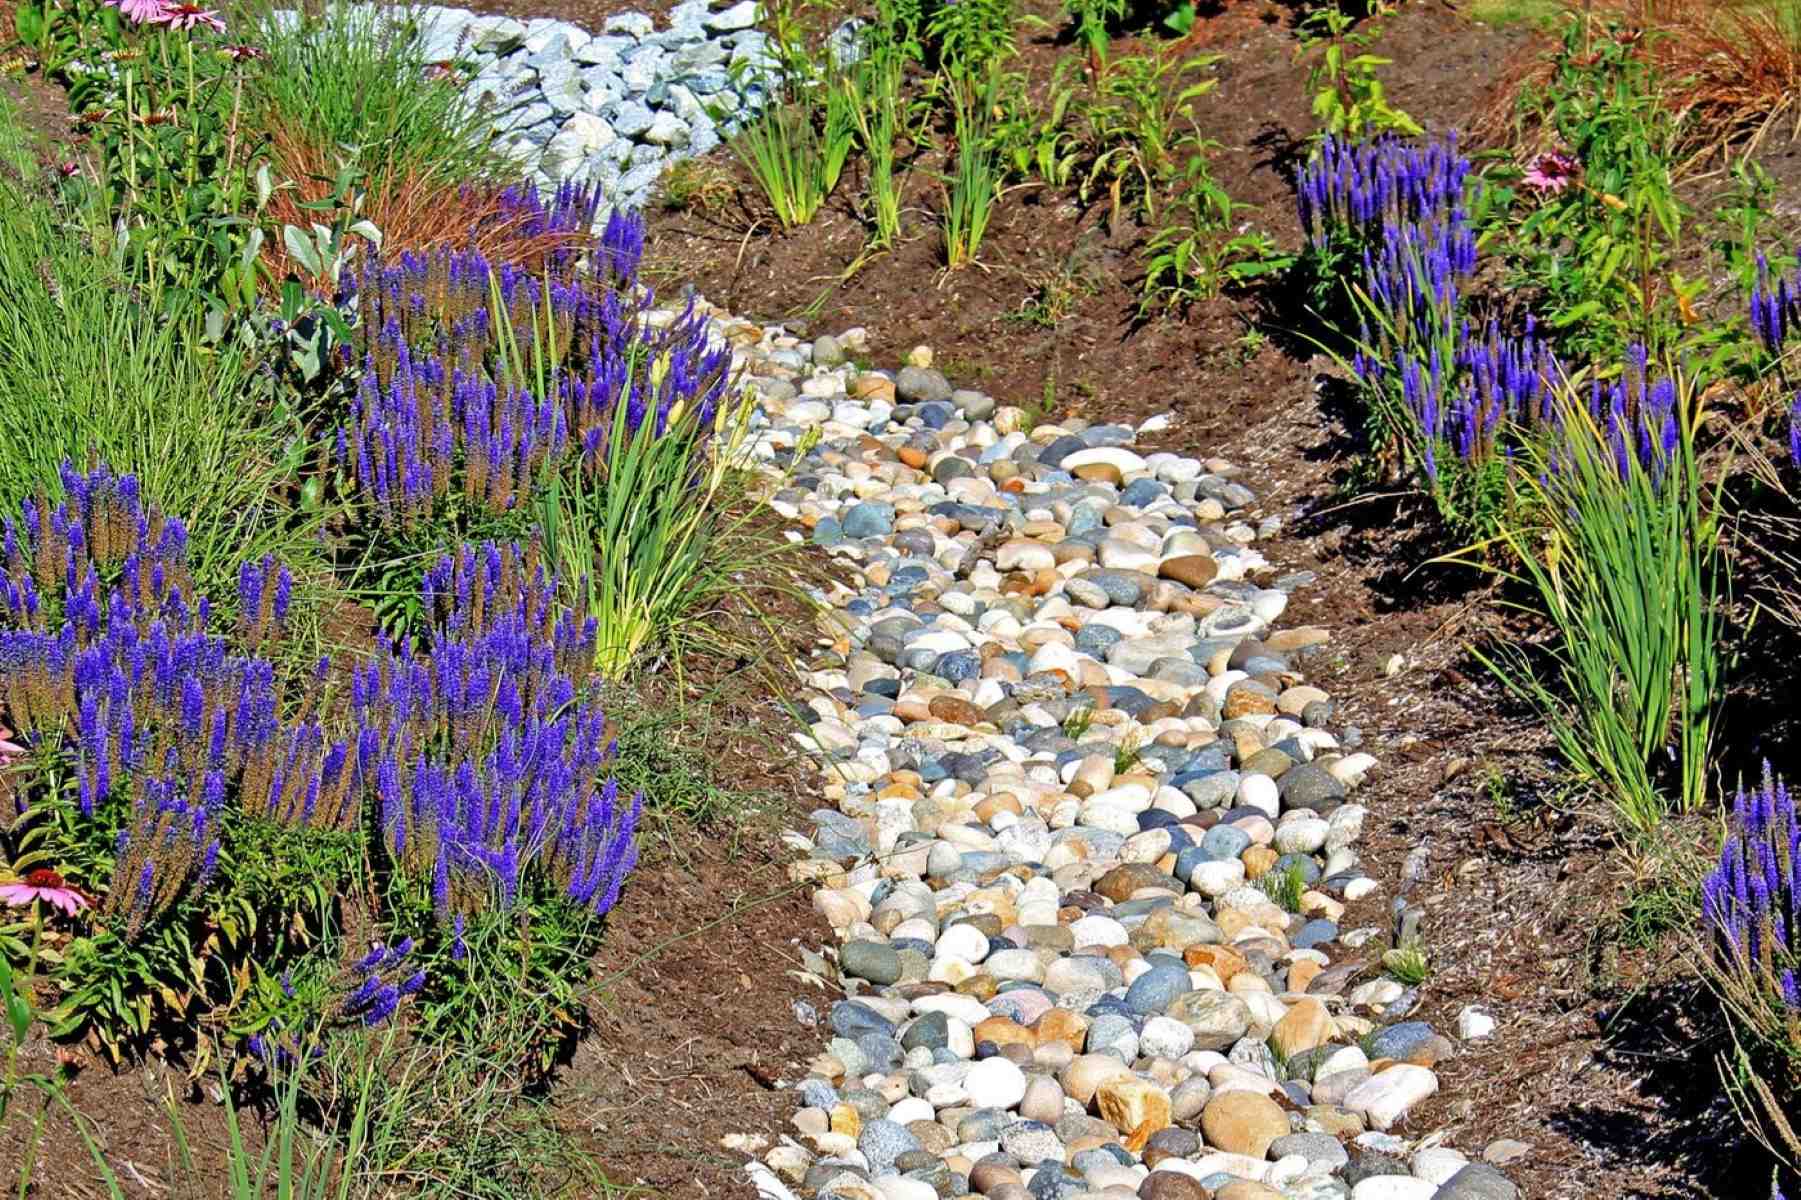
- Soil Drainage: Optimal soil drainage is essential for the health of your lemon tree. Avoid planting in areas with poor drainage, such as low-lying spots or areas with heavy clay soil. If the soil tends to become waterlogged, consider improving drainage by amending the soil or creating raised beds.
- Wind Exposure: Lemon trees can be sensitive to strong winds, which can damage the branches and inhibit fruit production. Choose a location that provides some protection from strong winds, such as near a fence or building.
- Proximity to Other Plants: Avoid planting your lemon tree too close to other plants or structures. Lemon trees need plenty of space for their roots to spread out and access nutrients and moisture. Planting too close to other plants can lead to competition for resources and hinder the growth of both plants.
- Accessibility to Water: Ensure that the planting location has easy access to a water source. Lemon trees require regular watering, especially during the hot summer months.
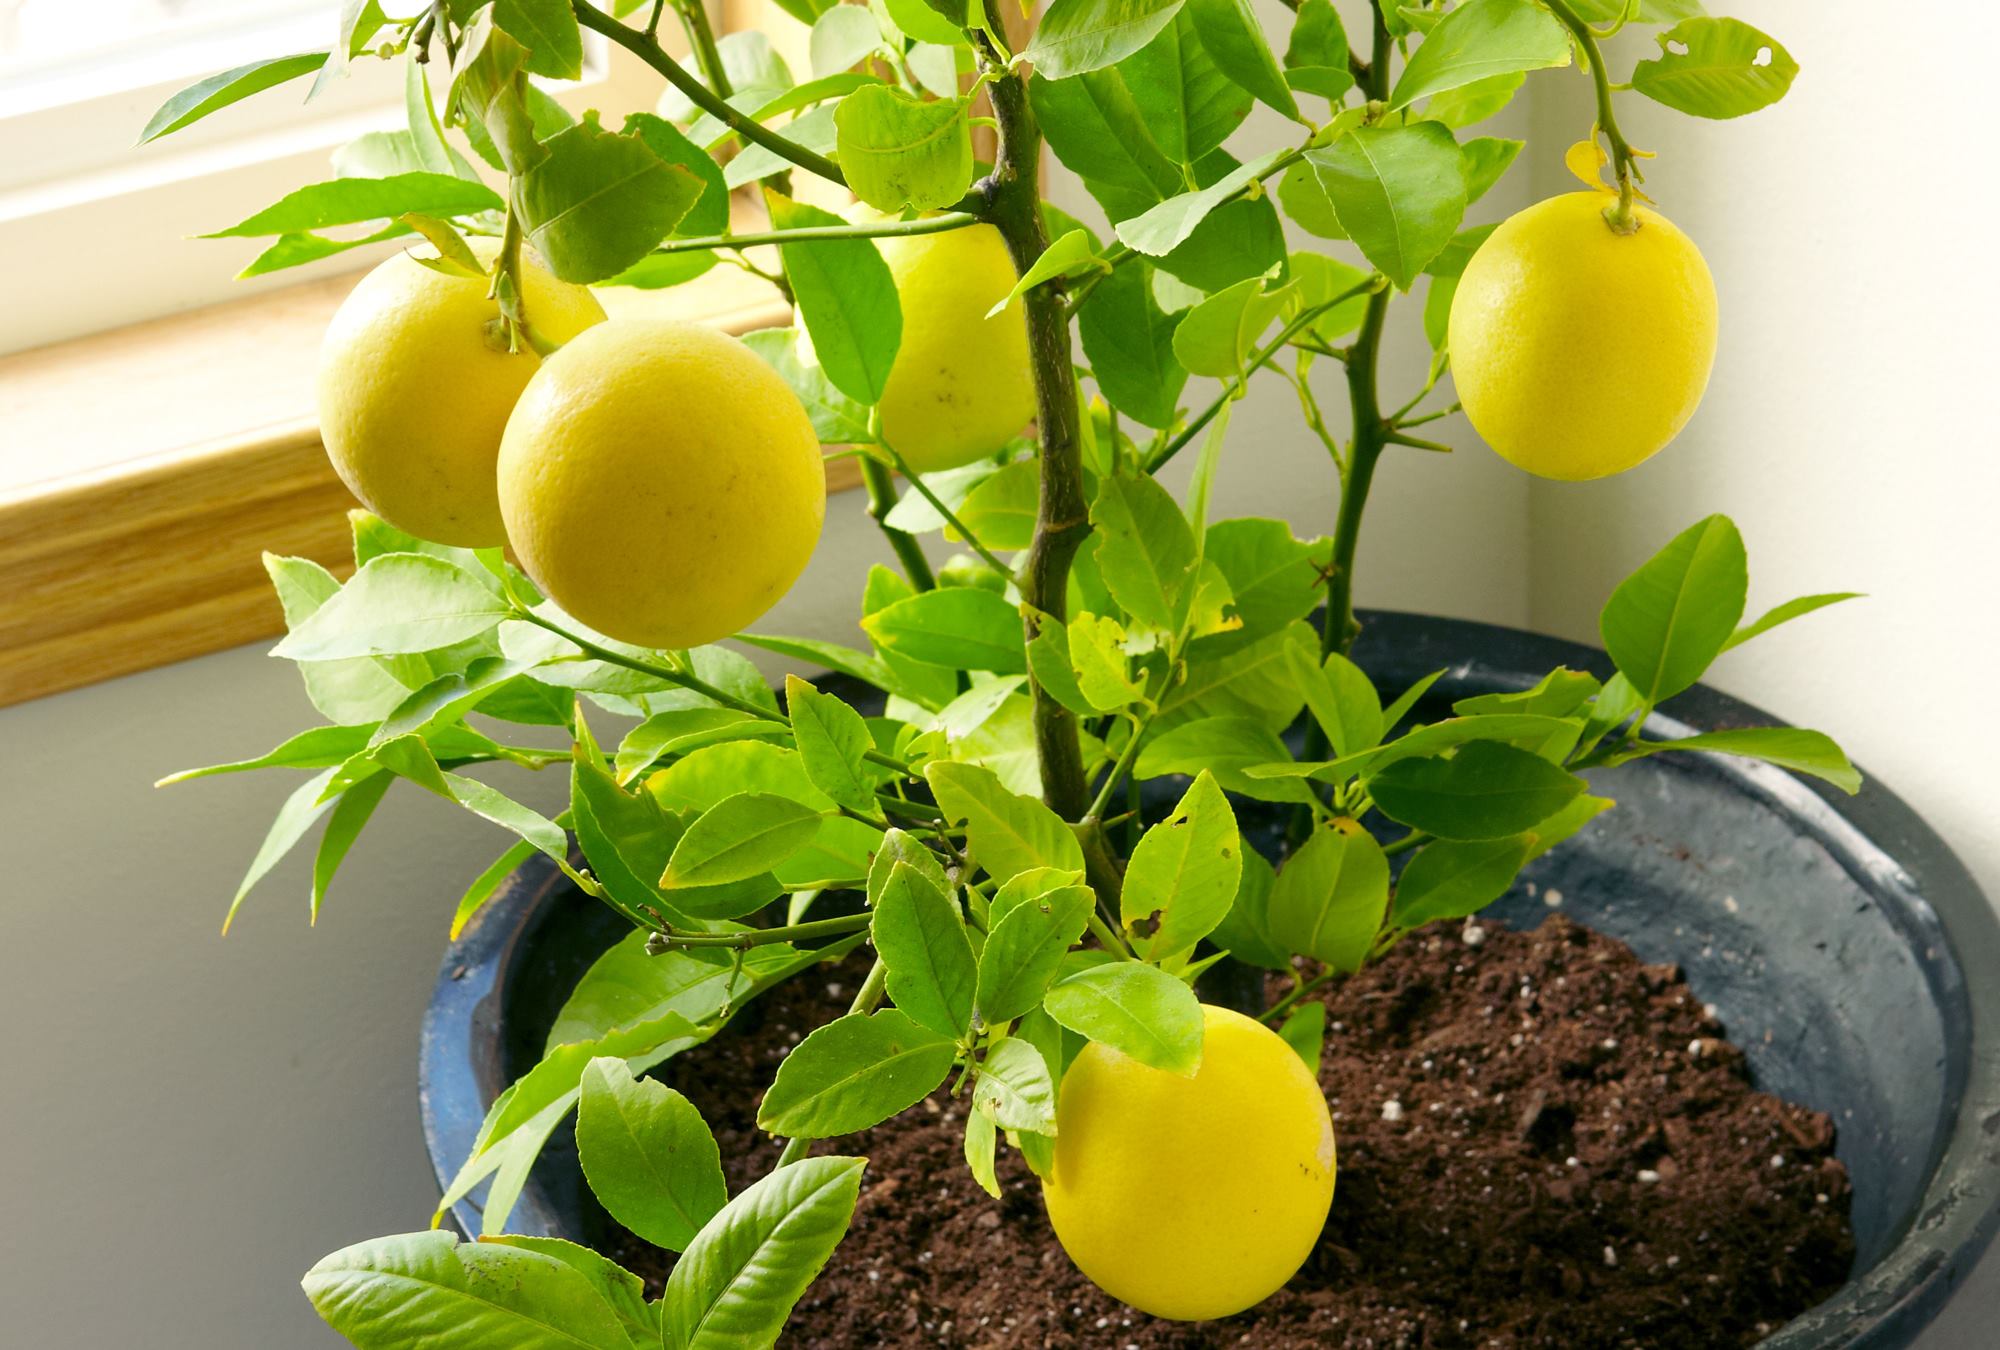
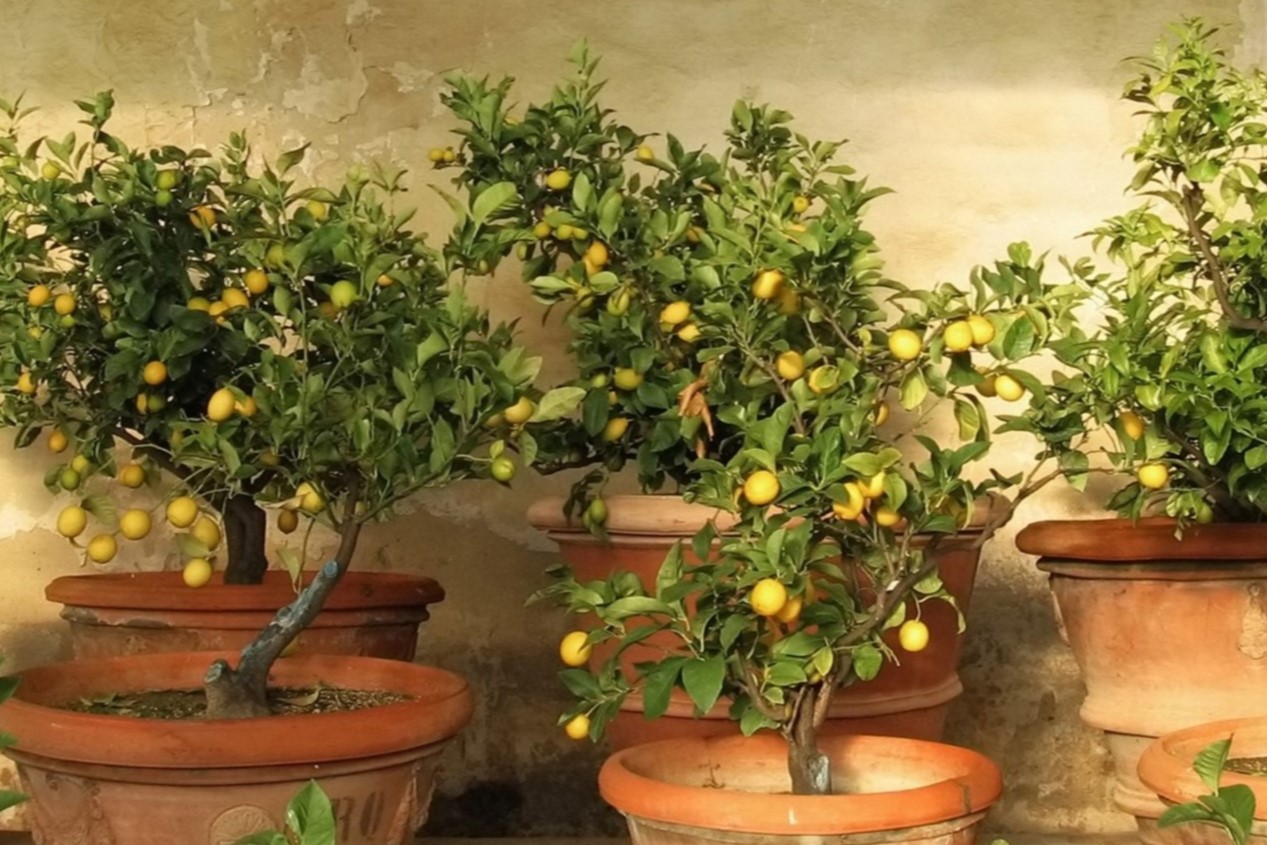
- Avoid Frost-Prone Areas: Lemon trees are sensitive to frost. Avoid planting in areas prone to freezing temperatures, as this can result in damage or even death of the tree. If you live in a colder climate, consider growing your lemon tree in a container so you can move it indoors during the winter.
By carefully selecting the right location for your lemon tree, you can provide optimal growing conditions and set the stage for a healthy and productive tree.
Preparing the Soil for Planting
Preparing the soil before planting is crucial for providing a nutrient-rich and well-drained environment for your lemon tree. Here are the steps to prepare the soil:
- Clear the area: Remove any existing plants, weeds, rocks, or debris from the planting area. This will give your lemon tree a clean start and minimize competition for nutrients and water.
- Test the pH: Lemon trees prefer slightly acidic soil with a pH between 5.5 and 6.5. Use a pH testing kit to determine the pH of your soil. If the pH is too high, adding sulfur or iron sulfate can help lower it. If the pH is too low, adding lime can help raise it. Aim for a pH within the optimal range for best results.
- Amend the soil: Assess the quality of your soil and make any necessary amendments to improve its fertility and drainage. If the soil is heavy clay or compacted, adding organic matter such as compost, well-rotted manure, or peat moss can help improve its texture and drainage. Incorporate the amendments into the soil using a garden fork or tiller.
- Check for drainage: Ensure that the soil in the planting area drains well. To test the drainage, dig a hole and fill it with water. If the water drains within a few hours, the drainage is good. If it takes longer or the water pools, you may need to further improve the drainage by adding sand or perlite to the soil.
- Add organic fertilizer: Before planting, incorporate a slow-release organic fertilizer into the soil. This will provide essential nutrients to support the initial growth of your lemon tree. Follow the instructions on the fertilizer package for proper application rates.
By preparing the soil properly, you can create a favorable growing environment for your lemon tree, ensuring that it receives the necessary nutrients and moisture for healthy and vigorous growth.
Digging the Planting Hole
When it comes to digging the planting hole for your lemon tree, it’s important to create the right size and depth to provide ample space for the roots to grow. Here’s a step-by-step guide on how to dig the planting hole:
- Measure and mark: Determine the size of the root ball of your lemon tree. The planting hole should be twice as wide and just as deep as the root ball. Use a tape measure or stick to mark the area.
- Start digging: Use a shovel or garden fork to start digging the hole. Begin by loosening the soil in the marked area. Dig down to the desired depth, taking care not to disturb the soil structure too much.
- Check the depth: Place the root ball of your lemon tree in the hole and check if the depth is adequate. The top of the root ball should be level with or slightly above the surrounding soil surface.
- Adjust the width: If the width of the hole seems too narrow, widen it by removing more soil from the sides. It’s important to give the roots enough space to spread out and establish themselves.
- Loosen the bottom: Use a fork or garden tool to loosen the soil at the bottom of the hole. This will help promote better root penetration and encourage root growth into the surrounding soil.
- Backfilling: Once the hole is the right size and depth, it’s time to backfill it. Fill the hole with the soil that was originally removed, gently firming it around the root ball. Avoid compacting the soil too much, as it can impede water drainage.
- Watering: After backfilling, give the newly planted lemon tree a thorough watering to settle the soil and provide moisture to the roots.
Remember to take care when handling the root ball of your lemon tree to avoid damaging the delicate roots. With proper hole preparation, you are setting the stage for successful planting and the healthy establishment of your lemon tree.
When planting a lemon tree, make sure to choose a well-draining soil mix and a pot with drainage holes to prevent waterlogging. This will help the roots to thrive and avoid root rot.
Creating Drainage Holes in the Container
If you plan to grow your lemon tree in a container, it’s essential to ensure proper drainage to prevent waterlogged roots. Here’s a step-by-step guide on how to create drainage holes in the container:
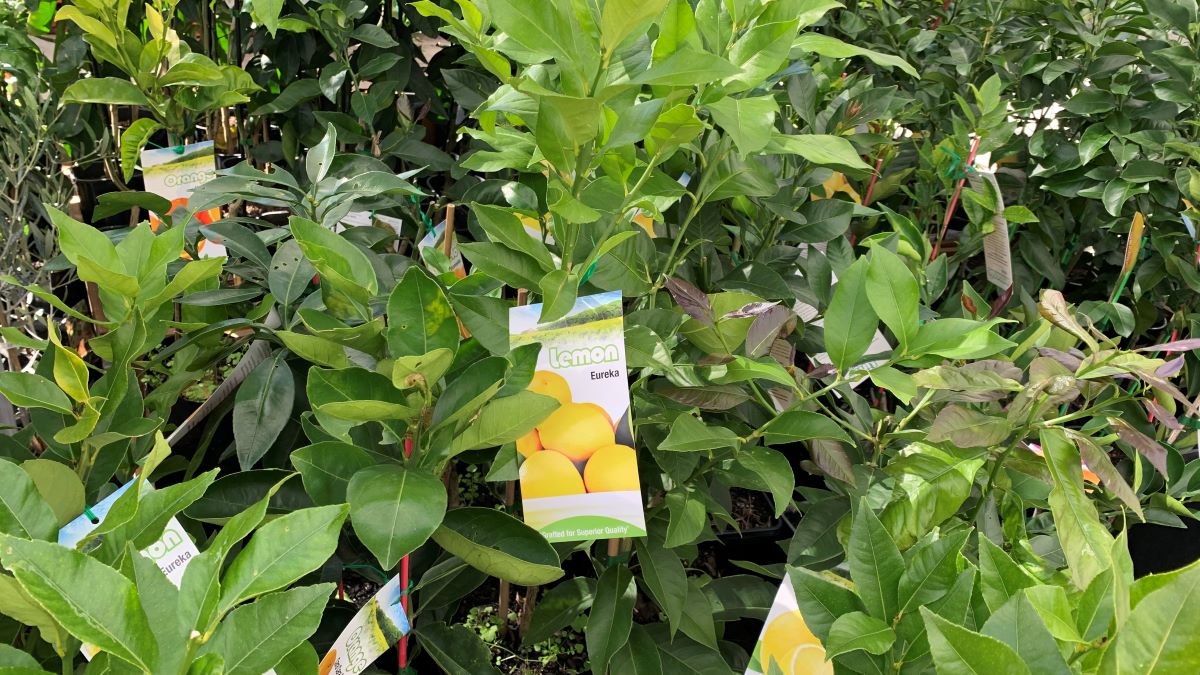
- Choose the right container: Select a container with sufficient size for your lemon tree. Make sure the container has drainage holes at the bottom to allow excess water to escape. If the container you have doesn’t have drainage holes, you will need to create them.
- Decide on the number and size of holes: The number and size of drainage holes depend on the size of the container. As a general rule, larger containers require more drainage holes. For small to medium-sized containers, 3-4 holes with a diameter of about 1/2 inch are usually sufficient.
- Mark the spots for the holes: Use a marker or pencil to mark the spots where you will create the drainage holes. Ensure the marks are evenly spaced and located near the bottom of the container.
- Drill or punch the holes: Use a drill or a sharp object such as a nail or awl to create the drainage holes in the marked spots. If using a drill, start with a small drill bit and gradually increase the size until you reach the desired diameter. If using a sharp object, carefully push or twist it through the container material to create the holes.
- Check for proper drainage: After creating the drainage holes, test them by filling the container with water and observing how quickly the water drains out. If the water drains slowly, you may need to increase the size or number of holes to improve drainage.
- Use a saucer or tray: Place a saucer or tray underneath the container to catch excess water that drains out. This prevents water from pooling around the container and causing potential damage to the surrounding area.
By creating proper drainage holes in the container, you will ensure that water can freely flow through the soil, preventing the roots from becoming waterlogged. This is crucial for the health and well-being of your lemon tree when grown in a container.
Planting the Lemon Tree
Now that you have prepared the soil and created proper drainage, it’s time to plant your lemon tree. Follow these steps to ensure a successful planting process:
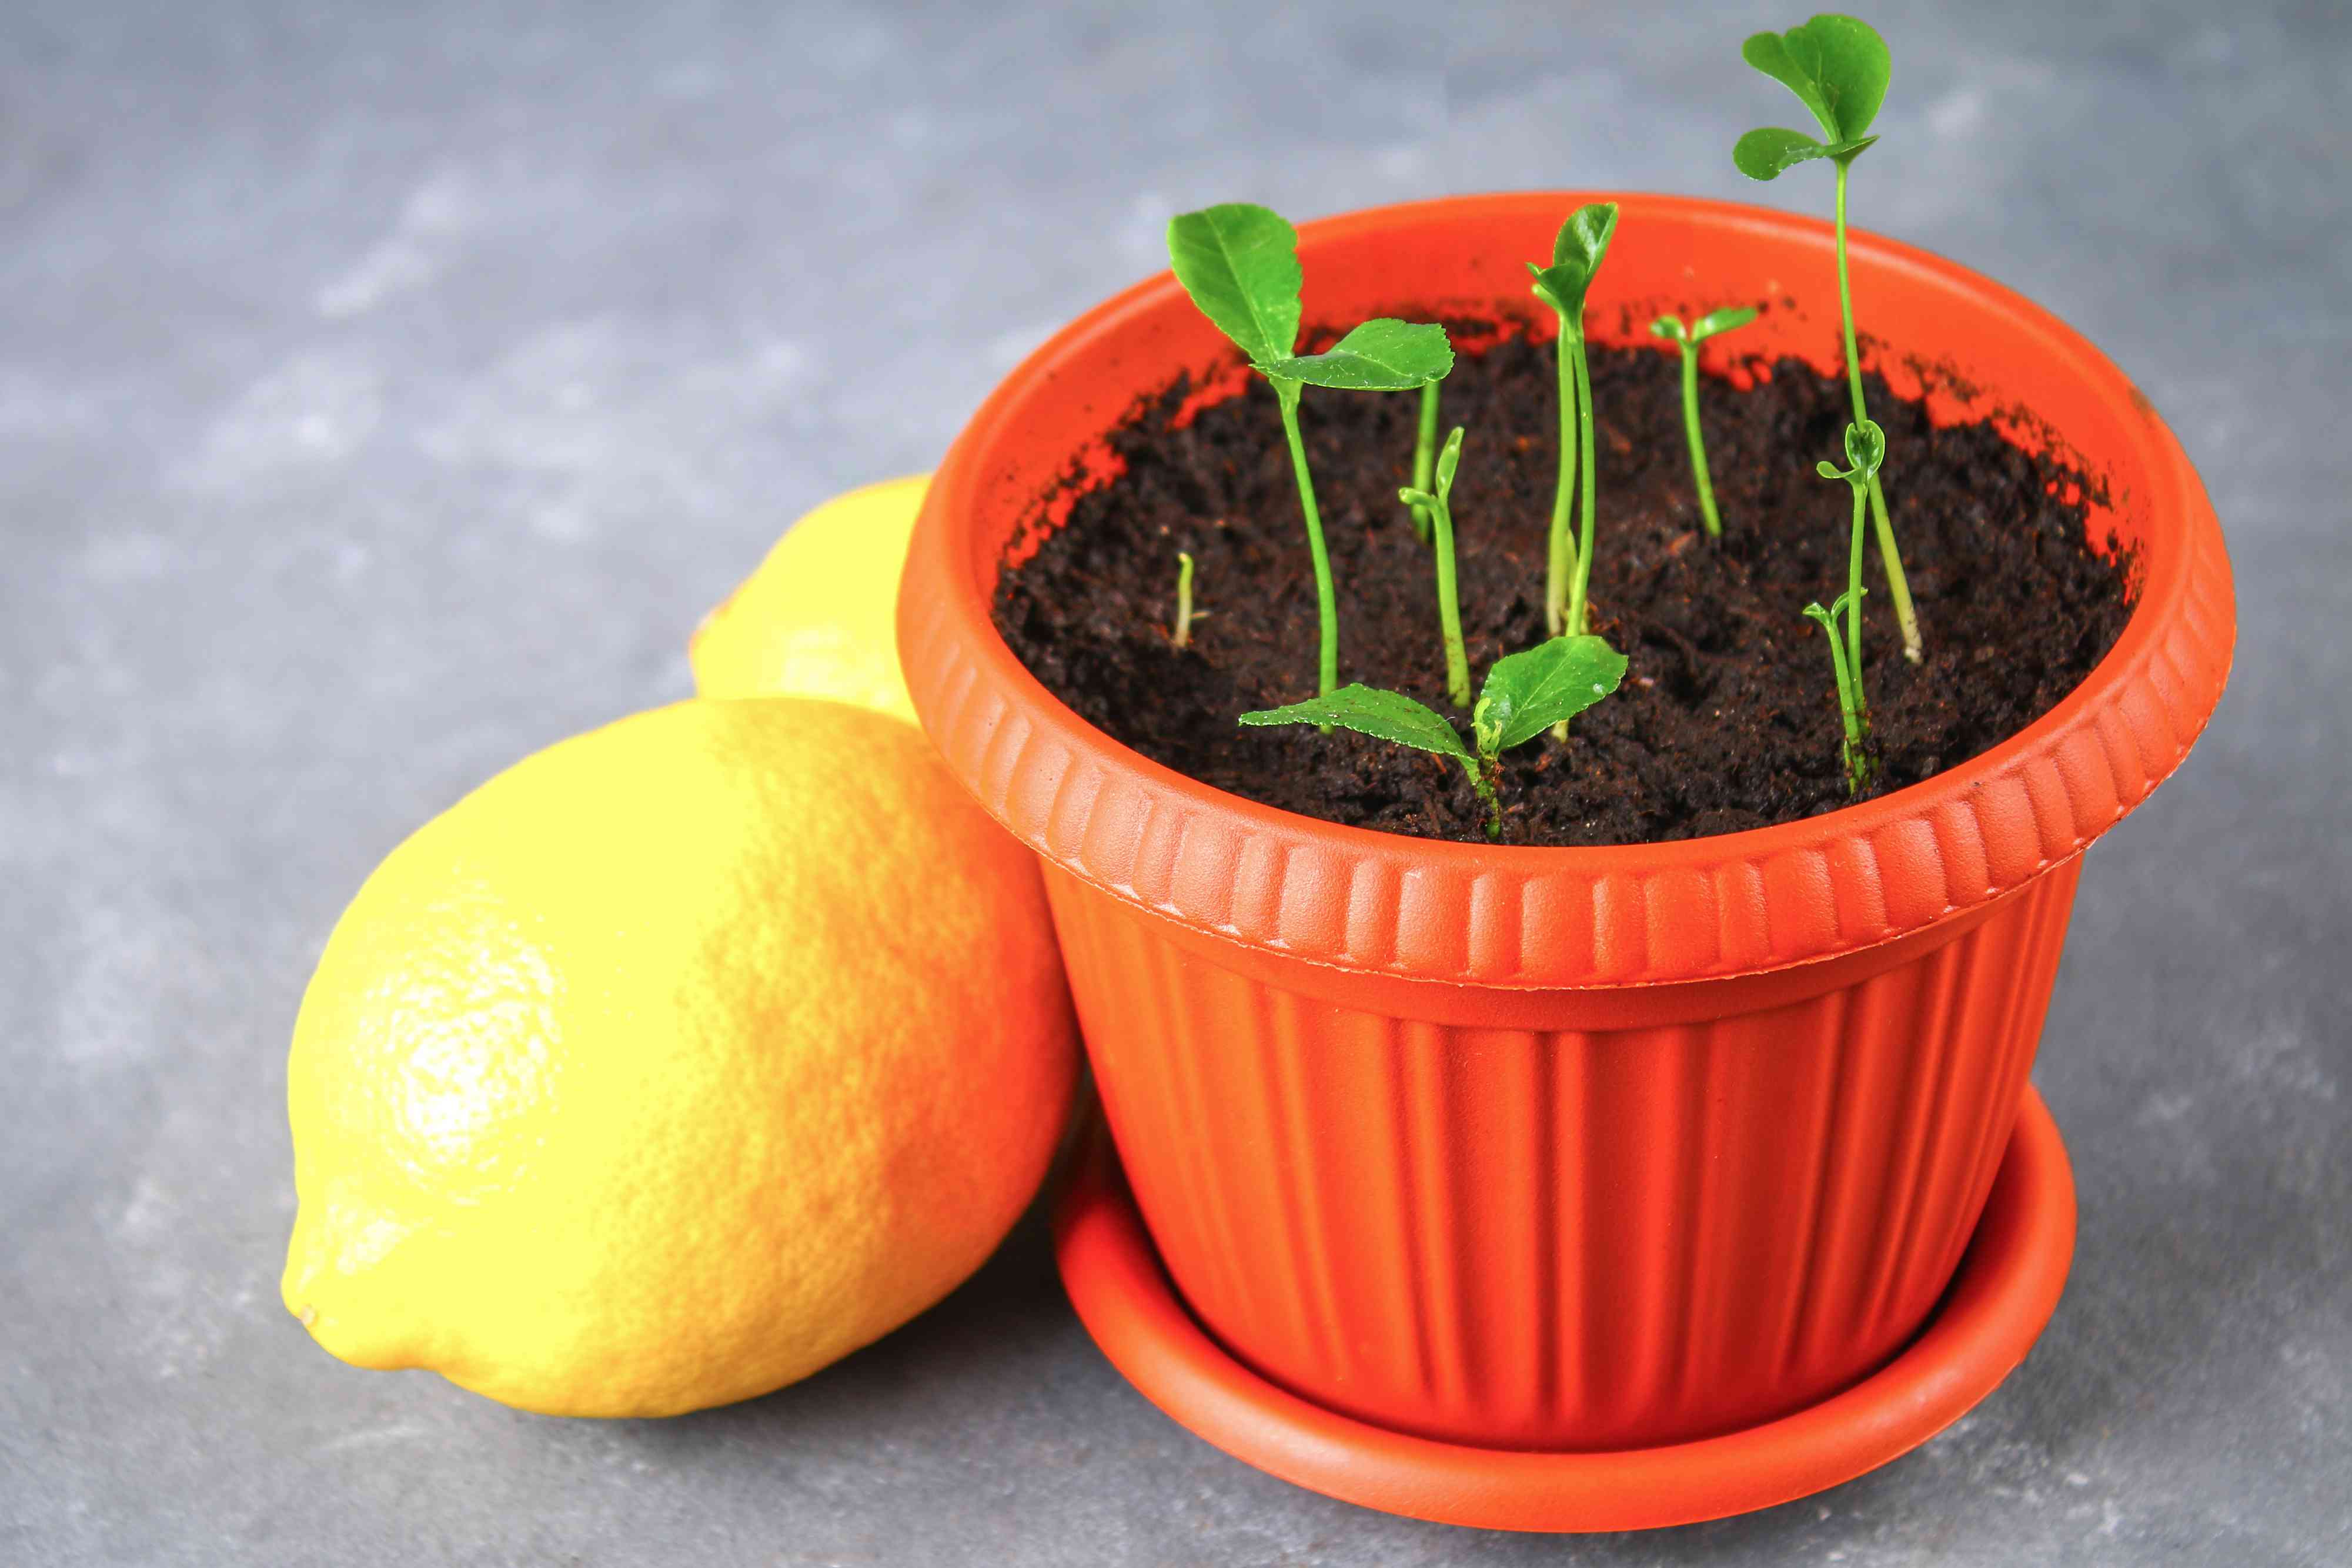
- Prepare the tree: Before planting, gently remove the lemon tree from its container. If the roots are tightly bound, carefully tease them apart with your fingers to encourage outward growth.
- Place the tree in the hole: Lower the lemon tree into the planting hole, ensuring that the top of the root ball is level with or slightly above the surrounding soil surface. Position the tree so that it stands straight and aligns with the desired orientation.
- Backfill the hole: Gradually fill the hole with the soil, gently firming it around the roots as you go. Avoid compacting the soil too much, as it can restrict root growth and water penetration. Ensure that the soil is evenly distributed to provide stability to the tree.
- Build a water basin: Create a small circular basin around the base of the tree by forming a soil mound. This will help direct water toward the roots during irrigation.
- Water thoroughly: After planting, give the lemon tree a thorough watering to help settle the soil and provide moisture to the roots. Ensure that the water reaches the entire root zone.
- Apply mulch: To conserve moisture and suppress weed growth, apply a layer of organic mulch around the base of the tree. Leave a small gap around the trunk to prevent moisture accumulation and potential rot.
- Stake if necessary: If your lemon tree is top-heavy or prone to leaning, use stakes to provide support. Secure the tree gently to the stakes using soft ties, ensuring that they are not too tight to allow for natural movement and growth.
- Monitor and maintain: Regularly monitor the moisture level of the soil and adjust the watering accordingly. Aim to keep the soil consistently moist but not waterlogged. Additionally, continue to provide adequate sunlight, proper nutrition, and regular care to promote healthy growth.
By following these steps, you can ensure a successful planting of your lemon tree and provide it with the best possible start for a long and fruitful life.
Watering and Mulching the Tree
Proper watering and mulching are crucial for the health and vitality of your lemon tree. They play a significant role in maintaining soil moisture, regulating temperature, and suppressing weed growth. Follow these guidelines to ensure optimal watering and mulching practices:
Watering:
Watering is essential to keep your lemon tree hydrated, especially during the hot and dry months. Here’s how to water your lemon tree effectively:
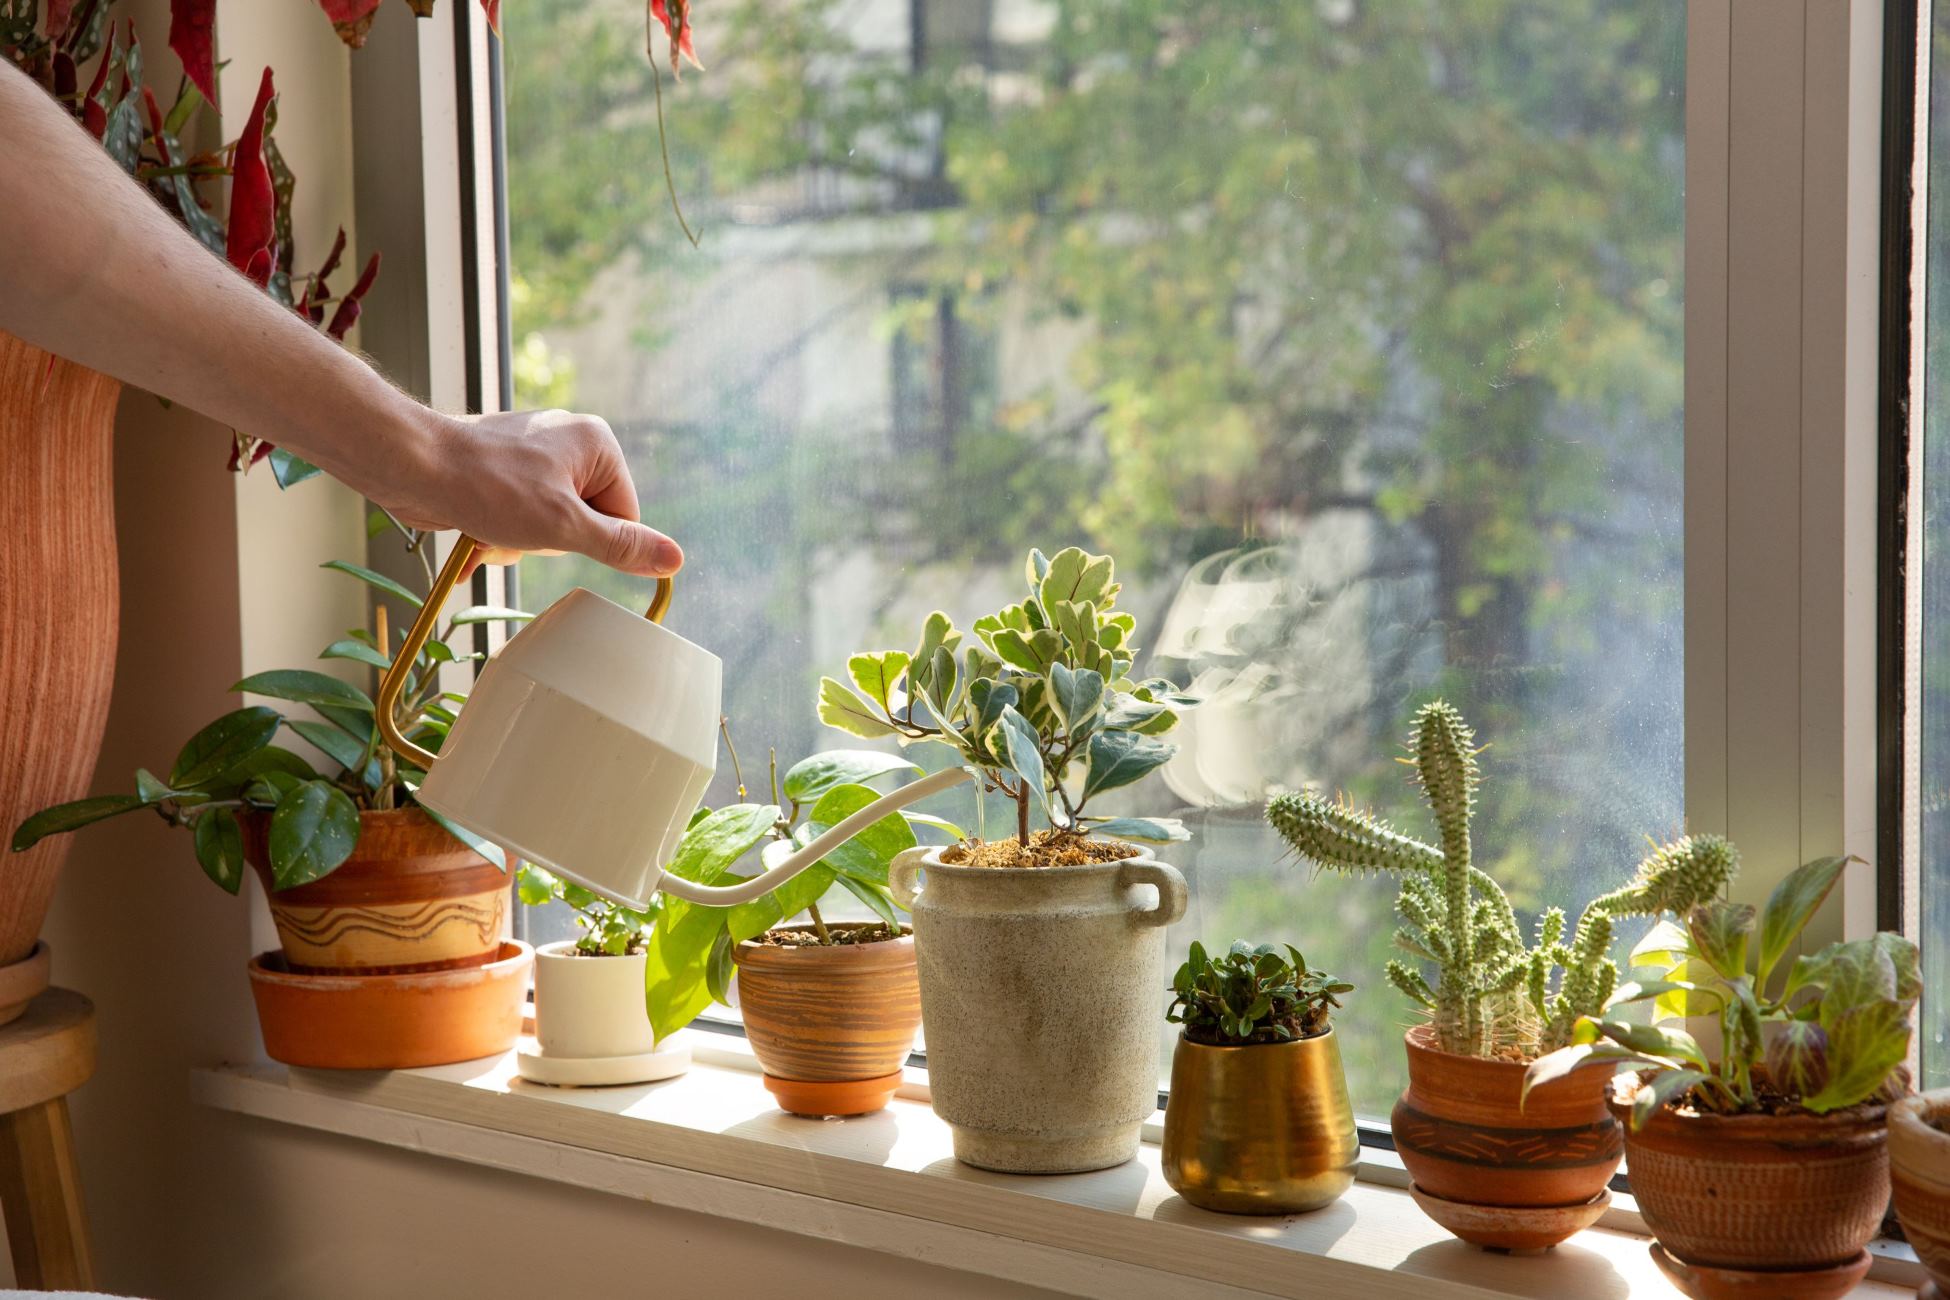
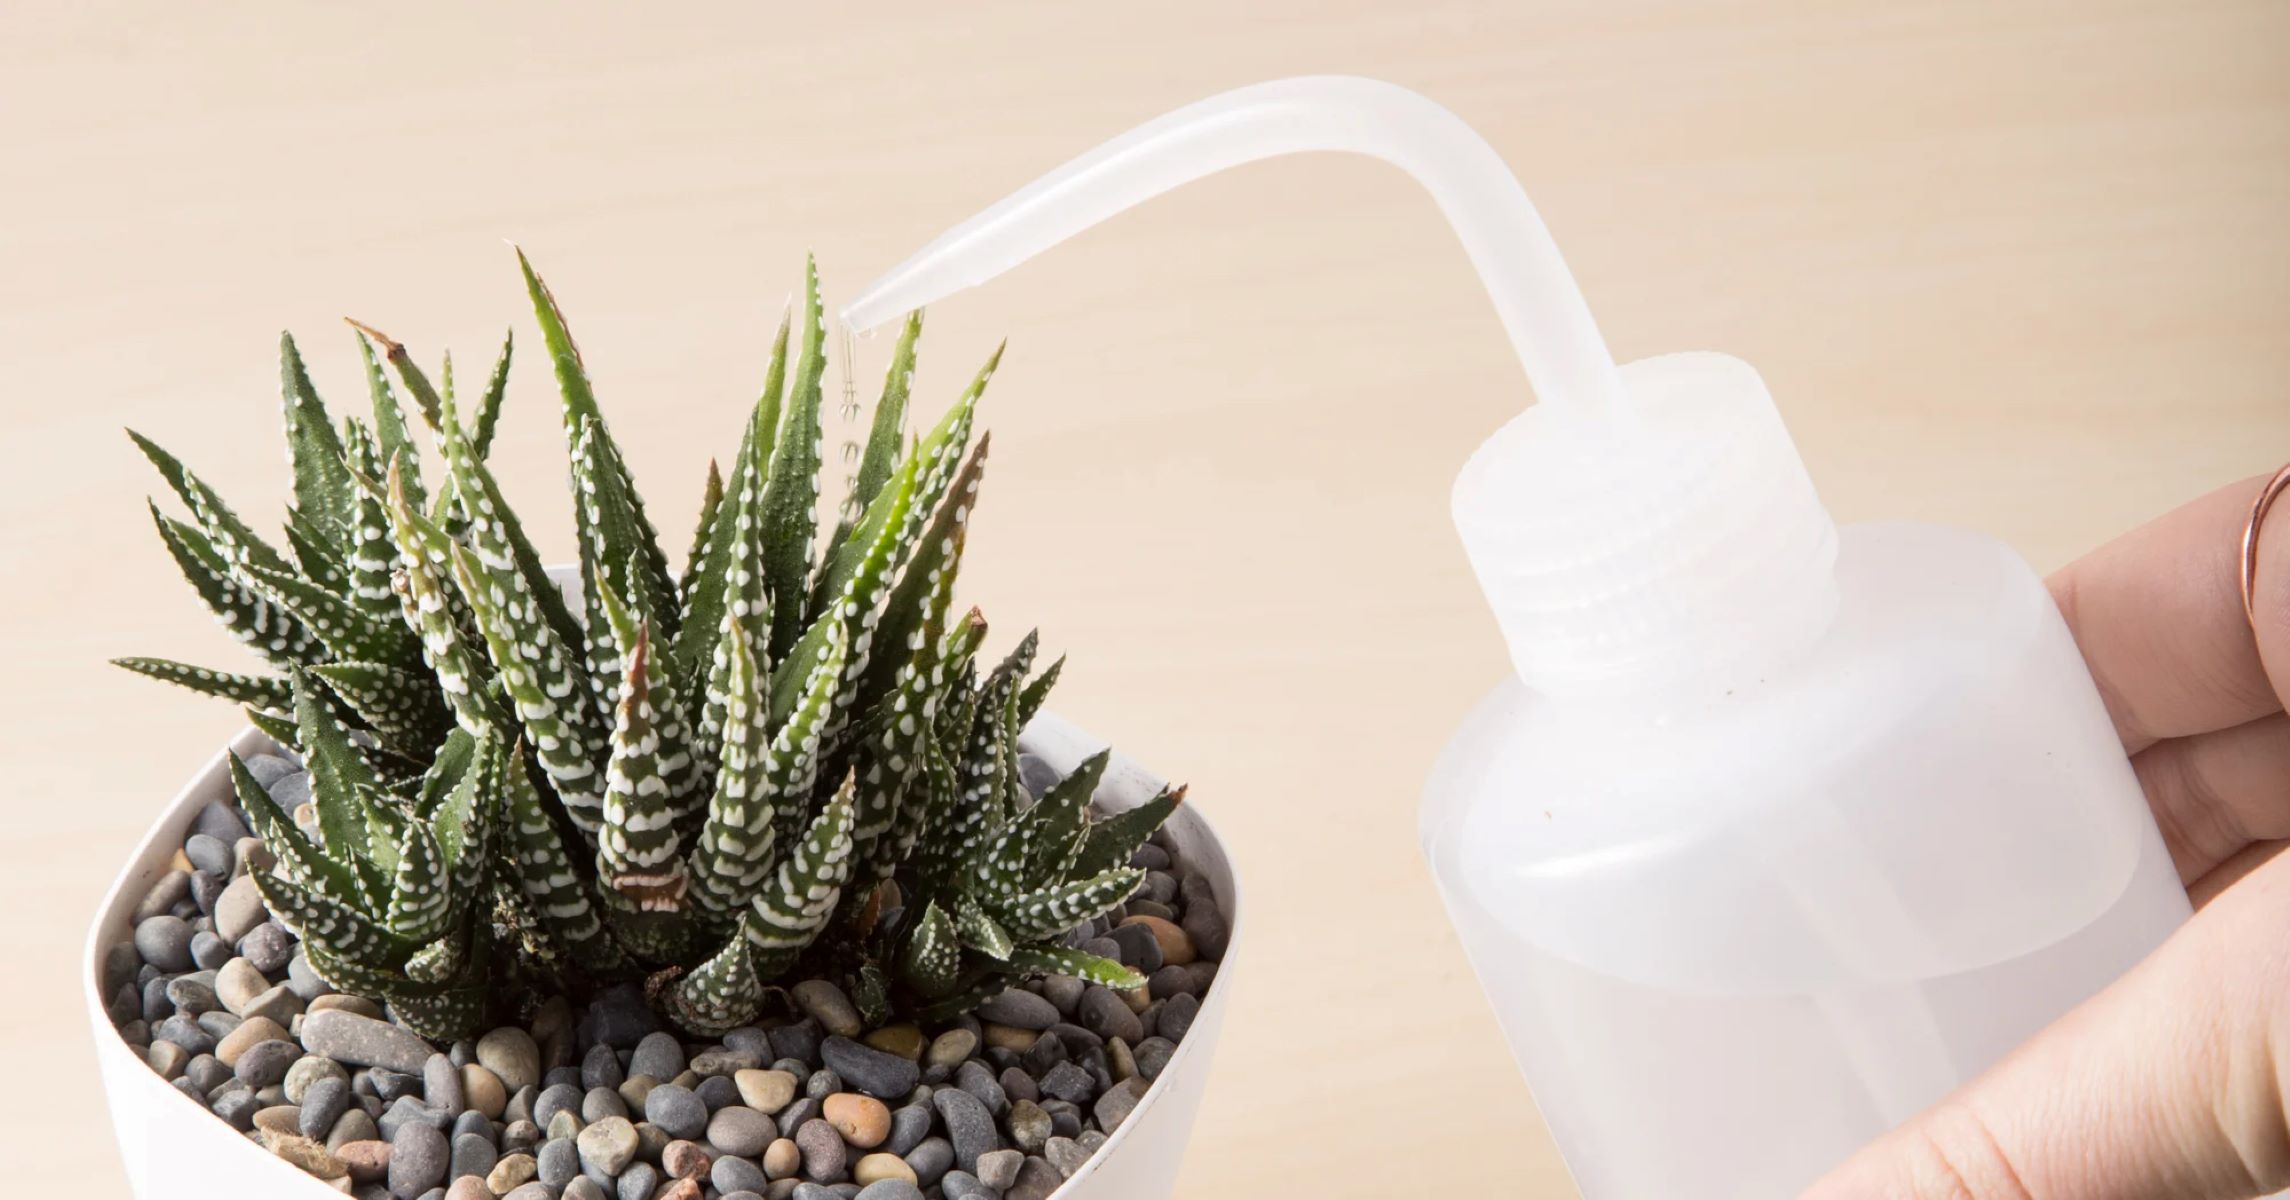
- Establish a watering schedule: Lemon trees usually require deep, infrequent watering. Water deeply, allowing the water to penetrate the root zone, but avoid overwatering, which can lead to root rot. Aim to water your lemon tree once or twice a week, depending on weather conditions and soil moisture levels. Adjust the frequency as needed.
- Water at the base: Direct the water at the base of the tree, near the root zone. Avoid wetting the foliage excessively, as this can promote the development of fungal diseases. Use a slow and gentle stream of water to allow it to soak deep into the soil.
- Monitor soil moisture: Regularly check the moisture level of the soil around your lemon tree. Insert your finger into the soil to a depth of a few inches. If the soil feels dry, it’s time to water. If it feels moist, hold off on watering until it becomes slightly dry.
- Adjust for weather conditions: During periods of heavy rainfall, reduce the frequency of watering to avoid waterlogging the soil. Conversely, during dry spells or hot weather, you may need to water more frequently to compensate for increased evaporation and plant water needs.
- Water during fruit production: When your lemon tree is producing fruit, it may require more water to support fruit development. Monitor the soil moisture closely and increase watering as necessary to ensure proper fruit growth and quality.
Mulching:
Mulching helps retain soil moisture, regulate soil temperature, and suppress weeds. Follow these steps to properly mulch your lemon tree:
- Choose organic mulch: Use organic materials such as wood chips, straw, or compost as mulch for your lemon tree. These materials break down over time, enriching the soil and providing nutrients to the tree.
- Apply mulch around the base: Apply a layer of mulch around the base of the lemon tree, extending it in a circle at least a few inches away from the trunk. Ensure the layer is approximately 2-4 inches thick.
- Avoid piling up mulch: Mulch should be evenly spread around the tree, but avoid creating a thick mound of mulch against the trunk. This can lead to excess moisture retention and potentially cause rot or disease in the trunk.
- Keep the mulch layer clear of the trunk: Leave a small space around the base of the tree clear of mulch to prevent moisture buildup and the potential for pests or diseases.
- Refresh mulch periodically: Over time, the mulch layer may break down or become compacted. Periodically replenish the mulch layer to maintain its thickness and effectiveness.
By following proper watering and mulching practices, you can provide your lemon tree with the essential moisture it needs while promoting a healthy root environment and conserving water in the process.
Maintaining Proper Drainage for Healthy Growth
Maintaining proper drainage is vital for the long-term health and growth of your lemon tree. Here are some important steps to ensure optimal drainage:
- Monitor soil moisture: Regularly check the moisture level of the soil around your lemon tree. While lemon trees need regular watering, it’s crucial not to overwater, which can lead to waterlogged soil. Allow the soil to dry out slightly between waterings to prevent root rot and other moisture-related issues.
- Improve soil structure: If the soil in your planting area has poor drainage, you can improve it by amending the soil with organic matter such as compost or well-rotted manure. This helps promote better soil structure, enabling water to drain more efficiently.
- Avoid compacting the soil: Pay attention to soil compaction around the root zone of your lemon tree. Avoid walking or compacting the soil excessively, as this can hinder proper drainage. Mulching around the base of the tree can help protect the soil from compaction caused by foot traffic.
- Keep drainage holes clear: If you are growing your lemon tree in a container, regularly check the drainage holes to ensure they are not blocked by debris or soil. Clear any obstructions to ensure proper water flow through the container and prevent waterlogging.
- Monitor for signs of poor drainage: Keep an eye out for signs of poor drainage, such as leaves turning yellow or dropping prematurely, stunted growth, or standing water around the base of the tree. If you notice these signs, take action to improve drainage, such as adjusting the watering schedule or improving soil structure.
- Provide proper air circulation: Good air circulation around your lemon tree is essential for preventing excess moisture buildup and the development of fungal diseases. Avoid overcrowding plants around the tree and prune any dense foliage to allow for adequate airflow.
- Regularly inspect and maintain the drainage system: If your lemon tree is growing in an area with an artificial drainage system, such as a French drain or drain tiles, regularly inspect and maintain it to ensure proper functioning. Remove any debris or blockages that may impede water flow.
By consistently monitoring and maintaining proper drainage, you can provide your lemon tree with an optimal growing environment, promoting healthy roots and overall growth. Remember, healthy drainage is key to the vitality and success of your lemon tree.
Read more: How To Start A Lemon Tree From Seed
Conclusion
Planting a lemon tree with proper drainage is essential for its health and success. By understanding the importance of drainage and following the necessary steps, you can create an optimal environment for your lemon tree to thrive.
Proper drainage helps prevent waterlogging and ensures the roots have access to oxygen, nutrients, and moisture. It aids in preventing root rot, fungal diseases, and nutrient deficiencies that can hinder the growth and productivity of your lemon tree.
When selecting a location for planting, choose a spot with ample sunlight, good soil drainage, and protection from strong winds. Proper soil preparation, including testing pH levels, amending the soil, and creating a well-draining planting hole, sets the foundation for healthy growth.
If you’re growing your lemon tree in a container, creating drainage holes is crucial to prevent waterlogged roots. Additionally, watering and mulching practices should be followed to maintain proper soil moisture, regulate temperature, and suppress weed growth.
To ensure ongoing healthy growth, it’s important to monitor soil moisture, maintain good soil structure, keep drainage holes clear, and provide proper air circulation. Regular inspection and maintenance of the drainage system, if applicable, is also essential.
By applying these principles and providing attentive care, you can enjoy the beauty of a thriving lemon tree that rewards you with abundant, juicy lemons. Remember to adjust your care practices based on the specific needs of your lemon tree and the local climate conditions.
So, go ahead and plant your lemon tree with proper drainage. With patience, dedication, and the right conditions, you will be able to enjoy the fruits of your labor for years to come.
Frequently Asked Questions about How To Plant A Lemon Tree With Proper Drainage
Was this page helpful?
At Storables.com, we guarantee accurate and reliable information. Our content, validated by Expert Board Contributors, is crafted following stringent Editorial Policies. We're committed to providing you with well-researched, expert-backed insights for all your informational needs.


0 thoughts on “How To Plant A Lemon Tree With Proper Drainage”