Home>Home Maintenance>How To Clean An Air Conditioner Fan
Home Maintenance
How To Clean An Air Conditioner Fan
Modified: October 19, 2024
Learn how to effectively clean the fan of your air conditioner at home with these easy maintenance tips. Keep your AC unit running efficiently and save money on repairs.
(Many of the links in this article redirect to a specific reviewed product. Your purchase of these products through affiliate links helps to generate commission for Storables.com, at no extra cost. Learn more)
Introduction
When it comes to home maintenance, cleaning the air conditioner fan is a task that often gets overlooked. However, regular cleaning of the fan is essential to maintain the efficiency and proper functioning of your air conditioner. Over time, dust, debris, and other pollutants can accumulate on the fan blades, hindering airflow and decreasing the cooling capacity of your unit. Cleaning the fan not only improves the overall performance of your air conditioner but also helps to prolong its lifespan.
In this article, we will guide you through the step-by-step process of cleaning an air conditioner fan. We will also provide you with some valuable safety tips to ensure that you can clean your fan effectively without risking your safety or damaging the unit. So, put on your cleaning gloves and let’s get started!
Key Takeaways:
- Regularly cleaning your air conditioner fan is essential for maintaining its efficiency and prolonging its lifespan. Follow safety precautions and step-by-step instructions to ensure a safe and effective cleaning process.
- By cleaning your air conditioner fan at least once a year, you can enjoy cooler and cleaner air in your home. Regular maintenance helps prevent debris buildup and ensures optimal cooling performance.
Read more: Where Is The Fan Motor On An Air Conditioner
Safety Precautions
Before you begin cleaning your air conditioner fan, it’s important to take some safety precautions to protect yourself and prevent any damage to the unit. Here are some essential safety tips to keep in mind:
- Turn off the power: Before you start cleaning, make sure to turn off the power to your air conditioner. This will prevent any accidental electrical shocks while you are working on the fan.
- Wear protective gear: It’s always a good idea to wear protective gear when dealing with cleaning tasks. Wear gloves to protect your hands from any debris or sharp edges, and consider wearing safety goggles to protect your eyes.
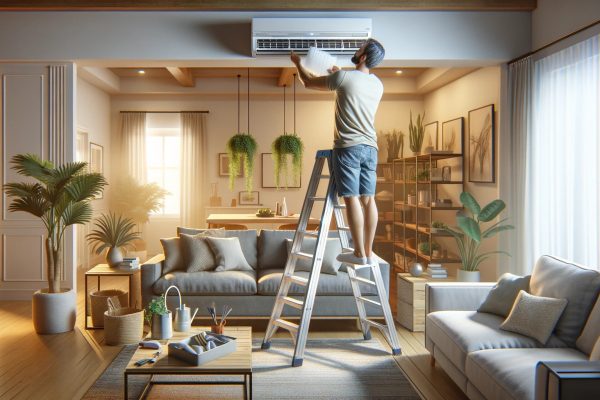
- Use a sturdy ladder or step stool: If your air conditioner fan is located at a height, use a sturdy ladder or step stool to reach it safely. Ensure that the ladder is placed on a stable surface and follow proper ladder safety guidelines.
- Avoid using excessive force: When cleaning the fan blades or any other components, be gentle and avoid applying excessive force. This will protect the fan from damage.
- Do not spray water directly on the unit: While cleaning the fan, avoid spraying water directly onto the unit or its electrical components. This can cause electrical hazards and damage the internal parts of the air conditioner.
- Read the manufacturer’s instructions: It’s always a good idea to refer to the manufacturer’s instructions for your specific air conditioner model. They may provide specific guidelines or precautions that you should follow during the cleaning process.
By following these safety precautions, you can ensure a safe and effective cleaning process for your air conditioner fan. Now that you are aware of the necessary safety measures, let’s move on to the step-by-step process of cleaning the air conditioner fan.
Step 1: Turn off the Power
The first and most important step in cleaning your air conditioner fan is to turn off the power to the unit. This is crucial to prevent any risk of electrical shocks while working on the fan.
Locate the electrical panel in your home and find the circuit breaker or fuse that controls the power supply to your air conditioner. Switch off the corresponding circuit breaker or remove the fuse to disconnect the power. Ensure that the air conditioner is completely powered off before proceeding.
As an additional precautionary step, you can also unplug the air conditioner unit from the electrical outlet if it is easily accessible. This will offer an extra level of safety during the cleaning process.
Remember, electricity and water do not mix well, so it is crucial to ensure that the power is properly turned off before moving on to the next steps.
Once you have confirmed that the power is turned off, you can proceed with confidence to clean your air conditioner fan. This will help ensure your safety and prevent any damage to the unit. Now that we’ve taken the necessary precautions, let’s move on to the next step of removing the front grill.
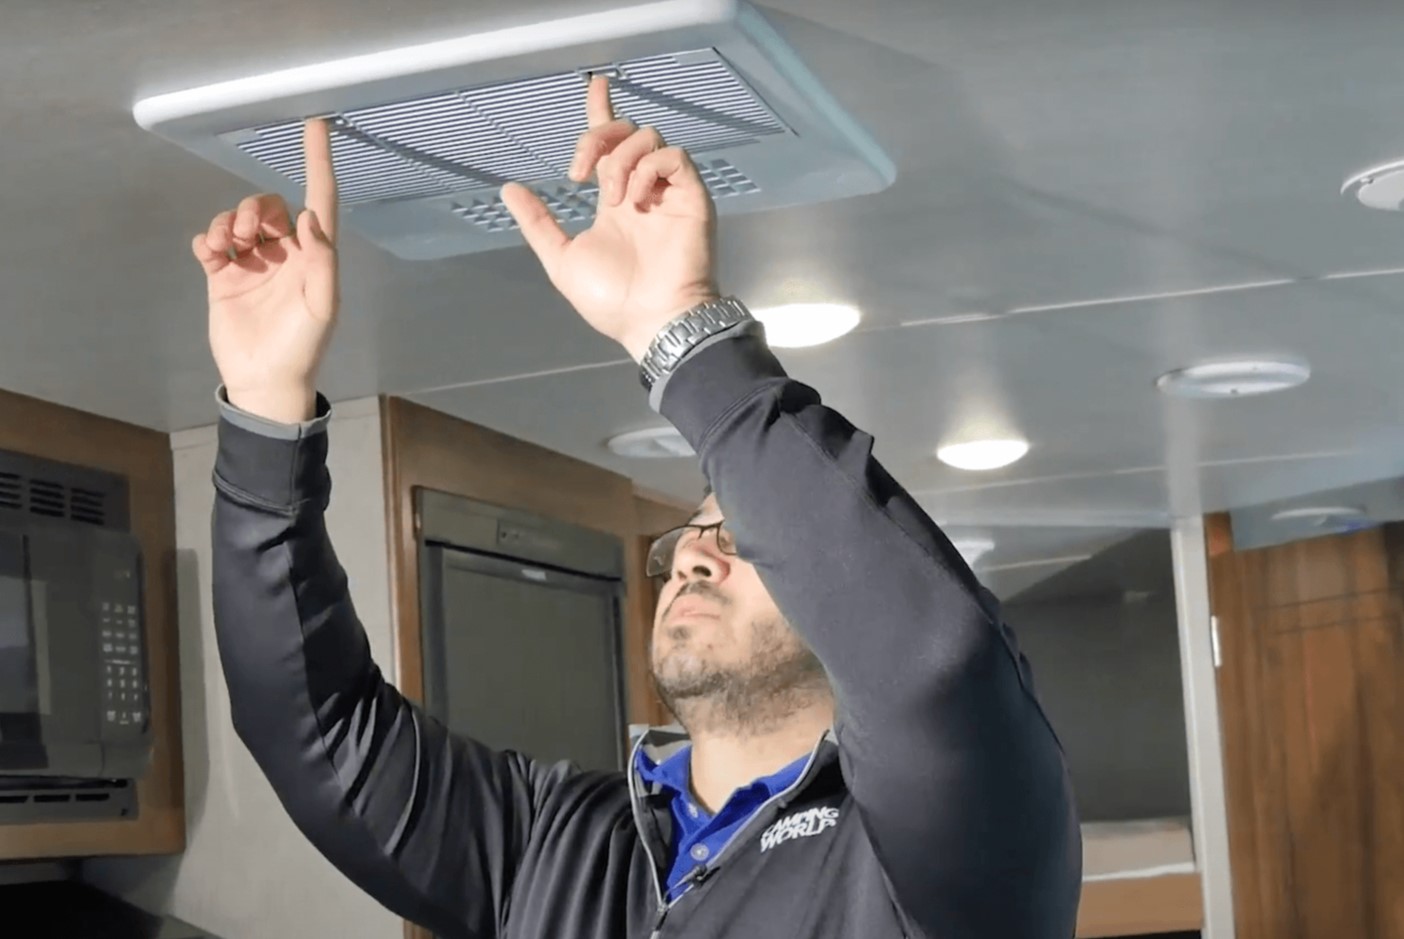
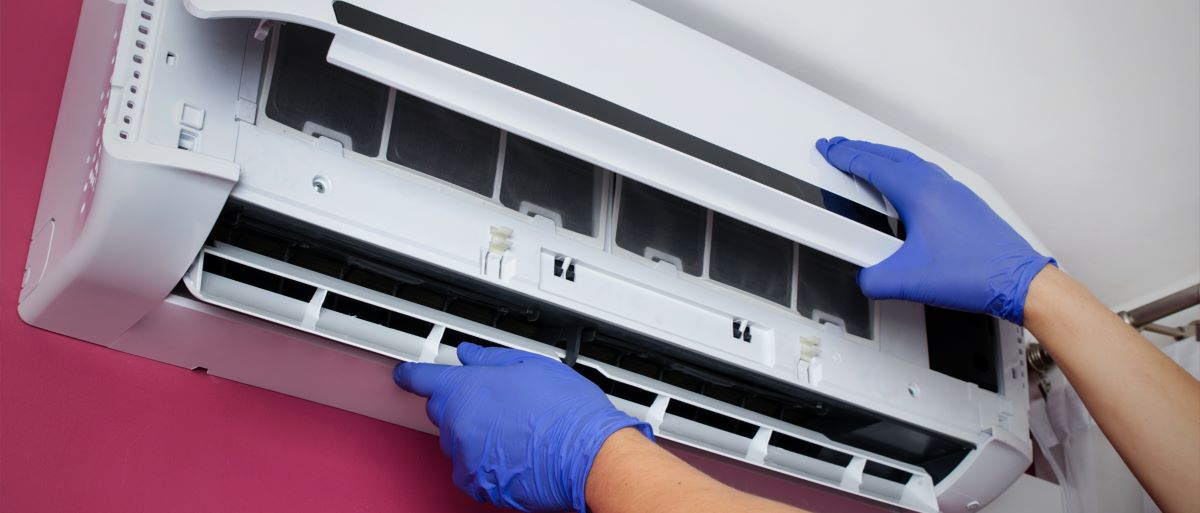
Step 2: Remove the Front Grill
Once you have turned off the power to your air conditioner, the next step is to remove the front grill to access the fan blades. The front grill is typically held in place by screws or clips, depending on the model of your air conditioner.
Start by locating the screws or clips that secure the front grill in place. Use a screwdriver or a suitable tool to remove the screws or release the clips. Carefully set aside the screws or clips in a safe place so that you can easily reassemble the front grill later.
After removing the screws or releasing the clips, gently lift the front grill away from the air conditioner unit. Take care not to pull or force it, as there may be wiring or other components attached to the grill.
Depending on your air conditioner model, there may be a filter attached to the front grill. If so, remove the filter and set it aside. You can clean the filter separately by following the manufacturer’s instructions.
Once the front grill is removed, you will have clear access to the fan blades and other internal components of the air conditioner. Take a moment to inspect the area for any visible debris or dust that can be cleaned quickly. If you notice any substantial accumulation, use a soft brush or cloth to gently remove the loose debris before moving on to the next step.
Removing the front grill allows you to clean the fan blades effectively and ensures proper airflow within the air conditioner. With the front grill out of the way, we can now proceed to the next step of checking for any visible debris or dust on the fan blades.
Step 3: Check for Any Visible Debris or Dust
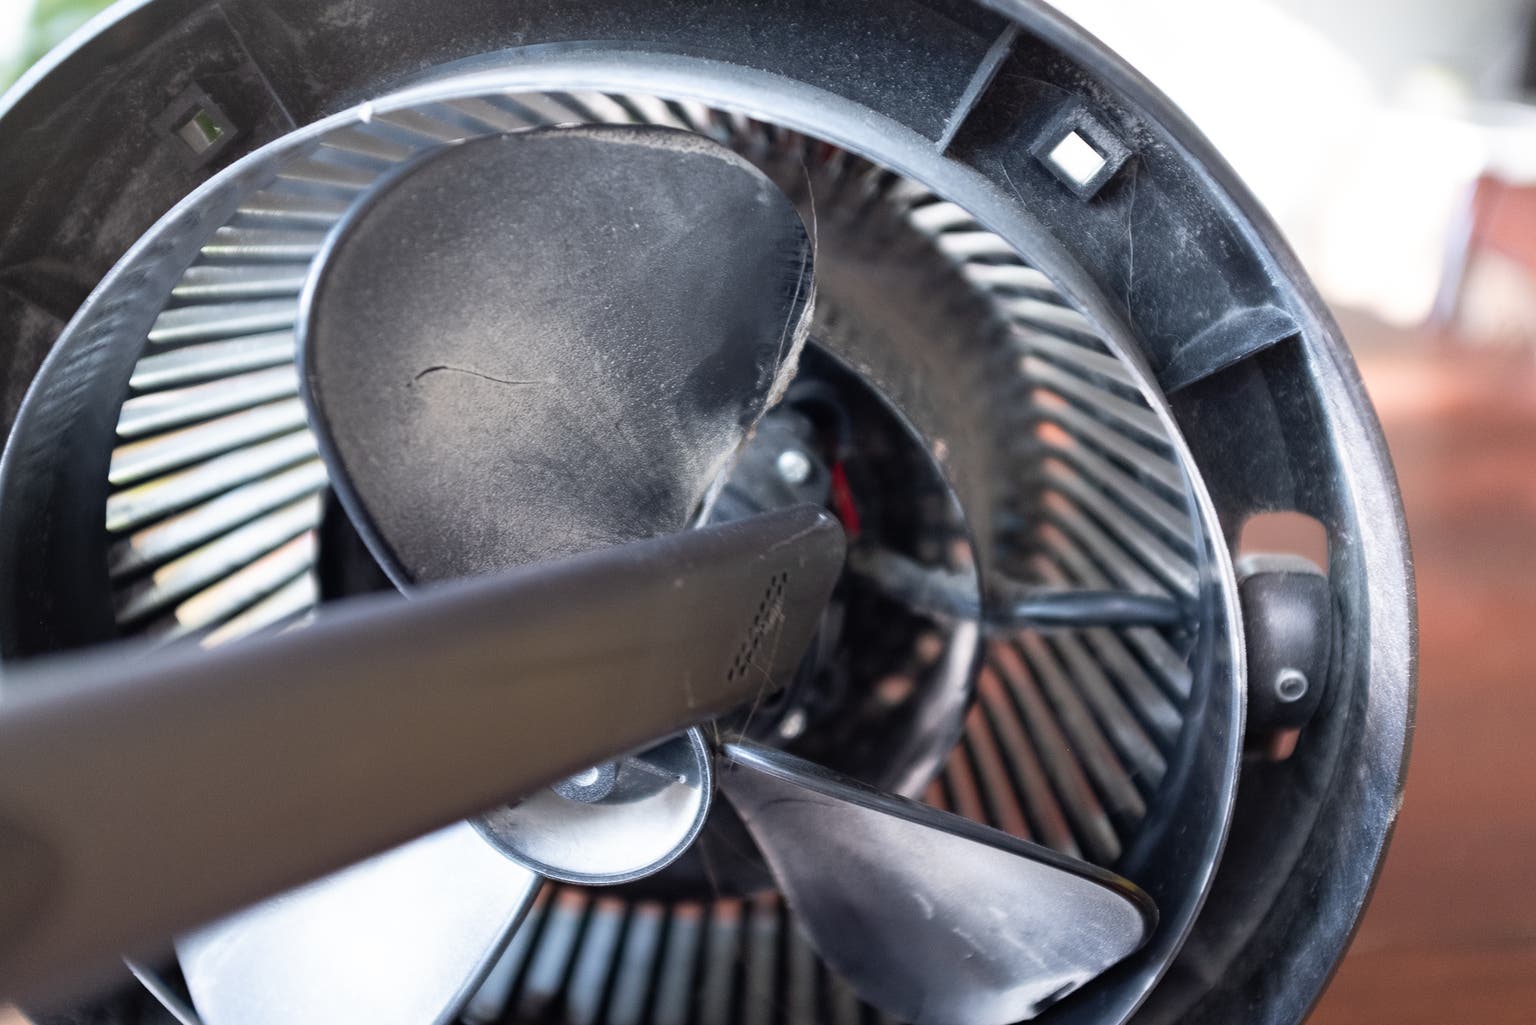
Now that you have removed the front grill, it’s time to check the fan blades for any visible debris or dust accumulation. Over time, these particles can hinder the performance of your air conditioner fan and reduce its efficiency.
Take a close look at the fan blades and surrounding areas. Look for any dirt, dust, or debris that may have accumulated. Pay attention to both the front and back sides of the fan blades, as debris can settle in hard-to-reach areas.
If you notice any visible debris or dust, there are a few methods you can use to clean it:
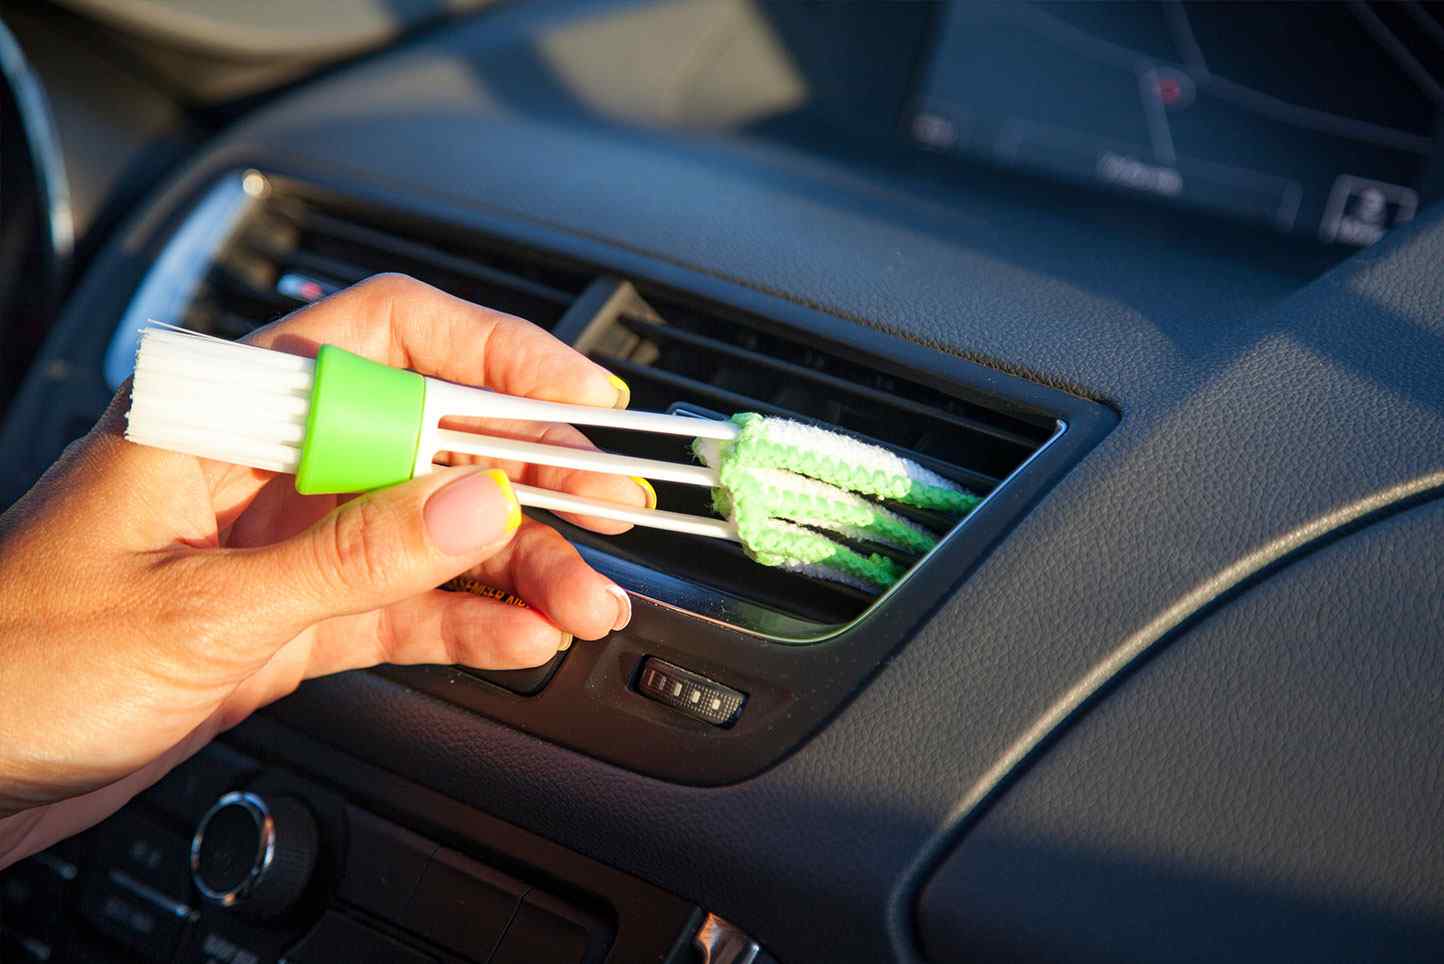
- Soft brush: Use a soft-bristled brush, such as a paintbrush or a toothbrush, to gently brush away the dirt and dust from the fan blades. Be careful not to apply too much pressure or bend the blades.
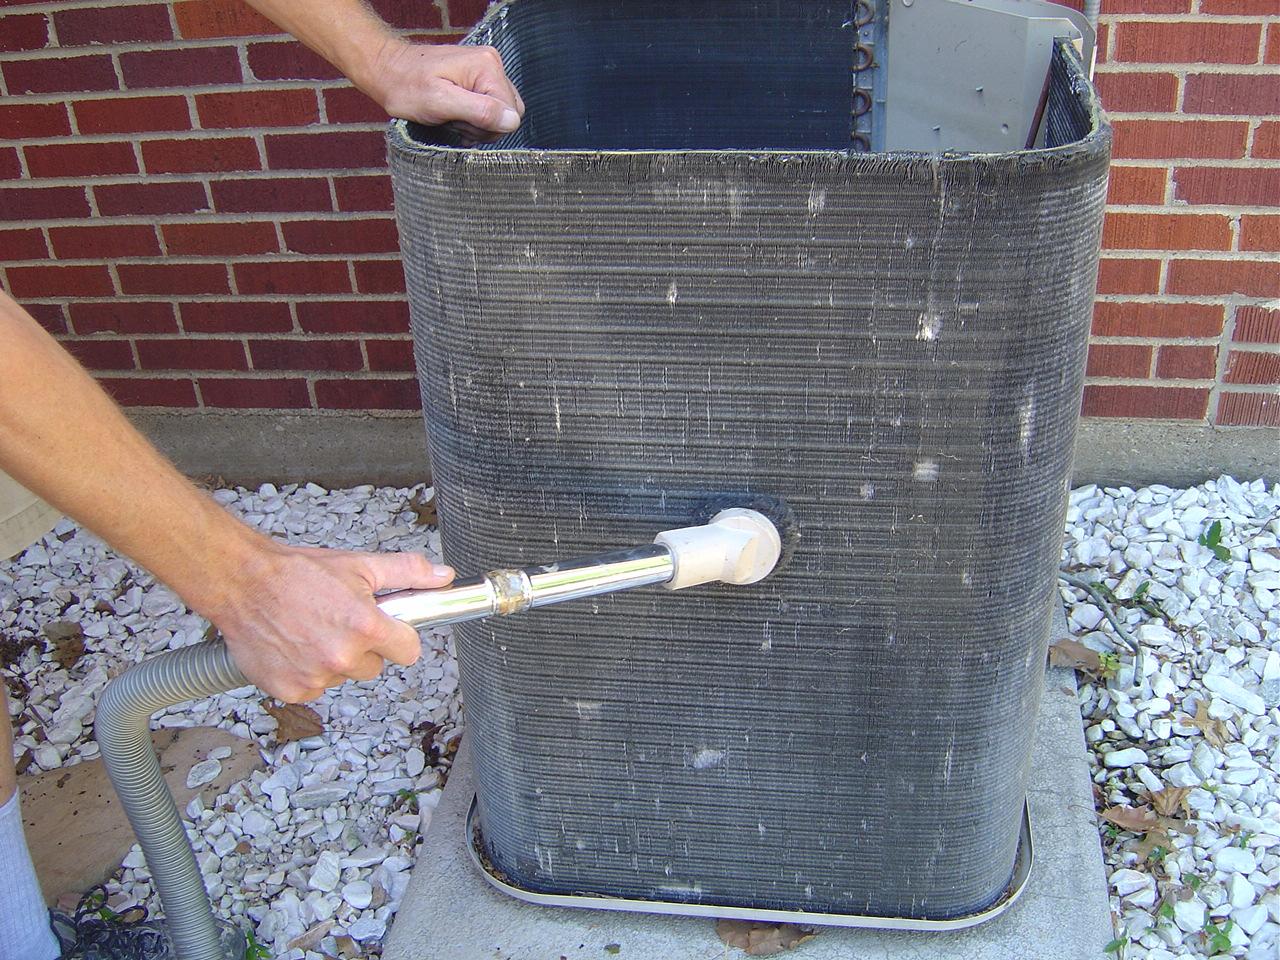
- Compressed air: If the debris is stubborn or difficult to remove with a brush, you can use compressed air to blow away the dust. Hold the canister of compressed air a few inches away from the fan blades and use short bursts of air to dislodge the dirt.
- Vacuum cleaner: If you have a small handheld vacuum cleaner with a brush attachment, you can use it to remove the loose debris from the fan blades. Ensure that the vacuum cleaner is on a low suction setting to avoid damaging the blades.
Choose the method that suits your preference and available tools. Remember to work gently and avoid putting excessive pressure on the fan blades, as they can be delicate.
Once you have removed the visible debris or dust, it’s time to move on to the next step of cleaning the fan blades in more detail. We will guide you through the process in the following step.
Read more: How To Clean A Lennox Air Conditioner
Step 4: Vacuum the Fan Blades
After checking for any visible debris or dust, it’s time to give the fan blades a thorough cleaning. Vacuuming the fan blades will help remove any remaining dirt or particles that may have been missed during the initial inspection.
Here’s how you can properly vacuum the fan blades:
- Use a vacuum cleaner with a brush attachment: Attach the brush attachment to your vacuum cleaner. The soft bristles of the brush will help to dislodge and collect the dirt and debris from the fan blades.
- Gently run the vacuum cleaner over the fan blades: Hold the vacuum cleaner brush attachment close to the fan blades and move it gently along the length of the blades. Be sure to cover both sides of the blades to ensure a thorough cleaning.
- Pay attention to the tight spaces: Pay extra attention to the edges and corners of the fan blades, as they can accumulate dust and debris. Guide the brush attachment into these tight spaces to ensure a comprehensive cleaning.
- Repeat the process if necessary: If you notice that there is still some dirt or debris remaining on the fan blades, you can repeat the vacuuming process until the blades are clean.
While vacuuming the fan blades, be cautious not to apply excessive pressure or bend the blades. The goal is to gently remove the dirt without causing any damage to the unit.
Once you have thoroughly vacuumed the fan blades and they appear clean, move on to the next step of wiping down the fan with a damp cloth to remove any remaining dirt or residue.
Regularly clean the air conditioner fan by removing the outer cover and gently vacuuming the blades and surrounding area to remove dust and debris. This will help maintain the efficiency of the fan and improve air quality.
Step 5: Clean the Fan with a Damp Cloth
Now that you have vacuumed the fan blades and removed the majority of the dirt and debris, it’s time to give them a final wipe down with a damp cloth to ensure a thorough cleaning.
Follow these steps to clean the fan blades with a damp cloth:
- Dampen a clean cloth: Take a clean, lint-free cloth and dampen it with water. Avoid using excessive water, as it can damage the fan motor or other internal components.
- Gently wipe the fan blades: Starting from one end of the fan blades, gently wipe them with the damp cloth. Move along the length of the blades, exerting minimal pressure. Be thorough in your cleaning, ensuring that both sides of the blades are wiped clean.
- Check for stubborn residue: If you come across any stubborn residue or marks on the fan blades that cannot be wiped away with just water, you can use a mild soap solution. Mix a small amount of mild dish soap with water, dampen the cloth with the solution, and gently wipe the affected areas.
- Take extra care with sensitive areas: If your air conditioner fan has delicate or sensitive components, such as sensors or fins, be extra cautious when cleaning around them. Use a soft, gentle touch and avoid applying too much pressure to prevent any damage.
By wiping the fan blades with a damp cloth, you can remove any remaining dirt or residue, leaving them clean and ready for optimal airflow. Once you are satisfied with the cleanliness of the fan blades, proceed to the next step to clean the fan motor.
Step 6: Clean the Fan Motor
In addition to cleaning the fan blades, it’s essential to clean the fan motor to ensure its proper functioning. Over time, dust and debris can accumulate on the motor, hindering its performance and causing potential issues.
Follow these steps to clean the fan motor:
- Use a soft brush or vacuum cleaner: Take a soft brush or a vacuum cleaner with a brush attachment to gently remove any loose dust or debris from the fan motor. Pay attention to the motor housing, vents, and any other accessible areas.
- Avoid using water directly on the motor: It’s important to note that the fan motor should not be cleaned with water or any liquid cleaning agents. Water can damage the motor and pose an electrical hazard. Stick to dry cleaning methods only.
- If necessary, use compressed air: If you notice stubborn or hard-to-reach debris in the motor area, you can use compressed air to blow it away. Ensure the compressed air canister is held a safe distance away from the motor to prevent damage.
- Inspect for any loose or damaged wiring: While cleaning the fan motor, take the opportunity to inspect the wiring. Look for any loose or damaged wires and make sure that they are properly connected and secure. If you notice any issues with the wiring, consult a professional for assistance.
Cleaning the fan motor is an important step in maintaining the overall performance and longevity of your air conditioner. By removing dust and debris, you can ensure that the motor runs smoothly and efficiently.
Once you have finished cleaning the fan motor, it’s time to reassemble the front grill and prepare to test the fan. Proceed to the next step for instructions on how to reassemble the front grill.
Step 7: Reassemble the Front Grill
Now that you have thoroughly cleaned the fan blades and motor, it’s time to reassemble the front grill of your air conditioner. Reassembling the front grill will protect the fan blades and ensure that the unit functions properly once you turn the power back on.
Follow these steps to reassemble the front grill:
- Retrieve the screws or clips: Locate the screws or clips that you removed earlier when you took off the front grill of your air conditioner. Ensure that they are readily accessible.
- Align the front grill with the unit: Carefully position the front grill in its original position, aligning it with the unit. Take care to align any notches or tabs on the grill with the corresponding slots on the air conditioner.
- Secure the front grill: Insert the screws back into their original holes or fasten the clips to secure the front grill in place. Use a screwdriver or follow the instructions provided for your specific air conditioner model to properly secure the grill.
- Reattach the filter (if applicable): If your air conditioner has a separate filter that attaches to the front grill, now is the time to reattach it. Follow the manufacturer’s instructions for properly inserting and securing the filter.
Take a moment to ensure that the front grill is securely fastened and properly aligned with the air conditioner unit. This will ensure that the fan blades are protected and that the airflow is unobstructed.
Now that you have successfully reassembled the front grill, it’s time to move on to the final step: turning on the power and testing the fan.
Read more: How To Clean A Frigidaire Air Conditioner
Step 8: Turn on the Power and Test the Fan
After reassembling the front grill, you’re ready to turn on the power and test the air conditioner fan to ensure that it is functioning properly. This final step will help you verify that your cleaning efforts have resulted in a clean and efficient fan.
Follow these steps to turn on the power and test the fan:
- Locate the circuit breaker or fuse box: Make your way to the circuit breaker or fuse box where you earlier turned off the power to the air conditioner. Locate the corresponding circuit breaker or fuse.
- Turn on the power: Switch on the circuit breaker or replace the fuse to restore power to the air conditioner. It’s important to do this step carefully and not rush it, ensuring that the power is fully restored.
- Set the thermostat to the appropriate setting: Adjust the thermostat to a temperature that will trigger the air conditioner to turn on. This will prompt the fan to start running.
- Listen and observe: As the air conditioner fan turns on, listen for any unusual noises or vibrations. Observe the fan blades to ensure that they are spinning smoothly and without obstruction.
- Feel the airflow: Place your hand near the vents to feel the airflow coming from the air conditioner. It should be strong and consistent, indicating that the fan is functioning properly.
If you notice any issues with the fan, such as unusual noises, vibrations, or weak airflow, it may be a sign of a larger problem. In such cases, it is recommended to contact a professional HVAC technician to assess and resolve the issue.
Congratulations! You have successfully cleaned your air conditioner fan and tested it for proper operation. By following these steps regularly, you can maintain the efficiency and performance of your air conditioner, ensuring cool comfort during the hot summer months.
Remember to schedule regular maintenance for your air conditioner and clean the fan at least once a year or as recommended by the manufacturer. This will help prevent debris buildup and prolong the lifespan of your unit.
With the fan cleaned and the air conditioner running smoothly, you can now enjoy cooler and cleaner air in your home. Well done!
Conclusion
Cleaning the air conditioner fan is a crucial maintenance task that should not be overlooked. Regularly cleaning the fan blades and motor helps to maintain the efficiency and proper functioning of your air conditioner, ensuring optimum cooling performance and extending its lifespan.
In this article, we provided you with a step-by-step guide to clean your air conditioner fan effectively. We emphasized the importance of safety precautions, such as turning off the power and wearing protective gear, to ensure your well-being throughout the cleaning process.
We walked you through each step, from removing the front grill and checking for visible debris to vacuuming the fan blades and wiping them down with a damp cloth. We also highlighted the importance of cleaning the fan motor and shared tips on reassembling the front grill.
Finally, we guided you in turning on the power and testing the fan to ensure it is functioning correctly. By following these steps and regularly cleaning your air conditioner fan, you can maintain its optimal performance and enjoy a cool and refreshing indoor environment.
Remember to schedule regular maintenance for your air conditioner, including fan cleaning, as recommended by the manufacturer. This will help prevent dust and debris buildup, improve energy efficiency, and prolong the life of your unit.
Now that you have the knowledge and step-by-step instructions, it’s time to roll up your sleeves and give your air conditioner fan the care it deserves. Enjoy the benefits of a clean and efficient cooling system, providing comfort and relief during the hot summer months!
Frequently Asked Questions about How To Clean An Air Conditioner Fan
Was this page helpful?
At Storables.com, we guarantee accurate and reliable information. Our content, validated by Expert Board Contributors, is crafted following stringent Editorial Policies. We're committed to providing you with well-researched, expert-backed insights for all your informational needs.