Home>Home Maintenance>How to Clean LG Direct Drive Washer
Home Maintenance
How to Clean LG Direct Drive Washer
Modified: February 28, 2024
Discover effective tips and tricks on how to clean your LG Direct Drive Washer in our informative articles. Keep your washer running smoothly and efficiently with our expert advice.
(Many of the links in this article redirect to a specific reviewed product. Your purchase of these products through affiliate links helps to generate commission for Storables.com, at no extra cost. Learn more)
Introduction
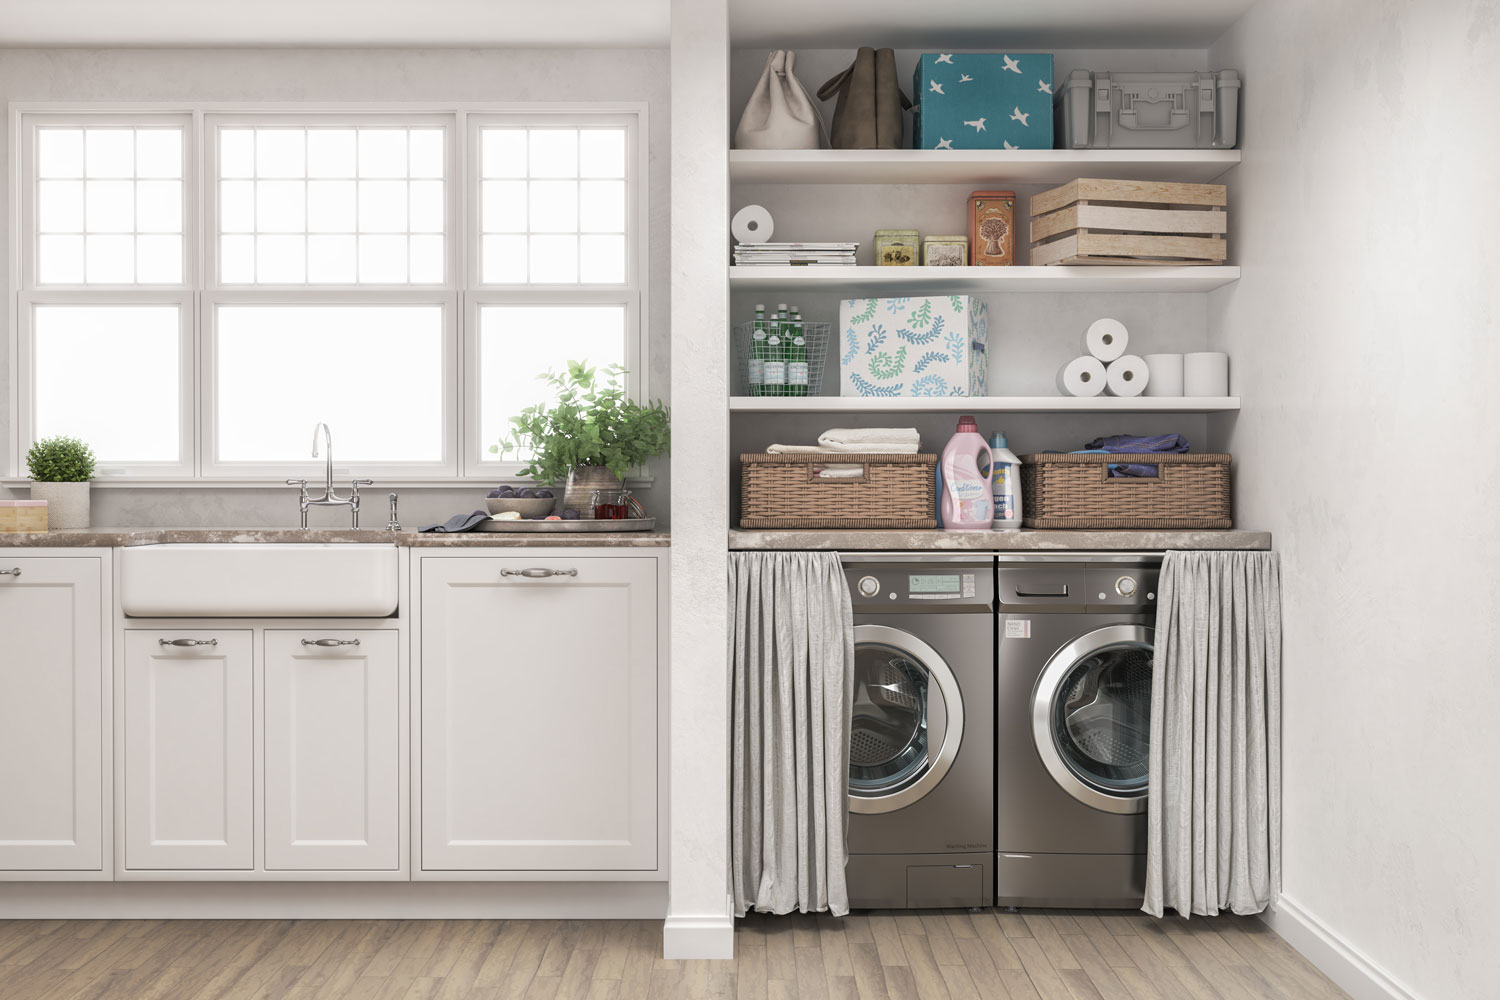
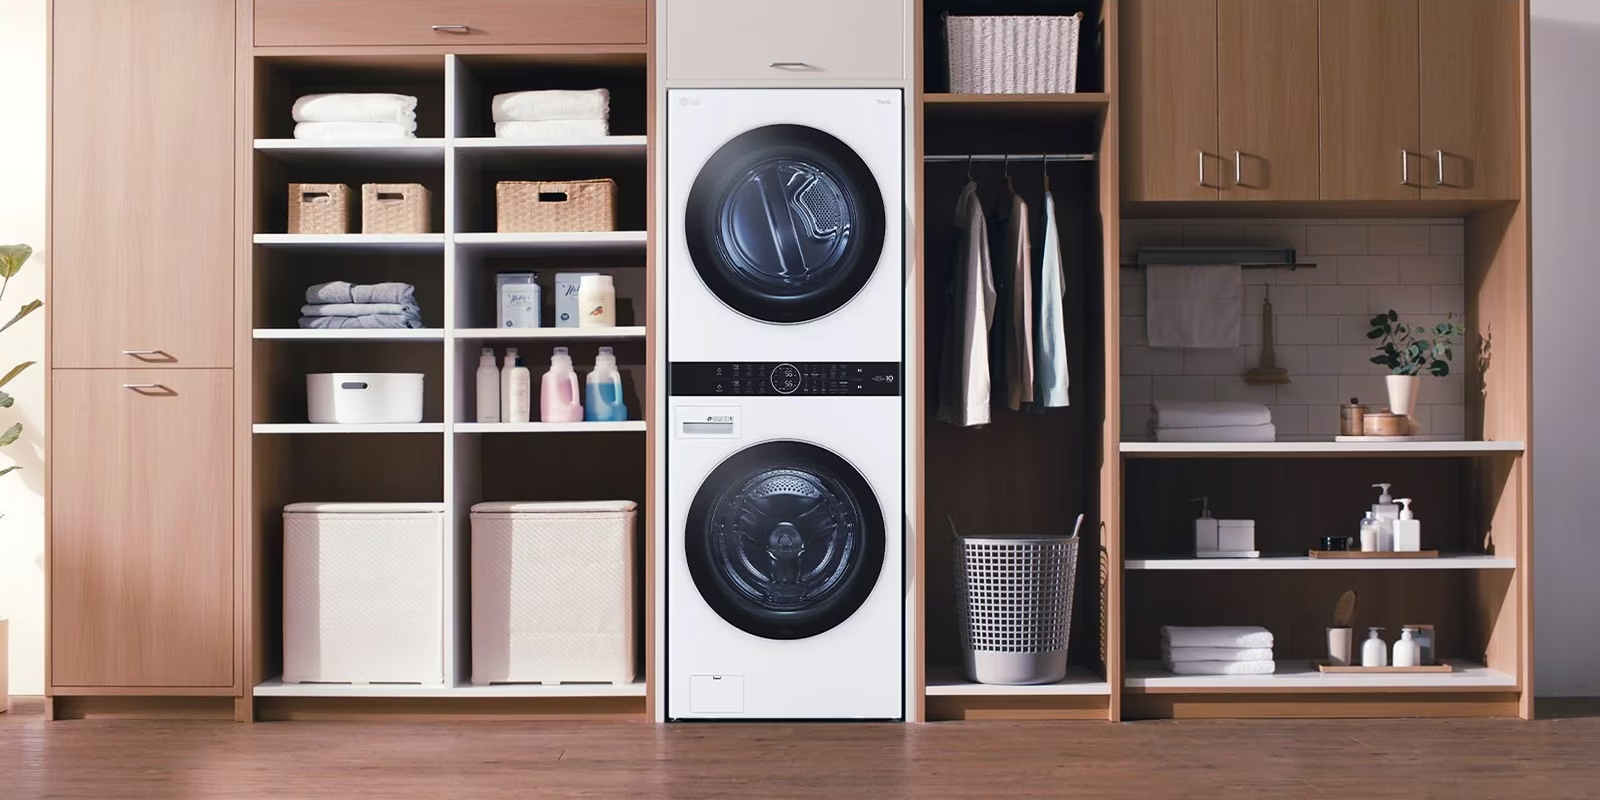
Keeping your LG Direct Drive Washer clean is essential for maintaining its performance and longevity. Over time, detergent residue, dirt, and grime can build up in various parts of the washer, leading to unpleasant odors, reduced efficiency, and potential damage. Regular cleaning and maintenance can help prevent these issues and keep your appliance in top condition.
In this article, we will guide you through the step-by-step process of cleaning your LG Direct Drive Washer, ensuring that every component is thoroughly cleaned for optimal performance. We will also provide safety precautions and a list of materials needed, so you can prepare before getting started.
Before we begin, it’s important to familiarize yourself with the user manual provided by LG for your specific washer model. The manual will provide specific instructions on cleaning and maintenance, tailored to your appliance’s features and specifications. Always follow the manufacturer’s guidelines to avoid damaging your washer or voiding the warranty.
Now, let’s dive into the detailed steps and safety precautions necessary to clean your LG Direct Drive Washer effectively.
Key Takeaways:
- Regularly cleaning your LG Direct Drive Washer is crucial for maintaining its performance, preventing odors, and prolonging its lifespan. Follow the detailed steps to ensure a comprehensive cleaning process and enjoy fresh, clean laundry every time.
- Prioritize safety, gather materials, and thoroughly clean each component of your LG Direct Drive Washer to maintain its efficiency and deliver outstanding washing results. Incorporate these cleaning steps into your routine for a top-condition appliance and enhanced laundry experience.
Read more: How to Use LG Inverter Direct Drive Washer
Safety Precautions
Prior to cleaning your LG Direct Drive Washer, it is crucial to take certain safety precautions to ensure your well-being and prevent any accidents. Follow these guidelines to create a safe environment for yourself during the cleaning process:
- Unplug the washer: Before you begin cleaning, make sure to unplug the washer from the power source to avoid the risk of electric shock.
- Wear protective gear: It is advisable to wear protective gloves to protect your hands from harsh cleaning agents and any sharp edges within the washer.
- Use approved cleaning agents: Only use cleaning agents recommended by LG or specifically designed for washing machines. Avoid using abrasive cleaners or harsh chemicals that may damage the washer’s surfaces.
- Keep the area well-ventilated: Ensure proper ventilation in the laundry area by opening windows or using fans to dissipate any fumes that might be produced during the cleaning process.
- Use caution on wet surfaces: When cleaning, be cautious of wet surfaces to prevent slipping or accidents. Make sure to dry the floor around the washer if it becomes wet during the cleaning process.
- Avoid excessive force: While cleaning, avoid using excessive force on delicate components, such as the door seal or control panel, as this may cause damage.
By following these safety precautions, you can create a secure environment and minimize the risks associated with cleaning your LG Direct Drive Washer. Always prioritize your safety and take the necessary steps to protect yourself throughout the process.
Materials Needed
Before you start cleaning your LG Direct Drive Washer, gather the following materials to ensure a thorough and efficient cleaning process:
- Mild detergent or specialized washing machine cleaner: Choose a mild detergent specifically formulated for washing machines, or opt for a specialized washing machine cleaner recommended by LG. Avoid using harsh chemicals or abrasive cleaners.
- Soft cloth or sponge: Use a soft cloth or sponge to clean the exterior surfaces of the washer.
- Toothbrush or small brush: A toothbrush or small brush can be used to scrub hard-to-reach areas and remove stubborn grime.
- Vinegar or bleach (optional): If your washer has a buildup of residue or mold, you may want to consider using vinegar or bleach for an extra deep clean. However, check the manufacturer’s guidelines to ensure compatibility with your specific model.
- Bucket or basin: You will need a bucket or basin to mix cleaning solutions or hold water for rinsing.
- Clean, dry towels: Prepare clean and dry towels to wipe down surfaces and aid in the drying process.
- Protective gloves: Wear protective gloves to protect your hands from cleaning agents and prevent any potential skin irritation.
Having these materials ready will help you clean your LG Direct Drive Washer effectively and efficiently. Ensure that you have everything on hand before you begin the cleaning process, as this will save you time and make the task easier.
Step 1: Preparation
Before you start cleaning your LG Direct Drive Washer, it’s essential to prepare the appliance and the surrounding area to ensure a smooth cleaning process. Follow these steps to properly prepare:
- Turn off the power: Ensure that the washer is completely turned off and unplugged from the power source to avoid any electrical accidents or damage.
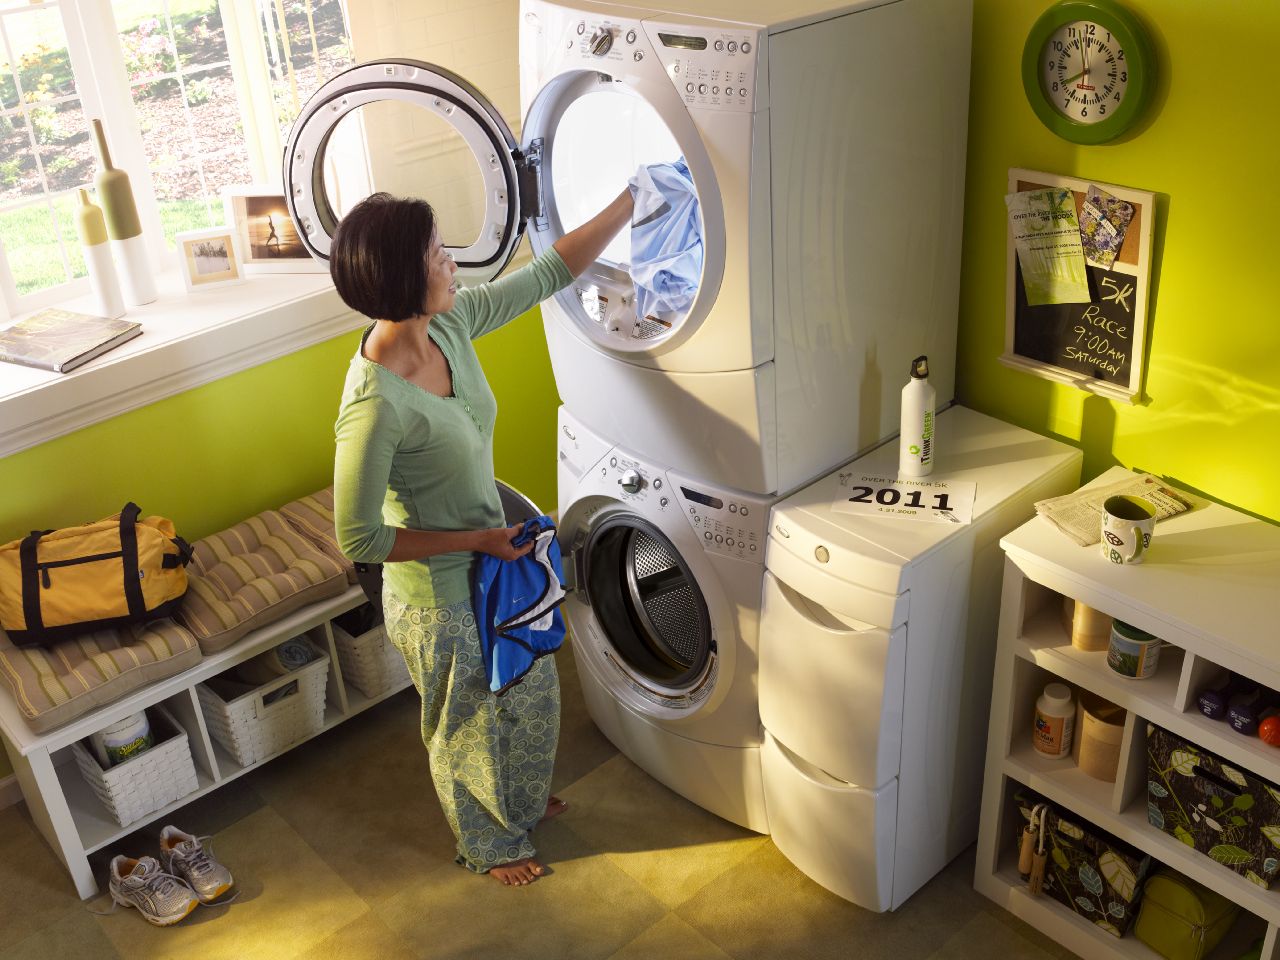
- Empty the washer: Remove any clothes or items from the washer drum, making sure it is completely empty.
- Inspect the washer: Take a moment to inspect the washer for any visible stains, spills, or debris. Make note of these areas, as they may require extra attention during the cleaning process.
- Clear the surrounding area: Remove any items or obstacles near the washer that may hinder your ability to clean effectively. This includes laundry baskets, detergent bottles, or other objects that may be in the way.
- Prepare the cleaning solution: If you are using a specialized washing machine cleaner, follow the instructions provided on the packaging to prepare the cleaning solution. If you are using a mild detergent, mix it with water according to the recommended ratio.
By properly preparing your LG Direct Drive Washer and the surrounding area, you create a clean and organized workspace that allows you to focus on the cleaning process without any interruptions. Once you have completed the preparation stage, you are ready to move on to the next step of cleaning the washer’s exterior surfaces.
Step 2: Cleaning the Exterior
After completing the preparation stage, it’s time to move on to cleaning the exterior surfaces of your LG Direct Drive Washer. Follow these steps to effectively clean the outside of your appliance:
- Dampen a soft cloth or sponge: Wet a soft cloth or sponge with the cleaning solution prepared in the previous step. Make sure it is not dripping wet, but sufficiently damp to clean the surfaces.
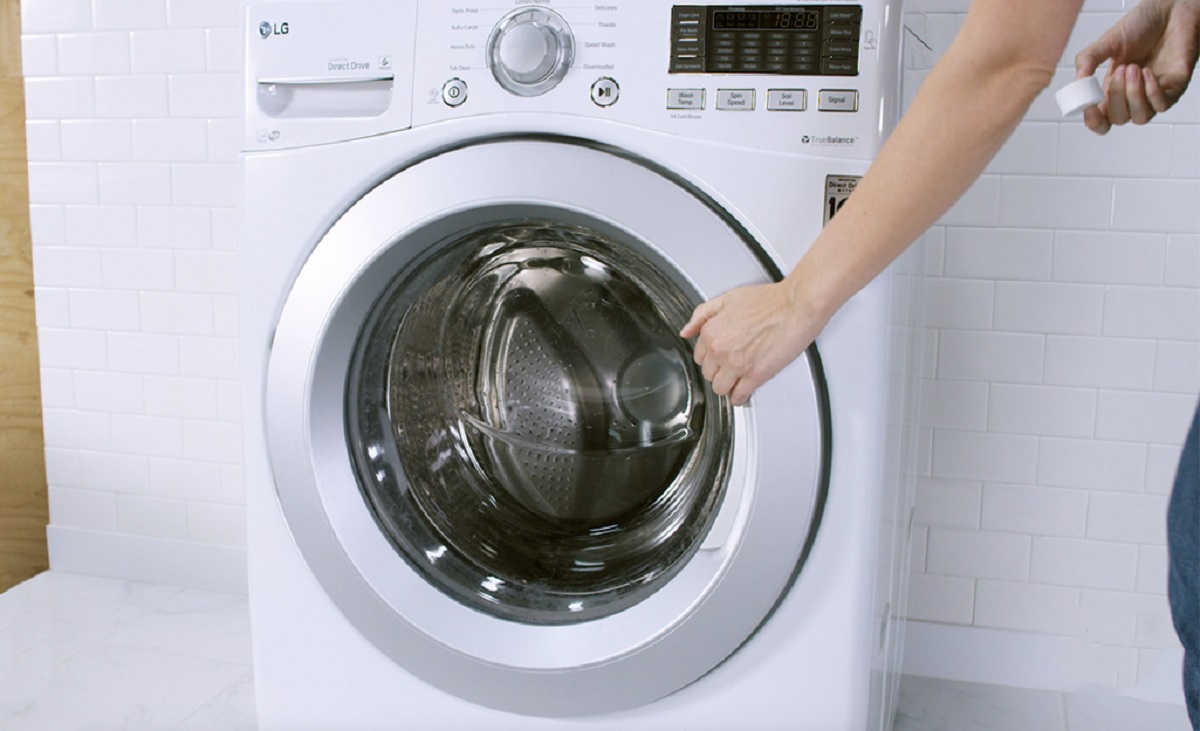
- Gently wipe the exterior surfaces: Start by wiping the control panel, knobs, and buttons. Use gentle, circular motions to remove dirt, fingerprints, and smudges. Take care not to press too hard, as this may damage the sensitive control panel.
- Clean the door and its surroundings: Next, focus on the door of the washer. Wipe the glass or plastic door surface, paying attention to the areas around the seal and hinges. Use a toothbrush or small brush to reach any crevices or tight spaces.
- Remove soap residue and stains: If you notice any soap residue or stubborn stains on the exterior surfaces, dampen a cloth with a mixture of water and mild detergent. Gently scrub the affected areas until the residue or stain is removed.
- Rinse with a clean, damp cloth: Once you have finished cleaning, rinse the cloth or sponge with clean water and wring out any excess moisture. Wipe down the exterior surfaces again to remove any remaining cleaning solution or residue.
By following these steps, you will effectively clean the exterior of your LG Direct Drive Washer, leaving it looking clean and fresh. Remember to take extra care when cleaning the control panel and delicate areas, ensuring that you do not use excessive force or harsh chemicals that could cause damage. Now that the exterior is clean, it’s time to move on to cleaning the drum.
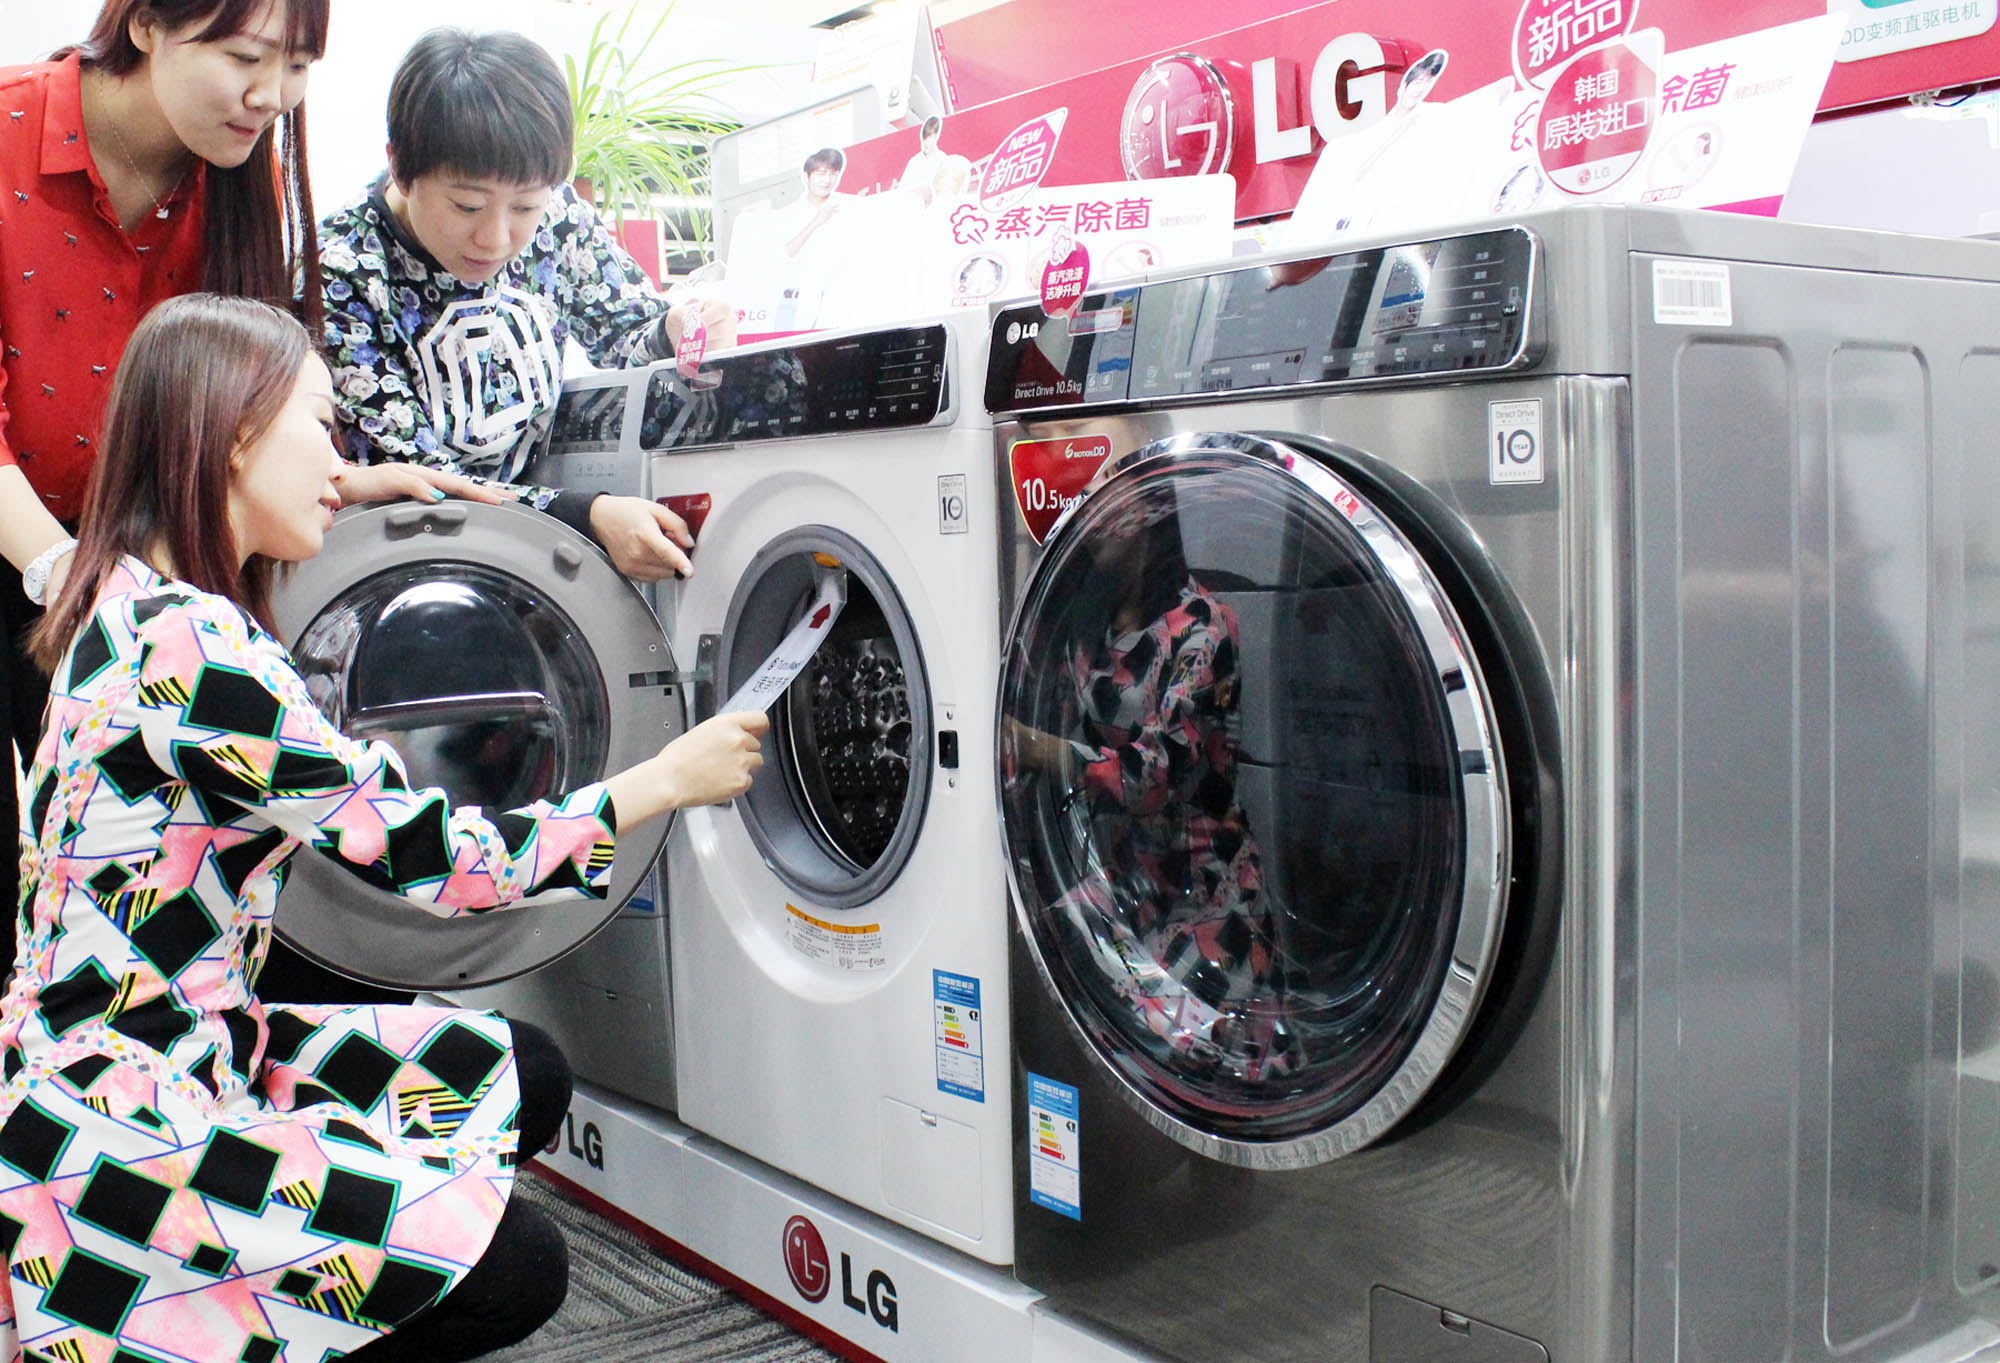
Step 3: Cleaning the Drum
Now that the exterior surfaces of your LG Direct Drive Washer are clean, it’s time to focus on cleaning the drum. Over time, residue from detergent, fabric softeners, and dirt can accumulate inside the drum, leading to unpleasant odors and affecting the cleanliness of your laundry. Follow these steps to effectively clean the drum:
- Run a hot water cycle: Start by running a hot water cycle without any clothes or detergent in the washer. This helps to loosen any residue and prepare the drum for cleaning.
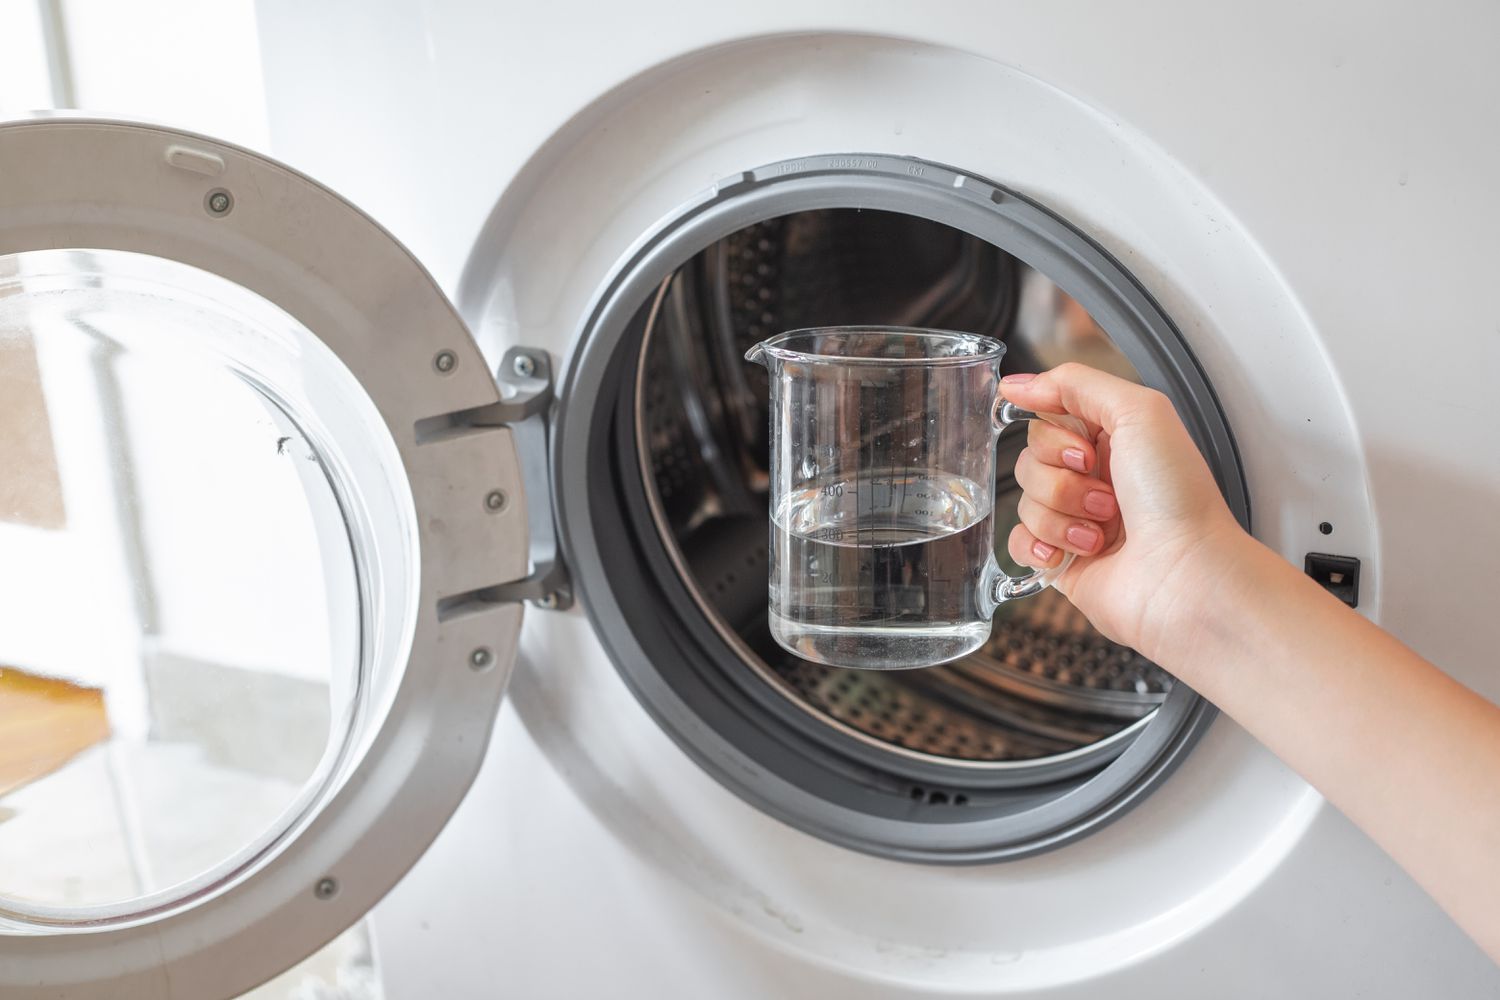
- Add a cleaning agent: Depending on your washer’s specifications and recommended cleaning methods, you can either use a washing machine cleaner specifically designed for drum cleaning or a mixture of vinegar and water. Follow the product instructions or mix vinegar and water in a 1:1 ratio.
- Pour the cleaning solution into the drum: Open the washer door and pour the cleaning agent into the drum. Make sure to distribute it evenly across the drum’s surface.
- Start a cleaning cycle: Close the washer door and select a cleaning or maintenance cycle on your washer. This typically involves running a cycle with a longer duration and higher water temperature to thoroughly clean and disinfect the drum.
- Allow the cycle to complete: Let the cleaning cycle complete its full duration. Pay attention to any additional instructions provided by your washer’s manufacturer regarding pauses or specific program settings.
- Wipe down the drum: Once the cleaning cycle is complete, open the door and use a clean cloth or sponge to wipe down the drum. This helps remove any remaining residue or cleaning solution that may be left behind.
By following these steps, you can effectively clean the drum of your LG Direct Drive Washer, removing any accumulated residue and eliminating odors. Regularly cleaning the drum helps maintain the cleanliness and freshness of your laundry and ensures optimal washing performance. Now that the drum is clean, it’s time to move on to cleaning the detergent drawer.
Step 4: Cleaning the Detergent Drawer
The detergent drawer of your LG Direct Drive Washer plays a crucial role in dispensing detergent, fabric softener, and other laundry additives during the wash cycle. It’s essential to regularly clean this area to prevent residue buildup and ensure proper functioning. Follow these steps to clean the detergent drawer:
- Remove the detergent drawer: Gently pull out the detergent drawer from its slot. Refer to your washer’s user manual for specific instructions if needed.
- Disassemble the components: Most detergent drawers have multiple compartments for different types of laundry products. Disassemble the components by removing any removable parts, such as the fabric softener compartment or the detergent dispenser tray, if applicable.
- Wash the components: Place the removable parts in a basin or sink filled with warm water and mild detergent. Use a soft brush or sponge to scrub away any residue or buildup. Pay attention to any hard-to-reach areas and make sure to thoroughly clean all parts.
- Clean the drawer cavity: Use a damp cloth or sponge to clean the inside of the detergent drawer cavity. Wipe away any traces of detergent or fabric softener residue, making sure to remove all debris and buildup.
- Rinse and dry: Rinse all the disassembled parts under running water to remove any remaining cleaning solution. Once clean, pat the components dry with a clean towel. Make sure everything is completely dry before reassembling the detergent drawer.
- Reassemble and insert the drawer: Put the components back together and insert the detergent drawer back into its slot in the washer. Make sure it is securely in place.
Regularly cleaning the detergent drawer helps maintain the performance of your LG Direct Drive Washer and prevents any residue from affecting the effectiveness of your laundry products. By following these steps, you will ensure a clean and well-functioning detergent drawer for your laundry needs. Next, we’ll move on to cleaning the filter of the washer.
To clean an LG Direct Drive washer, run a cleaning cycle with hot water and a washing machine cleaner. Wipe down the door seal and detergent dispenser regularly to prevent mold and mildew buildup.
Step 5: Cleaning the Filter
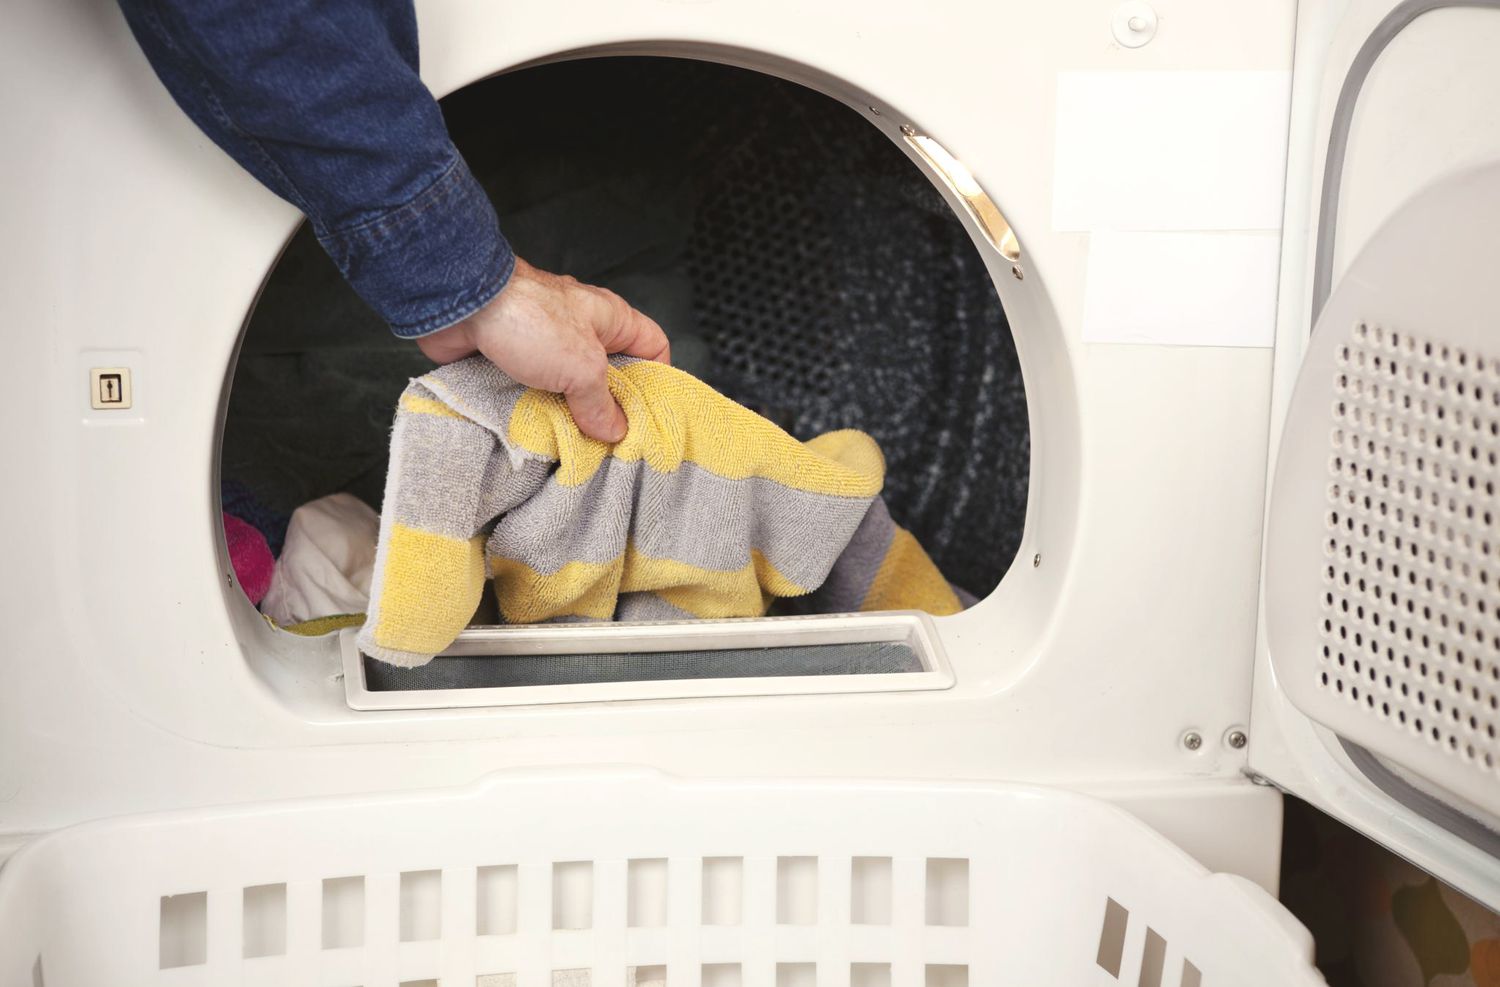
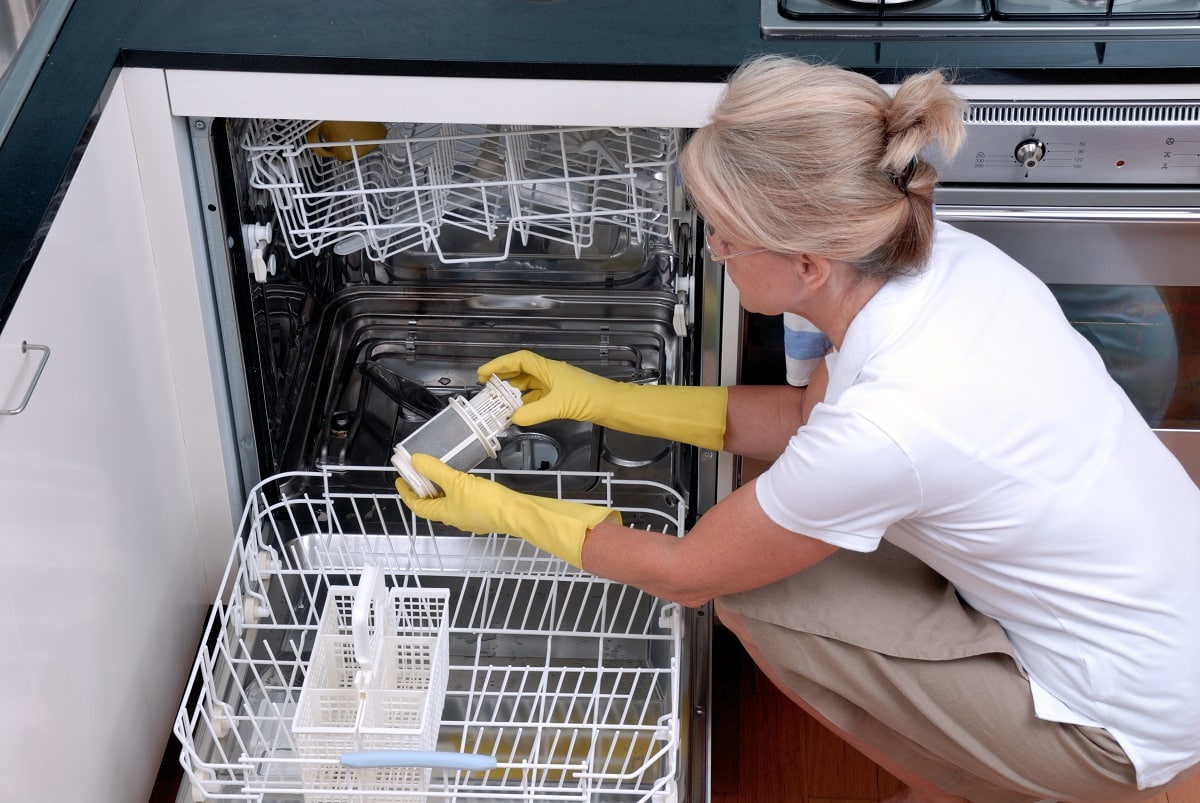
The filter in your LG Direct Drive Washer is responsible for trapping lint, debris, and other foreign objects that may be present in your laundry. Regularly cleaning the filter is essential to prevent clogs, maintain optimal performance, and prolong the lifespan of your washer. Follow these steps to clean the filter:
- Locate the filter: The location of the filter may vary depending on the model of your LG Direct Drive Washer. Refer to the user manual to identify the filter’s location. It is typically located at the bottom front of the appliance.
- Prepare for drainage: Place a towel or shallow basin beneath the filter area to catch any water that may drain out during the cleaning process. This helps prevent any mess or water damage.
- Open the filter access panel: Gently open the filter access panel, usually located on the bottom front of the washer. Be cautious as water may be present. If water is visible, it is recommended to place a towel under the filter area to absorb any spills.
- Remove the filter: Carefully unscrew or pull out the filter to remove it from the washer. Make sure to grip it firmly and avoid dropping any debris back into the washer.
- Clean the filter: Rinse the filter under running water to remove any trapped lint or debris. Use a brush or your fingers to dislodge any stubborn particles. Ensure that the filter is thoroughly cleaned and free from any blockages.
- Reinstall the filter: Once you have cleaned the filter, place it back into its designated position. Make sure it is securely fastened or screwed in to prevent any leaks or issues.
Regularly cleaning the filter of your LG Direct Drive Washer helps maintain the appliance’s efficiency and ensures optimal performance. By following these steps, you can easily clean the filter and prevent any potential drainage or clogging issues. Now, let’s move on to cleaning the door seal.
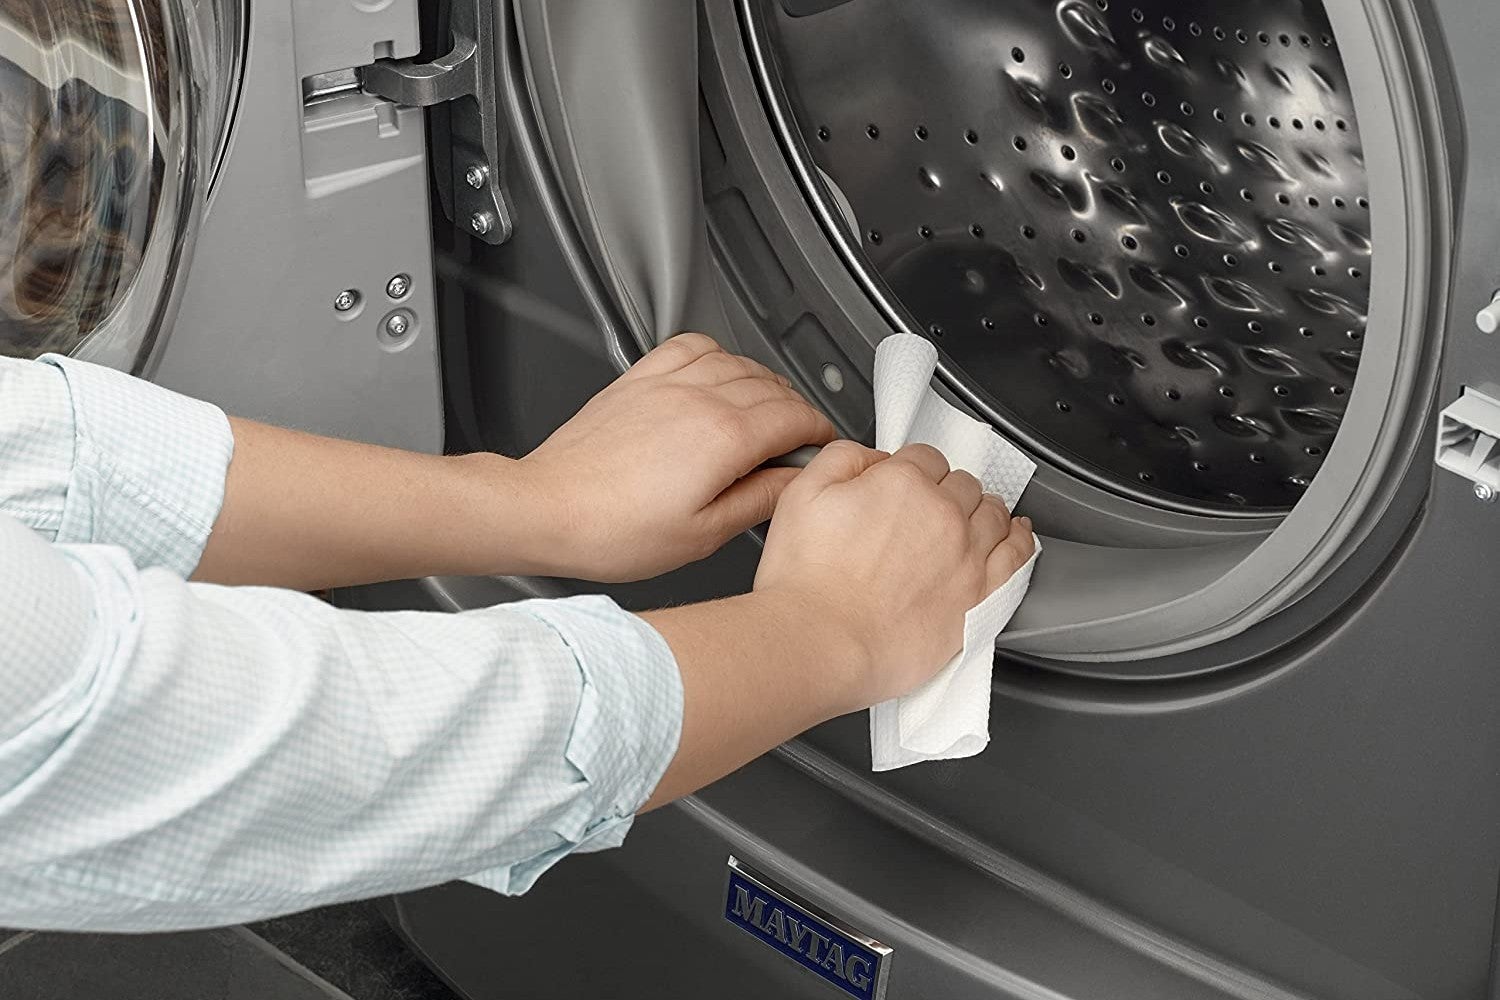
Step 6: Cleaning the Door Seal
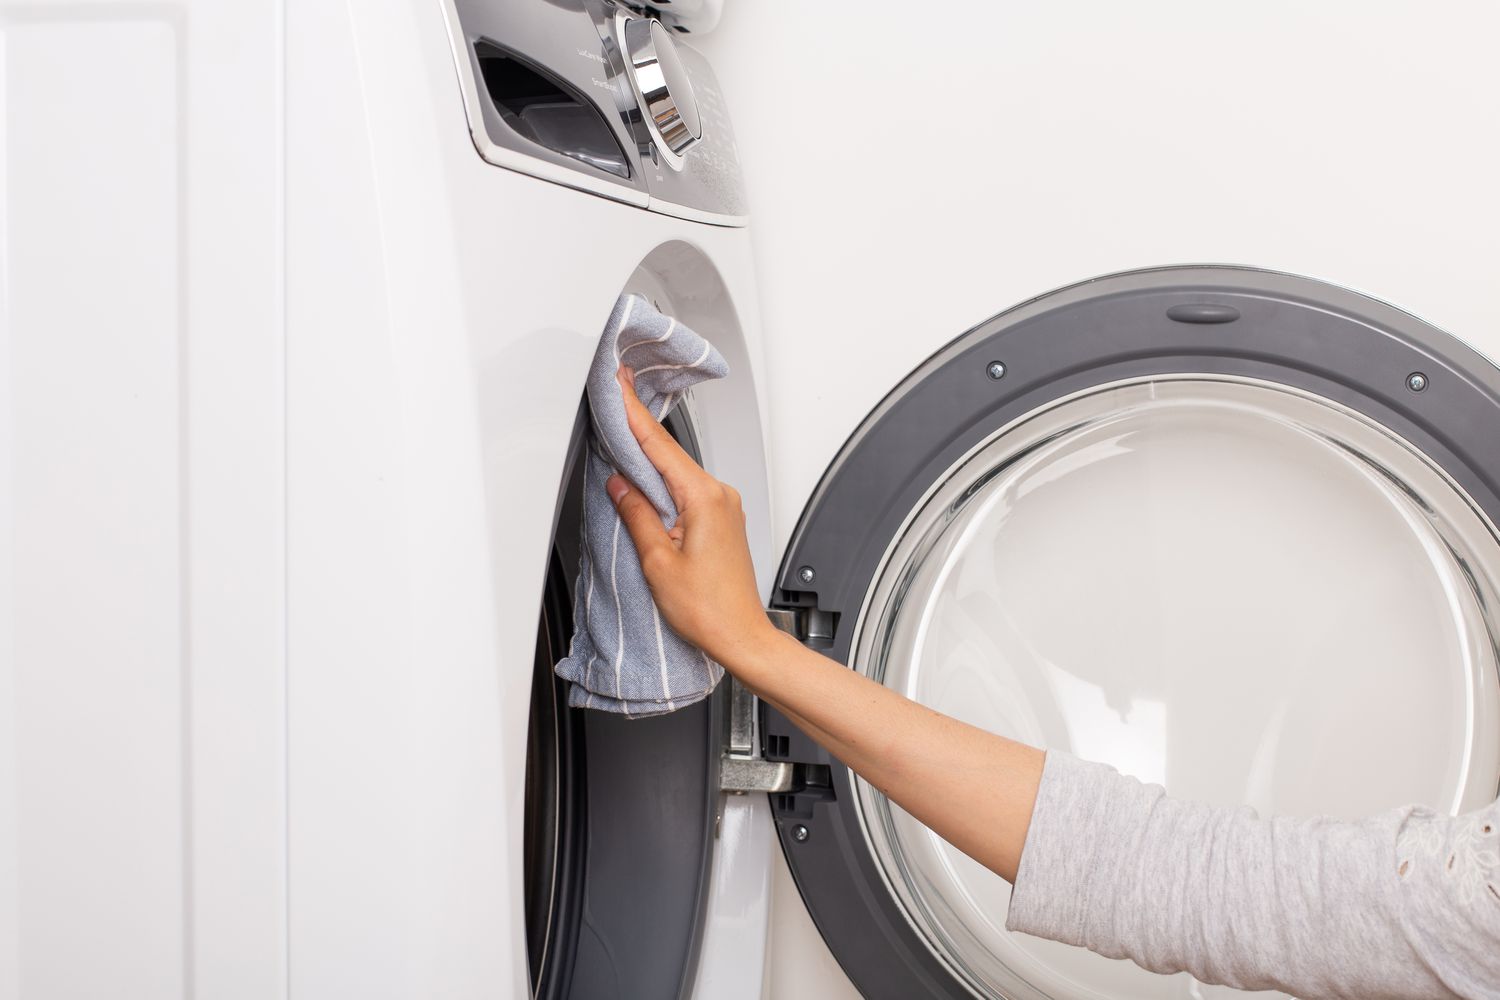
The door seal of your LG Direct Drive Washer is an important component that prevents water from leaking out during the wash cycle. Over time, dirt, detergent residue, and mold can accumulate in the door seal, leading to unpleasant odors and potential damage. Regularly cleaning the door seal will help maintain its integrity and prevent any issues. Follow these steps to clean the door seal:
- Inspect the door seal: Examine the door seal for any visible dirt, mold, or residue. Pay close attention to the folds and crevices, as they tend to collect the most buildup.
- Prepare a cleaning solution: Mix a solution of warm water and mild detergent or use a specialized cleaning agent recommended by LG. Avoid using abrasive cleaners or chemicals that may damage the seal.
- Dampen a cloth or sponge: Dip a cloth or sponge into the cleaning solution, ensuring it is damp but not dripping wet.
- Gently scrub the door seal: Starting from the top, gently scrub the door seal with the damp cloth or sponge. Pay extra attention to the folds and crevices to remove any accumulated dirt or residue. Use a toothbrush or small brush to reach tight spots if necessary.
- Rinse and wipe dry: Once you have scrubbed the door seal, rinse it with clean water to remove any traces of detergent. Use a clean, dry cloth to wipe down the seal and remove any excess moisture.
- Inspect for mold or mildew: If you notice any stubborn mold or mildew stains on the door seal, you can create a solution of equal parts water and vinegar. Apply the mixture to the affected areas and let it sit for a few minutes before scrubbing gently with a toothbrush. Rinse and wipe dry afterwards.
Regularly cleaning the door seal of your LG Direct Drive Washer will help maintain its cleanliness and prevent any potential issues. By following these steps, you can ensure that your door seal remains in good condition, eliminating odors and preserving the integrity of the washer. Next, let’s move on to cleaning the dispenser housing.
Read more: How To Clean A Washer And Dryer
Step 7: Cleaning the Dispenser Housing
Properly cleaning the dispenser housing of your LG Direct Drive Washer is crucial for ensuring the effective and efficient dispensing of detergent, fabric softener, and other laundry additives. Over time, residue and build-up can accumulate in the dispenser housing, leading to clogs and unpleasant odors. Follow these steps to clean the dispenser housing:
- Remove the dispenser drawer: Gently pull out the dispenser drawer from its slot. Refer to your washer’s user manual for specific instructions if needed.
- Disassemble the components: Most dispenser drawers have multiple compartments for different laundry products. Disassemble the components by removing any removable parts, such as the fabric softener compartment or the detergent dispenser tray, if applicable.
- Soak the components: Fill a basin or sink with warm water and mild detergent. Place the removable parts in the soapy water and let them soak for a few minutes. This will help to loosen any residue and make cleaning easier.
- Scrub the dispenser housing: Using a soft brush or sponge, scrub the inside of the dispenser housing. Pay close attention to any areas with visible residue or buildup. Use a toothbrush or small brush to reach any hard-to-reach corners or crevices.
- Rinse and dry: Rinse the components under running water to remove any soap residue. Once clean, pat the components dry with a clean towel. Make sure everything is completely dry before reassembling the dispenser drawer.
- Reassemble and insert the drawer: Put the components back together and insert the dispenser drawer back into its slot in the washer. Make sure it is securely in place.
Regularly cleaning the dispenser housing of your LG Direct Drive Washer ensures that laundry additives are dispensed correctly and prevents any clogs or residue buildup. By following these steps, you can effectively clean the dispenser housing and maintain optimal performance. Next, let’s move on to cleaning the drain pump.
Step 8: Cleaning the Drain Pump
Cleaning the drain pump of your LG Direct Drive Washer is essential for preventing blockages, ensuring proper drainage, and maintaining the overall efficiency of your appliance. The drain pump is responsible for removing excess water from the washer during the drain cycle. Follow these steps to clean the drain pump:
- Unplug the washer: Before proceeding with any cleaning, ensure that the washer is completely turned off and unplugged from the power source for safety reasons.
- Locate the drain pump filter: The drain pump filter is typically located at the bottom front of the washer. Consult your washer’s user manual to identify the specific location of the filter.
- Prepare for draining water: Place a shallow basin or towel beneath the drain pump filter area to catch any water that may spill out during the cleaning process.
- Open the drain pump filter: Using a flathead screwdriver or your fingers, gently open the cover of the drain pump filter. Be prepared for water to drain out, so ensure the basin or towel is ready to catch any spills.
- Clean the drain pump filter: Once the drain pump filter is exposed, carefully remove it from the washer. Use a toothbrush or soft brush to scrub away any debris or trapped lint in the filter. Rinse it under running water to thoroughly clean it.
- Clean the pump housing: After cleaning the drain pump filter, use a damp cloth or sponge to clean the area where the filter is installed. Remove any visible debris or dirt from the pump housing.
- Reinstall the drain pump filter: Once the drain pump and housing are clean, carefully reinsert the filter back into its original position. Make sure it is securely fastened.
Regularly cleaning the drain pump of your LG Direct Drive Washer helps prevent clogs and ensures that the appliance operates efficiently. By following these steps, you can effectively clean the drain pump and maintain optimal performance. Now, let’s move on to the final step of the cleaning process: the final rinse.
Step 9: Final Rinse
After completing all the previous steps to clean the various components of your LG Direct Drive Washer, it’s time for a final rinse to ensure that all cleaning agents and residue are thoroughly removed. Follow these steps to perform a final rinse:
- Close the washer door: Make sure the washer door is securely closed.
- Select a rinse cycle: Choose a rinse cycle on your washer’s control panel. This cycle focuses on rinsing and draining without the use of detergent.
- Start the cycle: Start the rinse cycle and allow the washer to complete its duration. This will ensure that any remaining cleaning solution or residue is washed away.
- Inspect for cleanliness: Once the rinse cycle is complete, inspect the various components of the washer to ensure they are clean and free from any visible residue or buildup.
- Dry the components: Use a clean, dry cloth to wipe down the cleaned components, such as the detergent drawer, door seal, and dispenser housing. This will remove any remaining moisture and help prevent the growth of mold or mildew.
Performing a final rinse after cleaning your LG Direct Drive Washer is essential to remove any residual cleaning agents and ensure that all components are thoroughly clean. By following these steps, you can complete the cleaning process and have confidence that your washer is ready to deliver optimal performance. Remember to regularly perform maintenance and cleaning routines to keep your appliance in top shape.
Now that you have completed the cleaning process, you can enjoy a fresh and clean LG Direct Drive Washer that is ready to tackle your laundry needs. By following these steps on a regular basis, you can maintain the efficiency and longevity of your appliance. Happy washing!
Conclusion
Cleaning your LG Direct Drive Washer is vital for maintaining its performance, preventing odors, and prolonging its lifespan. By following the step-by-step guide provided in this article, you can effectively clean every component of your washer and ensure its optimal functionality. Here are the key takeaways:
- Safety first: Always prioritize your safety by following the manufacturer’s guidelines, wearing protective gear, and exercising caution.
- Gather materials: Before starting the cleaning process, gather all the necessary materials, such as mild detergent, soft cloth, toothbrush, and protective gloves.
- Prepare the washer: Empty the washer, inspect the exterior, and clear the surrounding area to create a clean workspace.
- Thoroughly clean each component: From the exterior surfaces to the drum, detergent drawer, filter, door seal, dispenser housing, and drain pump, follow the detailed steps to ensure a comprehensive cleaning process.
- Perform a final rinse: Finish the cleaning process with a final rinse cycle to remove any remaining cleaning solution and residue.
Regularly cleaning your LG Direct Drive Washer not only improves its performance and efficiency but also ensures that your laundry comes out fresh and clean. Remember to consult your washer’s user manual for specific cleaning instructions and follow them closely.
By dedicating time to clean and maintain your washer, you can enjoy the benefits of a well-functioning appliance that delivers outstanding washing results for years to come. Incorporate these cleaning steps into your routine to keep your LG Direct Drive Washer in top condition, enhancing your laundry experience every time.
So, roll up your sleeves, gather the necessary materials, and give your LG Direct Drive Washer the thorough cleaning it deserves. Your laundry will thank you!
Frequently Asked Questions about How To Clean LG Direct Drive Washer
Was this page helpful?
At Storables.com, we guarantee accurate and reliable information. Our content, validated by Expert Board Contributors, is crafted following stringent Editorial Policies. We're committed to providing you with well-researched, expert-backed insights for all your informational needs.

0 thoughts on “How to Clean LG Direct Drive Washer”