Home>Home Maintenance>How To Remove An Outside Dryer Vent Cover
Home Maintenance
How To Remove An Outside Dryer Vent Cover
Modified: August 25, 2024
Learn how to remove an outside dryer vent cover easily with our step-by-step guide. Proper home maintenance is essential for optimal dryer performance.
(Many of the links in this article redirect to a specific reviewed product. Your purchase of these products through affiliate links helps to generate commission for Storables.com, at no extra cost. Learn more)
Introduction
Welcome to our guide on how to remove an outside dryer vent cover. Your dryer vent plays a crucial role in allowing hot, moist air to escape from your home as you run your dryer. Over time, the vent cover may become damaged or worn out, requiring replacement. Removing the old vent cover is the first step towards installing a new one.
Before we dive into the details, it’s important to note that working with dryers and their vent systems requires caution and safety measures. Always ensure that your dryer is turned off and disconnected from power before attempting any maintenance or repairs. If you’re unsure of your abilities or encounter any difficulties, it’s recommended to consult a professional.
Now, let’s get started by gathering the necessary tools and materials.
Key Takeaways:
- Safety First!
Before removing an outside dryer vent cover, always turn off and disconnect the dryer from power to ensure a safe working environment. Remember to prioritize safety at all times during maintenance. - Keep It Clean and Functional
Regularly clean and inspect your dryer vent system to prevent lint buildup, maintain proper airflow, and reduce the risk of fire hazards. Installing a new vent cover, if needed, ensures optimal functionality.
Read more: How To Cover A Dryer Vent Outside
Step 1: Gathering the necessary tools and materials
Before you begin removing the outside dryer vent cover, it’s important to gather all the necessary tools and materials. Here’s a list of items you’ll need:
- Screwdriver or drill
- Utility knife
- Replacement vent cover (if needed)
- Dust mask or respirator
- Gloves
- Safety glasses
- Ladder or step stool (if required)
Having these tools and materials ready will ensure a smooth and efficient process.
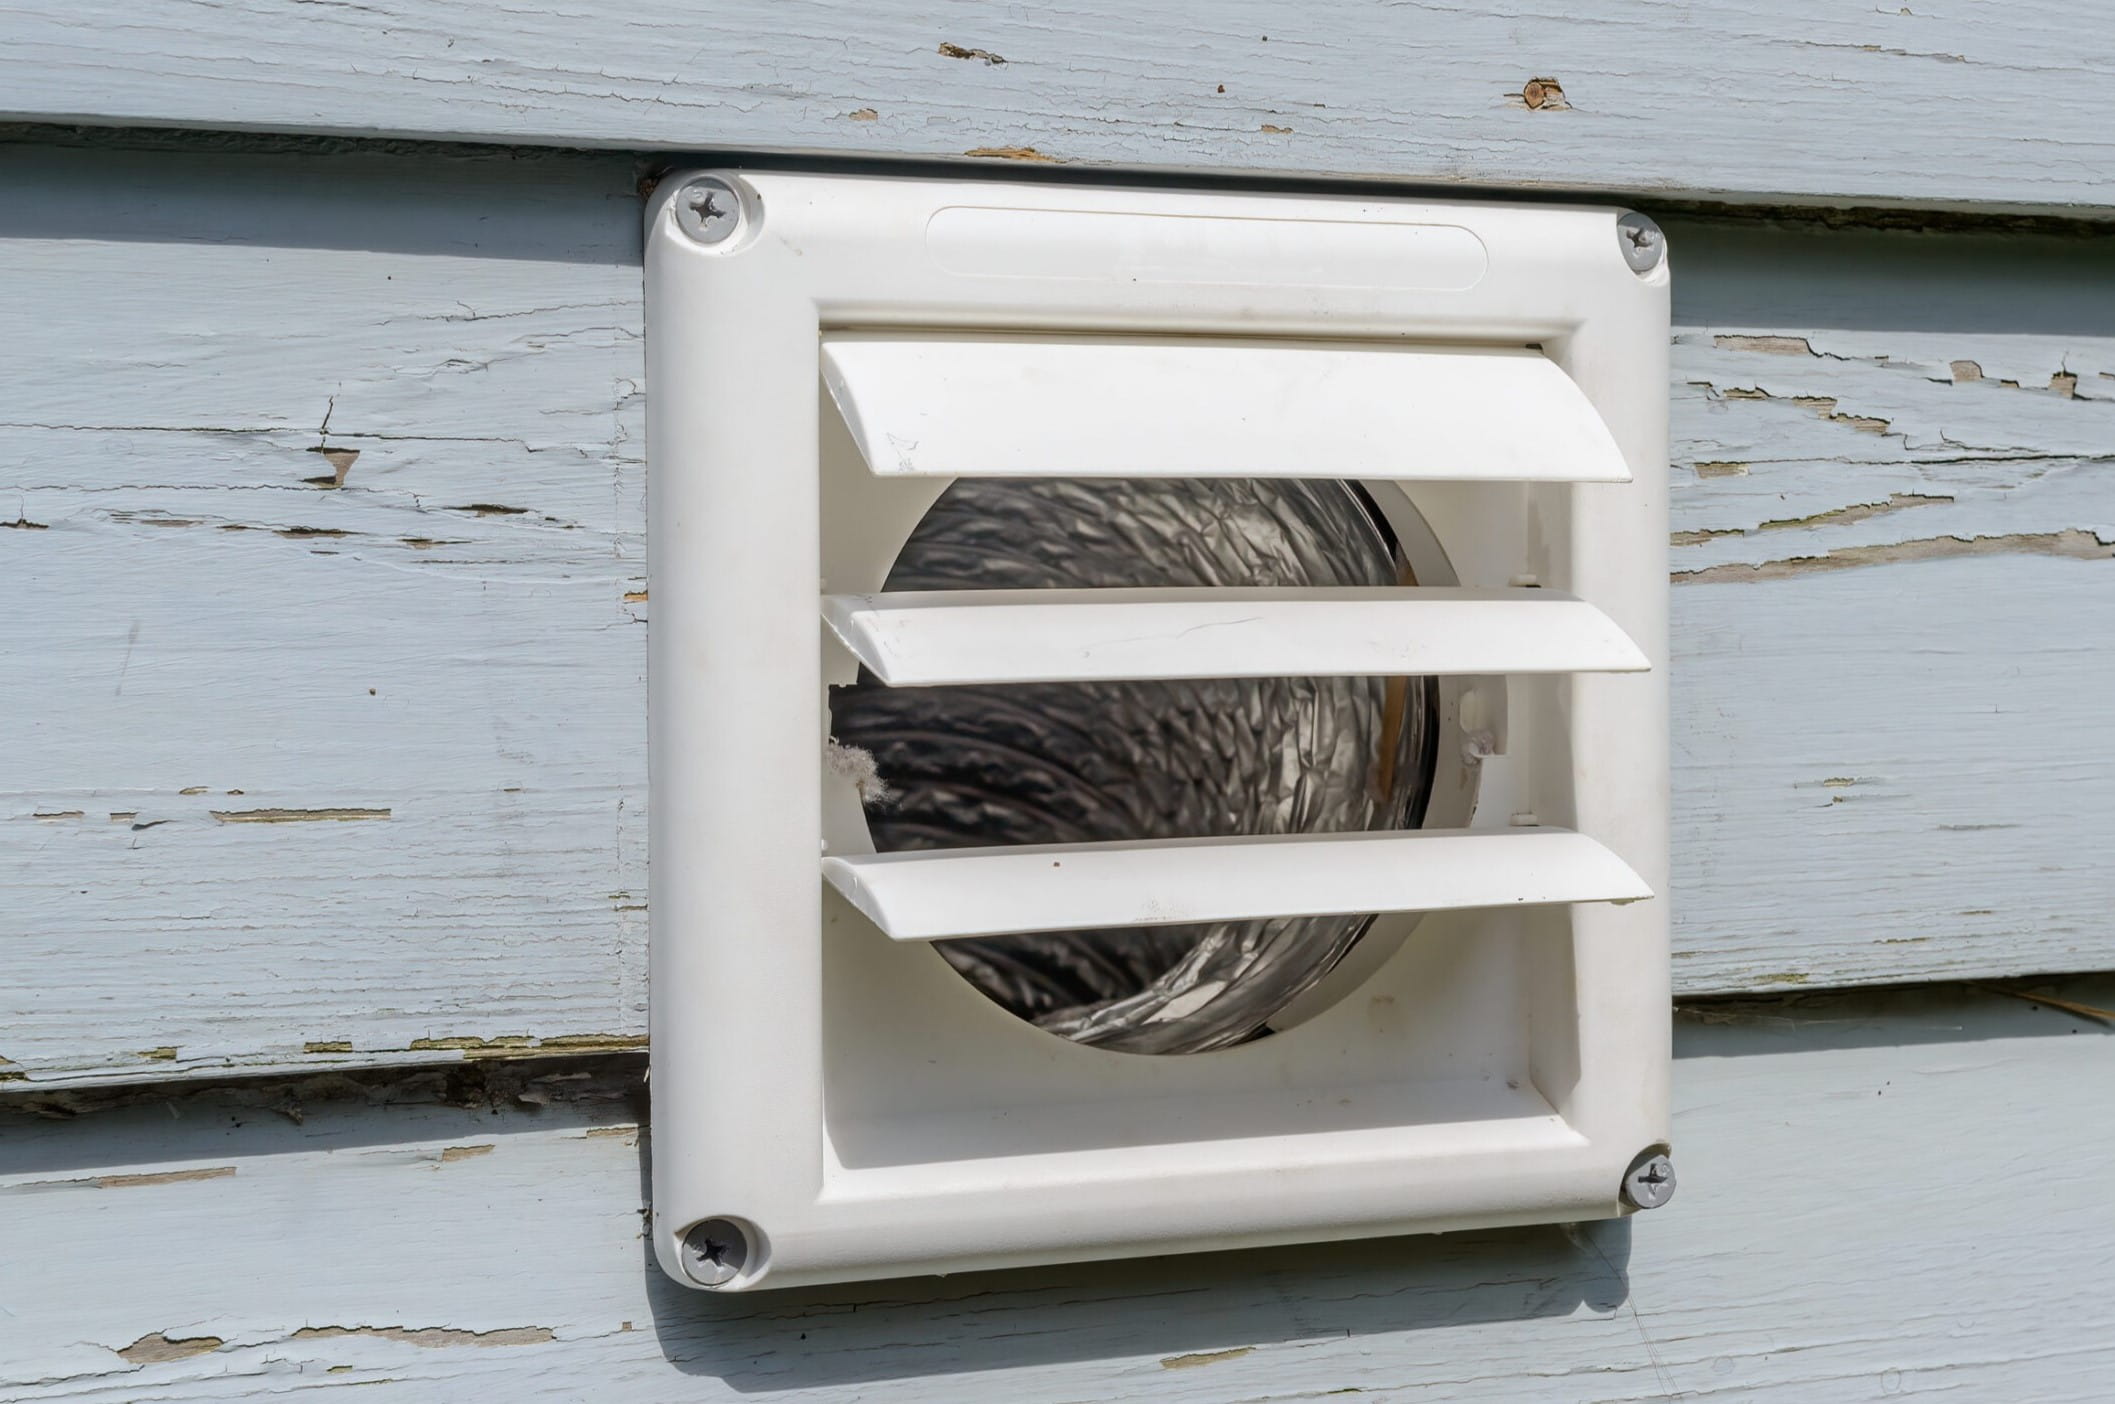
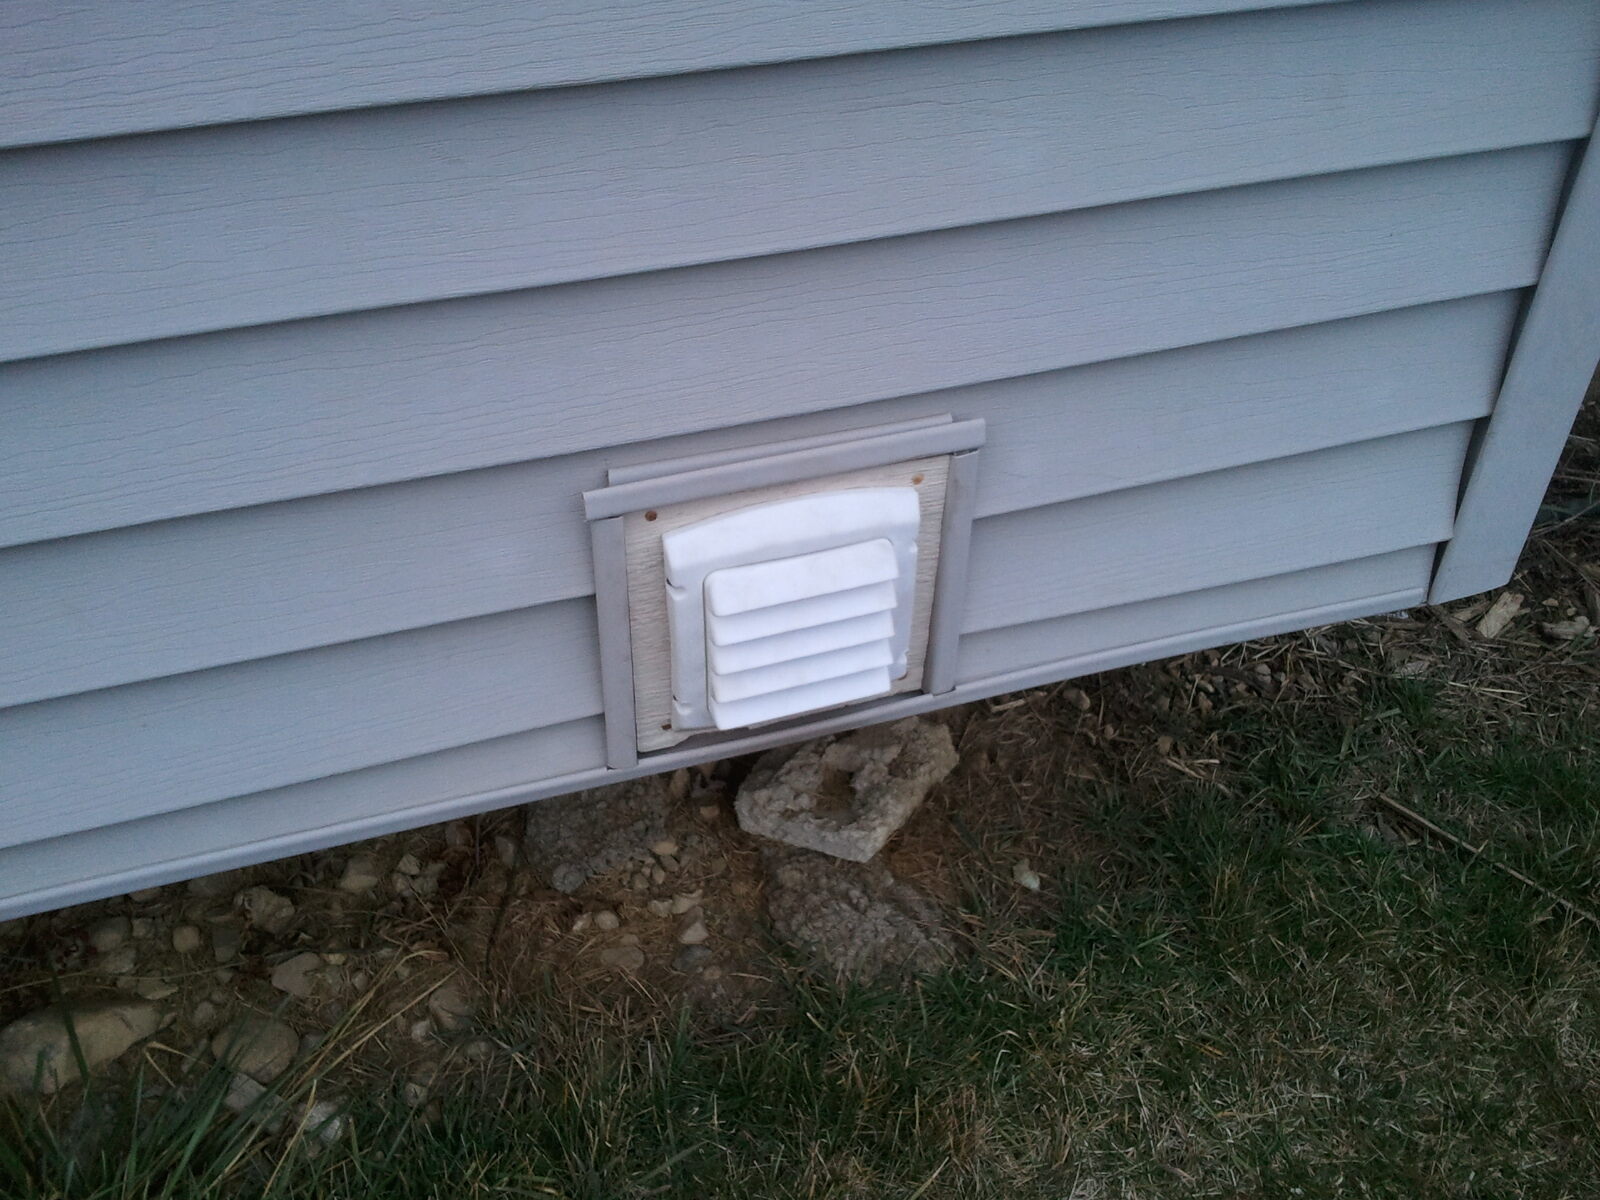
It’s worth noting that not all vent covers are attached the same way. Some may use screws or fasteners, while others may be held in place by clips or clamps. Before proceeding, take a moment to examine your vent cover to determine the method of attachment.
Once you have gathered all the necessary tools and materials, proceed to the next step: turning off the dryer and disconnecting the power.
Step 2: Turning off the dryer and disconnecting the power
Prior to removing the outside dryer vent cover, it’s essential to ensure the dryer is turned off and the power is disconnected. This step is crucial for your safety. Follow these steps to safely turn off and disconnect the dryer:
- Locate the dryer’s power cord and unplug it from the electrical outlet. If your dryer is hardwired, locate the circuit breaker or fuse box and switch off the power supply to the dryer.
- Always double-check that the power is truly disconnected by attempting to turn on the dryer. If it doesn’t start, you can proceed confidently knowing it’s safe to continue working.
- For gas dryers, you may also need to shut off the gas supply. Locate the gas valve and ensure it is closed.
- Before proceeding, it’s advisable to wait for the dryer to cool down if it has recently been in use. This will help prevent any accidental burns or injuries.
By following these steps to turn off and disconnect the power, you ensure a safe working environment for the next steps in removing the outside dryer vent cover. Now that the power is disconnected, you can move on to the next step: removing the screws or fasteners holding the vent cover in place.
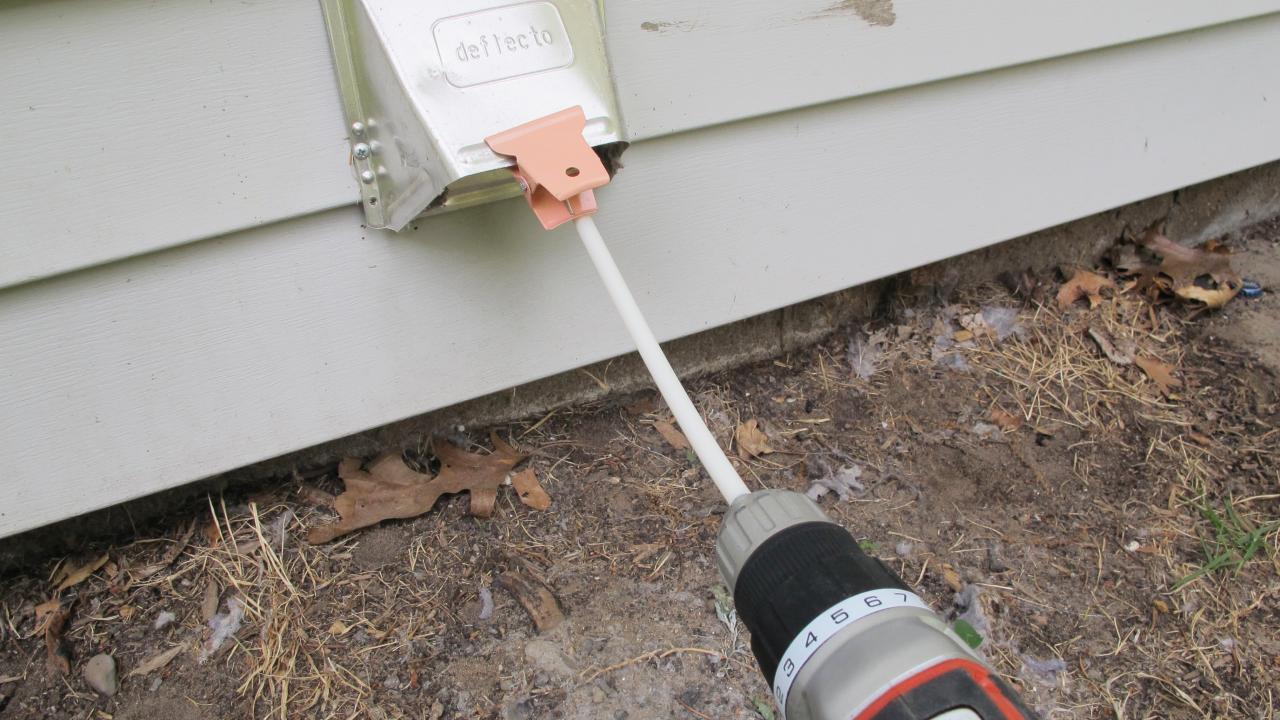
Step 3: Removing the screws or fasteners holding the vent cover in place
Now that the power is off and the dryer is safely disconnected, it’s time to remove the screws or fasteners holding the vent cover in place. Follow these steps:
- Inspect the vent cover to determine the type of fasteners used. It could be screws, bolts, clips, or clamps. You may need a screwdriver, drill, or other appropriate tools to remove them.
- Using the appropriate tool, carefully unscrew or remove the fasteners one by one. Place them in a container or bag to keep them organized and prevent loss.
- If you encounter any resistance or difficulty while removing the fasteners, do not force them. Instead, take a moment to assess the situation and find the best approach to safely remove them.
- Once all the fasteners are removed, set them aside and gently pull the vent cover away from the exterior wall. Be cautious not to damage the surrounding area or the vent itself.
With the fasteners removed and the vent cover detached, you’re now ready to move on to the next step: detaching the vent cover from the exterior wall.
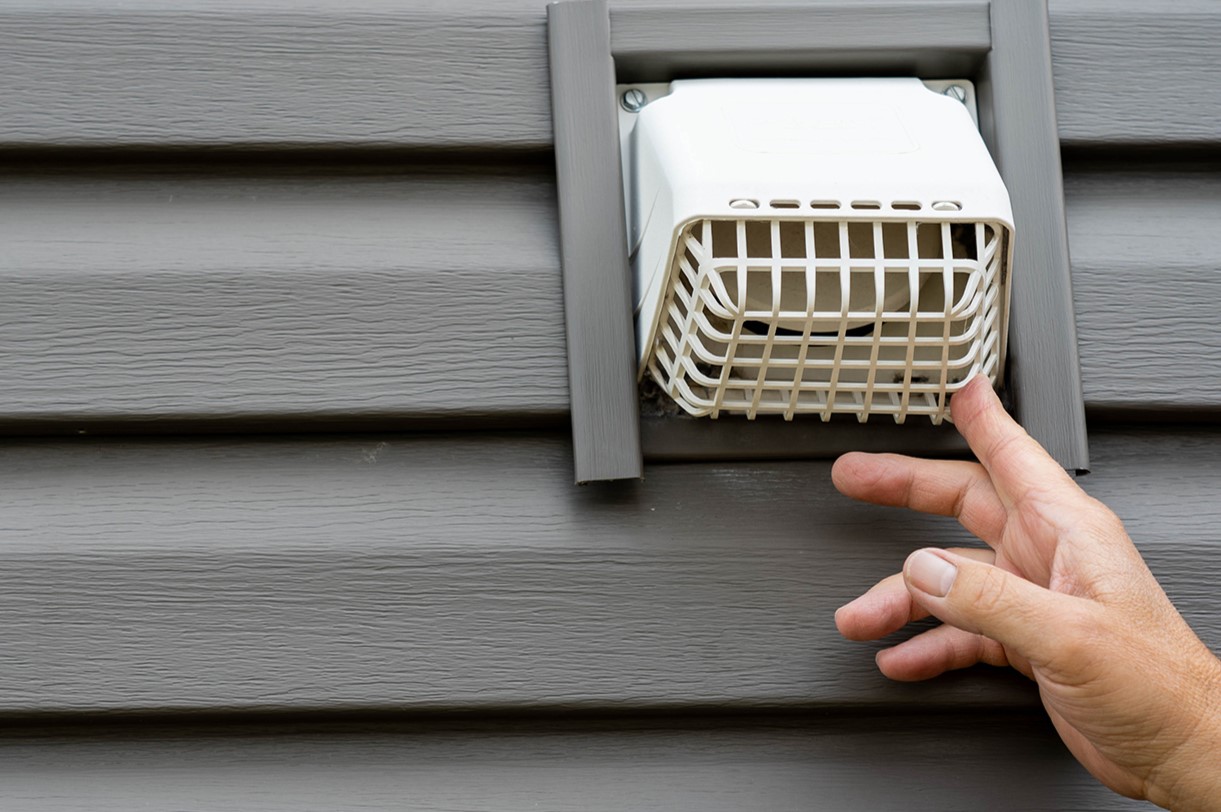
Step 4: Detaching the vent cover from the exterior wall
Now that the vent cover is free from any fasteners, it’s time to detach it from the exterior wall. Follow these steps to ensure a smooth removal:
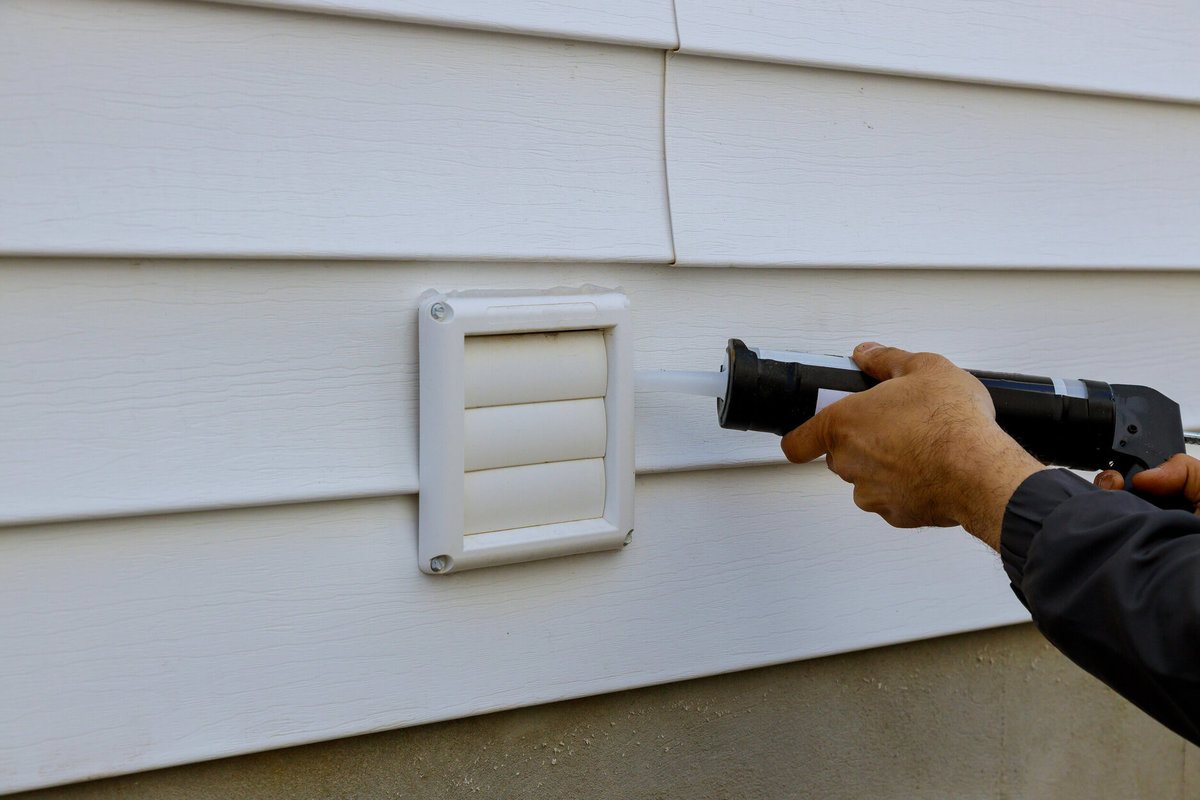
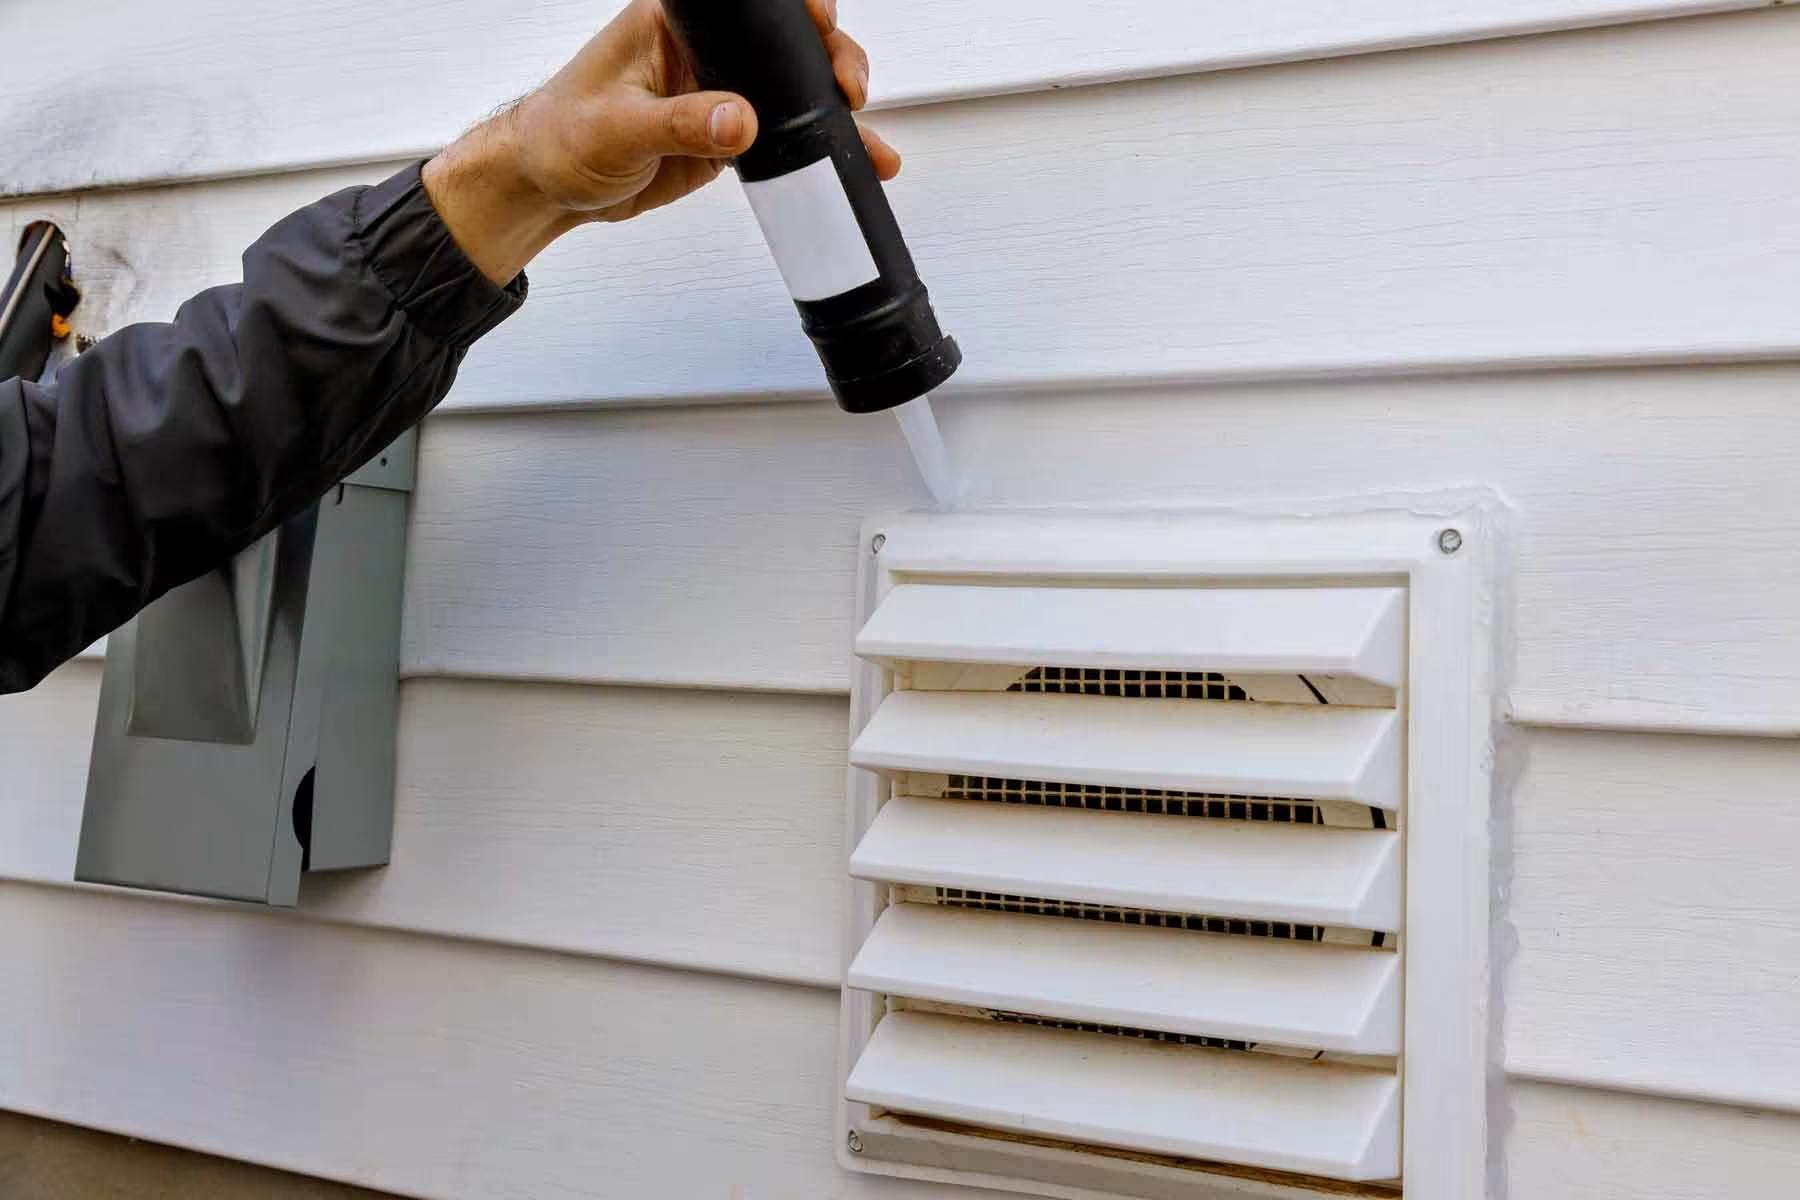
- Inspect the area around the vent opening for any signs of caulking or sealant. If present, use a utility knife to carefully cut through the caulk.
- Gently pull the vent cover away from the wall, applying even pressure. If the vent cover is stuck, use a putty knife or scraper to help loosen it.
- As you detach the vent cover, be mindful of any electrical wiring or connections that may be attached. If necessary, carefully disconnect any electrical components, ensuring they are safely out of the way.
- Continue to pull the vent cover away from the wall until it is completely free. Take care not to damage the exterior wall or the surrounding area in the process.
With the vent cover successfully detached from the exterior wall, you can proceed to the next step: cleaning the vent opening and inspecting for any damage.
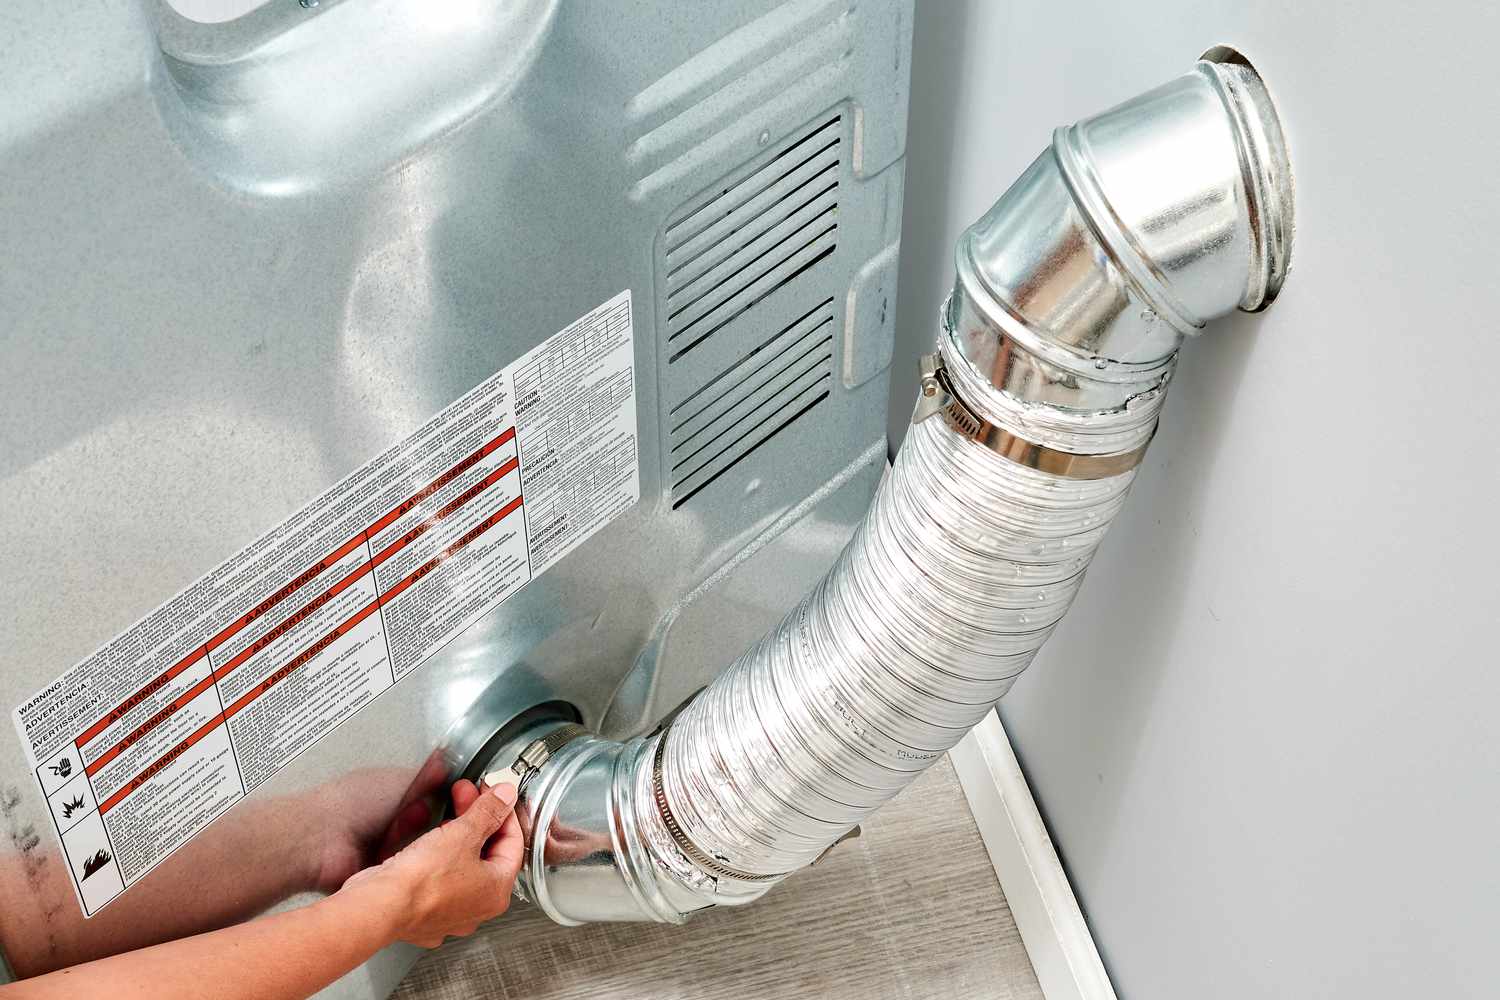
Use a screwdriver to remove the screws holding the vent cover in place. Once the screws are removed, gently pull the cover away from the wall to release it. Clean the area before installing a new cover.
Step 5: Cleaning the vent opening and inspecting for any damage
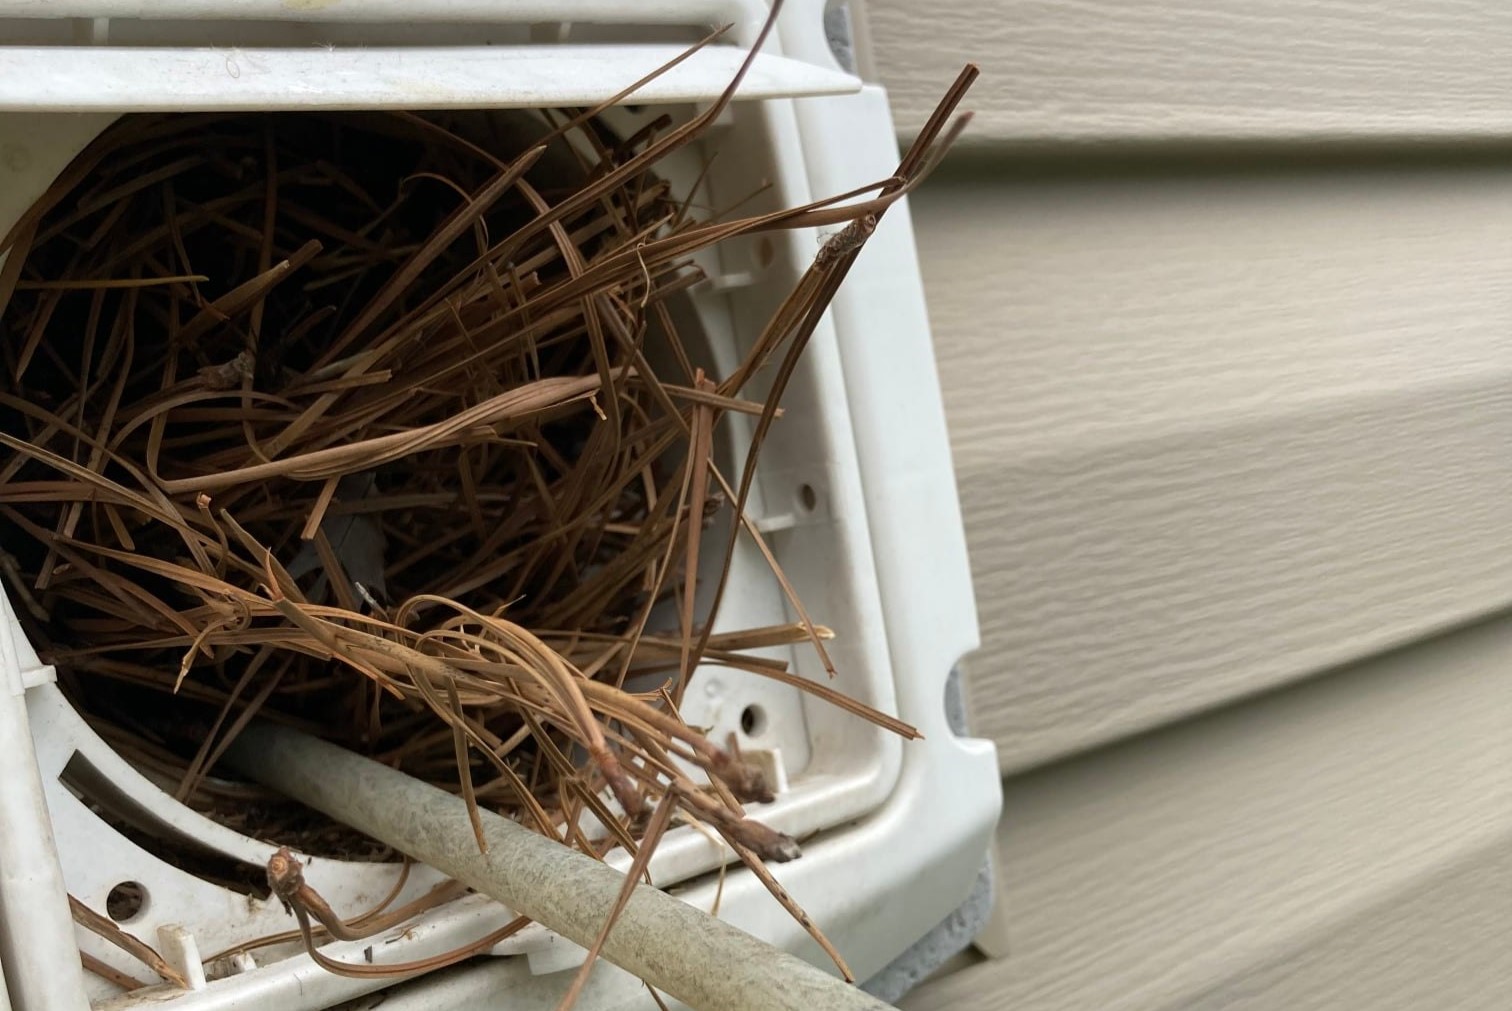
Now that the vent cover has been removed, it’s important to clean the vent opening and inspect it for any damage. Follow these steps to ensure optimal functionality:
- Use a vacuum cleaner with a hose attachment to remove any debris, lint, or dust from the vent opening. Ensure all obstructions are thoroughly cleared to allow for proper airflow.
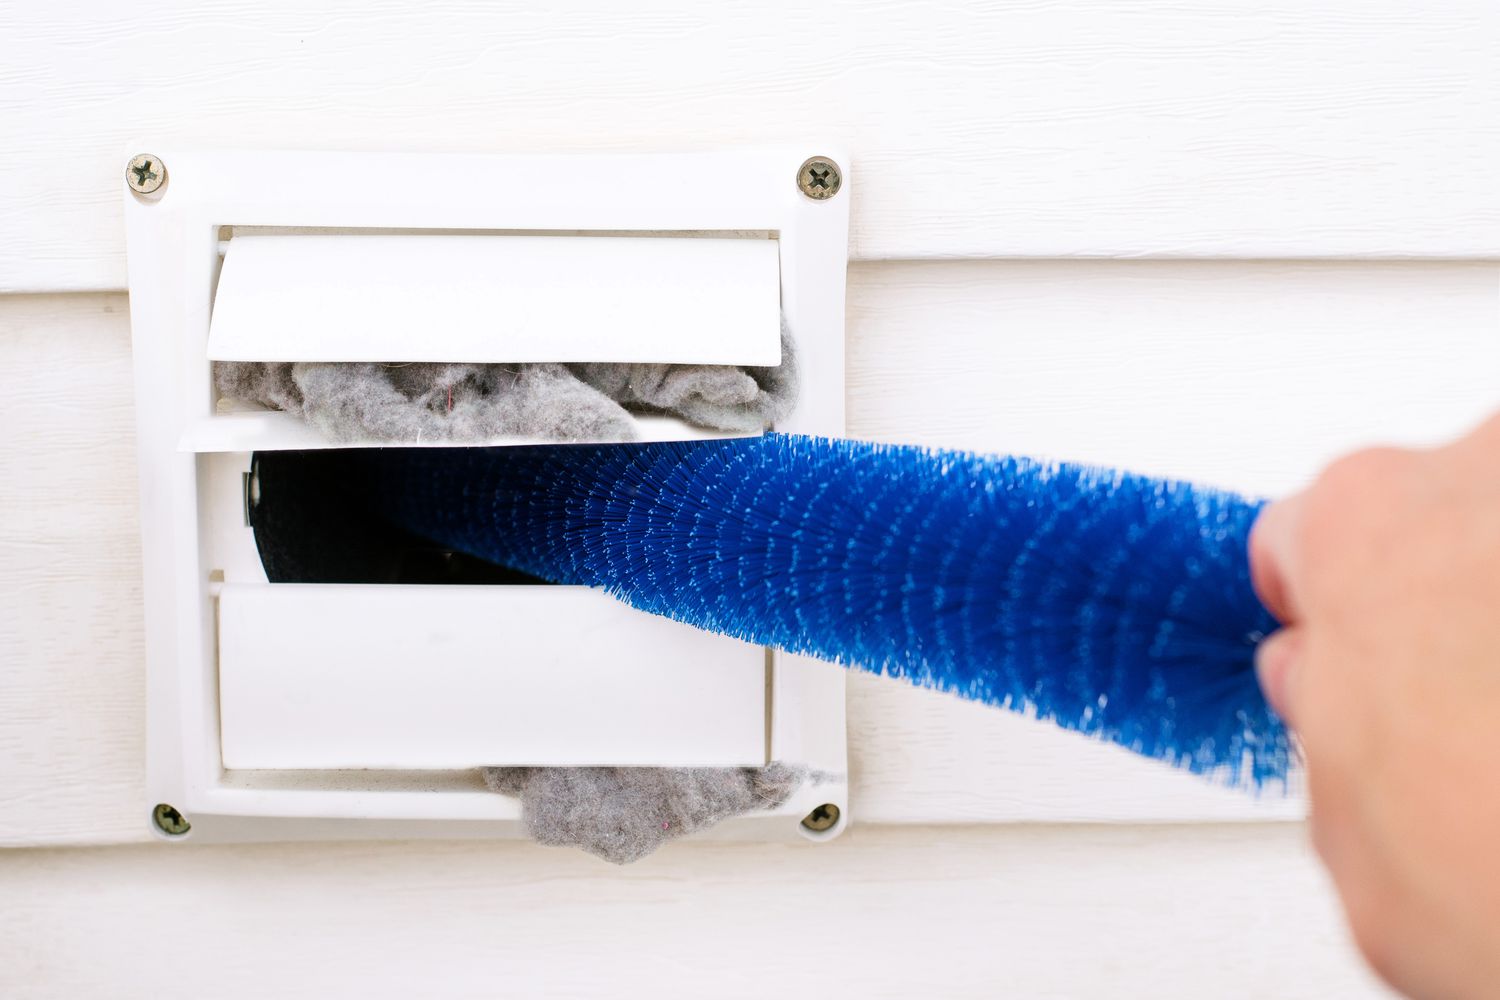
- If there is a buildup of stubborn debris, use a brush or a long, flexible cleaning rod to gently dislodge and remove it. Be cautious not to cause any damage to the vent or surrounding area during this process.
- Inspect the vent opening for any signs of damage, such as cracks, gaps, or corrosion. These issues can negatively impact the efficiency of your dryer vent system and may require repairs or replacement.
- If you notice any damage or concerns, it’s advisable to consult a professional or a qualified technician to assess the situation and recommend the appropriate course of action.
- After cleaning and inspecting the vent opening, take a moment to clean the removed vent cover. Wipe it down with a damp cloth or sponge to remove any dirt or residue.
With the vent opening cleaned and inspected, you can now move on to the next step: installing a new vent cover, if necessary.
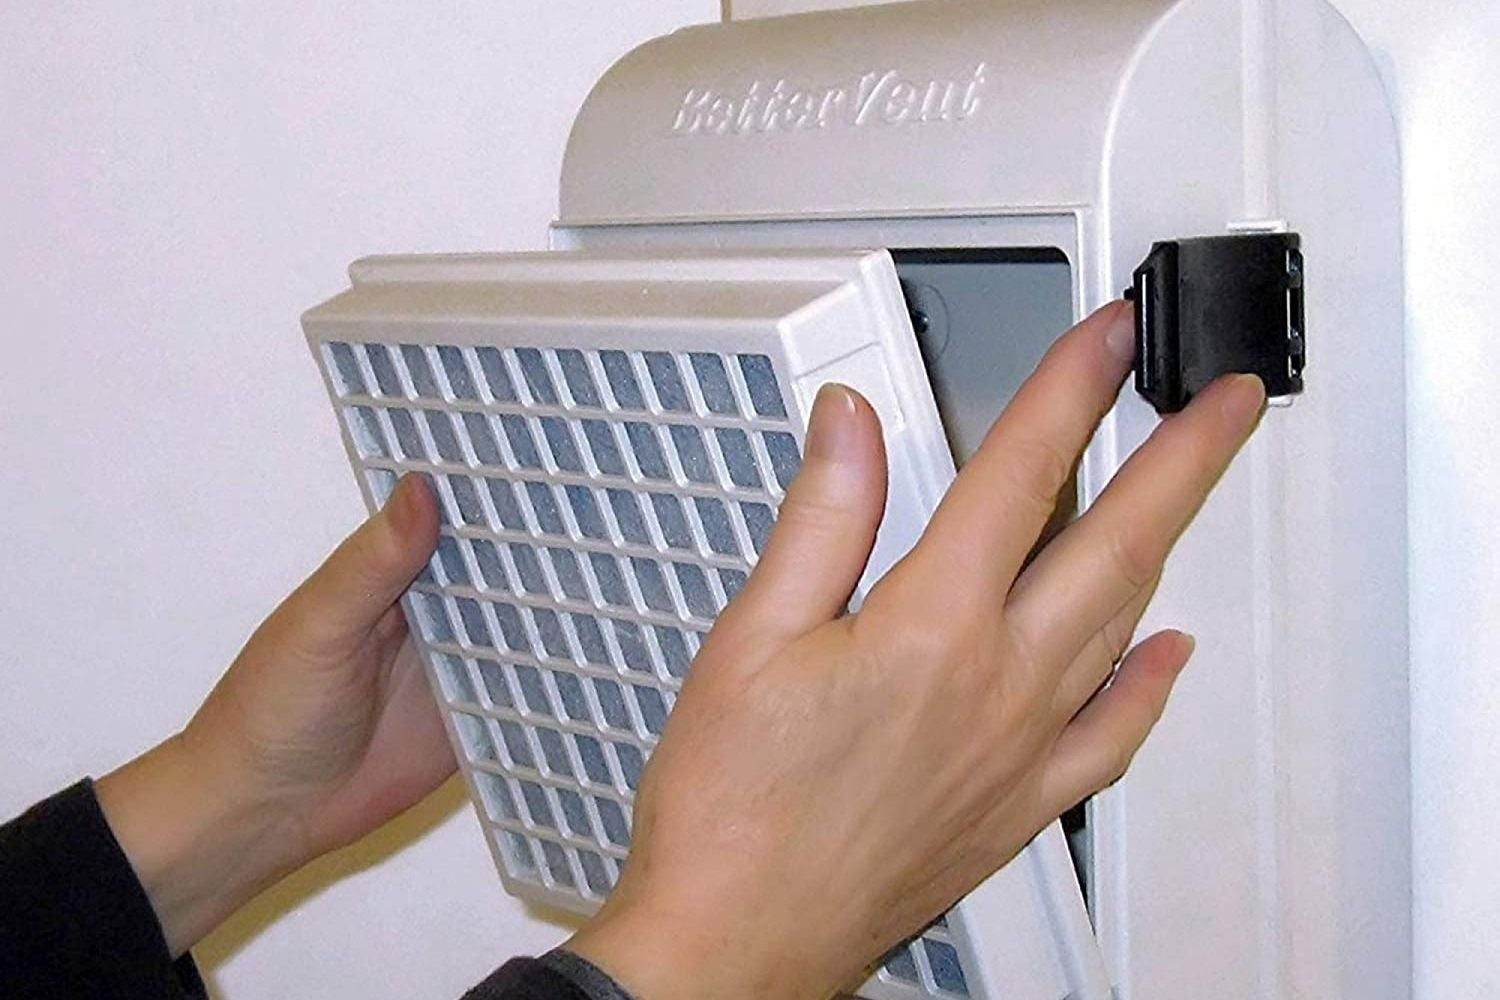
Step 6: Installing a new vent cover, if necessary
If you have determined that your vent cover needs to be replaced, it’s time to install a new one. Follow these steps to ensure a proper installation:
- Measure the dimensions of the vent opening to ensure you purchase a compatible replacement vent cover. Note the width and height of the opening.
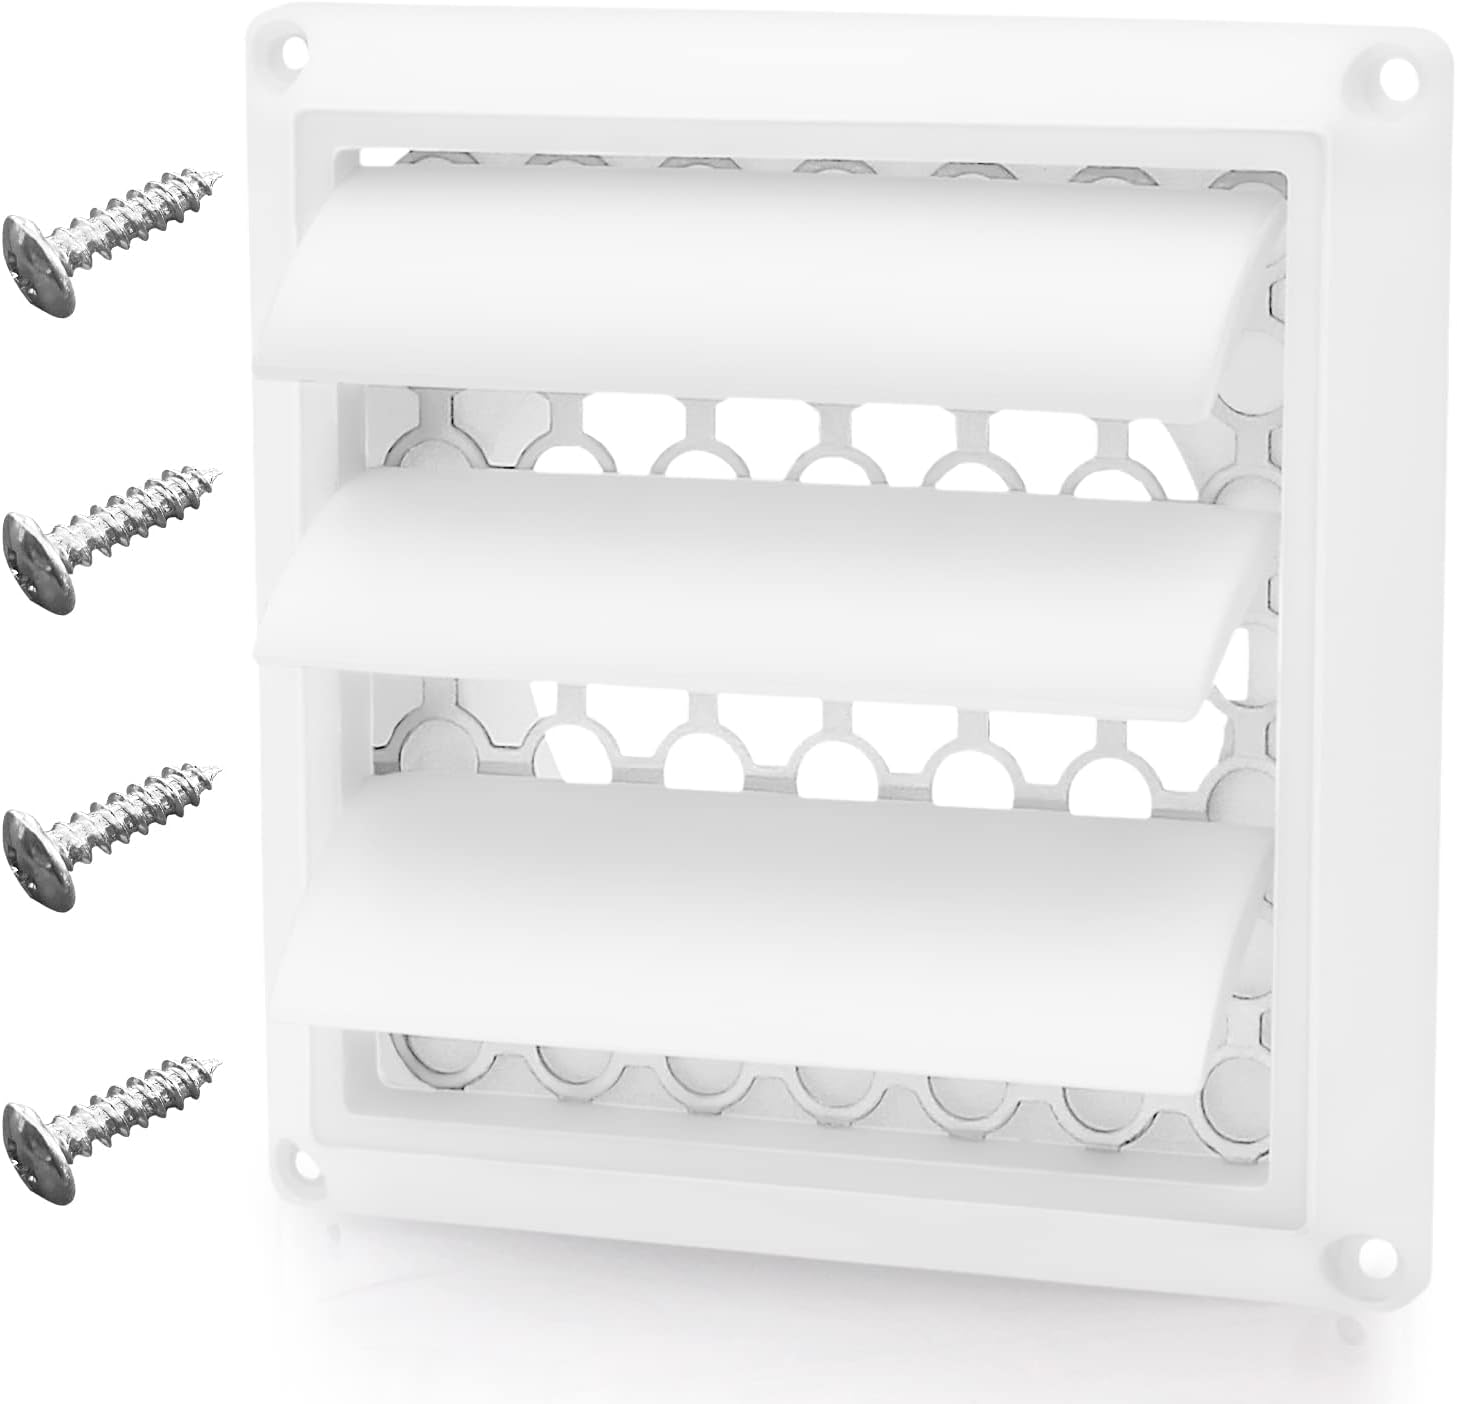
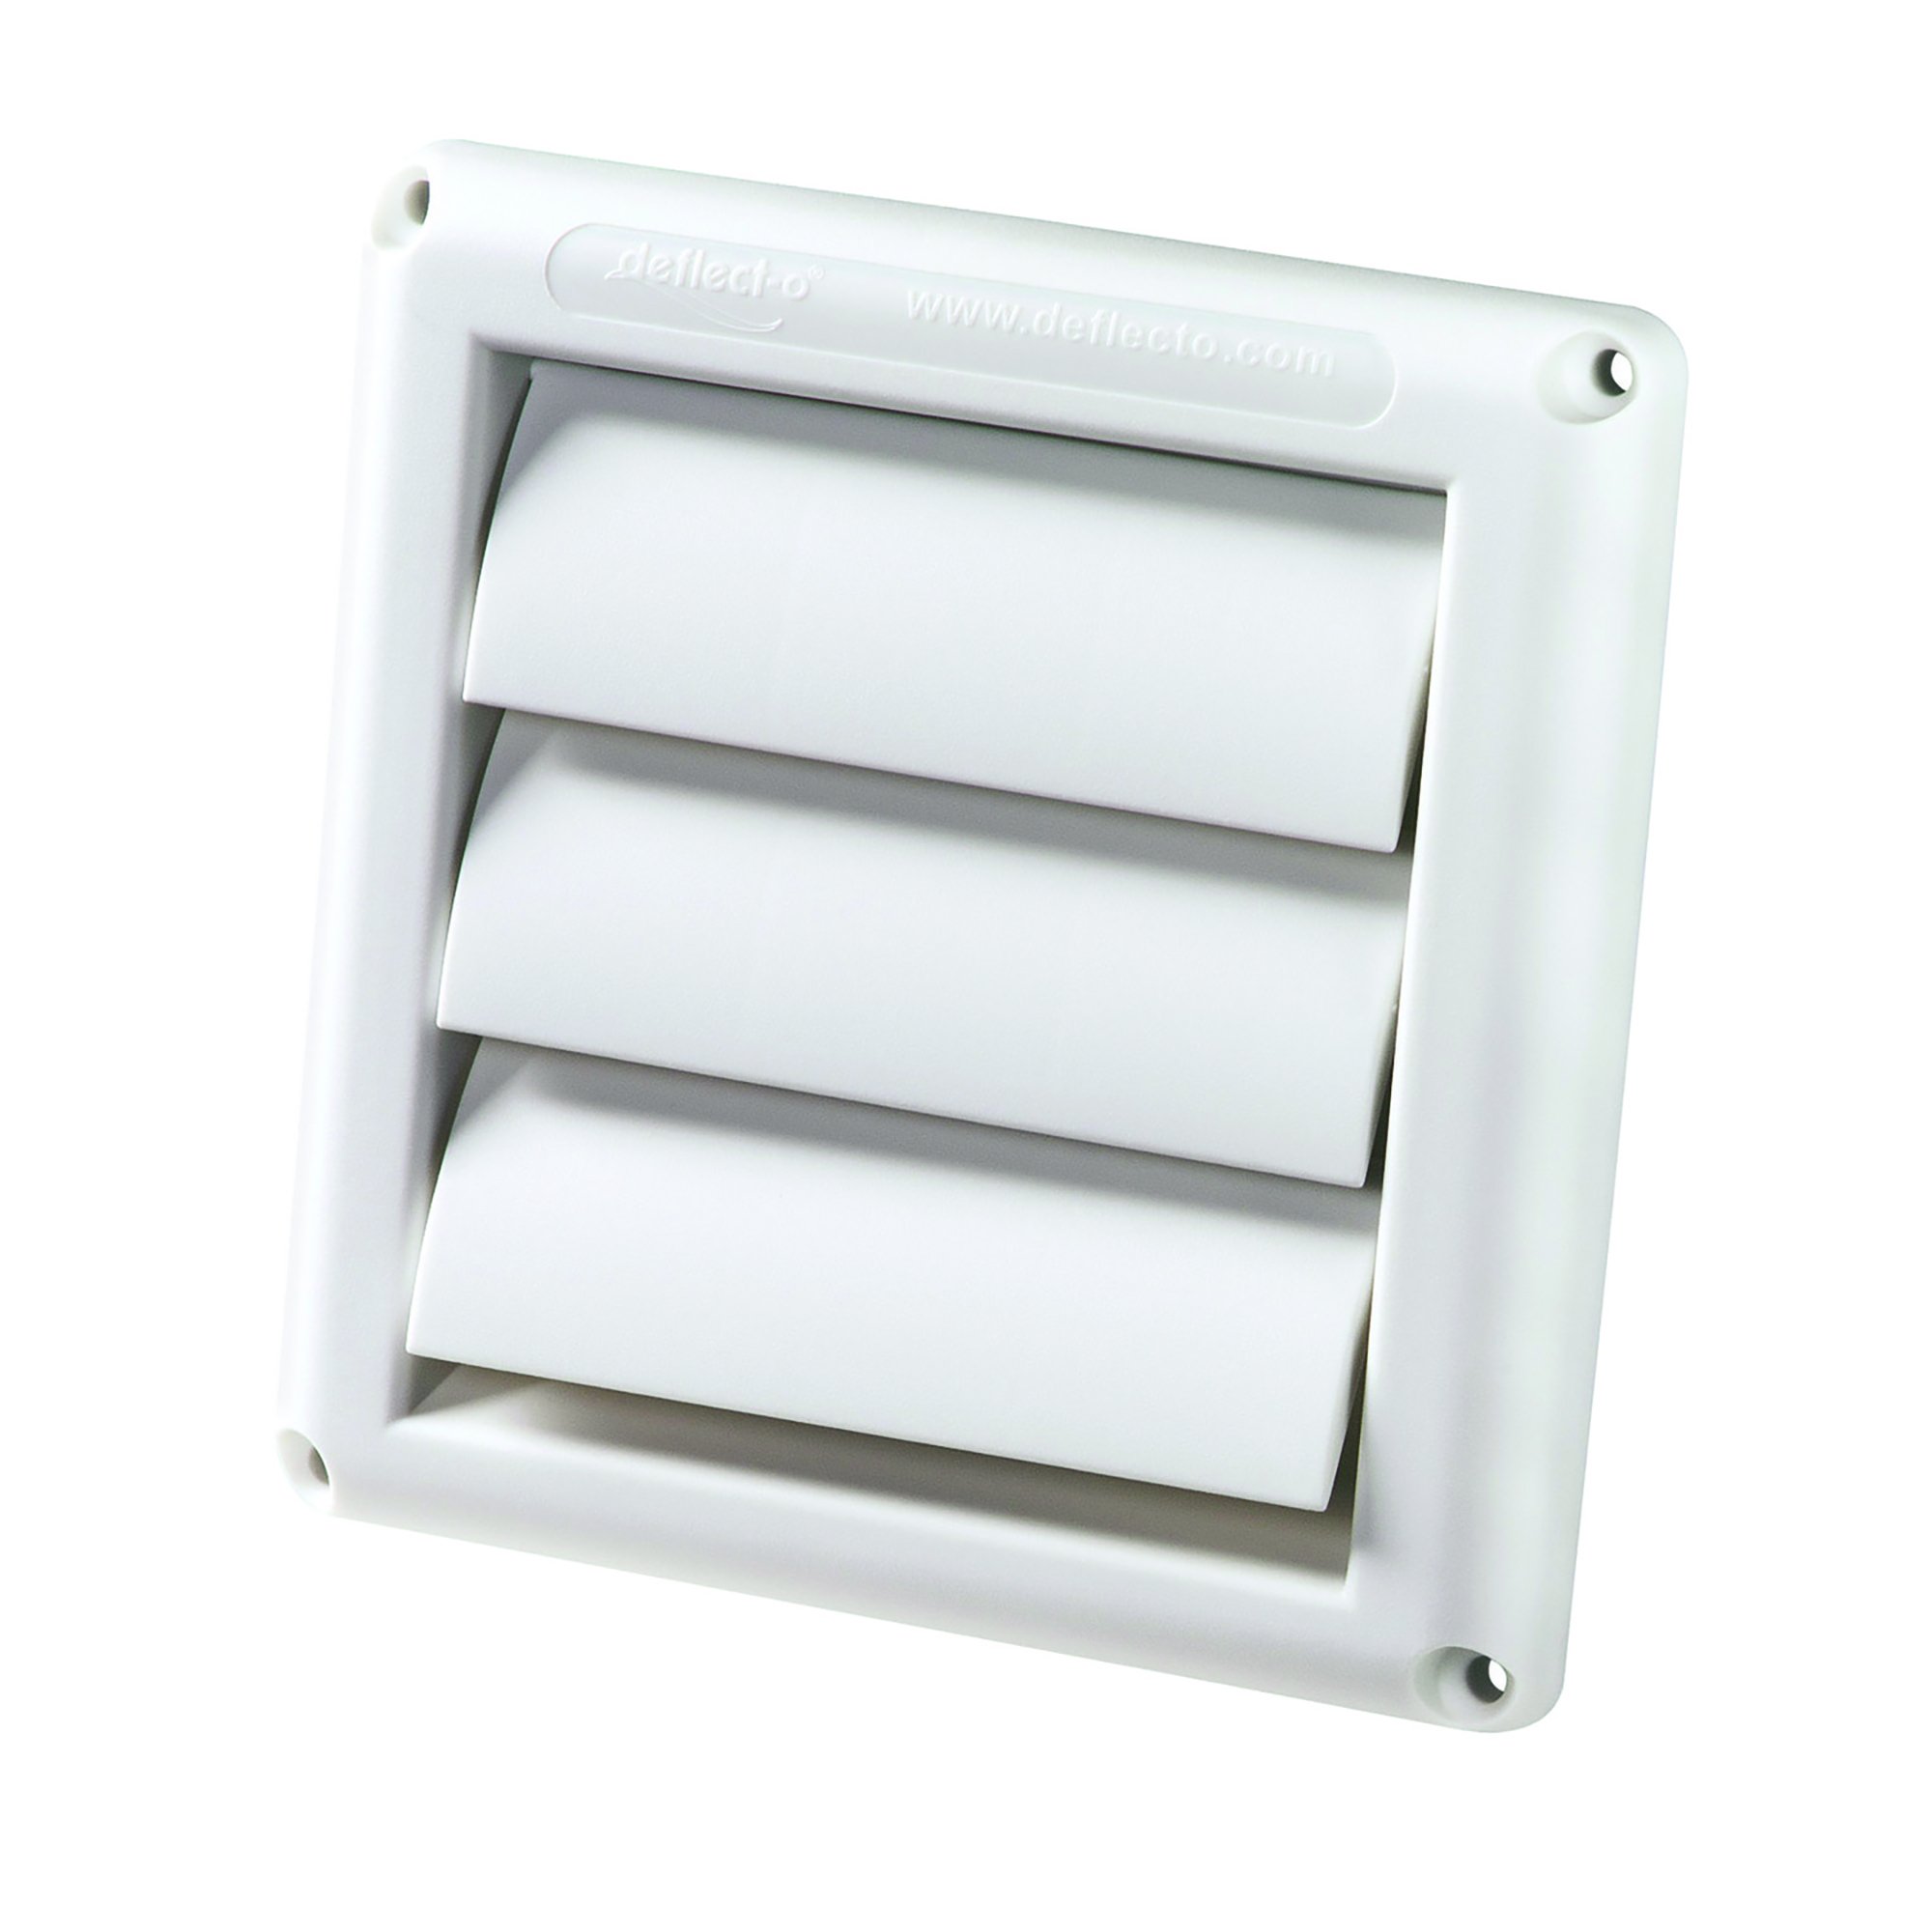
- Choose a vent cover that is suitable for your specific needs and preferences. There are various types available, including louvered vents, dryer vent caps, and hooded vents. Select one that best suits your requirements.
- Position the new vent cover over the vent opening, aligning it properly. Ensure it fits snugly and covers the entire opening for optimal protection.
- Follow the manufacturer’s instructions for attaching the new vent cover. This may involve using screws, bolts, clips, or other appropriate fasteners. Use the proper tools to secure the vent cover in place.
- Double-check that the vent cover is securely attached and does not wiggle or move excessively. A properly installed vent cover will provide a tight seal and prevent any unwanted drafts or pests from entering.
Once the new vent cover is installed, you’re almost finished. The last step is to reconnect the power and turn on the dryer.
Step 7: Reconnecting the power and turning on the dryer
Now that the new vent cover is installed, it’s time to reconnect the power and test the functionality of your dryer. Follow these steps to complete the process:
- If you had unplugged the dryer or turned off the circuit breaker, plug the dryer back into the electrical outlet or switch the power supply back on.
- If you shut off the gas supply for a gas dryer, ensure that the gas valve is open again.
- Before running the dryer, take a moment to visually inspect the vent cover from the outside of your home. Ensure that it is properly secured and aligned with the exterior wall.
- Turn on the dryer and allow it to run for a few minutes while observing the vent opening. Check for proper airflow and ensure that the vent cover is functioning correctly.
- Listen for any unusual noises or vibrations that may indicate a problem. If you notice anything out of the ordinary, it’s best to consult a professional for further inspection.
Congratulations! You have successfully removed the old outside dryer vent cover and installed a new one, if necessary. By following these steps, you have ensured a well-maintained and efficient dryer vent system in your home.
Remember to clean your dryer vent regularly to prevent lint buildup and maximize airflow. This will help prevent potential hazards such as fires and improve the efficiency of your dryer.
Thank you for using our guide. If you have any further questions or need additional assistance, feel free to reach out. Happy drying!
Conclusion
Congratulations! You have successfully learned how to remove an outside dryer vent cover. By following the steps outlined in this guide, you have taken an important step in maintaining the functionality and safety of your dryer vent system. Regular maintenance and care of your dryer vent are crucial to prevent lint buildup, maintain proper airflow, and reduce the risk of fire hazards.
Throughout the process, it is essential to prioritize safety. Always ensure the dryer is turned off and disconnected from power before attempting any maintenance or repairs. If you encounter any difficulties or are unsure of your abilities, it is recommended to consult a professional for assistance.
By gathering the necessary tools, turning off the dryer and disconnecting the power, removing fasteners, detaching the vent cover, cleaning the vent opening, inspecting for damage, installing a new vent cover if needed, and reconnecting the power, you have completed a comprehensive and thorough process.
Remember to periodically clean your dryer vent to prevent lint buildup and maintain optimal performance. Regularly inspecting the vent cover for any damage or wear is also recommended to ensure its effectiveness.
Thank you for using this guide, and we hope it has been informative and helpful. If you have any further questions or need assistance, feel free to reach out. Happy drying and maintaining your dryer vent system!
Curious about keeping your house in top shape or diving into creative projects? Our guides can help with both sides of the coin. For those keen on ensuring everything at home runs smoothly, our detailed insights on necessary home maintenance are invaluable. Prefer rolling up your sleeves and working on personalized projects? Our exciting exploration of DIY projects reveals the benefits and joys of making things yourself. Each article is packed with practical tips and engaging ideas to enhance your living space and skills!
Frequently Asked Questions about How To Remove An Outside Dryer Vent Cover
Was this page helpful?
At Storables.com, we guarantee accurate and reliable information. Our content, validated by Expert Board Contributors, is crafted following stringent Editorial Policies. We're committed to providing you with well-researched, expert-backed insights for all your informational needs.