Home>Home Maintenance>How To Clean The Inside Of A Dryer Vent

Home Maintenance
How To Clean The Inside Of A Dryer Vent
Modified: August 25, 2024
Properly maintain your home with this step-by-step guide on how to clean the inside of a dryer vent. Increase efficiency and reduce fire hazards.
(Many of the links in this article redirect to a specific reviewed product. Your purchase of these products through affiliate links helps to generate commission for Storables.com, at no extra cost. Learn more)
Introduction: Importance of Cleaning the Inside of a Dryer Vent
When it comes to home maintenance, keeping the inside of your dryer vent clean may not be at the top of your priority list. However, neglecting this important task can lead to a myriad of issues that can be both inconvenient and potentially hazardous.
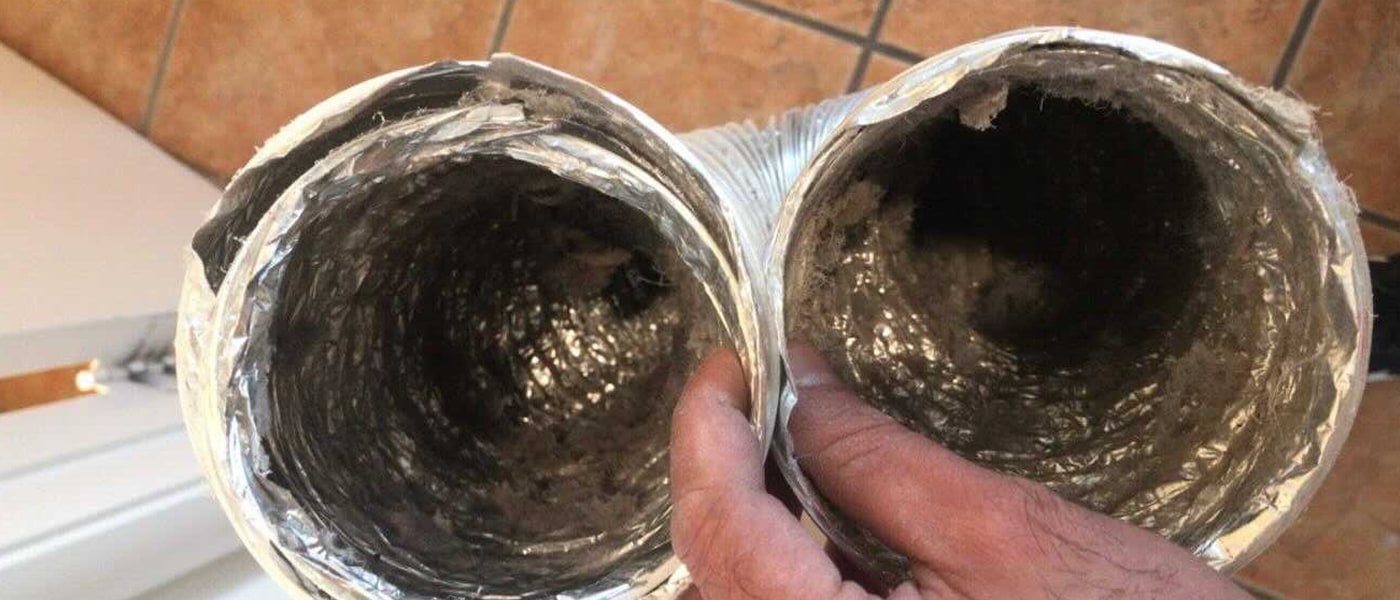
Lint, dust, and other debris accumulate inside the dryer vent over time, hindering proper airflow and ventilation. This accumulation can lead to several problems, such as decreased efficiency, longer drying times, and even fire hazards. In fact, according to the National Fire Protection Association, clogged dryer vents are one of the leading causes of residential fires.
To ensure the safety and optimal performance of your dryer, it is crucial to regularly clean the inside of the vent. By doing so, you can help prevent potential hazards and improve the overall efficiency and lifespan of your dryer.
In this article, we will guide you through the process of cleaning the inside of a dryer vent, providing you with the necessary tools, safety precautions, and step-by-step instructions to do so effectively.
Key Takeaways:
- Regularly cleaning the inside of your dryer vent is crucial for safety, efficiency, and preventing fire hazards. It ensures optimal functioning and longevity of your dryer, making it a small but important part of home maintenance.
- Perform a vent airflow test after cleaning to ensure the vent is clear and functioning optimally. Regular maintenance, such as cleaning the lint trap and inspecting the vent exit, helps prevent future buildup and maintain efficient airflow.
Read more: How To Clean Inside Of Dryer
Tools and Materials Needed: List of Necessary Tools and Materials for Cleaning the Inside of a Dryer Vent
Before you begin cleaning the inside of your dryer vent, it is essential to gather the right tools and materials. Having these supplies on hand will make the cleaning process smoother and more efficient. Here is a list of the necessary tools and materials you will need:
- Screwdriver: A screwdriver will be required to remove the vent cover. Depending on the type of cover, you may need a flathead or Phillips head screwdriver.
- Vacuum Cleaner with Hose Attachment: A vacuum cleaner with a hose attachment will help you remove lint and debris from the vent. Ensure that the attachment has a narrow nozzle to reach the crevices of the vent pipe effectively.
- Dryer Vent Brush: A dryer vent brush is specifically designed to remove stubborn lint buildup. It usually has long bristles and a flexible handle, allowing you to maneuver it through the vent pipe easily.
- Dust Mask: Cleaning the inside of a dryer vent can release a significant amount of dust and debris. Protect yourself by wearing a dust mask to prevent inhalation of these particles.
- Gloves: Wearing gloves is advisable to protect your hands while handling the vent cover and maneuvering the brush.
- Cleaning Cloth: Keep a cleaning cloth nearby to wipe away any loose debris that may accumulate during the cleaning process.
Having these tools and materials readily available will ensure a smooth and successful cleaning process. It is essential to use the correct equipment to effectively remove lint and debris from the inside of your dryer vent, promoting better airflow and reducing the risk of fire hazards.
Safety Precautions: Precautions to Take Before Starting the Cleaning Process
Before you embark on cleaning the inside of your dryer vent, it is crucial to prioritize your safety. Here are some important safety precautions to take before you begin:
- Turn off the Dryer: Before you start any cleaning, make sure to turn off the dryer and unplug it from the power source. This will prevent any accidental activation of the dryer while you are cleaning the vent.
- Let the Dryer Cool Down: Give your dryer sufficient time to cool down, especially if it was recently in use. Cleaning a hot dryer can pose a burn risk, so allow it to cool for at least half an hour before starting the cleaning process.
- Ensure Proper Ventilation: It is essential to have proper ventilation in the area where you will be working. Open windows or use fans to ensure good airflow and prevent the accumulation of dust and fumes.
- Wear Protective Gear: To protect yourself from dust and debris, wear a dust mask to prevent inhalation of particles. Additionally, wearing gloves will provide added protection while handling the vent cover and using the brush.
- Clear the Work Area: Remove any objects or obstacles near the dryer to create a clean and safe work area. This will prevent tripping hazards and allow you to move freely while cleaning the vent.
By following these safety precautions, you can minimize the risk of accidents or injuries while cleaning the inside of your dryer vent. Prioritizing safety is essential to ensure a smooth and safe cleaning process.
Removing the Dryer Vent Cover: Step-by-Step Instructions
Before you can clean the inside of your dryer vent, you need to remove the vent cover. Here is a step-by-step guide on how to do it:
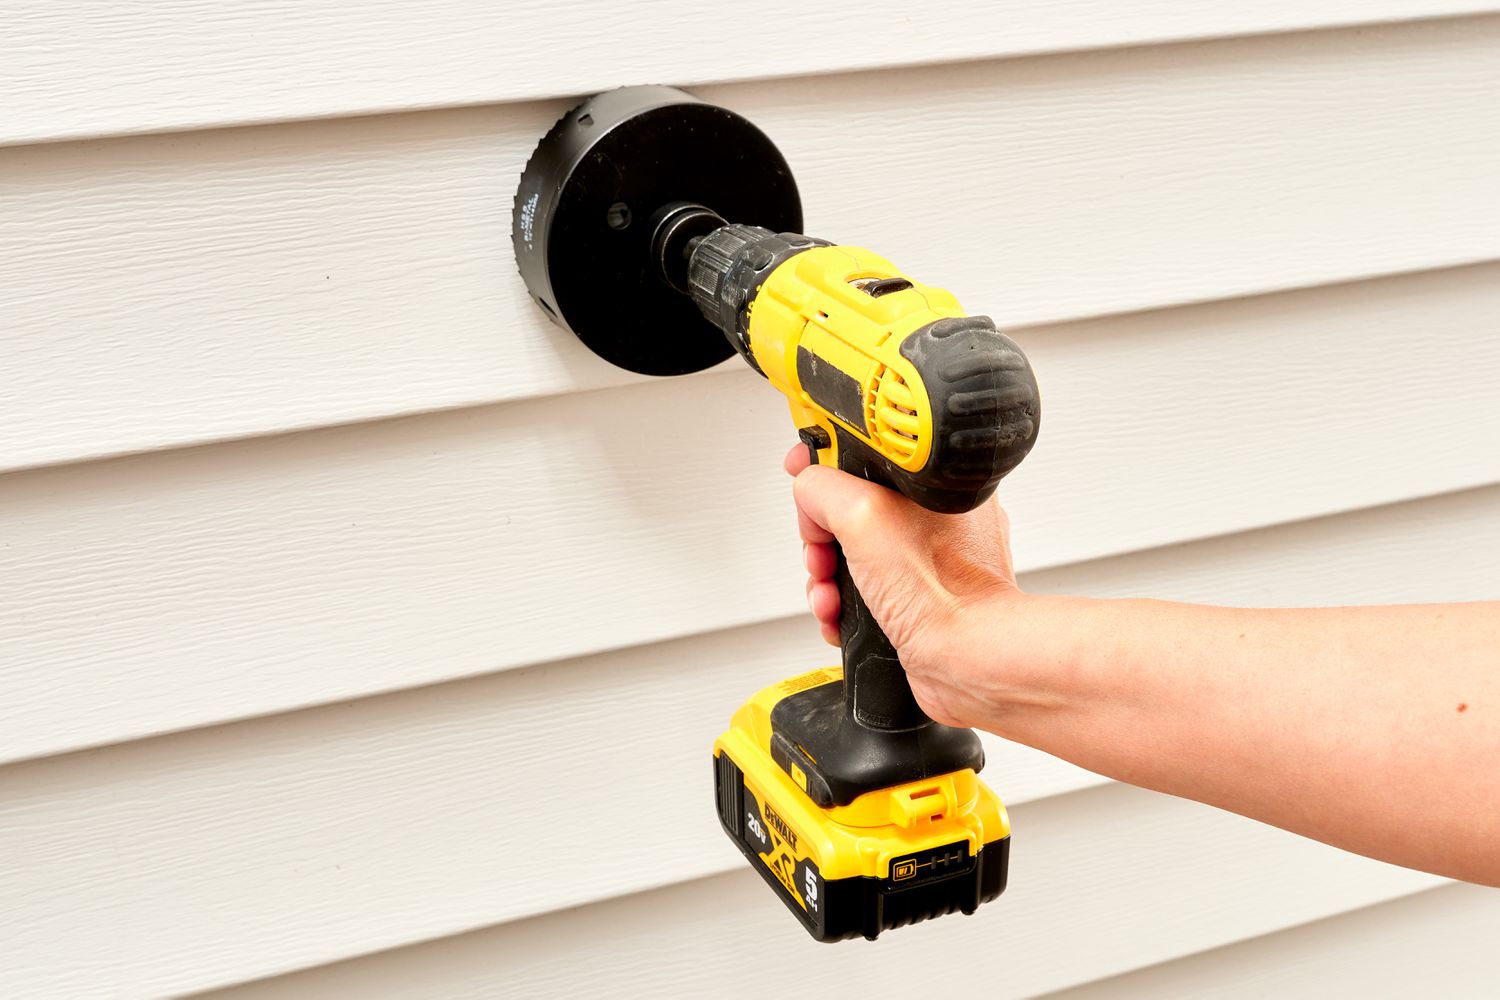
- Locate the Vent Cover: The vent cover is typically located on the exterior wall of your home, near the dryer’s exhaust vent. It may be made of plastic, metal, or a combination of both.
- Inspect the Vent Cover: Take a close look at the vent cover to identify the type of fasteners that secure it in place. Common fasteners include screws, clips, or a combination of both.
- Use the Appropriate Tool: Depending on the type of fasteners, use a flathead screwdriver, Phillips head screwdriver, or a pair of pliers to remove them. Loosen the screws or unclip the fasteners, being careful not to damage the cover or surrounding area.
- Gently Remove the Vent Cover: Once the fasteners are loosened or unclipped, gently pull the vent cover away from the wall. Be cautious not to put too much pressure or force to avoid damaging the vent or surrounding structure.
- Inspect for Damage: Take a moment to inspect the removed vent cover for any signs of damage or wear. If necessary, clean or replace the vent cover before reattaching it.
Common Types of Dryer Vent Covers:
- Louvered Vent Cover: This type of vent cover has individual slats that open when the dryer is running and close when it is not in use. To remove a louvered vent cover, you typically need to unscrew the fasteners located on the sides.
- Hinged Vent Cover: Some vent covers are hinged and open outward when the dryer is running. To remove a hinged vent cover, you will typically need to remove the fasteners on one side of the hinge.
- Hook-and-Latch Vent Cover: This type of vent cover has specially designed hooks and latches that secure it in place. To remove a hook-and-latch vent cover, you may need to push down on the top part of the cover while simultaneously lifting it up and away from the wall.
Now that you have successfully removed the vent cover, you are ready to proceed with cleaning the inside of your dryer vent. Make sure to set the vent cover aside in a safe place, as you will need to reattach it once the cleaning process is complete.
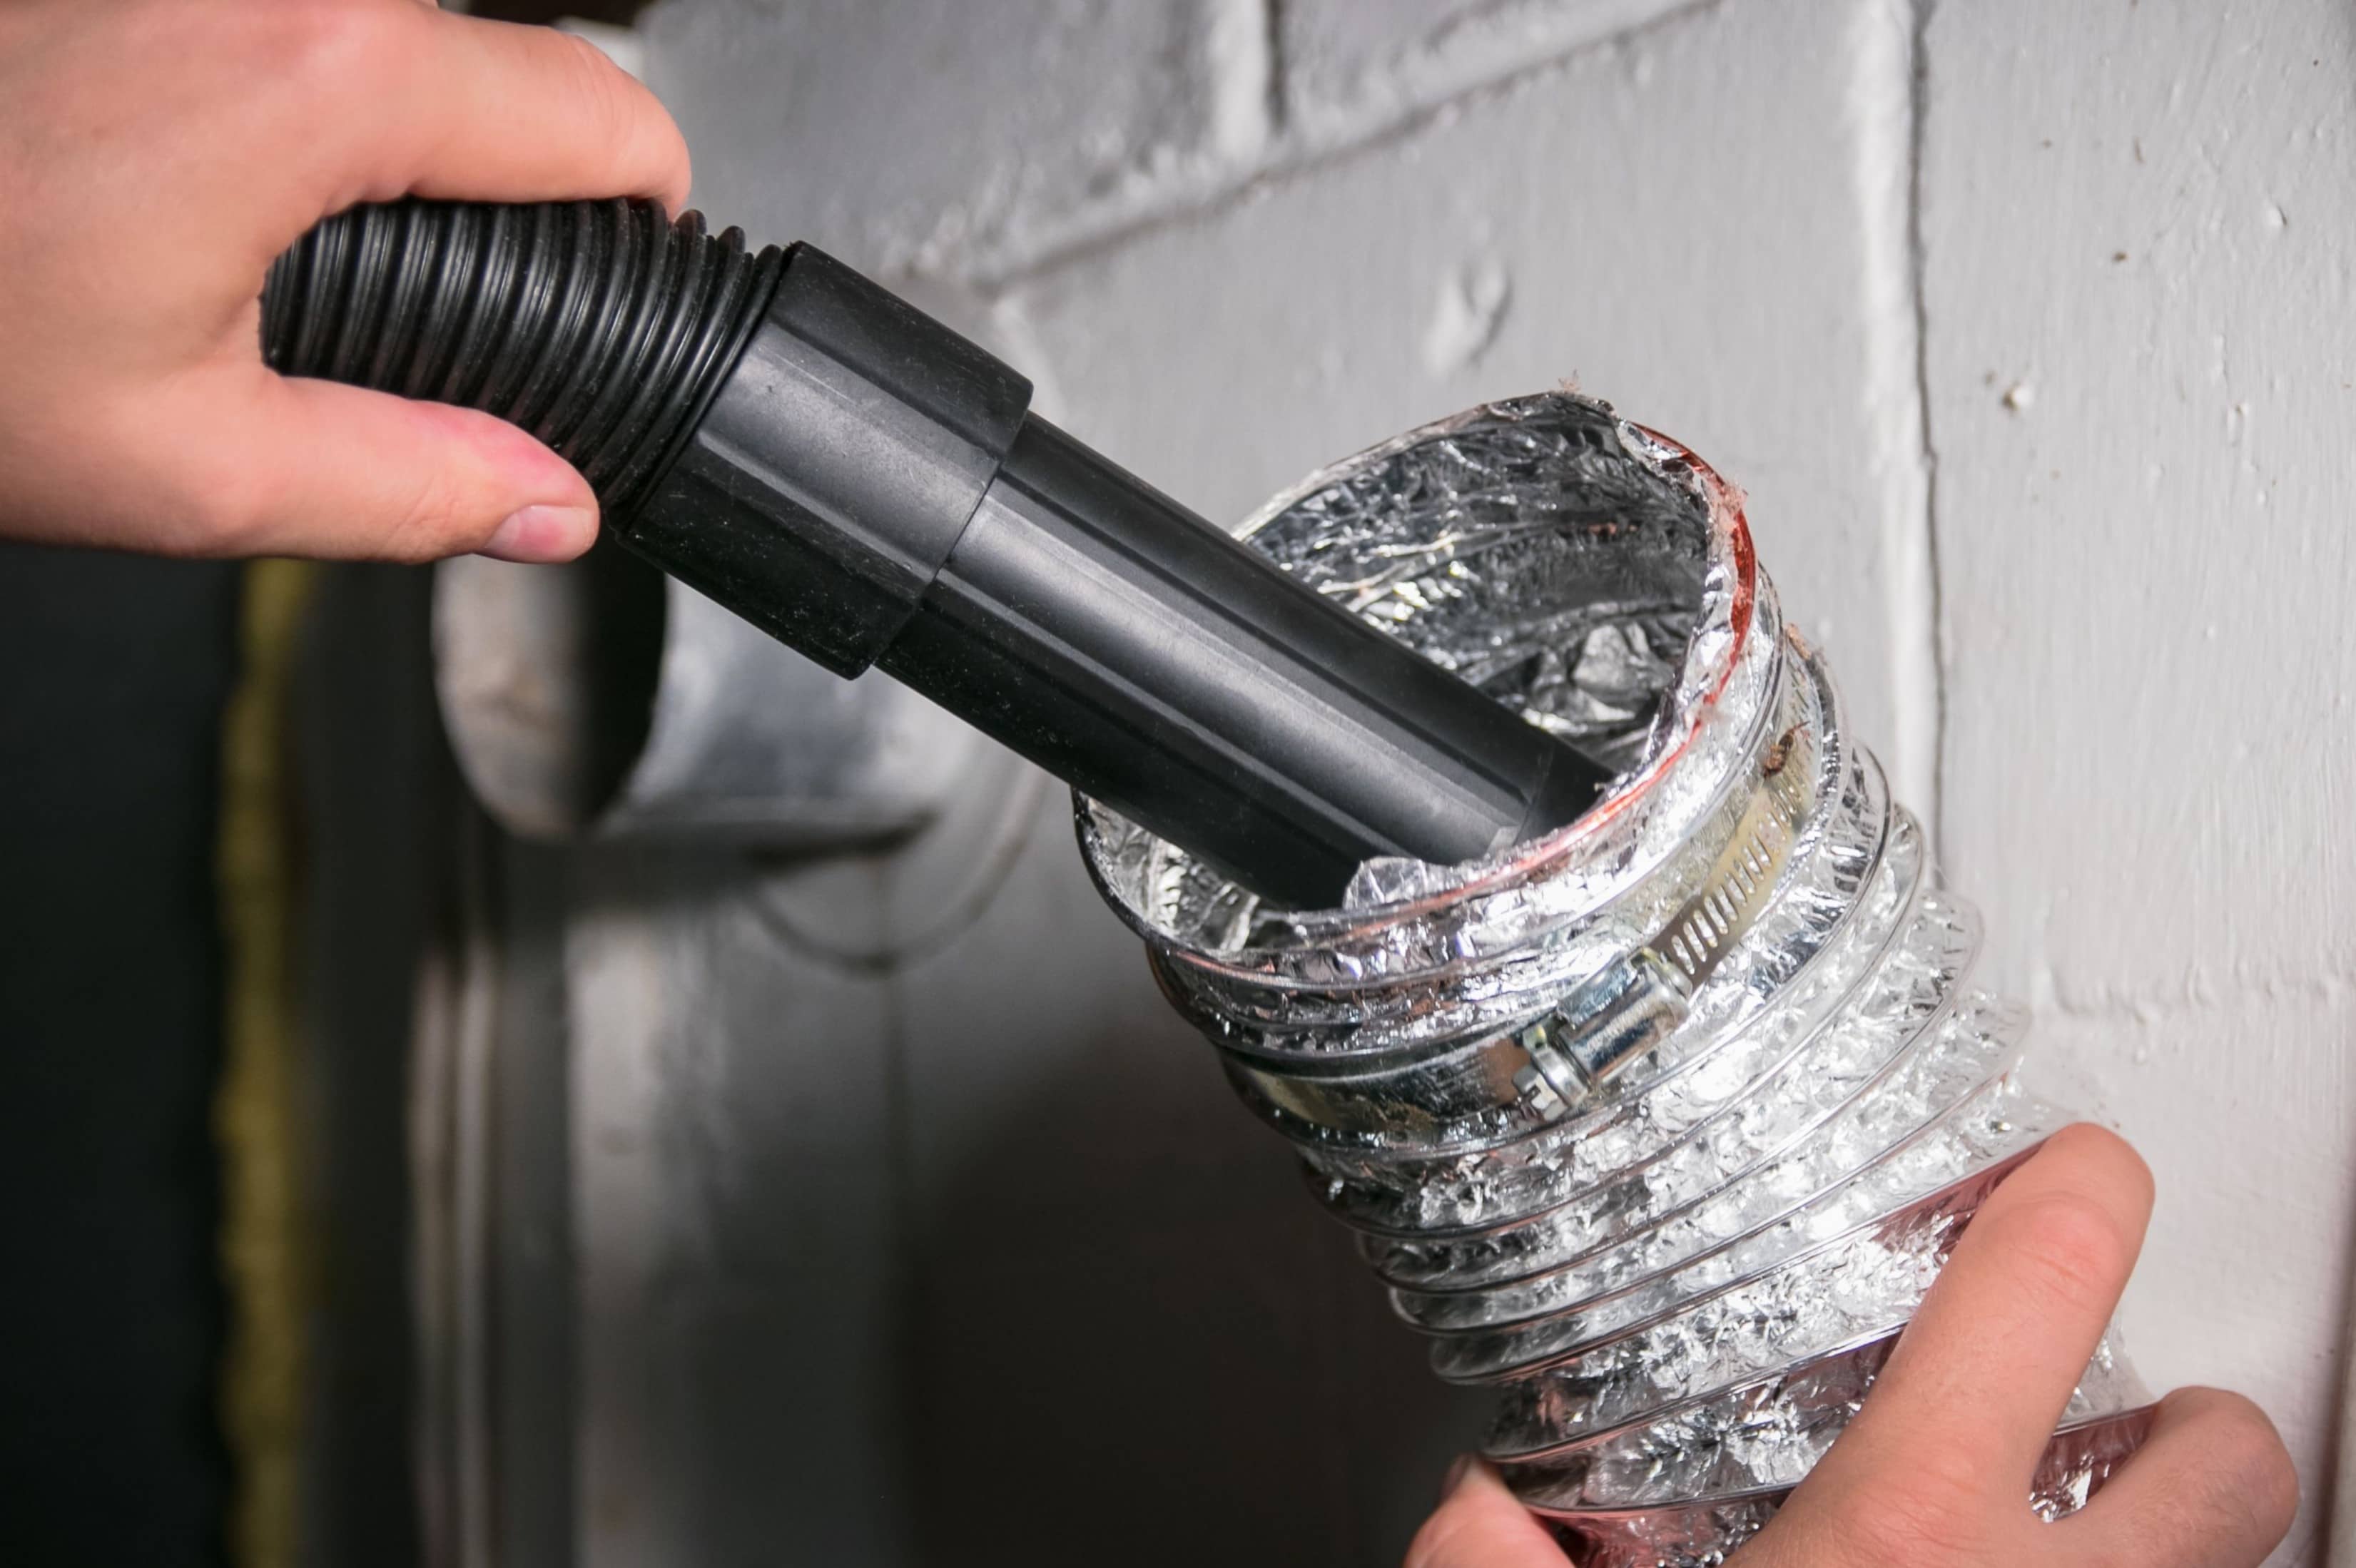
Vacuuming the Vent Pipe: Using a Vacuum Cleaner to Remove Lint and Debris
After removing the vent cover, the next step in cleaning the inside of your dryer vent is to use a vacuum cleaner to remove lint and debris from the vent pipe. Here is a step-by-step guide on how to do it effectively:
- Attach the Hose: Attach the hose attachment to your vacuum cleaner. Make sure it is securely connected to prevent any air leaks during the cleaning process.
- Insert the Hose into the Vent: Gently insert the hose into the vent pipe as far as possible. The narrow nozzle of the hose attachment will help you reach the deeper areas of the pipe.
- Move the Hose Back and Forth: Slowly move the hose back and forth along the length of the vent pipe. This action will dislodge and suck up any lint or debris that may be trapped inside.
- Focus on Problematic Areas: Pay special attention to areas where you suspect lint buildup or clogs. These areas often include bends, twists, and connections in the vent pipe. Spend extra time vacuuming these regions to ensure thorough cleaning.
- Continue Vacuuming: Continue moving the hose throughout the vent pipe, gradually working your way from one end to the other. Aim to remove as much lint and debris as possible.
- Check the Vacuum Filter: Periodically check the vacuum cleaner’s filter to ensure it is not clogged with lint. If necessary, clean or replace the filter to maintain optimal suction power.
Specific Areas to Focus on While Vacuuming:
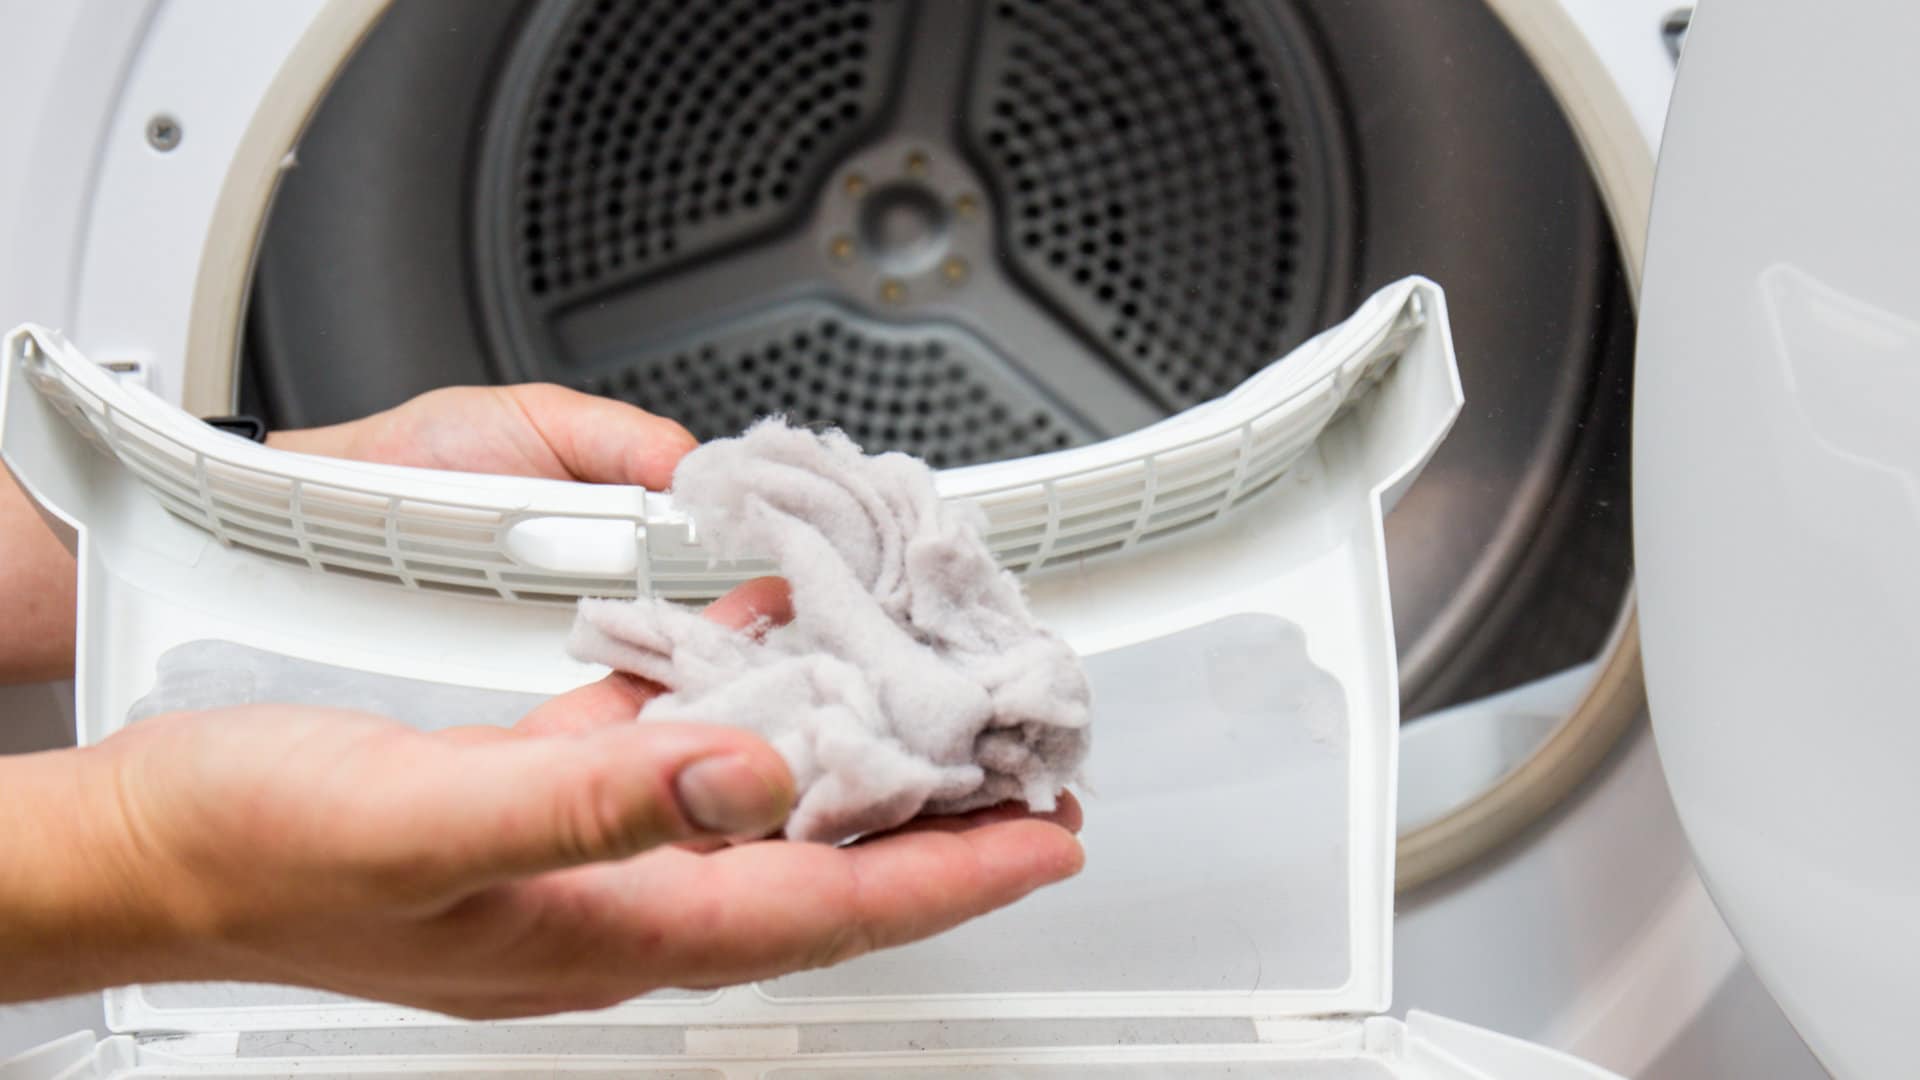
- Lint Trap Housing: Remove the lint trap from the dryer and vacuum the housing area. Lint can accumulate here and restrict airflow.
- Elbows and Bends: Elbows and bends in the vent pipe are prone to lint buildup. Pay close attention to these areas and thoroughly vacuum them to remove any obstructions.
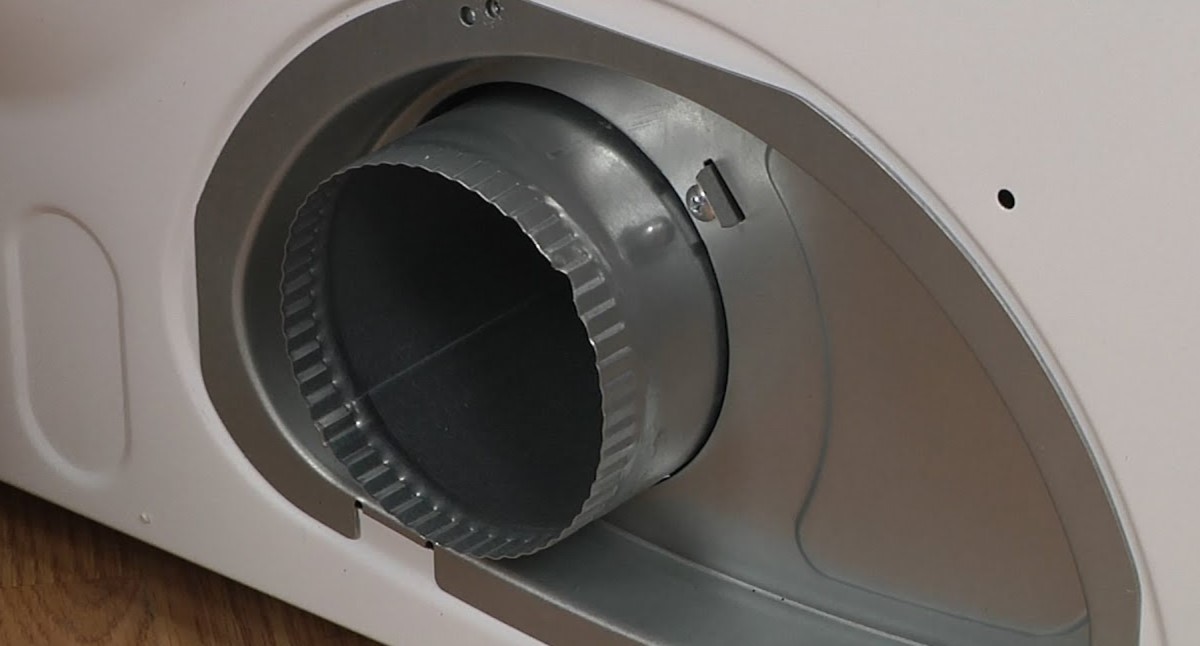
- Transition Hose: If your dryer vent includes a transition hose, be sure to vacuum it as well. This hose connects the dryer to the vent and can accumulate lint and debris.
- Exhaust Port: Finally, remember to vacuum the exhaust port on the back of the dryer itself. This area can accumulate lint and restrict airflow if not properly cleaned.
By effectively vacuuming the vent pipe and focusing on problematic areas, you can remove a significant amount of lint and debris from the inside of your dryer vent. This will help improve airflow and reduce the risk of fire hazards.
Read more: How To Clean A Dryer Inside And Out
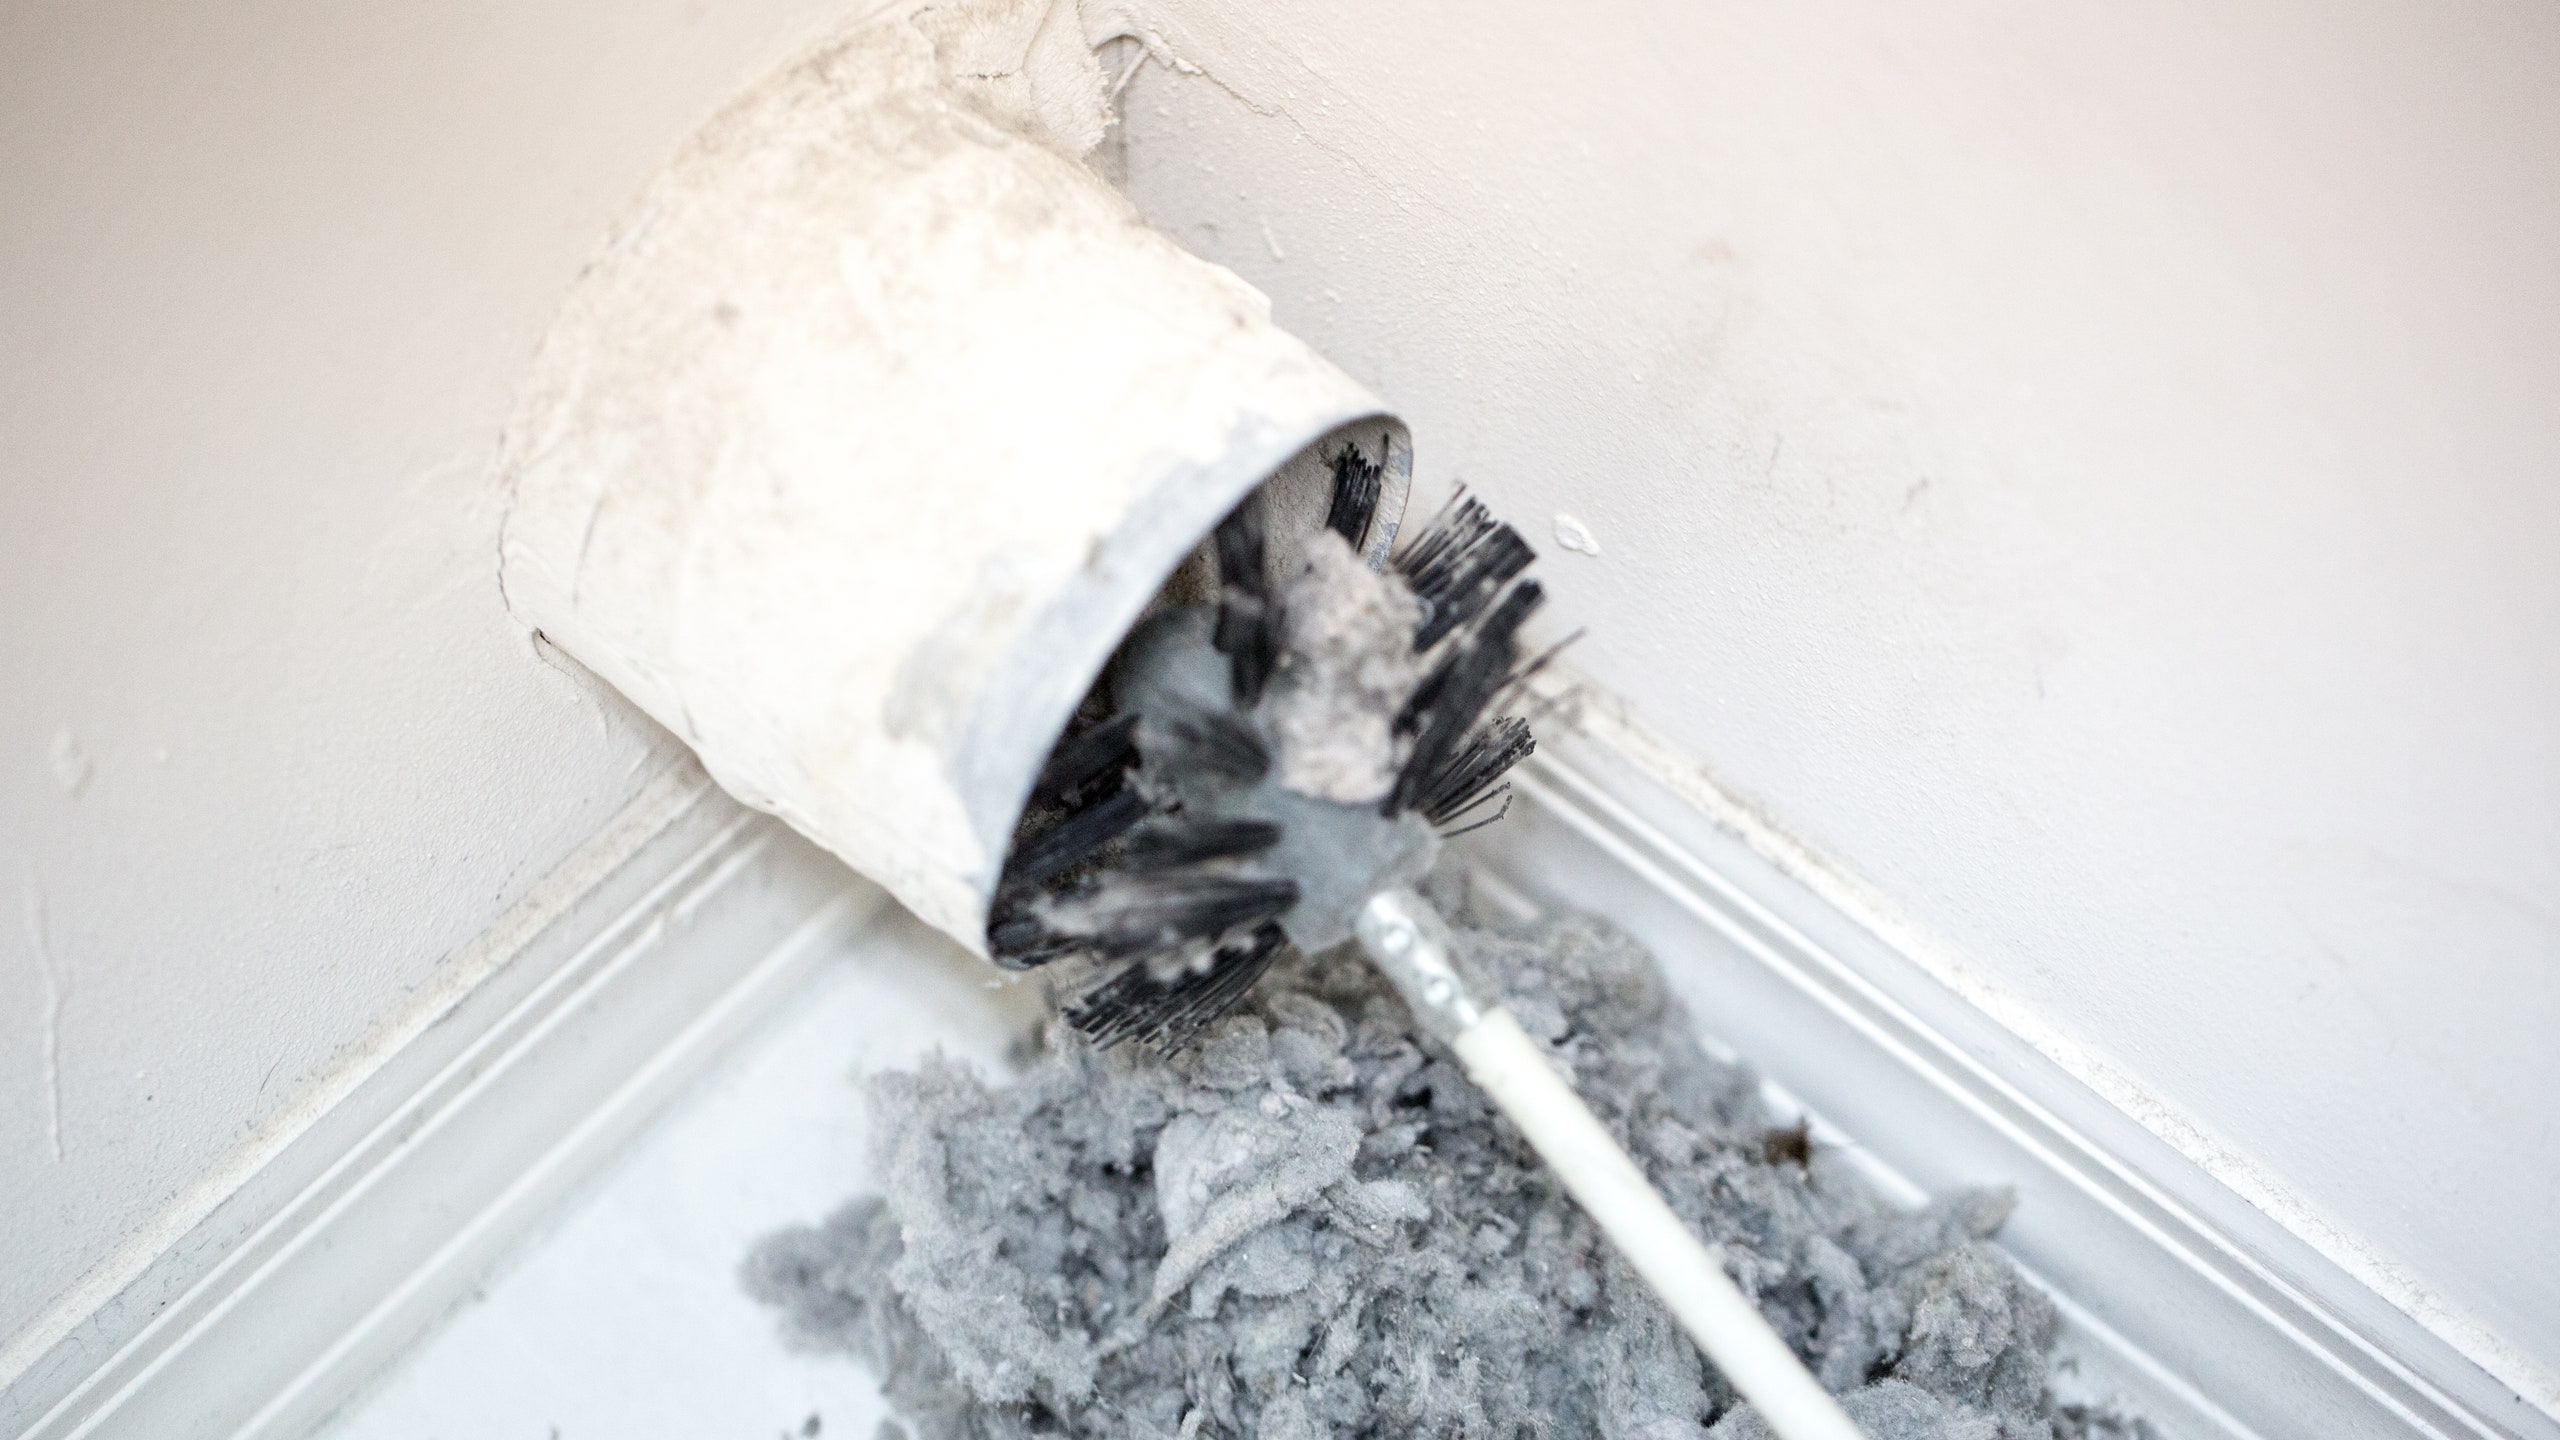
Brushing the Vent Pipe: How to Use a Vent Brush to Remove Stubborn Lint Buildup
After vacuuming the vent pipe, there may still be stubborn lint buildup that requires more thorough cleaning. This is where a vent brush comes in handy. Here is a step-by-step guide on how to use a vent brush effectively:
- Select the Right Brush: Choose a vent brush specifically designed for cleaning dryer vents. It should have long bristles and a flexible handle to navigate through the twists and turns of the vent pipe.
- Attach the Brush to a Rod: Some vent brushes come with detachable rods or extension poles. Attach the brush securely to the rod so that it stays in place while you navigate it through the vent pipe.
- Insert the Brush into the Vent: Gently insert the brush into the vent pipe, starting from the end closest to the dryer. Push the brush in as far as possible without applying excessive force.
- Rotate the Brush: Once the brush is inside the vent pipe, start rotating it clockwise. This twisting motion will help dislodge and remove the stubborn lint buildup from the walls of the vent.
- Move the Brush Back and Forth: While continuing to rotate the brush, also move it back and forth along the length of the vent pipe. This motion will ensure that you cover all areas and remove as much lint as possible.
- Pay Attention to Problematic Areas: Focus on areas where lint buildup tends to be more significant, such as bends, twists, and connections. Spend extra time brushing these areas to achieve a thorough clean.
- Make Multiple Passes: For heavily clogged vents, it may be necessary to make multiple passes with the brush. Repeat the rotation and back-and-forth motions until you are satisfied with the amount of lint removed.
- Remove the Brush from the Vent: Once you have completed the brushing process, gently pull the brush out of the vent pipe, retracing your steps. Be careful not to dislodge any remaining lint or debris.
Techniques for Effectively Brushing the Vent Pipe:
- Start from the Dryer End: Begin brushing the vent pipe from the end closest to the dryer. This allows you to push any loosened lint towards the exterior vent for easier removal.
- Avoid Excessive Force: While it is important to apply some pressure to dislodge lint, avoid using excessive force as it may damage the vent pipe. Be gentle but firm while rotating and brushing.
- Take Your Time: Brushing the vent pipe may take some time, especially if there is stubborn lint buildup. Be patient and thorough, ensuring that you cover all sections of the vent pipe.
- Inspect the Brush: After brushing, examine the brush to see if it has collected a significant amount of lint. Remove any accumulated lint from the bristles before moving on to the next step.
By using a vent brush and following proper techniques, you can effectively remove stubborn lint buildup from the inside of your dryer vent. This will promote better airflow, reduce drying times, and minimize the risk of fire hazards.
Regularly clean the inside of your dryer vent by using a vacuum with a long, narrow attachment to remove lint and debris. This will improve the efficiency of your dryer and reduce the risk of fire.
Cleaning the Vent Exit: Proper Cleaning of the Vent Exit to Improve Airflow
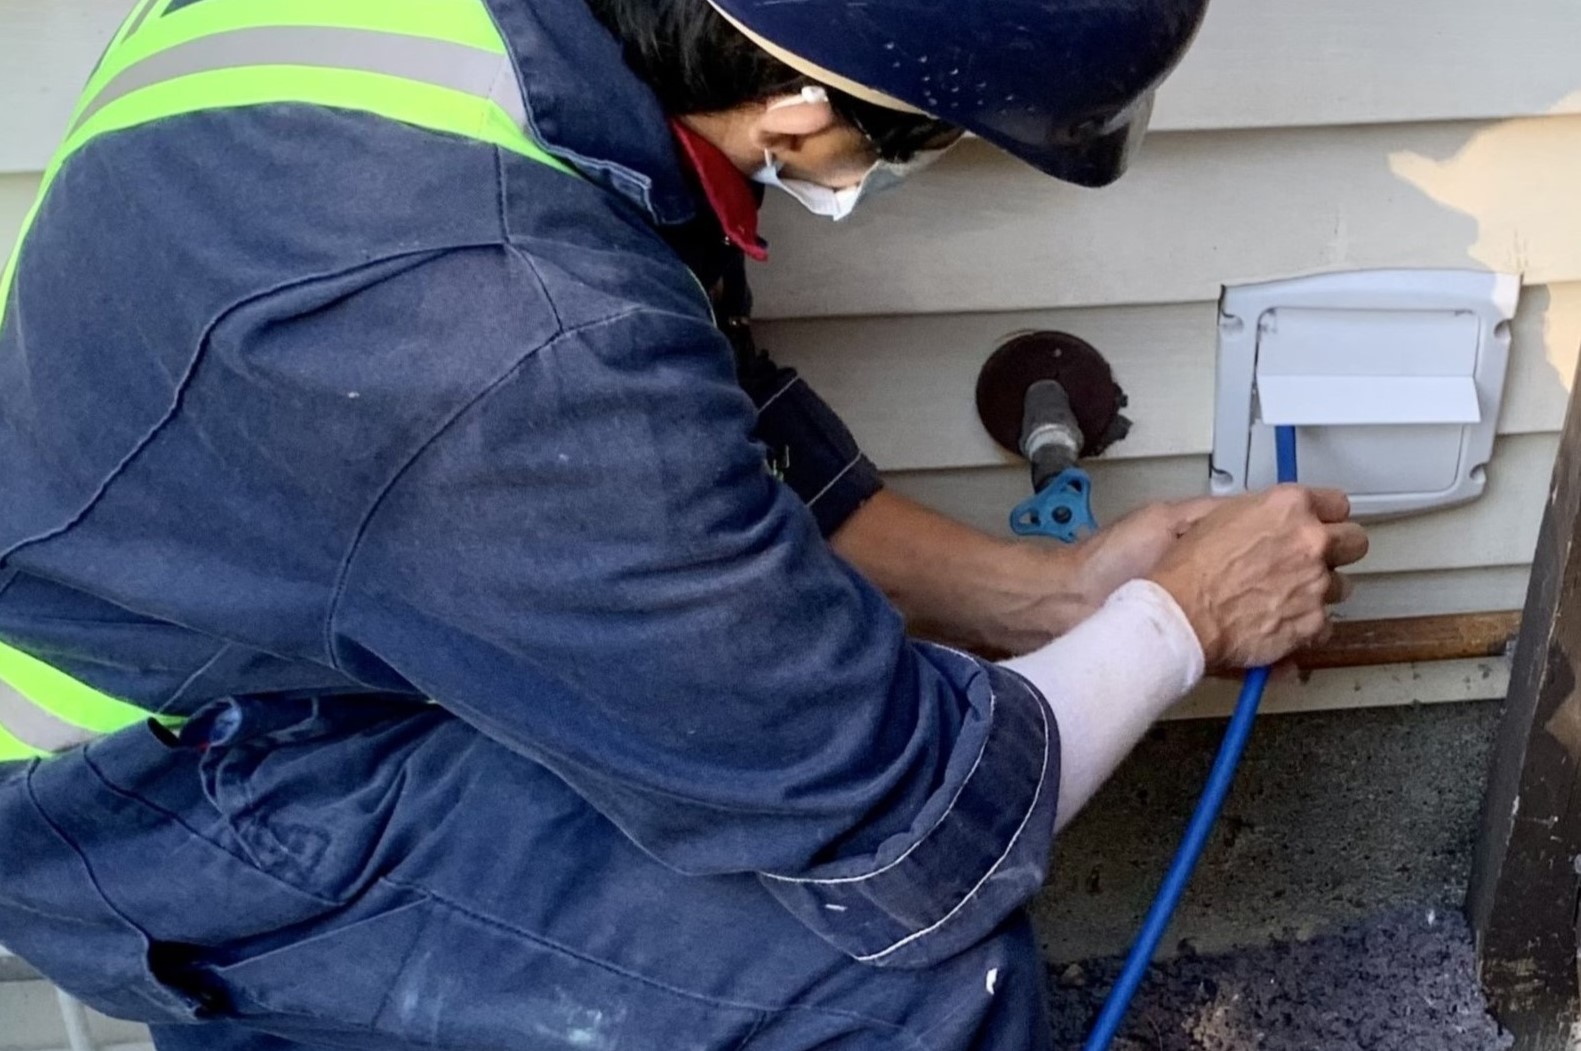
While cleaning the inside of the dryer vent is essential, it is equally important to clean the vent exit on the exterior of your home. This step ensures proper airflow and prevents any blockages that can hinder the vent’s functionality. Here is a step-by-step guide on how to clean the vent exit:
- Locate the Vent Exit: The vent exit is typically located on an exterior wall of your home. It is usually a small flap or grille that opens when the dryer is in use and closes when it is not in operation.
- Inspect the Vent Exit: Take a close look at the vent exit to assess its condition. Look for any signs of damage, such as cracks, dents, or obstructions.
- Remove Debris: Carefully remove any accumulated debris, such as leaves, twigs, or lint, from the vent exit. You can use your hands or a small brush to sweep away the debris. Be cautious not to damage the vent exit in the process.
- Clean the Grille or Flap: If the vent exit has a removable grille or flap, take it off and clean it separately. Use a brush or cloth to remove any lint or debris from the surface. You can also wash the grille with mild soap and water if necessary.
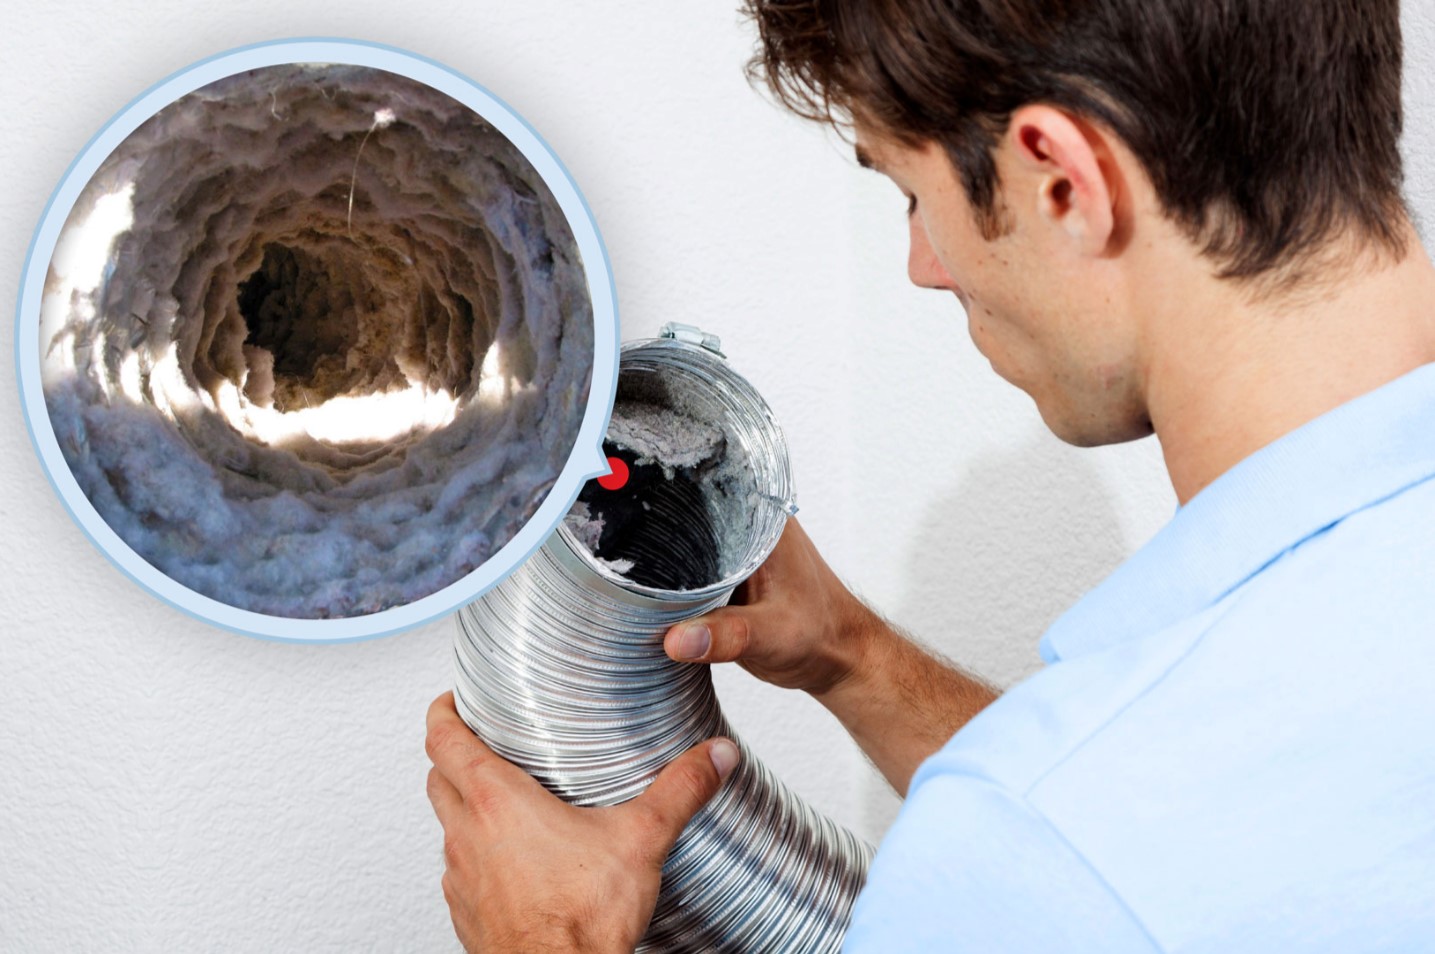
- Inspect the Vent Pipe: While cleaning the vent exit, take the opportunity to inspect the vent pipe for any visible damage or obstructions. Look for signs of wear, loose connections, or bird nests. If you notice any issues, it may be necessary to seek professional assistance.
- Reinstall the Grille or Flap: Once the vent exit and grille or flap are clean, reattach the grille securely. Ensure that it fits snugly and operates smoothly.
Tips for Removing Accumulated Debris from the External Vent:
- Use a Vacuum Cleaner: Consider using a vacuum cleaner with a narrow nozzle attachment to suck up any debris around the vent exit. This will help to remove debris more effectively.
- Regularly Check and Clean: Make it a habit to check and clean the vent exit at least twice a year. This will help maintain optimal airflow and prevent debris buildup.
- Trim Vegetation: If there are any trees or bushes near the vent exit, regularly trim them to prevent leaves and branches from obstructing the vent or causing damage.
- Protect the Vent Exit: Consider installing a vent cover or grille guard to protect the vent exit from debris and critters while still allowing proper airflow.
By properly cleaning the vent exit and removing accumulated debris, you can significantly improve the airflow of your dryer vent system. This will enhance the overall efficiency of your dryer and reduce the risk of potential hazards.
Reattaching the Dryer Vent Cover: Step-by-Step Instructions
After cleaning the inside of your dryer vent and ensuring that the vent exit is clean, the next step is to reattach the vent cover. Here is a step-by-step guide on how to reattach the dryer vent cover securely and ensure a proper fit:
- Inspect the Vent Cover: Before reattaching the vent cover, inspect it for any damage or wear. Ensure that it is in good condition and free from any cracks or loose parts.
- Position the Vent Cover: Align the vent cover with the opening on the exterior wall where it was originally installed. Make sure it is positioned correctly and level with the wall surface.
- Locate the Screw Holes or Fasteners: Identify the screw holes or fasteners on the vent cover and mark their positions on the wall. This will help guide you when reattaching the cover.
- Attach the Vent Cover: Using the appropriate tool, such as a screwdriver or pliers, secure the vent cover in place by tightening the screws or fasteners. Ensure that they are snug but not overly tightened.
- Check for a Proper Fit: Once the vent cover is attached, check for any gaps or misalignments. The cover should fit securely against the wall without any loose or uneven areas.
- Verify the Vent Cover Operation: Open and close the vent cover to ensure it operates smoothly. The cover should open easily when the dryer is in use and close tightly when the dryer is not in operation.
Ensuring a Secure and Proper Fit for the Cover:
- Tighten the Screws Properly: Make sure to tighten the screws securely but avoid overtightening, as this can cause damage to the vent cover or the wall.
- Check for Any Gaps: After attaching the vent cover, inspect it for any gaps between the cover and the wall surface. If there are any openings, adjust the cover or screws to eliminate them.
- Level the Vent Cover: Use a level to ensure that the vent cover is installed straight and level with the wall. This will provide a more aesthetically pleasing appearance.
- Replace Damaged Vent Covers: If the vent cover is severely damaged or no longer fits properly, consider replacing it with a new one. This will ensure better functionality and enhance the overall appearance of your home’s exterior.
- Regularly Inspect the Vent Cover: As part of routine maintenance, periodically check the vent cover to make sure it is securely attached and free from any damage or obstructions.
By following these step-by-step instructions and ensuring a secure and proper fit for the dryer vent cover, you can maintain a well-sealed and functional vent system. This will help prevent lint buildup, improve airflow, and reduce the risk of hazards such as fires or inefficient drying cycles.
Testing the Dryer Vent: Importance of Performing a Vent Airflow Test After Cleaning
After completing the cleaning process for your dryer vent, it is crucial to perform a vent airflow test to ensure that the vent is clear and functioning optimally. Here’s why this test is important and how you can check if your vent is clear:
Importance of Performing a Vent Airflow Test:
Performing a vent airflow test is important for several reasons:
- Verify Effective Cleaning: The test allows you to confirm that the cleaning process was successful in removing lint and debris from the vent pipe.
- Ensure Proper Ventilation: By checking the airflow, you can ensure that there are no blockages that could hinder the proper airflow from the dryer.
- Prevent Fire Hazards: A clear and properly functioning vent reduces the risk of lint buildup, which is a leading cause of dryer fires.
- Improve Energy Efficiency: A clean vent helps your dryer operate more efficiently, reducing energy consumption and saving on utility costs.
- Prolong Dryer Lifespan: When the vent is clear, your dryer doesn’t have to work as hard, potentially extending its lifespan.
How to Check if the Vent Is Clear and Functioning Optimally:
To determine if your dryer vent is clear and functioning optimally, follow these steps:
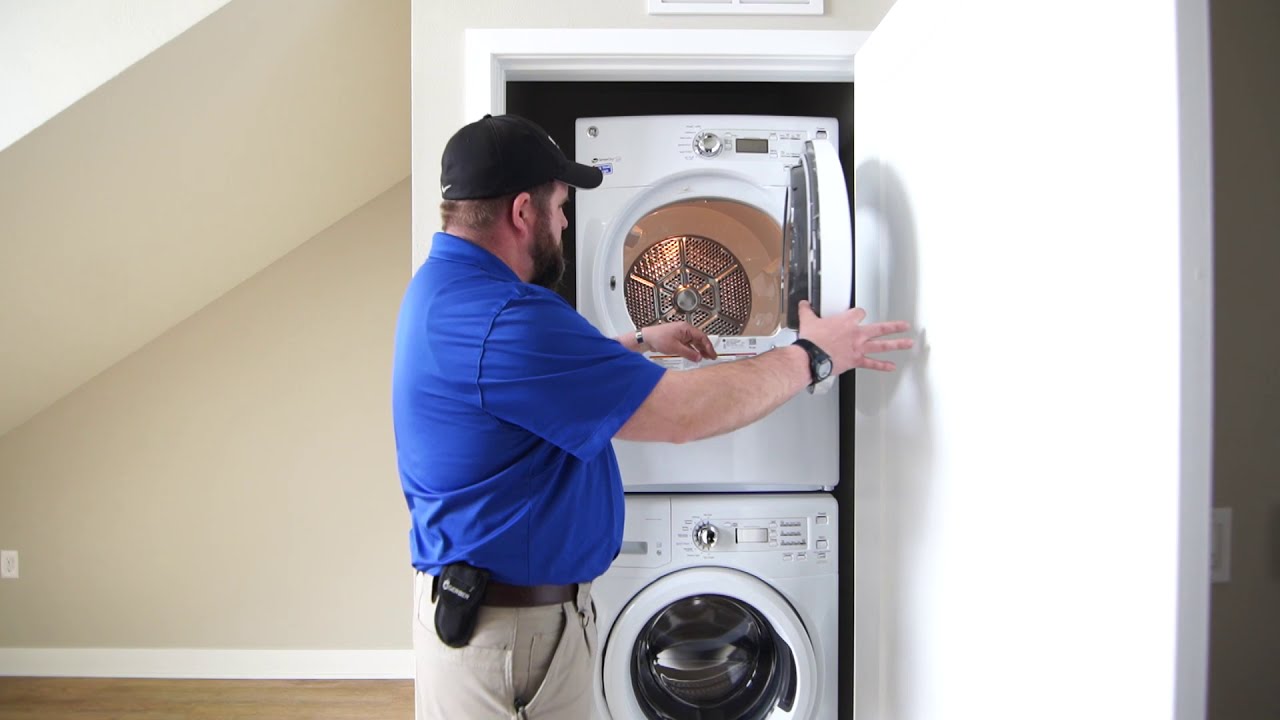
- Disconnect the Dryer: Unplug your dryer from the power source and pull it away from the wall, giving you access to the vent pipe.
- Detach the Vent Pipe: Loosen the metal clamp securing the vent pipe to the back of the dryer using a screwdriver or pliers. Carefully detach the vent pipe from the dryer exhaust.
- Turn on the Dryer: Plug the dryer back in and turn it on to its highest heat setting. Let it run for a few minutes to generate airflow through the vent pipe.
- Check for Airflow: Hold your hand near the vent exit on the exterior wall. You should feel a steady flow of warm air coming out. If there is little to no airflow, it indicates a blockage in the vent pipe.
- Inspect the Vent Pipe: While the dryer is running, check the vent pipe for any signs of obstructions or restricted airflow, such as lint buildup or debris. Pay close attention to bends and connections.
- Reattach the Vent Pipe: Once you have completed the test, disconnect the dryer again, reattach the vent pipe, and secure it tightly with the metal clamp.
If you notice poor airflow or any signs of blockage during the vent airflow test, it may be necessary to re-clean the vent or seek professional assistance to address the issue. Regularly performing this test can help you maintain a clear and efficient dryer vent system, reducing the risk of fire hazards and ensuring optimal performance.
Read more: Who Cleans Dryer Vent
Regular Maintenance Tips: Suggestions for Preventing Future Buildup
To ensure the optimal performance and safety of your dryer vent, regular maintenance is key. Here are some important tips to help you prevent future buildup and maintain a clean and efficient dryer vent system:
- Clean the Lint Trap Regularly: Remove lint from the lint trap after every load of laundry. This prevents lint from accumulating and reduces the risk of it entering the vent pipe.
- Inspect and Clean the Vent Exit: Check the vent exit on the exterior of your home regularly. Remove any debris, such as leaves and lint, to prevent blockages and maintain proper airflow.
- Remove Obstructions in the Vent: Periodically inspect the vent pipe for any obstructions, such as lint buildup or objects that may have accidentally fallen into the vent. Remove these obstructions promptly to maintain efficient airflow.
- Keep the Dryer Area Clean: Regularly clean the area around the dryer, removing any lint or dust that has accumulated. This prevents the lint from being blown back into the dryer vent system.
- Check for Vent Pipe Damage: Routinely inspect the vent pipe for any signs of damage, including cracks, holes, or loose connections. Address any issues promptly to prevent lint buildup and maintain proper ventilation.
- Avoid Overloading the Dryer: Avoid overloading your dryer with an excessive amount of laundry. Overloading can lead to increased lint production and restrict airflow in the vent pipe.
Frequency of Cleaning the Dryer Vent:
The frequency of cleaning your dryer vent depends on several factors, including the length of the vent, the number of loads dried per week, and the type of clothing being dried. Generally, it is recommended to clean the dryer vent at least once a year. However, certain situations may warrant more frequent cleanings:
- Heavy Usage: If you regularly dry large loads of laundry or use your dryer multiple times a day, consider cleaning the vent every six months to prevent excessive lint buildup.
- Long Vent Length: If your vent pipe is long and has multiple bends, it is more susceptible to lint accumulation. In such cases, it may be necessary to clean the vent every three to six months.
- Noticeable Signs of Blockage: If you notice reduced airflow, longer drying times, or musty odors coming from the dryer, these are signs of a potential blockage. In such instances, clean the vent immediately to restore proper functionality.
Remember, regular maintenance of your dryer vent is essential for optimal performance, energy efficiency, and safety. By following these maintenance tips and cleaning the vent at the appropriate intervals, you can prevent future buildup and minimize the risk of fire hazards, while ensuring that your dryer operates efficiently for years to come.
Conclusion: Importance of Cleaning the Inside of a Dryer Vent
Regularly cleaning the inside of your dryer vent is crucial for the safety, efficiency, and longevity of your dryer. Neglecting this essential task can lead to decreased performance, longer drying times, and even fire hazards. By taking the time to clean the inside of your dryer vent, you can prevent these issues and ensure optimal functioning of your dryer.
Throughout this article, we have discussed the step-by-step process of cleaning the inside of a dryer vent, including removing the vent cover, vacuuming the vent pipe, brushing stubborn lint buildup, and cleaning the vent exit. We have also emphasized the importance of taking safety precautions and using the right tools and materials for effective cleaning.
To maintain a clean and efficient dryer vent, here are some final tips and reminders:
- Regular Maintenance: Perform regular maintenance, such as cleaning the lint trap after every load and inspecting the vent exit, to prevent future buildup and maintain optimal airflow.
- Schedule Cleaning: Clean the inside of your dryer vent at least once a year. Consider more frequent cleanings based on heavy usage, long vent length, or signs of blockage.
- Monitor Drying Times: Keep an eye on drying times. If you notice extended drying periods, it may indicate a clogged vent that needs cleaning.
- Address Issues Promptly: If you notice reduced airflow, strange odors, or unusual noises coming from your dryer, address these issues promptly to prevent potential hazards and maintain dryer efficiency.
- Seek Professional Help: If you’re unsure or uncomfortable with cleaning the dryer vent yourself, consider hiring a professional for a thorough cleaning and inspection.
By following these tips and maintaining a clean and efficient dryer vent, you can enjoy improved drying performance, reduce energy consumption, and ensure the safety of your home and family.
Remember, regular cleaning of the inside of your dryer vent is a crucial part of home maintenance. It is a small investment of time and effort that yields significant benefits in terms of safety, efficiency, and cost savings. So, make it a priority and enjoy a well-functioning dryer and peace of mind.
Frequently Asked Questions about How To Clean The Inside Of A Dryer Vent
Was this page helpful?
At Storables.com, we guarantee accurate and reliable information. Our content, validated by Expert Board Contributors, is crafted following stringent Editorial Policies. We're committed to providing you with well-researched, expert-backed insights for all your informational needs.