Home>Home Maintenance>How To Clean A Dryer Vent In An Apartment
Home Maintenance
How To Clean A Dryer Vent In An Apartment
Modified: October 20, 2024
Learn how to clean a dryer vent in your apartment with this helpful home maintenance guide. Keep your dryer running efficiently and prevent fire hazards.
(Many of the links in this article redirect to a specific reviewed product. Your purchase of these products through affiliate links helps to generate commission for Storables.com, at no extra cost. Learn more)
Introduction
Keeping your dryer vent clean is an important aspect of home maintenance, especially in apartments where space is limited. A clogged dryer vent not only affects the efficiency of your dryer, but it can also pose a serious fire risk. The accumulation of lint, debris, and even small items like coins and keys can restrict the airflow and cause overheating. In this article, we will guide you through the steps to safely and effectively clean a dryer vent in an apartment.
Before we begin, it’s essential to highlight the importance of regular dryer vent maintenance. By cleaning your dryer vent at least once a year, you can prevent potential fire hazards and keep your dryer working optimally. Additionally, a clean dryer vent can improve the drying time and energy efficiency of your appliance, saving you money on utility bills.
It’s important to note that while cleaning a dryer vent can be a DIY task, some apartments may have specific guidelines or regulations in place. Be sure to consult your landlord or apartment management before attempting any maintenance tasks. Safety should always be a priority, so let’s start by discussing some important safety precautions.
Key Takeaways:
- Regularly cleaning your apartment dryer vent is crucial for safety and efficiency. Follow safety precautions, disconnect the dryer, and clean the vent components to prevent fire hazards and improve appliance performance.
- Prioritize safety, wear protective gear, and follow step-by-step instructions to clean your apartment dryer vent. Regular maintenance saves money, reduces fire risks, and ensures a well-functioning appliance.
Read more: Who Cleans Dryer Vent
Safety Precautions
Before you start cleaning your dryer vent, make sure to follow these important safety precautions:
- Turn off and unplug the dryer: This is crucial to prevent any accidental starts or electric shocks while working on the vent.
- Wear protective gear: Put on gloves and a dust mask to protect yourself from dust, lint, and any potential allergens.
- Ensure proper ventilation: Open windows or use fans to create good air circulation in the area where you’ll be working.
- Use a flashlight: A flashlight will help you see any hidden obstructions or accumulated lint in the vent.
- Beware of sharp edges: Be cautious when handling any tools or metal parts to avoid cuts or injuries.
- Don’t use sharp objects: Avoid using sharp tools or objects that could damage the vent, such as metal hangers or wire brushes.
- Work with a partner (if possible): Having someone assist you can provide an extra level of safety and help with maneuvering the dryer.
By following these safety precautions, you can ensure a safe and successful dryer vent cleaning process. Now, let’s move on to the step-by-step instructions for cleaning your dryer vent in an apartment.
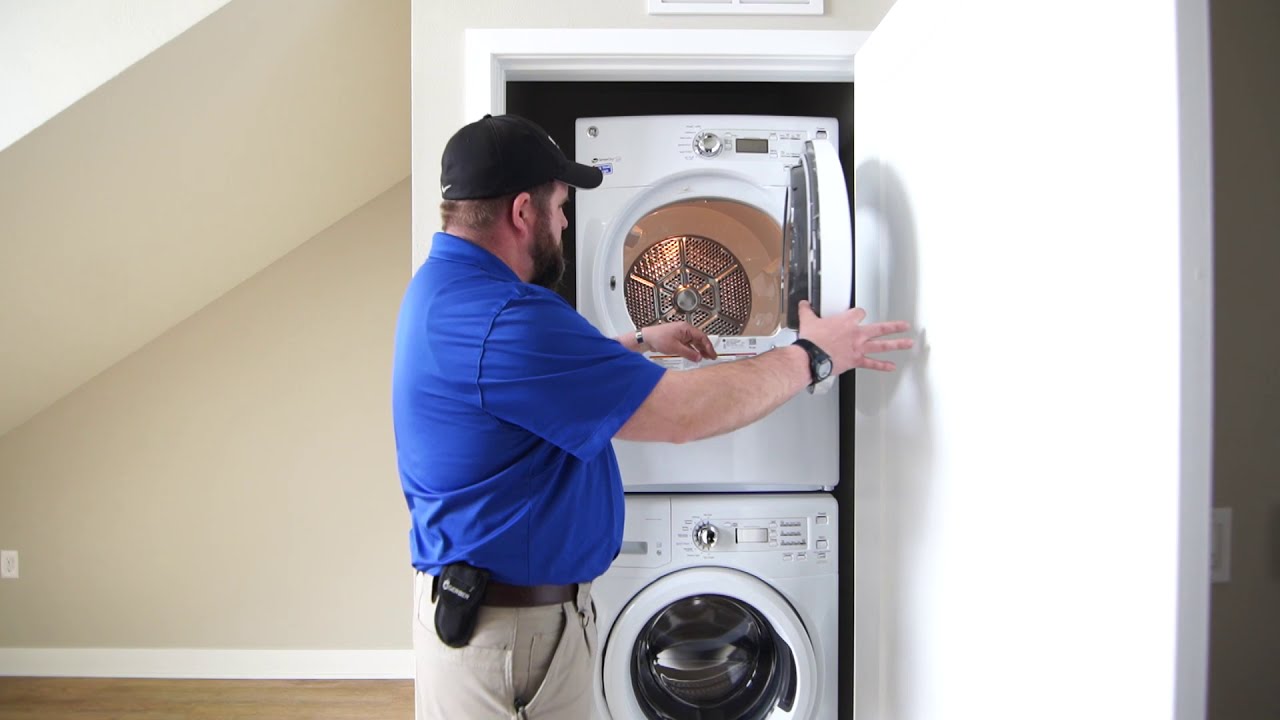
Step 1: Disconnect the Dryer
The first step in cleaning a dryer vent in an apartment is to disconnect the dryer from its power source. This ensures your safety and prevents any accidents during the cleaning process.
Here’s how to disconnect the dryer:
- Turn off the dryer: Make sure the dryer is completely turned off by pressing the power button or adjusting the timer.
- Unplug the dryer: Reach behind the dryer and unplug it from the wall outlet. Ensure that the plug is fully detached.
- Disconnect the vent hose: Gently pull the dryer away from the wall, leaving enough space to access the back. Locate the vent hose, which connects the dryer to the wall vent or duct.
- Loosen the clamp: Use a screwdriver or pliers to loosen the clamp securing the vent hose to the dryer. Once loosened, slide the clamp away from the dryer.
- Remove the vent hose: Carefully pull the vent hose off the dryer’s exhaust port. If the hose is stuck or hard to remove, you might need to use a bit of force or wiggle it back and forth.
Once you have successfully disconnected the dryer, move on to the next step of the cleaning process. Remember to keep the hose and clamp in a safe place, as you’ll need them later when reconnecting the dryer.
Step 2: Remove the Lint Filter and Clean
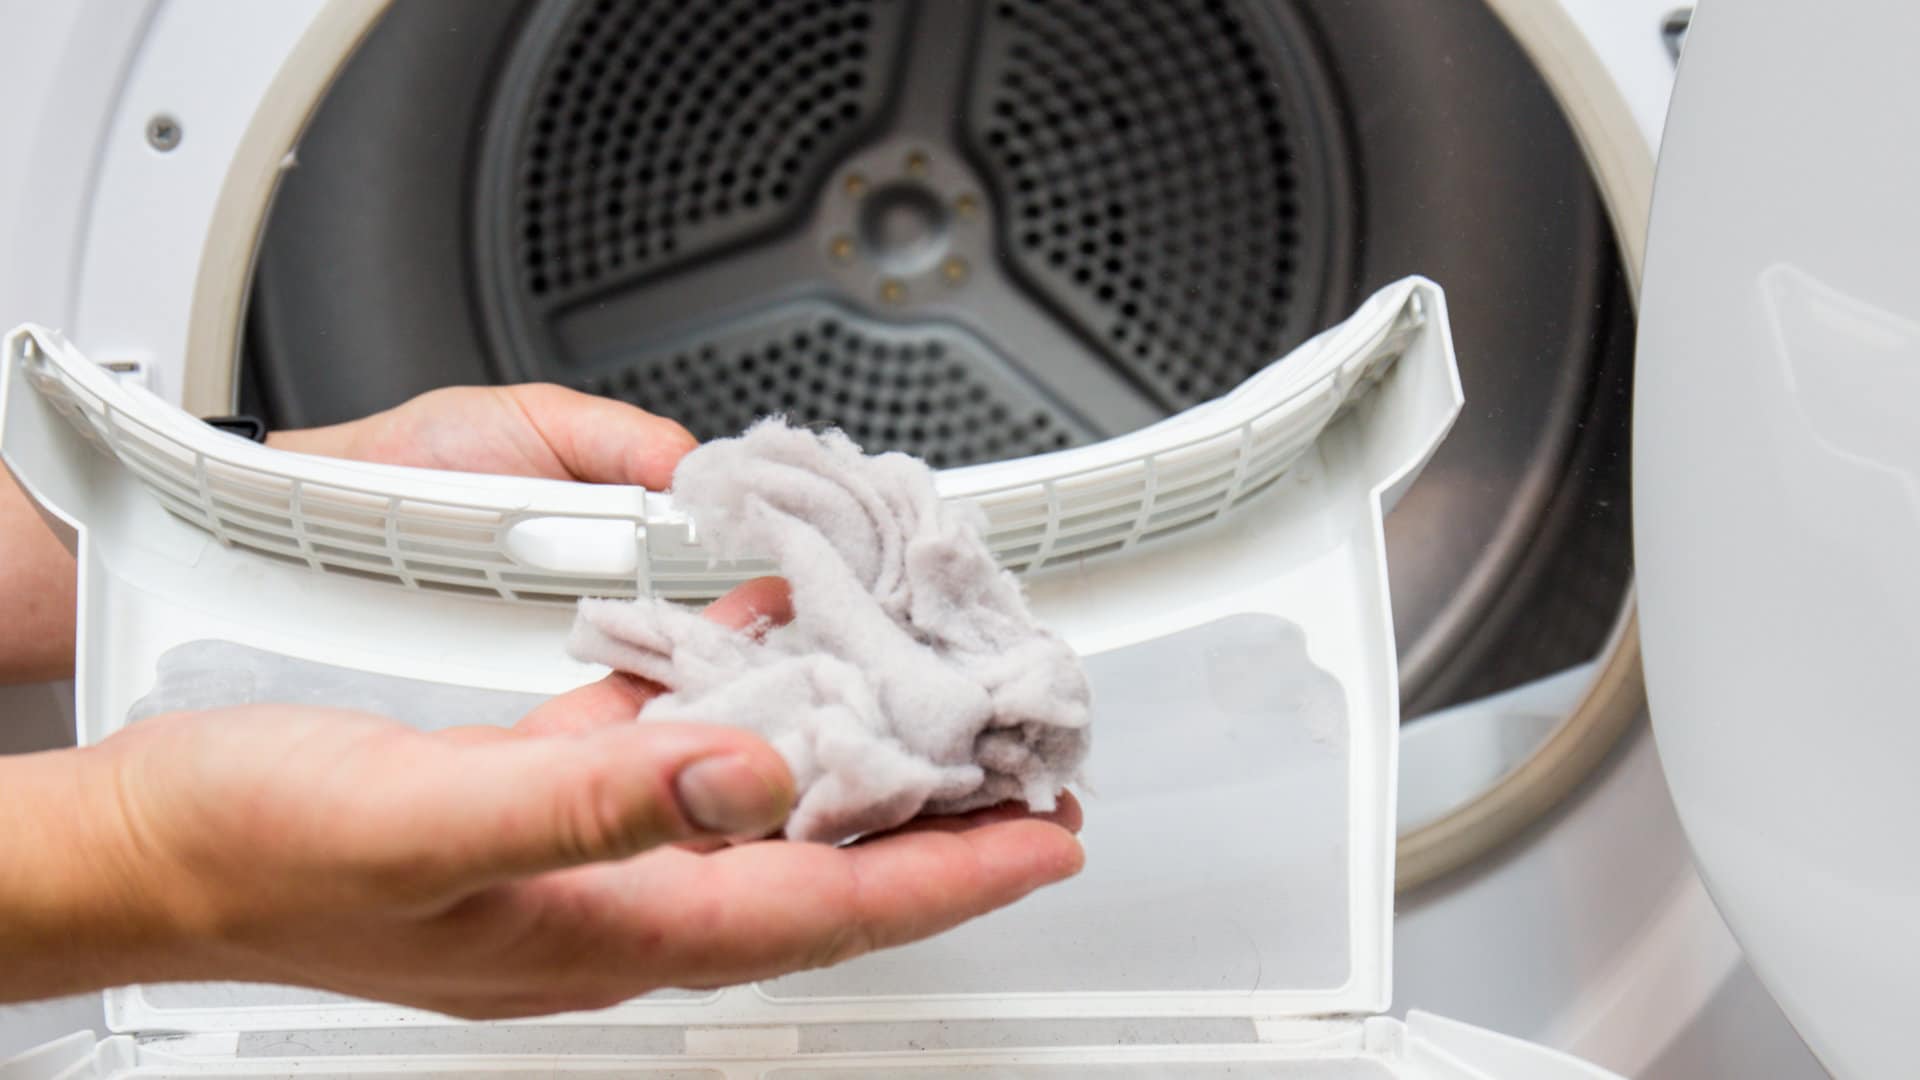
Now that the dryer is disconnected, it’s time to focus on cleaning the lint filter. The lint filter is responsible for trapping lint and other debris from your clothes during the drying process. Over time, the filter can become clogged, reducing the dryer’s airflow and efficiency.
Here’s how to remove and clean the lint filter:
- Locate the lint filter: The lint filter is typically located inside the dryer drum, near the dryer’s door. It is a rectangular-shaped screen that can be easily pulled out.
- Remove the lint filter: Carefully pull the lint filter out of its slot. Take note of how the filter fits in, as you’ll need to place it back correctly later.
- Remove lint and debris: With your fingers or a soft brush, gently remove any visible lint or debris from the filter. Make sure to remove all the lint, as any residue can hinder the dryer’s performance.
- Clean the lint filter: Rinse the lint filter under running water to remove any stubborn lint. Use mild soap and a soft brush to scrub away any buildup. Rinse thoroughly to ensure the filter is clean and free from soap residue.
- Dry the lint filter: Shake off any excess water and allow the lint filter to air dry completely. Avoid using heat or a hairdryer to speed up the drying process, as it can damage the filter.
Once the lint filter is clean and dry, you can proceed to the next step of cleaning the dryer vent opening. Keeping the lint filter clean is essential for efficient drying and preventing lint buildup in the dryer vent system.
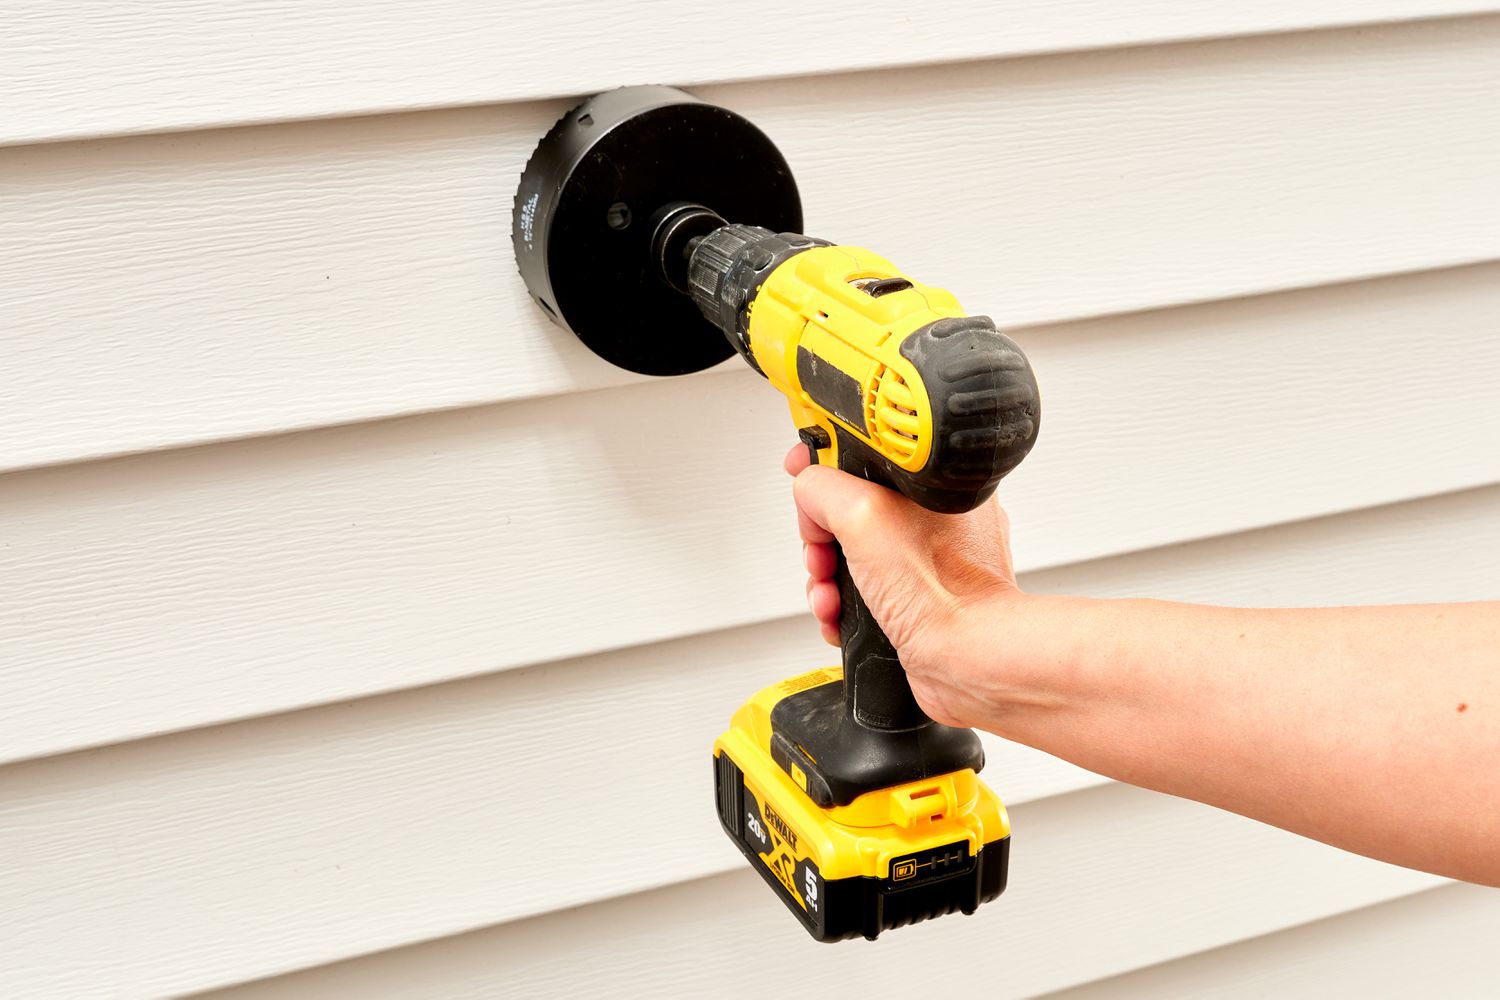
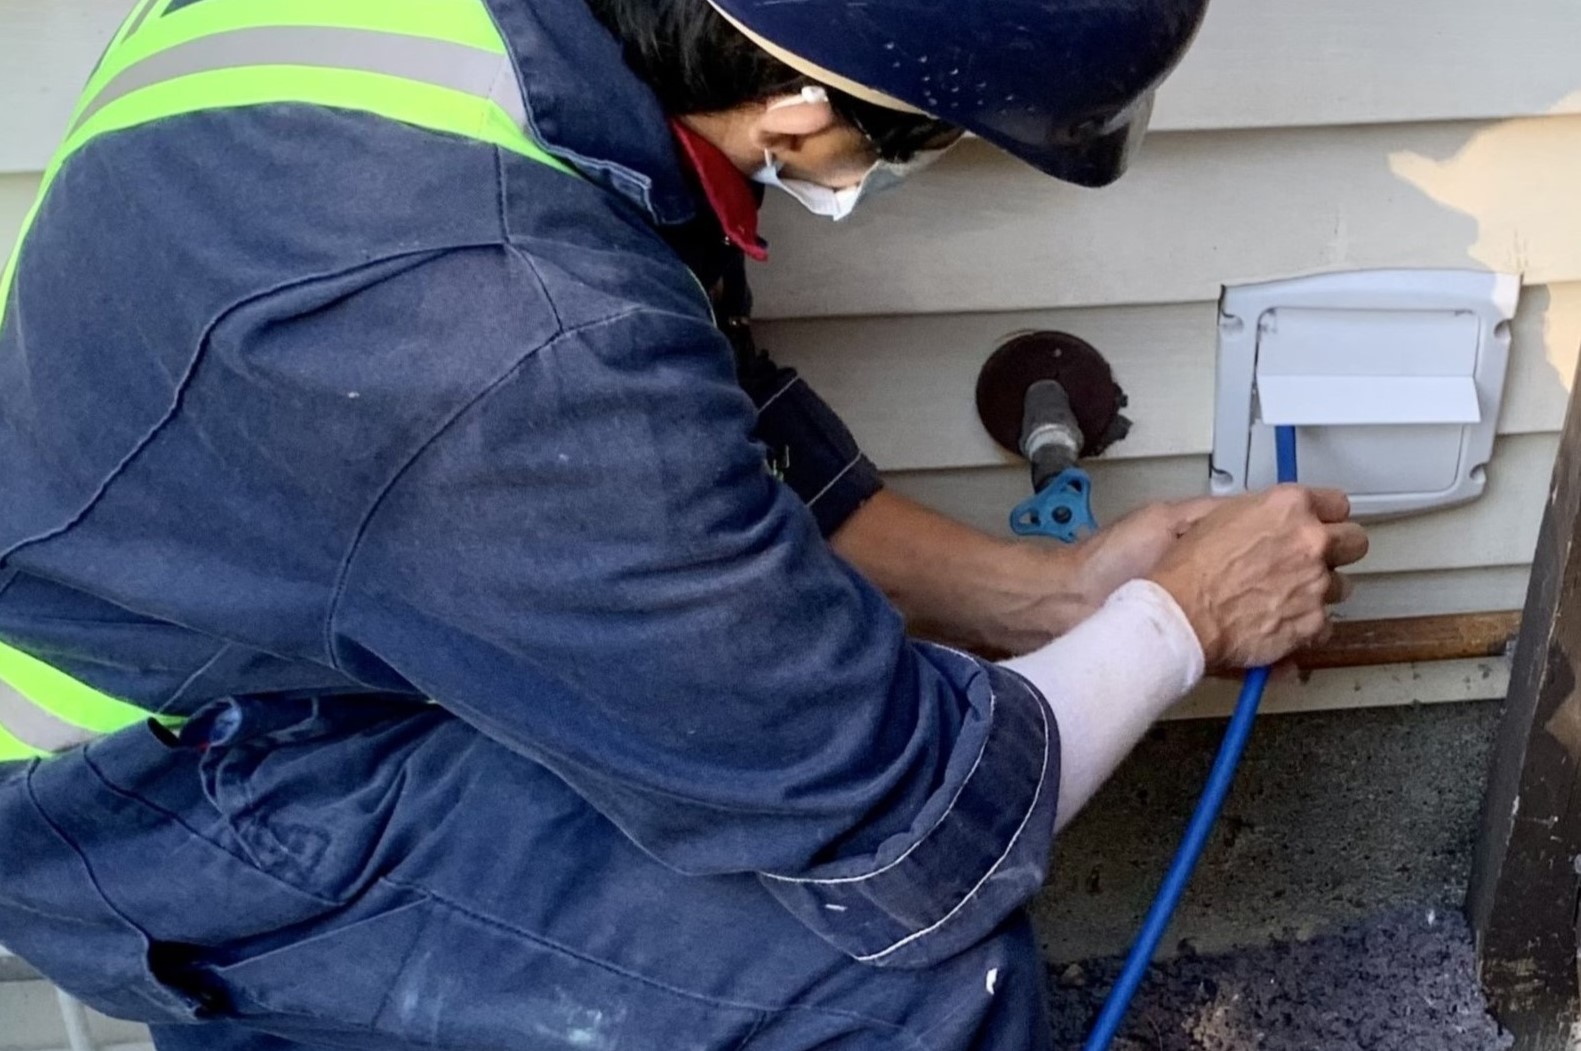
Step 3: Clean the Dryer Vent Opening
After cleaning the lint filter, it’s time to focus on the dryer vent opening. This is the area where the vent hose connects to the wall vent or duct. Over time, lint and debris can accumulate around the vent opening, obstructing the airflow and increasing the risk of a dryer fire.
Here’s how to clean the dryer vent opening:
- Inspect the vent opening: Examine the vent opening carefully to see if there are any visible signs of lint or debris. Use a flashlight to get a clear view of the inside of the opening.
- Remove visible obstructions: Use your hands or a small brush to remove any visible lint or debris from the vent opening. Be gentle to avoid pushing the obstruction further into the vent.
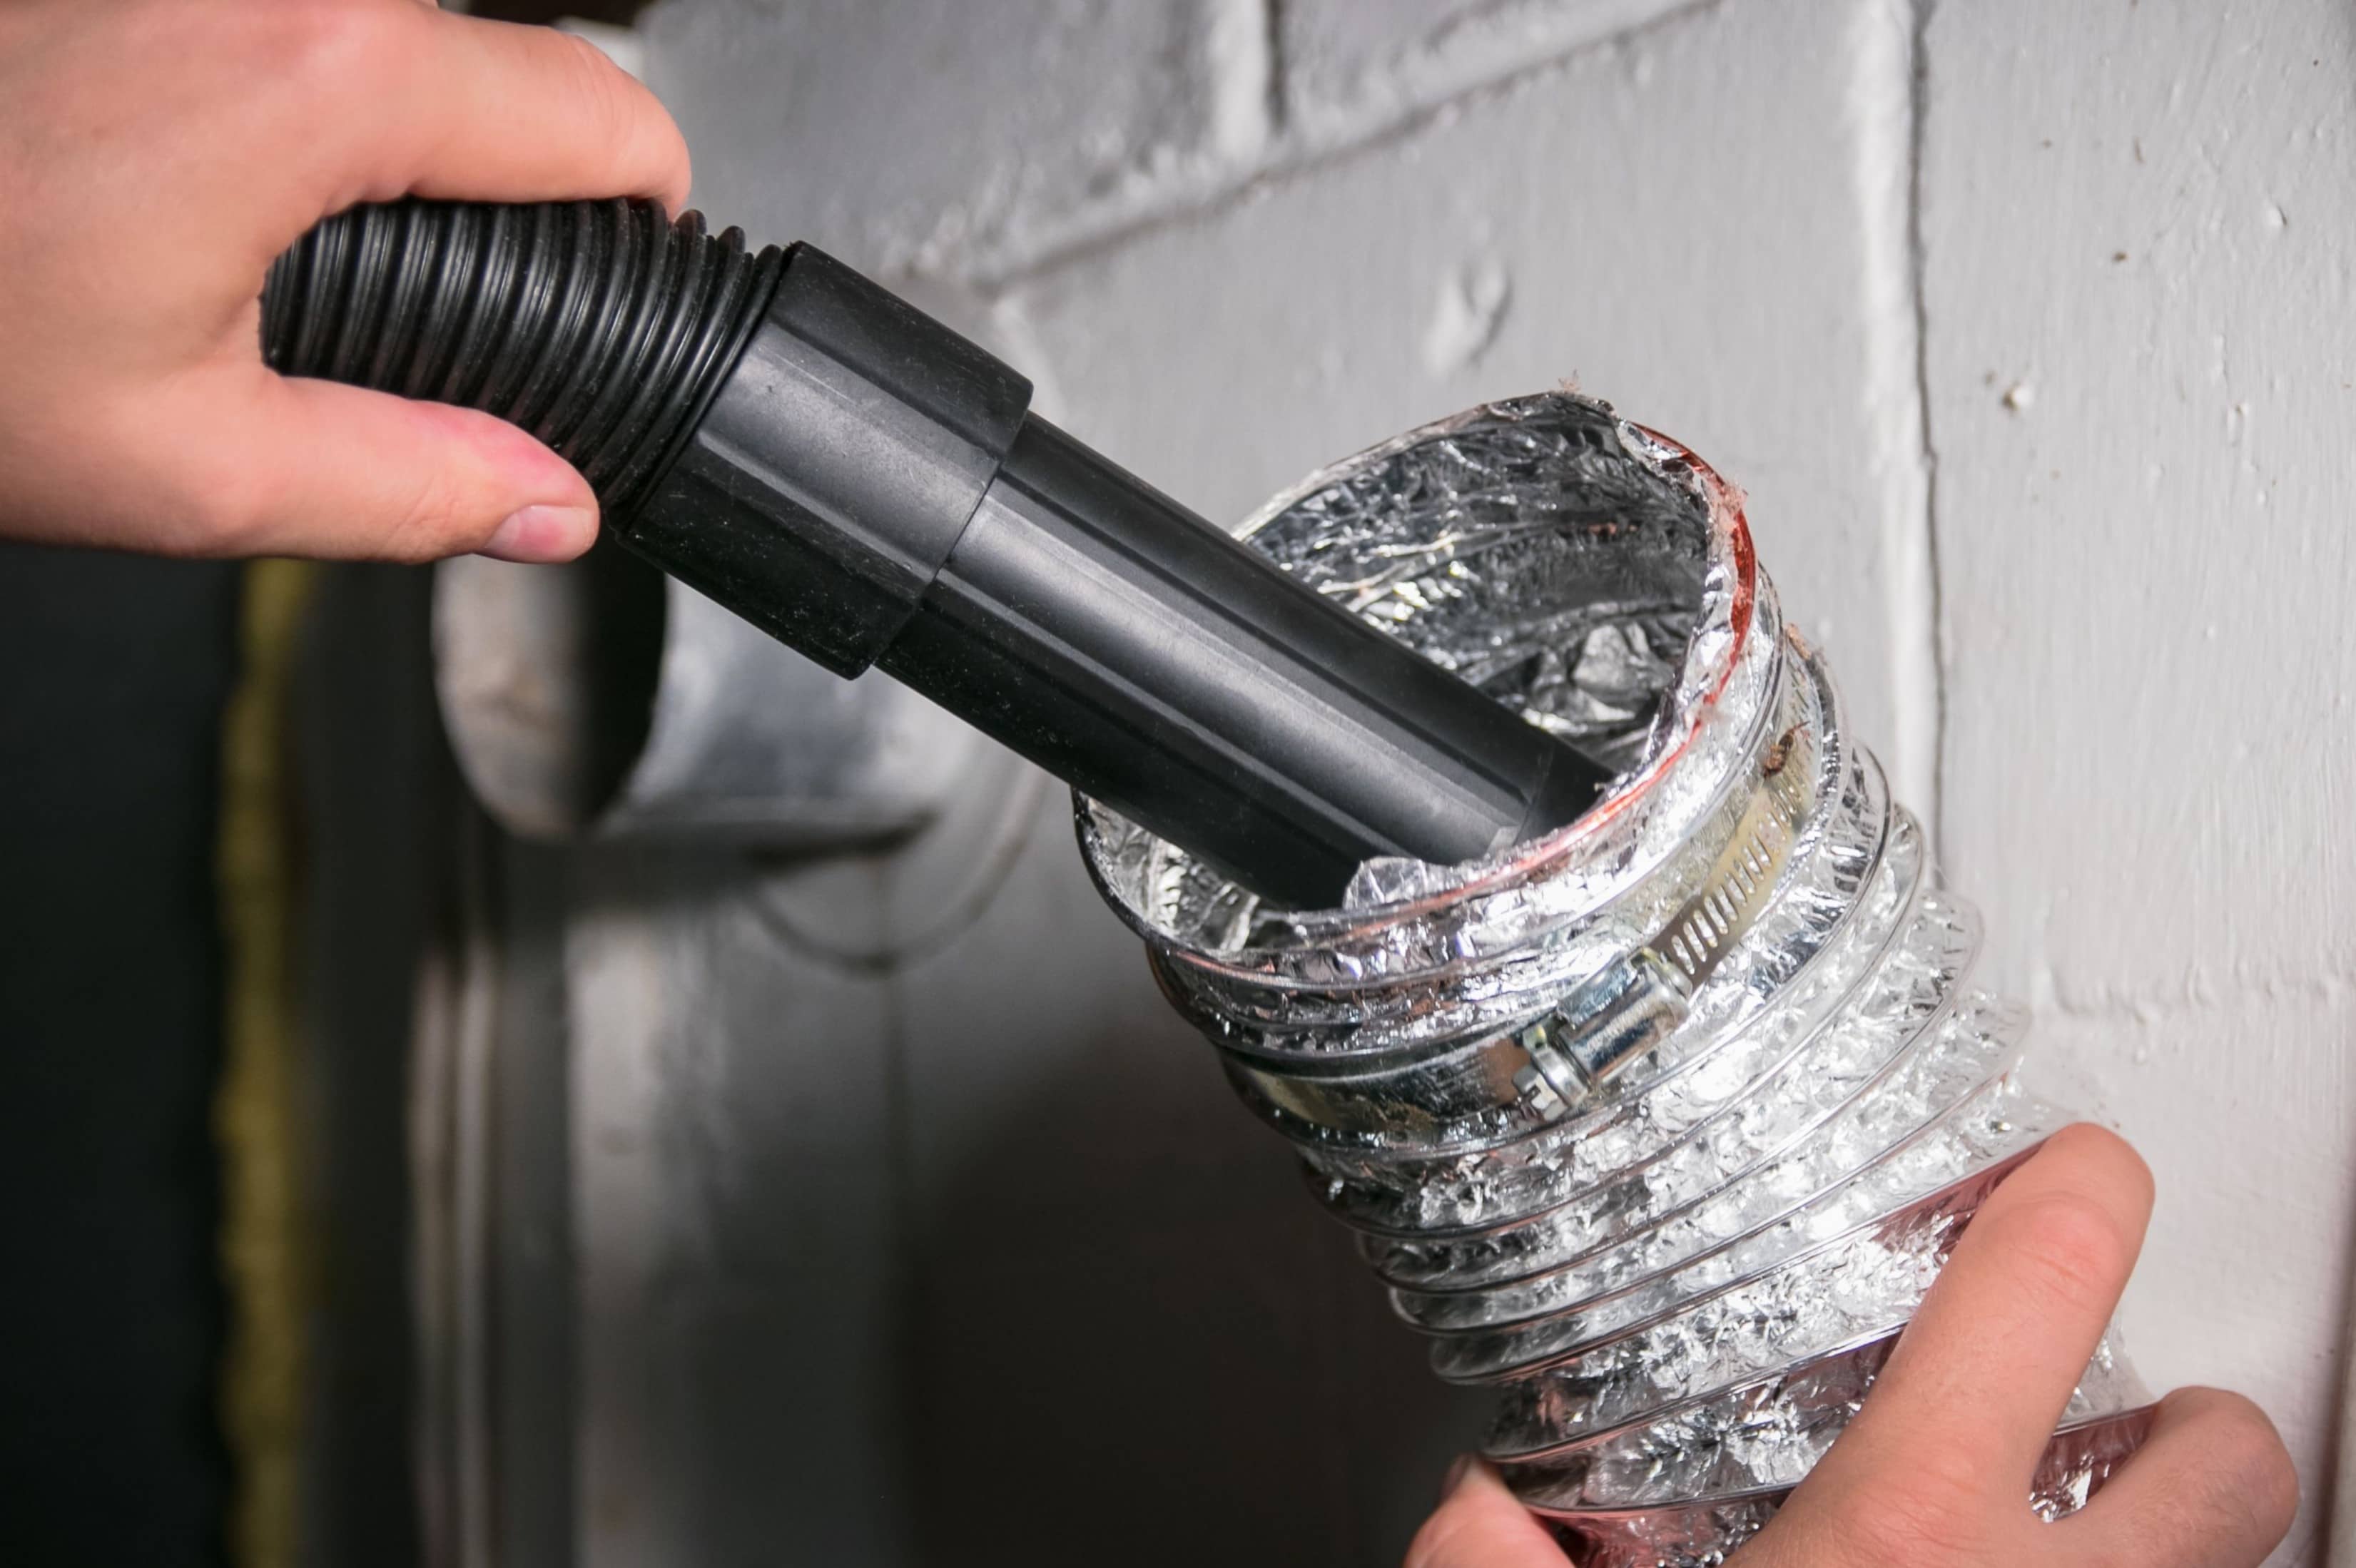
- Use a vacuum cleaner: Attach a narrow nozzle attachment to your vacuum cleaner hose and carefully insert it into the vent opening. Move the nozzle around to capture any loose lint or debris. Be thorough in your cleaning to ensure the vent opening is completely clear.
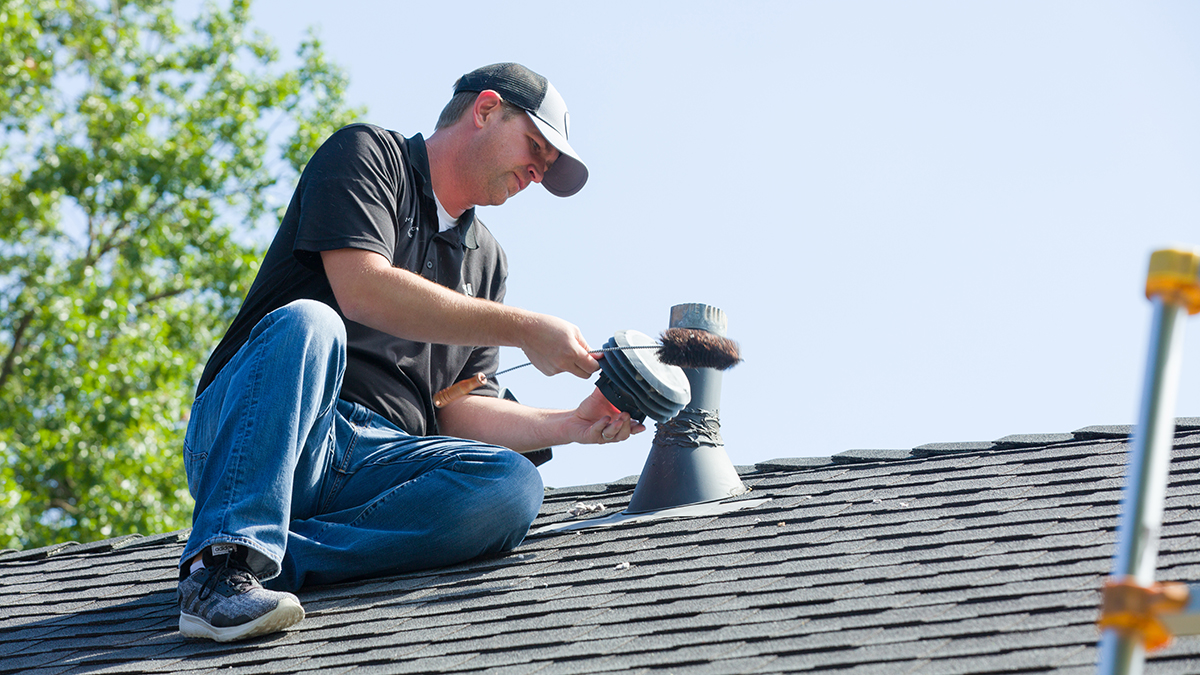
- Clean the exterior vent cover: If the dryer vent opening has an exterior vent cover, remove it and clean it separately. Use a brush or cloth to remove any lint or debris from the cover. Ensure that the vent cover is clean and free from any clogs.
Cleaning the dryer vent opening is crucial for maintaining proper airflow and preventing lint buildup. Once you have completed this step, it’s time to move on to the next step: Vacuuming the lint trap housing.
Use a vacuum with a long attachment to remove lint from the vent. Disconnect the vent from the dryer and vacuum both the vent and the area where it connects to the dryer. Be sure to clean the vent cover as well.
Read more: How To Clean The Inside Of A Dryer Vent
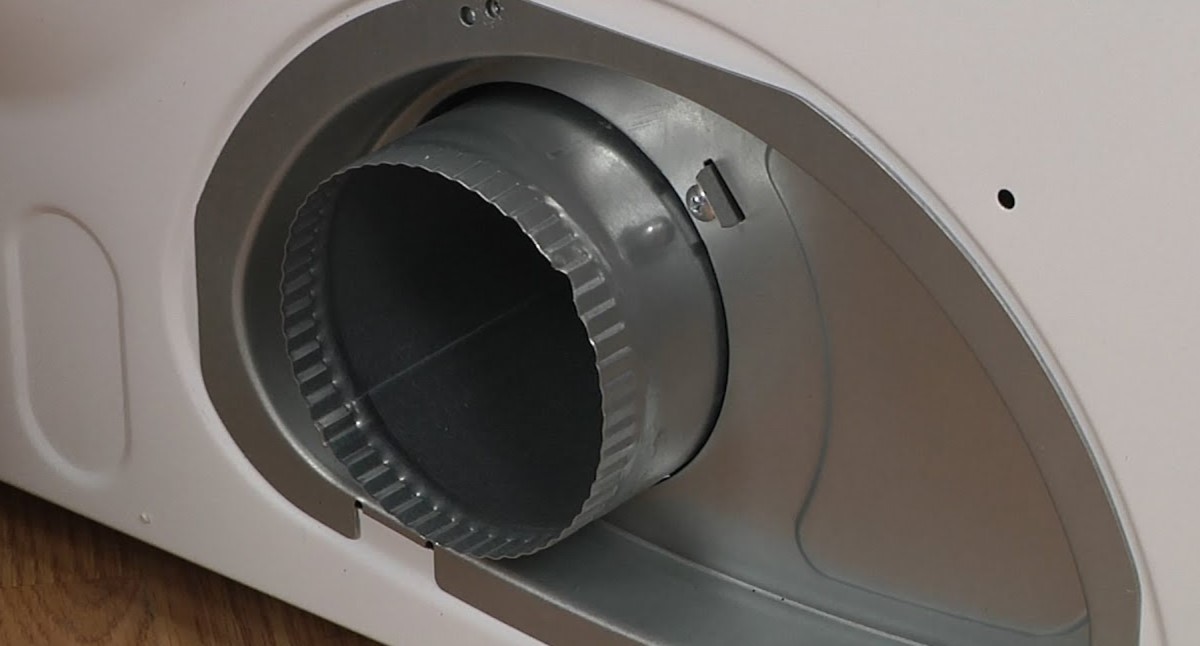
Step 4: Vacuum the Lint Trap Housing
Once you have cleaned the dryer vent opening, it’s important to move on to the lint trap housing. The lint trap housing is the area where the lint filter sits inside the dryer. Over time, lint can accumulate in this area, reducing the dryer’s efficiency and increasing the risk of a fire.
Here’s how to vacuum the lint trap housing:
- Locate the lint trap housing: The lint trap housing is usually located inside the dryer, just behind where the lint filter sits. It may have a plastic or metal cover.
- Remove the lint trap housing cover: Depending on your dryer model, you may need to twist or unscrew the cover to remove it. Refer to your dryer’s manual for instructions if necessary.
- Vacuum the lint trap housing: Use a vacuum cleaner with a crevice attachment to reach inside the lint trap housing. Carefully remove any visible lint or debris. Pay attention to all the nooks and crannies, as lint can accumulate in hard-to-reach areas.
- Check the airway passages: While vacuuming the lint trap housing, check the airway passages for any blockages. Use a flashlight to get a clear view and gently remove any lint or debris that may be obstructing the airflow.
- Replace the lint trap housing cover: Once you have thoroughly vacuumed the lint trap housing and cleared any blockages, securely replace the housing cover. Ensure that it is fitted correctly to prevent any air leaks.
By vacuuming the lint trap housing, you are ensuring that the dryer can effectively remove lint and maintain proper airflow. Now that the lint trap housing is clean, let’s move on to the next step: cleaning the dryer vent duct.
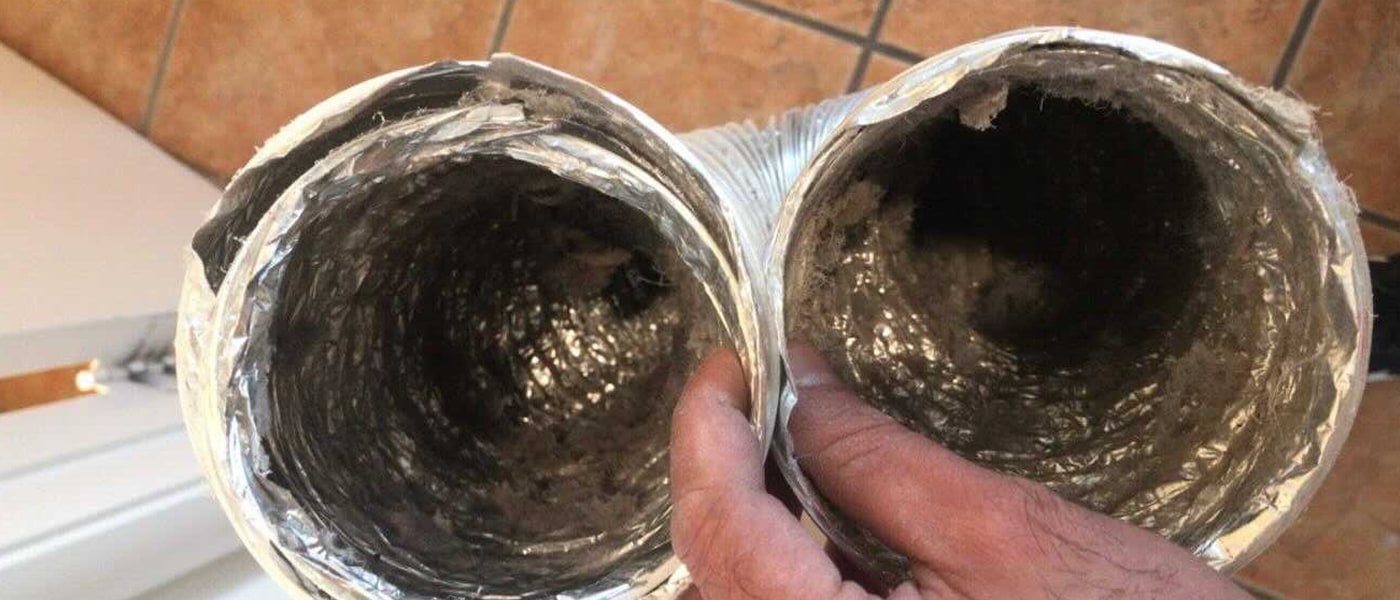
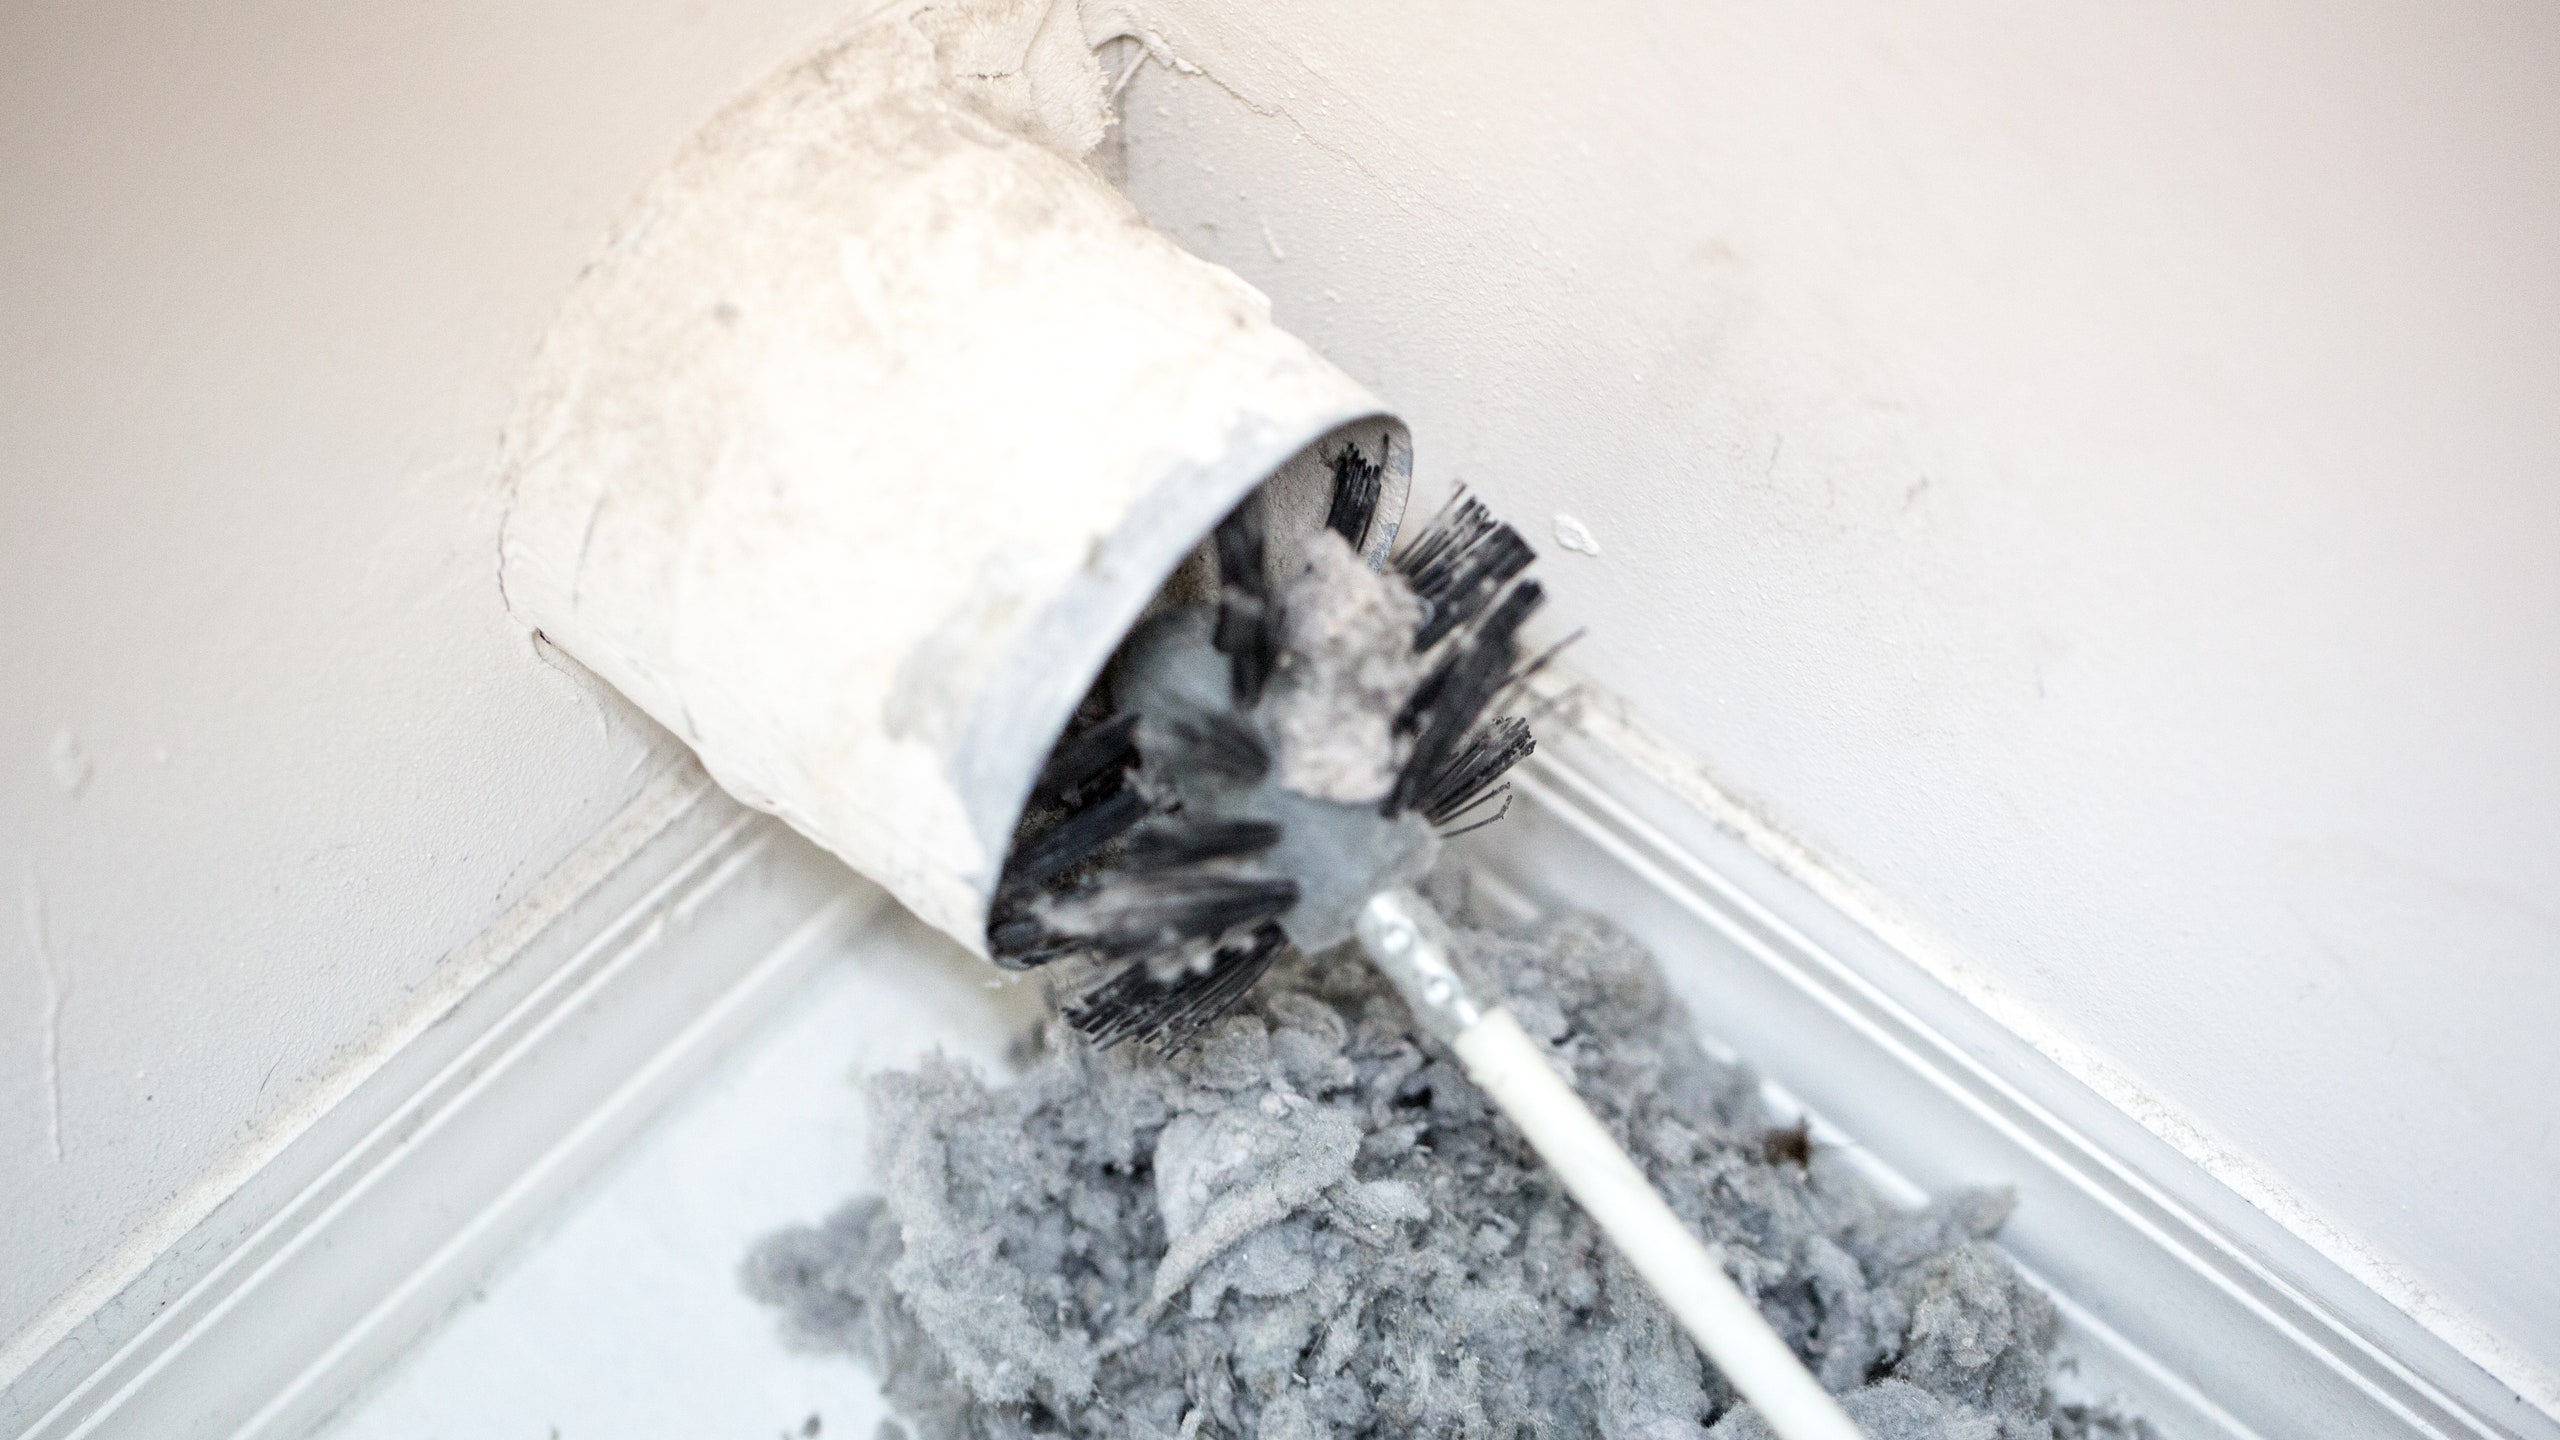
Step 5: Clean the Dryer Vent Duct
Now that you have cleaned the lint trap housing, it’s time to tackle the dryer vent duct. The dryer vent duct is the tube that runs from the back of the dryer to the wall or ceiling vent. Over time, lint and debris can build up inside this duct, reducing airflow and posing a fire hazard.
Here’s how to clean the dryer vent duct:
- Prepare the necessary tools: You will need a vent brush or a specialized dryer vent cleaning kit, which usually comes with a brush attachment and flexible rods.
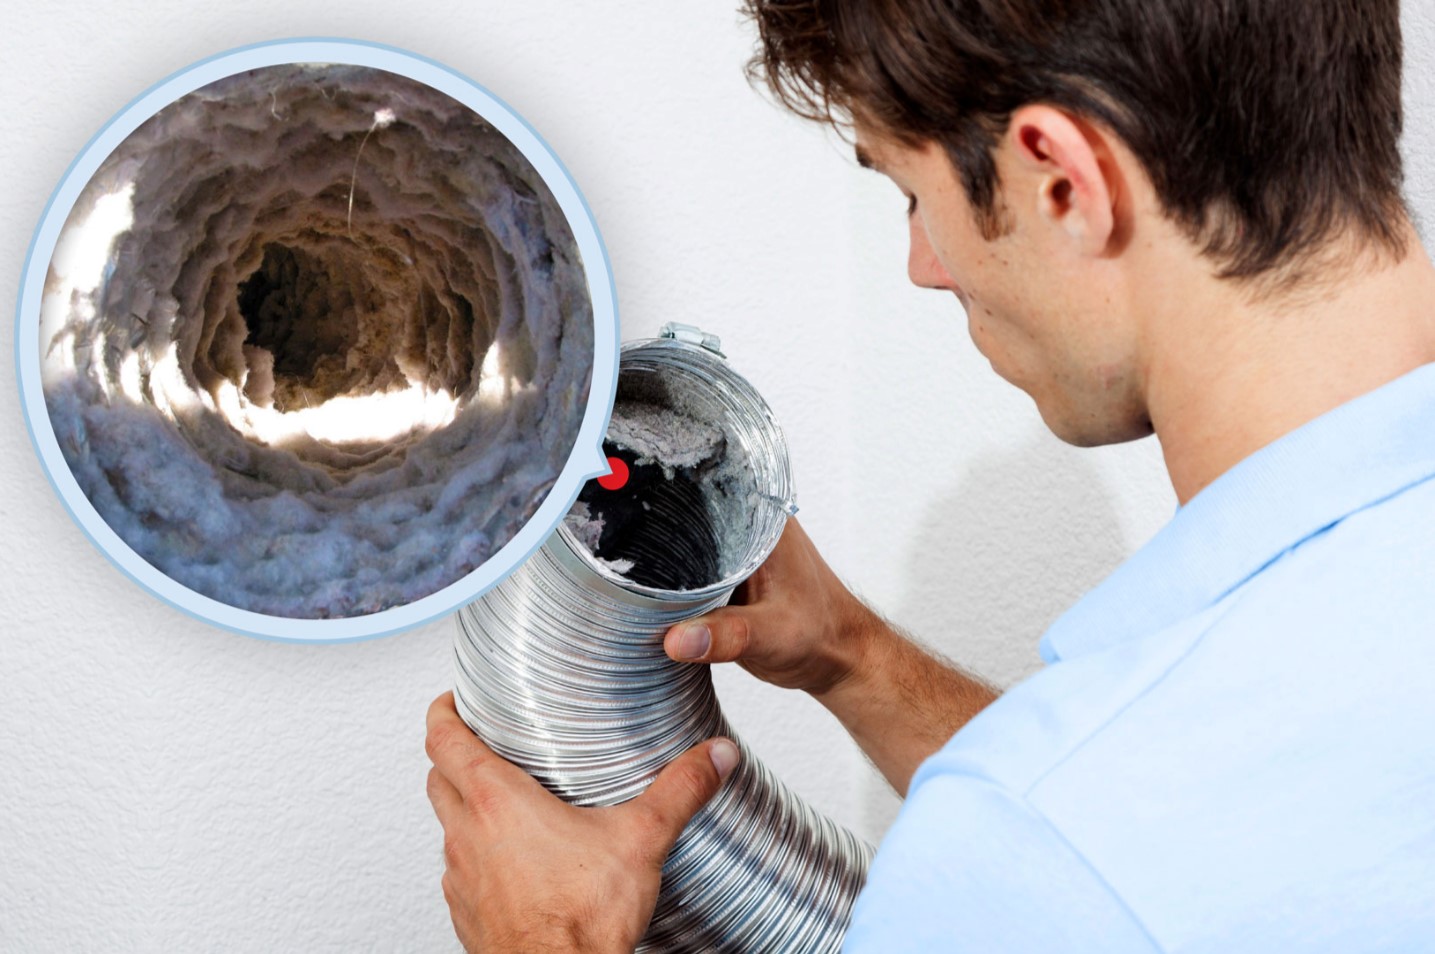
- Disconnect the duct from the dryer: Loosen the clamp that secures the duct to the dryer and carefully detach it. Gently pull the duct away from the dryer, creating enough space to access the duct for cleaning.
- Insert the brush or rods into the vent duct: Attach the brush end or the flexible rods to the vent brush or cleaning kit. Insert it into the vent duct, pushing it gently but firmly to navigate through the length of the duct.
- Scrub the duct walls: Slowly move the brush or rods back and forth to scrub the walls of the vent duct. This action will dislodge any lint or debris that may be clinging to the sides of the duct. Be thorough in your cleaning to ensure all obstructions are removed.
- Remove the brush or rods and clean the duct opening: Once you have scrubbed the entire length of the vent duct, carefully remove the brush or rods. Clean the duct opening using a vacuum cleaner or a brush to collect any dislodged lint or debris.
- Reconnect the duct: Reattach the duct securely to the back of the dryer, ensuring that the clamp is tightened to prevent any air leaks.
Cleaning the dryer vent duct is an essential step in maintaining proper airflow and reducing the risk of a dryer fire. By removing lint and debris from the duct, you can improve the efficiency and safety of your dryer. Now, let’s move on to the final step: reconnecting the dryer.
Step 6: Reconnect the Dryer
After cleaning the dryer vent duct, it’s time to reconnect the dryer and ensure it is properly secured. Reconnecting the dryer correctly is crucial for maintaining a safe and efficient operation.
Here’s how to reconnect the dryer:
- Slide the dryer back into position: Gently push the dryer back towards the wall, making sure it is aligned with the vent opening.
- Reattach the vent hose: Take the vent hose that you removed earlier and carefully reconnect it to the back of the dryer. Slide the hose onto the exhaust port and secure it with the clamp. Ensure that the clamp is tightened to prevent any air leaks.
- Move the dryer into place: Push the dryer fully against the wall, ensuring that the vent hose is not kinked or bent. Make sure there is enough space between the dryer and the wall to prevent any crimping of the vent hose.
- Plug in the dryer: Insert the dryer plug into the wall outlet and ensure it is fully connected. Double-check that the dryer is receiving power before operating it.
Once you have successfully reconnected the dryer, take a moment to ensure that everything is secure and properly aligned. Check for any signs of air leaks around the vent hose or duct. Properly connecting the dryer is crucial to maintain the effectiveness of the vent cleaning and prevent any potential hazards.
With the dryer reconnected, you have completed the process of cleaning a dryer vent in an apartment. By regularly performing this maintenance task, you are taking an important step in prolonging the life of your dryer, improving its efficiency, and reducing the risk of fire.
Remember to keep a schedule for future dryer vent cleanings to ensure ongoing safety and efficiency. Stay proactive in maintaining your dryer, and enjoy the benefits of a well-maintained appliance.
Conclusion
Cleaning a dryer vent in an apartment is a critical maintenance task that should not be overlooked. Regularly maintaining and cleaning your dryer vent is not only essential for the efficiency and longevity of your dryer but also for the safety of your home.
By following the step-by-step instructions outlined in this article, you can effectively and safely clean your dryer vent. Remember to always prioritize safety by disconnecting the dryer, wearing protective gear, and being cautious when handling tools.
Cleaning the lint filter, dryer vent opening, lint trap housing, dryer vent duct, and reconnecting the dryer are all vital steps in ensuring proper airflow and reducing the risk of lint buildup and potential fires. Regularly performing these maintenance tasks can save you money on energy bills and prevent hazardous situations.
Don’t forget to consult your landlord or apartment management before conducting any maintenance on your dryer vent. They may have specific guidelines or regulations you need to follow.
By keeping your dryer vent clean, you can enjoy improved dryer performance, faster drying times, and peace of mind knowing that you are maintaining a safe living environment. So, take the time to clean your dryer vent regularly and enjoy the benefits of a well-maintained dryer.
Frequently Asked Questions about How To Clean A Dryer Vent In An Apartment
Was this page helpful?
At Storables.com, we guarantee accurate and reliable information. Our content, validated by Expert Board Contributors, is crafted following stringent Editorial Policies. We're committed to providing you with well-researched, expert-backed insights for all your informational needs.