Home>Home Maintenance>How To Clean A Maytag Dryer Vent
Home Maintenance
How To Clean A Maytag Dryer Vent
Modified: August 30, 2024
Learn how to properly clean your Maytag dryer vent for effective home maintenance. Ensure optimal performance and prevent potential fire hazards.
(Many of the links in this article redirect to a specific reviewed product. Your purchase of these products through affiliate links helps to generate commission for Storables.com, at no extra cost. Learn more)
Introduction
Maintaining the proper functioning of your Maytag dryer is essential to ensure it runs efficiently and safely. One crucial aspect of dryer maintenance is cleaning the vent to prevent a build-up of lint, debris, and other particles. A clean dryer vent not only improves the efficiency of your dryer but also reduces the risk of fire hazards. In this article, we will guide you through the step-by-step process of cleaning your Maytag dryer vent.
When a dryer vent becomes clogged with lint, it restricts the airflow, causing your dryer to work harder and longer to dry your clothes. This not only increases the energy consumption but also wears out the components of your dryer faster, leading to potential breakdowns and costly repairs. Additionally, a blocked dryer vent can pose a serious fire hazard as lint is highly flammable. According to the National Fire Protection Association (NFPA), dryers and washing machines were involved in one out of every 22 home fires reported from 2010 to 2014. Therefore, regular maintenance and cleaning of your Maytag dryer vent are imperative for the safety and efficiency of your appliance.
Before diving into the cleaning process, make sure you gather all the necessary tools. You will need a vacuum cleaner with a hose attachment, a vent brush or lint brush, a screwdriver, and a clean cloth. It is also essential to unplug the dryer from the power source before starting the cleaning procedure.
In the following steps, we will guide you through the process of cleaning a Maytag dryer vent in a detailed and easy-to-follow manner. By following these steps and incorporating regular vent cleaning into your home maintenance routine, you can keep your dryer running smoothly, extend its lifespan, and reduce the risk of fire hazards. Let’s get started with step one: unplugging the dryer.
Key Takeaways:
- Regularly cleaning your Maytag dryer vent is crucial for efficient and safe operation. It reduces fire hazards, improves drying performance, and extends the lifespan of your appliance.
- Unplugging the dryer, cleaning the lint trap, vacuuming the lint trap housing, and cleaning the dryer vent duct are essential steps in maintaining your Maytag dryer. Regular maintenance ensures optimal performance and safety.
Read more: Who Cleans Dryer Vent
Step 1: Unplug the dryer
The first step in cleaning your Maytag dryer vent is to ensure that the appliance is completely disconnected from the power source. This is essential for your safety, as working on a plugged-in appliance can be dangerous and increase the risk of electrical shock.
Locate the electrical power cord, which is typically located at the back of the dryer. Gently pull the cord out of the outlet, making sure to grip the plug itself and not the cord. Place the plug in a safe location away from water or other potential hazards.
If your Maytag dryer is hardwired into the electrical supply, you should turn off the circuit breaker that controls the dryer’s power. Locate the appropriate circuit breaker in your electrical panel and switch it to the “Off” position. This will ensure that there is no electricity flowing to the dryer while you perform the cleaning process.
Now that your Maytag dryer is safely unplugged or disconnected from the power source, you can proceed with the next steps in cleaning the vent. Remember, always prioritize safety when working with any electrical appliances. Take your time and double-check that the dryer is completely disconnected before moving on to the next step.
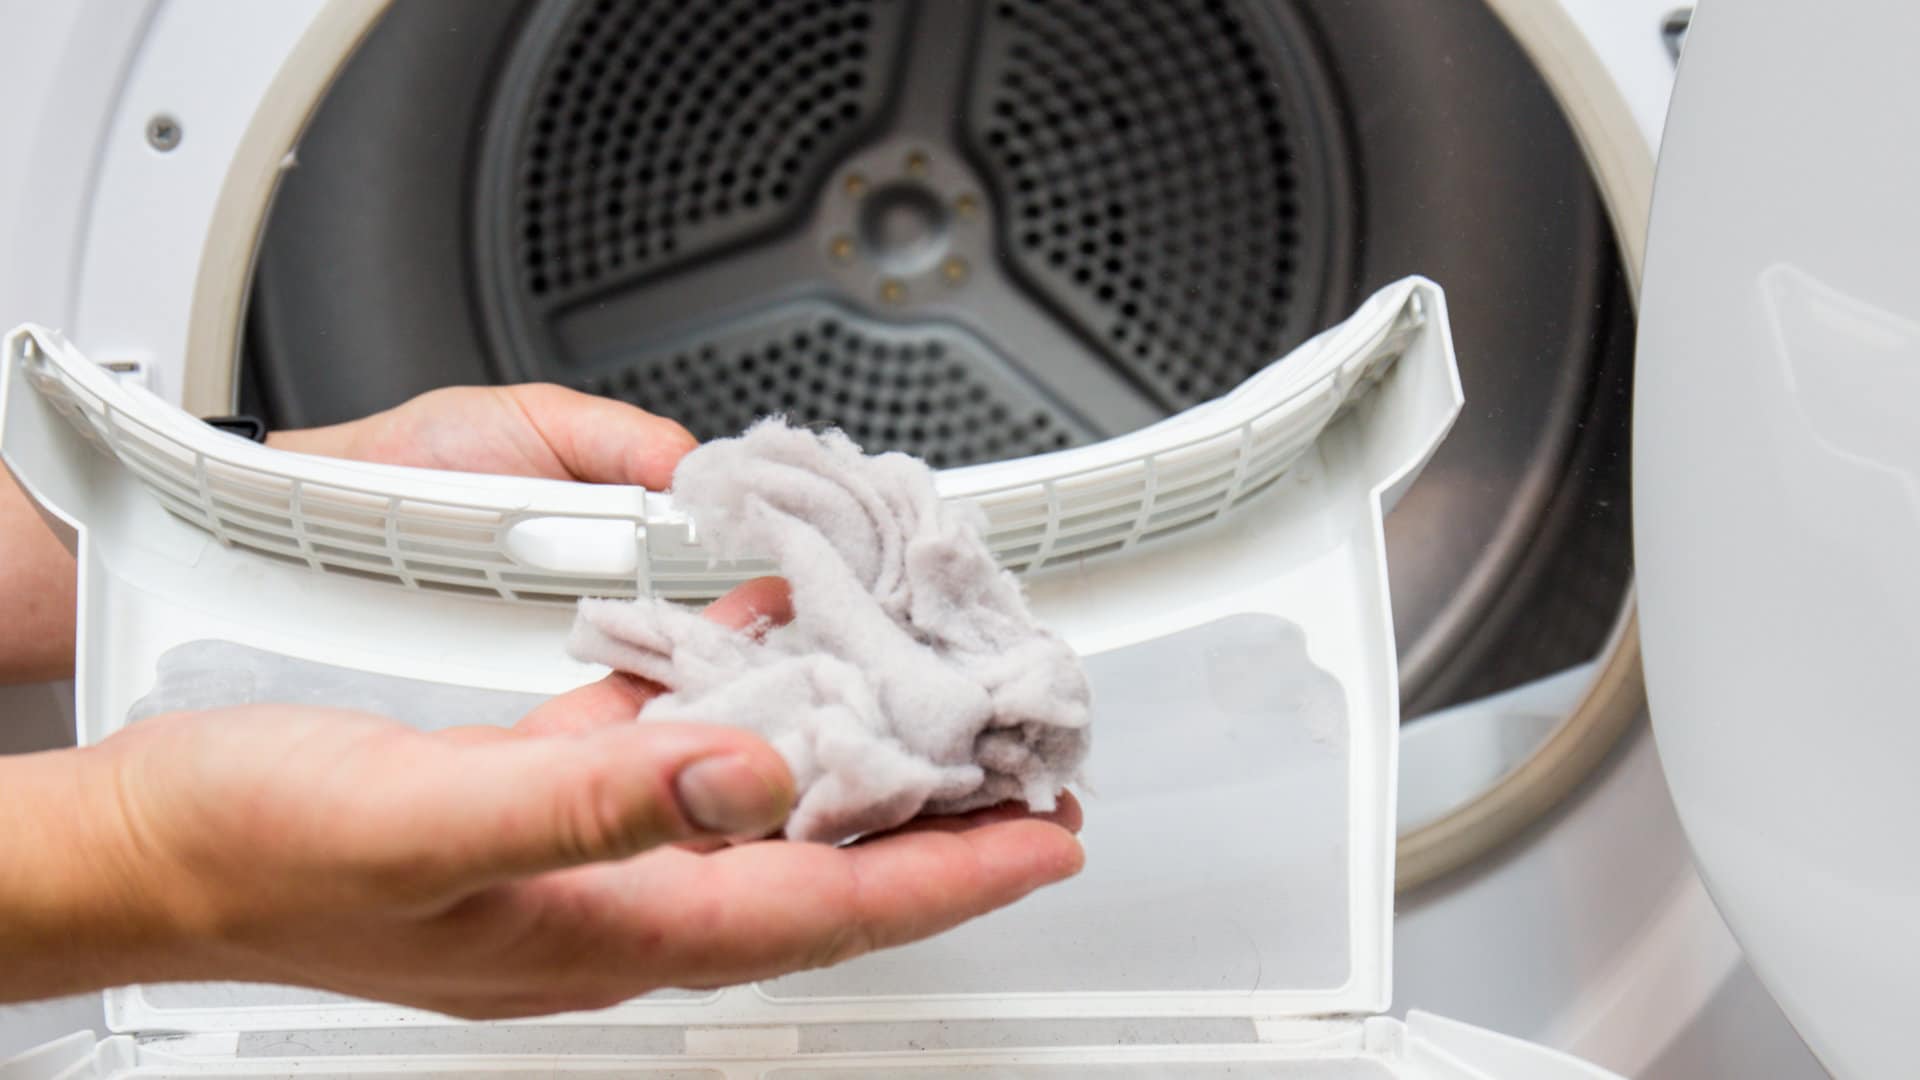
Step 2: Remove the lint trap
To effectively clean the Maytag dryer vent, you’ll need to start by removing the lint trap. The lint trap is typically located inside the dryer, just above the door opening. It is designed to catch lint from your clothes, preventing it from clogging the dryer ducts and vent.
Here’s how you can remove the lint trap from your Maytag dryer:
1. Open the dryer door and locate the lint trap. It is usually a small rectangular or square-shaped screen or grille.
2. Gently pull the lint trap upward and out of its housing. Be careful not to bend or damage the trap while removing it.
3. Inspect the lint trap for any visible lint or debris. Use your fingers or a brush to remove any buildup that may be present. Accumulated lint can restrict airflow and reduce the efficiency of your dryer.
4. Once you have removed the lint from the trap, it’s a good idea to clean it thoroughly. You can do this by rinsing it under running water or using a soft brush to scrub away any remaining lint or residue.
5. After cleaning the trap, ensure it is completely dry before reinserting it into the dryer. Excess moisture can promote the growth of mold and cause unpleasant odors.
Removing the lint trap is an essential step in the cleaning process as it allows you to clear any lint or debris that may have accumulated inside it. This ensures that the air can flow freely through the dryer vent, reducing the risk of overheating and improving the overall performance of your Maytag dryer.
Now that you’ve successfully removed and cleaned the lint trap, let’s move on to the next step: vacuuming the lint trap housing.
Step 3: Vacuum the lint trap housing
Once you have removed and cleaned the lint trap, it’s time to move on to the next crucial step in cleaning your Maytag dryer vent: vacuuming the lint trap housing. The lint trap housing is the area where the lint trap is inserted, and it can become clogged with lint and debris over time, hindering proper airflow.
Here’s how you can effectively vacuum the lint trap housing:
1. Start by attaching the hose attachment to your vacuum cleaner. Ensure that it is securely connected, as you’ll be using the hose to reach into the crevices of the lint trap housing.
2. Insert the hose attachment of the vacuum cleaner into the lint trap housing. Gently push it in as far as it can go without forcing it. The suction of the vacuum cleaner will help remove any lint or debris that may be present within the housing.
3. Move the hose attachment around inside the lint trap housing, ensuring that you cover all areas and crevices. Use a back-and-forth or circular motion to dislodge and suck up any lint or debris that may be clinging to the walls or corners.
4. Continue vacuuming until you no longer see any visible lint or debris coming out of the housing. Take your time and be thorough during this step to ensure that you remove as much buildup as possible.
5. Once you have finished vacuuming the lint trap housing, remove the hose attachment from the dryer. Inspect the hose for any lint or debris that may have been collected. Empty the contents into a trash bag or container to properly dispose of the lint.
Vacuuming the lint trap housing is an essential step in the cleaning process as it allows you to remove any hidden lint or debris that may be blocking the airflow within the dryer. By clearing the housing, you ensure that the air can flow freely through the dryer vent, preventing potential overheating issues and improving the overall efficiency of your Maytag dryer.
With the lint trap housing vacuumed, it’s time to move on to the next step: cleaning the dryer vent duct.
Regularly clean the lint trap and vent of your Maytag dryer to prevent fire hazards and improve efficiency. Use a vacuum or dryer vent brush to remove built-up lint and debris.
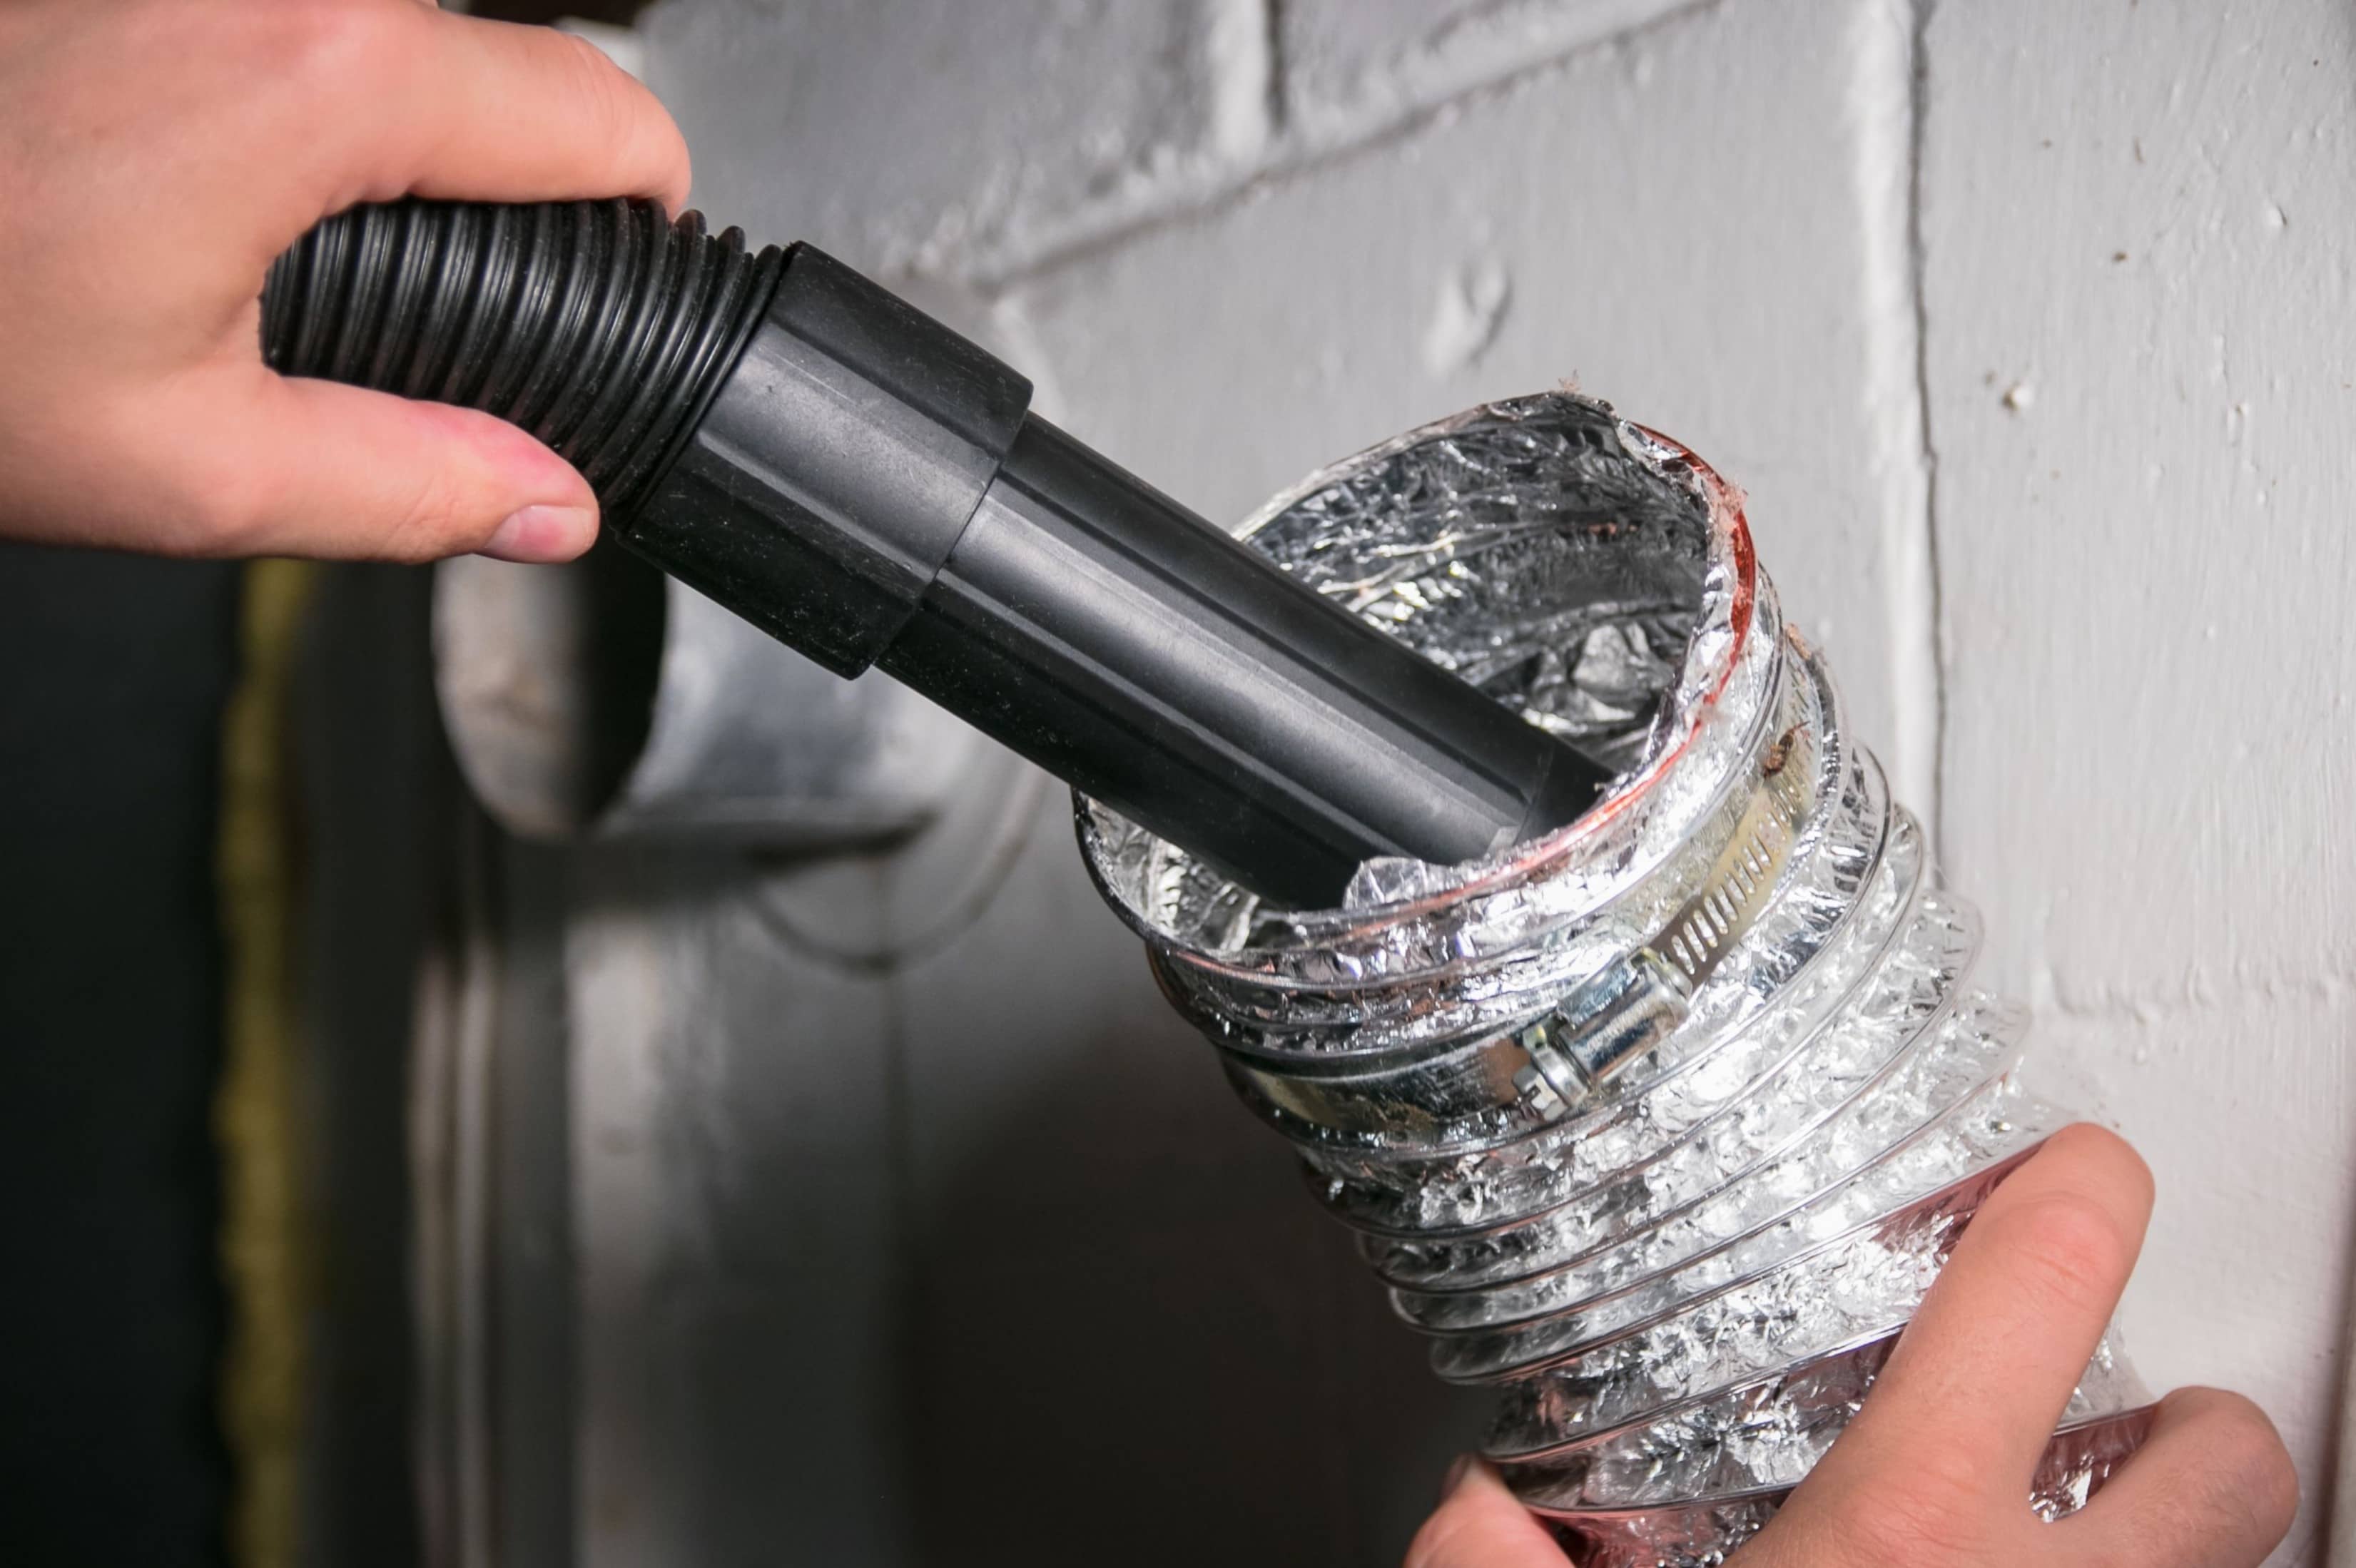
Step 4: Clean the dryer vent duct
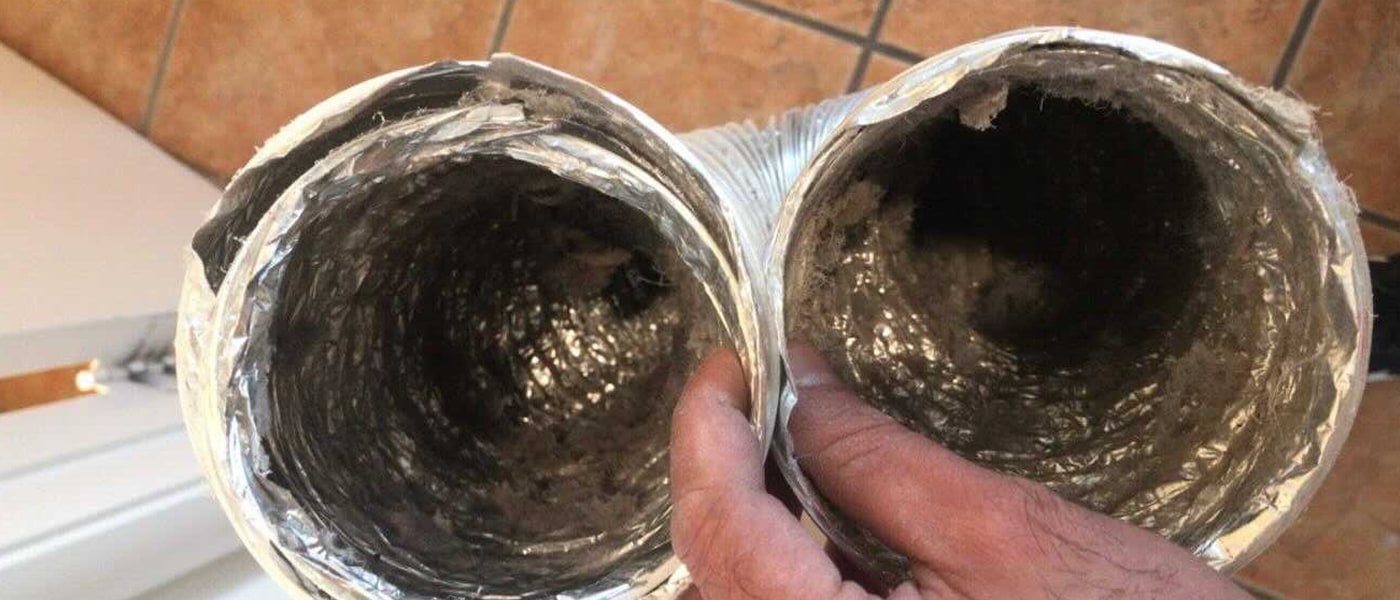
Cleaning the dryer vent duct is a crucial step in maintaining the efficiency and safety of your Maytag dryer. Over time, lint and debris can accumulate inside the duct, causing blockages that restrict airflow and increase the risk of fire. Cleaning the duct helps to improve the dryer’s performance and reduce the potential hazards associated with a clogged vent.
Follow these steps to effectively clean the dryer vent duct of your Maytag dryer:
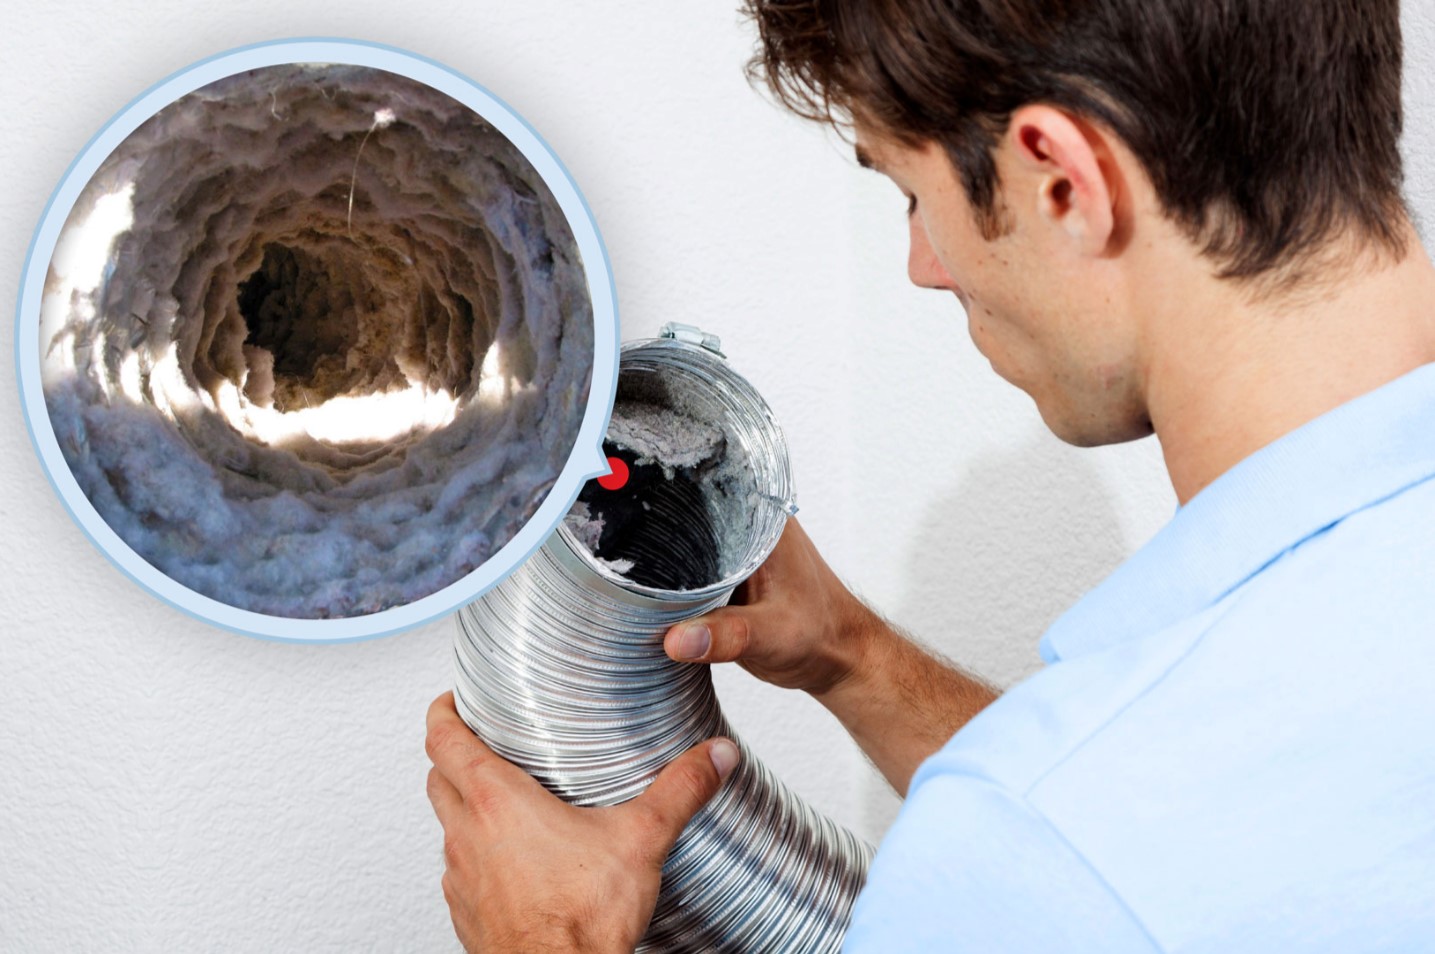
1. Locate the dryer vent duct, which is typically located at the back of the dryer. It is a cylindrical tube made of metal or flexible aluminum. If necessary, carefully pull the dryer away from the wall to access the vent duct.
2. Disconnect the vent duct from the back of the dryer. Depending on the type of connection, it may be held in place with screws or clamps. Use a screwdriver or pliers to loosen and remove any fasteners.
3. Once the vent duct is disconnected, take it outside or to a well-ventilated area. This ensures that any debris or dust loosened during the cleaning process does not spread throughout your home.
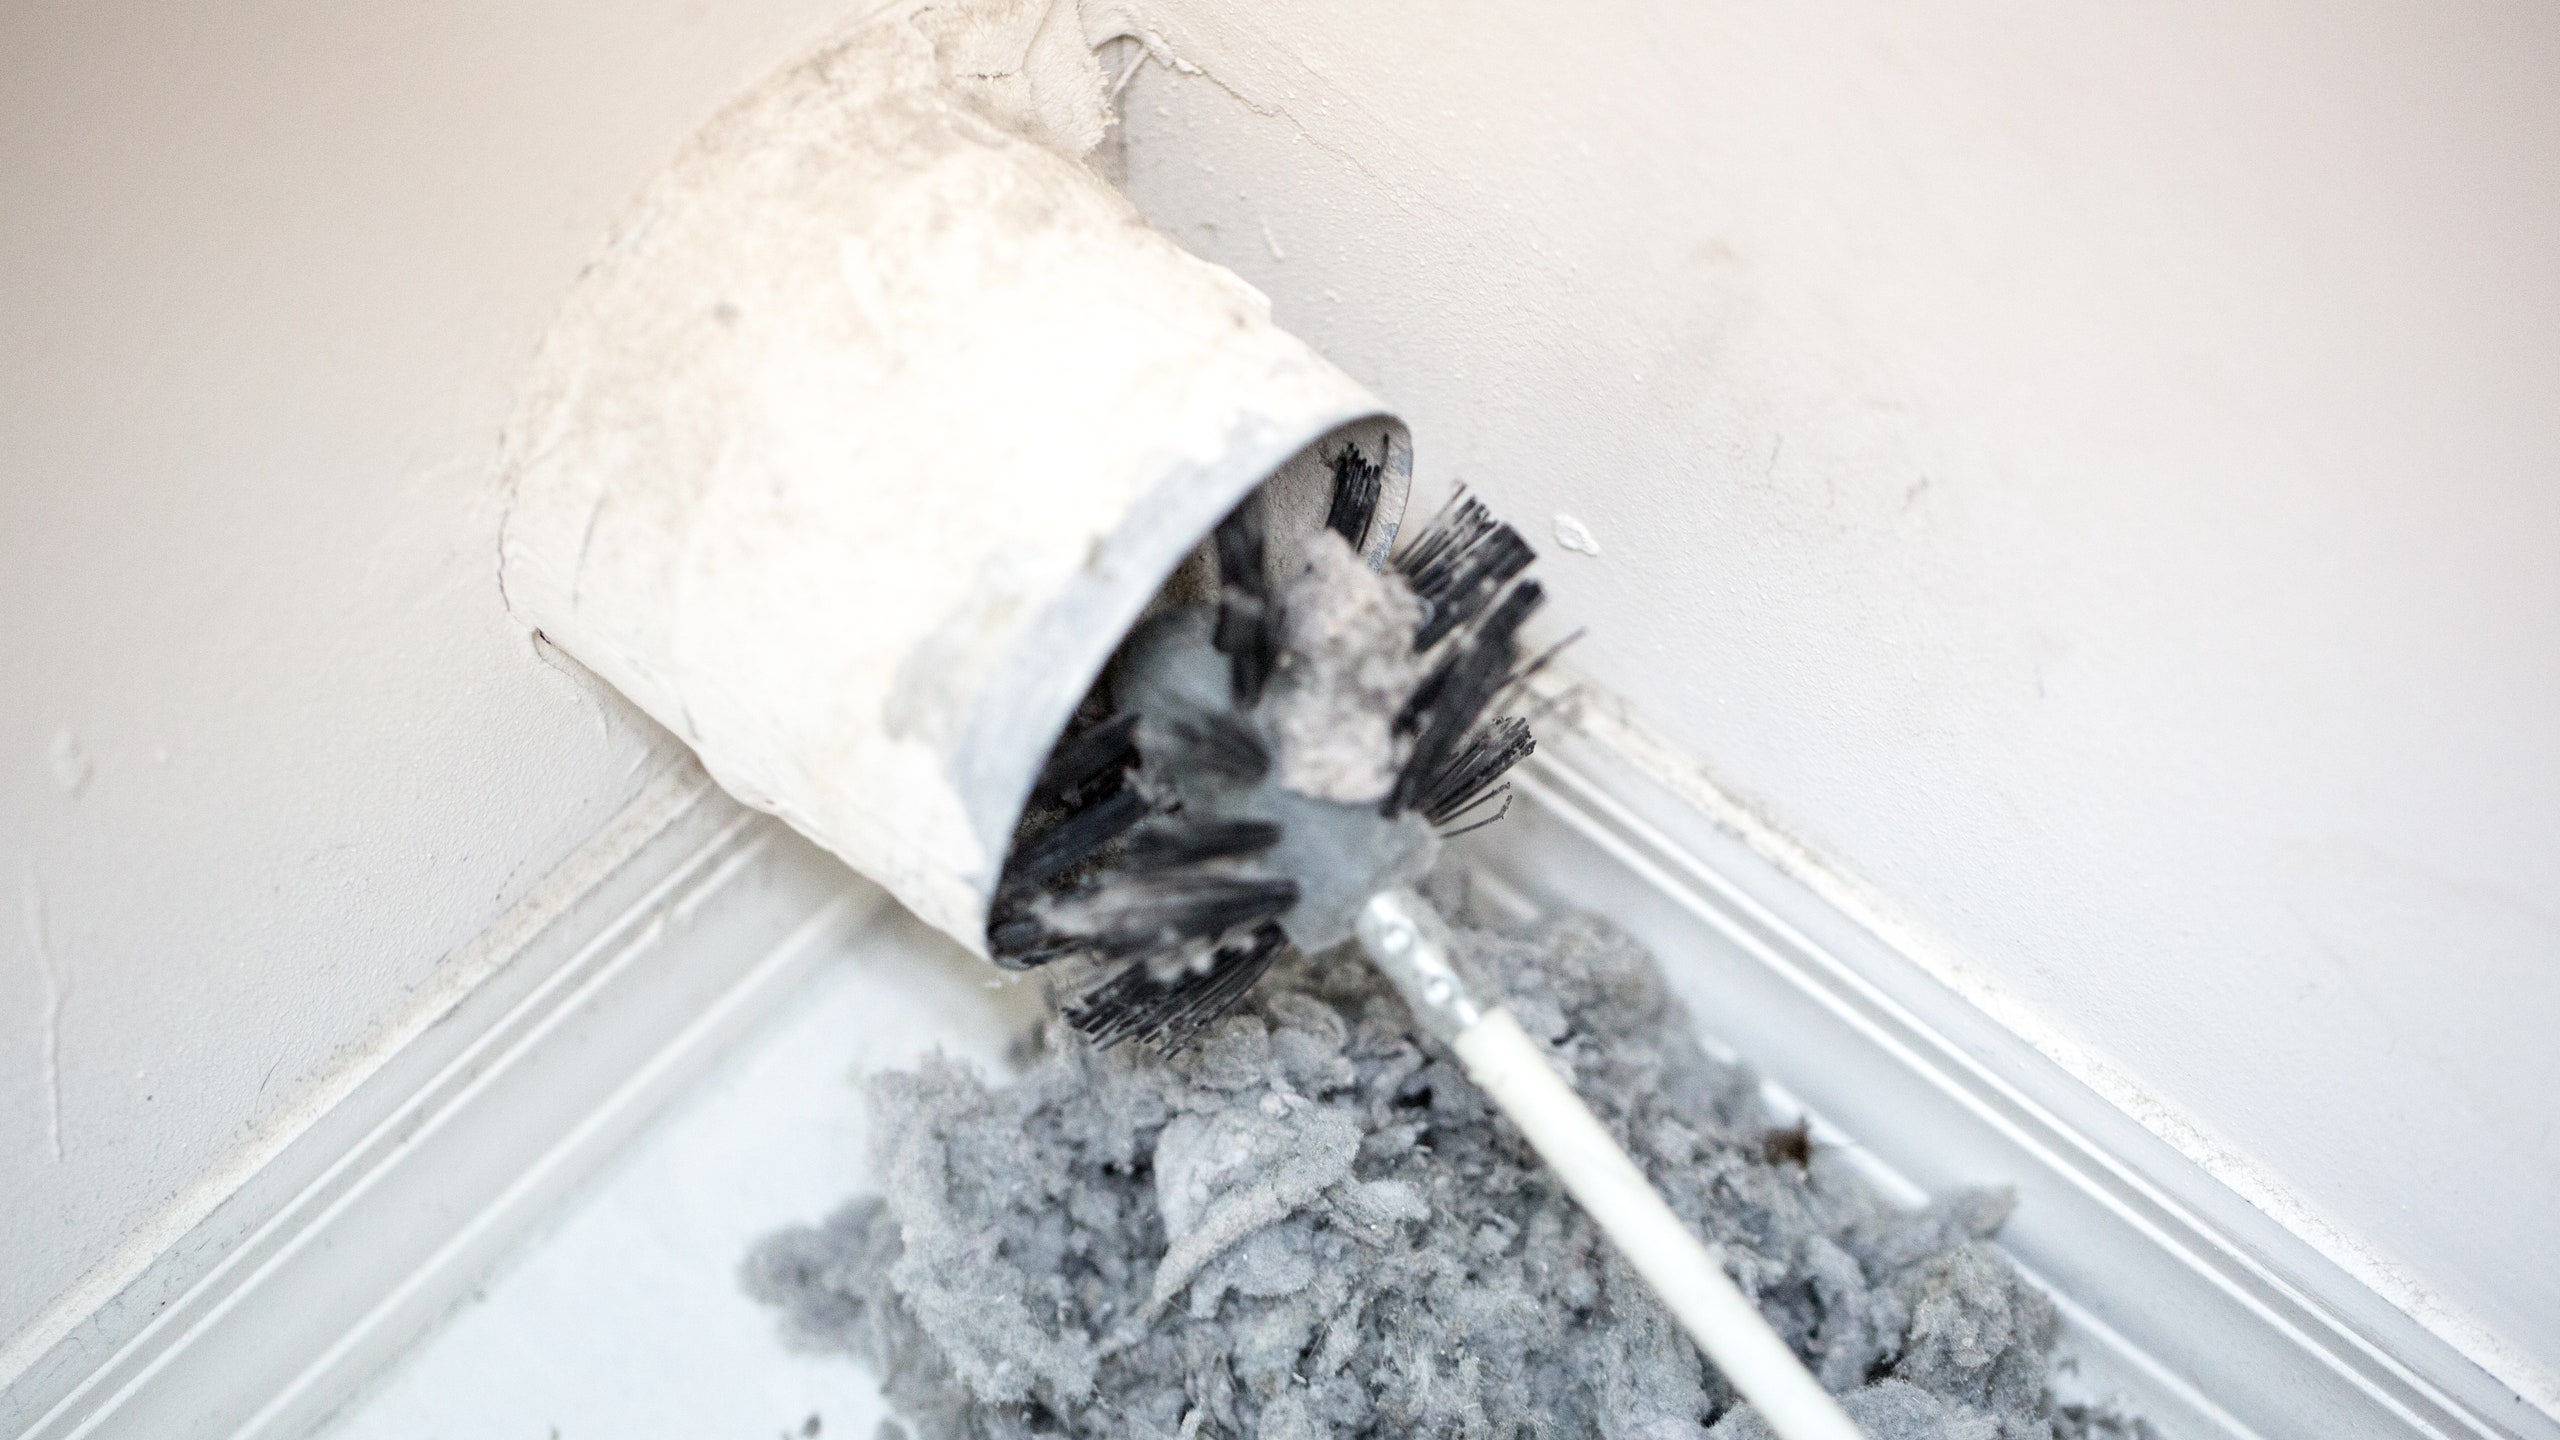
4. Inspect the interior of the vent duct for any visible lint or debris. Use a vent brush or lint brush to gently remove any buildup. Start at one end of the duct and work your way to the other end, ensuring that you cover the entire length of the duct.
5. For stubborn or hard-to-reach debris, you can use a vacuum cleaner with a hose attachment. Insert the hose inside the vent duct and vacuum out any remaining lint or debris. Be sure to reach as far as possible to clean the duct thoroughly.
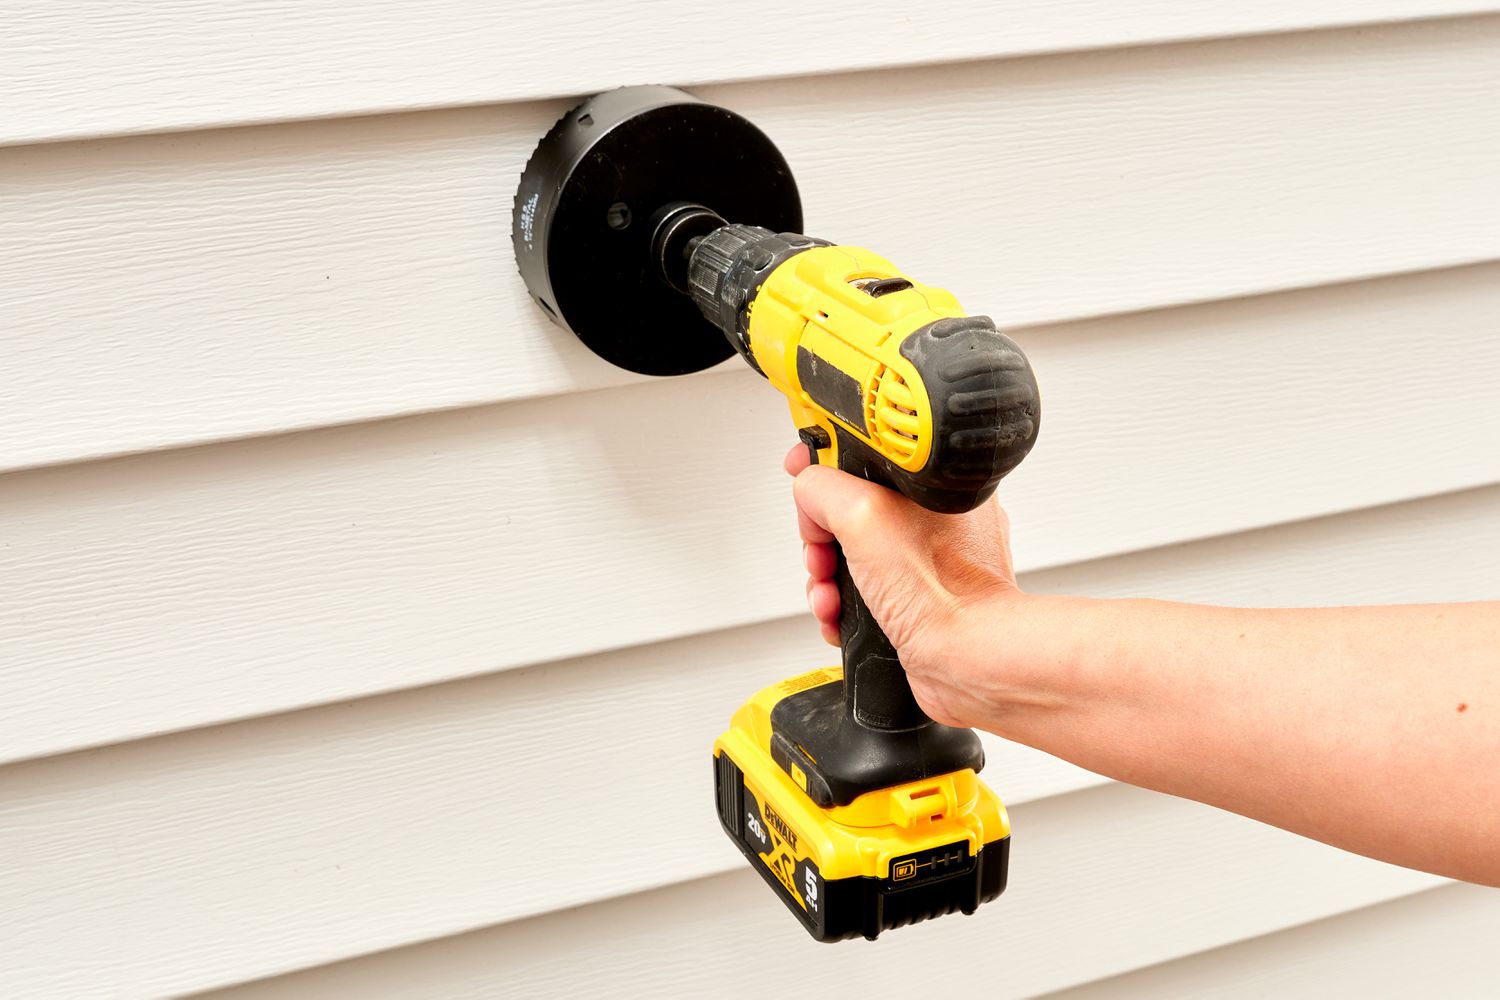
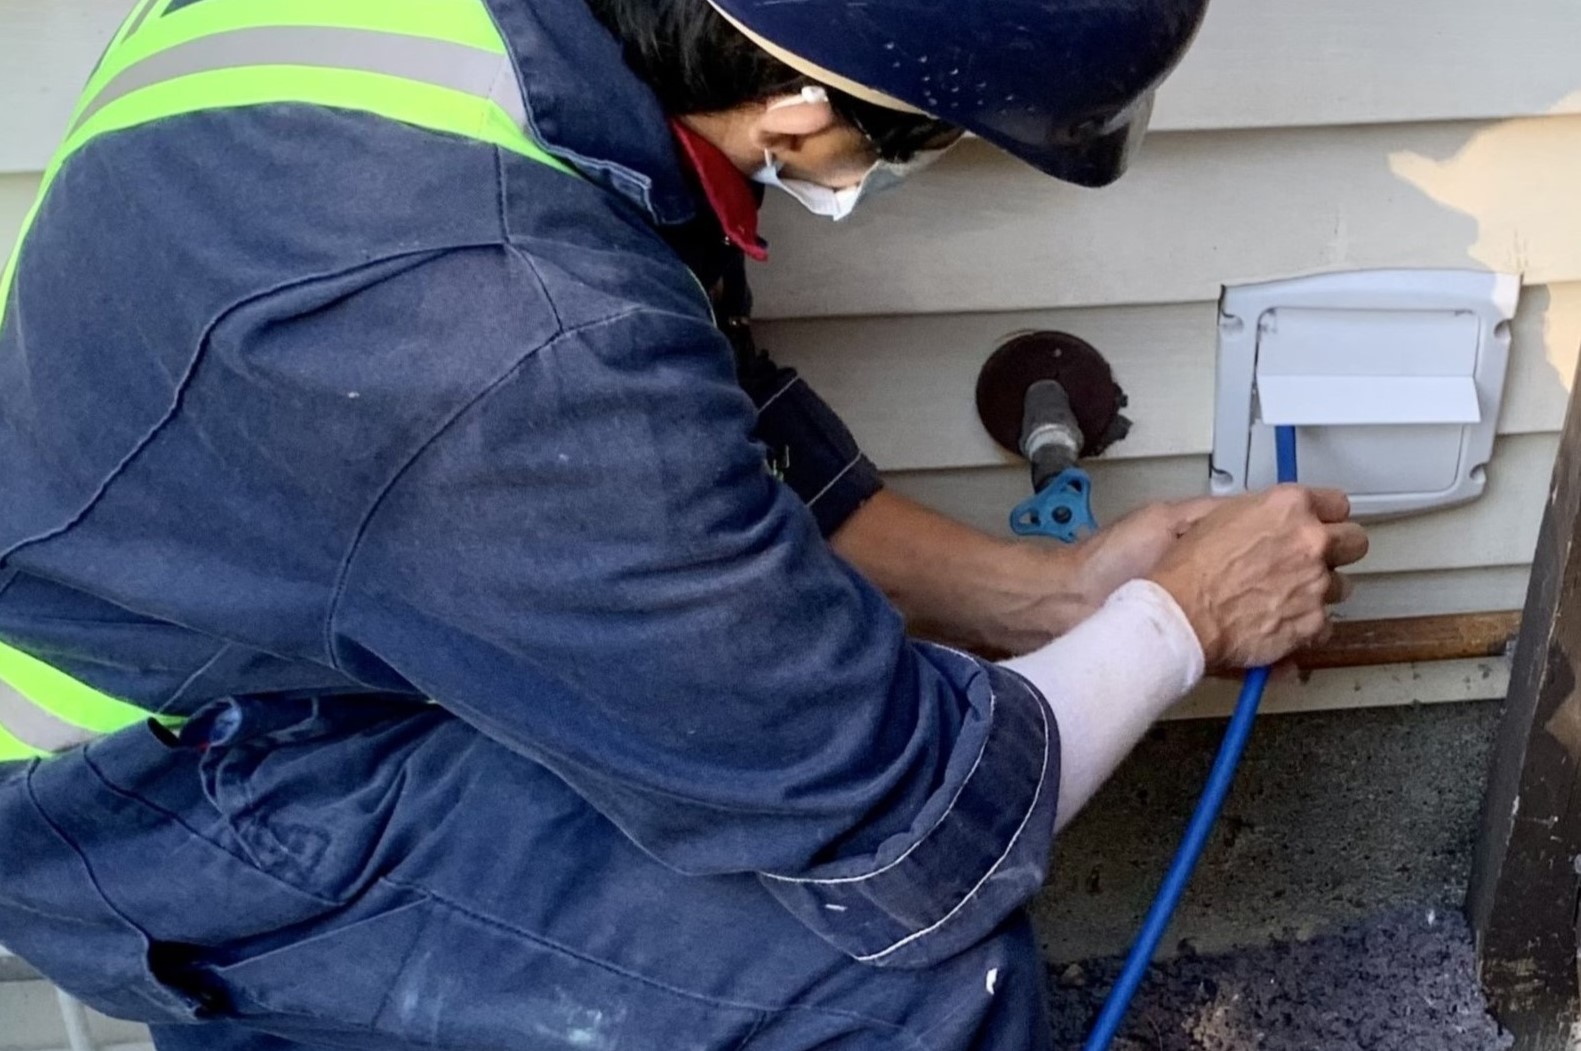
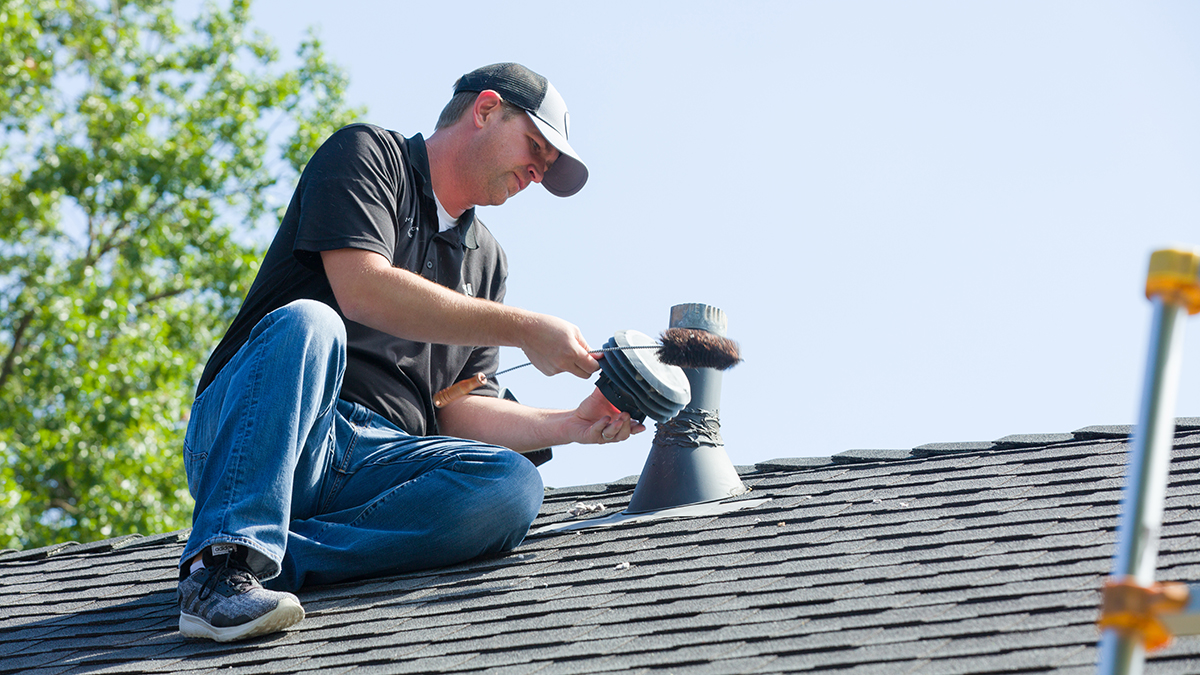
6. Once you have finished cleaning the vent duct, inspect the exterior vent opening for any obstruction or buildup. Use a brush or your hand to remove any debris that may be blocking the airflow.
7. Before reattaching the vent duct to the back of the dryer, take this opportunity to clean the area behind the dryer. Use a vacuum cleaner or a damp cloth to remove any dust or lint that may have accumulated.
Cleaning the dryer vent duct is an essential step in maintaining the efficiency and safety of your Maytag dryer. By removing lint and debris from the duct, you promote proper airflow and reduce the risk of overheating and potential fire hazards.
Now that you have successfully cleaned the dryer vent duct, let’s move on to the next step: reassembling the dryer.
Read more: How To Clean The Inside Of A Dryer Vent
Step 5: Reassemble the dryer
After thoroughly cleaning the dryer vent duct, it’s time to reassemble your Maytag dryer. Properly reassembling the dryer ensures that all components are securely in place and allows for optimal performance and safety. Follow these steps to effectively reassemble your dryer:
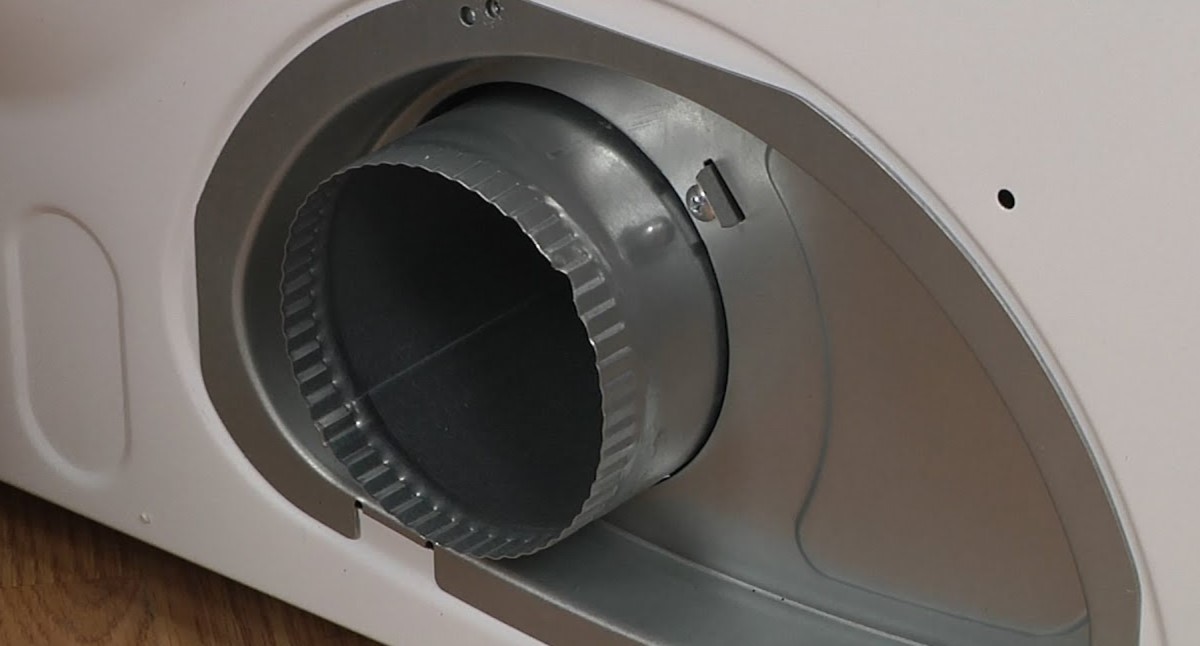
1. Begin by carefully aligning the vent duct with the back of the dryer. Make sure the duct is lined up correctly with the exhaust opening.
2. Once aligned, use screws or clamps to secure the vent duct in place. Tighten the screws or clamps firmly, but be careful not to overtighten and damage the duct.
3. Double-check that the vent duct is securely attached to the dryer and there are no gaps or loose connections.
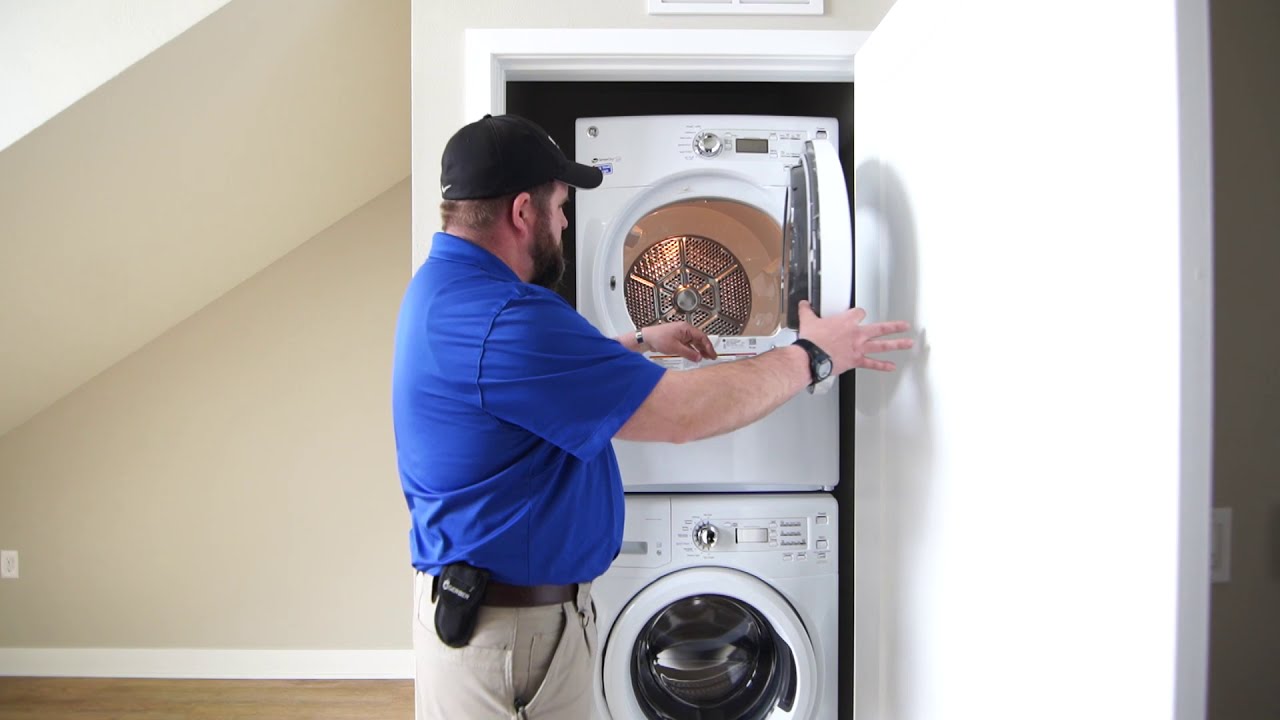
4. If you had to move the dryer away from the wall during the cleaning process, gently push it back into position. Ensure that there is enough space between the dryer and the wall for proper airflow and ventilation.
5. Plug the dryer back into the power outlet or turn on the circuit breaker if your dryer is hardwired. Verify that the electrical connection is secure.
6. Test the dryer by running a short cycle with a few clean, dry towels or cloths. This allows you to ensure that the dryer is functioning properly after reassembling it.
Properly reassembling your Maytag dryer is crucial for its safe and efficient operation. By securely attaching the vent duct and ensuring all connections are tight, you can prevent any air leaks or malfunctioning of the dryer. Taking the time to reassemble the dryer correctly is an important step in the maintenance process.
Now that you have successfully reassembled your Maytag dryer, it’s time to move on to the final step: cleaning the exterior of the dryer.
Step 6: Clean the exterior of the dryer
Cleaning the exterior of your Maytag dryer not only improves its appearance but also helps in maintaining its overall functionality. Over time, dust, dirt, and other residue can accumulate on the exterior surface of the dryer, affecting its performance and efficiency. Follow these steps to effectively clean the exterior of your dryer:
1. Start by unplugging the dryer from the power source to ensure your safety during the cleaning process.
2. Use a soft, damp cloth or sponge to wipe down the entire exterior surface of the dryer. This will help remove any superficial dust or dirt.
3. For stubborn stains or residue, mix a solution of mild detergent and warm water. Dip a cloth or sponge in the soapy water and gently scrub the affected areas. Avoid using harsh chemicals or abrasive cleaners, as they may damage the finish of the dryer.
4. Pay attention to the control panel and knobs, as these areas are prone to dirt and grime buildup. Use a soft brush or toothbrush to clean the crevices and hard-to-reach areas, ensuring that all buttons and switches are thoroughly cleaned.
5. If your Maytag dryer has a stainless steel exterior, use a specialized stainless steel cleaner or polish to restore its shine. Follow the manufacturer’s instructions for application and gently buff the surface in the direction of the grain.
6. Once you have cleaned the entire exterior of the dryer, allow it to air dry completely before plugging it back into the power source. This helps prevent any electrical hazards or damage due to moisture.
Cleaning the exterior of your Maytag dryer not only improves its aesthetics but also prevents the accumulation of dirt and debris that can affect its performance and longevity. Regular cleaning and maintenance of the dryer’s exterior ensure that it continues to operate at its best.
With the exterior of your Maytag dryer now clean, you have successfully completed the steps to effectively clean your dryer vent. Regular maintenance and cleaning of your Maytag dryer vent not only improve its efficiency but also help prevent potential fire hazards. By incorporating these steps into your home maintenance routine, you can keep your Maytag dryer running smoothly and safely for years to come.
Remember, always refer to your Maytag dryer’s user manual for specific instructions and guidelines regarding maintenance and cleaning.
Conclusion
Regularly cleaning your Maytag dryer vent is essential for its optimal performance, longevity, and safety. A clean dryer vent not only improves the efficiency of your dryer but also reduces the risk of fire hazards. By following the step-by-step guide provided in this article, you can effectively clean your Maytag dryer vent and ensure its smooth operation.
We started by emphasizing the importance of unplugging the dryer before beginning the cleaning process to ensure your safety. Then, we walked you through the steps of removing the lint trap, vacuuming the lint trap housing, cleaning the dryer vent duct, reassembling the dryer, and cleaning the exterior of the dryer.
Taking the time to perform these maintenance tasks will not only enhance the efficiency and lifespan of your Maytag dryer but also contribute to a safe home environment. A clogged dryer vent can lead to dryer malfunctions, increased energy consumption, and even potential fire incidents. Regular cleaning of the vent helps prevent the buildup of lint and debris, allowing for proper airflow and reducing the risk of overheating.
Remember, maintaining a clean dryer vent is an ongoing task. It is recommended to perform this cleaning process at least once a year, or more frequently if you notice any signs of reduced drying performance. Additionally, if you frequently use your dryer or have large households, consider cleaning the vent more often to ensure optimal performance.
By incorporating regular dryer vent cleaning into your home maintenance routine, you can enjoy the benefits of a properly functioning Maytag dryer, including faster drying times, energy savings, and peace of mind knowing that you have taken steps to prevent potential fire hazards.
Always refer to your Maytag dryer’s user manual for specific instructions and guidelines regarding maintenance and cleaning. If you encounter any issues during the cleaning process or suspect a major problem with your dryer, it is best to consult a professional for assistance.
Investing a little time and effort into cleaning your Maytag dryer vent will pay off in the long run. So, take proactive steps to keep your dryer in optimal condition, and enjoy efficient and safe drying performance for years to come.
Frequently Asked Questions about How To Clean A Maytag Dryer Vent
Was this page helpful?
At Storables.com, we guarantee accurate and reliable information. Our content, validated by Expert Board Contributors, is crafted following stringent Editorial Policies. We're committed to providing you with well-researched, expert-backed insights for all your informational needs.