Articles
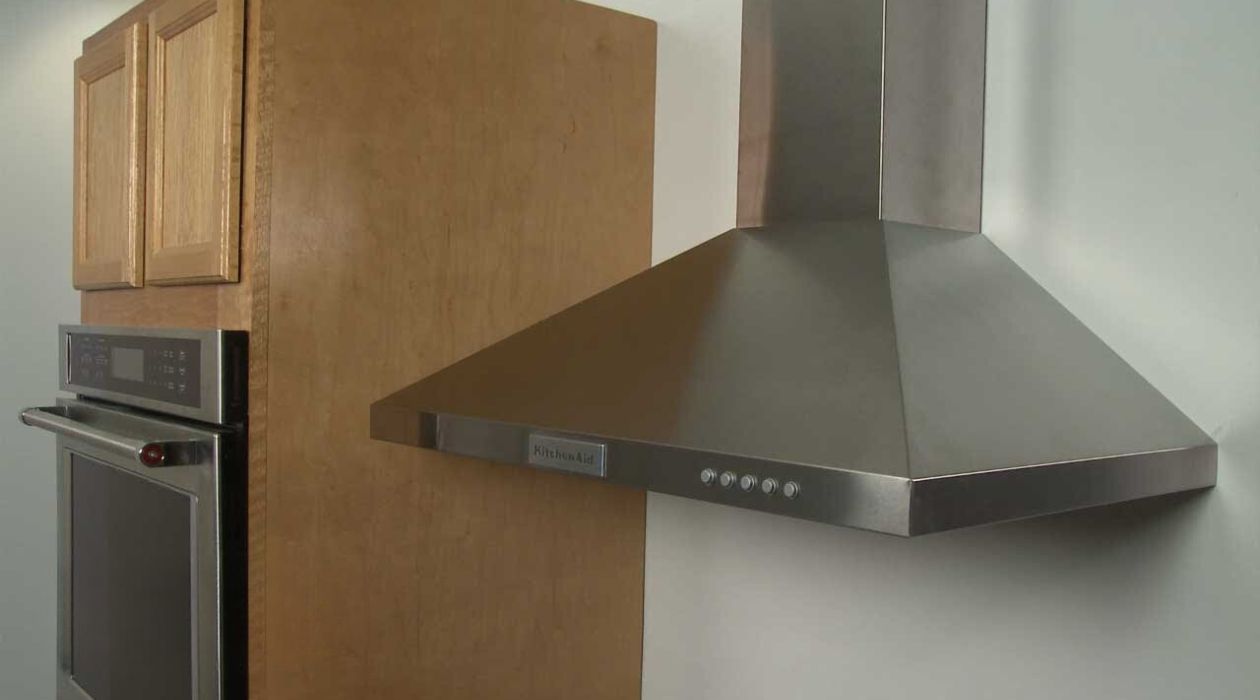
How To Clean A Zephyr Range Hood
Modified: August 28, 2024
Learn how to clean a Zephyr range hood with these helpful articles. Keep your kitchen fresh and smoke-free with our step-by-step cleaning tips.
(Many of the links in this article redirect to a specific reviewed product. Your purchase of these products through affiliate links helps to generate commission for Storables.com, at no extra cost. Learn more)
Introduction
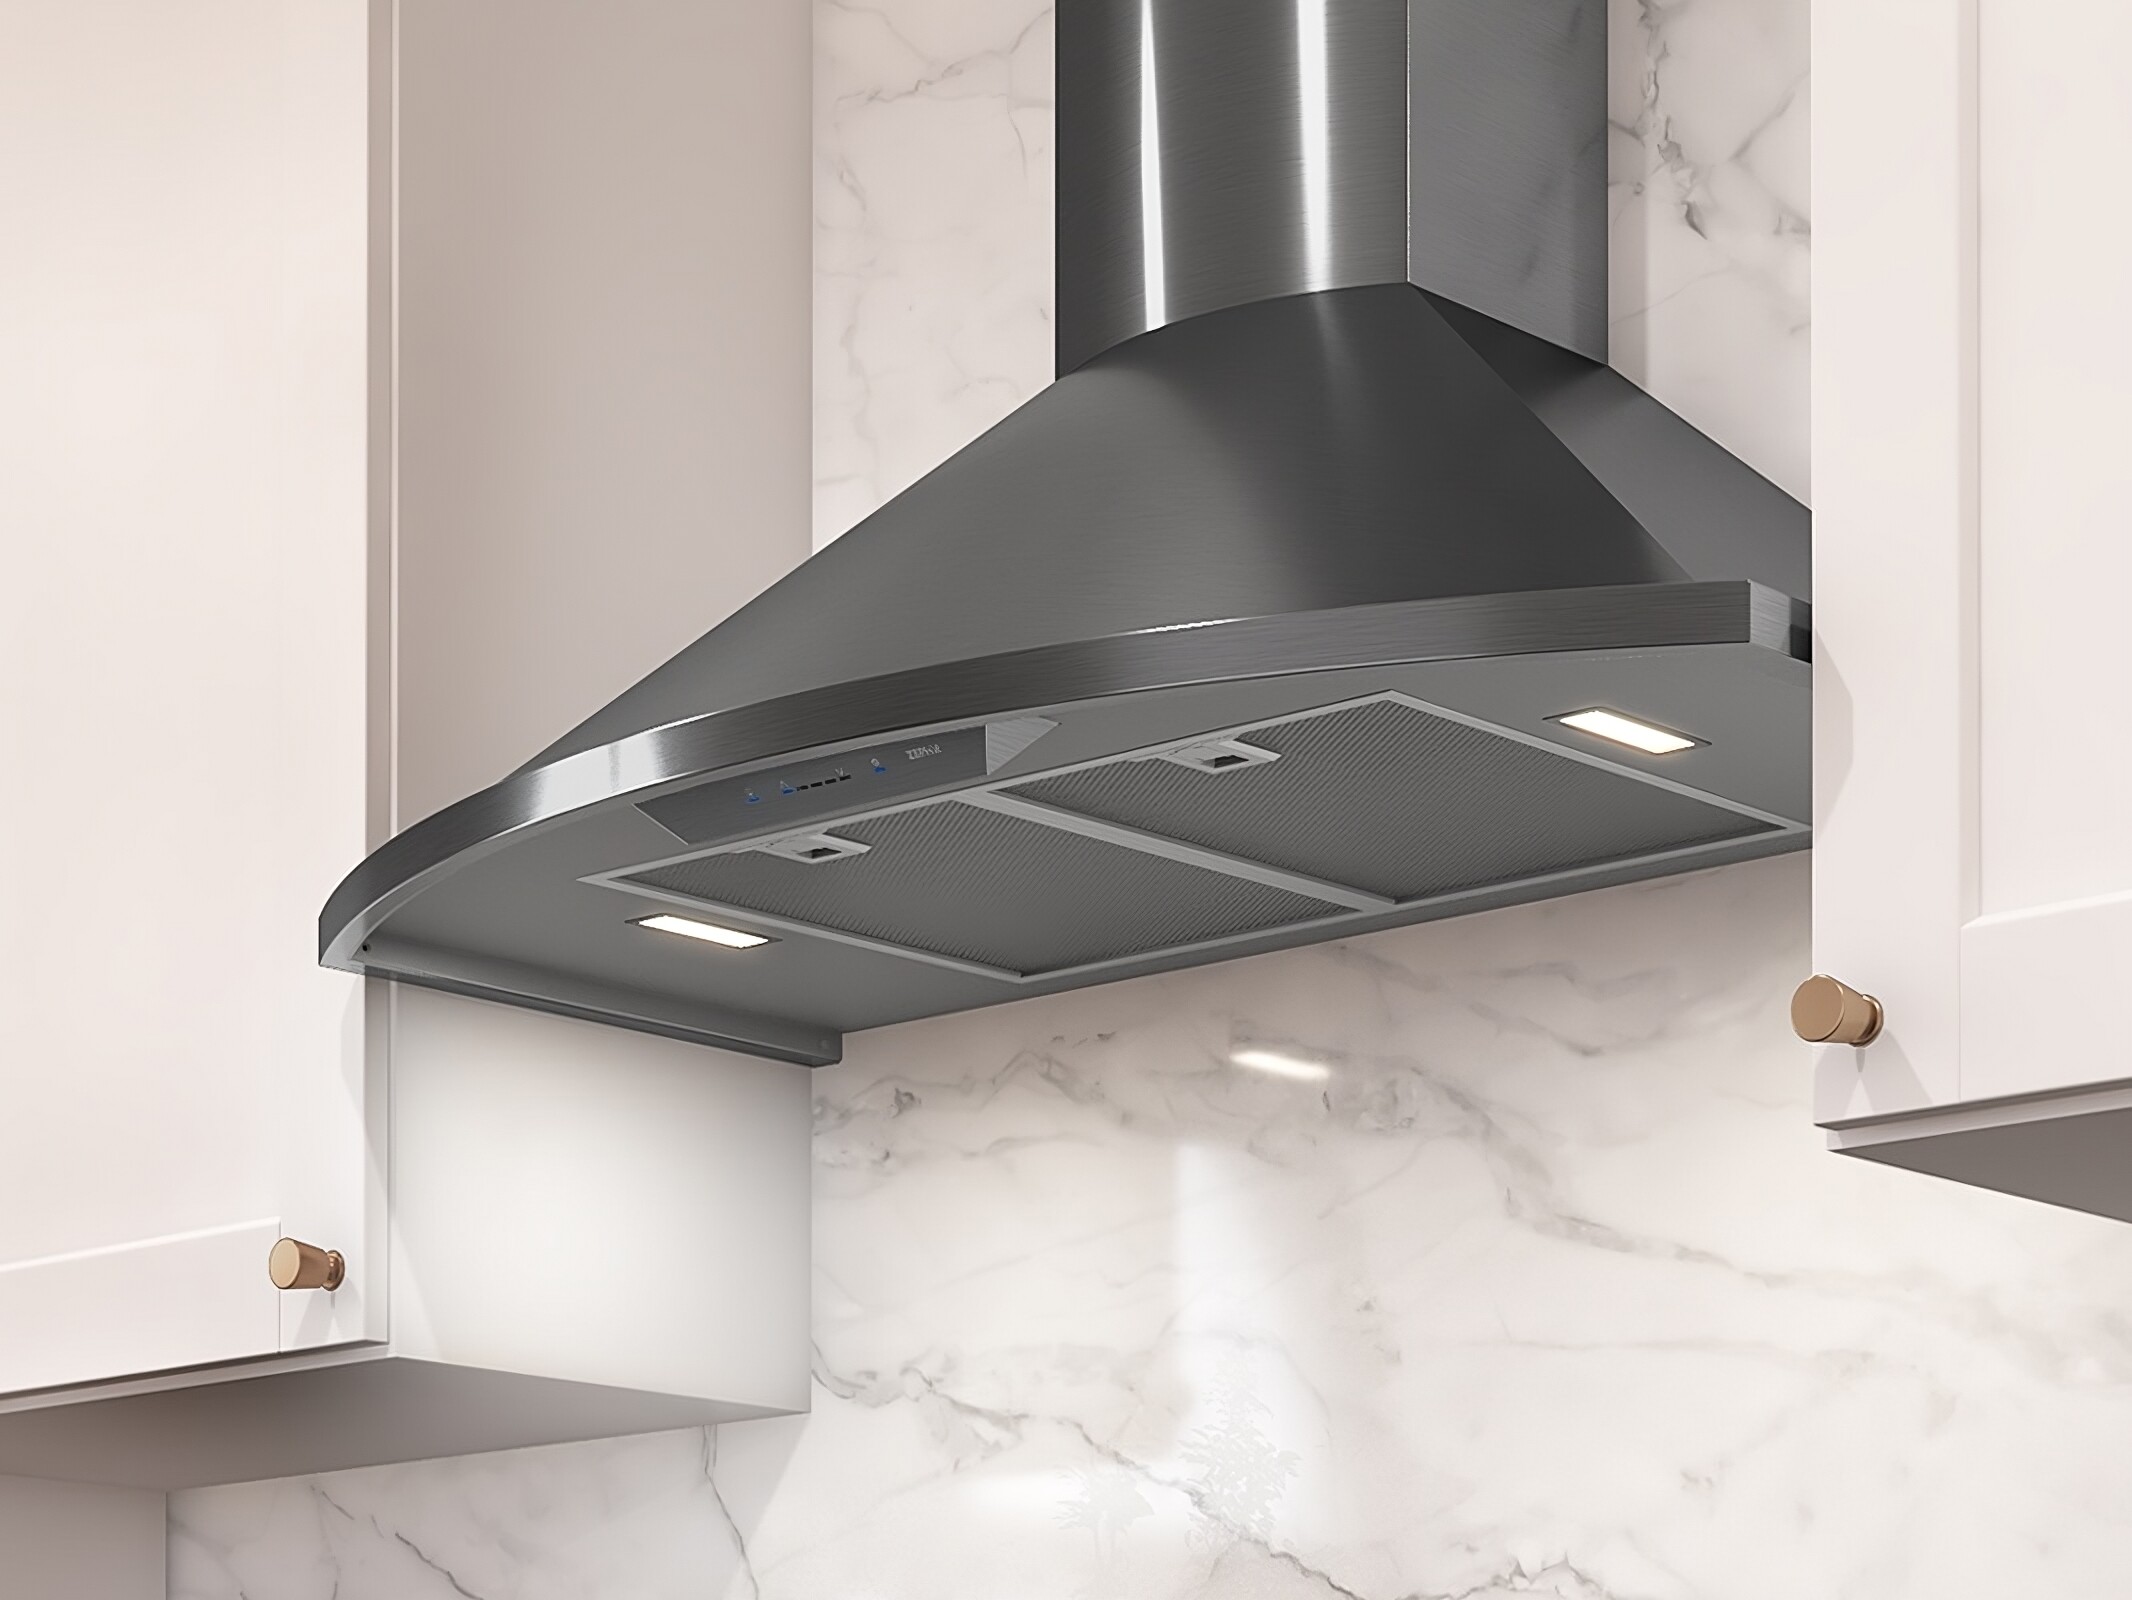
Welcome to this step-by-step guide on how to clean a Zephyr range hood! Range hoods play a crucial role in keeping your kitchen clean and odor-free by capturing grease, smoke, and other airborne particles. Over time, these particles can accumulate on the hood’s filters, exterior surface, fan blade, and ventilation ducts. Regular cleaning not only ensures optimal performance but also extends the lifespan of your range hood.
Before we dive into the cleaning process, it’s important to gather all the necessary supplies. You’ll need a soft cloth or sponge, mild dish soap or kitchen cleaner, warm water, a screwdriver (if required), and a vacuum cleaner with a brush attachment.
Remember, safety should always come first. Make sure to disconnect the power supply to the range hood before you start cleaning. Once you have all your supplies ready, let’s move on to the first step.
Key Takeaways:
- Regularly cleaning your Zephyr range hood is crucial for maintaining optimal performance, extending its lifespan, and ensuring a clean, odor-free kitchen environment. Follow the step-by-step guide for effective and safe cleaning.
- Prioritize safety by disconnecting the power before cleaning your Zephyr range hood. Gather necessary supplies, clean filters, exterior, fan blade, and ventilation ducts to maintain efficiency and longevity.
Read also: 8 Amazing Zephyr Range Hood 30 Inch For 2025
Step 1: Gather Necessary Supplies
Before you begin cleaning your Zephyr range hood, make sure you have all the necessary supplies gathered. Having everything on hand will save you time and ensure a more efficient cleaning process. Here’s a list of the supplies you’ll need:
- A soft cloth or sponge: This will be used to wipe down the exterior surface of the range hood and remove any dirt or grease.
- Mild dish soap or kitchen cleaner: Use a gentle cleaning solution to effectively remove grime and grease build-up without damaging the hood’s surface.
- Warm water: This will be used in combination with the cleaning solution to create a soapy mixture for cleaning.
- Screwdriver (if required): Some range hoods may have filters or components that require removal with the help of a screwdriver. Check your specific model to determine if this is necessary.
- Vacuum cleaner with a brush attachment: This will come in handy for cleaning the fan blade and removing any loose debris from the filters and ventilation ducts.
Once you have gathered all the necessary supplies, you are now ready to move on to the next step. In the following steps, we will guide you through the process of safely and effectively cleaning your Zephyr range hood to restore its performance and maintain a clean kitchen environment.
Step 2: Disconnect the Power
Before you begin cleaning your Zephyr range hood, it’s crucial to disconnect the power to ensure your safety. This step will prevent any accidental electric shock or damage to the hood during the cleaning process. Here’s how you can disconnect the power:
- Locate the power switch or circuit breaker that controls the range hood. This is usually situated on the wall near the hood or in the main electrical panel of your home.
- If your range hood has a power switch, simply turn it to the ‘Off’ position. Ensure the power is completely cut off by testing the hood’s lights and fan.
- If there’s no power switch, or you want to take extra precautions, switch off the circuit breaker that controls the range hood. Locate the corresponding breaker in the main electrical panel, typically labeled for the kitchen or range hood.
- Double-check that the power is disconnected by trying to turn on the hood’s lights or fan. If they don’t respond, you have successfully disconnected the power.
Always prioritize safety when working with electrical appliances. By disconnecting the power, you can clean your Zephyr range hood without any risk of electric shock.
Once you have ensured that the power is safely disconnected, you can move on to the next step: removing and cleaning the filters.
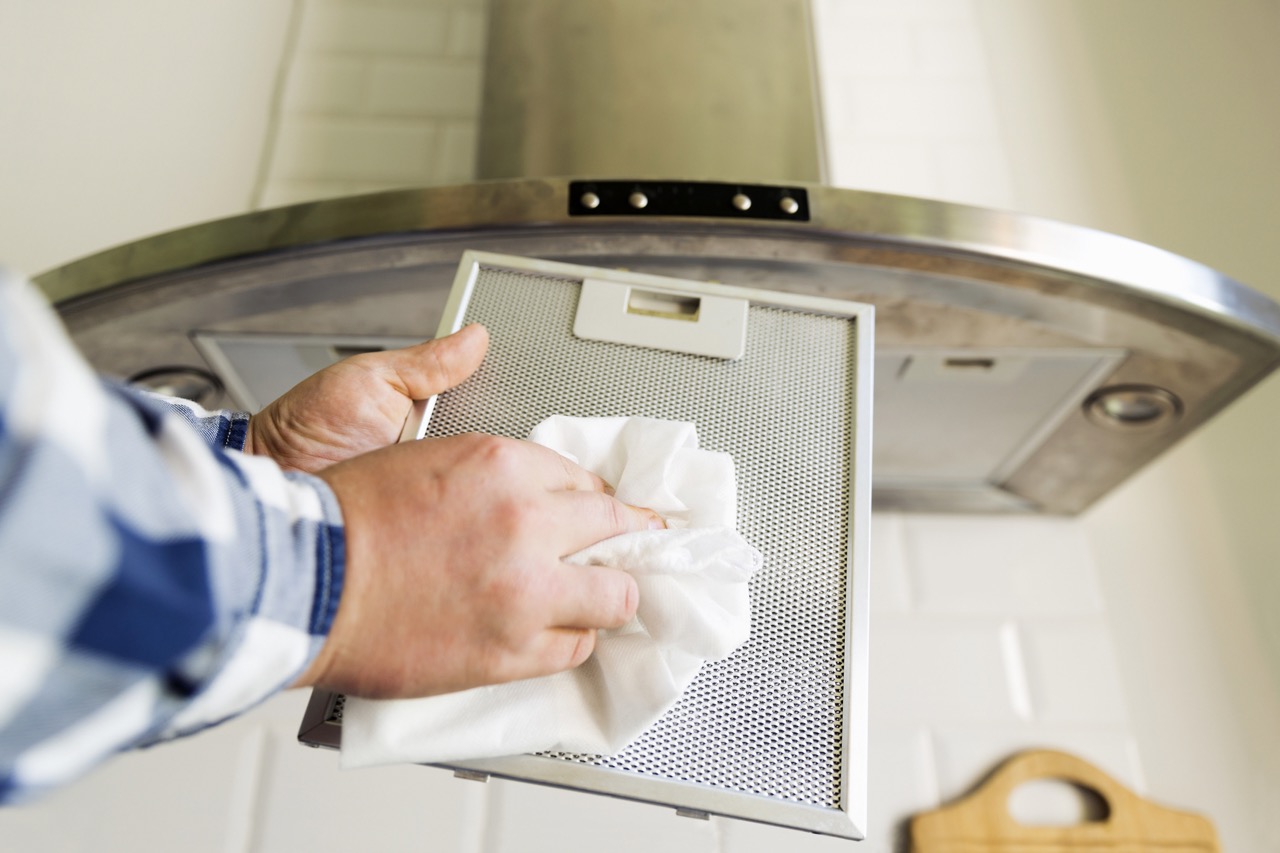
Step 3: Remove and Clean the Filters
The filters in your Zephyr range hood are responsible for trapping grease, smoke, and other airborne particles. Over time, these filters can become clogged and affect the hood’s performance. Regularly cleaning the filters will ensure proper airflow and maintain the efficiency of your range hood. Here’s how to remove and clean the filters:
- Start by locating the filters. Most Zephyr range hoods have removable filters situated underneath the hood’s surface. Refer to your range hood’s manual if you’re unsure about the location of the filters.
- If your filters have a latch or release mechanism, follow the instructions to release them. In some cases, you may need to use a screwdriver to remove the screws holding the filters in place. Be sure to remember the order in which the filters were installed.
- Once the filters are detached, inspect them for any visible build-up of grease or debris. If they appear dirty, it’s time to clean them.
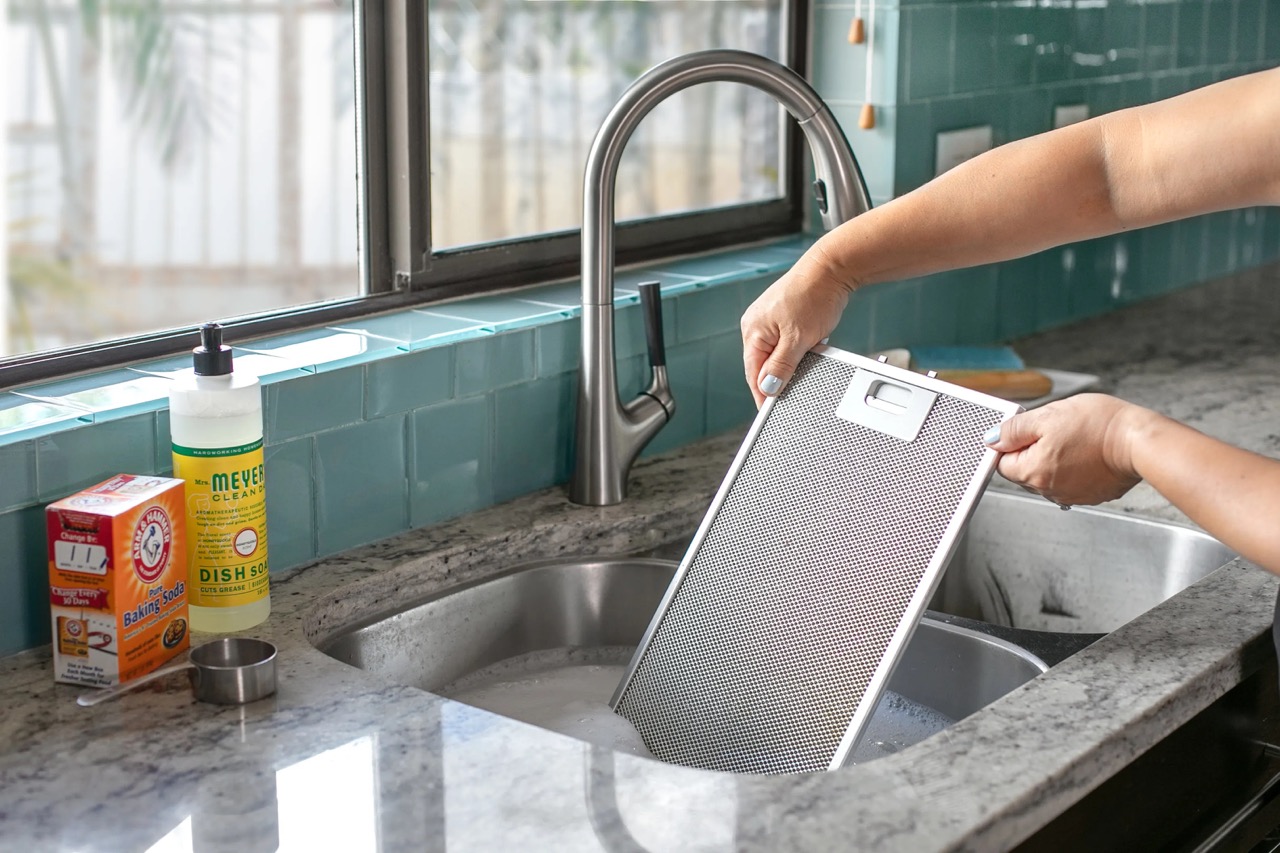
- Fill a sink or basin with warm water and add a mild dish soap or kitchen cleaner. Gently agitate the water to create a soapy solution.
- Place the filters in the soapy water and let them soak for a few minutes. This will help to loosen the trapped grease and grime.
- Using a soft brush or sponge, scrub the filters gently to remove any remaining dirt. Pay extra attention to any heavily soiled areas.
- Rinse the filters thoroughly with clean running water to remove any soap residue.
- Inspect the filters one more time to ensure they are clean. If necessary, repeat the cleaning process.
- Allow the filters to air dry completely before reinstalling them. This will prevent the growth of mold or mildew.
Once the filters are dry, you can proceed to the next step: cleaning the exterior surface of the range hood.
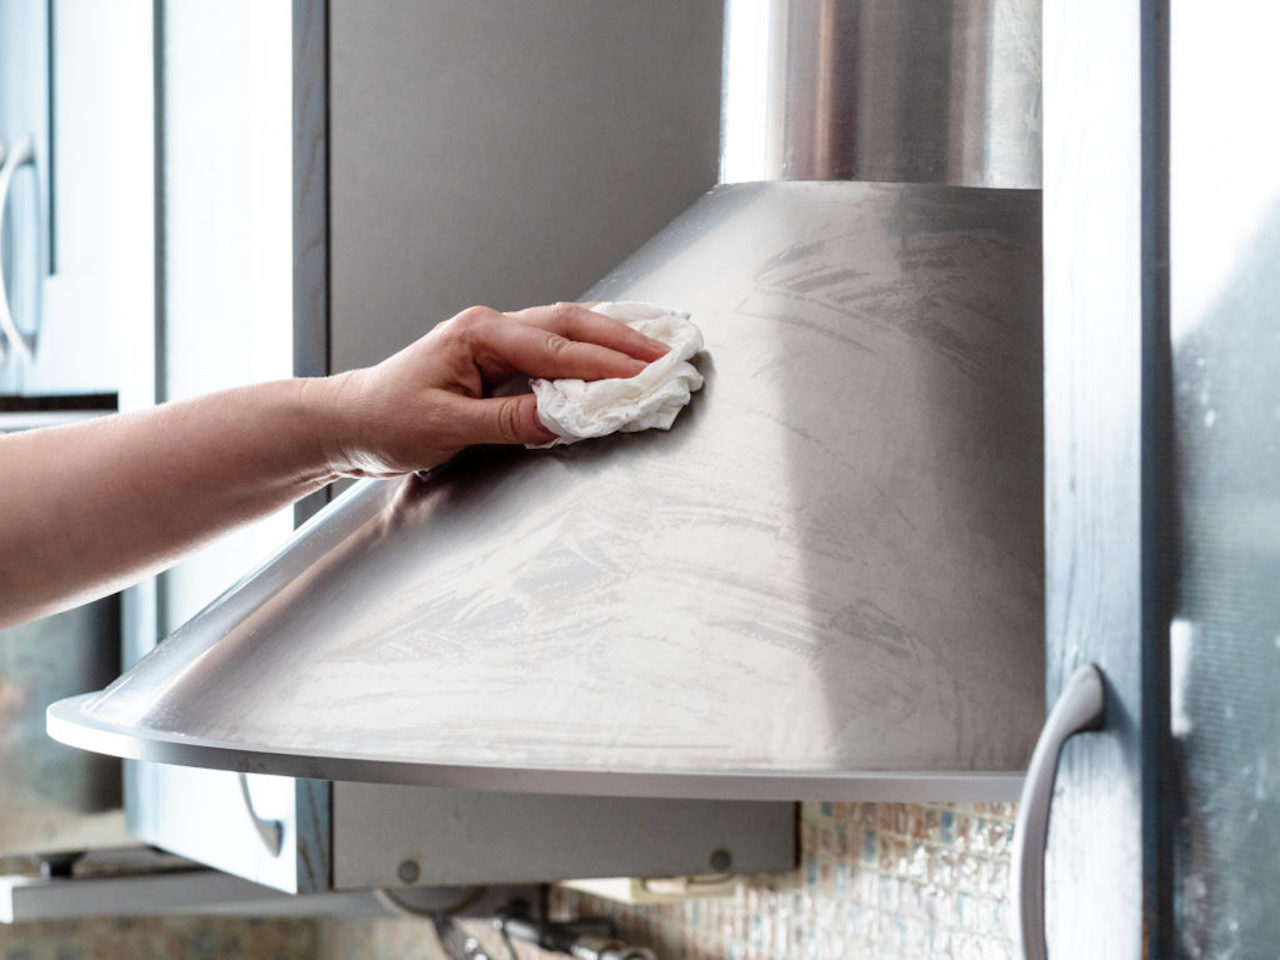
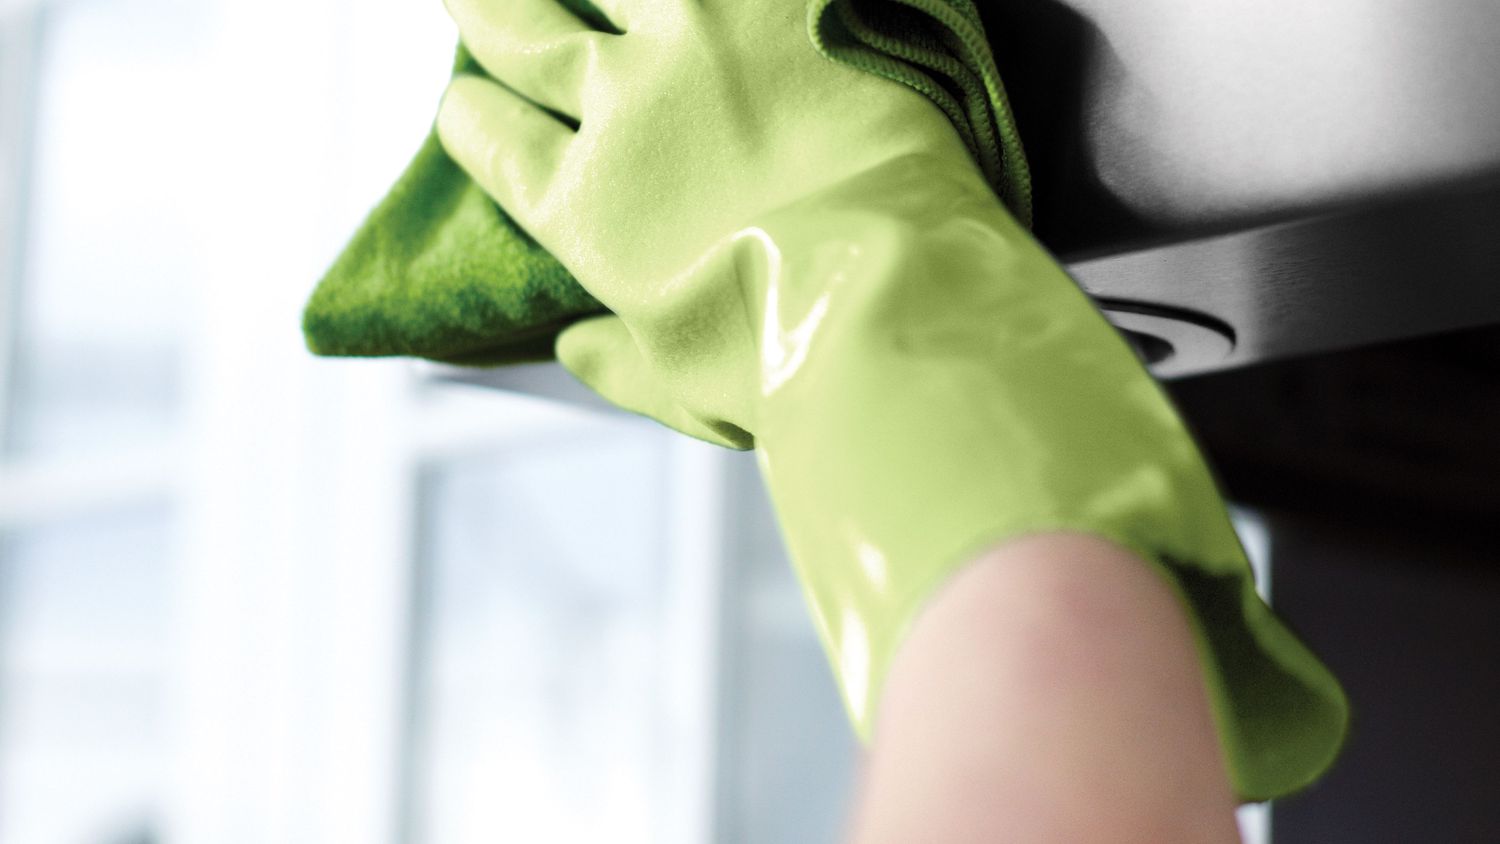
Step 4: Clean the Exterior Surface
The exterior surface of your Zephyr range hood tends to accumulate grease, dirt, and fingerprints over time. Cleaning the exterior not only enhances its appearance but also prevents the build-up of grime that can affect the performance and longevity of your hood. Here’s how you can effectively clean the exterior surface:
- Dampen a soft cloth or sponge with warm water and add a small amount of mild dish soap or kitchen cleaner.
- Gently scrub the exterior surface of the range hood using the damp cloth or sponge. Pay attention to areas that are prone to grease, such as the front panel and control buttons.
- If there are stubborn stains or grease build-up, you can create a paste using baking soda and water. Apply the paste to the affected areas and let it sit for a few minutes. Then, use a soft cloth to scrub the stains away.
- Rinse the surface with a clean cloth dampened with water to remove any soap residue or baking soda paste.
- Dry the exterior surface thoroughly with a clean, dry cloth to prevent water spots or streaks.
- For stainless steel range hoods, you can give them an extra shine by using a stainless steel cleaner or polish. Follow the manufacturer’s instructions for the specific product you are using.
Remember to avoid using abrasive cleaners or harsh chemicals, as they can damage the hood’s finish. Stick to mild cleaning solutions and gentle scrubbing to preserve the integrity of your Zephyr range hood.
With the exterior surface clean, you can now move on to the next step: cleaning the fan blade.
To clean a Zephyr range hood, start by removing the filters and soaking them in hot, soapy water. Wipe down the hood with a mixture of water and mild detergent, then dry thoroughly before reassembling.
Read more: How To Clean Range Hood Motor
Step 5: Clean the Fan Blade
The fan blade in your Zephyr range hood is responsible for drawing in air and expelling it through the ventilation system. Over time, the fan blade can accumulate dust, grease, and debris, which can hinder its performance. Cleaning the fan blade regularly will ensure optimal airflow and ventilation. Here’s how you can clean the fan blade:
- Start by locating the fan blade. It is usually found behind the filters, at the center of the range hood.
- Using a vacuum cleaner with a brush attachment, gently remove any loose debris or dust from the fan blade. Be careful not to damage the blade or any other components.
- If there are visible grease or stubborn stains on the fan blade, you can moisten a soft cloth or sponge with warm water and mild dish soap.
- Gently wipe the fan blade with the damp cloth or sponge, focusing on areas with noticeable build-up. Take caution not to apply excessive pressure or bend the blade.
- Rinse the cloth or sponge and wipe the fan blade again to remove any soap residue.
- Ensure the fan blade is completely dry before reassembling the range hood.
It’s important to be careful when cleaning the fan blade, as any damage to the blade can affect the performance of your Zephyr range hood. Take your time and exercise caution during this step.
Now that you’ve cleaned the fan blade, it’s time to move on to the next step: cleaning the ventilation ducts.
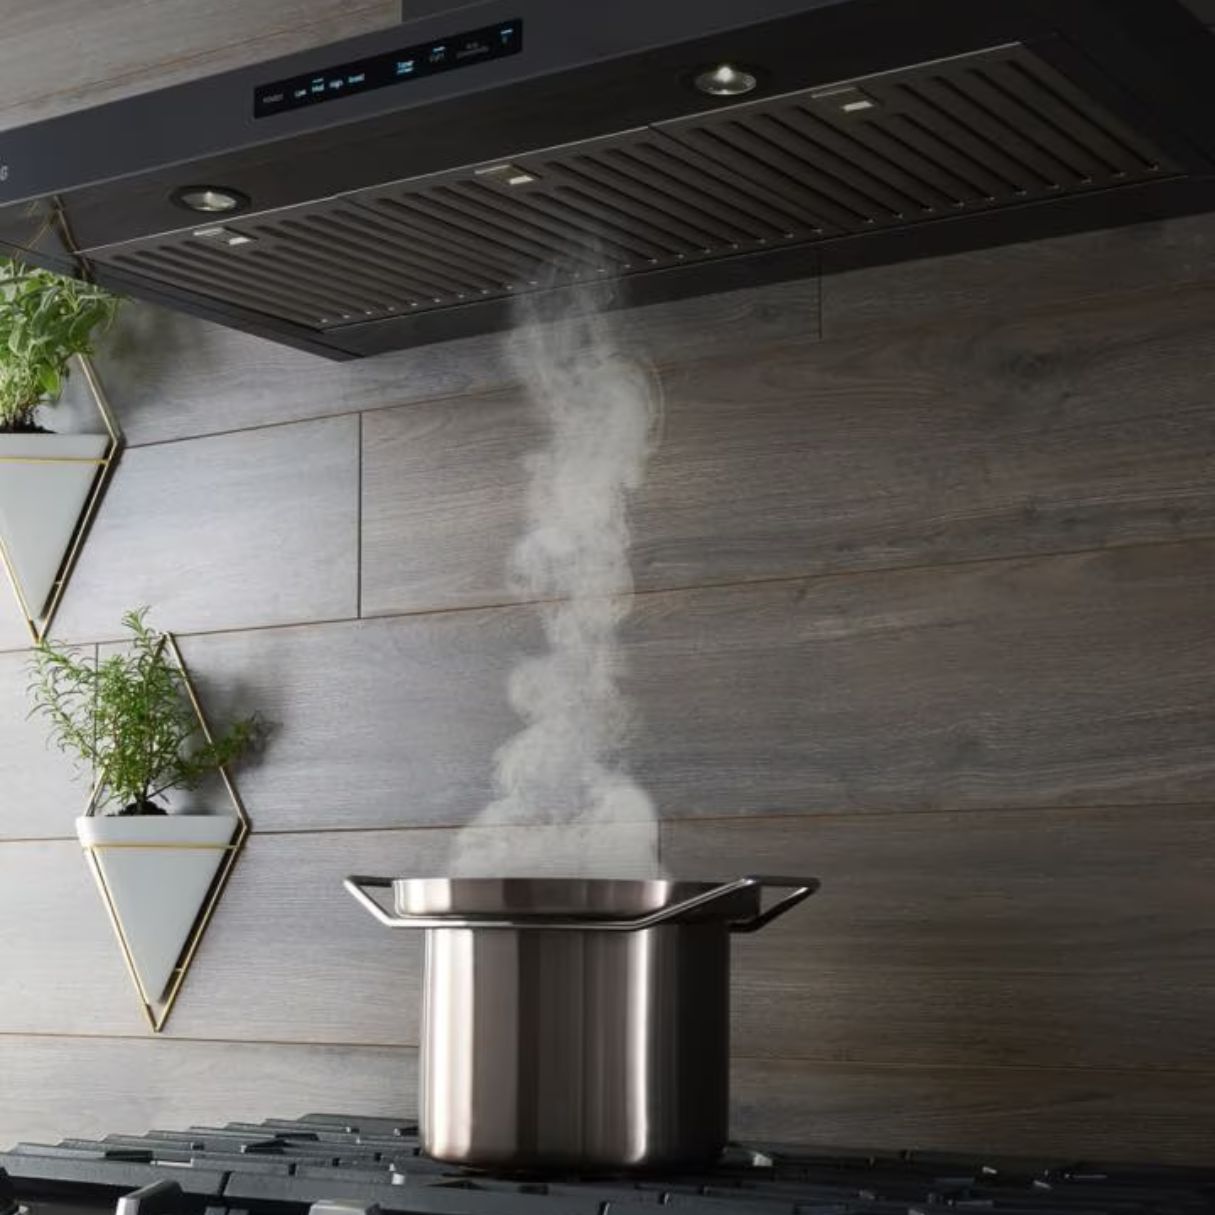
Step 6: Clean the Ventilation Ducts
The ventilation ducts in your Zephyr range hood are responsible for carrying air and odors away from your kitchen. Over time, these ducts can accumulate grease, dust, and other debris, which can hinder proper airflow and affect the efficiency of your hood. Cleaning the ventilation ducts is essential for maintaining a clean and odor-free kitchen. Here’s how you can clean the ventilation ducts:
- Start by inspecting the ventilation ducts to determine if they need cleaning. Look for any visible signs of grease or dirt build-up.
- Using a vacuum cleaner with a brush attachment, carefully remove any loose debris from the ducts. Start from the outside and work your way towards the range hood.
- If there are stubborn grease stains or build-up in the ducts, you can create a cleaning solution using warm water and mild dish soap.
- Dampen a soft cloth or sponge with the cleaning solution and gently wipe the interior surfaces of the ducts. Pay attention to areas with visible dirt or grease.
- If the ducts are difficult to access or have heavy build-up, you may consider using a long, flexible brush specifically designed for duct cleaning.
- Rinse the cloth or sponge and wipe the ducts again to remove any soap residue.
- Allow the ventilation ducts to dry completely before reassembling the range hood.
Cleaning the ventilation ducts may require some extra effort, but it is an important step in maintaining the performance and efficiency of your Zephyr range hood. By ensuring clean and clear ducts, you can effectively remove odors and maintain a healthy kitchen environment.
Now that you’ve cleaned the ventilation ducts, let’s move on to the next step: reinstalling the filters.
Step 7: Reinstall the Filters
Now that you have cleaned the filters and completed the cleaning process for your Zephyr range hood, it’s time to reinstall the filters. Properly installing the filters ensures that they function effectively in capturing grease and airborne particles. Here’s how you can reinstall the filters:
- Take the dry filters and identify their correct positions. Most range hoods have multiple filters, so it’s important to reinstall them in the correct order.
- If your filters have a latch or release mechanism, follow the instructions to secure them back in place. If you removed any screws during the cleaning process, make sure to reattach them as well.
- Ensure that the filters fit snugly and securely in their respective slots. They should be completely aligned and flush with the range hood.
- Give the filters a gentle push to confirm that they are securely installed. They should not move or shift when touched.
- Double-check all the filters to make sure they are properly reinstalled and in the correct order.
By reinstalling the filters correctly, you can maintain the optimal performance and efficiency of your Zephyr range hood. Properly functioning filters ensure that grease and airborne particles are captured, keeping your kitchen clean and odor-free.
With the filters successfully reinstalled, it’s time to move on to the final step: reconnecting the power to your range hood.
Step 8: Reconnect the Power
After completing the cleaning process for your Zephyr range hood, it’s important to reconnect the power to ensure it functions properly. Restoring the power allows you to enjoy the full benefits of your clean and well-maintained range hood. Here’s how you can reconnect the power:
- Locate the power switch or circuit breaker that controls the range hood. Refer to the previous steps if you need a reminder of where it is.
- If your range hood has a power switch, turn it to the ‘On’ position. Check that the hood’s lights and fan are functioning correctly.
- If you previously switched off the circuit breaker, switch it back to the ‘On’ position.
- Test the range hood’s lights and fan once again to ensure that the power has been successfully reconnected.
Reconnecting the power is a crucial step to safely and effectively use your Zephyr range hood. It allows you to enjoy a clean and well-ventilated kitchen environment.
Congratulations! You have completed the steps to clean your Zephyr range hood. By regularly cleaning and maintaining your range hood, you can ensure optimal performance and prolong its lifespan.
Remember to reference your specific range hood’s manual for any additional cleaning or maintenance instructions provided by the manufacturer. With proper care, your Zephyr range hood will continue to keep your kitchen clean and fresh year after year.
Thank you for following this comprehensive guide, and happy cooking!
Read more: How To Clean Fotile Range Hood
Conclusion
Cleaning your Zephyr range hood is an essential task that helps to maintain its performance, extend its lifespan, and keep your kitchen clean and odor-free. By following the step-by-step guide outlined in this article, you can effectively clean every aspect of your range hood, from the filters to the fan blade and ventilation ducts. Regularly cleaning your range hood ensures optimal airflow, prevents grease build-up, and enhances its overall efficiency.
Remember to gather all the necessary supplies before you start cleaning, disconnect the power to ensure your safety, and follow the specific instructions for your range hood model. Use mild dish soap or kitchen cleaner, warm water, and a soft cloth or sponge to clean the exterior surface. Take care when cleaning the fan blade and ventilation ducts, as these components are crucial for proper airflow.
Reinstalling the filters in the correct order is essential for capturing grease and airborne particles effectively. Finally, reconnect the power to your range hood to enjoy its clean and refreshed performance.
Regularly cleaning and maintaining your Zephyr range hood not only keeps your kitchen clean and fresh but also ensures its longevity. Be sure to refer to your range hood’s manual for any additional cleaning or maintenance instructions specific to your model.
Thank you for following this comprehensive guide on how to clean a Zephyr range hood. By caring for your range hood properly, you can continue to enjoy a clean and efficient kitchen environment for many years to come.
Now that you've mastered cleaning your Zephyr range hood, why stop there? Dive into our guide on refreshing your refrigerator from inside out, offering smart cleaning tips that ensure every nook is spotless. If you're keen on upgrading, don't miss out on our review of the latest Zephyr range hoods, perfect for any modern kitchen in 2024. Both articles are packed with practical advice and insightful reviews to keep your home appliances in top shape and style!
Frequently Asked Questions about How To Clean A Zephyr Range Hood
Was this page helpful?
At Storables.com, we guarantee accurate and reliable information. Our content, validated by Expert Board Contributors, is crafted following stringent Editorial Policies. We're committed to providing you with well-researched, expert-backed insights for all your informational needs.


Like, YO! After cleaning filters and reinstalling how do I stop the flashing blue light?