Home>Home Maintenance>How To Create A Drain For A Washer With No Drainage In The House
Home Maintenance
How To Create A Drain For A Washer With No Drainage In The House
Modified: August 28, 2024
Learn how to create a drain for your washer when there is no existing drainage in your home. Discover effective home maintenance solutions for this common problem.
(Many of the links in this article redirect to a specific reviewed product. Your purchase of these products through affiliate links helps to generate commission for Storables.com, at no extra cost. Learn more)
Introduction
Welcome to our guide on how to create a drain for a washer with no drainage in the house. If you have a washing machine but no existing drain for it, you may be wondering how to solve this problem. Fortunately, with a few simple steps and some basic supplies, you can easily create a drain for your washer and ensure that the wastewater is properly disposed of.
Having a dedicated drain for your washing machine is important as it helps prevent any potential water damage to your home and keeps the laundry area clean and functional. Without a proper drain, the wastewater from your washer can accumulate and cause unpleasant odors and unsightly stains on the floor. By following the steps outlined in this guide, you can create a drain for your washer and eliminate these issues.
Before we begin, it’s important to note that while creating a drain for your washer is a relatively straightforward process, you may need to consult with a professional plumber if you have specific plumbing requirements or if you’re unsure about any steps. Safety should always be your top priority when working with plumbing systems.
Now that we’ve covered the basics, let’s take a look at the materials you’ll need to create a drain for your washer.
Key Takeaways:
- Creating a drain for a washer without drainage is doable with the right materials and steps. It helps prevent water damage and keeps the laundry area clean and functional.
- By following safety precautions and testing the drain system, you can ensure efficient wastewater disposal and enjoy hassle-free laundry sessions.
Read more: How To Create Drainage Away From The House
Materials Needed
Before you can start creating a drain for your washer, you’ll need to gather the necessary materials. Here’s a list of what you’ll need:
- Plastic drain pipe: You’ll need a plastic drain pipe, typically with a diameter of 1.5 or 2 inches, depending on the size of your washer. This pipe will serve as the main conduit for the wastewater to drain out of your washer.
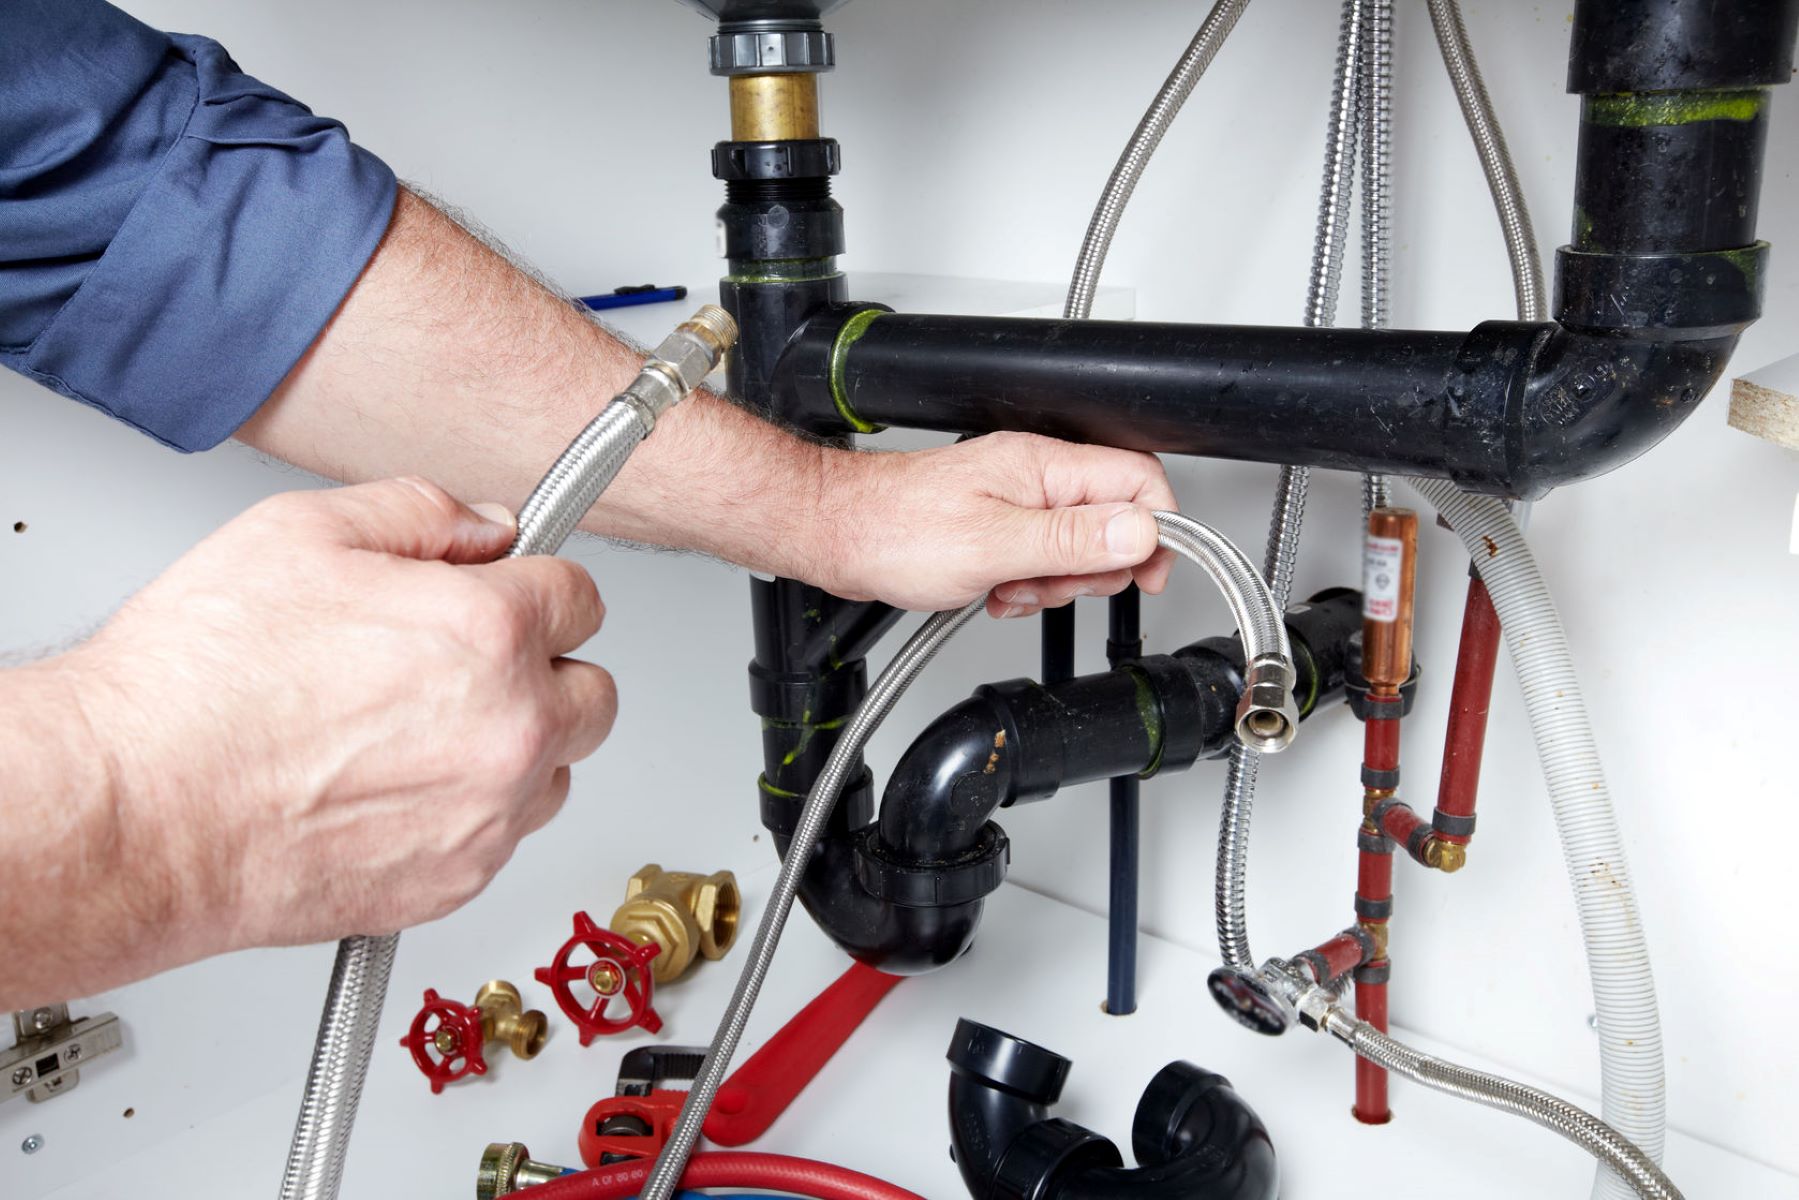
- P-trap: A P-trap is a curved pipe that prevents sewer gases from entering your home. It’s an essential component of a drain system and will ensure proper drainage and odor control.
- Drainage hose extension: If your washer’s existing drainage hose is not long enough to reach the new drain location, you may need to purchase a drainage hose extension. Make sure to choose one that is compatible with your washer model.
- PVC cement: PVC cement is used to securely connect the different parts of the drain pipe. It creates a watertight seal and ensures that there are no leaks in the system.
- PVC fittings: You’ll need various PVC fittings, such as elbows and couplings, to connect and redirect the drain pipe as needed. The specific fittings required will depend on your particular setup.
- Tape measure: A tape measure will come in handy for accurately measuring the distances between your washer, the new drain location, and any necessary pipe cuts.
- Hacksaw or PVC pipe cutter: A hacksaw or PVC pipe cutter is necessary for cutting the drain pipe to the appropriate length. This will ensure that the pipe fits properly and allows for a smooth flow of water.
- Screwdriver or adjustable wrench: You’ll need a screwdriver or an adjustable wrench to tighten and secure the fittings and clamps during the installation process.
- Bucket or basin: A bucket or basin will be useful for catching any excess water that may spill during the installation or testing of the drain.
Once you have these materials ready, you can move on to the next step of assessing the area where you’ll be installing the drain.
Step 1: Assessing the Area
The first step in creating a drain for your washer is to assess the area where you’ll be installing it. This will help you determine the best location for the drain and ensure that it meets the necessary requirements. Here’s what you need to do:
- Locate the nearest existing drain: Look for the nearest drain in your house, such as a floor drain, a sink drain, or a standpipe. This will help you determine the approximate location and route for your washer’s drain.
- Consider the proximity to the washing machine: Take note of the distance between your washer and the potential drain location. Ideally, the drain should be as close to the washer as possible to minimize the length of the drain pipe and ensure efficient drainage.
- Check for accessibility: Ensure that the area where you’ll be creating the drain is accessible and allows for easy installation and maintenance. It should have enough space to accommodate the drain pipe and fittings without any obstructions.
- Look for a suitable outlet: Determine where the drain pipe will ultimately connect to the main sewer line or sewage system. This could be a floor drain, a sink drain, or an outdoor sewage line, depending on the layout of your house and local plumbing regulations.
- Note any structural considerations: Take into account any structural elements, such as walls or floor joists, that may be present in the area where you plan to install the drain. Ensure that the installation won’t compromise the integrity of your home’s structure.
- Check local plumbing codes: Research and familiarize yourself with the plumbing codes and regulations in your area. Different regions may have specific requirements for drain installations, and it’s important to comply with these regulations to ensure the safety and legality of your project.
By thoroughly assessing the area, you’ll be able to determine the best location for your washer’s drain and plan the installation accordingly. Once you’ve completed this step, you can move on to gathering the necessary supplies for the project.
Step 2: Gathering Supplies
Now that you have assessed the area and determined the location for your washer’s drain, it’s time to gather the necessary supplies. Here’s what you need to do:
- Make a list: Review the materials list provided earlier in this guide and make a checklist of all the items you’ll need for the installation. This will help you ensure that you have everything required before starting the project.
- Measurements: Use a tape measure to take accurate measurements of the distance between your washer and the drain location. This will help you determine the length of the drain pipe and the necessary fittings.
- Purchase the supplies: Visit your local home improvement store or plumbing supplier to purchase the required materials. Make sure to get high-quality products that meet the necessary standards for your plumbing system.
- Double-check compatibility: Before making any purchases, ensure that all the supplies you’re getting are compatible with your washer and the plumbing system in your house. This includes checking the diameter of the drain pipe, the type of fittings needed, and any specific requirements for your washer model.
- Get additional tools if necessary: Depending on your specific installation requirements, you may need additional tools such as a stud finder, pipe wrench, or pipe thread tape. Determine if any additional tools are needed and acquire them before starting the project.
- Organize your supplies: Once you have all the necessary materials and tools, set them up in a designated area for easy access during the installation process. Having everything organized will help streamline the project and make it more efficient.
By carefully gathering the supplies and ensuring compatibility, you’ll be well-prepared for the installation of your washer’s drain. With all the necessary items on hand, you’re ready to move on to the next step: creating an outlet for the drain.
Step 3: Creating an Outlet
Now that you have gathered all the necessary supplies, it’s time to create an outlet for your washer’s drain. This step involves determining the location for the drain and preparing the area for installation. Follow these steps to create a drain outlet:
- Choose the drain location: Based on your assessment in Step 1, select the most suitable location for the drain outlet. This could be a floor drain, a sink drain, or an outdoor sewer line. Make sure the chosen location is accessible and meets the local plumbing codes.
- Prepare the drain opening: If the chosen outlet already exists, skip to the next step. Otherwise, you’ll need to create a new drain opening. Carefully drill a hole or cut into the existing pipe using a suitable tool, ensuring that the opening is the same diameter as the drain pipe you will be using.
- Install a P-trap: To prevent sewer gases from entering your home, install a P-trap near the drain opening. Attach the P-trap to the existing or newly created drain opening, making sure it is securely connected.
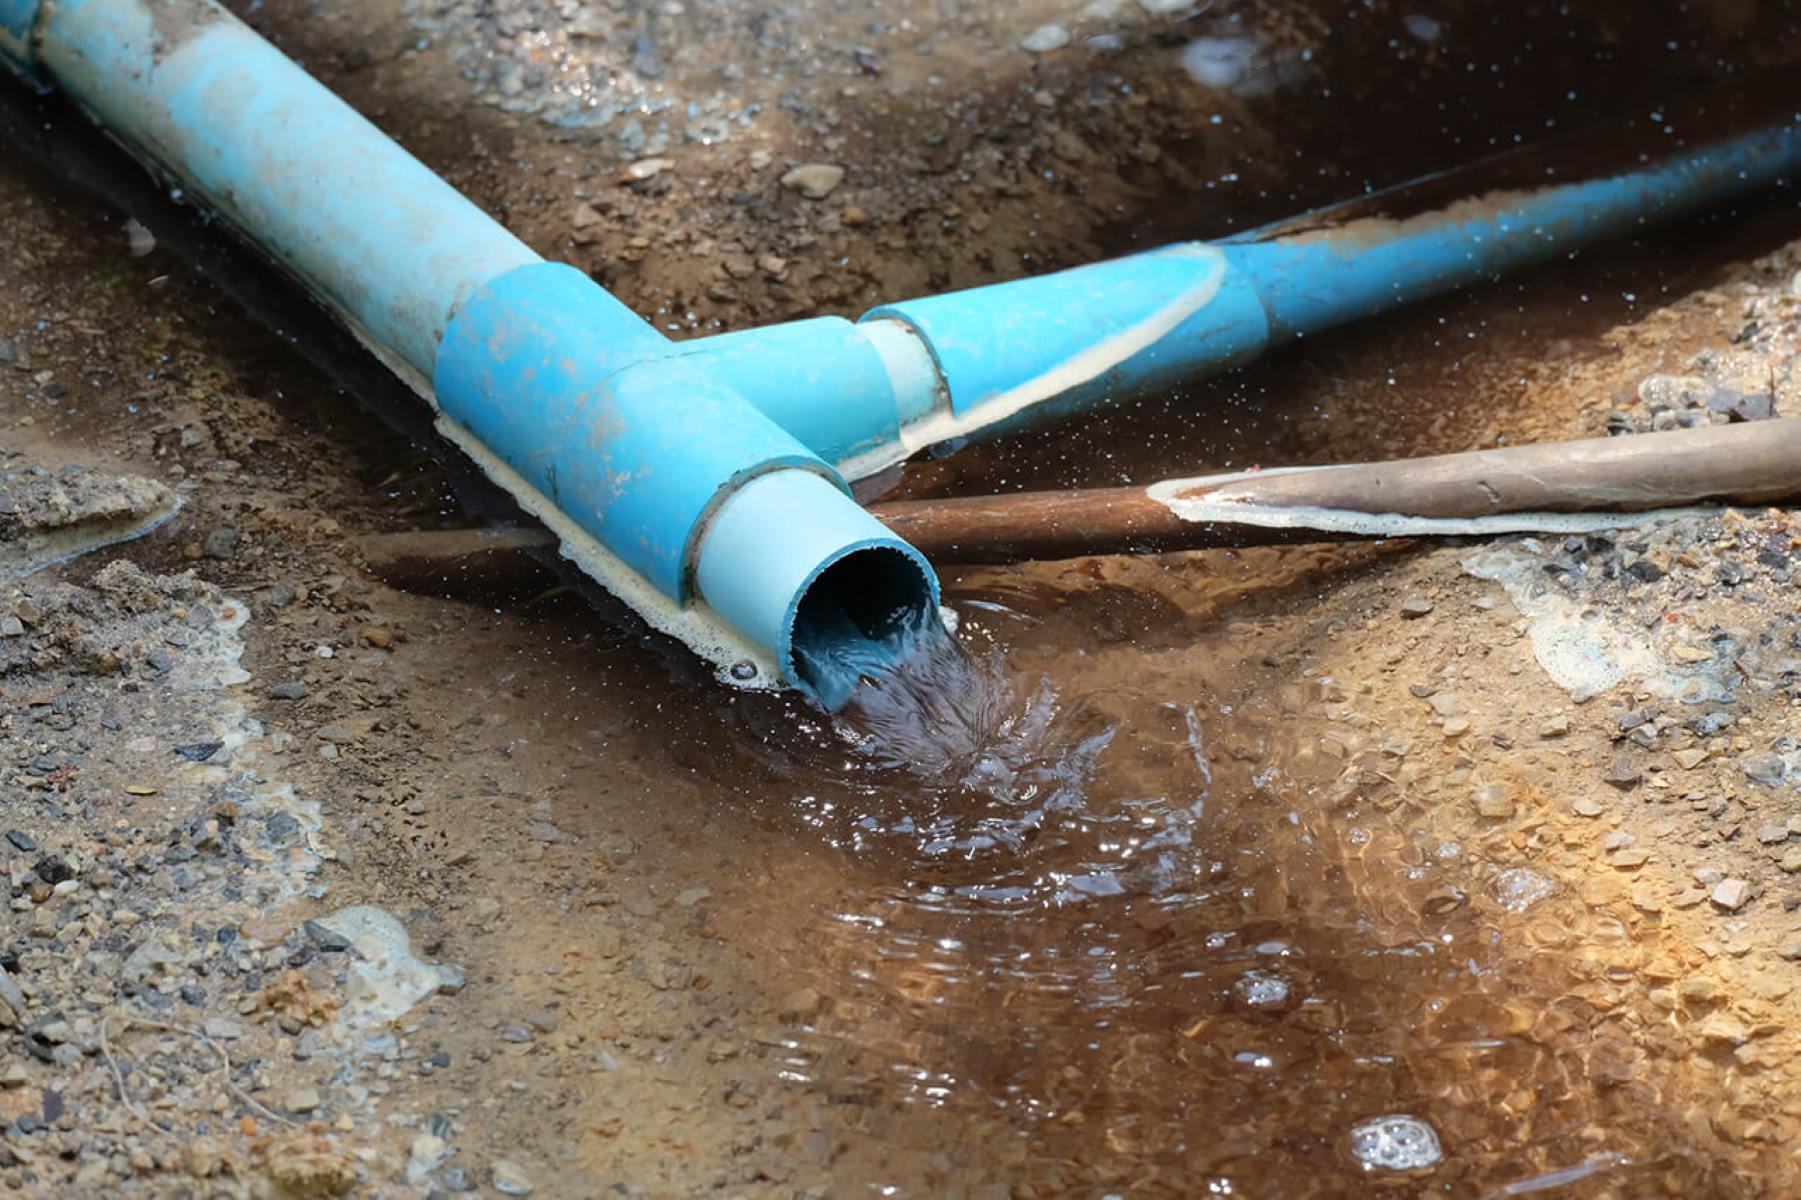
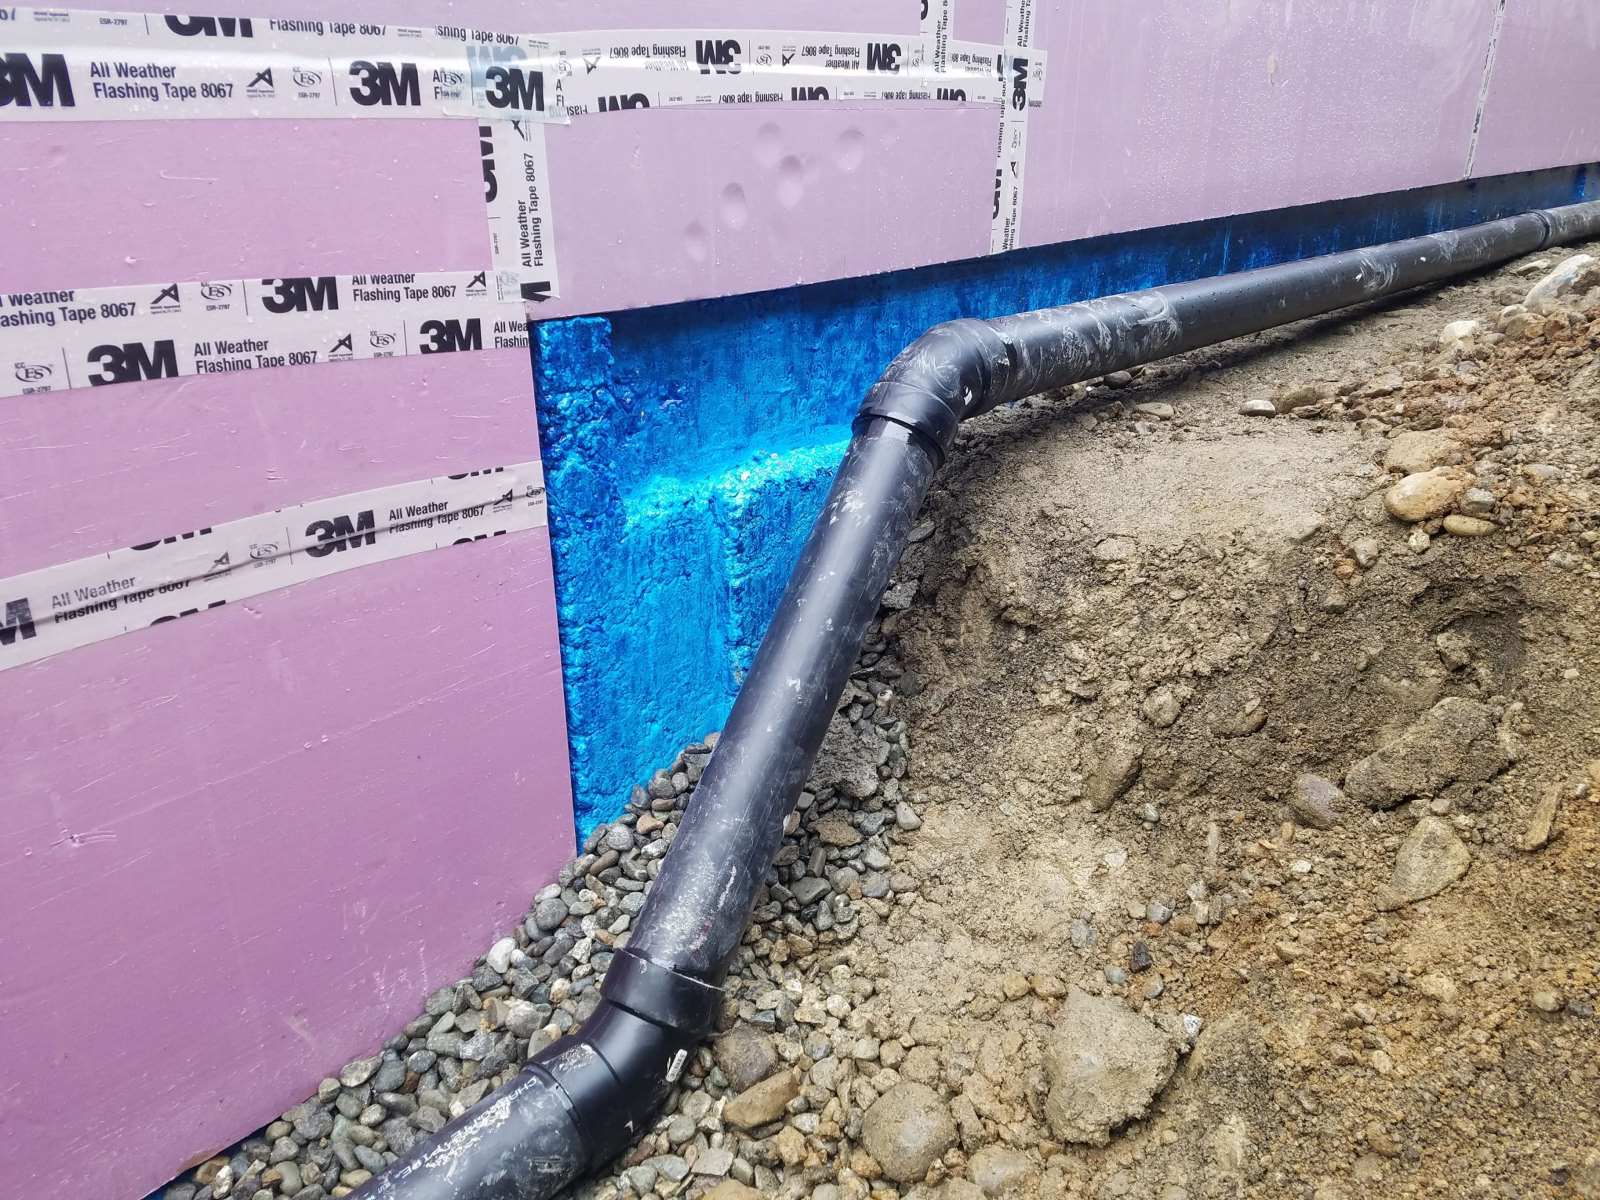
- Connect the drain pipe: Attach the drain pipe to the outlet side of the P-trap, securely connecting them using PVC cement and appropriate fittings. Ensure that the drain pipe is angled downward to facilitate proper drainage.
- Secure the drain pipe: Use clamps or brackets to secure the drain pipe to the wall or floor, ensuring its stability and preventing any movement during use.
By following these steps, you will create a functional outlet for your washer’s drain. The P-trap will ensure proper drainage while preventing any unpleasant odors from entering your home. It’s important to double-check all connections and ensure they are secure to avoid any leaks.
Once you have successfully created the drain outlet, you can proceed to the next step: installing the drain pipe.
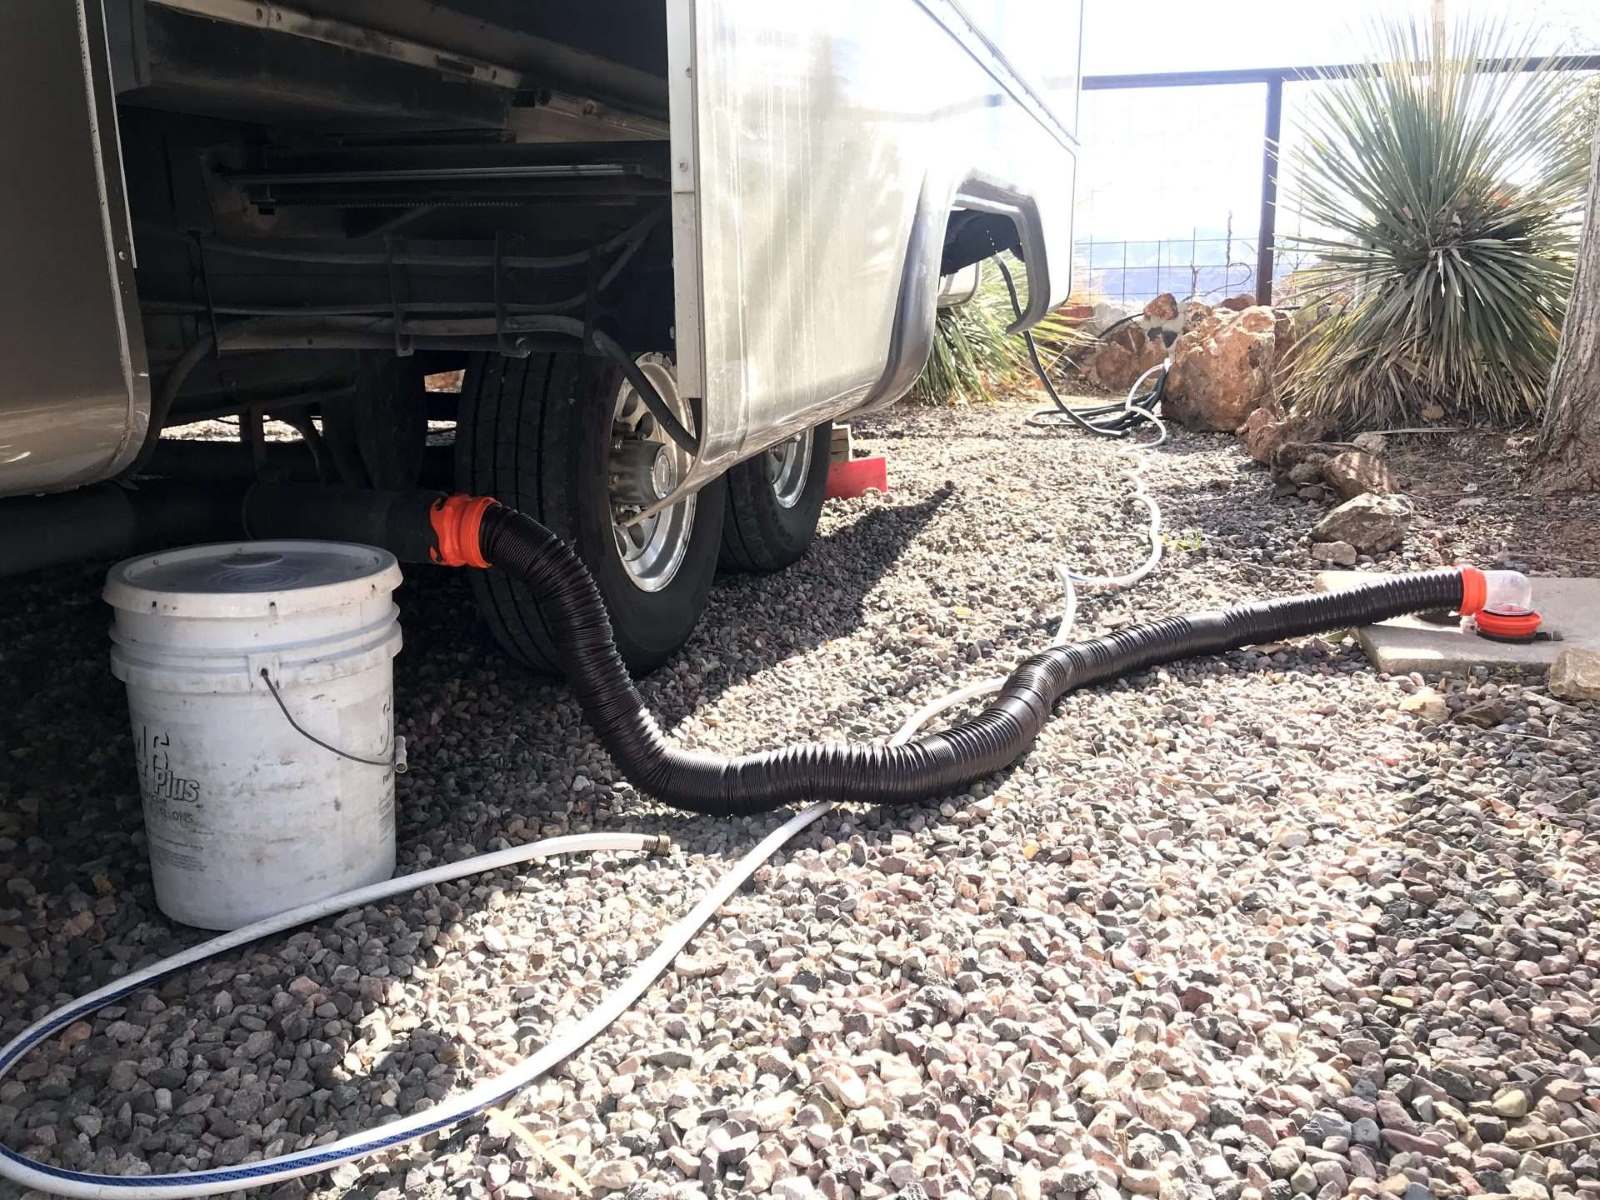
You can create a drain for a washer with no drainage in the house by using a portable sump pump to pump the water out of the washer and into a nearby sink or drain. Make sure to follow the manufacturer’s instructions for proper installation and use.
Read more: How To Design Drainage For A House
Step 4: Installing the Drain Pipe
Now that you have created the drain outlet, it’s time to install the drain pipe for your washer. This step involves connecting the drain pipe to the drain outlet and routing it to the desired location. Follow these steps to install the drain pipe:
- Measure and cut the drain pipe: Using a tape measure, carefully measure the distance between the drain outlet and the desired location for the drain pipe. Cut the drain pipe to the appropriate length using a hacksaw or PVC pipe cutter.
- Prepare the pipe ends: Use sandpaper or a PVC pipe deburring tool to remove any rough edges or burrs from the cut ends of the drain pipe. This will ensure a smooth and secure connection.
- Apply PVC cement: Apply PVC cement to the inside of the fittings and the outside of the pipe ends. Make sure to follow the manufacturer’s instructions for the proper application of the cement.
- Connect the fittings: Insert the pipe ends into the fittings and twist them slightly to ensure a secure connection. Use a screwdriver or wrench to tighten the fittings as needed.
- Route the drain pipe: Carefully route the drain pipe from the washer’s location to the drain outlet, ensuring that it follows a downward slope to facilitate proper drainage. Use PVC fittings, such as elbows and couplings, as needed to redirect the pipe if obstacles are encountered.
- Secure the drain pipe: Use clamps or brackets to secure the drain pipe to the wall or floor, ensuring its stability and preventing any movement during use.
It’s important to ensure that all connections are properly cemented and securely tightened to prevent any leaks. Take your time during the installation process and double-check each step to ensure a reliable and efficient drain pipe for your washer.
Once the drain pipe is installed, you can move on to the next step: connecting the washer to the new drain system.
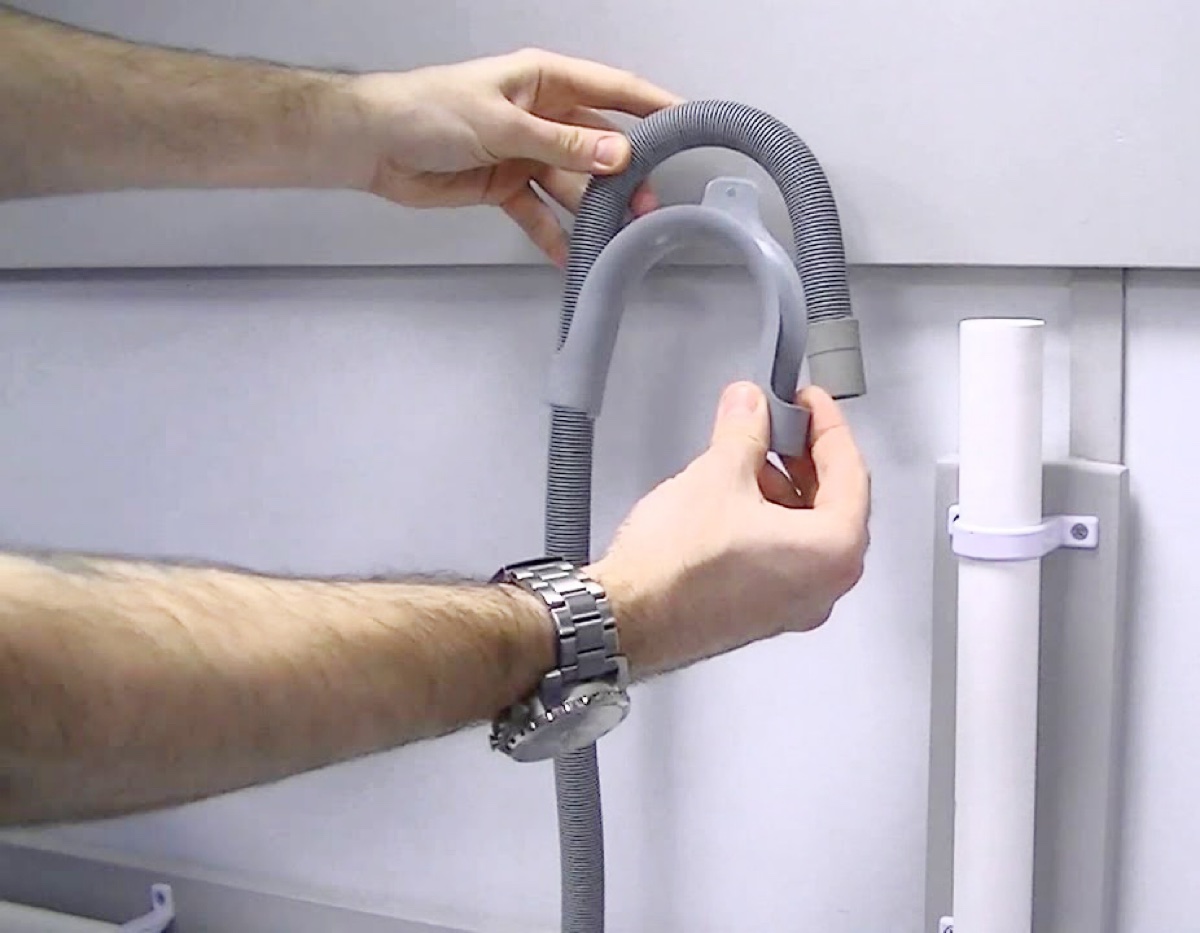
Step 5: Connecting the Washer
With the drain pipe securely installed, it’s time to connect your washer to the new drain system. This step involves properly attaching the washer’s drainage hose to the drain pipe and ensuring a tight and leak-free connection. Follow these steps to connect the washer:
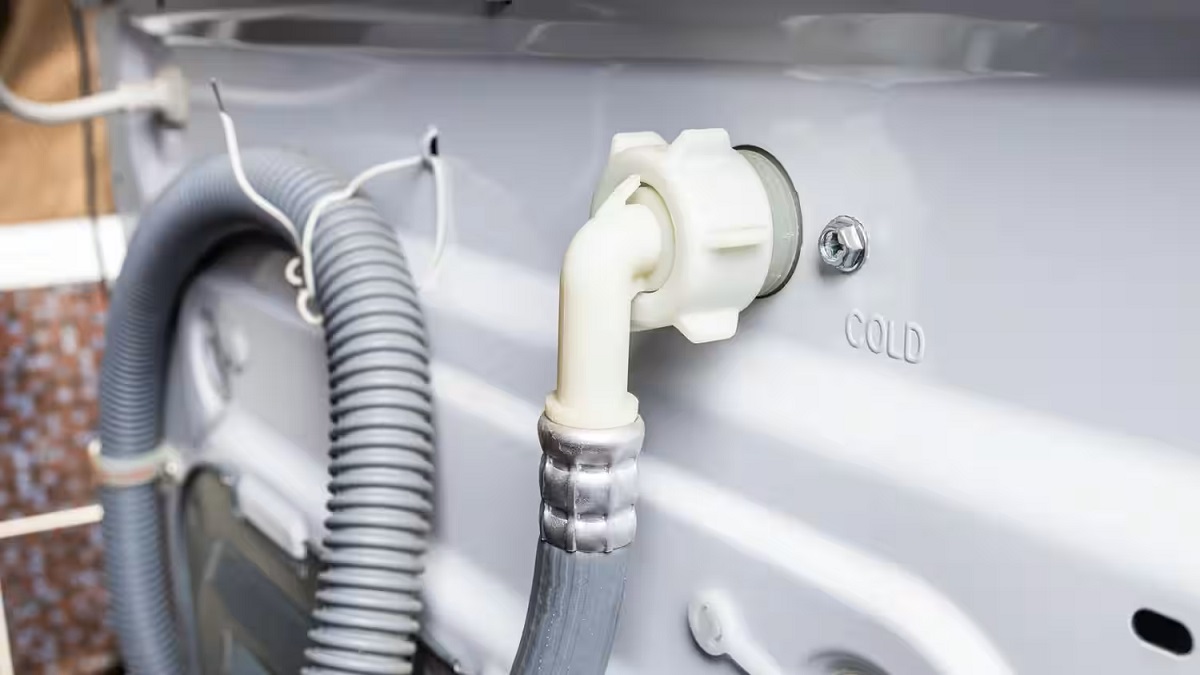
- Locate the washer’s drainage hose: Find the drainage hose on your washer. It is typically located at the back of the machine near the bottom.
- Inspect the drainage hose: Check the condition of the washer’s drainage hose. Ensure that it is not cracked, damaged, or clogged. If the hose is worn out, consider replacing it with a new one to ensure proper drainage.
- Attach the drainage hose to the drain pipe: Insert the end of the washer’s drainage hose into the open end of the drain pipe. Push it in firmly until you feel it securely seated. If necessary, use hose clamps or cable ties to hold the connection in place.
- Elevate the drainage hose: If the end of the drainage hose is lower than the level of the drain pipe, elevate it to prevent any backflow of wastewater. You can use a hose stand or a hook to secure the hose in a higher position.
- Ensure a proper fit: Check that the connection between the drainage hose and the drain pipe is secure and leak-free. Test the connection by running a small amount of water through the washer to see if it drains properly.
By properly connecting the washer to the new drain system, you ensure that the wastewater is efficiently carried away without any leaks or backups. Remember to check the connection periodically and address any issues promptly to maintain optimal functionality.
Once you have successfully connected the washer, you can move on to the final step: testing the drain to ensure proper functionality.
Step 6: Testing the Drain
After completing the installation of the drain for your washer, it’s essential to test the system to ensure proper functionality and address any potential issues. Follow these steps to test the drain:
- Prepare the test: Place a bucket or basin under the open end of the drain pipe to catch any water that may flow out during the test.
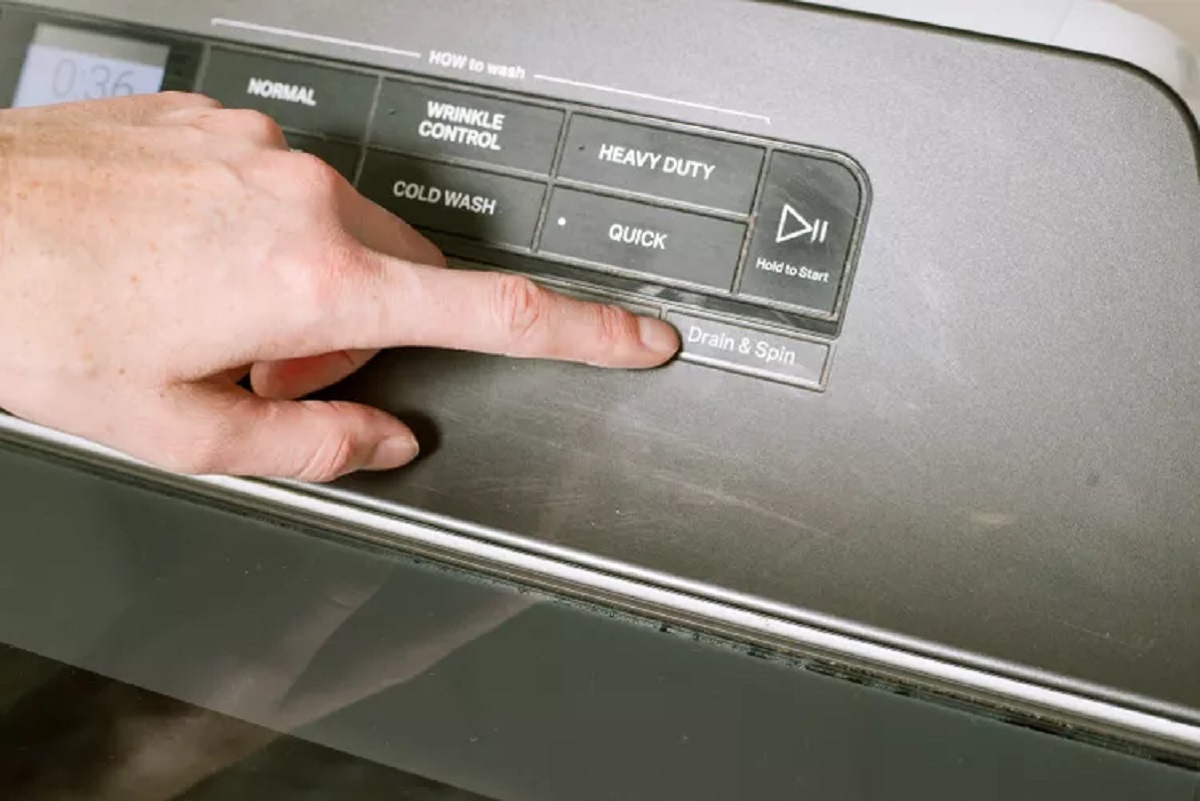
- Run a test cycle: Start a regular wash cycle on your washer, including the drain and spin cycle, without any laundry items. Pay close attention to the water draining from the washer into the drain pipe.
- Observe the drainage: Watch for any signs of blockage or slow drainage. Ensure that the water flows freely through the drain pipe without any backups or overflows.
- Check for leaks: Monitor the connection points of the drain pipe, including the fittings and the washer’s drainage hose. Look for any signs of leaks or dripping water. If you notice any leaks, tighten the connections or replace any damaged parts as necessary.
- Verify odor control: Ensure that the P-trap is functioning correctly and effectively preventing any sewer gases from entering your home. If you detect any foul odors, check for any gaps or loose connections in the P-trap or the drain system.
- Repeat if necessary: If you encounter any issues during the test, address them promptly. Check for any blockages in the drain pipe, ensure proper alignment of the fittings, or consult a professional plumber for further assistance.
By thoroughly testing the drain system, you can ensure that it functions properly and is free from any issues. Addressing any problems early on will help prevent water damage and keep your laundry area clean and functional.
Congratulations! You have successfully created a drain for your washer without drainage in the house. By following these steps and implementing the necessary precautions, you can enjoy efficient and hassle-free laundry sessions.
Remember, if you encounter any complex plumbing issues or are unsure about any steps, it’s always best to consult with a professional plumber to ensure a safe and reliable drain system.
I hope this guide has been helpful to you. Happy washing!
Conclusion
Creating a drain for a washer with no drainage in the house doesn’t have to be a daunting task. With careful planning, the right materials, and step-by-step execution, you can successfully install a drain for your washer and ensure efficient wastewater disposal.
By assessing the area, gathering the necessary supplies, creating an outlet, installing the drain pipe, connecting the washer, and thoroughly testing the system, you can enjoy a functional and reliable drain system for your laundry needs.
It’s important to emphasize the significance of following local plumbing codes and regulations, as well as prioritizing safety throughout the installation process. If you encounter any complex plumbing issues or feel unsure about any steps, don’t hesitate to seek assistance from a professional plumber.
Having a dedicated drain for your washer offers several benefits. It helps prevent water damage, keeps the laundry area clean and functional, and ensures proper wastewater disposal. Plus, by properly connecting the washer to the new drain system and testing it, you can catch any potential issues early on and address them promptly.
Remember to regularly monitor the drain system, check for leaks or blockages, and maintain the connections to ensure optimal functionality. Taking proper care of your drain system will prolong its lifespan and contribute to a positive laundry experience.
We hope this guide has provided you with valuable insights and guidance on how to create a drain for a washer with no drainage in the house. By following these steps and exercising caution, you can successfully tackle this home maintenance project and enjoy hassle-free laundry sessions.
Thank you for reading, and best of luck with your drain installation!
Frequently Asked Questions about How To Create A Drain For A Washer With No Drainage In The House
Was this page helpful?
At Storables.com, we guarantee accurate and reliable information. Our content, validated by Expert Board Contributors, is crafted following stringent Editorial Policies. We're committed to providing you with well-researched, expert-backed insights for all your informational needs.


0 thoughts on “How To Create A Drain For A Washer With No Drainage In The House”