Home>Home Maintenance>How To Drain A Portable Air Conditioner

Home Maintenance
How To Drain A Portable Air Conditioner
Modified: March 7, 2024
Learn how to drain a portable air conditioner with our step-by-step guide. Proper home-maintenance techniques for maximum efficiency and longevity.
(Many of the links in this article redirect to a specific reviewed product. Your purchase of these products through affiliate links helps to generate commission for Storables.com, at no extra cost. Learn more)
Introduction
Welcome to the ultimate guide on how to drain a portable air conditioner. As the summer heat approaches, it’s important to make sure your portable air conditioner is functioning at its best. One crucial aspect of maintaining your unit is properly draining the excess water that accumulates during the cooling process.
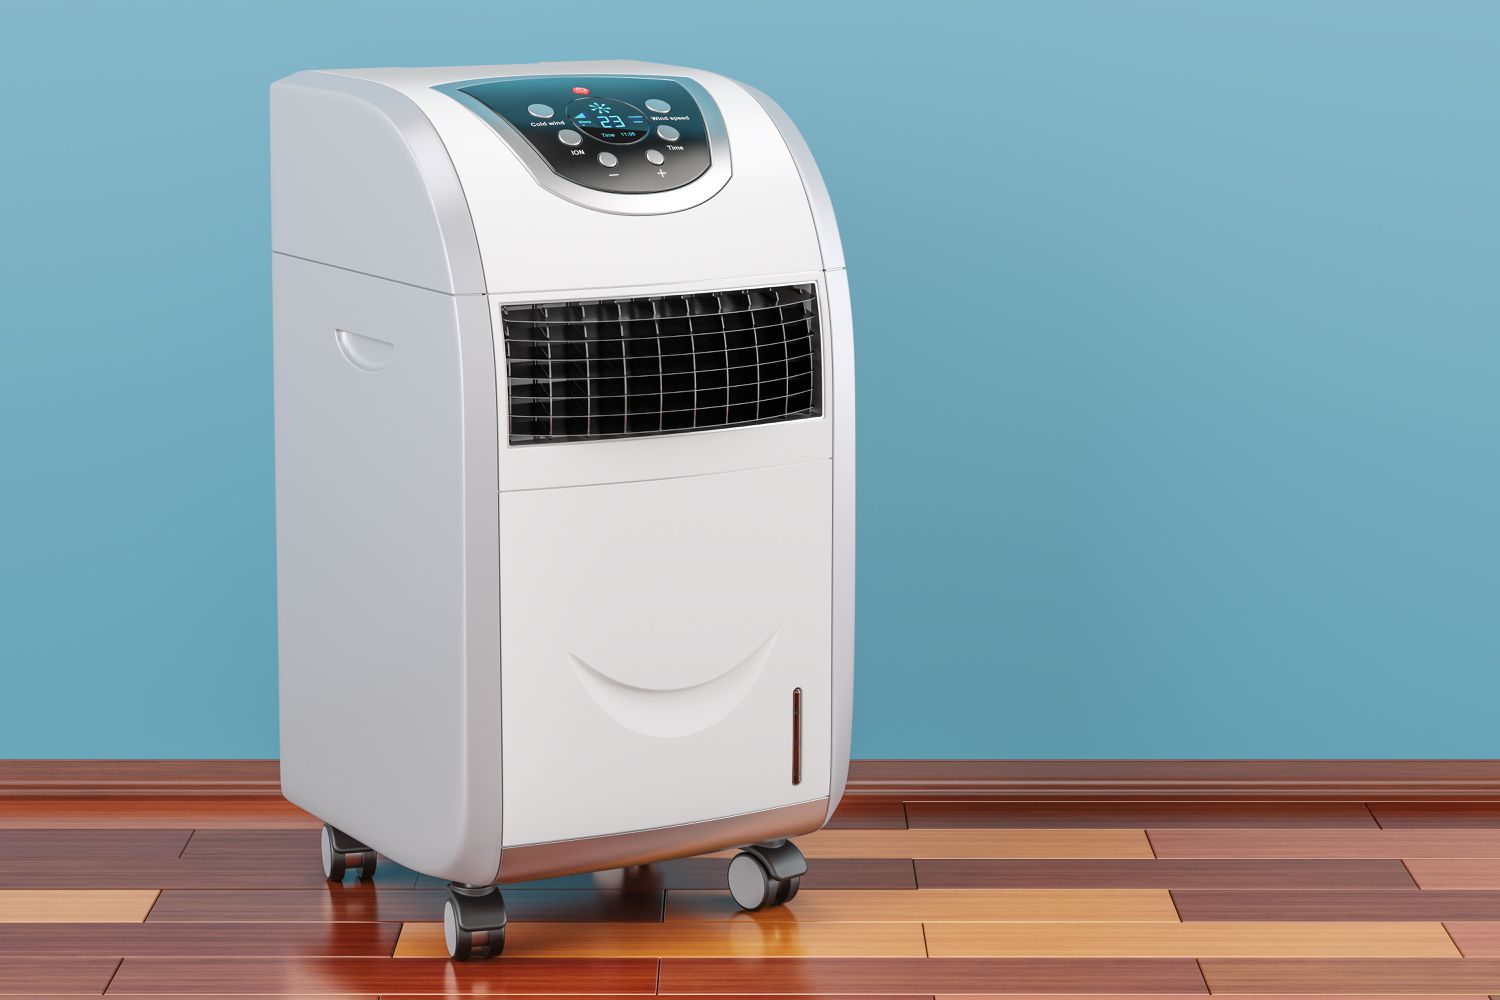
Portable air conditioners are a convenient option for cooling smaller spaces or rooms without built-in central air conditioning. These units work by extracting heat and moisture from the air, which results in condensation. This condensed moisture needs to be drained to prevent damage to the unit and maintain its efficiency.
In this comprehensive guide, we will take you through a step-by-step process to ensure that you can effectively drain your portable air conditioner, keeping it running smoothly and prolonging its lifespan. So, let’s jump right in and learn how to drain a portable air conditioner!
Key Takeaways:
- Draining a portable air conditioner is crucial for keeping it in top shape. Gather your tools, locate the drain plug, and follow the steps to drain, clean, and test the unit for a cool and comfy summer!
- Regular maintenance, including draining and cleaning the drain plug, ensures your portable air conditioner works efficiently and prevents mold growth. Enjoy a healthier and cooler indoor environment all summer long!
Step 1: Preparation
Before you begin draining your portable air conditioner, it’s important to gather all the necessary tools and materials. This will ensure a smooth and efficient process. Here’s what you’ll need:
- A large container or basin to collect the water
- A towel or a mop to clean up any spills or drips
- A screwdriver or a wrench to remove the drain plug
- A cleaning brush or cloth to clean the drain plug
Once you have these items ready, it’s time to move on to the next step.
Step 2: Locating the Drain Plug
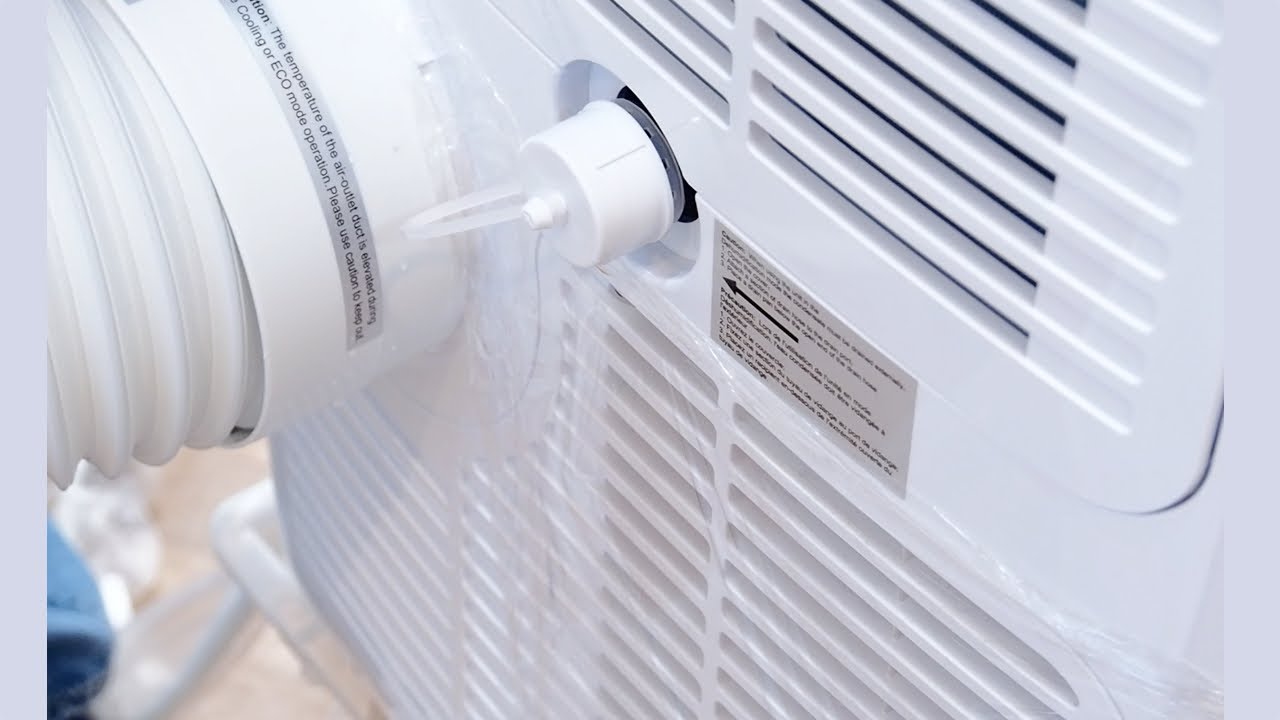
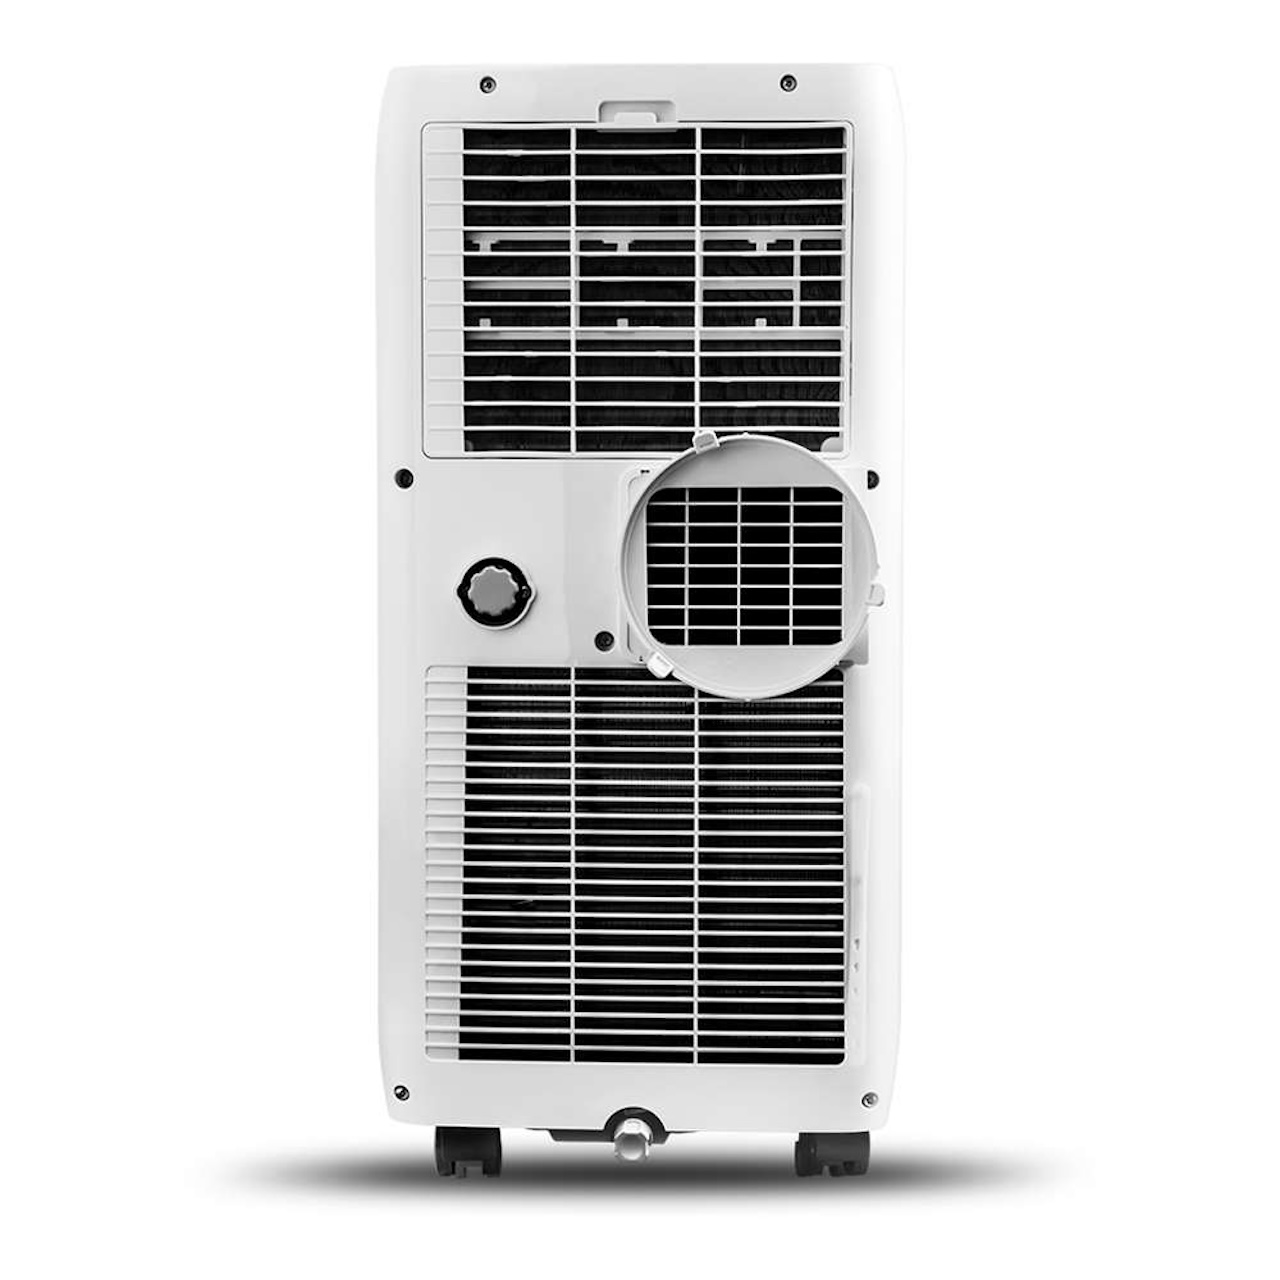
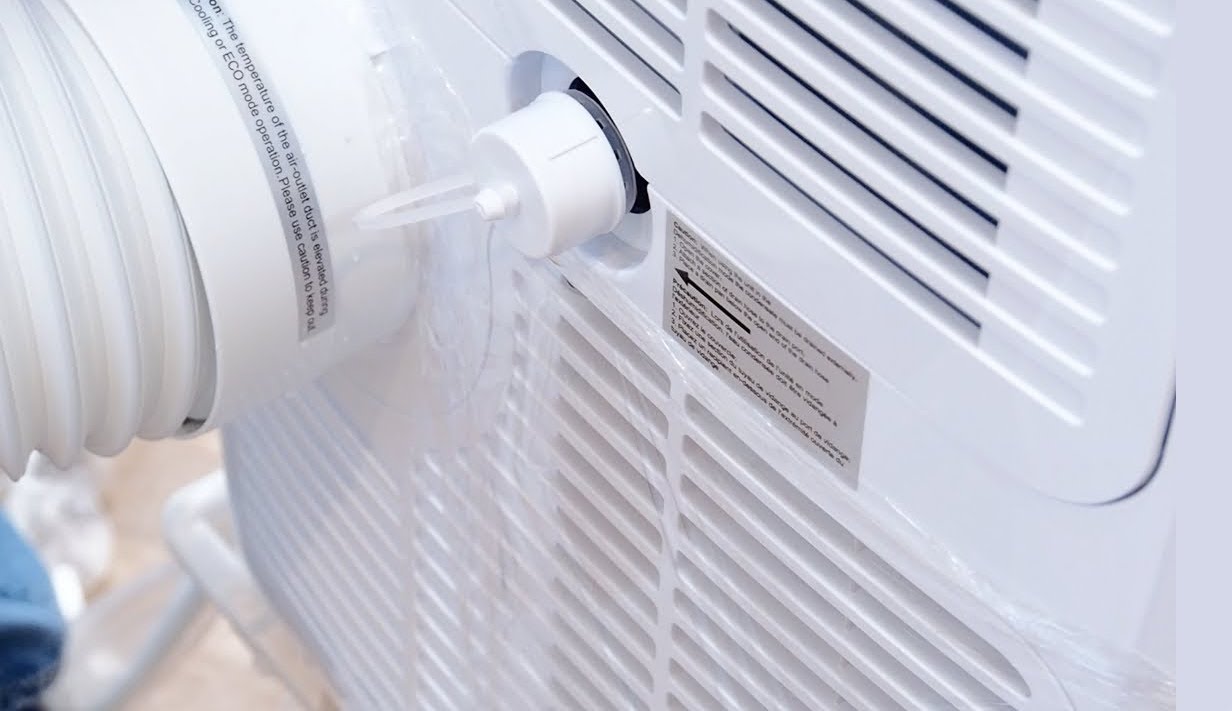
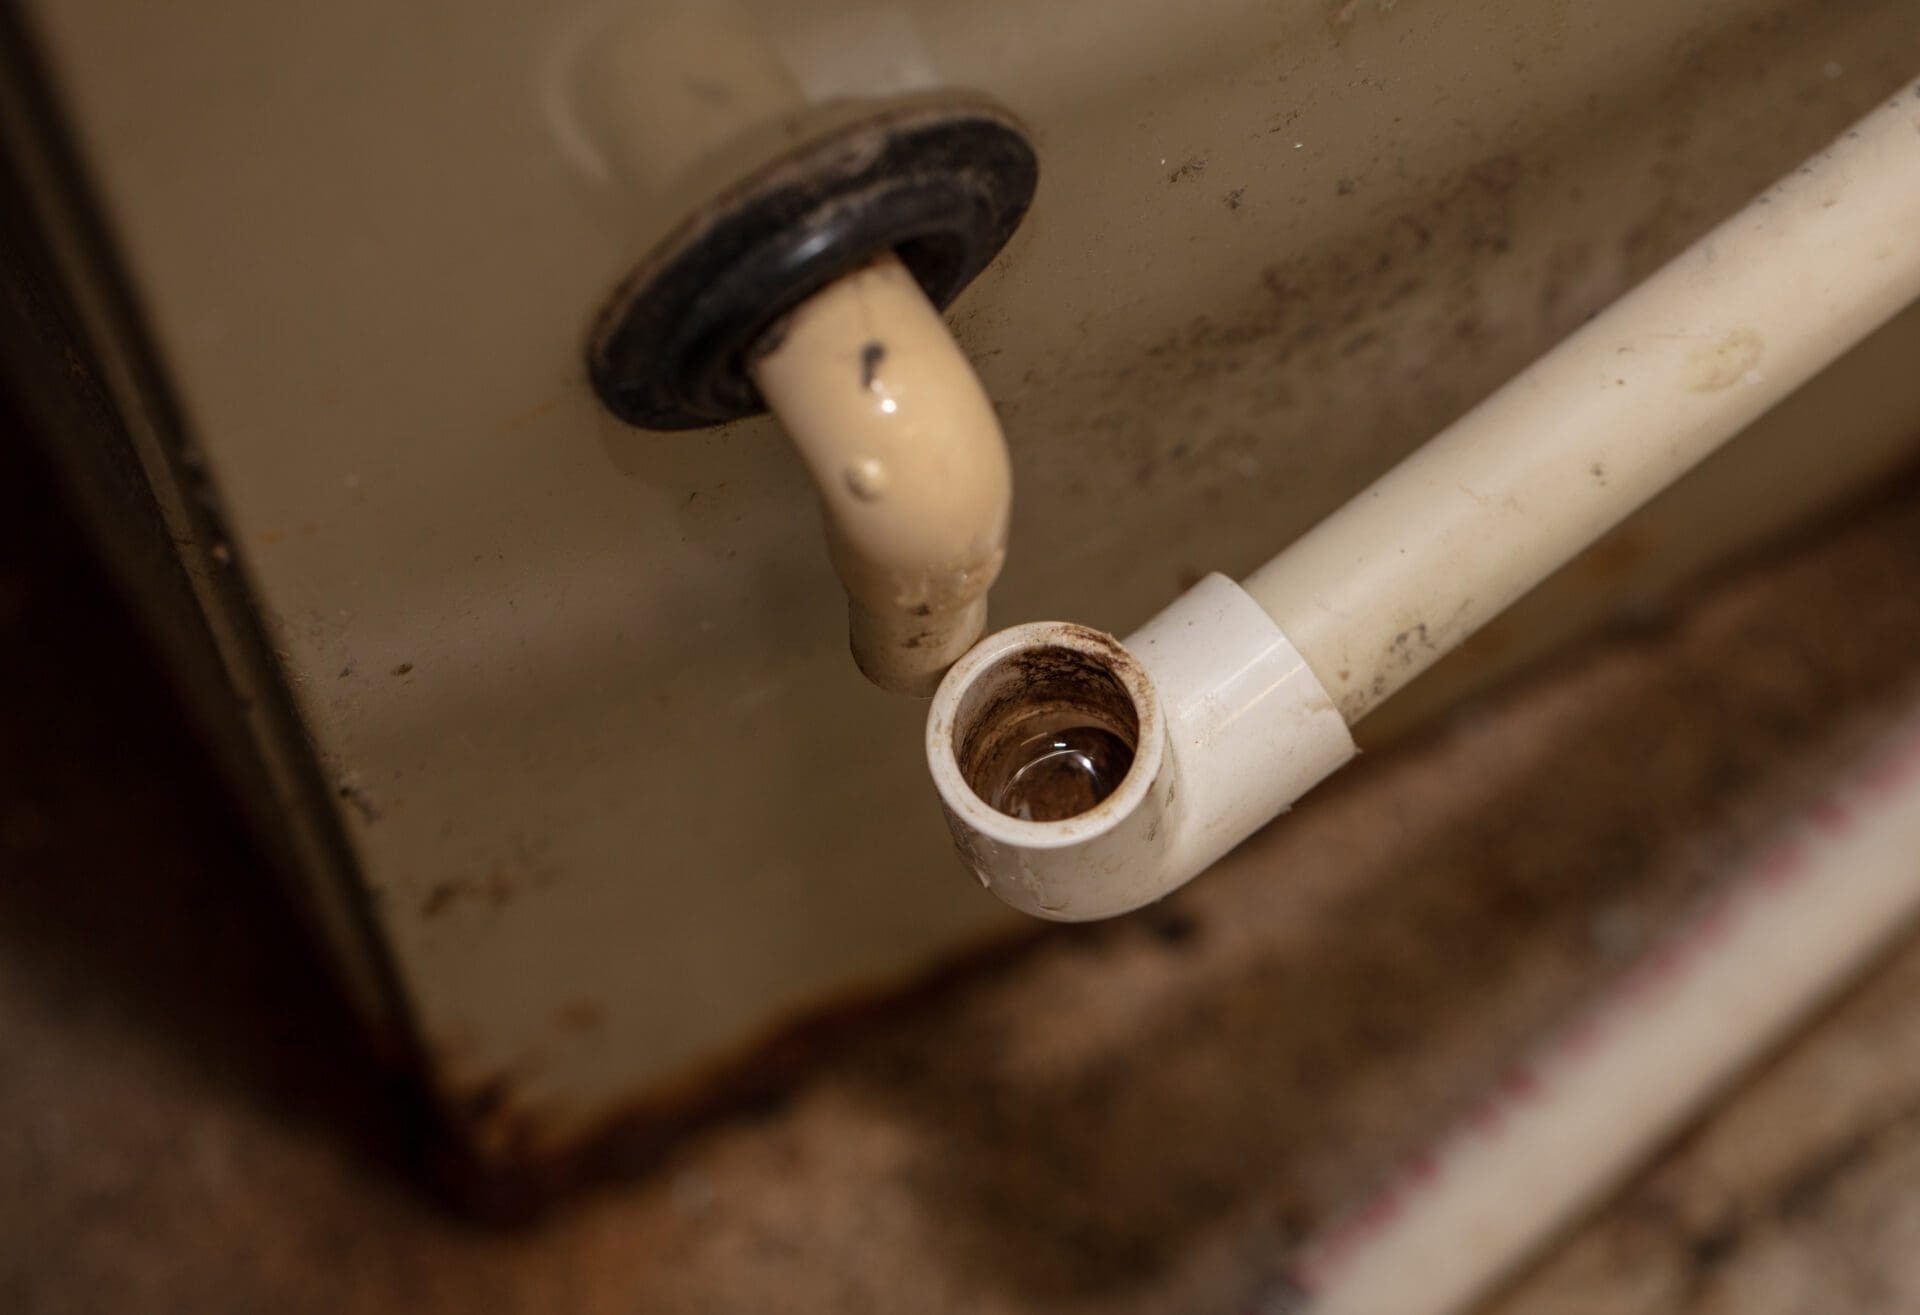
The drain plug on a portable air conditioner is typically located at the rear or bottom of the unit. It serves as the outlet for the condensed water to flow out. To locate the drain plug, follow these steps:
- Make sure the air conditioner is turned off and unplugged.
- Inspect the back or bottom of the unit for a small hole or opening.
- Check the user manual or manufacturer’s instructions for specific information on the drain plug’s location.
Once you have identified the drain plug, you can move on to the next step of the process.
Step 3: Removing the Drain Plug
Now that you have located the drain plug, it’s time to remove it in order to allow the water to escape. Follow these steps:
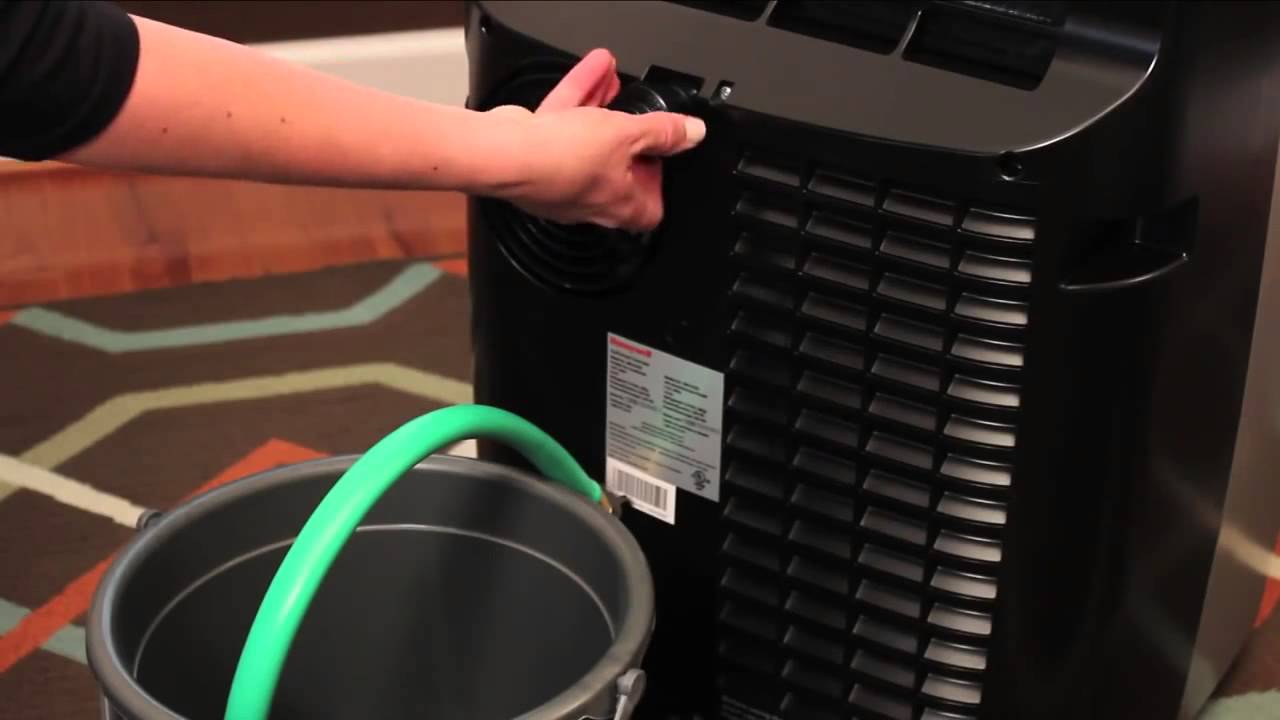
- Place the large container or basin beneath the drain plug to catch any water that will come out.
- Using a screwdriver, a wrench, or any appropriate tool, carefully unscrew or unfasten the drain plug.
- Be prepared for water to start flowing out once the drain plug is removed.
- If the water doesn’t start draining immediately, gently tilt the air conditioner to encourage the flow.
It’s important to note that every portable air conditioner model might have a different method of removing the drain plug. Refer to the user manual or manufacturer’s instructions for specific guidance pertaining to your unit.
Now that the drain plug is removed, the water will start to drain. Let’s move on to the next step to ensure a successful draining process.
Step 4: Draining the Water
With the drain plug removed, it’s time to drain the water from your portable air conditioner. Follow these steps:
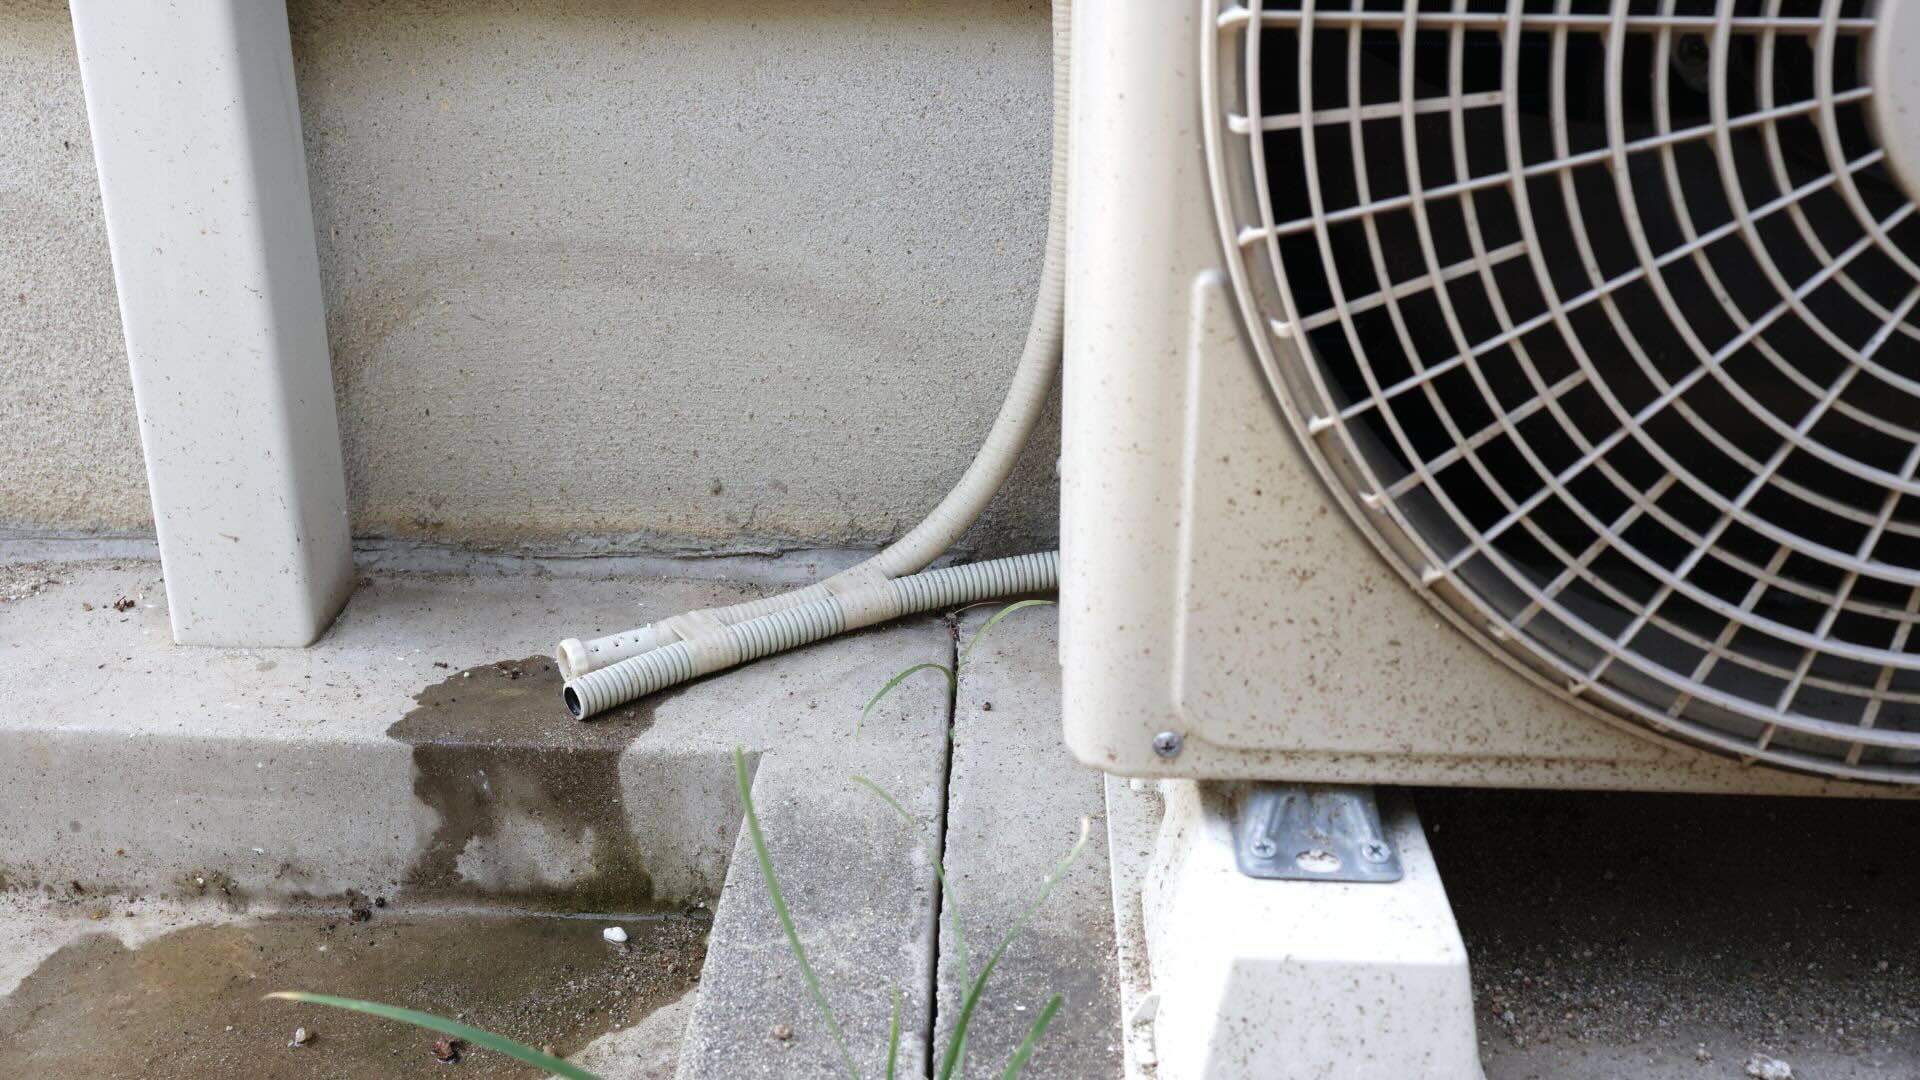
- Allow the water to flow freely into the container or basin placed beneath the drain plug.
- Monitor the water level in the container and adjust it as needed to prevent overflow.
- If the water flow slows down or stops, tilt the air conditioner slightly to encourage the remaining water to drain out.
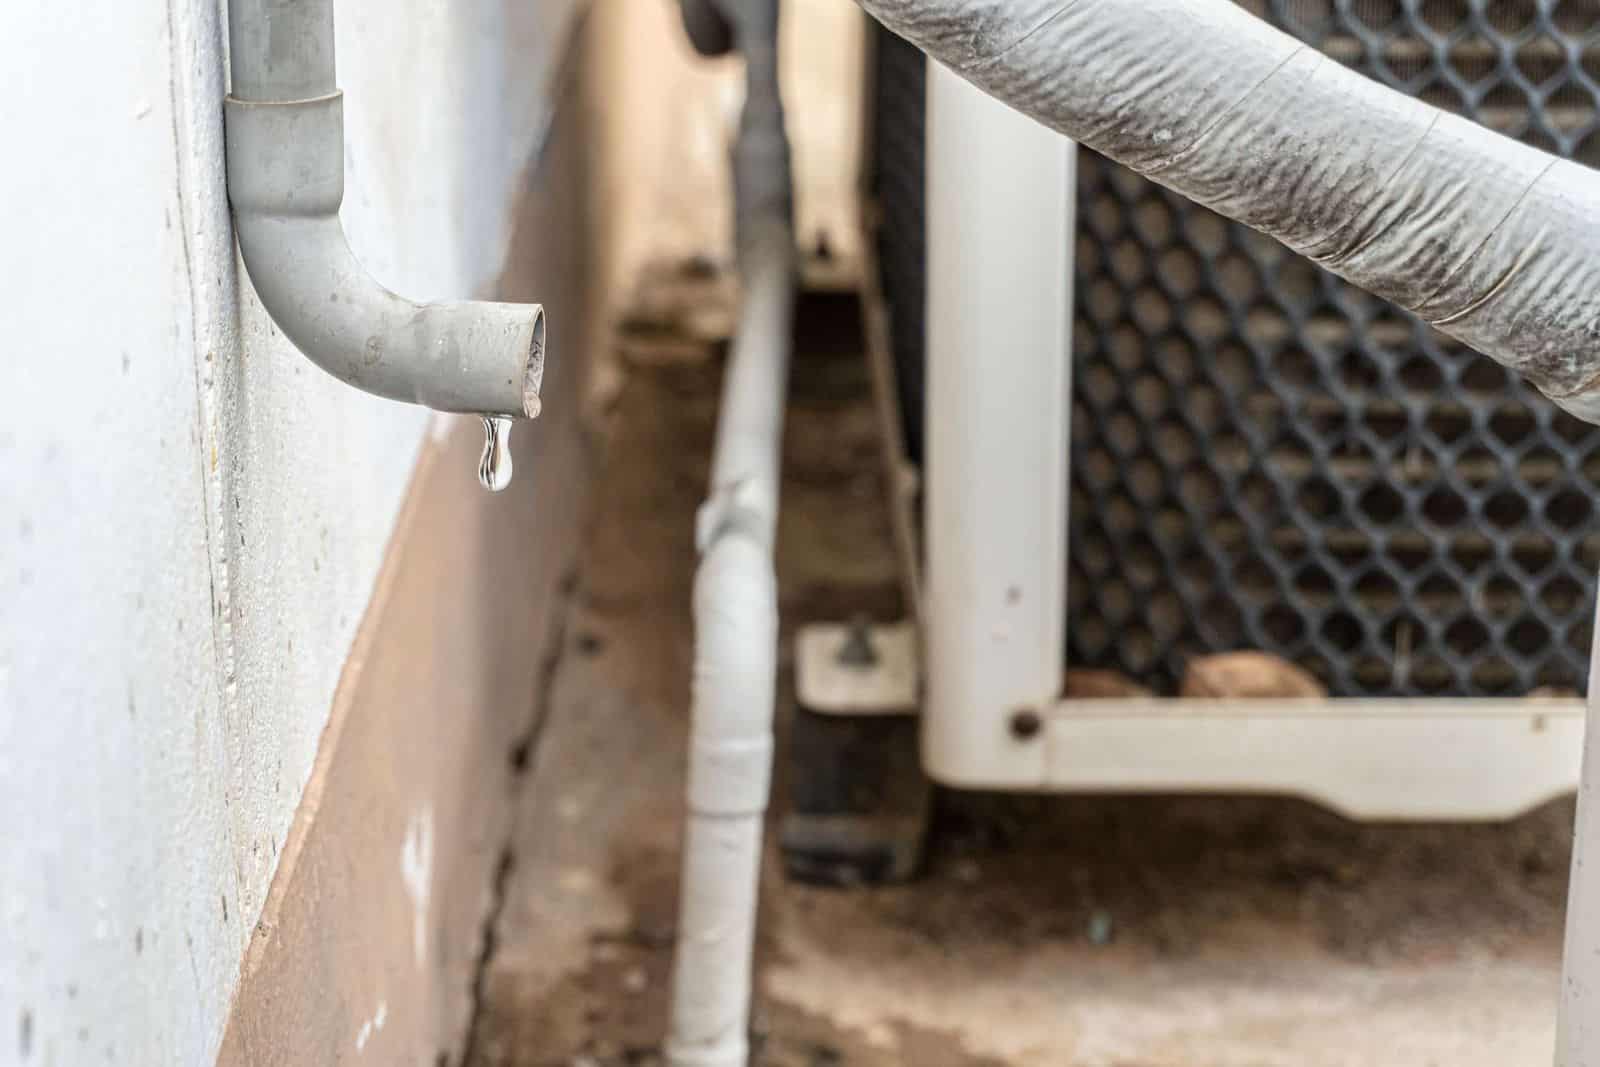
It’s important to ensure that all the water is drained, as any leftover moisture can lead to mold or bacteria growth inside the unit. Additionally, excess water can cause damage to the internal components if not properly drained.
Once all the water has been successfully drained, move on to the next step to clean the drain plug.
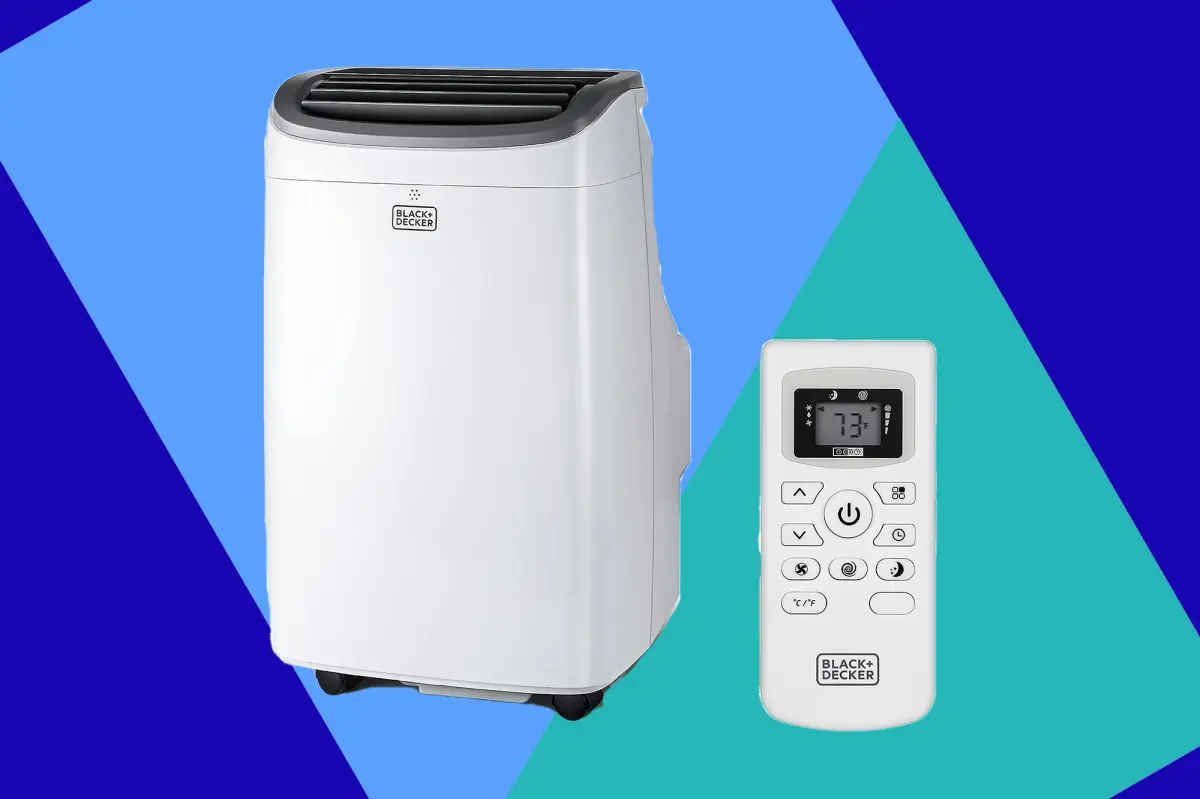
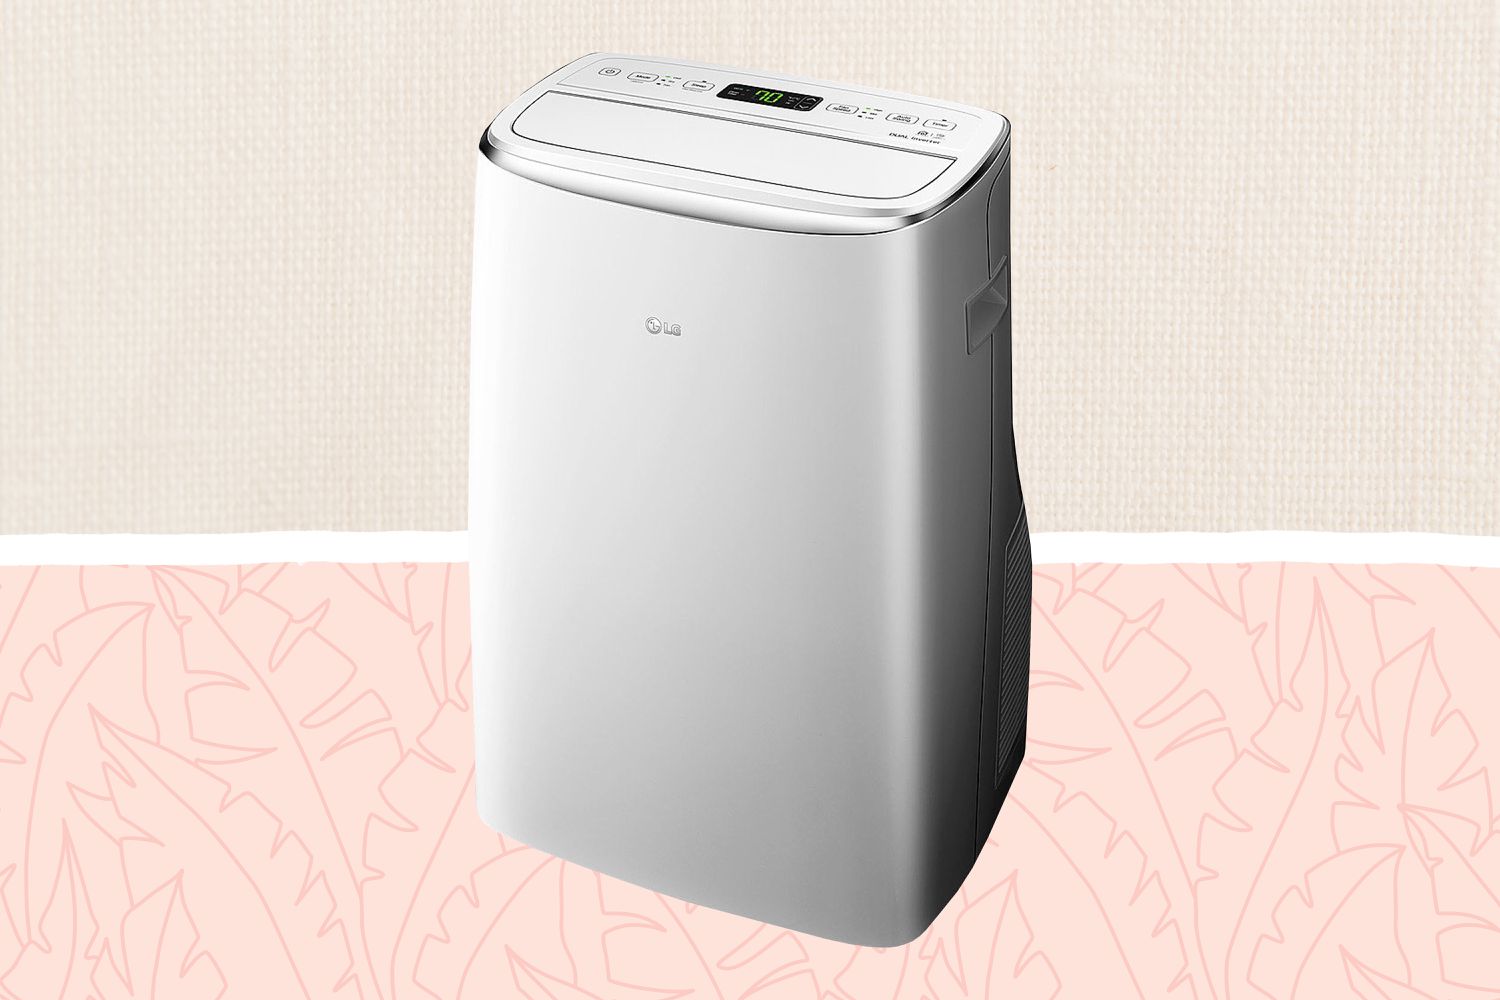
To drain a portable air conditioner, locate the drain plug at the bottom of the unit and remove it. Place a shallow pan or bucket underneath to catch the water. Once the water has drained, replace the plug securely.
Step 5: Cleaning the Drain Plug
After draining the water from your portable air conditioner, it’s important to clean the drain plug to remove any dirt, debris, or buildup that may have accumulated. Follow these steps:
- Inspect the drain plug for any visible dirt or clogs.
- Use a cleaning brush or cloth to remove any debris from the drain plug.
- If the drain plug is removable, rinse it with water to ensure thorough cleaning.
- Check for any signs of mold or mildew on the drain plug. If present, use a mild detergent or vinegar solution to clean and disinfect it.
- Allow the drain plug to dry completely before reinstallation.
Cleaning the drain plug regularly ensures that it remains free from blockages and allows for proper drainage in the future. This step is essential for maintaining the efficiency and effectiveness of your portable air conditioner.
Now that the drain plug is clean, let’s move on to the next step and reinstall it.
Step 6: Reinstalling the Drain Plug
With the drain plug cleaned and dry, it’s time to reinstall it back into your portable air conditioner. Follow these steps:
- Position the drain plug in its original location.
- Gently screw or fasten the drain plug back into place using a screwdriver or wrench.
- Ensure that the drain plug is securely tightened to prevent any water leakage.
It’s important to note that overtightening the drain plug can cause damage, so be careful not to apply excessive force.
With the drain plug successfully reinstalled, you’re almost done! Let’s move on to the final step and test the air conditioner to ensure proper functionality.
Step 7: Testing the Air Conditioner
Now that you have drained the water from your portable air conditioner and reinstalled the drain plug, it’s time to test the unit to ensure that it’s working properly. Follow these steps:
- Plug in the air conditioner and turn it on.
- Set the unit to your desired cooling settings and let it run for a few minutes.
- Listen for any unusual noises or vibrations coming from the unit, as this may indicate a problem.
- Check for any leaks or water accumulation around the drain plug or any other areas of the unit.
- Feel the airflow to make sure it’s cold and consistent.
If you notice any issues or abnormalities during the test, it’s recommended to consult the user manual or contact a professional for assistance. Regular maintenance and proper drainage can help prevent major problems and extend the lifespan of your portable air conditioner.
By following these steps, you have successfully drained your portable air conditioner, cleaned the drain plug, and ensured the unit’s proper functionality. Now, you can enjoy a cool and comfortable environment throughout the summer season!
Conclusion
Properly draining your portable air conditioner is essential for maintaining its efficiency and prolonging its lifespan. By following the step-by-step process outlined in this guide, you can easily and effectively drain the excess water from your unit.
Remember to always prepare the necessary tools and materials before starting the draining process. Take your time locating the drain plug and removing it carefully to avoid any damage. Allow the water to drain completely, clean the drain plug, and reinstall it securely. Finally, test the air conditioner to ensure it’s functioning properly.
Regular maintenance, including draining the water, will not only prevent damage to your portable air conditioner but also promote a healthier indoor environment by reducing the risk of mold or bacteria growth. Additionally, it will ensure optimal cooling performance and energy efficiency.
Don’t forget to consult the user manual or seek professional assistance if you encounter any issues or have specific instructions for your unit.
By following these steps and maintaining your portable air conditioner, you can enjoy a cool and comfortable space throughout the summer season. Now you’re ready to take control of your home’s cooling system and keep it running smoothly!
Frequently Asked Questions about How To Drain A Portable Air Conditioner
Was this page helpful?
At Storables.com, we guarantee accurate and reliable information. Our content, validated by Expert Board Contributors, is crafted following stringent Editorial Policies. We're committed to providing you with well-researched, expert-backed insights for all your informational needs.
